How to build your own DIY two panel shaker style door
If your home is anything like mine, it came with boring, hollow core doors. Years ago, I got a quote for replacing them with lovely, shaker style, solid core doors… and it was pricey. At the time, it was beyond our budget (and my interest in building was not yet a thing) so the ugly doors stayed. A year later, we moved to a different home – a home with more space, but unfortunately again, boring, hollow core doors. Sigh.
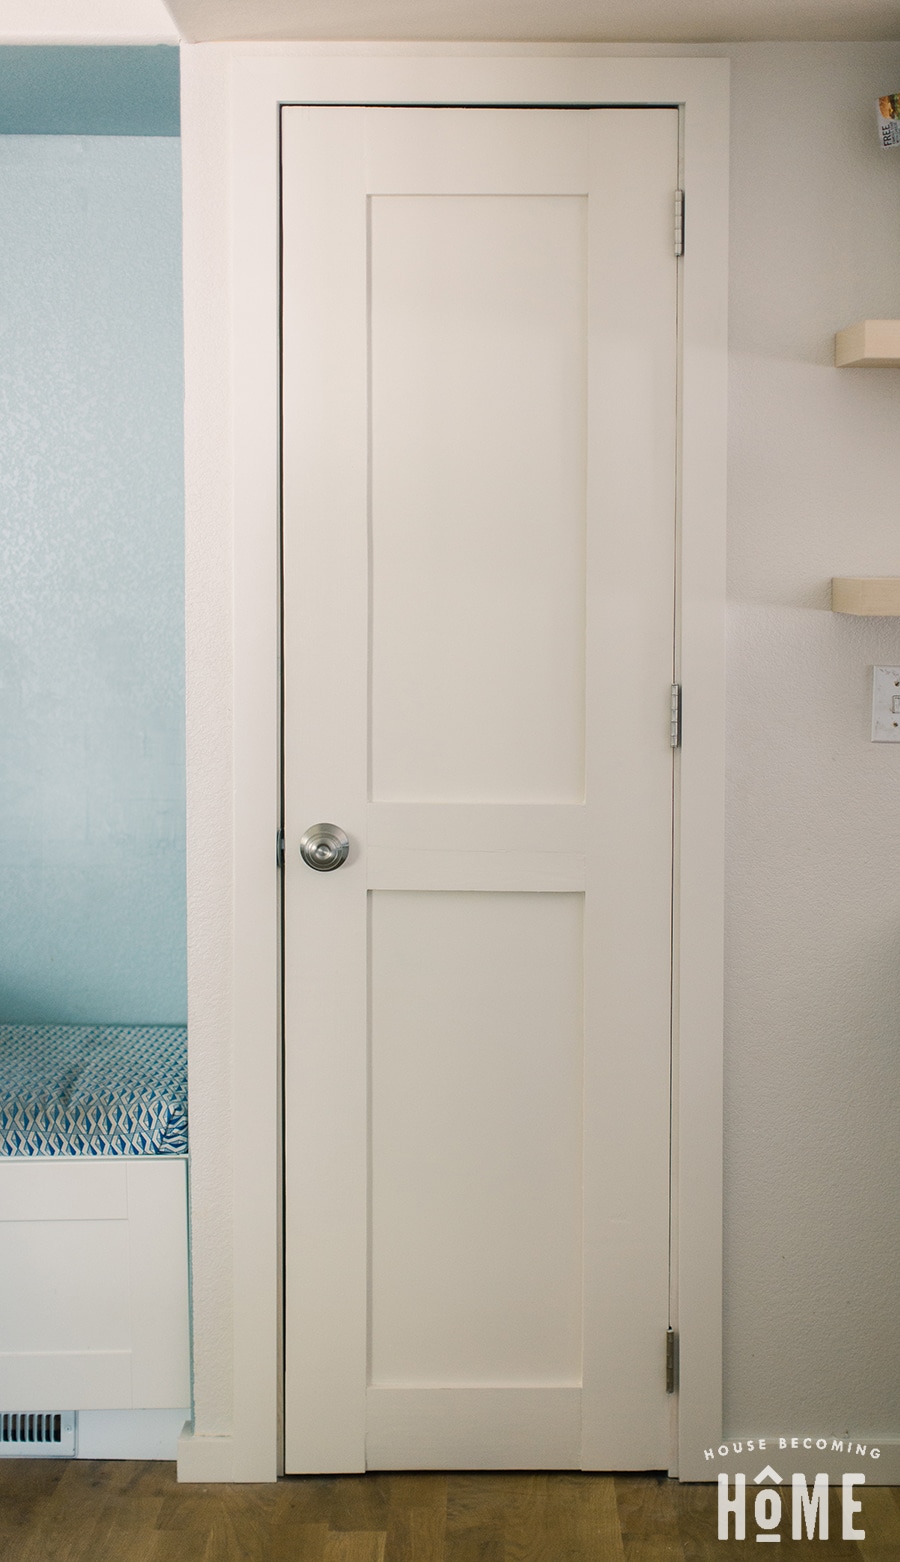
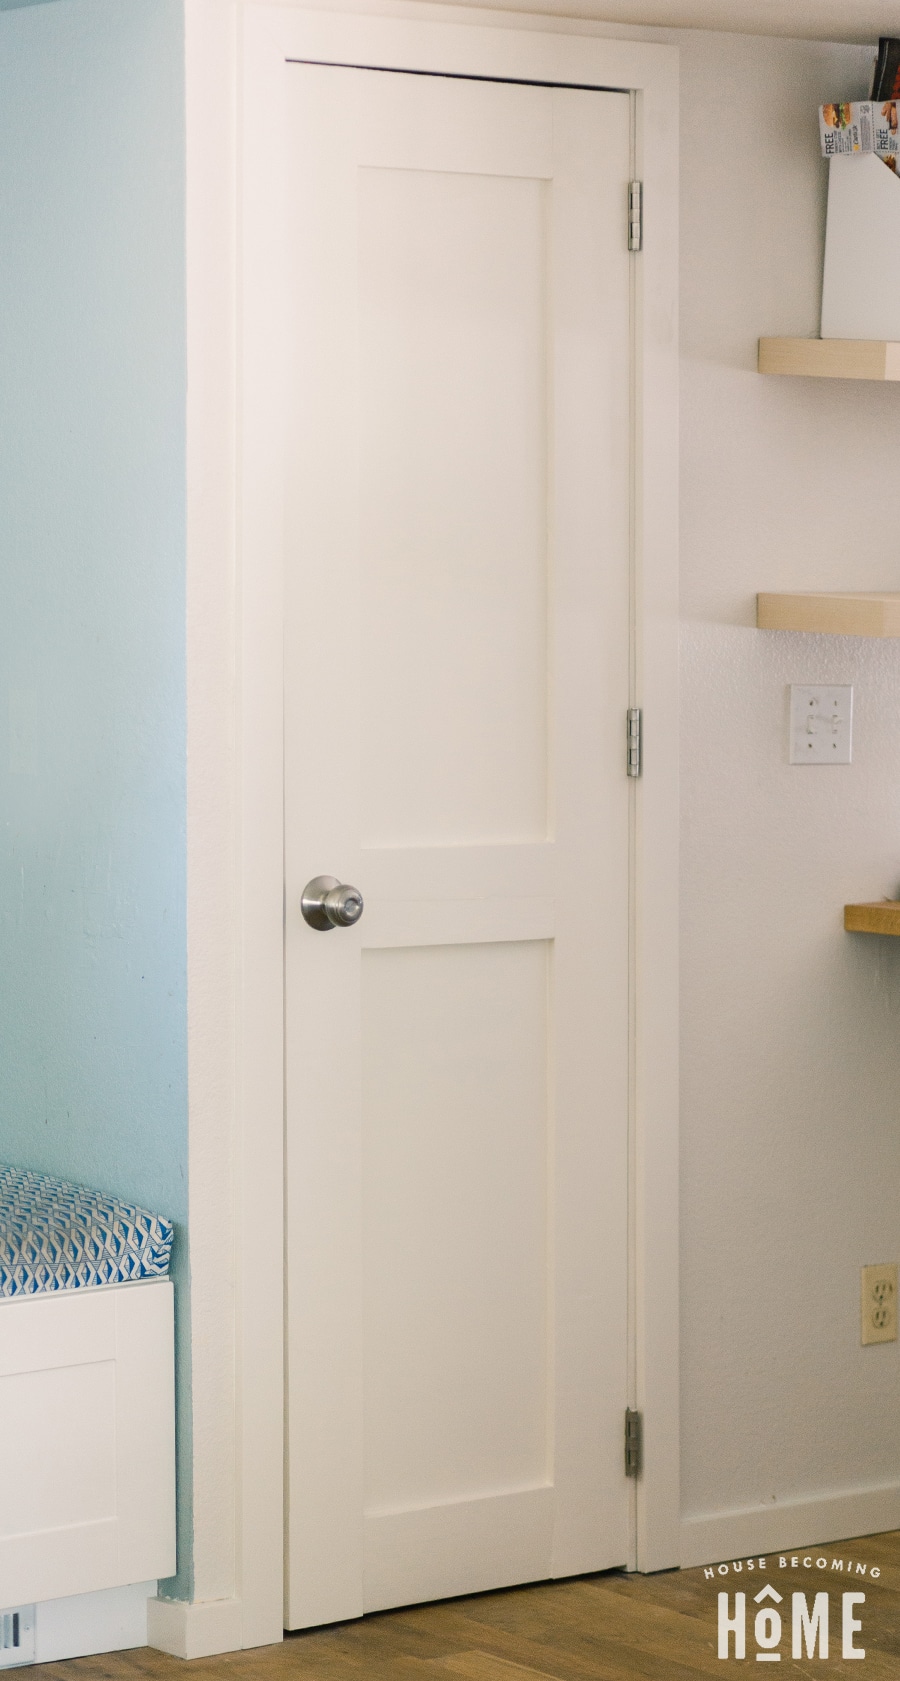
I’m Angie from House Becoming Home, and today I’m back to share some good news: YOU CAN BUILD YOUR OWN SHAKER STYLE, SOLID CORE DOORS! Really. I realized this just recently when I decided to build a new door for a small closet on our main level. It is easier than you might think, and MUCH more affordable than buying one. Wins all around. Here’s how you do it.
**These instructions make a narrow 22” door. Yours will likely be a different size than mine, so you’ll have to adjust your dimensions accordingly. If you need help figuring out the exact size to build your door, I’ve put a post together here to help you out: Calculating DIY Door Measurements

How to build a DIY two panel shaker style door
Materials:
- (2) 2 x 6 x 10 Ft. Boards
- (1) 4 x 8 Ft. Sheet of ¼” Hardboard
- Wood Glue
- Primer & Paint
- Paintable Caulk
Tools:
- Table Saw
- Miter Saw
- Router with ¼” bit
- 3 or more pipe clamps
- Finishing supplies (paint brushes, sander + sandpaper, caulk gun)
Step One
Bring 2x6s to the table saw and trim about ¼” off each long side, to remove the rounded edges.
Step Two
Cut 2x6s into five pieces (left, right, top, bottom & middle pieces of door).
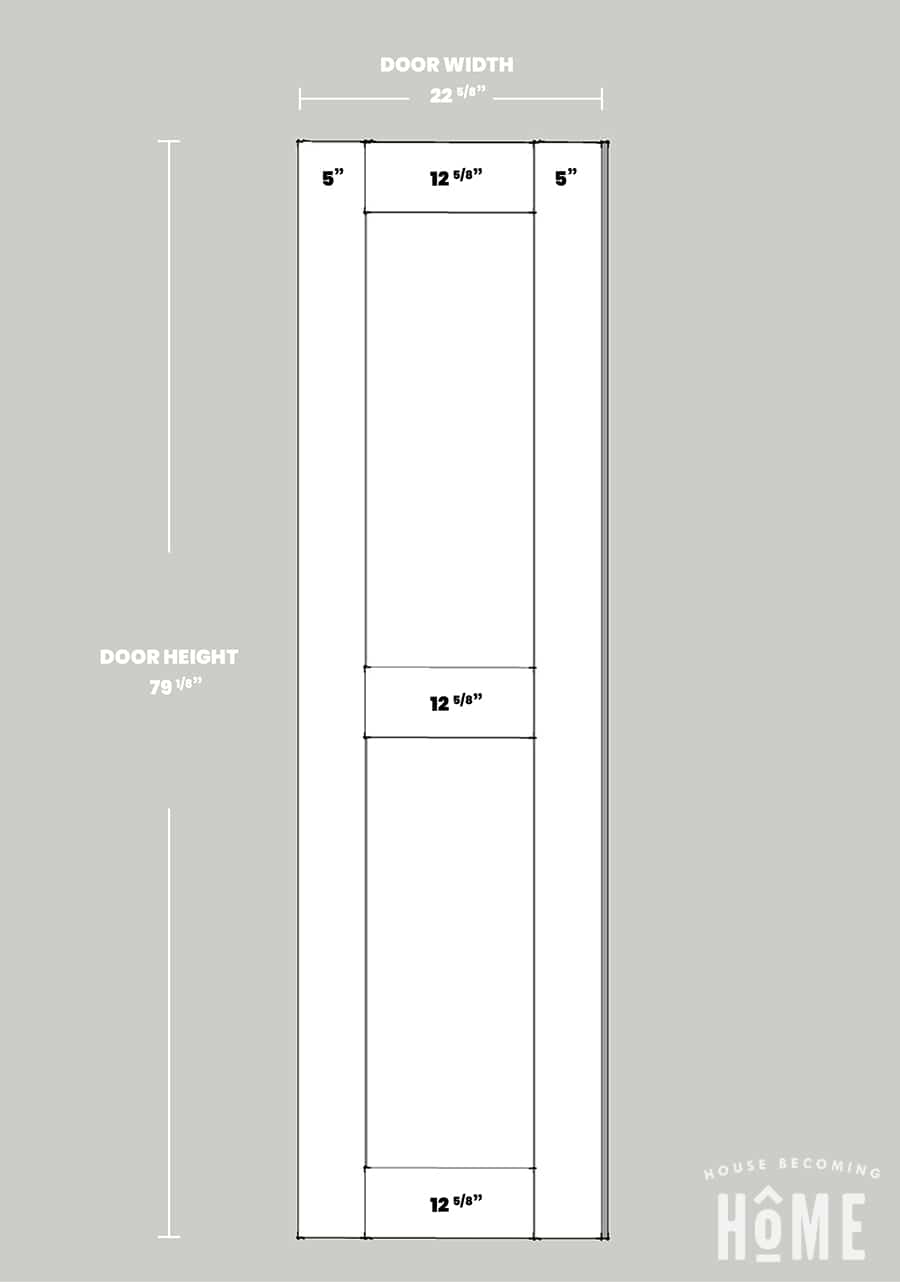
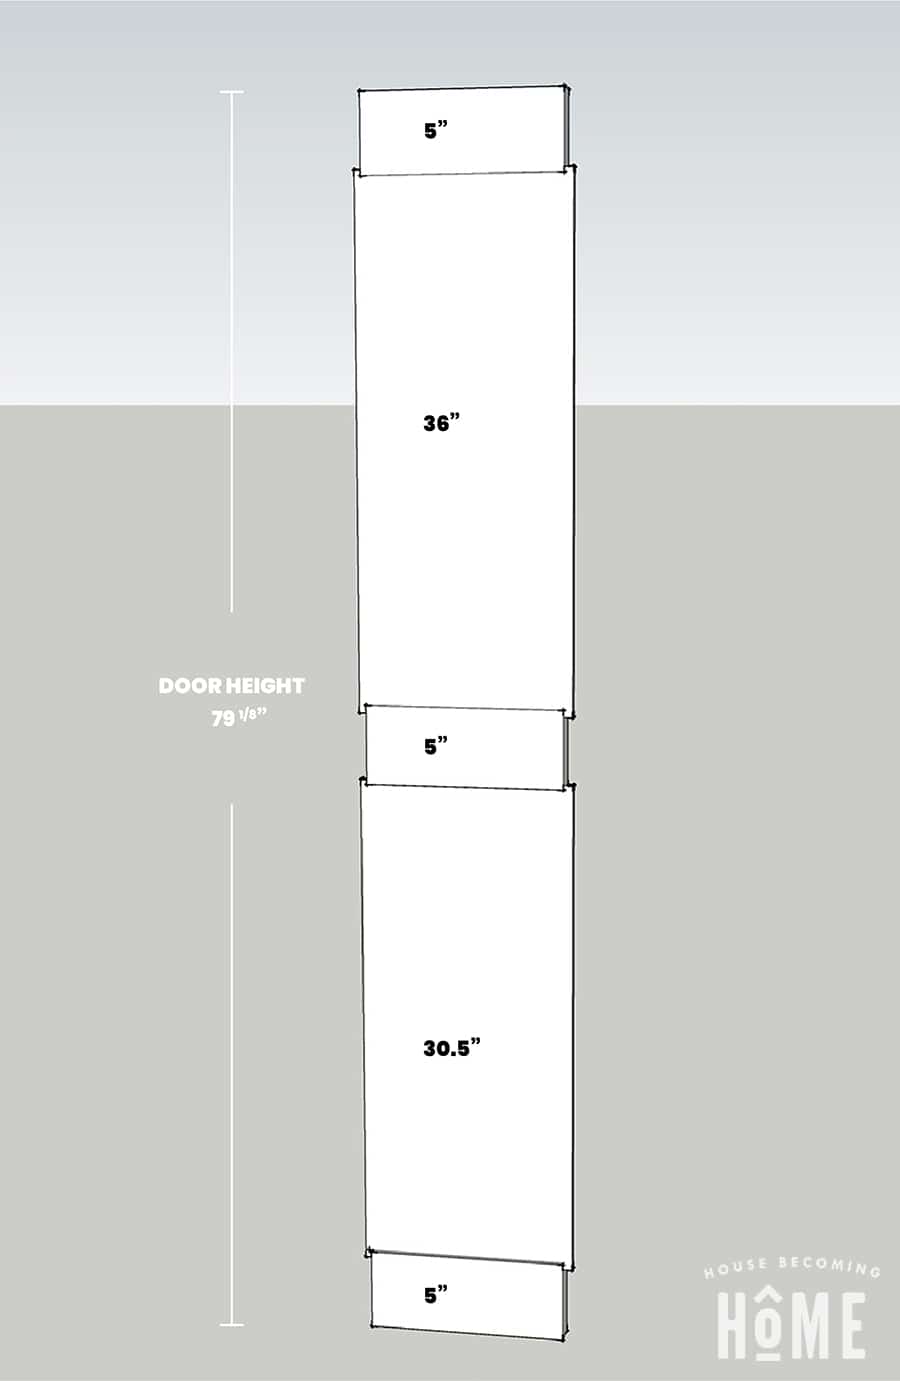
-The left and right pieces are cut to the exact height of the door (in my case, 79 ⅛”)
-The top, bottom and middle pieces are cut to the width of the door MINUS the width of two 2x6s (remember, you’ve trimmed off the rounded edges, so they aren’t 5 ½” anymore. Mine were 5 inches each, so I subtracted 10” from the width of my door).
Step 3
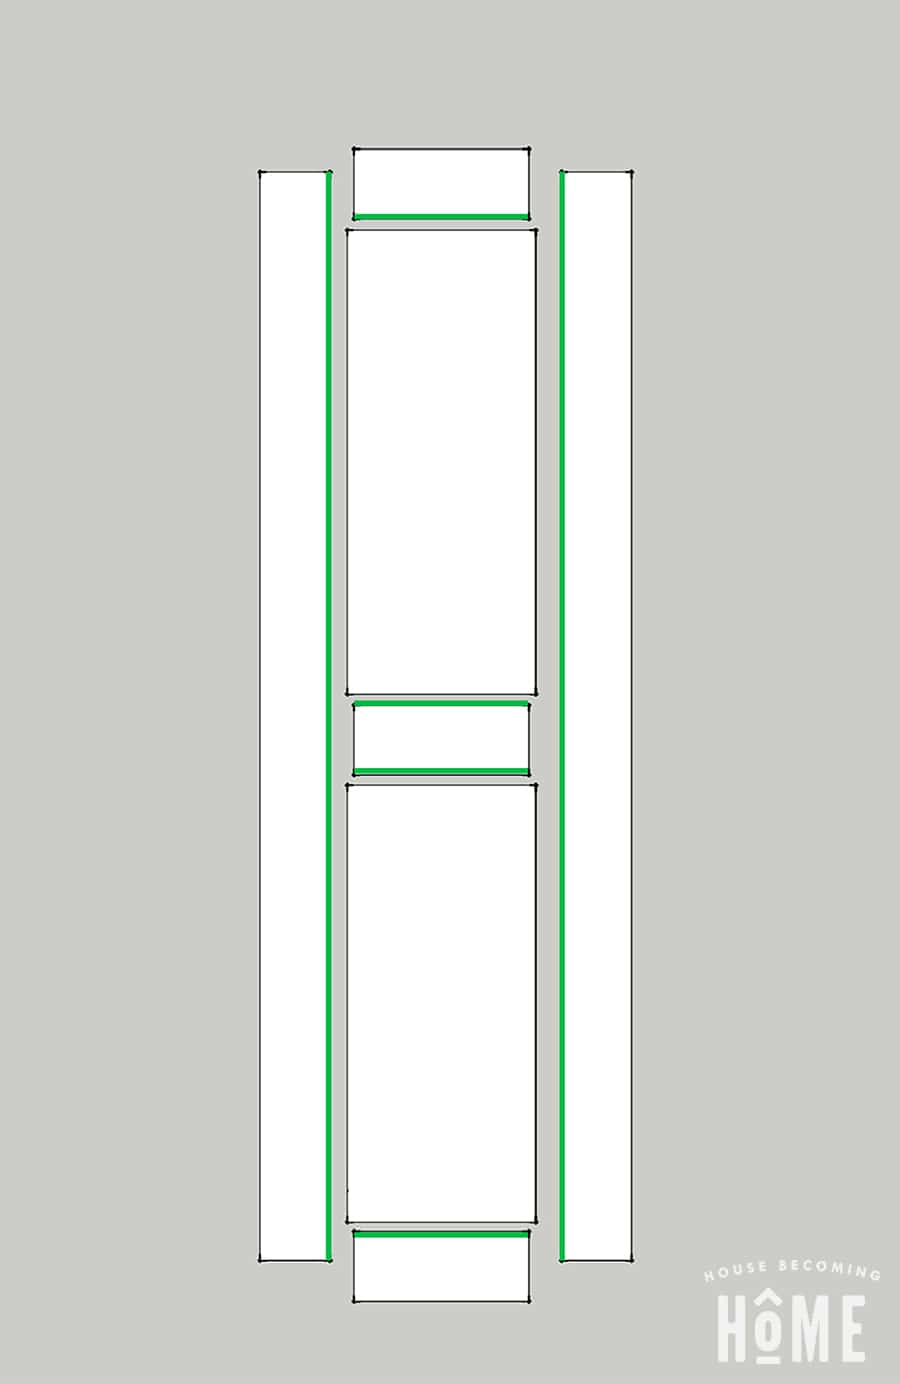
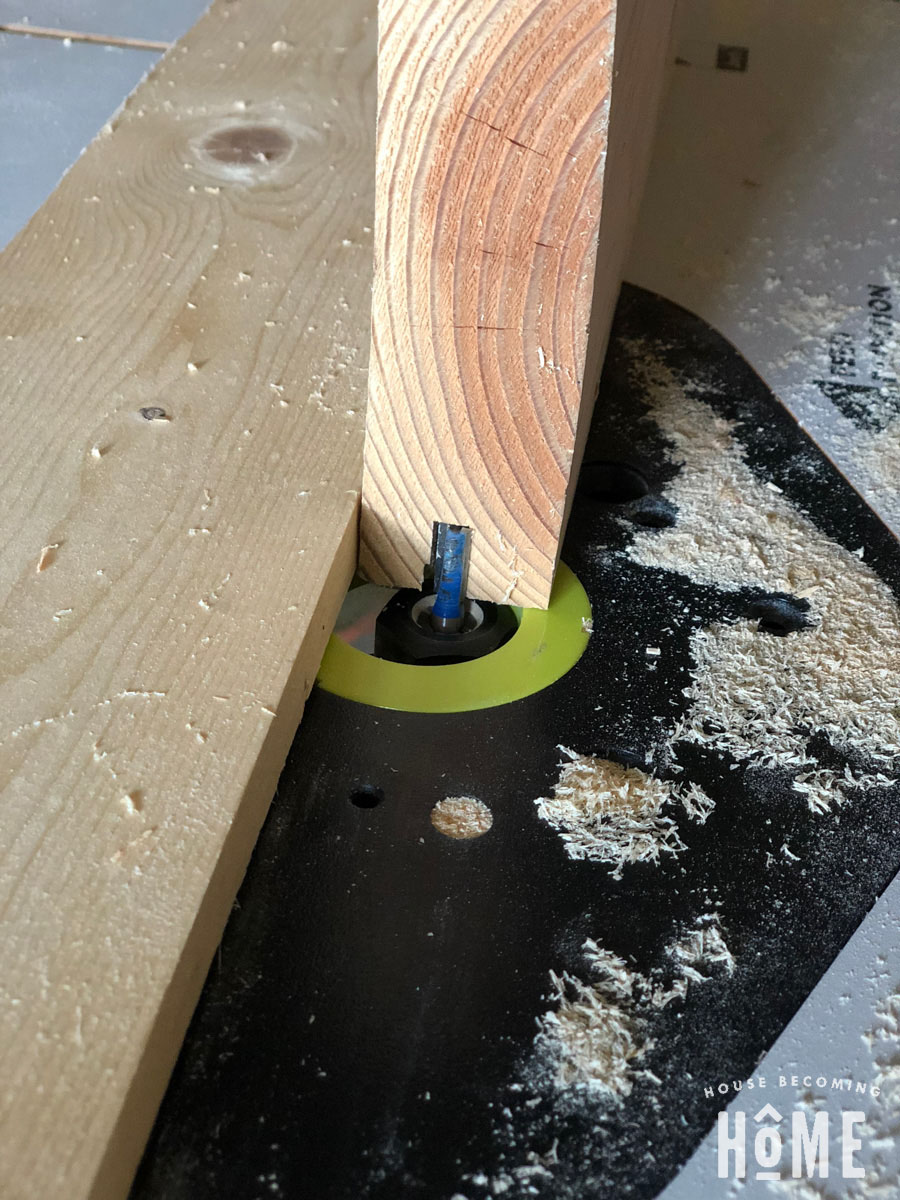
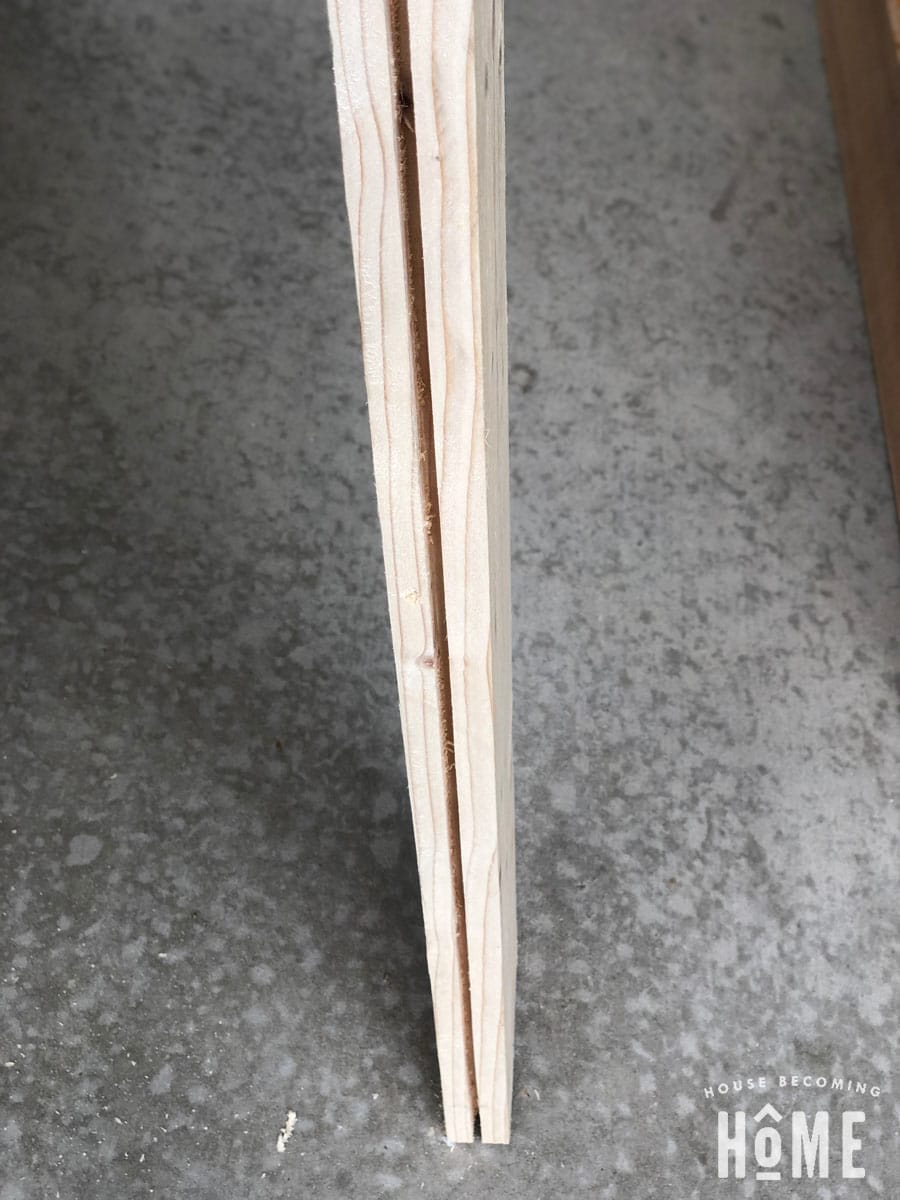
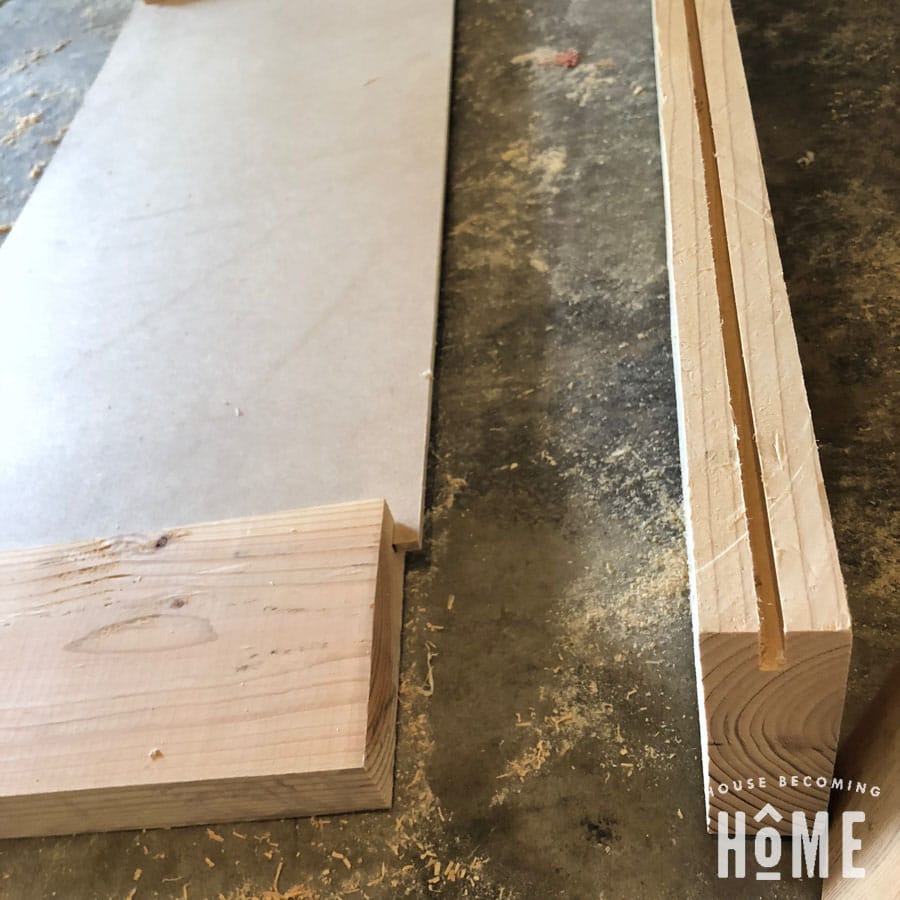
Route ¼” grooves, ½” deep, into the 2×6 pieces, following the diagram below (green lines = routed lines). If you have a table saw and dado blades, you can also use that method.
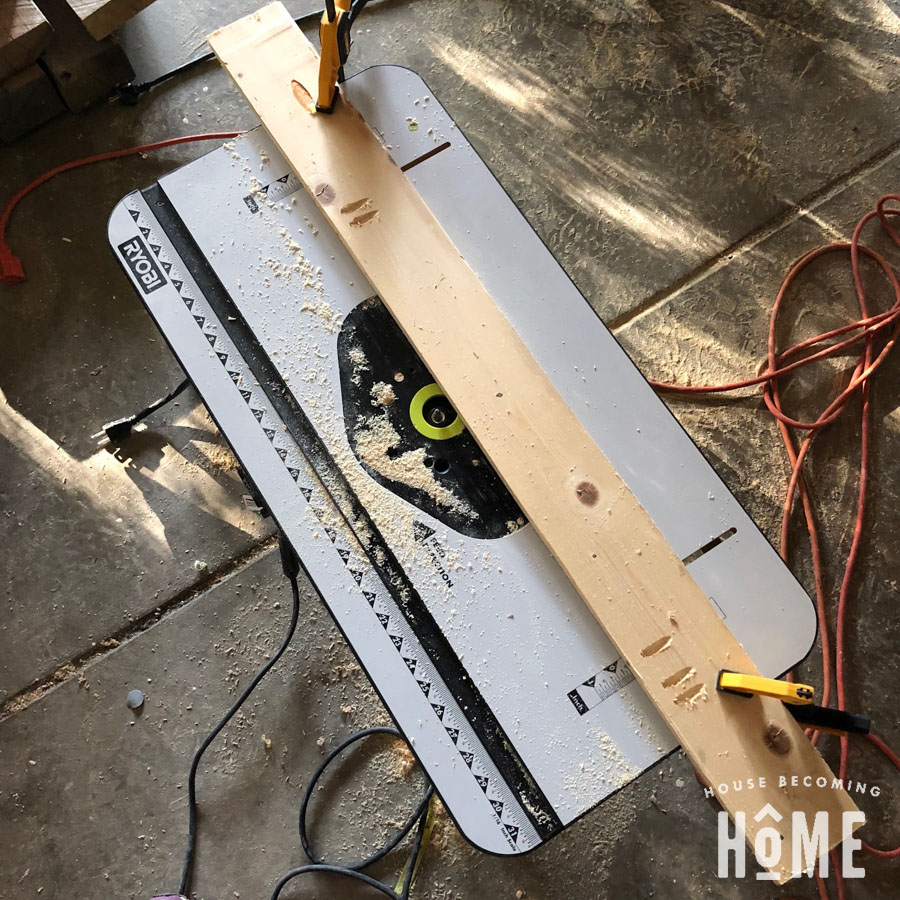
You want the groove exactly in the middle of each 2×6 piece. I found it easiest to clamp a scrap piece of wood to my router table, then run my 2×6 against it each time, ensuring that each pass was made at the same spot.

Step 4
Cut ¼” hardboard into two panels for your door. They will be the same width, but their height will likely be different.
To determine the width of both panels:
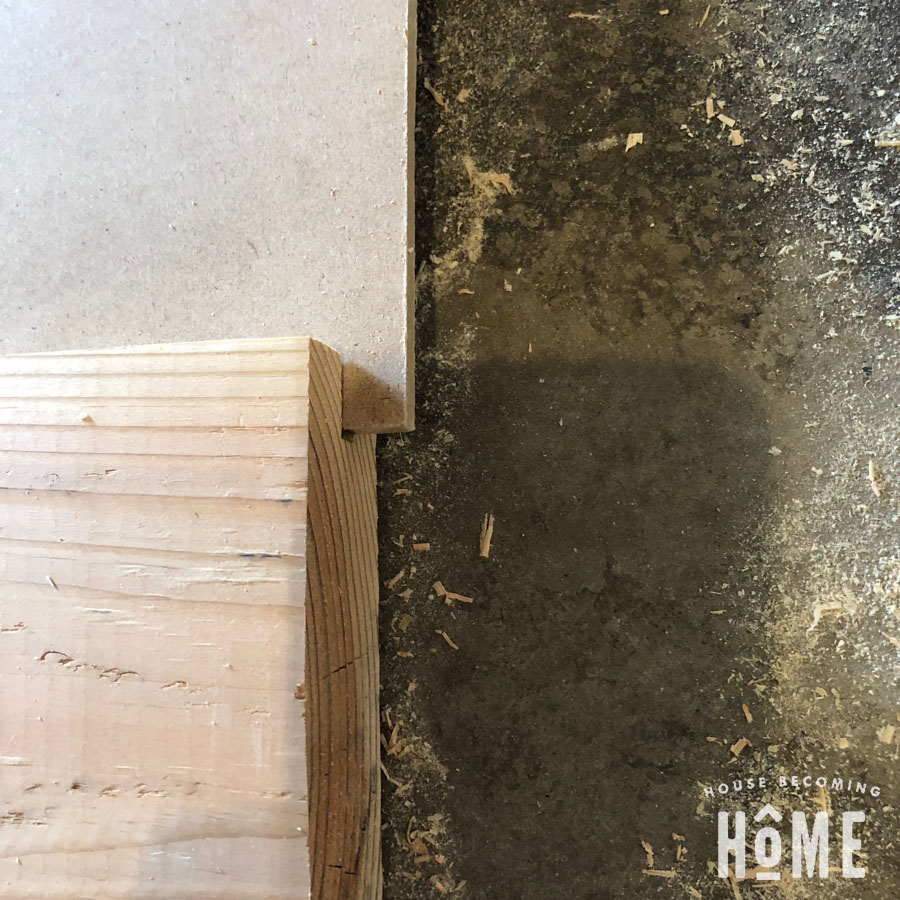
This measurement will be the same width as your three small 2×6 pieces PLUS one inch. There will be an extra ½” of hardboard extending beyond the 2×6 pieces on both the left and right sides, acting as a tongue that will fit into the ½” groove on the tall 2x6s.
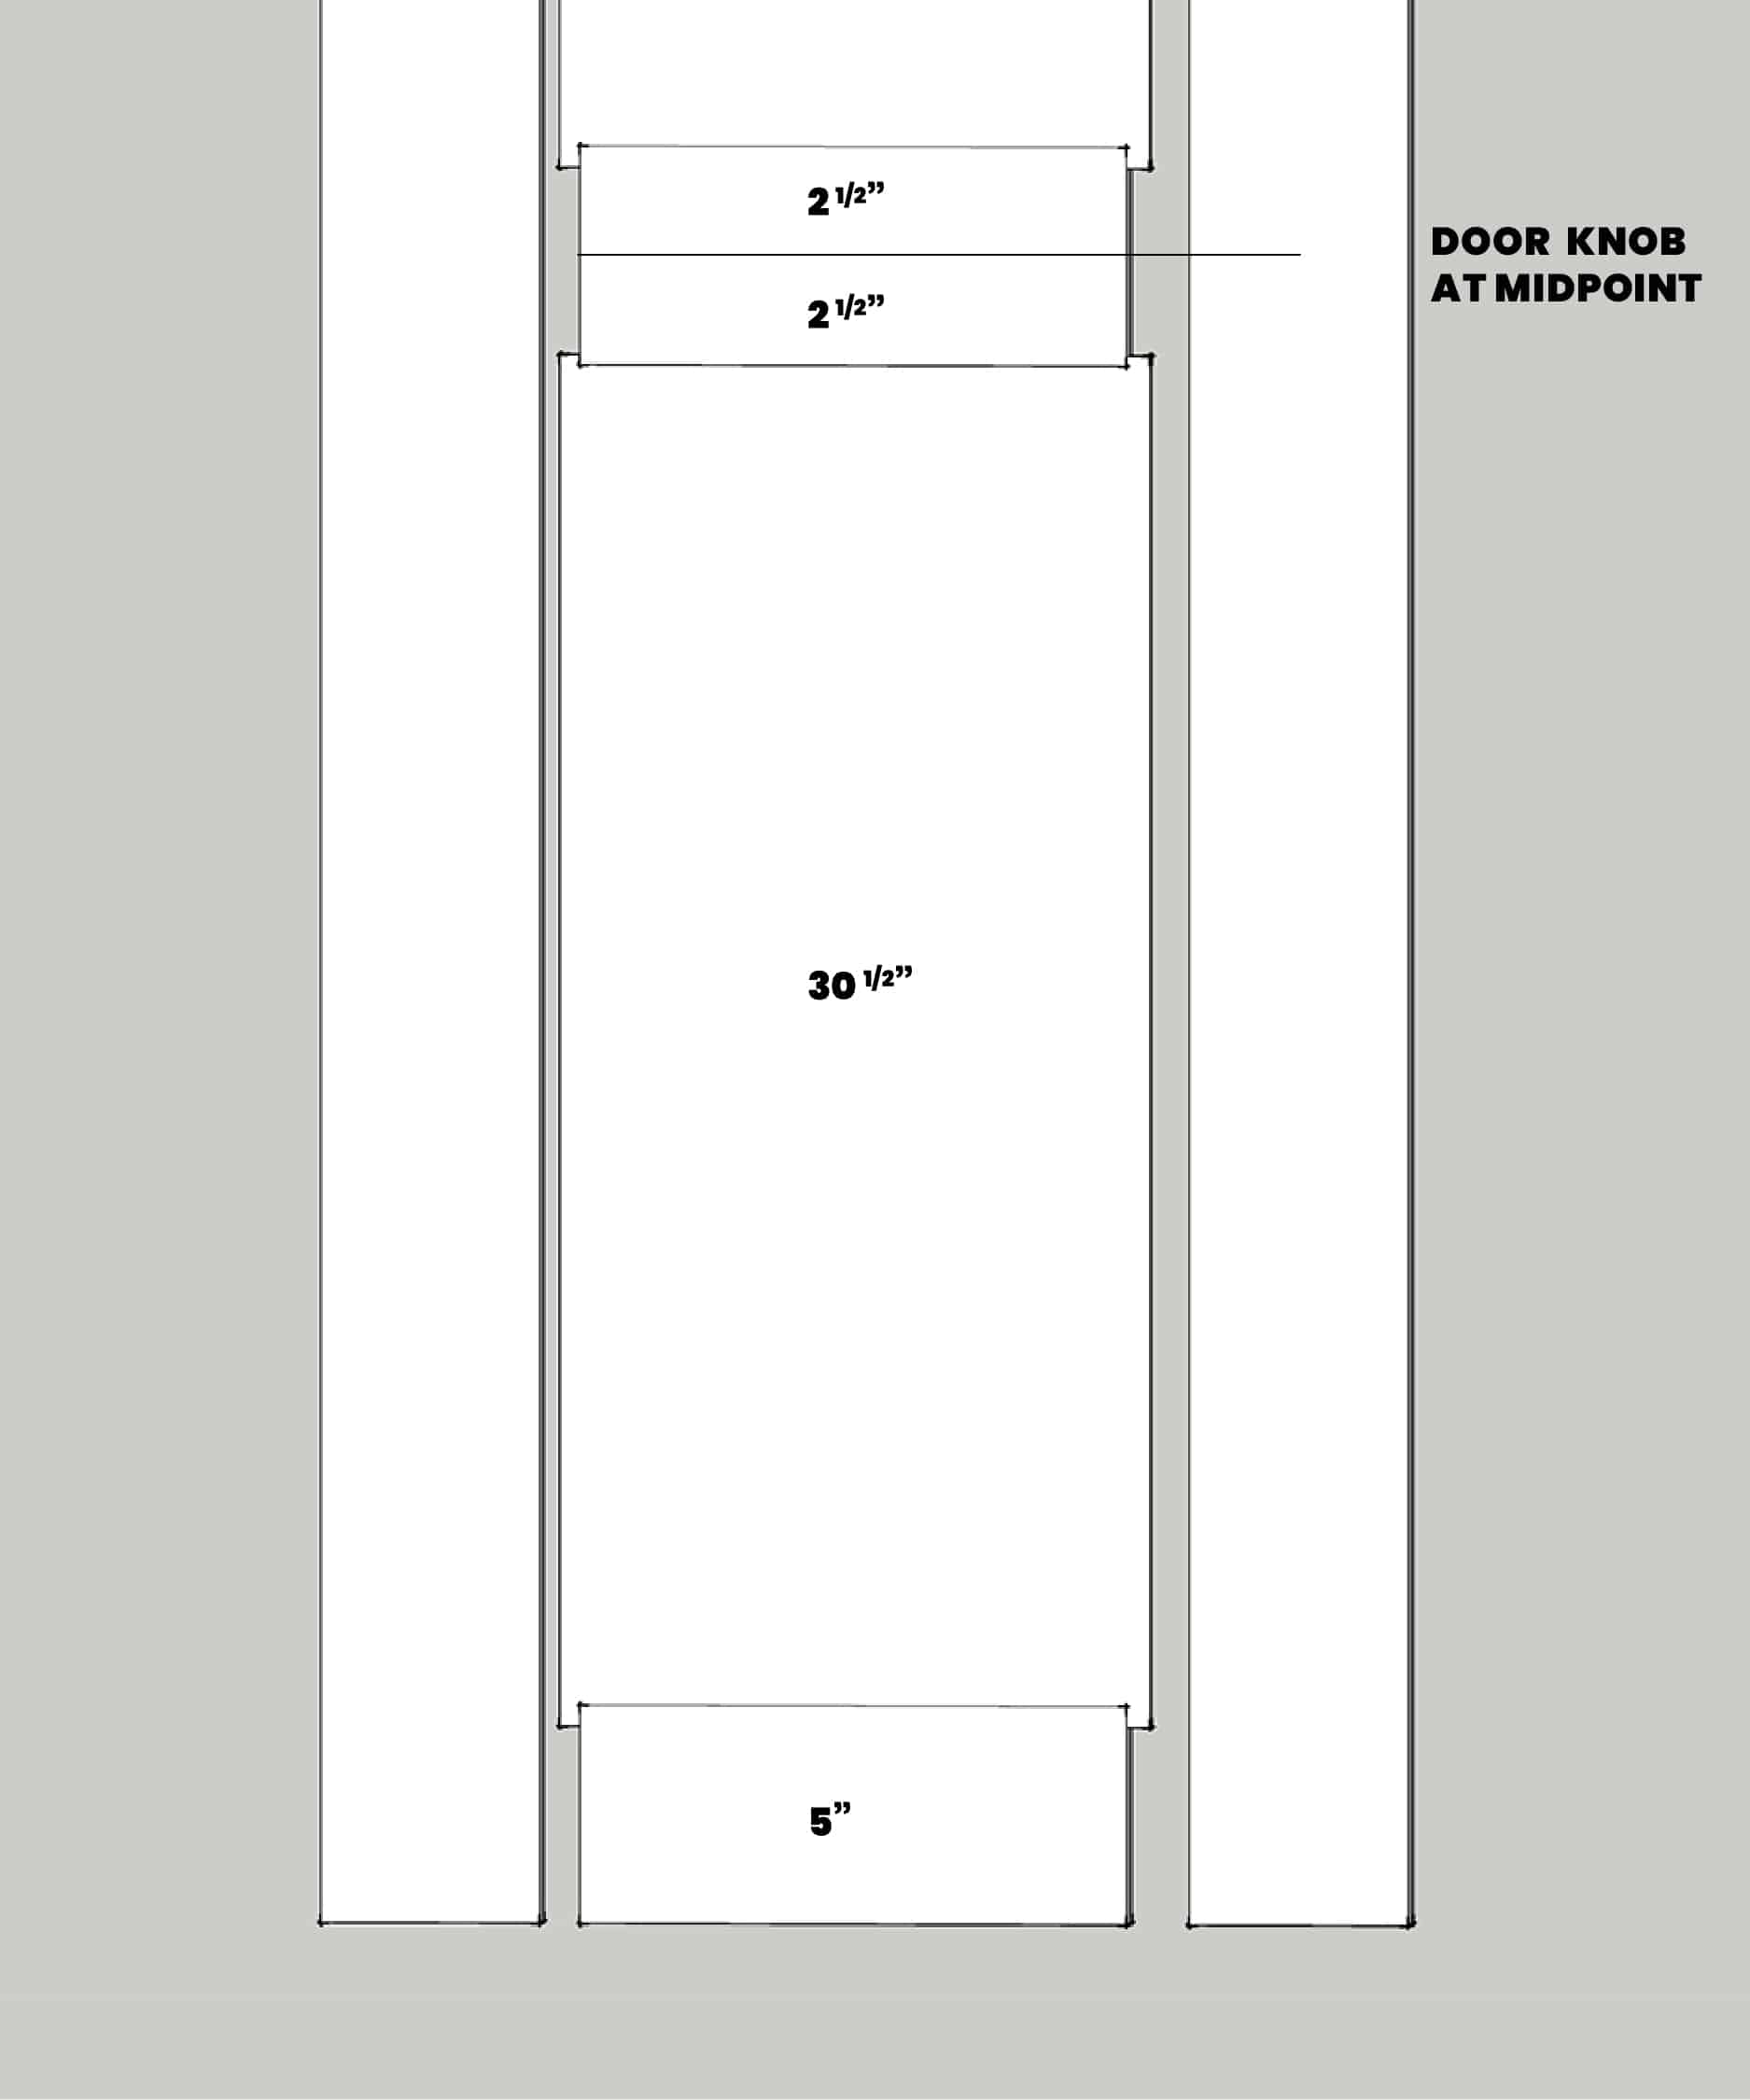
To determine the height of the bottom panel:
I wanted my doorknob to fall exactly at the midpoint of the center 2×6. Standard doorknob height is anywhere from 34-48” above the finished floor. I wanted a doorknob height of about 37 inches, so my bottom panel was 30 ½”. Remember, you are losing one inch of panel height into the grooves of the bottom and middle 2×6’s, so a 30 ½” panel really gives your door 29 ½” of height. This put the middle of my doorknob about 37.5 inches from the floor (½” gap from floor to bottom of door, + 5” bottom 2×6 piece + 29.5” visible panel, plus 2.5” of middle 2×6 piece = 37.5”)
To determine the height of the top panel:
Visible Height of Top Panel = Total height of door MINUS 15” (three 2×6 pieces), MINUS 29 ½” (bottom panel not counting ½ ” top and bottom grooves). Don’t forget to add in an extra inch for the top and bottom ½” tongues.
**There are plenty of chances to mess up measurements, so double-check your math by adding up the heights of the three 2×6’s and two hardboard panels. The number should be exactly two inches more than the height of the door (this is because of the four ½” tongues on the tops and bottoms of the panels, that will slide into the grooves on the small 2×6 pieces).
Step 5
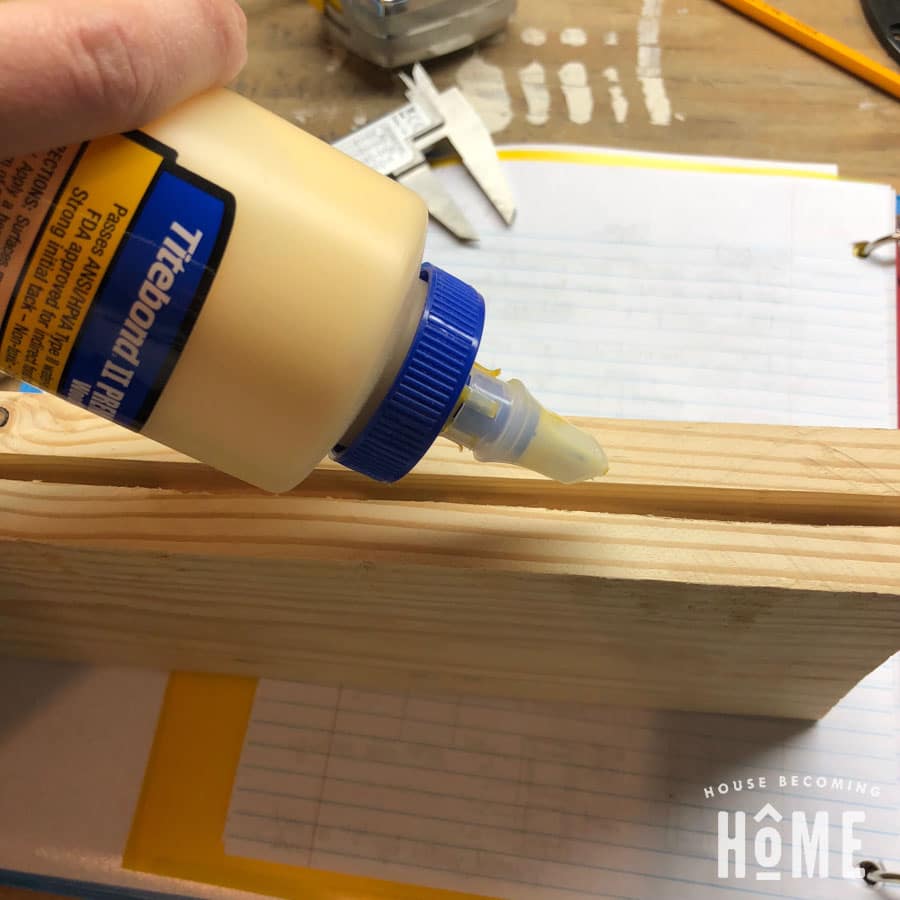
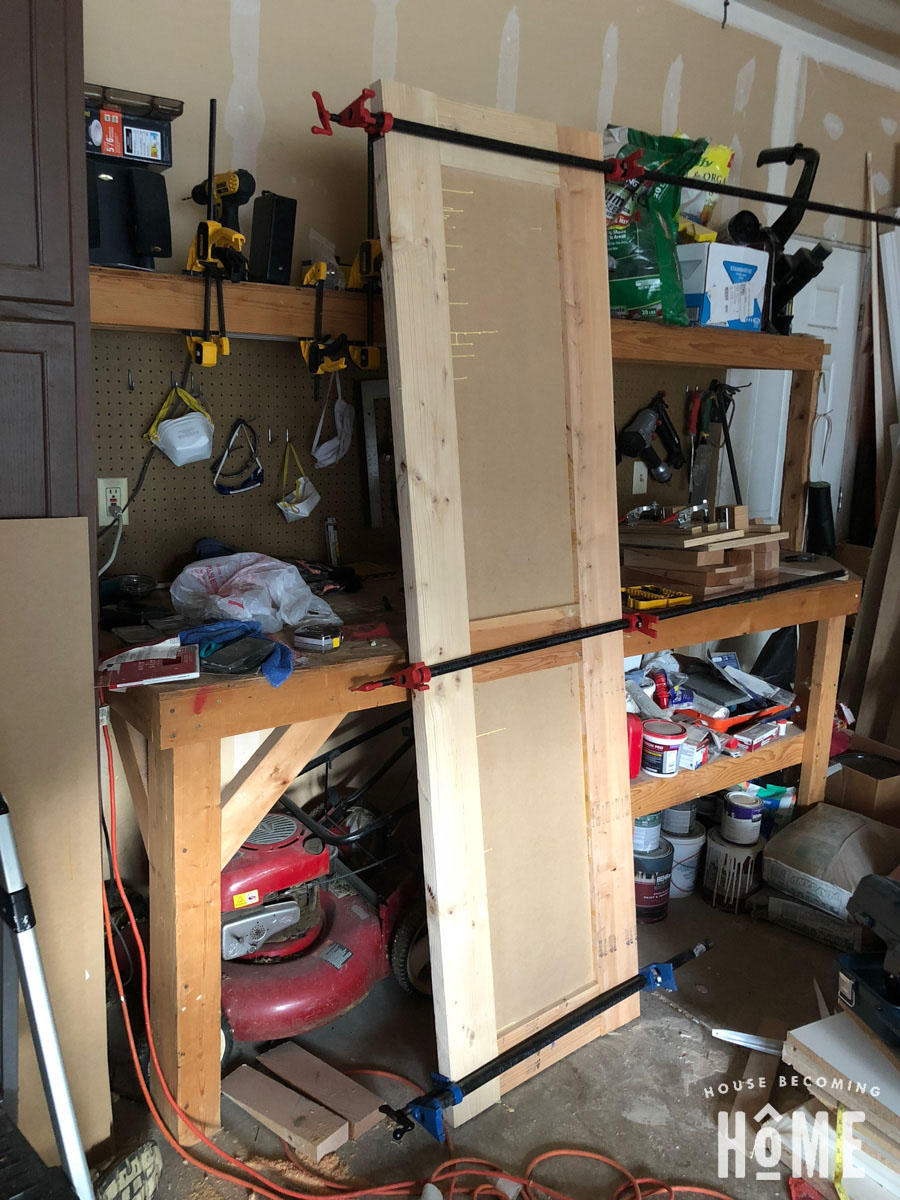
Begin constructing the middle section of your door. Set out the three short 2×6 pieces and two panels in the correct order. Using wood glue inside the grooves of the 2x6s, attach the bottom hardboard panel to the bottom and middle 2×6 pieces. Be sure the hardboard extends ½” beyond the 2×6’s on both the left and right sides. Clamp and let dry. Repeat with the top panel.

Step 6
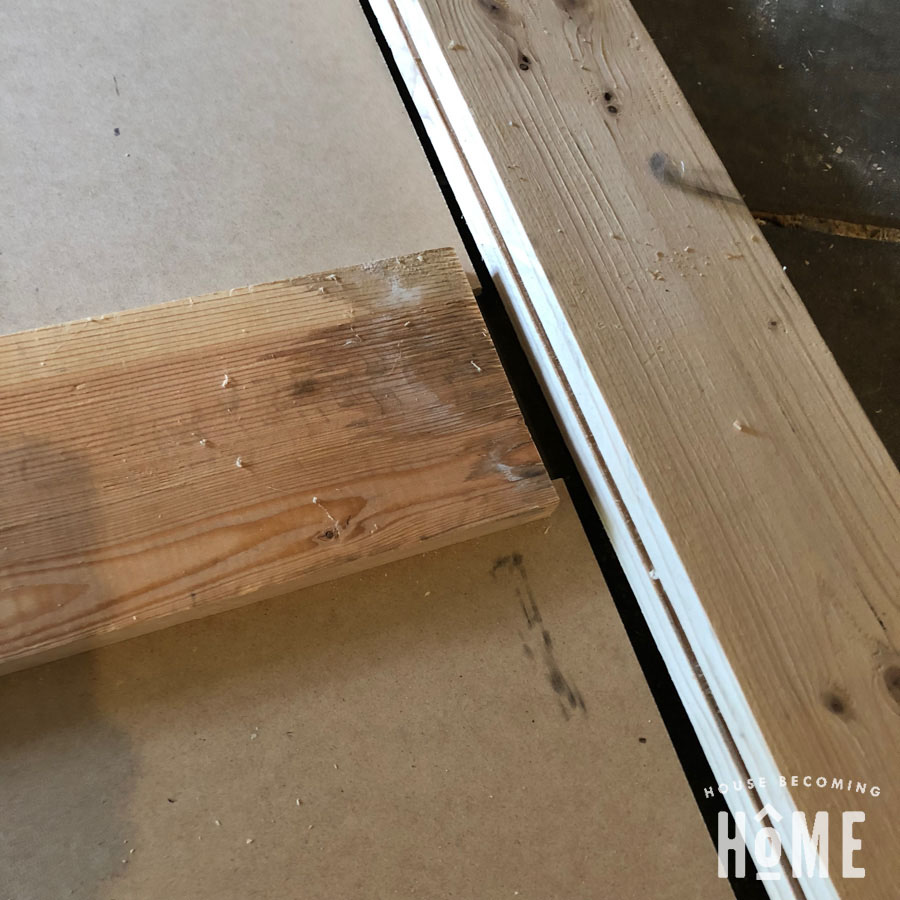
Attach the 2×6 sides. This was more of a challenge for me than constructing the inside section, mostly because the 2x6s I used were a free find from Craigslist and had a bit of a cup to them (try to find better 2×6’s than mine!).
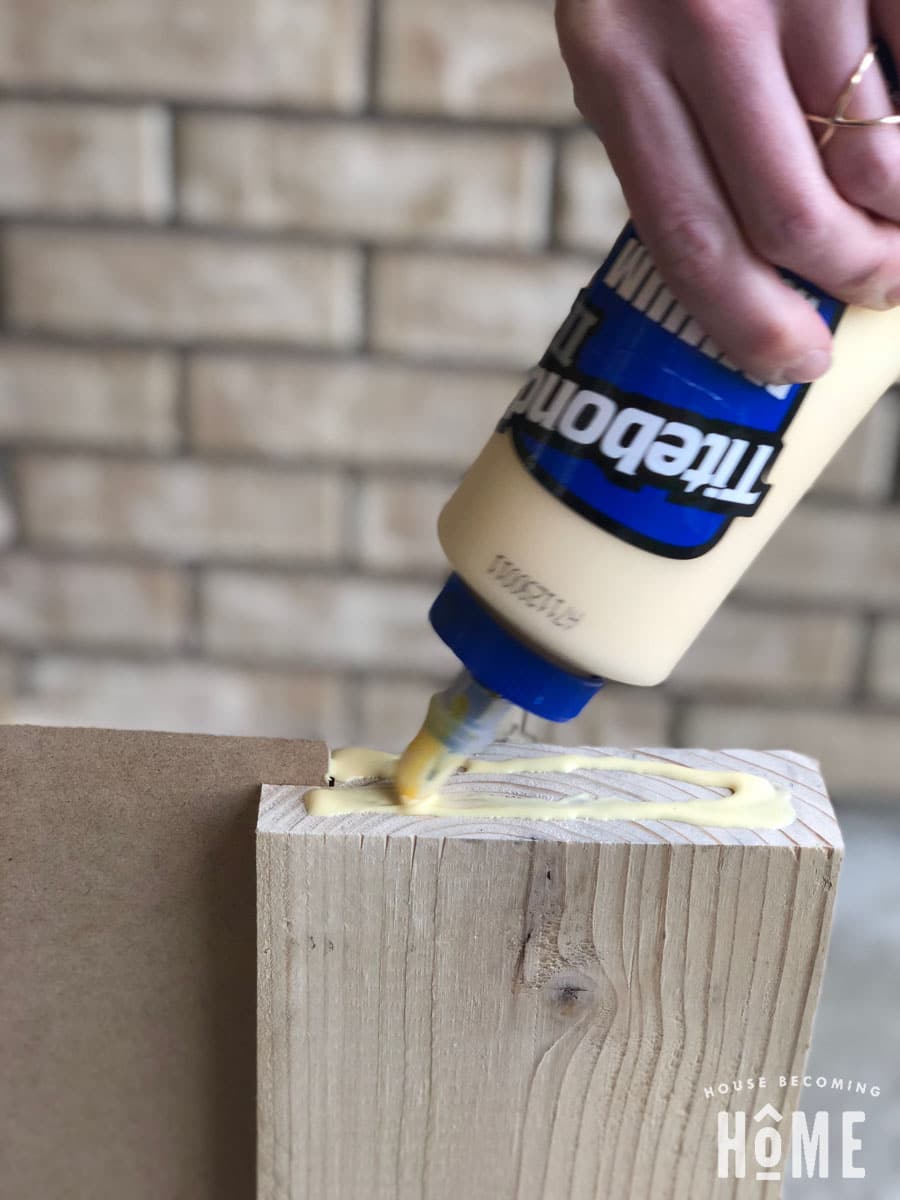
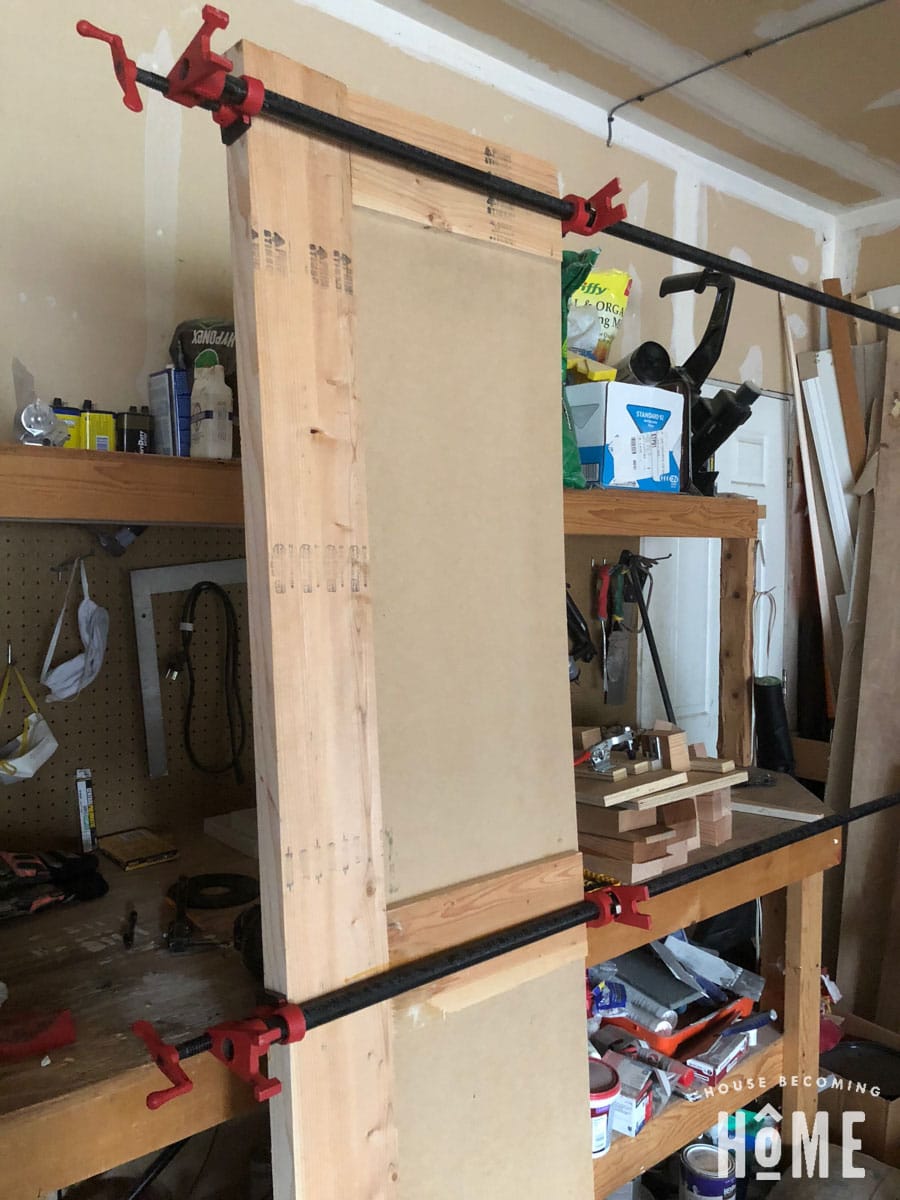
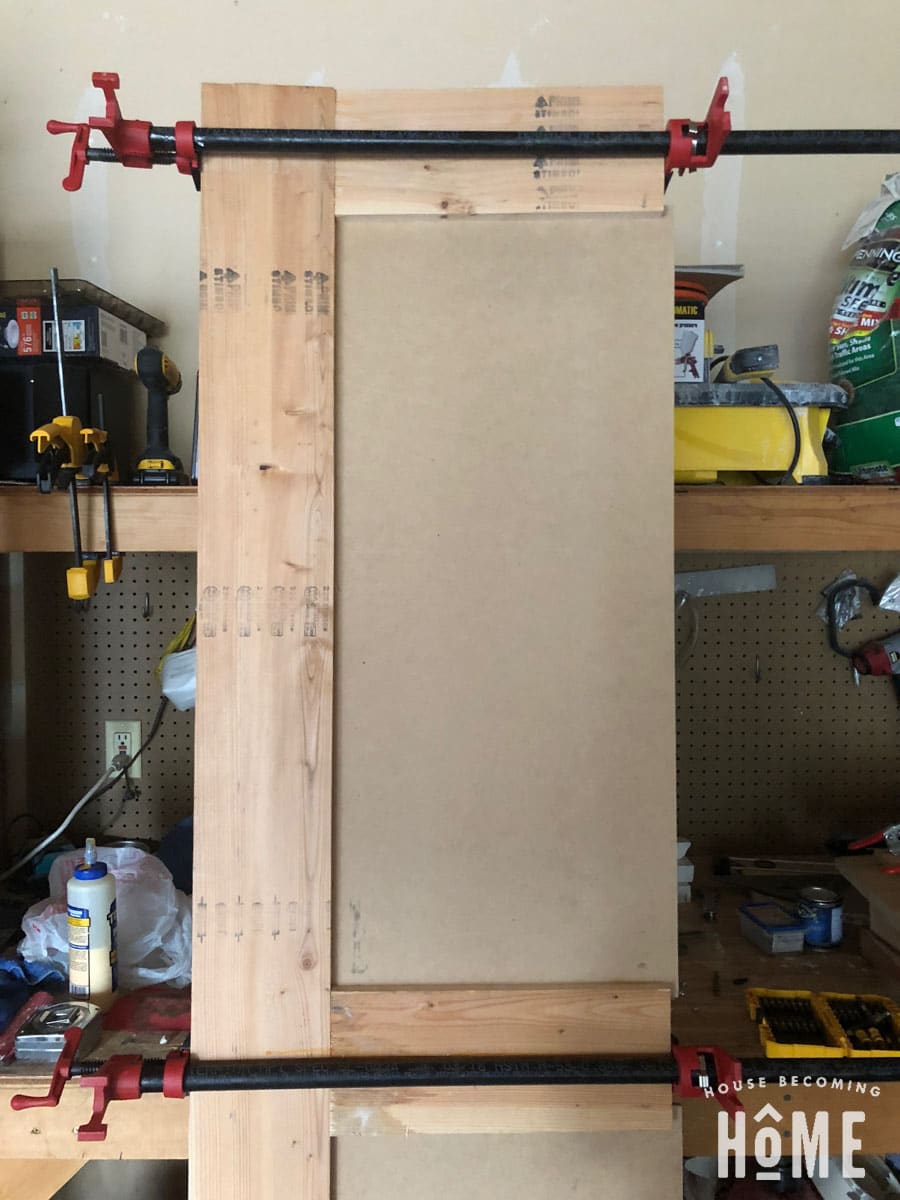
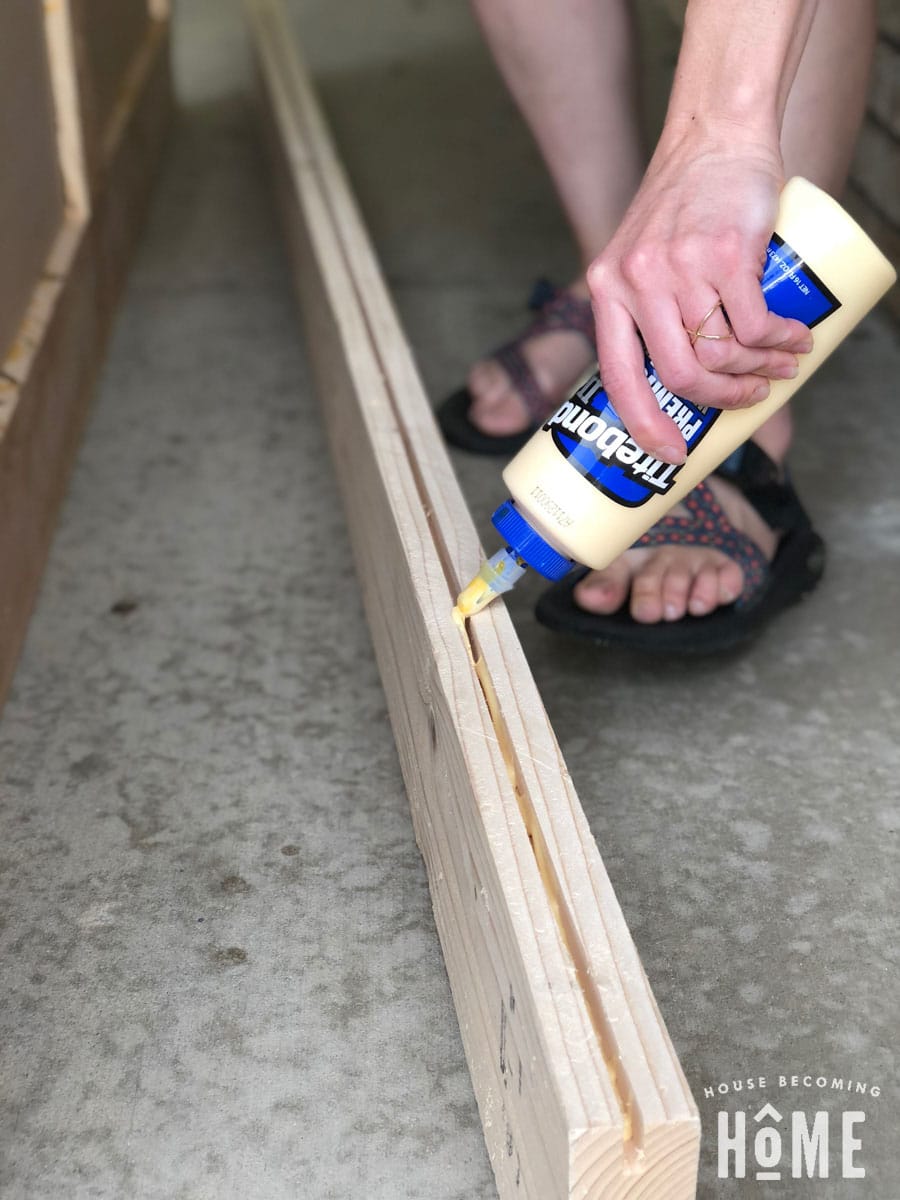
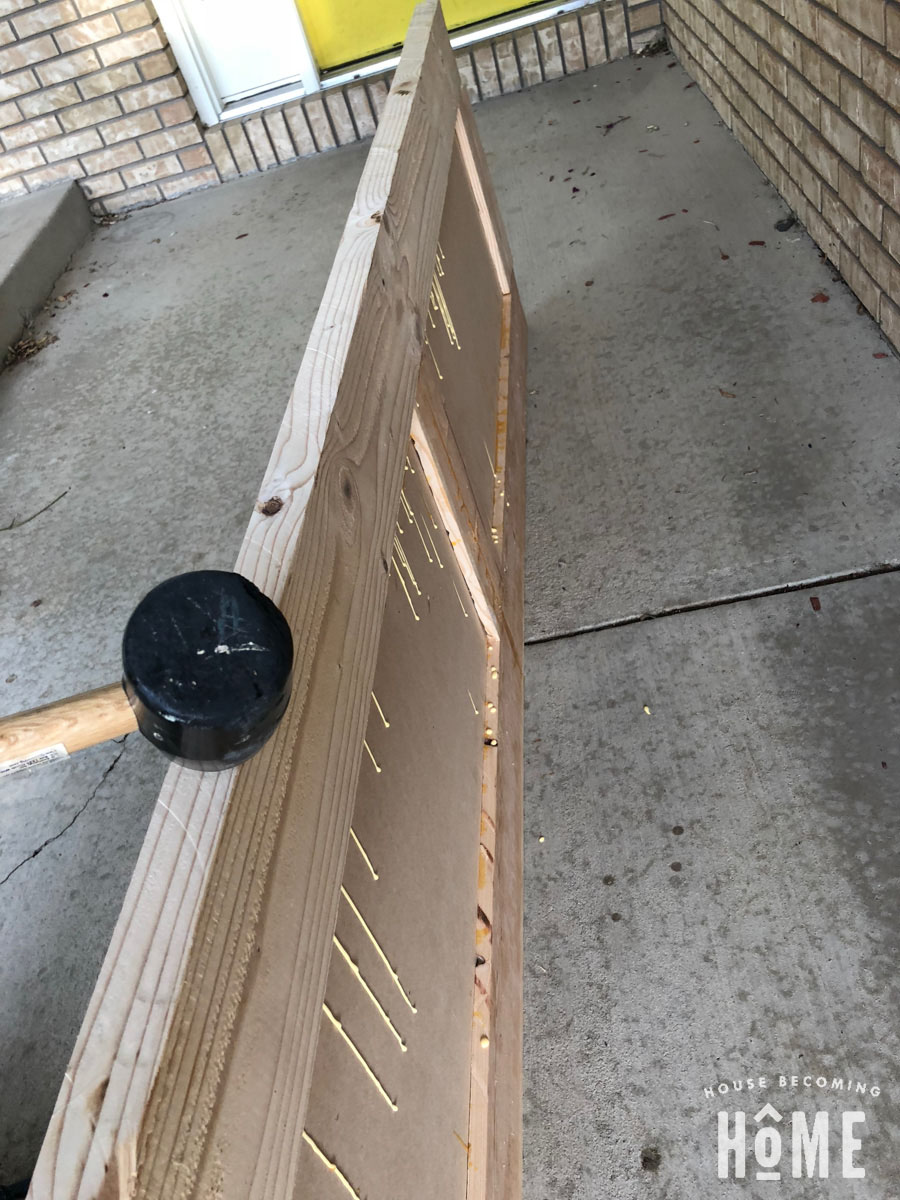
Fill the groove with wood glue, then attach. Be sure to add glue to all three of the cut ends of the short 2×6 pieces. Clamp, let dry, then repeat with other side.
**Use a putty knife to scrape off the drips of wood glue. I find it comes off best when the glue is tacky–not quite fully dry, definitely not super wet.

Step 7
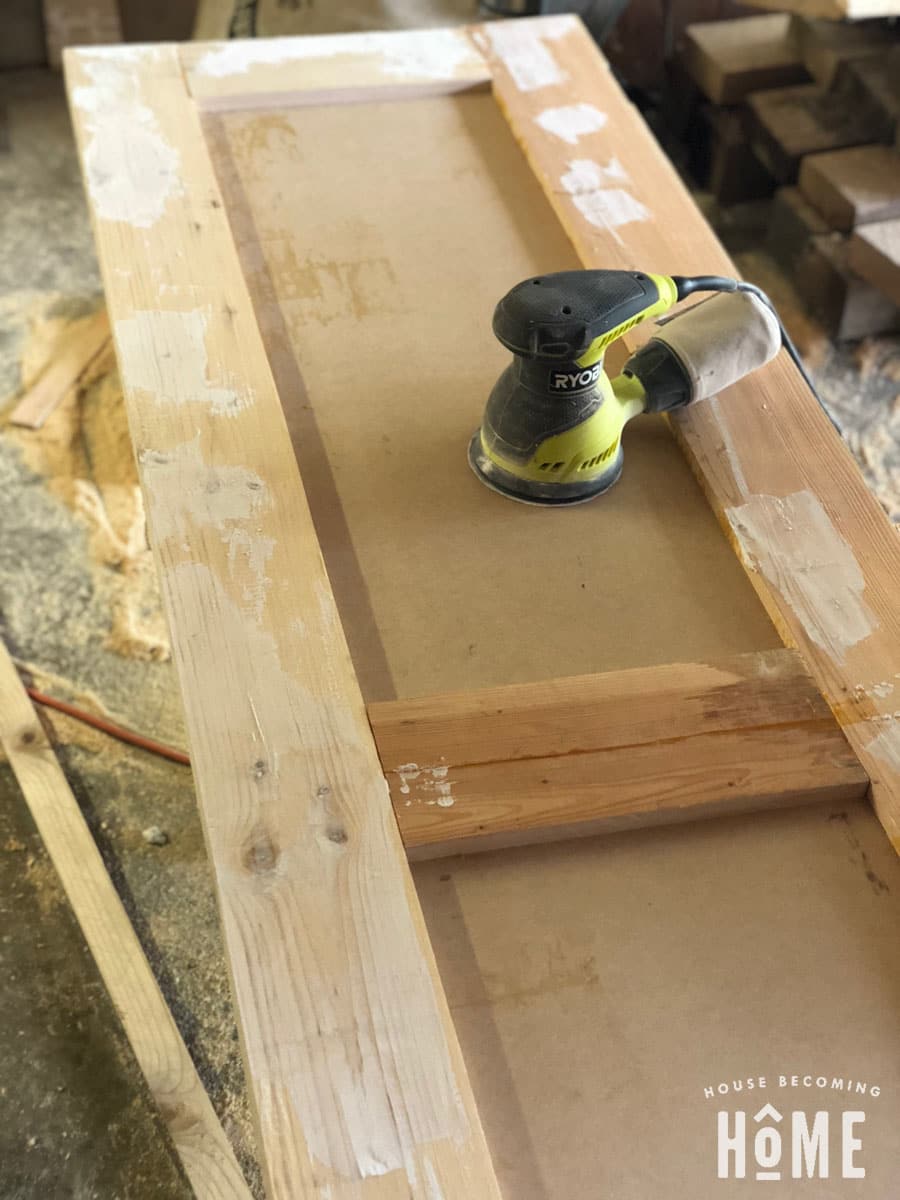
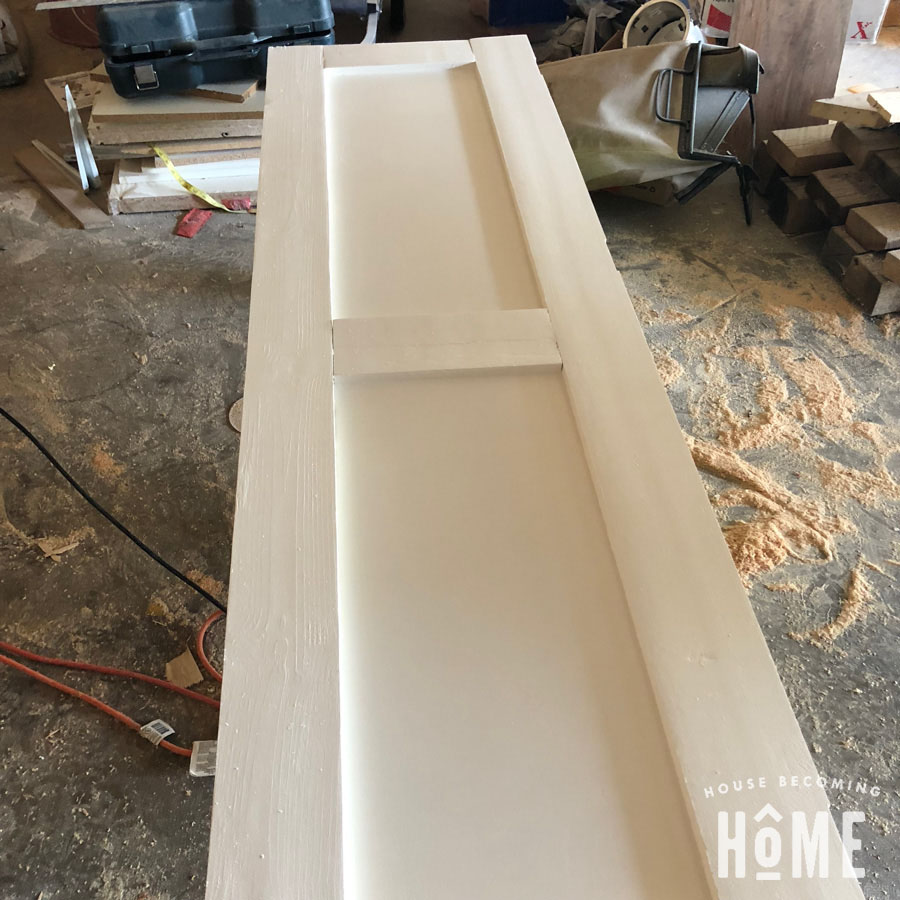
Fill any holes. Sand, fill small gaps with paintable caulk, and finish with primer and paint.
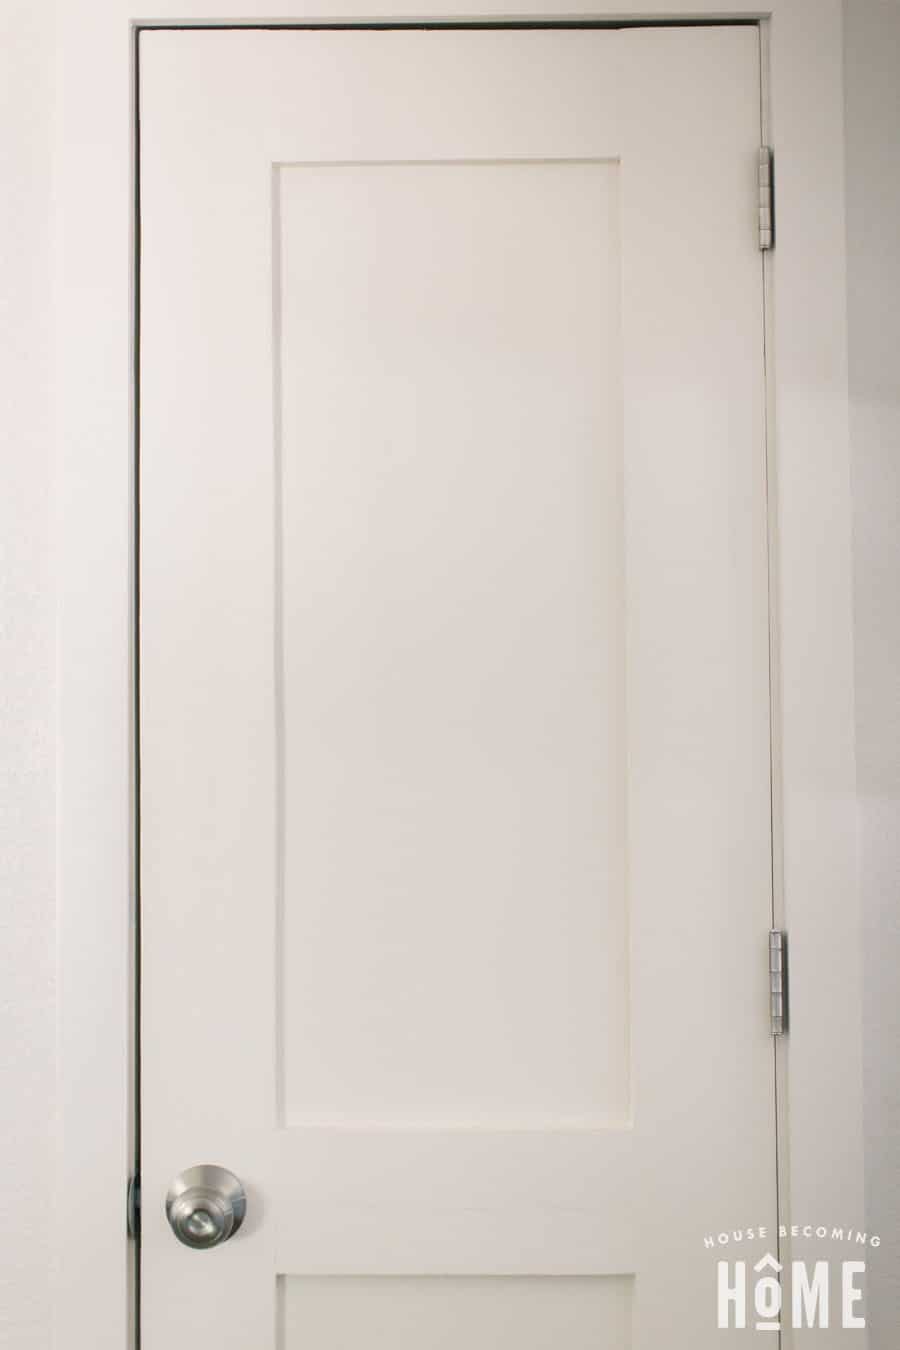
I realize without mortise and tenon joinery this DIY two panel shaker style door is not a top-of-the-line, high end door, though it seems far more sturdy than the hollow core doors in our home, and it has held up well over the short time it’s been up (and we have four kids, so, holding up for any amount of time says something good about it!).
If you’re interested in learning more about my DIY door-building adventure–how to build a simple door jamb for it, how to cut matching mortises for the hinges, etc. etc.– I’ve put together some posts with all the info on House Becoming Home.
DIY Door – Determining the Size to Build your DIY door
DIY Door – Making a door frame and adding hinges + installation


This is not the correct way to build a door that is structurally sound…
I’m working on making some shaker-style kitchen drawer fronts but after running through some math of how big they will be, my center panel will be 10 inches by 5/8 of an inch! I’m not even sure I can get a pocket hole in 5/8 of an inch. What do you recommend if we want to use the pocket hole style of affixing these pieces together? Is it just not possible to use pocket holes when doing shaker style after you hit a certain size?
It’s very impressive that you could make a good looking door with very minimal tools and imperfect wood. It’s great that it’s been standing up to use too. I feel compelled to point out to you and your readers that your door construction is missing one important and easily achievable element- —that is, a proper connection between the horizontal and vertical 2x6s, ie between the rails and the stiles. Gluing end grain of the rails to the stiles cannot be counted on as a proper connection with any dependable strength. I understand why traditional mortise and tenon may not be realistic for many of your followers to get into, but you could have used simple pocket screws, with plugs of course, to connect these elements. Then you would have structurally “correct” “frame and panel” door, where you actually have a real frame, and you wouldn’t be depending on your glued panels to hold the frame elements together.
Thanks for this comment. I am looking into building an interior door and had the same thought about connection between the rails and stiles.