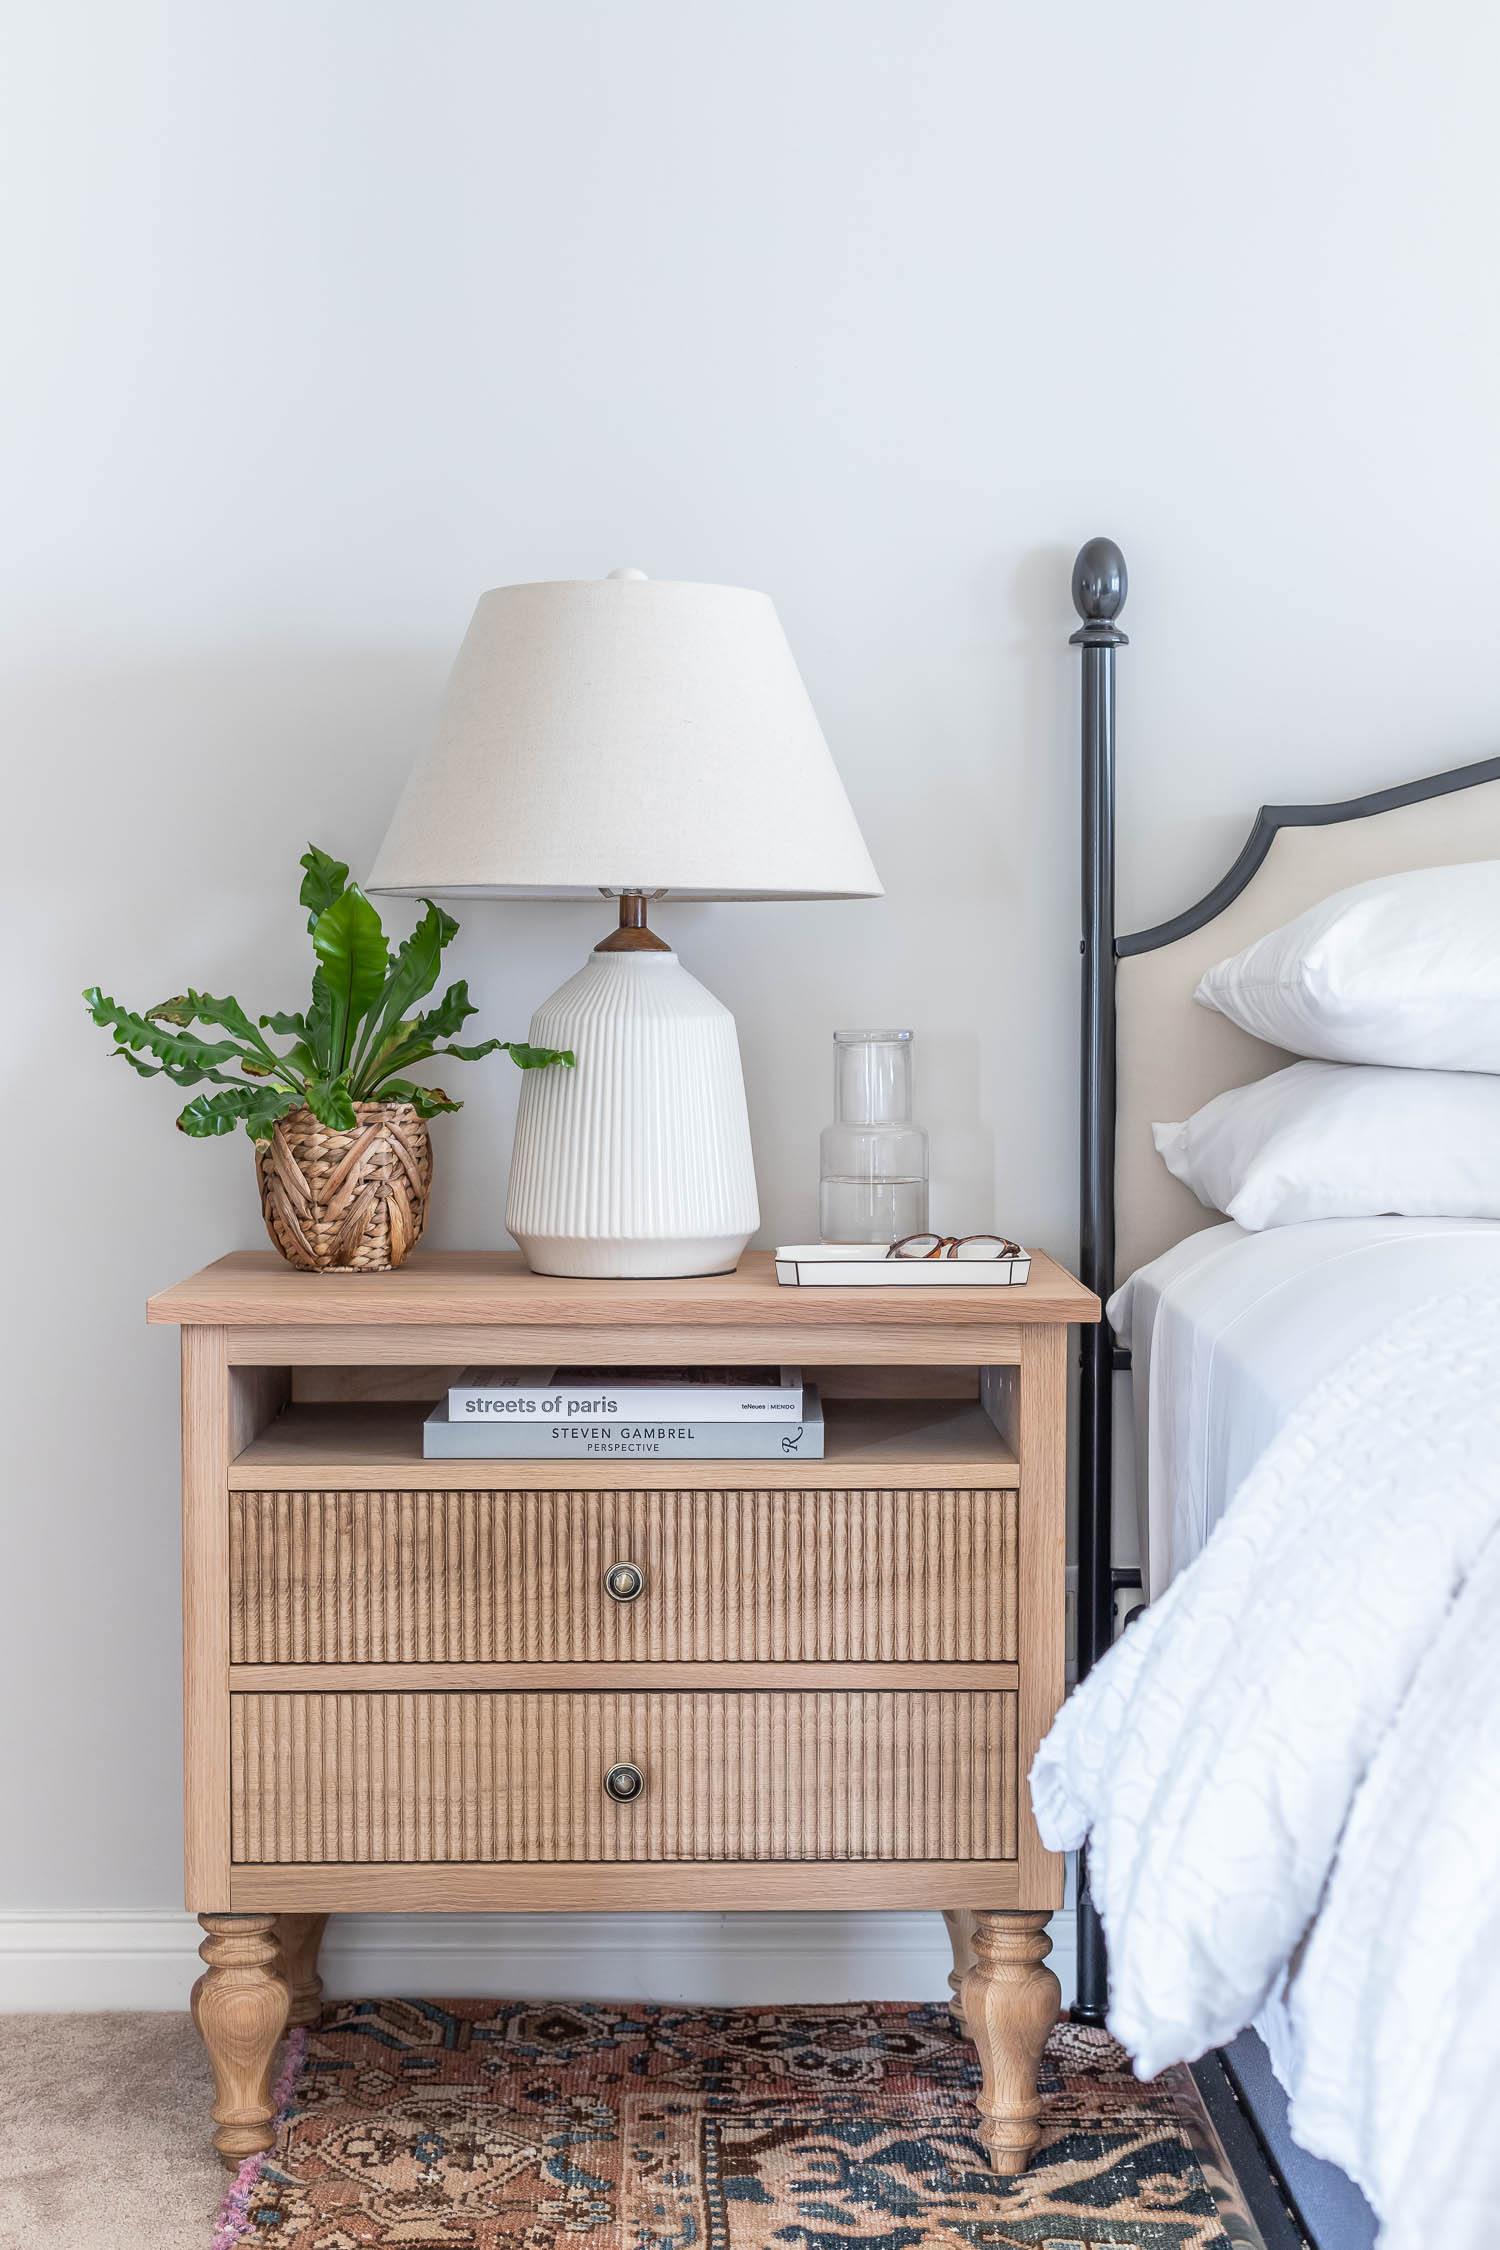
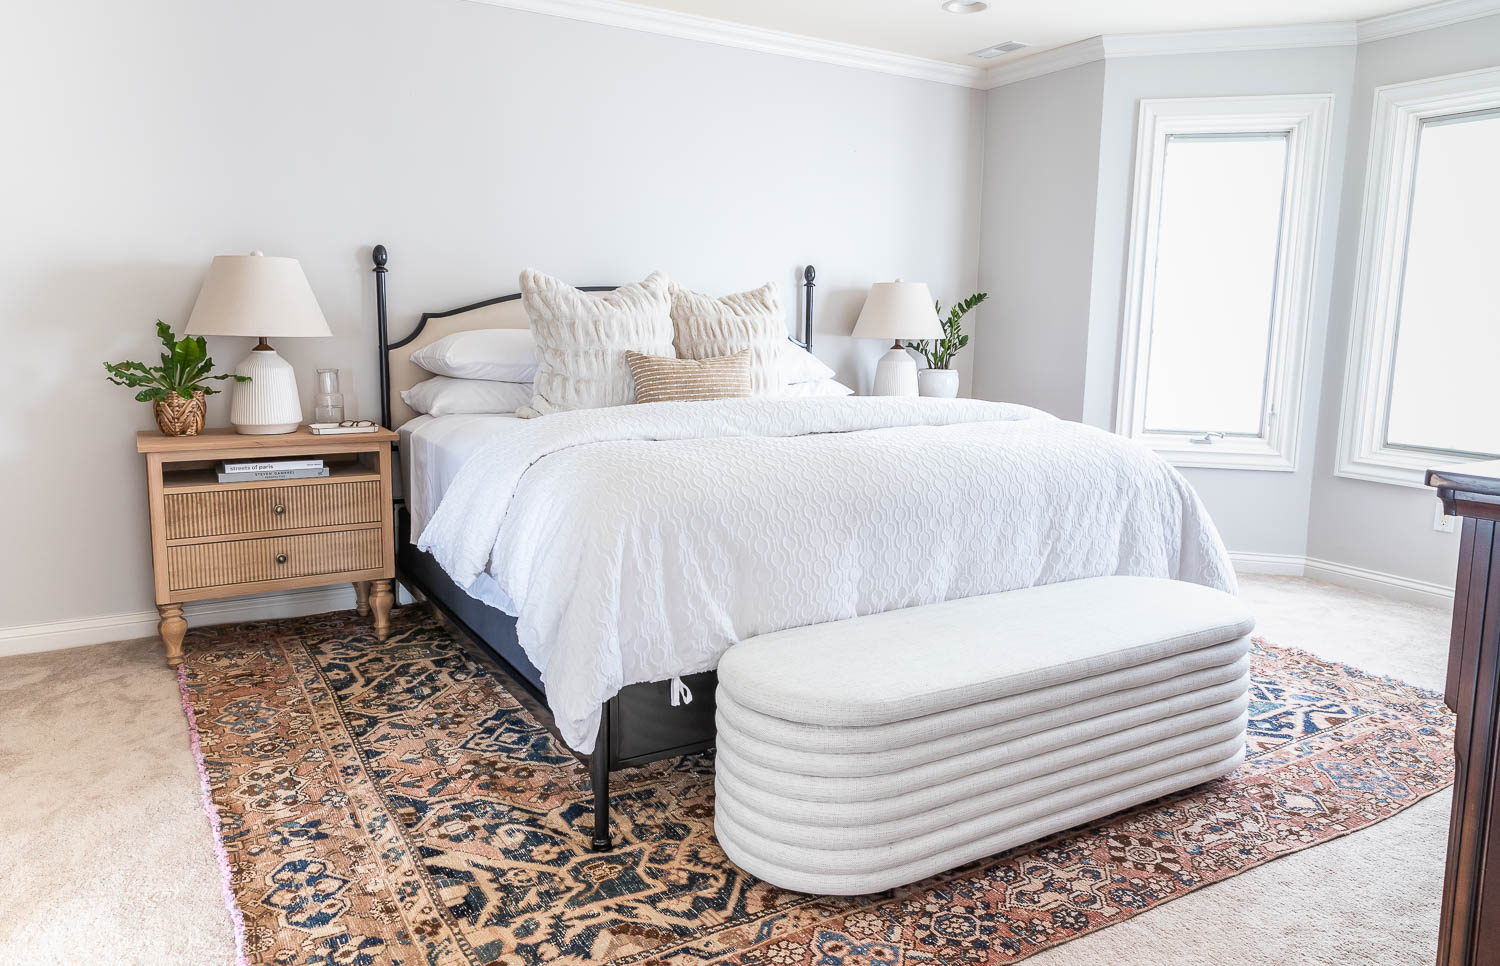
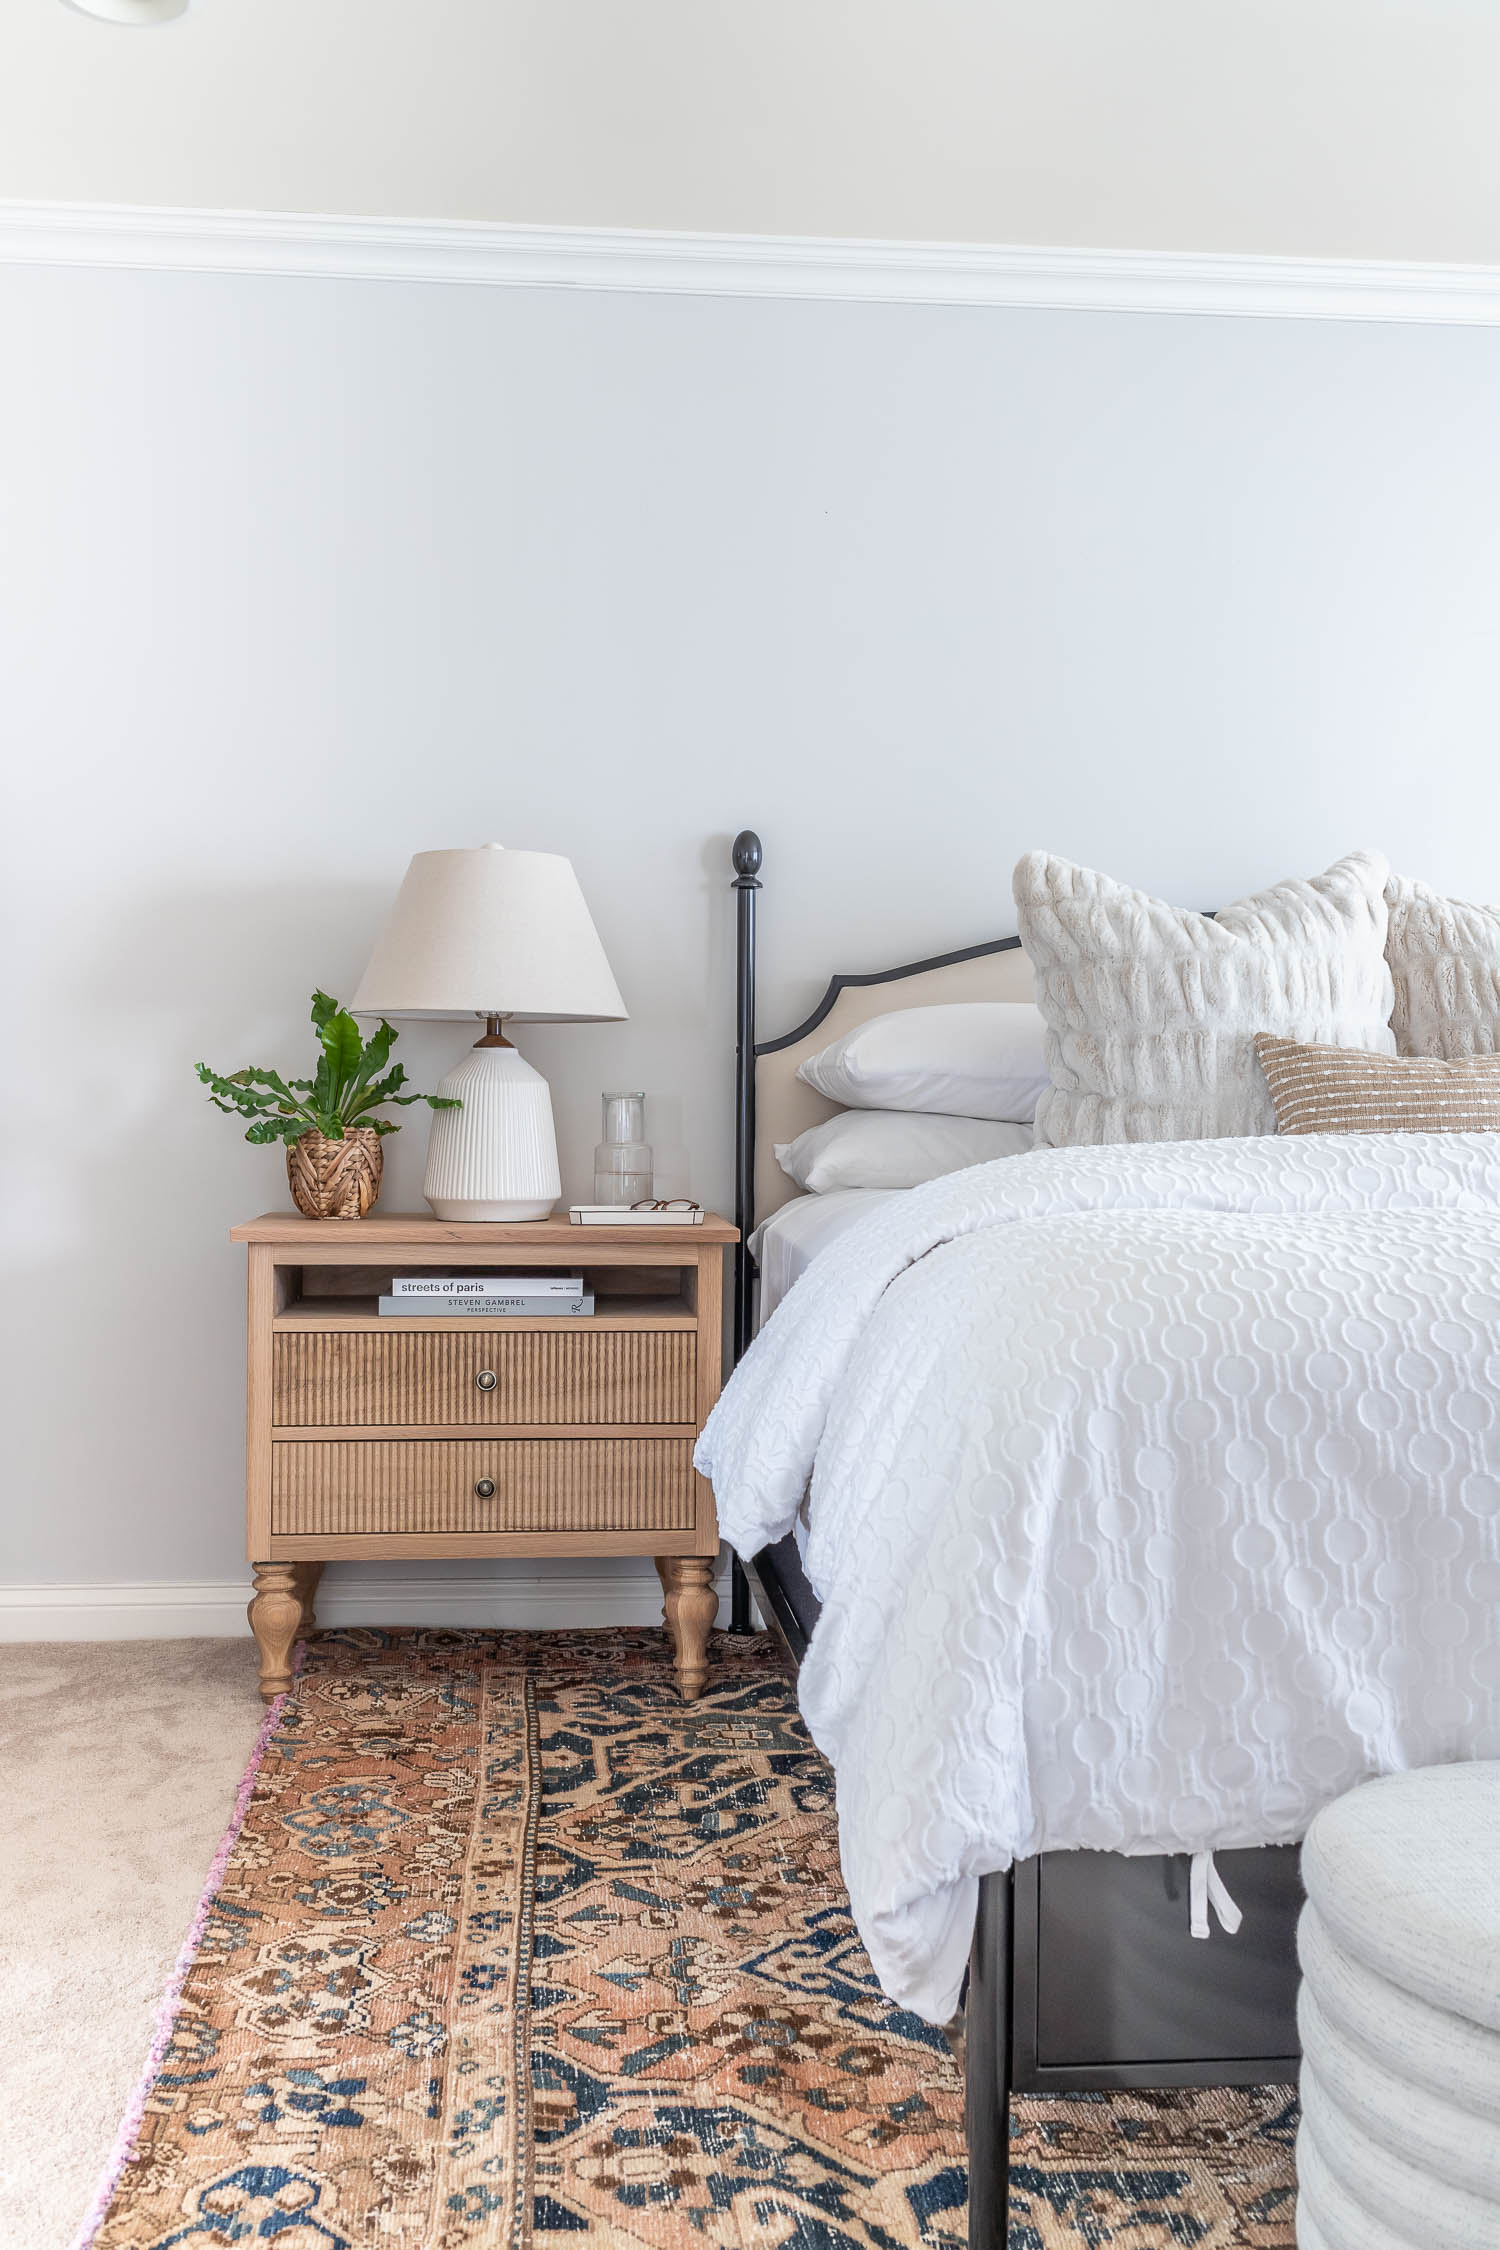
We’ve been living without proper nightstands for over a year now and I’m thrilled to finally give our bedroom the attention it deserves. Adam and I were previously using undersized, mismatched side tables that we “borrowed” from our kids’ rooms, so these new DIY Gustavian Nightstands are a huge improvement!
Watch the Video!
You might recall how I’ve been on a French design kick lately, ever since we bought our French colonial home almost two years ago. Technically, these DIY nightstands would be considered more of a Swedish Gustavian style, which is a less fussy, understated interpretation of the French Louis XVI style. Fluted and beaded details were prevalent in French Neoclassicist and Gustavian design and I’m over the moon that I was able to make my very own beaded drawer fronts!
84 Lumber Collaboration
Big thanks to 84 Lumber for sponsoring this project. It’s been amazing to be able to partner with them! You might remember when we teamed up on our kids’ built-in bunk bed project last year. 84 Lumber is a family- and woman-owned business, and growing up as an Air Force kid and now as an Army wife, I love that they support our military through veteran career-building opportunities, military charities, and appreciation events.
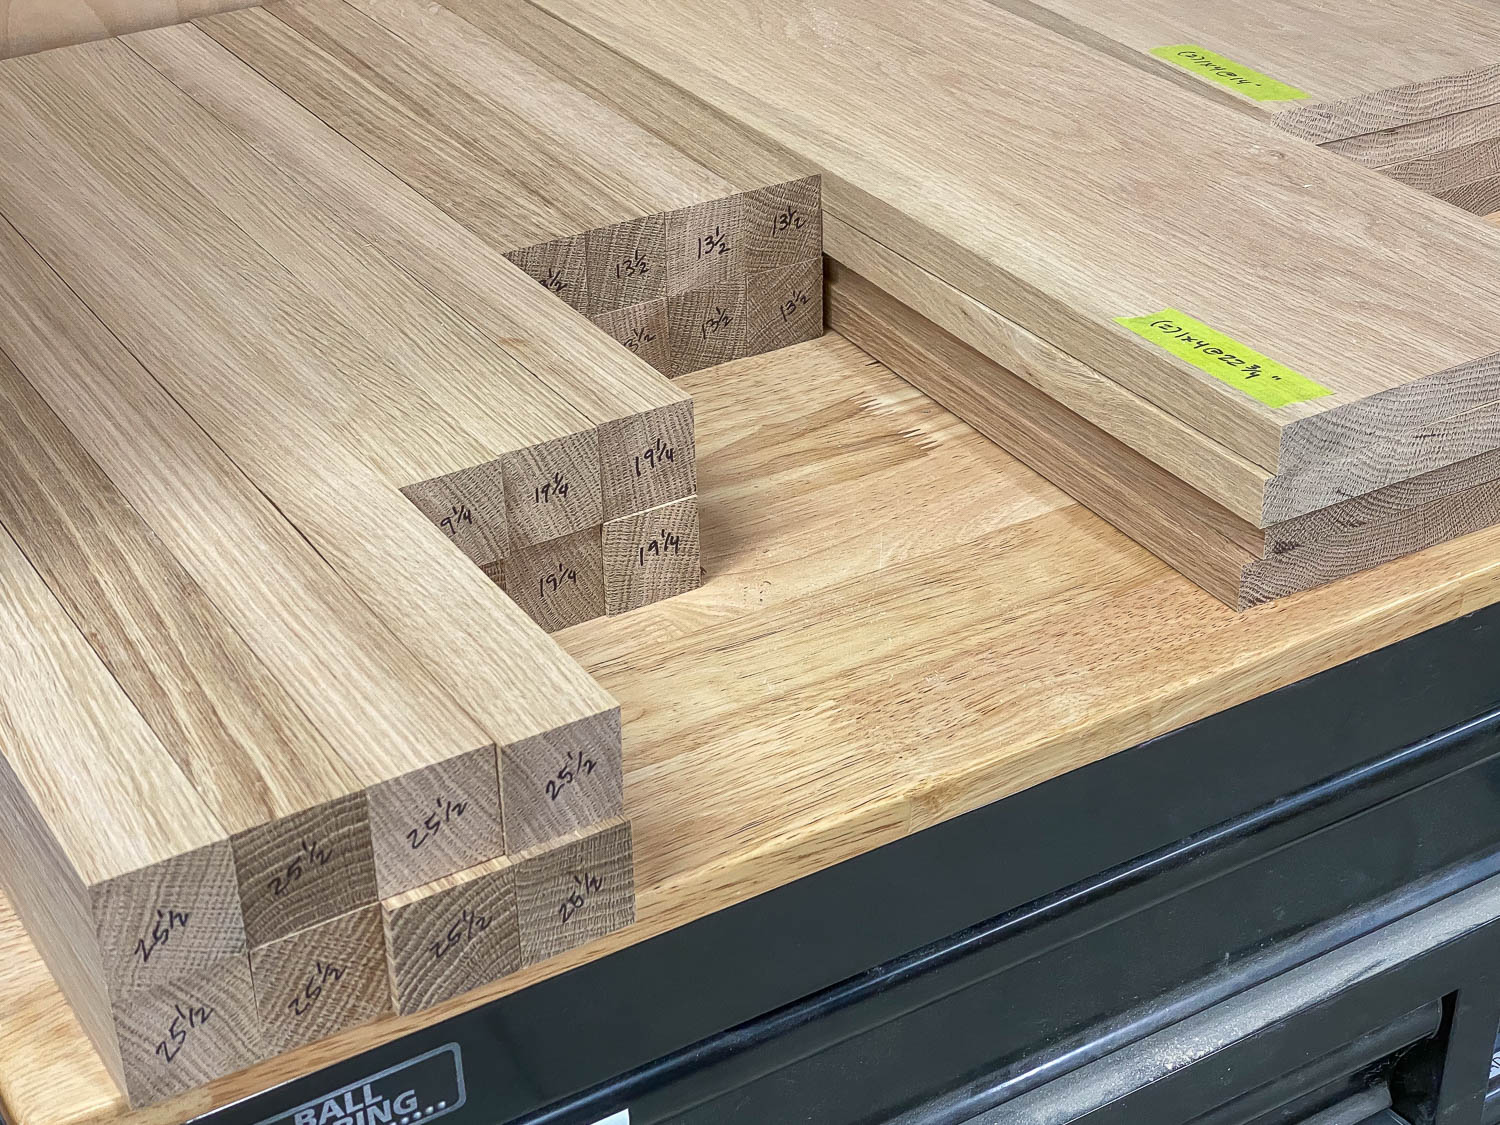
I was able to source this beautiful white oak hardwood from 84 Lumber. They can get you just about any species of wood and there are over 250 stores across the US. Go to 84 Lumber to find the store nearest you.
What is Gustavian style?
Gustavian style is named after Swedish King Gustav III in the late 1700s. King Gustav was a Francophile, heavily influenced by French design after visiting the Palace of Versailles, where his good friend and ally King Louis XVI lived. During King Louis’ reign, French design was moving away from the ornate, opulent baroque and rococo periods and into Neoclassicism, which was more about clean, classic lines and symmetry. It was a counter response to the excess and grandeur of the rococo period. Moldings were thinner and more elegant, fluted and beaded molding were prevalent. It’s less ornate, yet still formal. “Opulence with restraint,” which feels both modern and traditional.
Alexander Roslin: Gustav III, 1746-1792, konung av Sverige. Grh 660
Here’s a little nugget of information for all you history buffs: King Gustav was the first neutral head of state to recognize the United States as they fought for their independence from Great Britain. King Gus was a big fan of Benjamin Franklin and to this day, the Swedish are still proud of the fact that they were the first to willingly offer up their friendship to the Americans. All that to say, I love that French Neoclassicism and Swedish Gustavian style is still prevalent today, almost 250 years later, which is a testament to timeless design.
Download the Project Plans
As always, I’ve written out the full plans for you to download so you can build these DIY Gustavian Nightstands for your own home. I even mapped out the recommended plywood cut layout which considers the direction of the wood grain and how the separate components will fit together. You should be able to get two nightstands out of a single sheet of 4×8 plywood. Just cut the plywood right in half before you start making the cuts for each individual nightstand.
Building with White Oak Hardwood
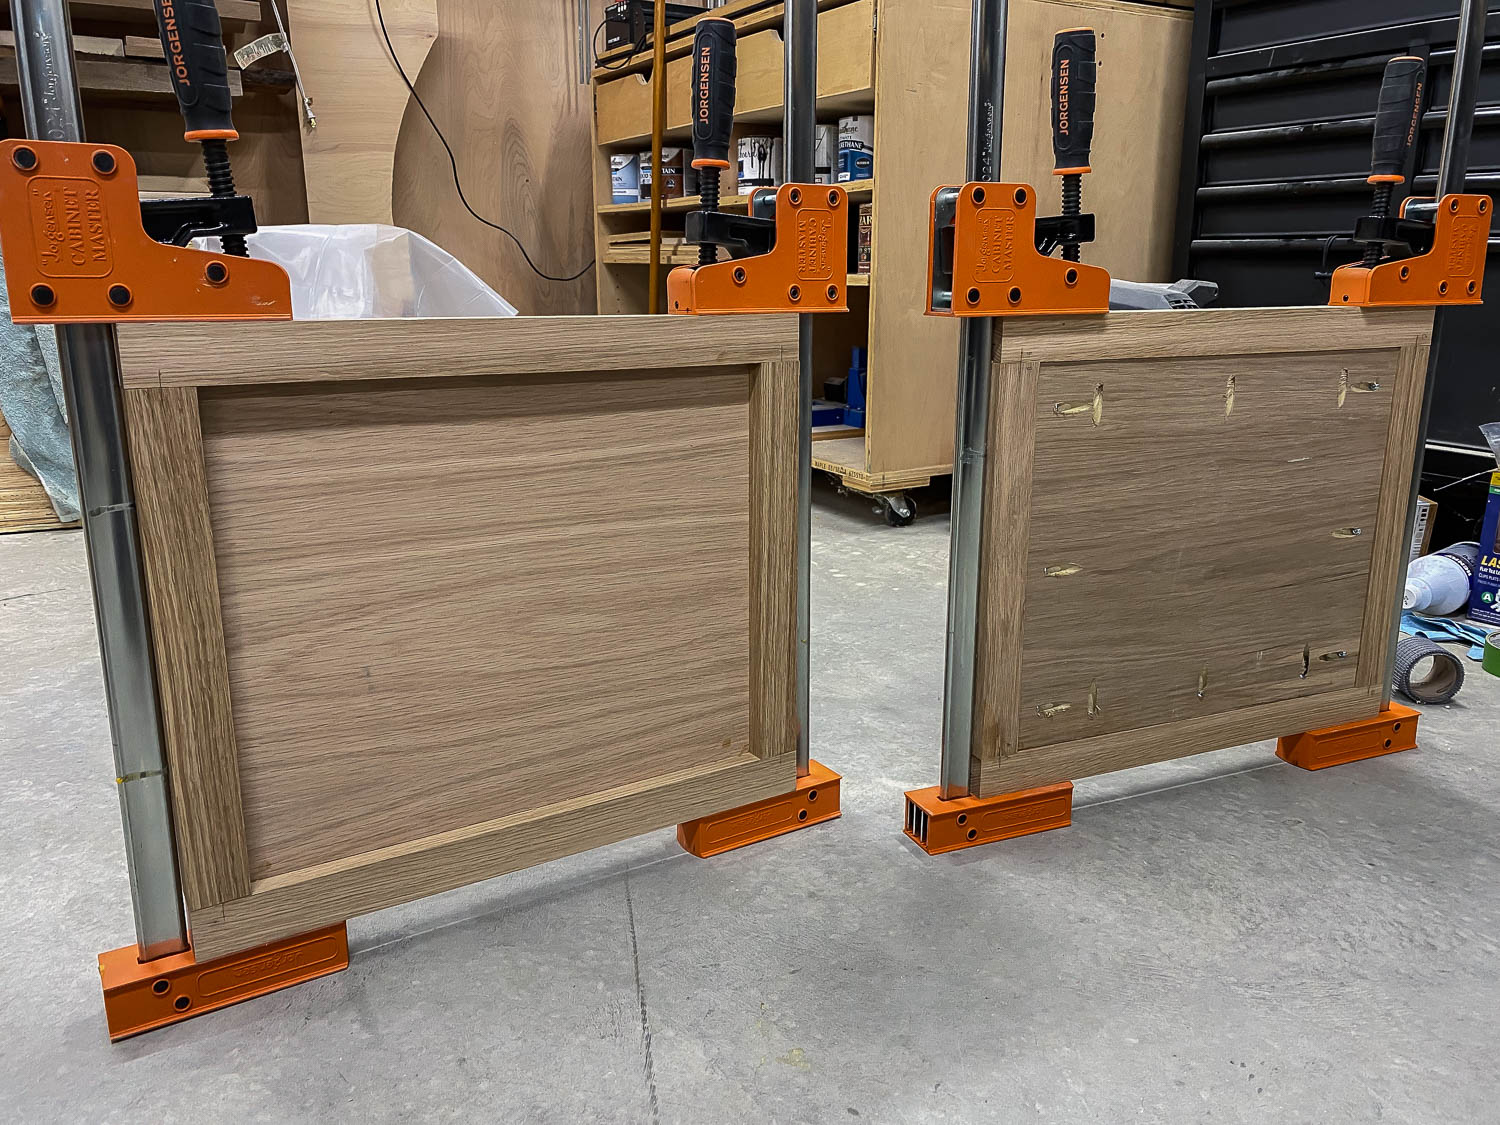
This was the first time I’ve ever worked with white oak. I’m used to building with pine, spruce, maple, poplar, and black walnut so I assumed that working with white oak would be the same. It’s not. This was definitely a learning experience for me and it was pretty challenging, to be honest. The natural wood tone of white oak is so beautiful, which is why I chose it for this project. However, working with it was a new experience for me, with new challenges to overcome.
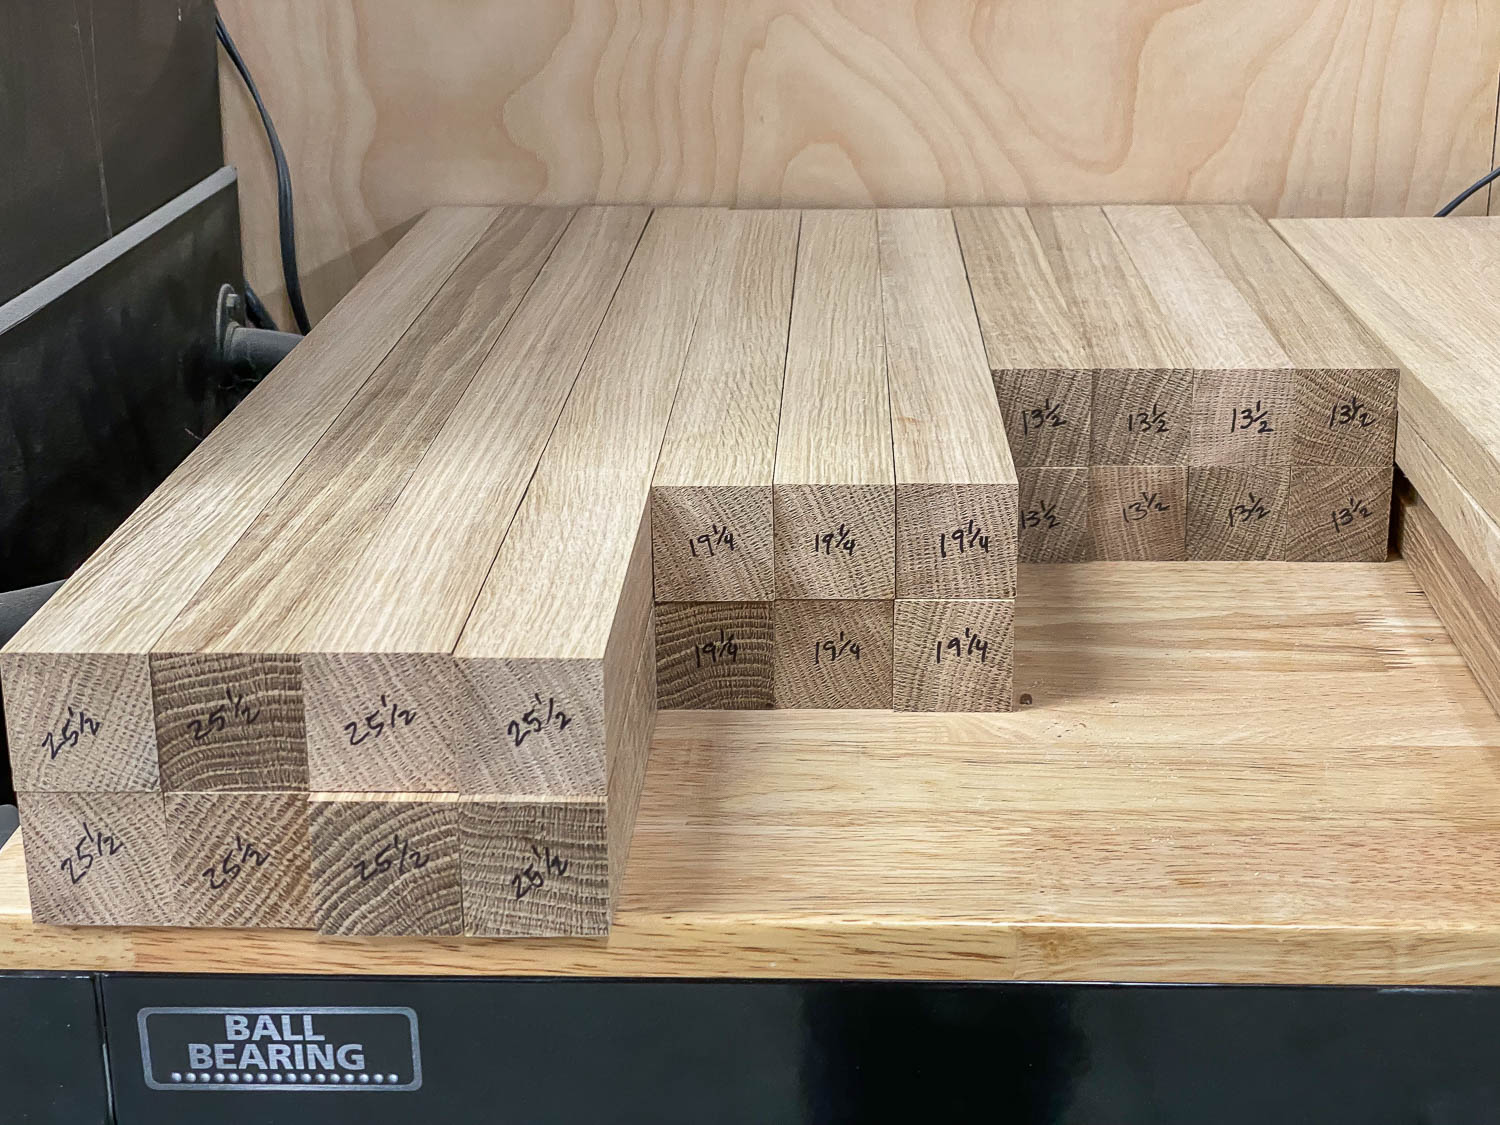
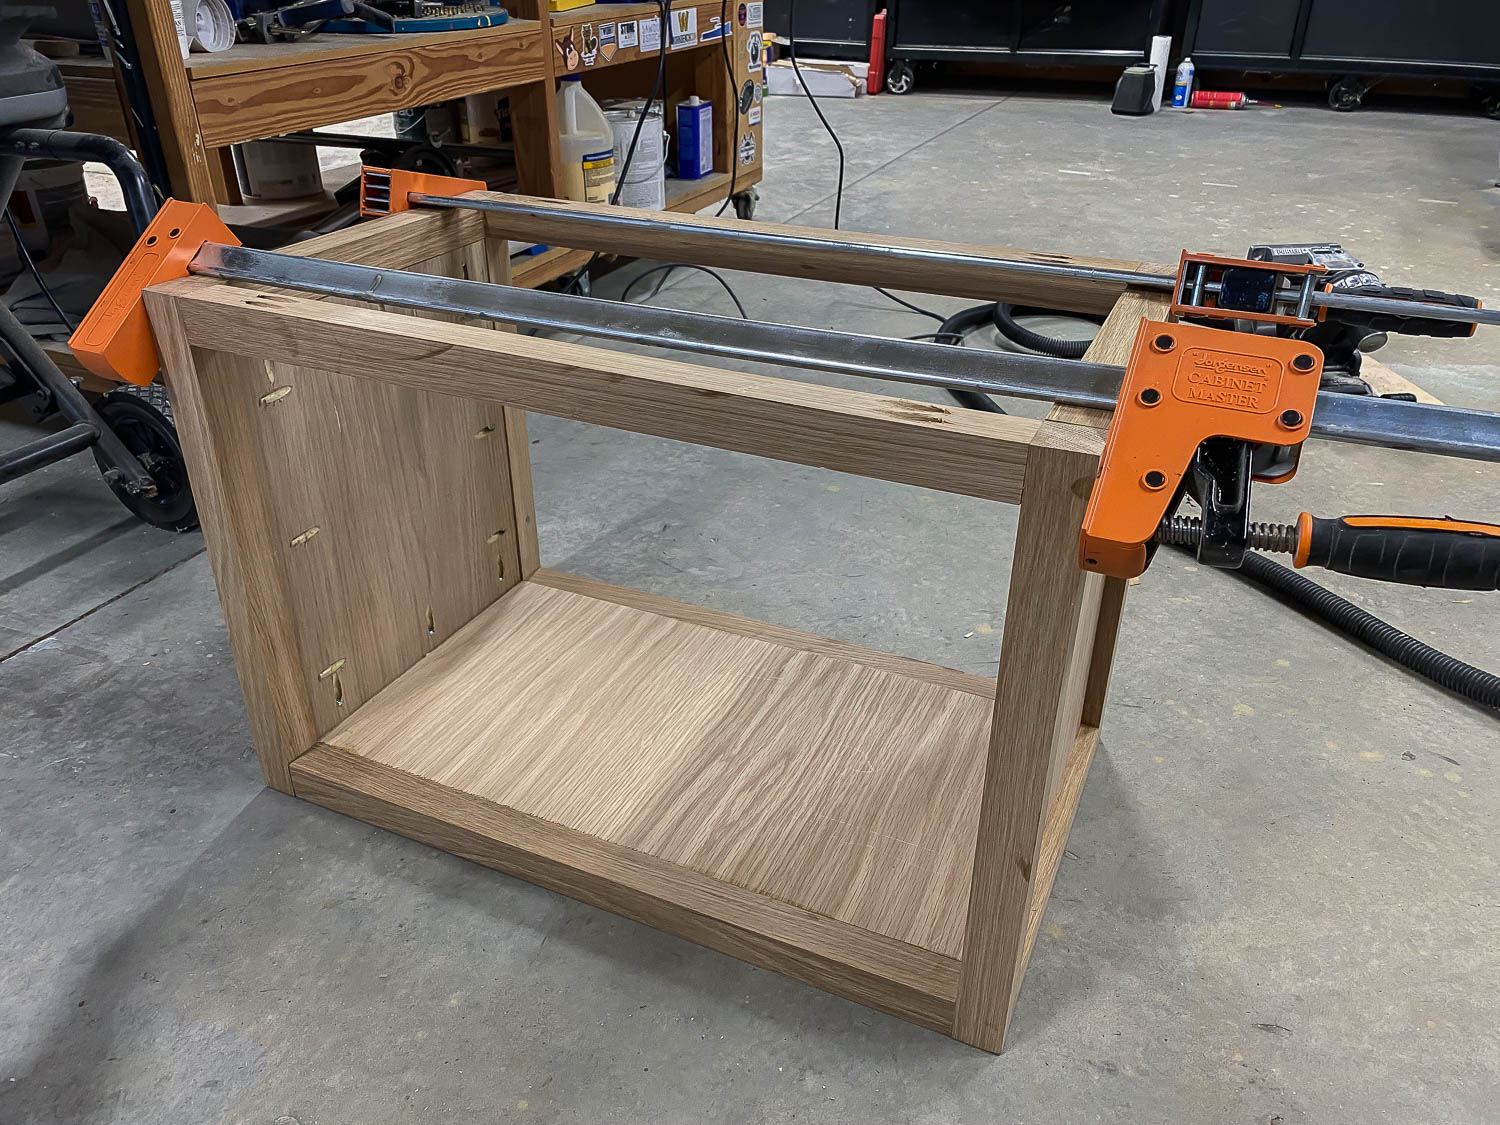
The wood fibers of white oak are very dense and close-grained, which makes it nice and strong, but I found it to be much less forgiving than softer woods like pine or spruce. With softer woods, the wood fibers are a lot more flexible and ‘bend’ out of the way when you’re driving a screw into it, whereas white oak is more rigid and unmovable. Almost every time I drove a screw in (even after pre-drilling), the wood would split! It was frustrating to have to stop, repair the damage, clamp, glue, and wait before moving forward. And because the grain is so tight, it’s pretty impervious to water and moisture, which meant that the glue up was more challenging because the glue isn’t able to deeply penetrate into the wood fibers to make that bond.
If you’re going to work with white oak, just know that it might require a little more finesse and a lot more patience. Take your time and give yourself some mercy – you’re going to make mistakes and that’s okay. Take it as an opportunity to learn and get better. One of the biggest reasons I love working with wood is because it’s such a dynamic medium!
DIY Beaded Drawer Face
I wracked my brain to try and figure out how to recreate a beaded design on the drawer fronts. I considered gluing a bunch of half round moldings to the drawer face, but didn’t want to cover up this beautiful and expensive white oak with pine moldings. I mean, that sort of just defeats the purpose, right? Triple bead and fluted router bits are available on the market, but because I wanted the beads to run across the grain and not alongside it, using these bits on the router table wouldn’t work for me. After quite a bit of searching, I finally found this router bit, which allows me to route a beaded profile in any direction. To do this by hand would be incredibly time-consuming and labor-intensive, so I delegated this task to my CNC machine. If there’s ever a choice that involves a robot, I’m choosing the robot! Of course, I’m aware not everyone has access to a CNC machine, so it is possible to create this beaded detail with a handheld router, but it’ll require quite a bit more time and effort. Also, you can completely forego this step altogether and still have a beautiful piece of furniture.
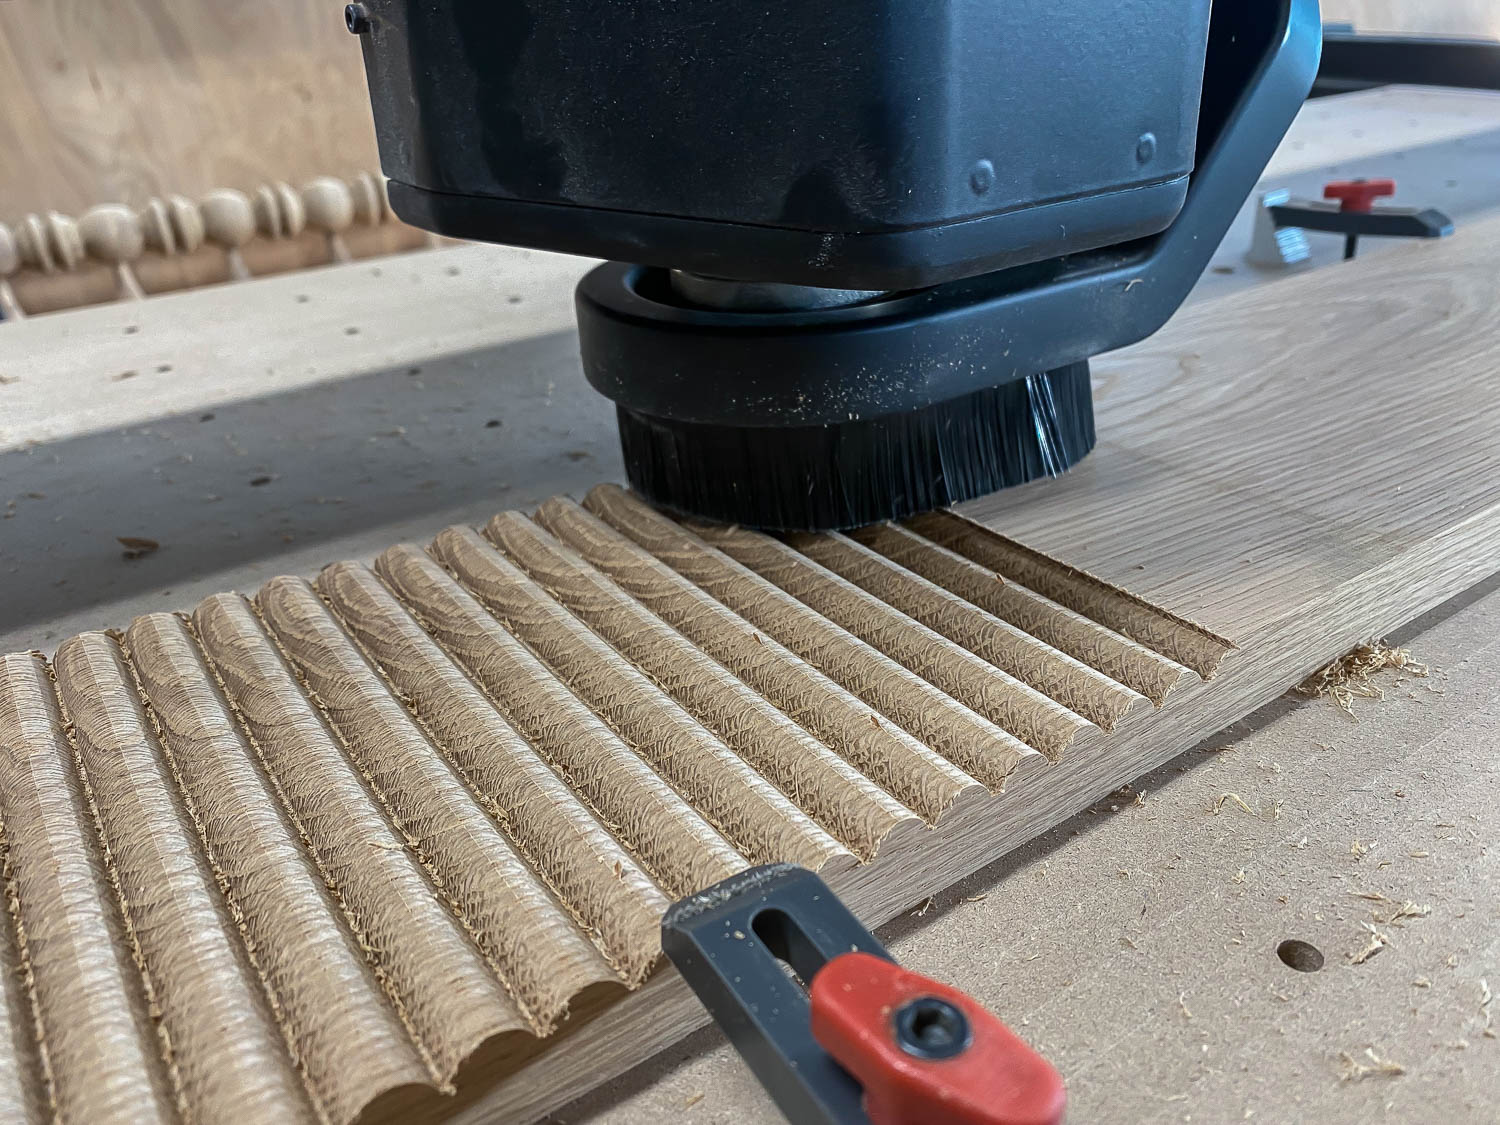
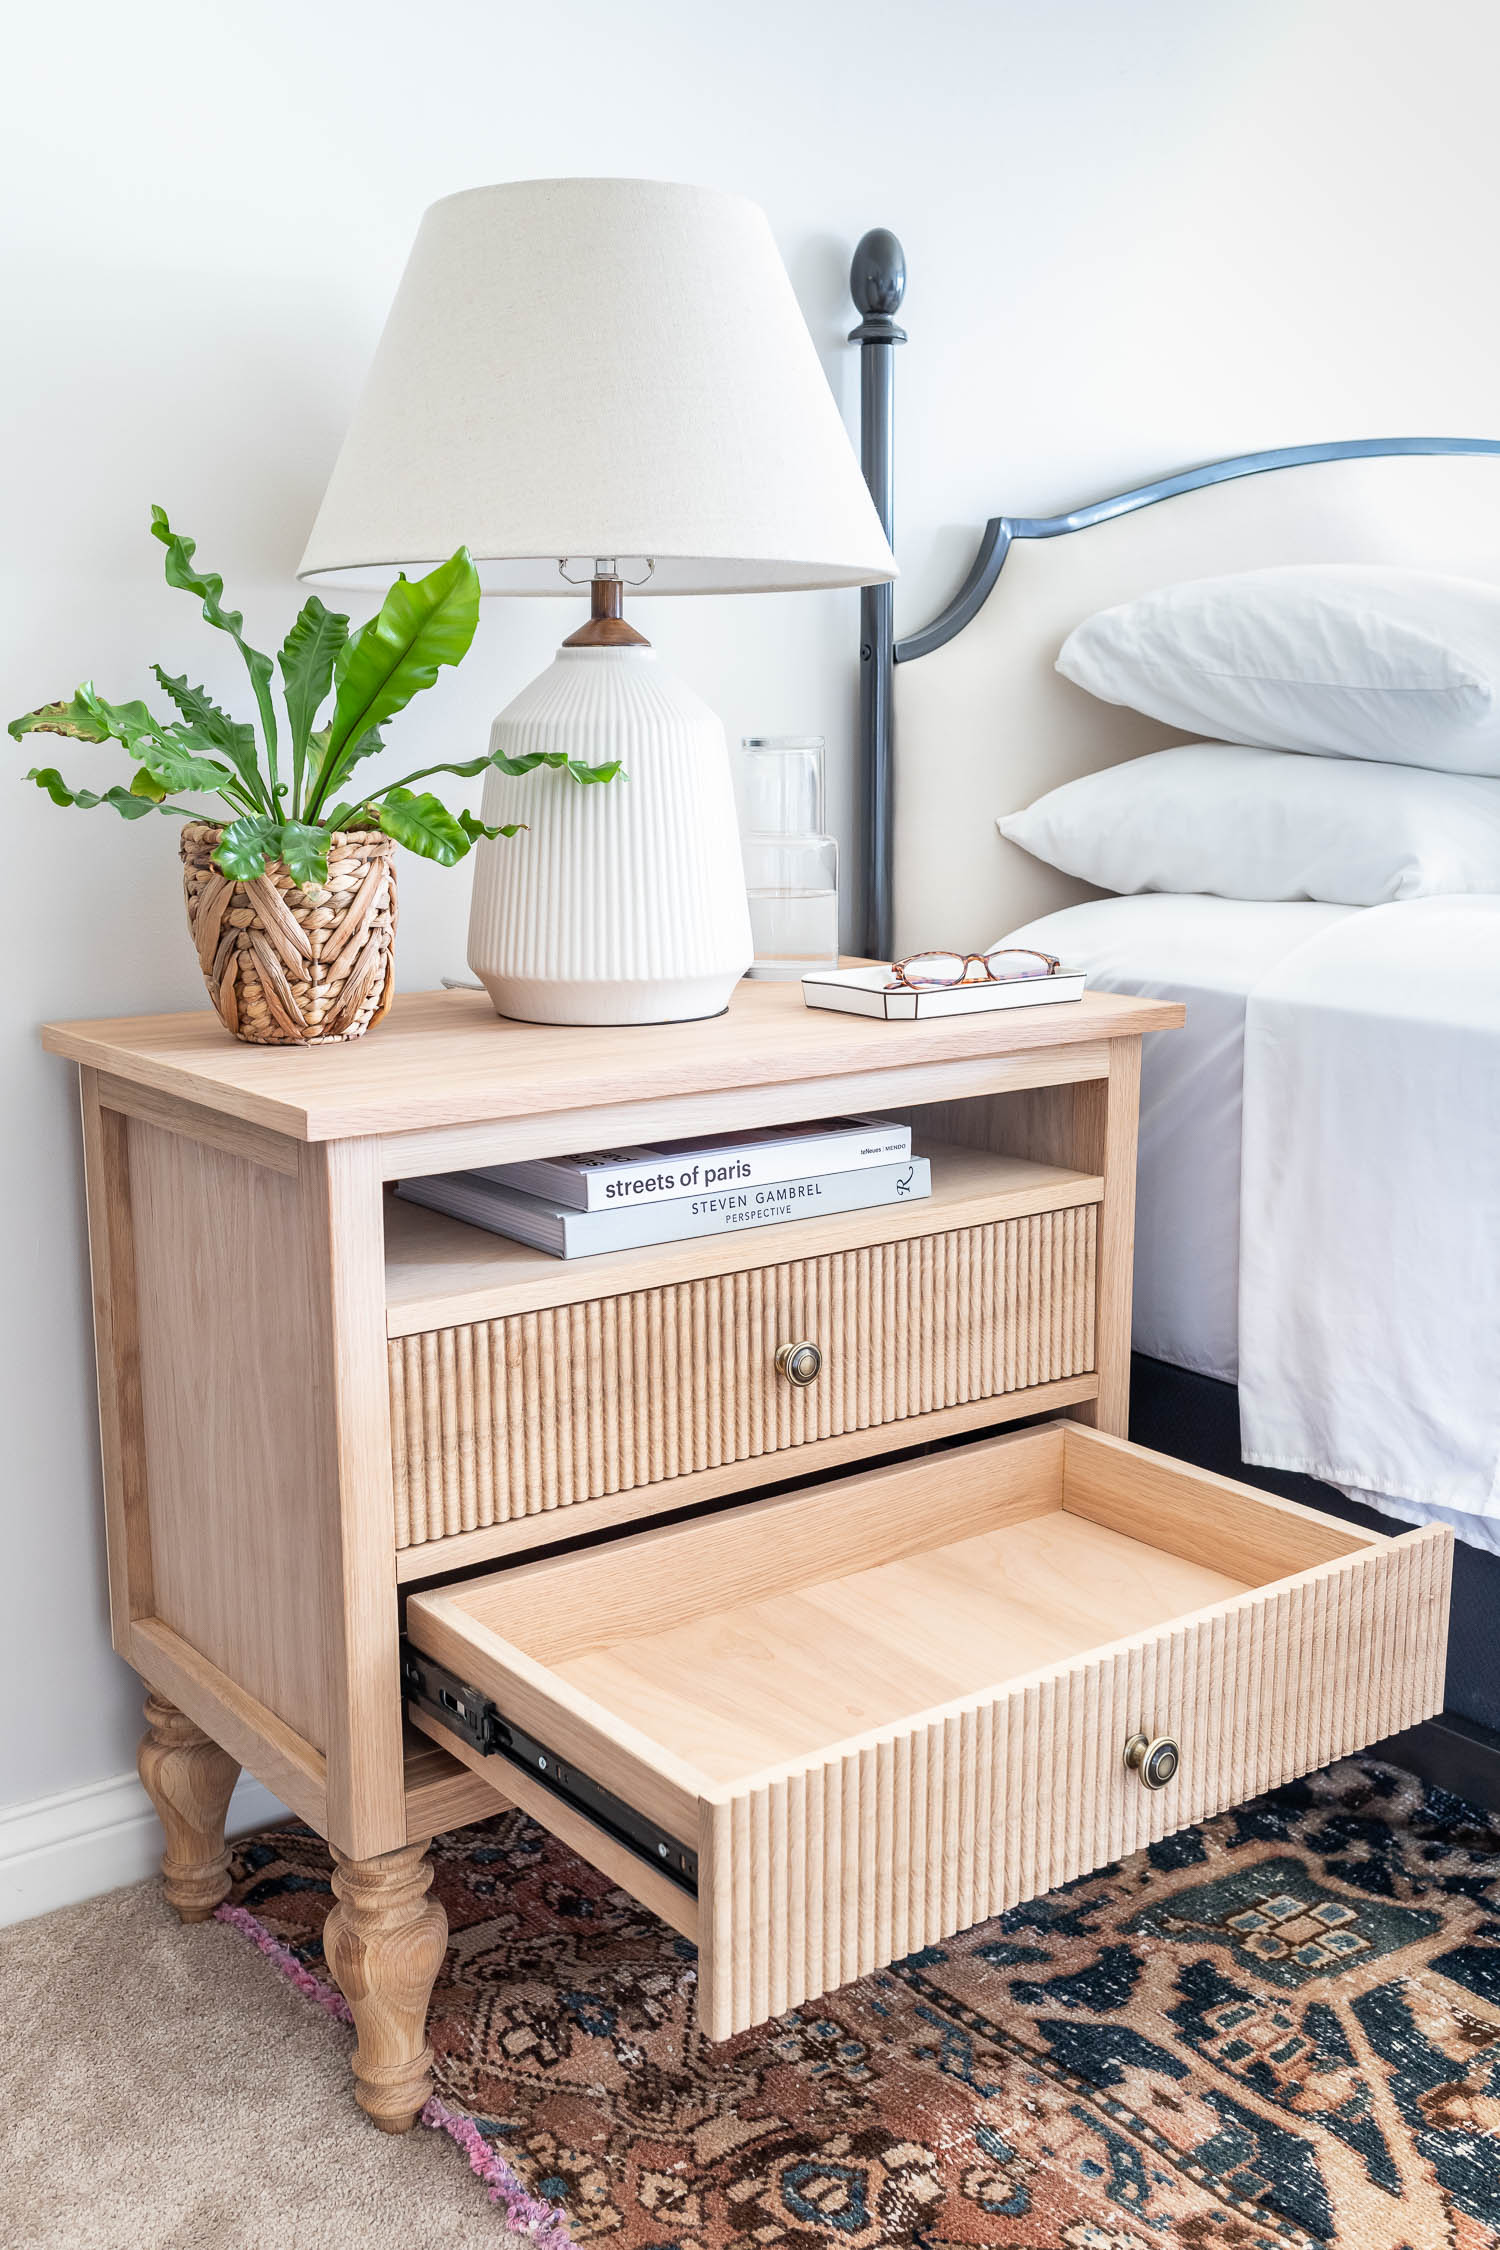
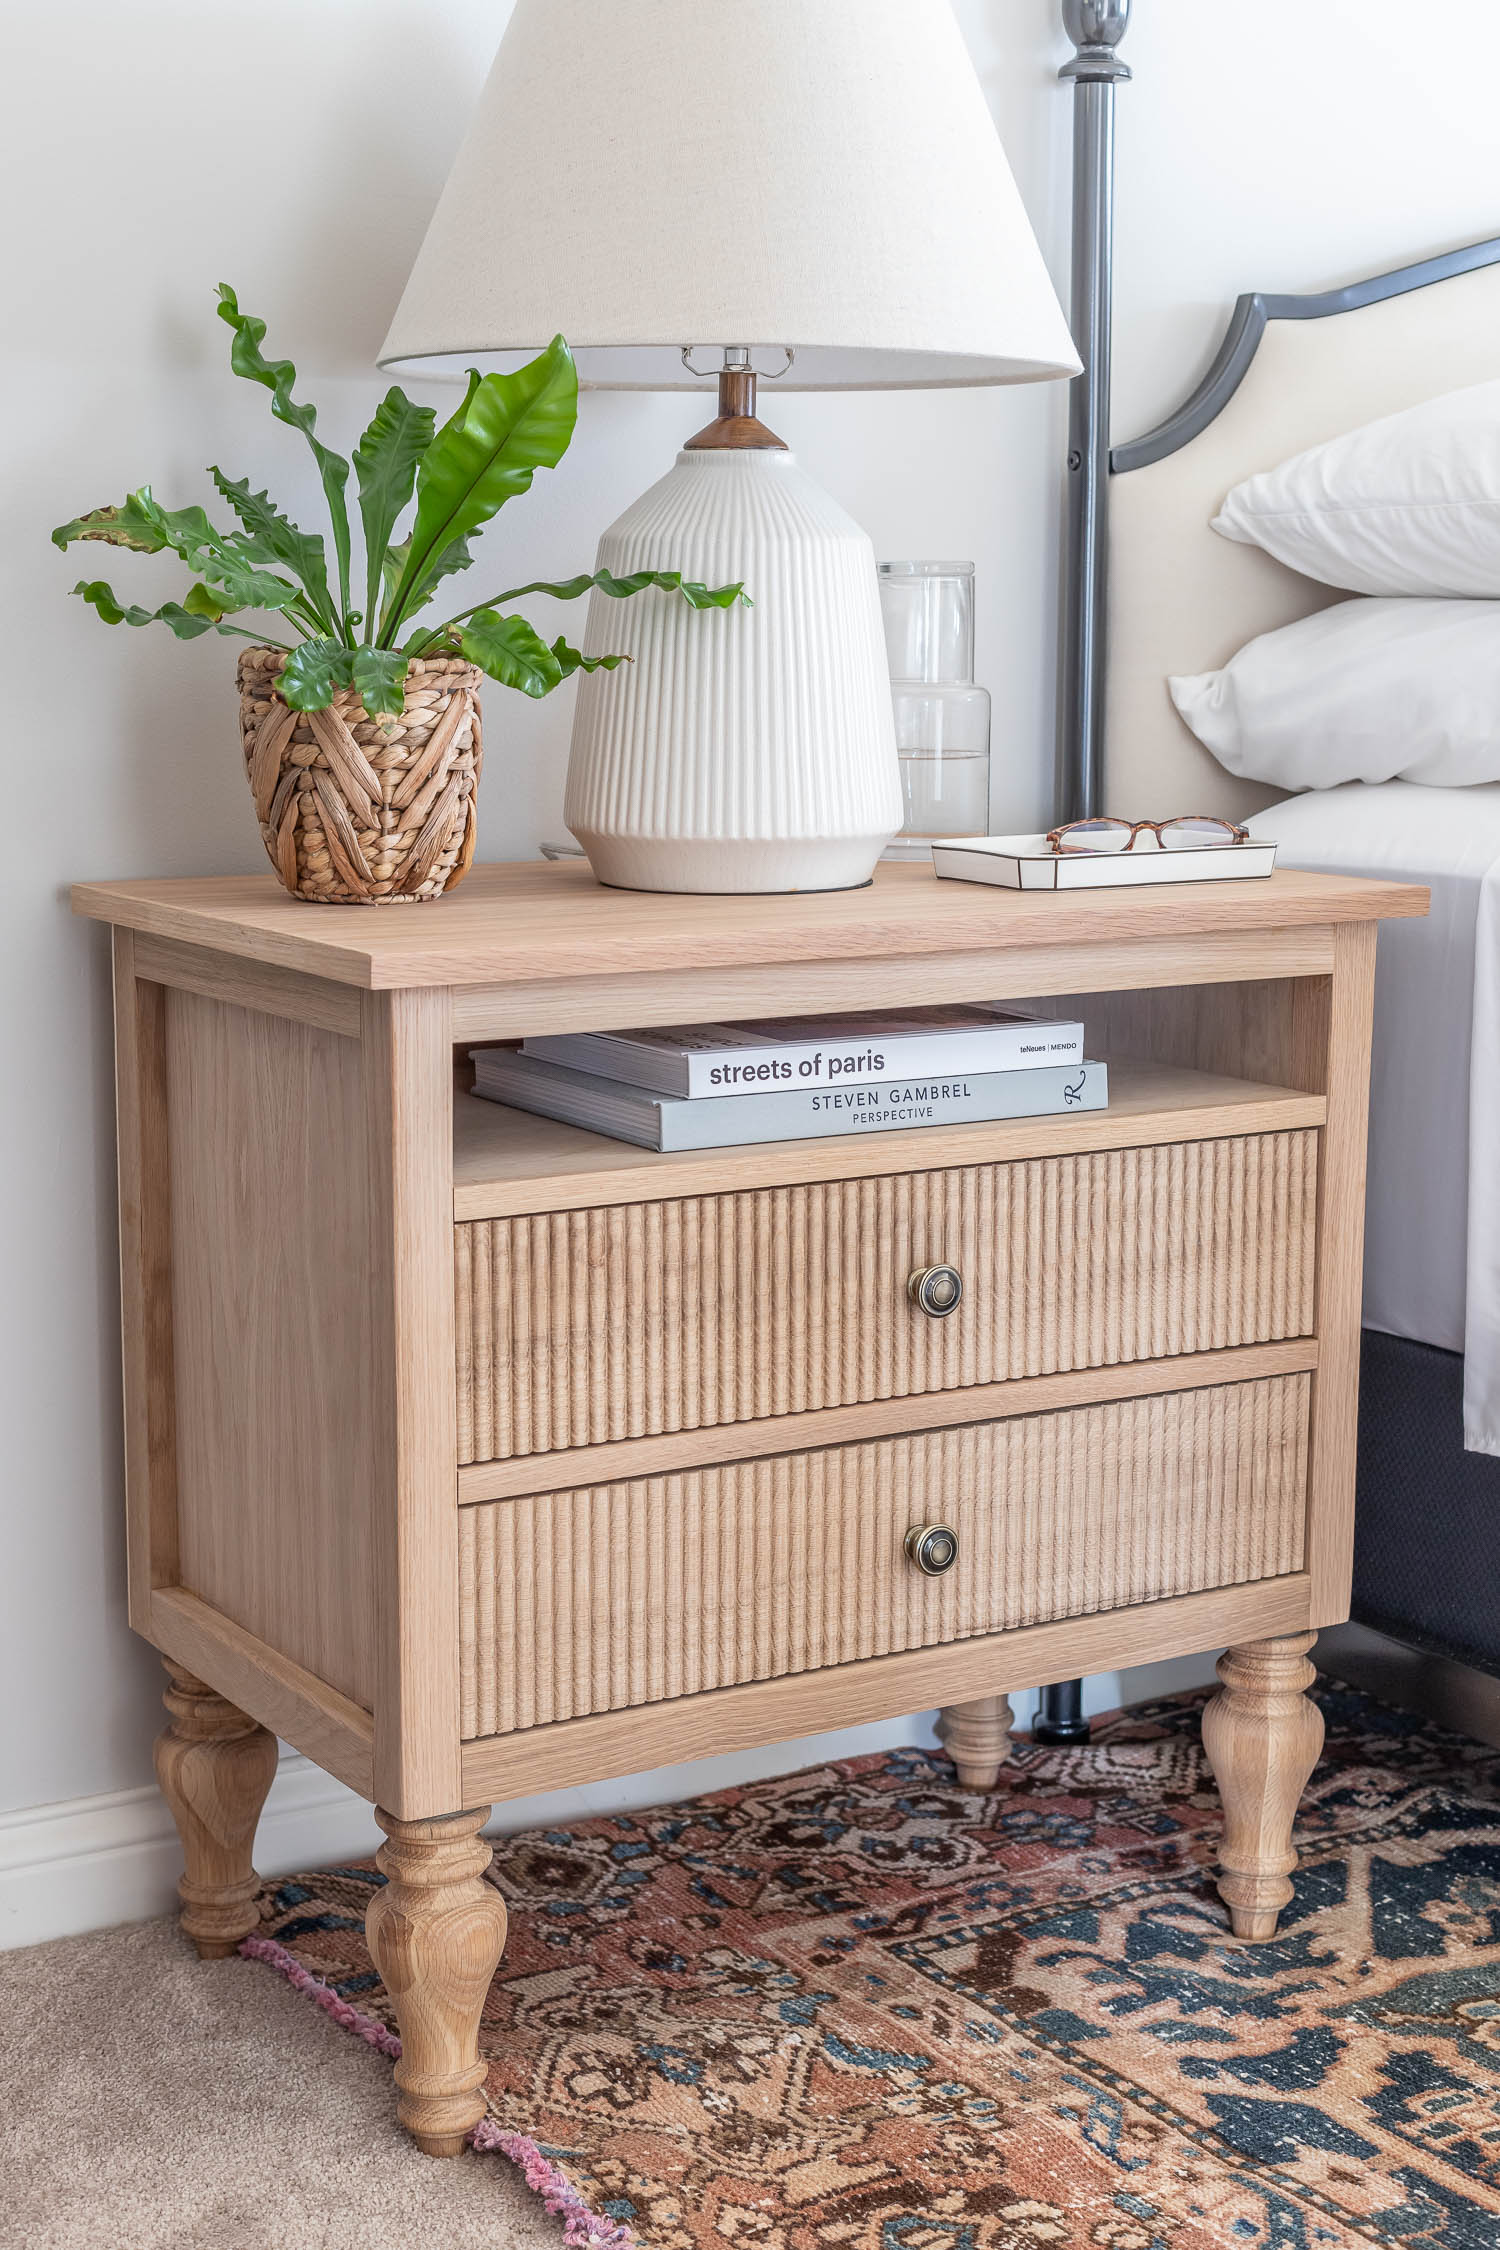
After the drawer fronts were routed, I ripped and crosscut them to length. These DIY nightstands are coming together nicely! I designed them so that they have plenty of storage, with two large drawers and a shallow top shelf. I installed full-extension ball-bearing soft-close drawer slides (super fancy, I know) and attached my beautiful beaded drawer fronts. Seriously, I just can’t get over how this simple beaded detail brings the design to the next level!
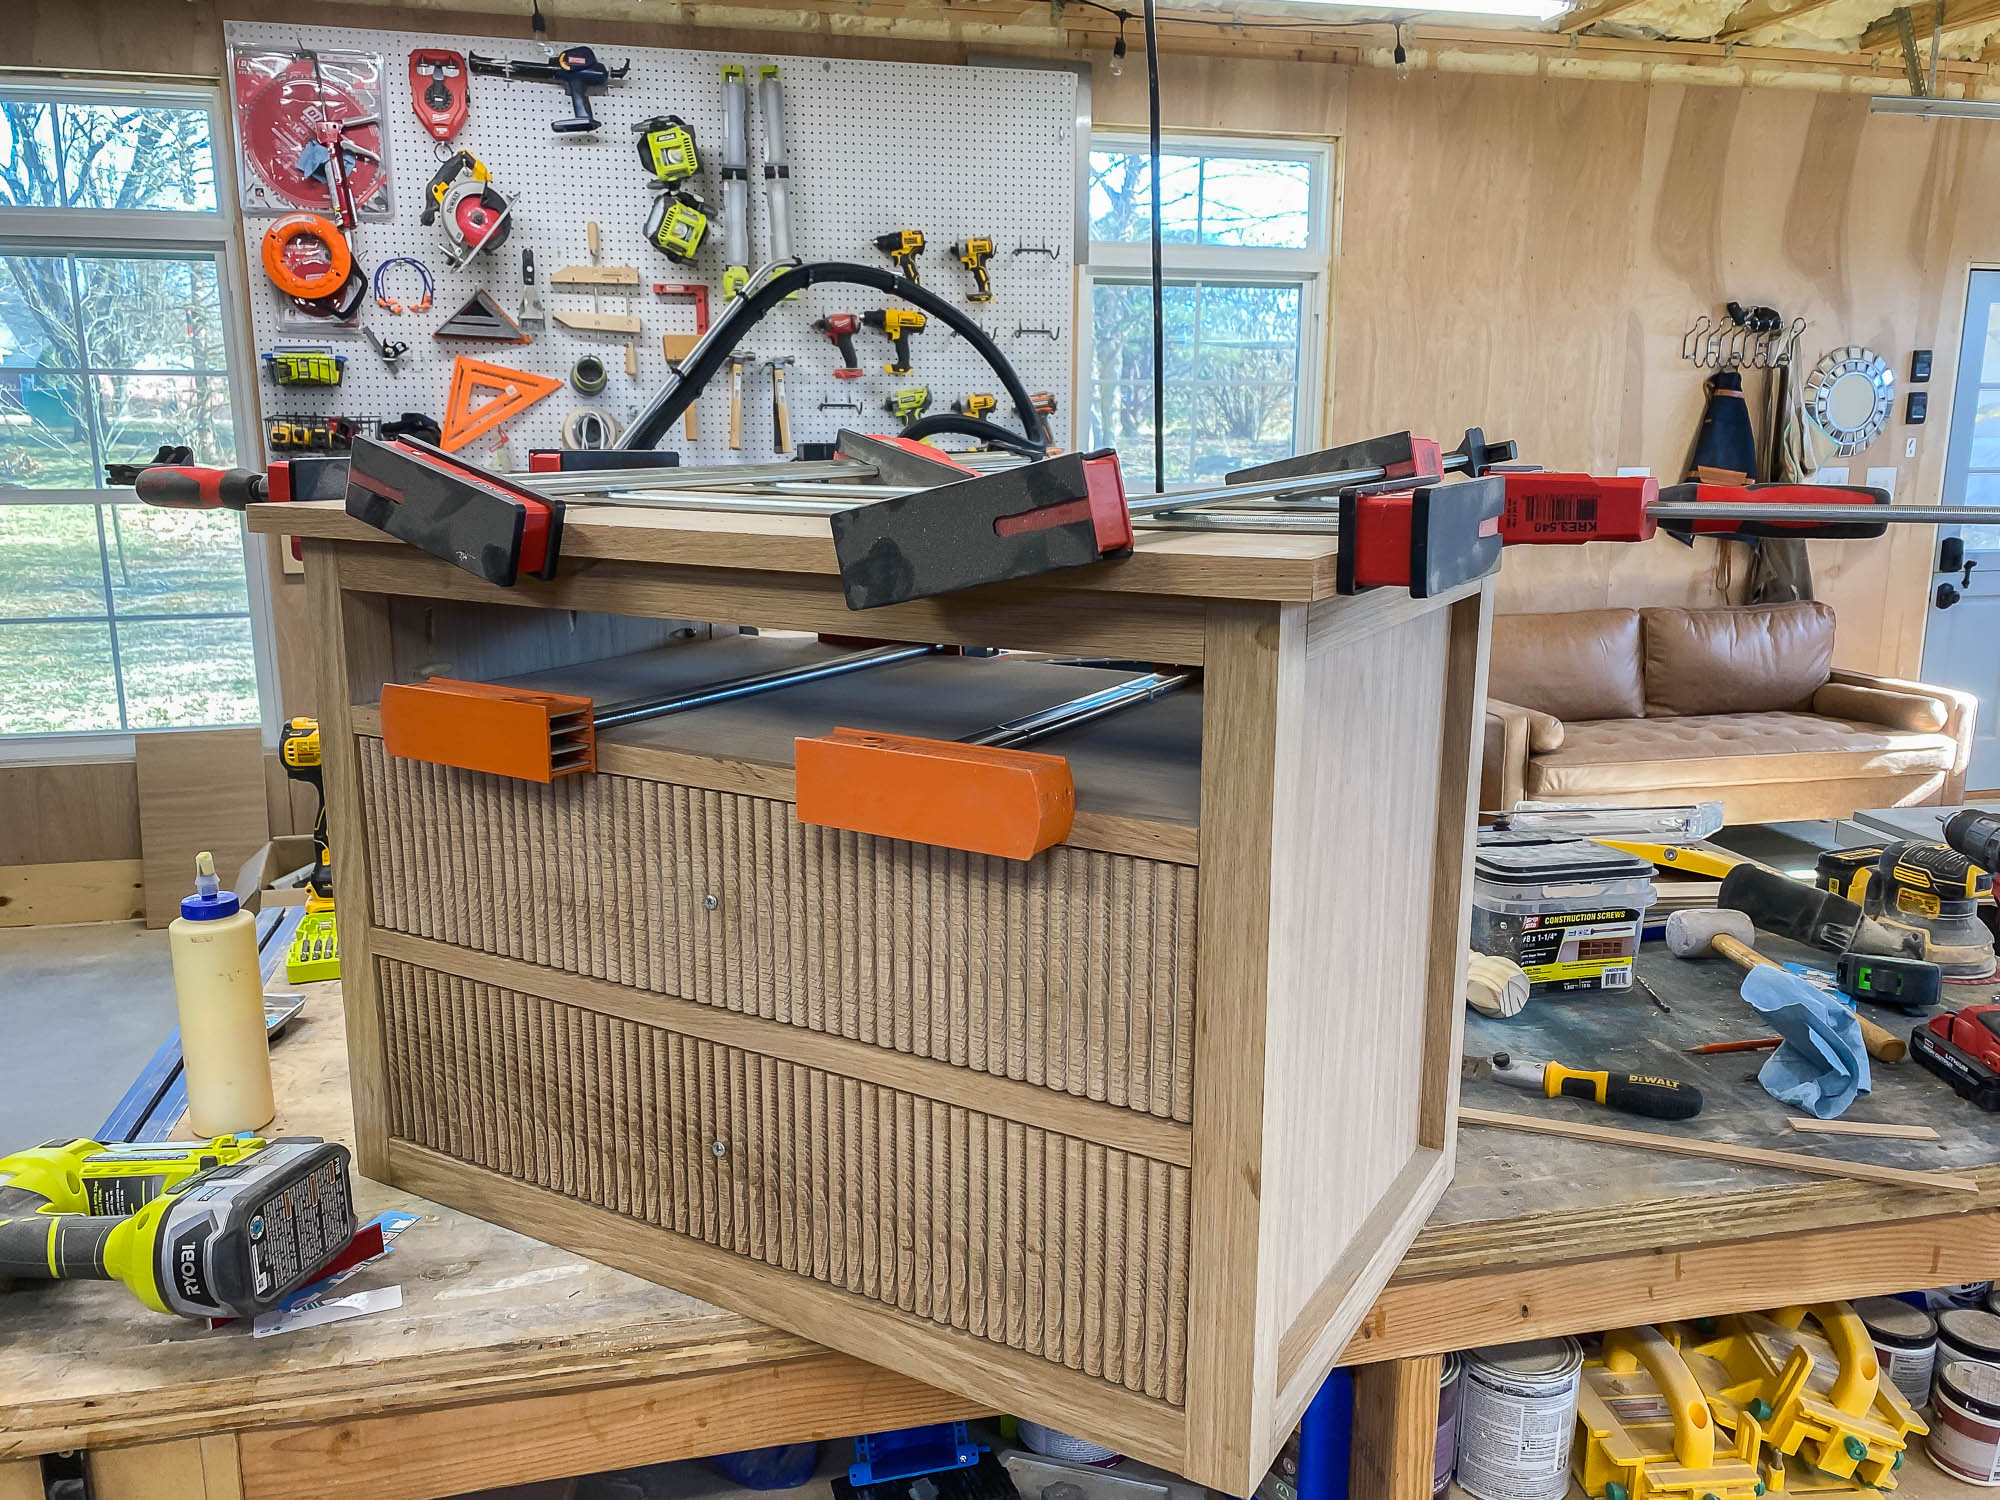
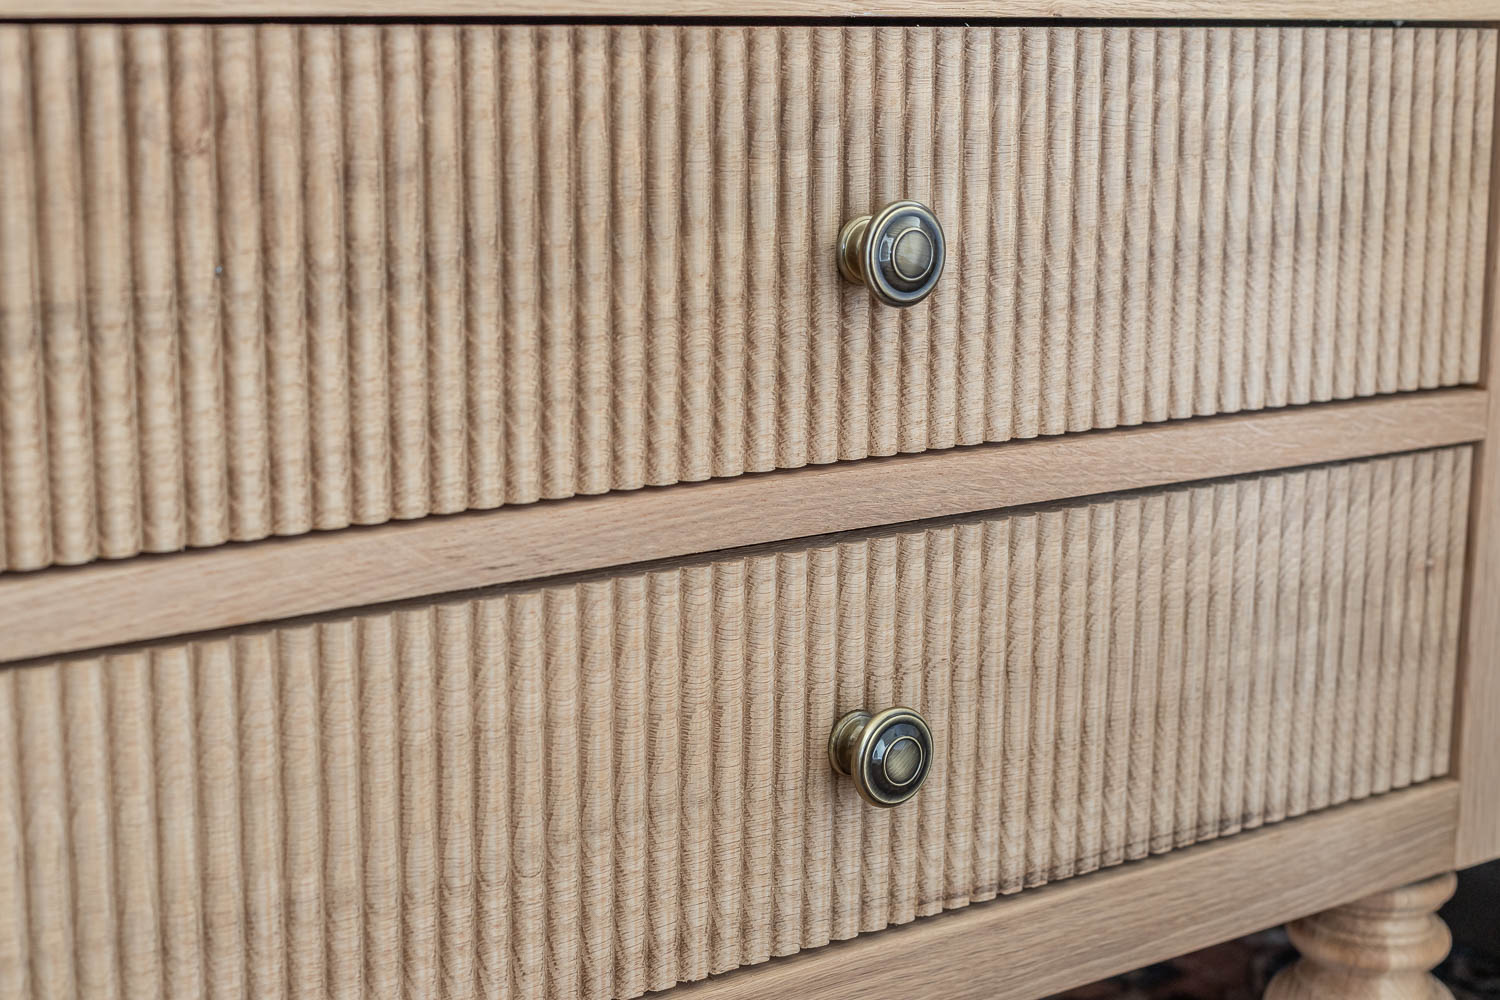
Like my original Woodhouse nightstand design, I included the shallow shelf that we’ve loved so much. We can keep the top of the nightstand free and clear of any clutter and still have a place to tuck our laptop, tablet, or bedtime reading. Another neat upgrade would be to add a hidden power source to charge electronic devices discreetly.
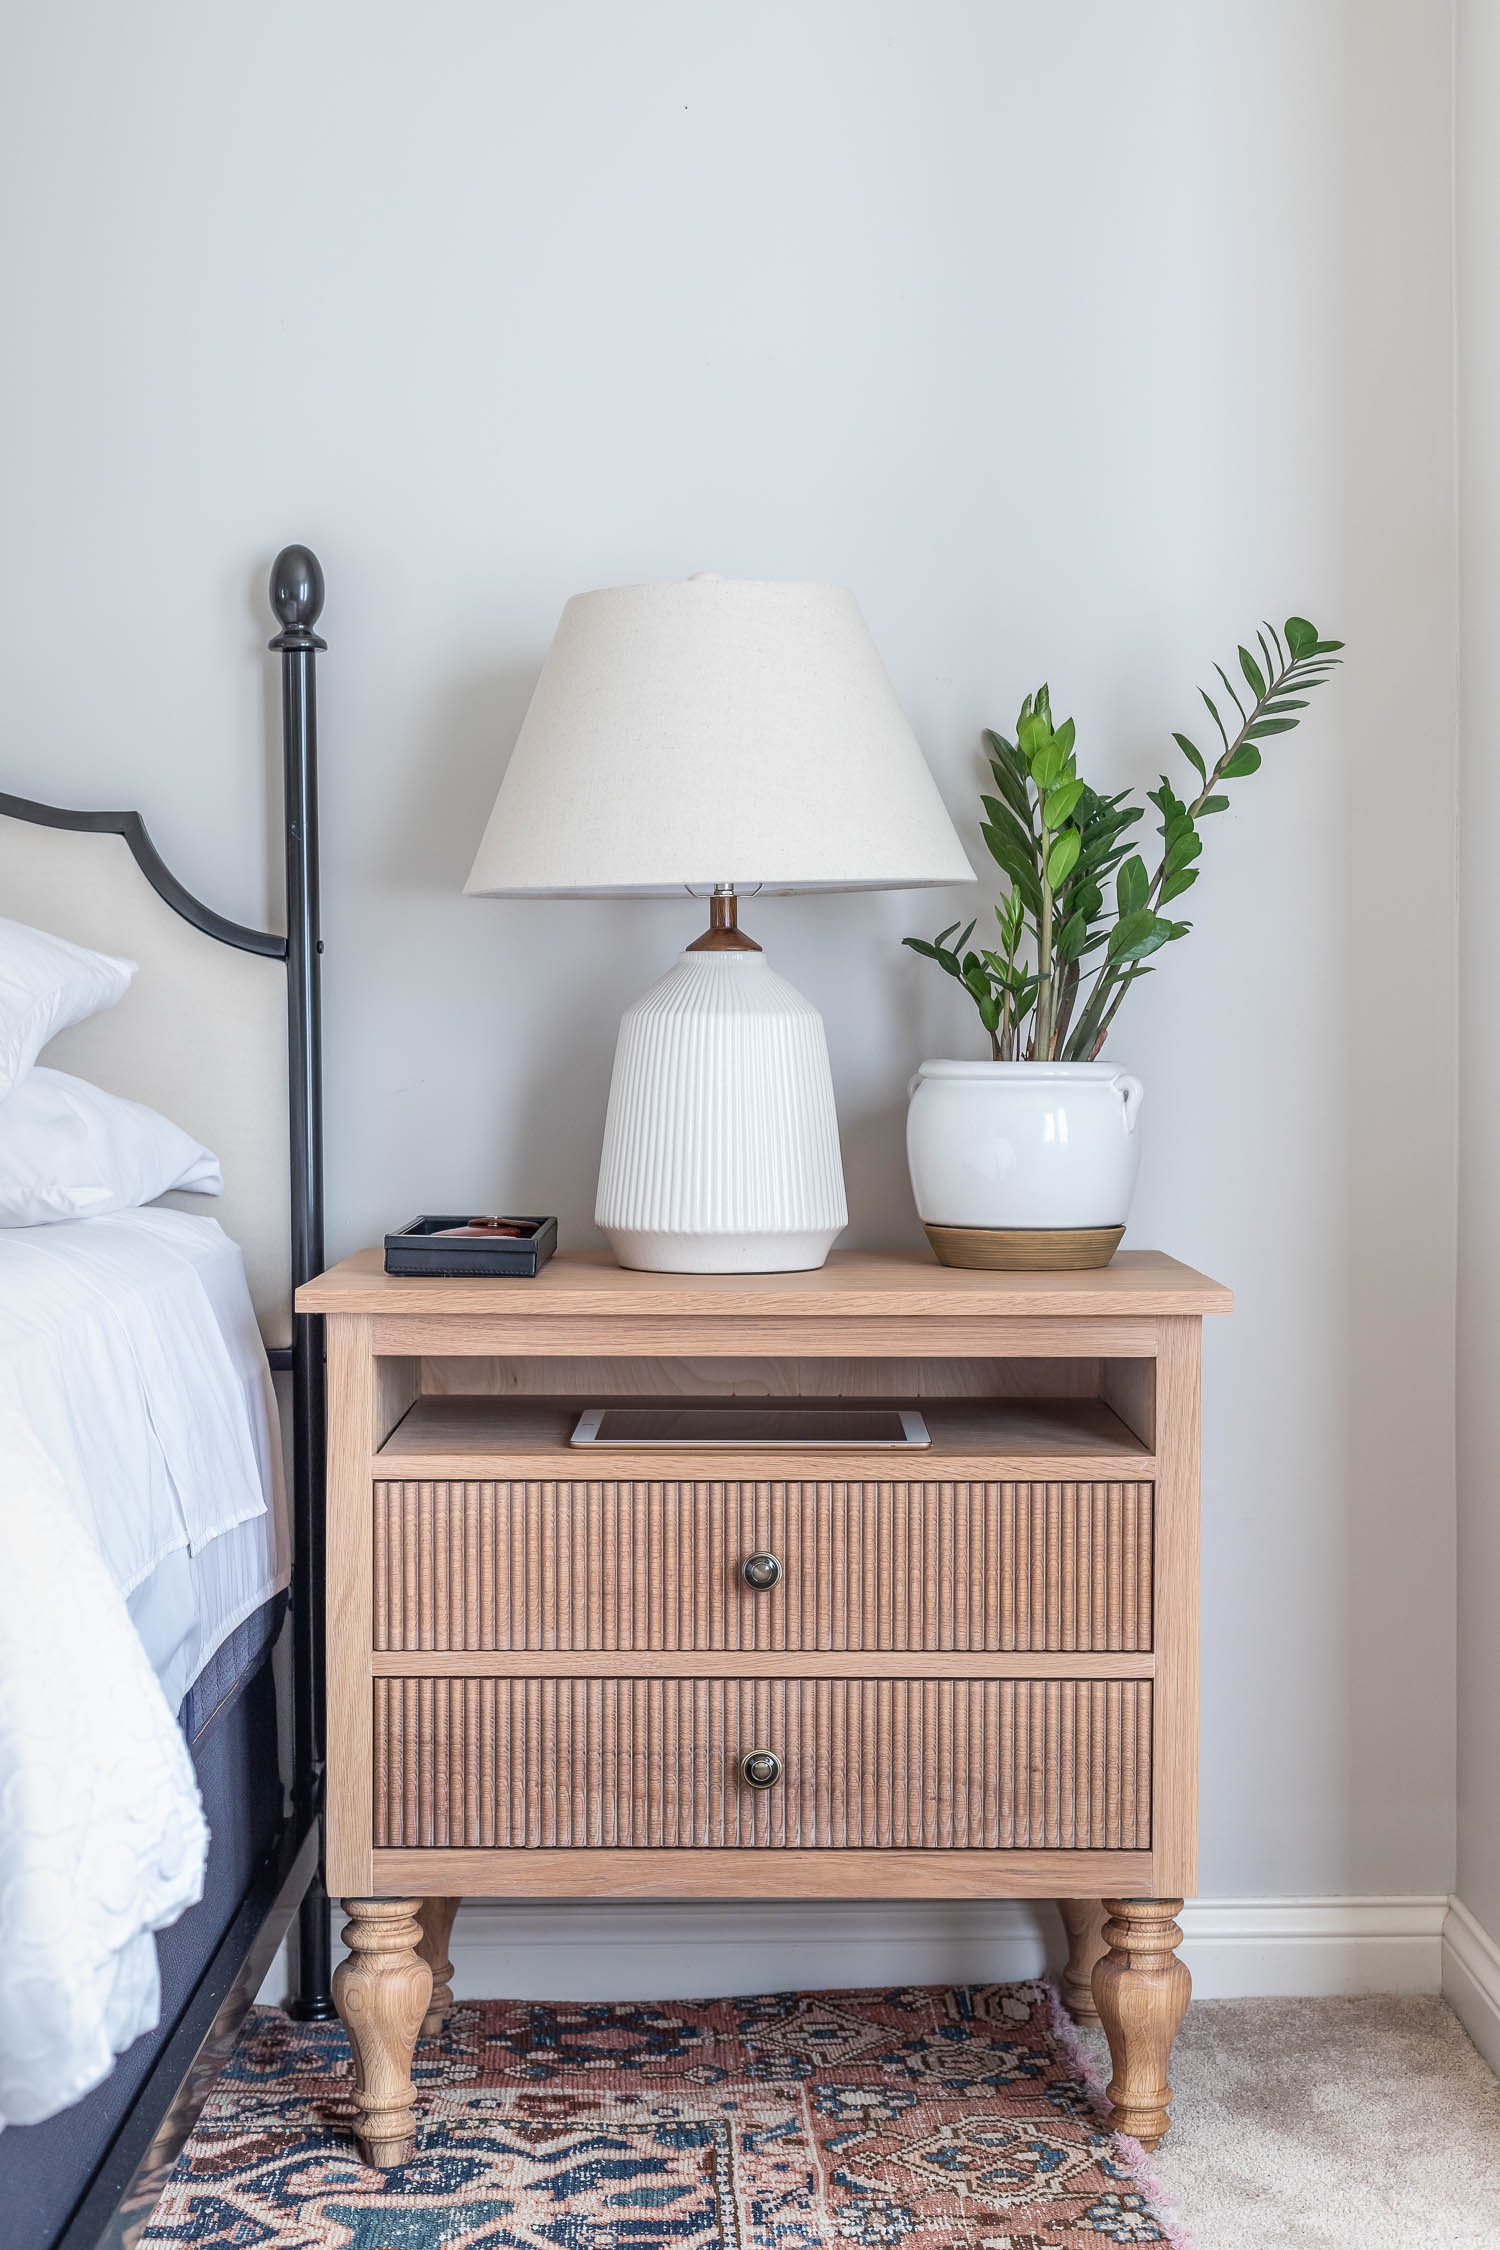
Check out those full-extension drawer slides! No need to worry about things getting lost in the back of the drawers. And they’re soft-close too, which is so extra. I always recommend using the better-quality drawer slides when building drawers because they’re less of a headache to install than the cheap, flimsy drawer slides.
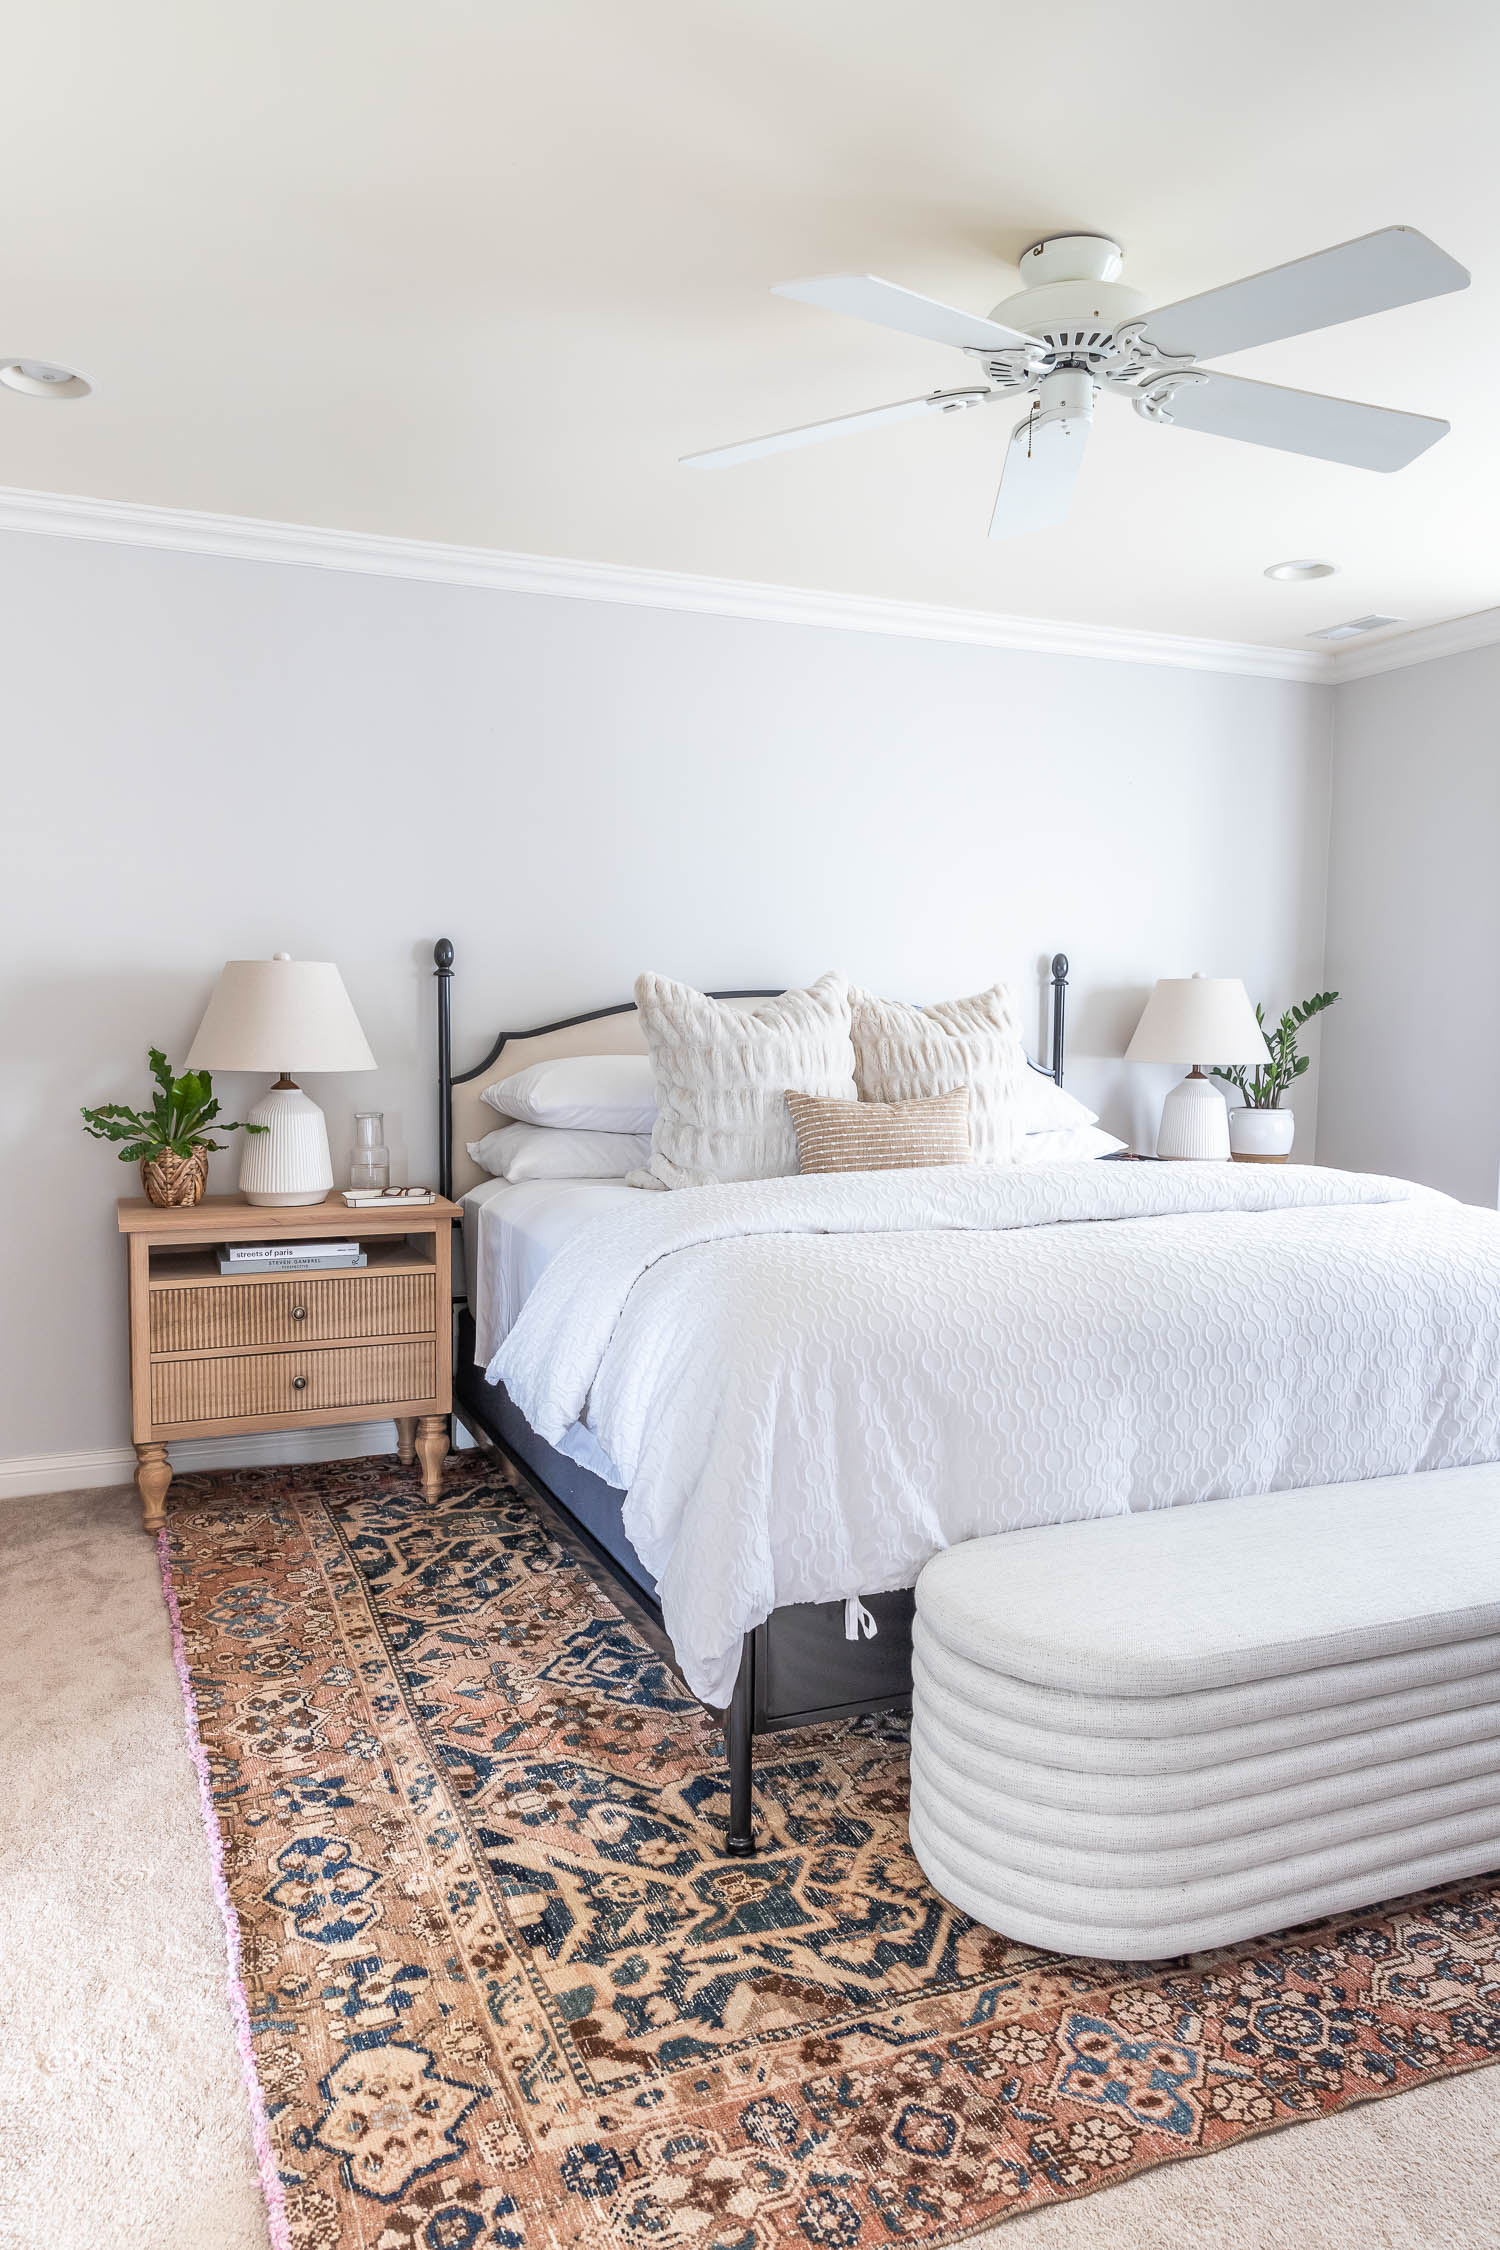
I love how the natural white oak wood tone contrasts with our black iron bed. I designed these nightstands so that they’re a bit taller than standard bedside tables. The taller height matches the height of our bed (our mattress is absurdly thick) and I absolutely love how they turned out.
What do you think? Are you a fan of French Neoclassicist or Swedish Gustavian style? If you build this project, I’d love to see it! Be sure to tag me @jenwoodhouse on social media or share your project directly on my site here. I can’t wait to see your versions of these DIY Gustavian Nightstands!



So beautiful! My husband is beginning work on them today. The only things we haven’t been able to locate are the drawer pulls. Can you please send me a link to them. Thanks for sharing your creativity and talent with us.
Hi Jen! I have completed my nightstands and am getting ready to apply the Rubio Monocoat Oil Plus 2C. In reviewing the instructions from Rubio, they say to “Sand the surface scratch-free, up to 120 or 150 grit.” However, in your plan you say to use ” 120- to 320-Grit Sanding Disc.” I have already sanded them to 320-Grit but was wondering if I should re-sand them down to 120 or 150-Grit or not. What do you recommend? Thanks!
Hi Tony,
Per the Rubio website, the instructions actually recommend sanding to 120-grit: https://cdn.shopify.com/s/files/1/0260/4810/2497/t/6/assets/19c952766c61–RMC-App-TriFold-EN-r.2021-03-02-Web.pdf?v=1624627665. Hope that helps!
As of 3/18/22 in southern California – we’ve just built two of these – materials are coming in at roughly $900. All white oak except 2×2’s – these were red oak.
3/4″ plywood – $140
1/4″ plywood – $45
legs from Timberwolf – $262
Red oak 2×2’s – $225 (couldn’t find white oak in these anywhere)
1×7 white oak for drawer fronts – $67
Rubio – $60
glides – $55
Misc – screws, edge tape, edge trimmer, hex nuts for legs – $100
Feeding the crew – ???? a lot!
Carried the drawer fronts in my suitcase to South Carolina because my sister has a CNC machine! No extra charge 😉 Just barely avoided the heavy bag fee.
Didn’t buy the 1×4 white oak for drawer boxes… by being very frugal/creative and gluing up leftover 1/4″ white oak plywood to some other 1/2″ plywood and using remaining 3/4″ plywood, we were able to make the drawer boxes out of all leftovers.
Jen,
Theses are beautiful. Do you sell them already made?
Hi Cheryl,
No, I don’t, however you can download the plans and commission a local carpenter to build it for you!
Everything is so Beautiful 💕. Can you tell me the wall color. Love it all 💕💕💕
You did a fantastic job!!! These night stands look incredible!!! I also love the Swedish decor style. Great job!!!
This nightstand is beautiful! What color of Rubio did you use? Thanks!
Hi Terry,
I used Rubio Monocoat Pure. Thanks!
What challenges did you encounter when working with white oak hardwood compared to softer woods like pine or spruce, and how did you overcome them during the construction process?
Hi Datrom,
I talk all about that in the video!
When building with white oak hardwood, what were some of the obstacles you had to overcome differently than when working with softer woods, such as pine or spruce?
Hi,
Are you able to tell me where you got your bed from please, its absolutely beautiful!
Nightstands are gorgeous too!
Thanks
Emily x
Thanks Emily! The bed is from Wayfair, here’s the link: https://rstyle.me/+RIXIJPChANRos2SjGy0fUQ
A lot of good questions in the Comments but I see almost no responses from the author??
Hi Gigi,
Did you have a specific question?
What CNC machine do you use?