Mixing modern and traditional styles for a guest bathroom renovation featuring marble mosaic tile and vintage accents.
*This post is sponsored by The Home Depot.
Our guest bathroom renovation is officially on the books! Can one be equal parts overwhelmingly excited and completely terrified? Asking for a friend… You guys. Our next project is going to be epic and I can’t wait to take you along! I’m thrilled to be partnering with The Home Depot for this guest bathroom renovation – it’s going to be a total gut job and I’m pretty sure The Home Depot’s project calculator and mobile app will get me through it!
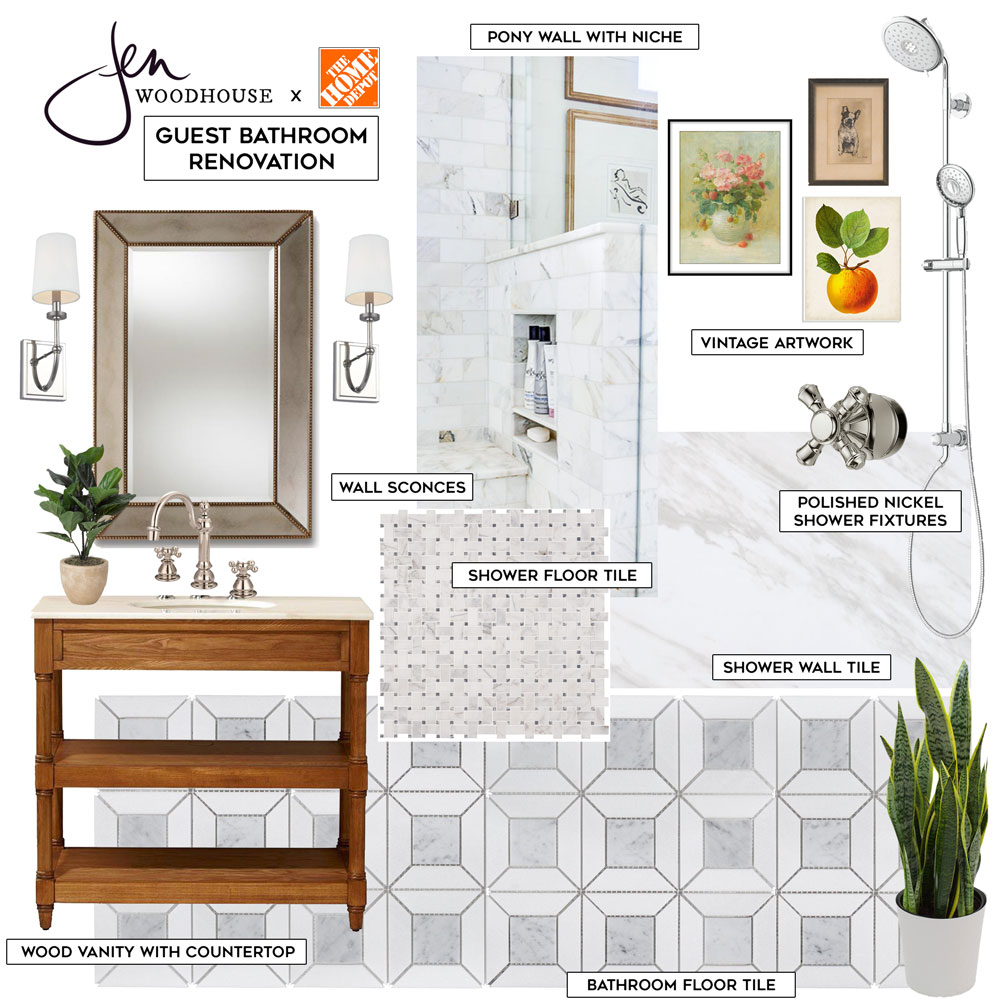
Ready to see my design board?
Here’s a look at our guest bathroom currently:
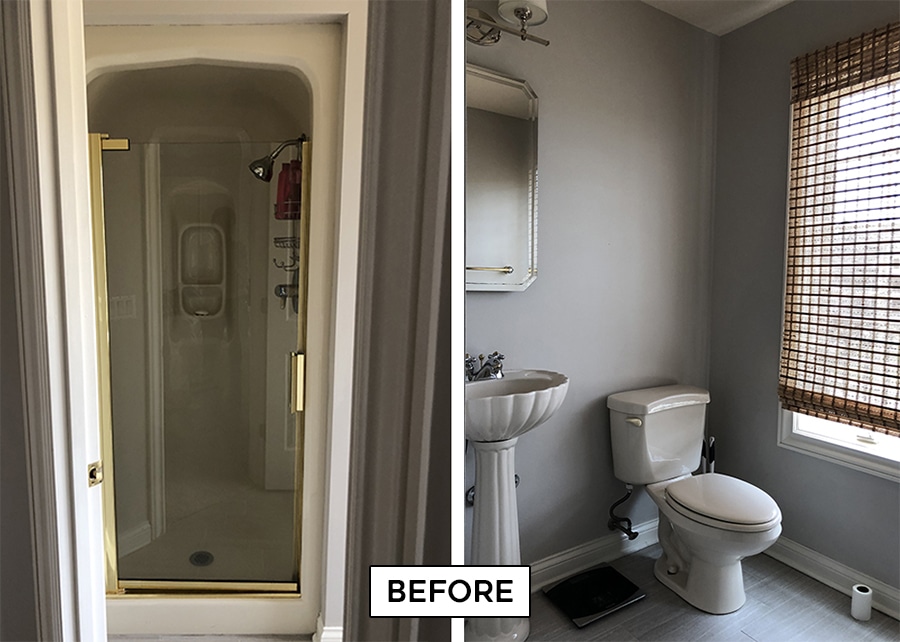
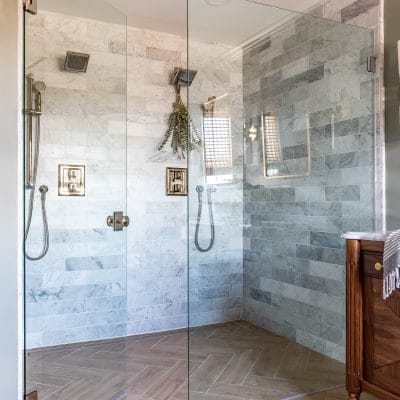
There is a huge window in the room, but because of that tiny shower cave, you don’t get any of that beautiful natural light! Such a shame! So my plan is to rip out that shower kit, take the wall down to a pony wall, and add glass to allow the light to flood in.
I’ll also tile the shower, floor to ceiling, with large format marble-look tiles for a clean, classic look. I really wanted to use large format tiles on the shower walls because I assume they’ll be much easier to keep clean! Less grout lines = less places for mildew to grow, right? That’s my logic, anyway. I chose a classic basketweave marble mosaic tile for the shower floor so it’s not slippery.
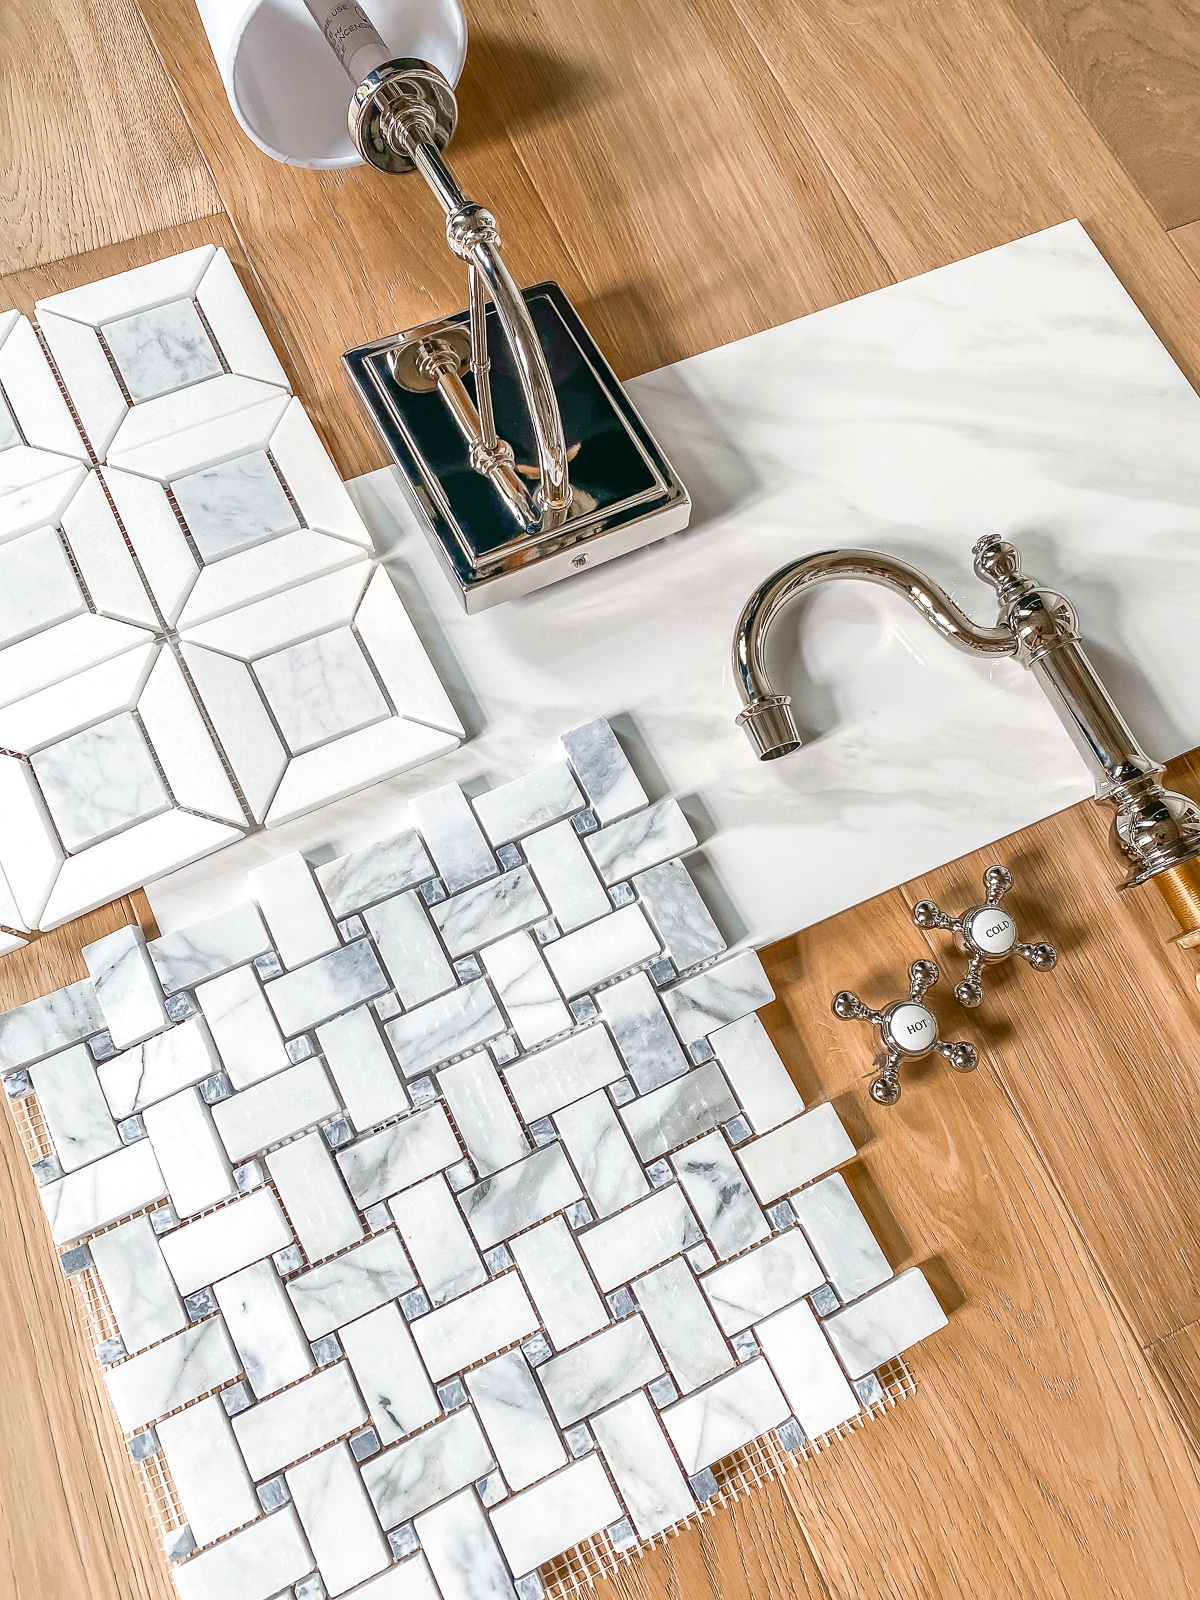
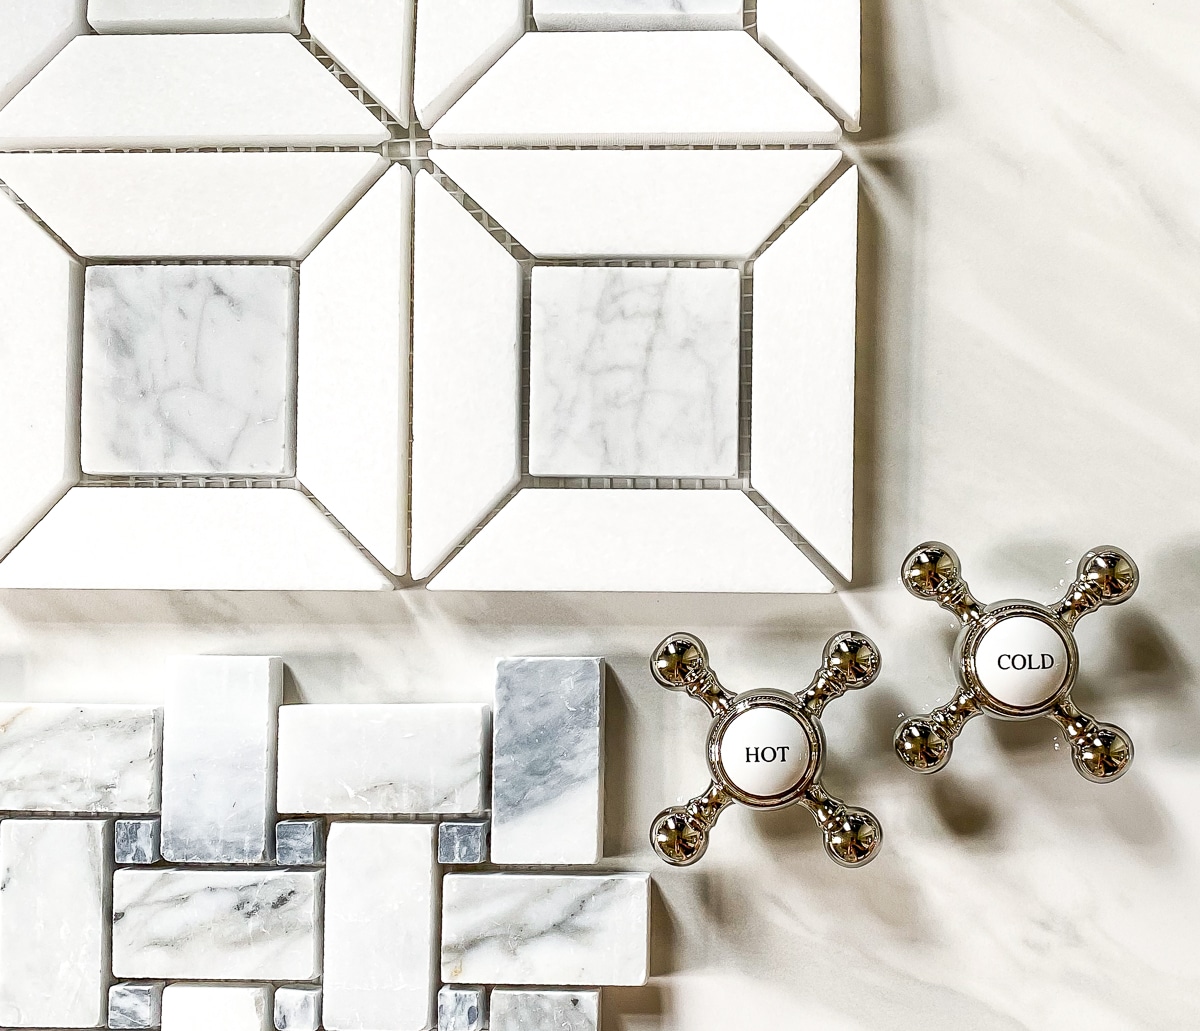
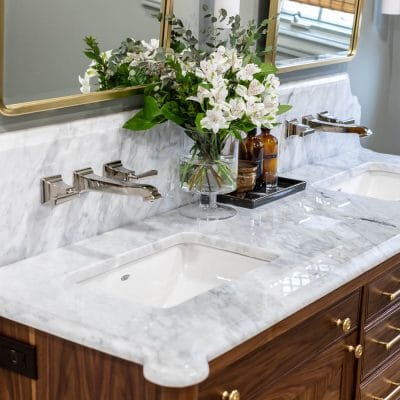
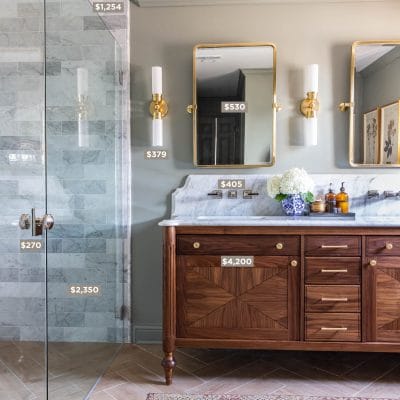
I love mixing modern with traditional styles, which is why I chose this vintage-looking faucet with the most adorable hot and cold faucet handles! I’m hoping the warm wood vanity and antique gold mirror will keep the space from feeling too cold and sterile.
Product Sources:
- Vintage Classic Widespread Faucet in Polished Nickel
- Kohler Elongated 2-Piece Toilet
- Marble Basketweave Shower Floor Tile
- Polished Porcelain Shower Wall Tile
- Marble Mosaic Floor Tile
- Polished Nickel Wall Sconce
- Antique Gold Wall Mirror
- Weathered Oak Vanity with Marble Top
- Shower System Kit
- Bath Hardware Set
 Here’s our MASTER CHECKLIST:
Demolition
- Remove bathroom door temporarily to make room for demo?
- Turn off water and valves, empty pipes and tank
- Remove pedestal sink and toilet, plug holes
- Remove medicine cabinet, bathroom hardware, light fixture
- Remove shoe molding and baseboards
- Demo floor tile and cement board
- Demo and remove shower stall
- Remove insulation
- Clean up site
Plumbing Rough-In
- Move shower valves to opposite walls
- Repair shower drain
- Guidance on shower pan installation?
- Install shower system
- Install toilet
Electrical Rough-In
- Relocate outlet to adjacent wall
- Replace overhead vanity light with wall sconces?
- Replace vent fan
- Add lighting in shower?
Framing
- Demo shower walls
- Frame pony wall
- Don’t forget to add the toiletry niche (plan around tile size)
Floors
- Prime floors with underlayment primer
- Level floors with self-leveling underlayment
Shower Installation
- Check to ensure studs are plumb and even, shim if necessary
- Add insulation
- Install cement board, seal seams
- Roll on waterproofing membrane
- Install shower tray and curb
- Waterproof floor and curb
Walls
- Repair drywall where medicine cabinet used to be
- Molding?
- Paint
- Install baseboards and shoe molding
Tile
- Tile shower walls
- Tile shower floor
- Tile bathroom floor
- Grout and caulk
Vanity
- Install vanity (will it fit?)
- Install faucet and sink
- Hang mirror
Lighting
- Install wall sconces
Miscellaneous
- Order and install glass shower door
- Install toilet paper holder, towel bar, towel ring, towel hook
- Add artwork and accessories
We’ve got a ton of work ahead of us, so stay tuned. I’ll be sharing our progress here on the blog as well as on my social media channels – I’d love for you to follow along!
 Here’s our MASTER CHECKLIST:

Don’t forget to add “grab bars” to the bath/shower. Many faucet with matching accessories offer them. Your older guests will appreciate the thought!
Great suggestion! Thanks Jan!
Have You ever thought of not having a shower curb and having the floor tile carry throughout and just doing glass to make the 2 walls? With it being such a small space that would open it up visually. Also this product keeps your remodel from ever cracking from shifting. https://www.schluter.com/schluter-us/en_US/Membranes/Uncoupling-(DITRA)/Schluter%C2%AE-DITRA-&-DITRA-XL/p/DITRA And will keep your shower dry for a lifetime.
Thanks for the tips, Suzie! Yes, I considered a curbless shower, but because the threshold to the guest room is so close to the shower, I was afraid of water encroaching upon the carpet in the bedroom. We will be using several Schluter Kerdi products for this renovation!
Did you use the shower fixture in the design picture? I purchased one for a replacement/repair. I purchased a Delta one and am not very happy with it. The part that attaches to the wall, came off. It serves only as a piece to attach to the wall, no water in that part. A plumber installed it and he used a caulk to attach to the tile and it came loose within a few months. The other issue I have with it is when I try to use the hand held portion only, water continues in an annoying fast dripping from the shower head. If you are trying to spray off your feet only, you get water coming out at a steady dripping all over. The plumber is saying this is the way it works. I don’t believe him. Wondered if you had that annoying drip problem.
Hi Sherry,
Thanks for the question! Yes, we used the shower system in the design board and haven’t had any issues with it so far. Hope that helps!
Worth Appreciating. Great work.
What was your paint color for the walls? Looks amazing!
Thanks, Melanie! I’m not sure what the paint color was when we moved in, but it’s now Swiss Coffee by Benjamin Moore.