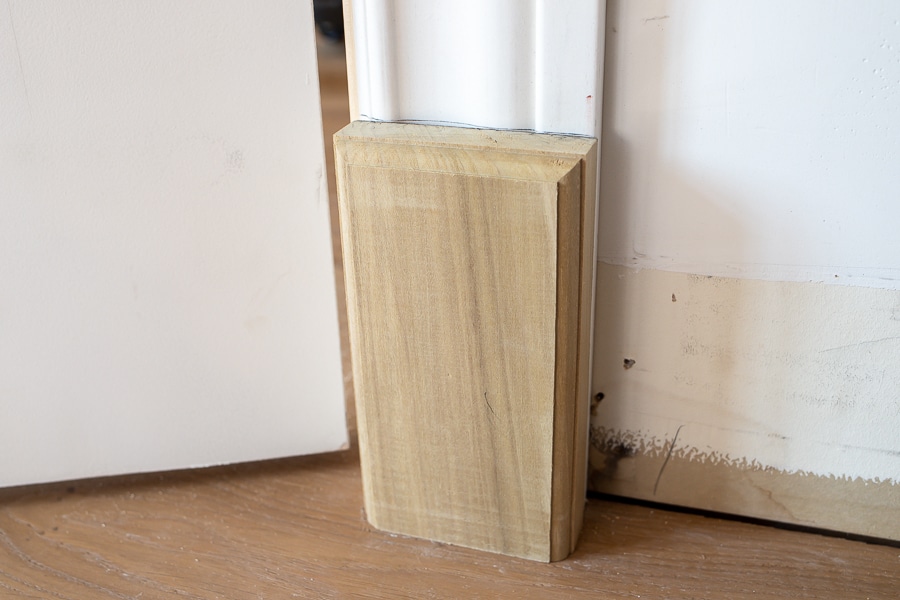
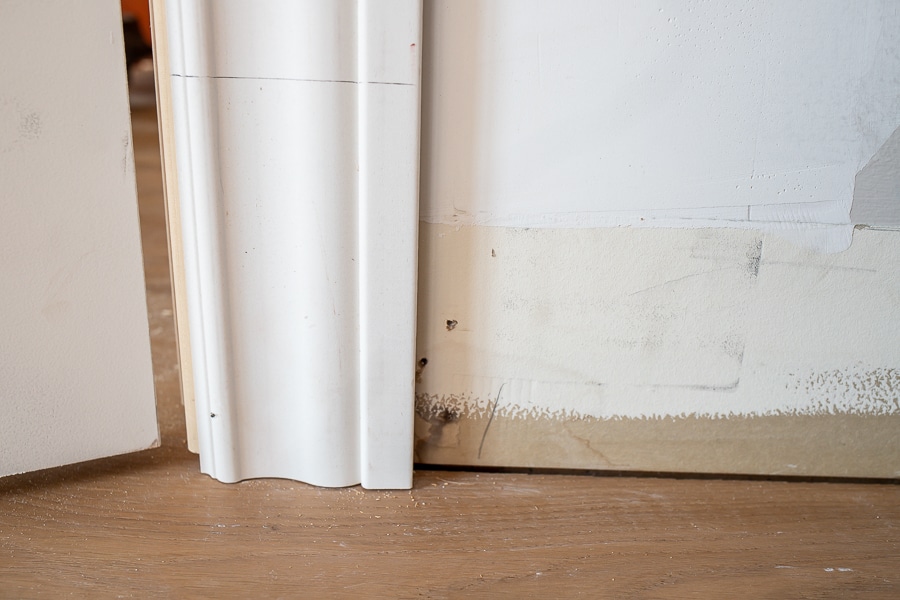
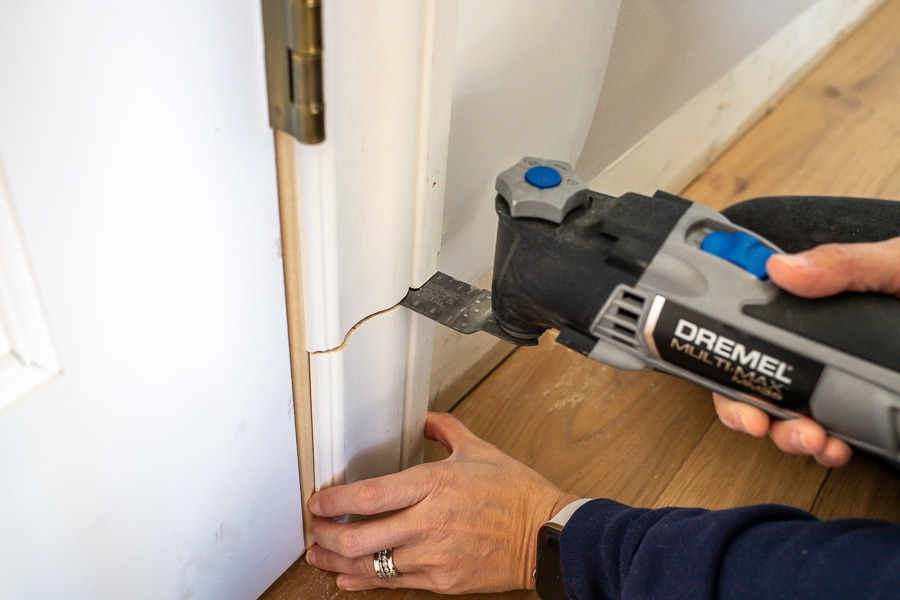
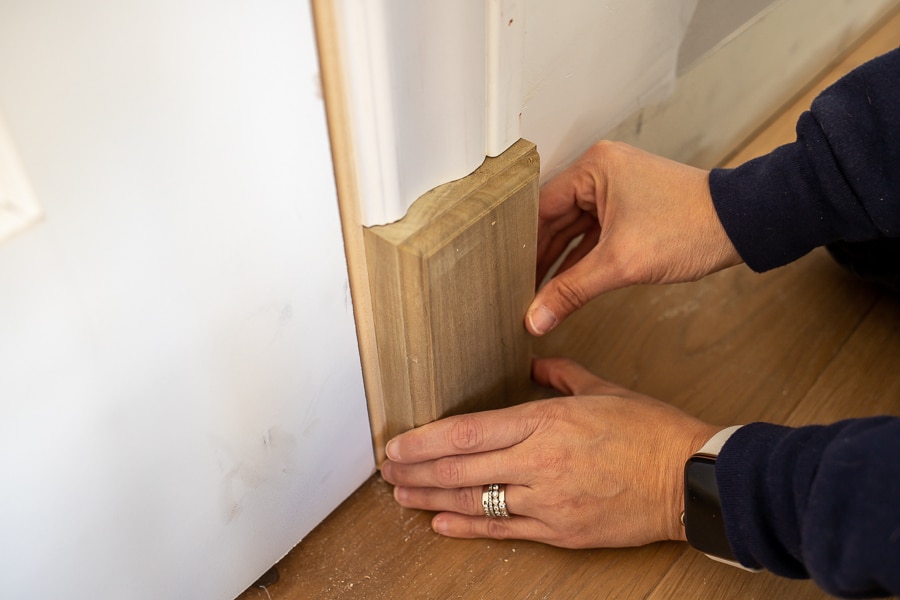
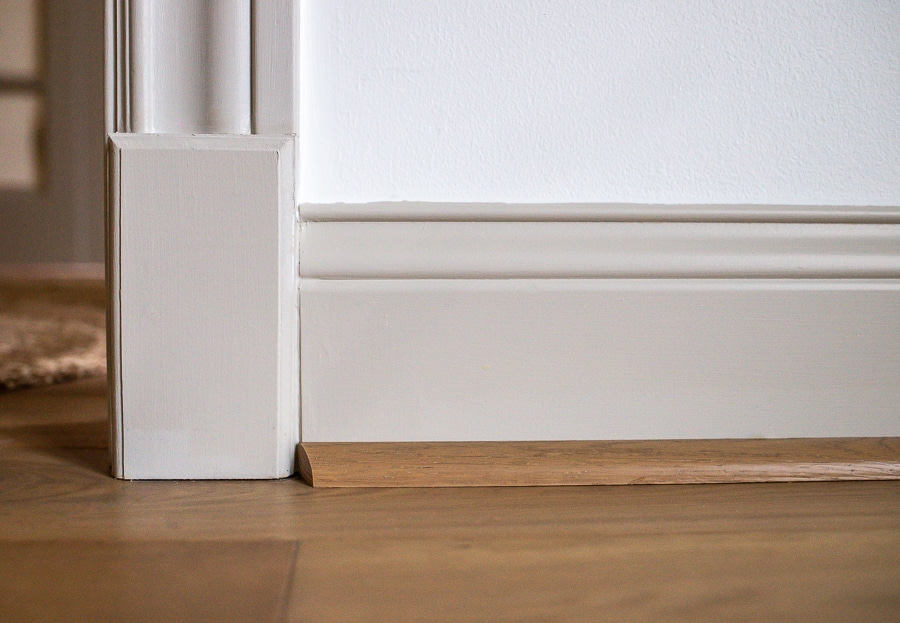
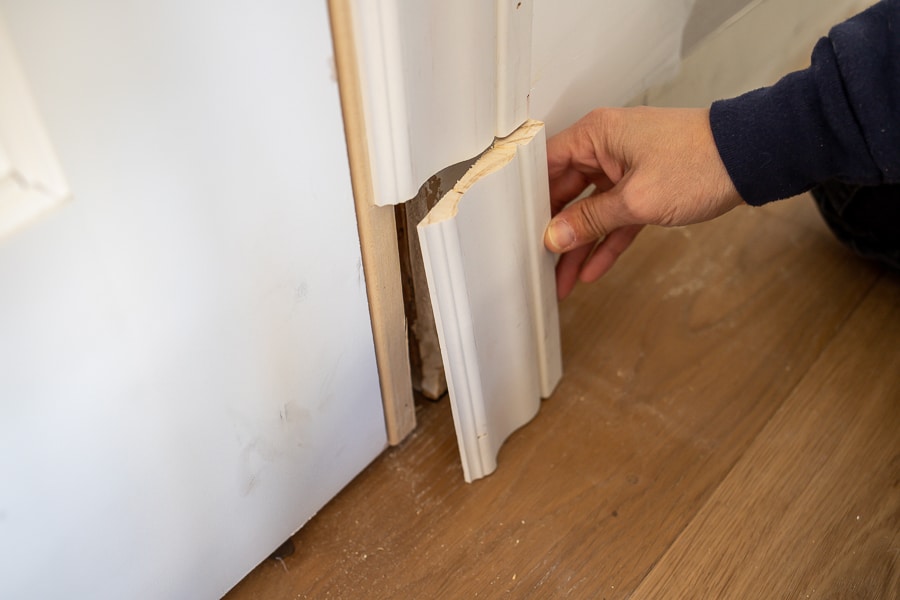
We recently replaced the flooring on the main level of our home and what started out as one project, quickly morphed into several. What’s that saying? If you give a mouse a cookie… The original floors were thicker than the new engineered hardwoods, so we were left with an unsightly gap between the door casings and the new floors. Instead of replacing all of the door casings and trim, we chose to install plinth blocks to bridge the gap.
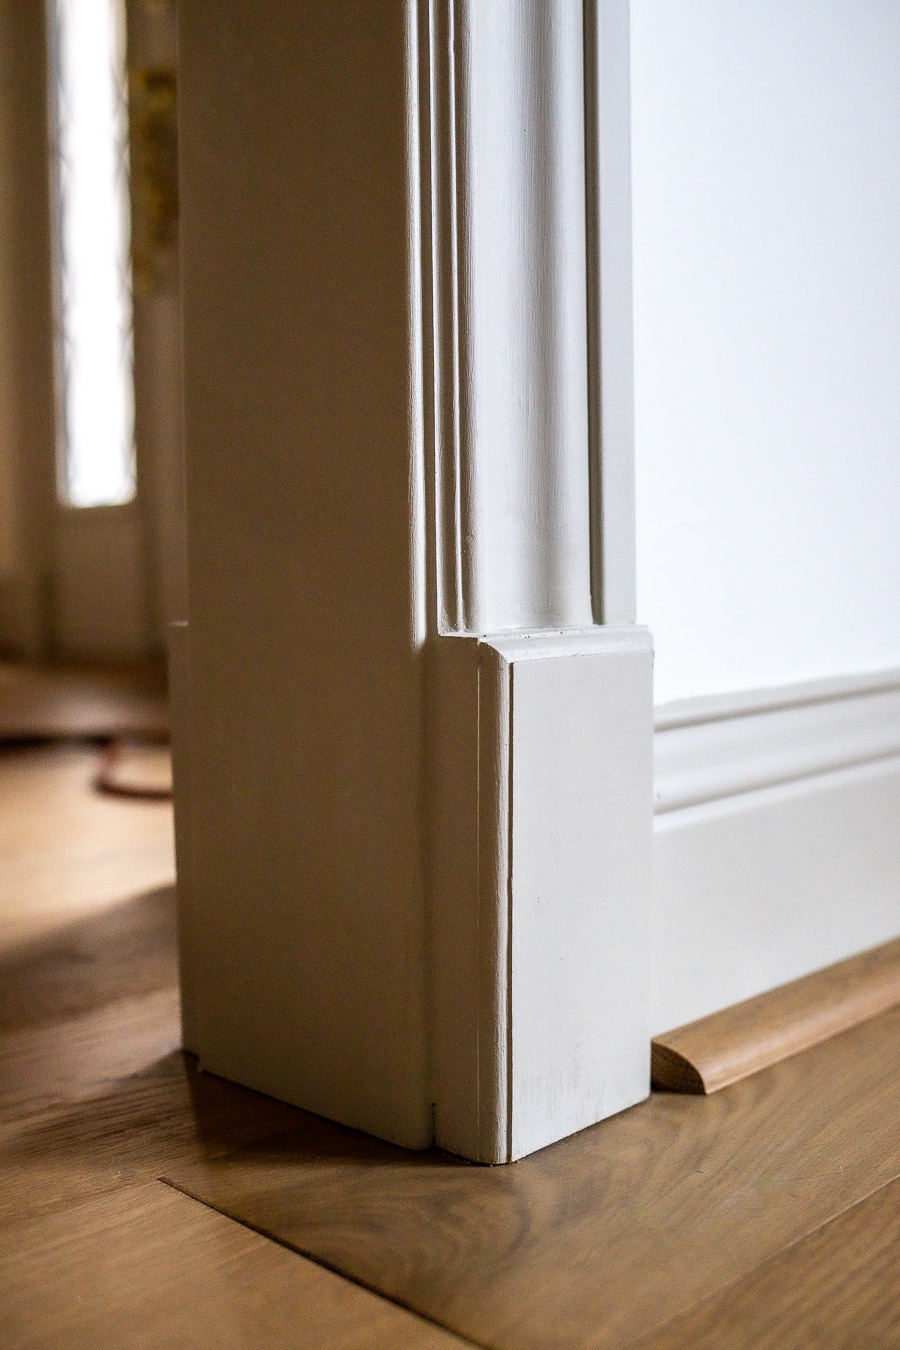
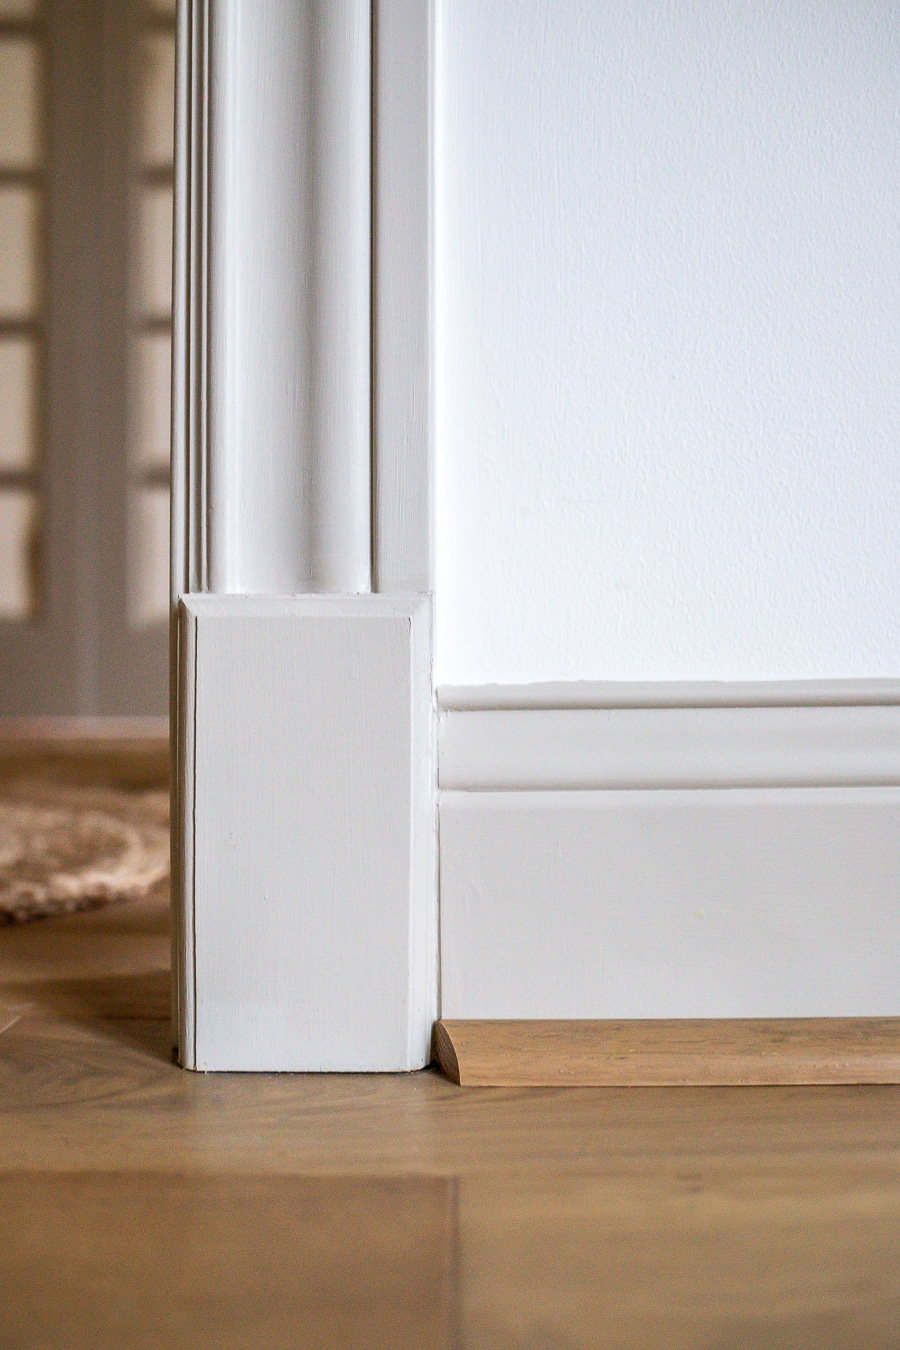 So, what is a plinth block? Plinth blocks are molding pieces located at the base of a door casing to create an intentional transition to the baseboard. Not only do they add a classic architectural detail to a home, but they’re surprisingly easy to install!
Looks great! I just installed some in our daughter’s room because it was one of the only rooms in the house that they were missing. Where is your quarter round return??! 😛
Haha! We’re getting there!
Appealing information! Sounds Good.
I’ve got your plinth block and I’ll raise you 78 of them. I had never heard of these before I moved to KY. When we purchased our home here in KY part of what needed to be finished was the door and floor molding. Plinth block to the rescue! (BTW…I didn’t even know what they were called until this blog post.)
Haha! We had to install 44 of them on our main floor and that was plenty! The jury is still out on whether we’re going to be renovating the 2nd floor and basement…
We just redid our floors and we’re looking into “what to do with the gap” and BOOM this popped up in my feed. Solution found. I’ve followed your tutorials on a few projects and they’ve worked out great. Thanks for the ideas
Will be replacing flooring soon and will likely have the same issue. Nice solution! Jen, Would you share the color you used on the baseboards and the color on the wall? Looking at gray to lighten up our dark baseboards and molding.
Thank you Carolyn! I used Revere Pewter on all the doors and trim and love it! I’ve used this color in our past 3 homes and it never disappoints!
I’m wondering why you had to add the floor colored spacer in front of your baseboard. You took off the baseboards before installing the floor…what’s the function of the floor colored spacer?
That’s a shoe molding or quarter round. It’s the standard way to close off/finish the intersection of the floor and the baseboard.
Also, scuffs don’t show as they would on a white surface. The only other thing that would improve appearance is to cut it in an arc rather than sharply at an angle, so it dies into the wall. Then sand the edge of the quarter round. If the block had more depth, you could cut it perpendicular. But I think proportion for the block is perfect as it is.
I am just now running into a problem, similar to yours. We removed our carpeting and found our door casings are about 3/4″ above the original wood flooring. I am going to cut and router my own as “store bought” pieces are way too expensive (like $5.00 each) and cut the casings as you did. So my question is this: Your Plinth blocks look really thick. I was planning to go a little thicker than my door casing/baseboard. I also noticed you are using trim at the bottom of your baseboard. Am I to include the thickness of the baseboard trim piece when calculating the thickness of the plinth? If I did, I could just butt it up to the plinth….and lastly, how tall do I make my plinth’s, is there a standard height?
I absolutely loved this post! Adding plinth blocks seems like a simple yet impactful way to enhance the character of a home. The step-by-step guide was very helpful, and the photos really inspired me to try this in my own space. Can’t wait to see the transformation! Thank you for sharing such great tips!