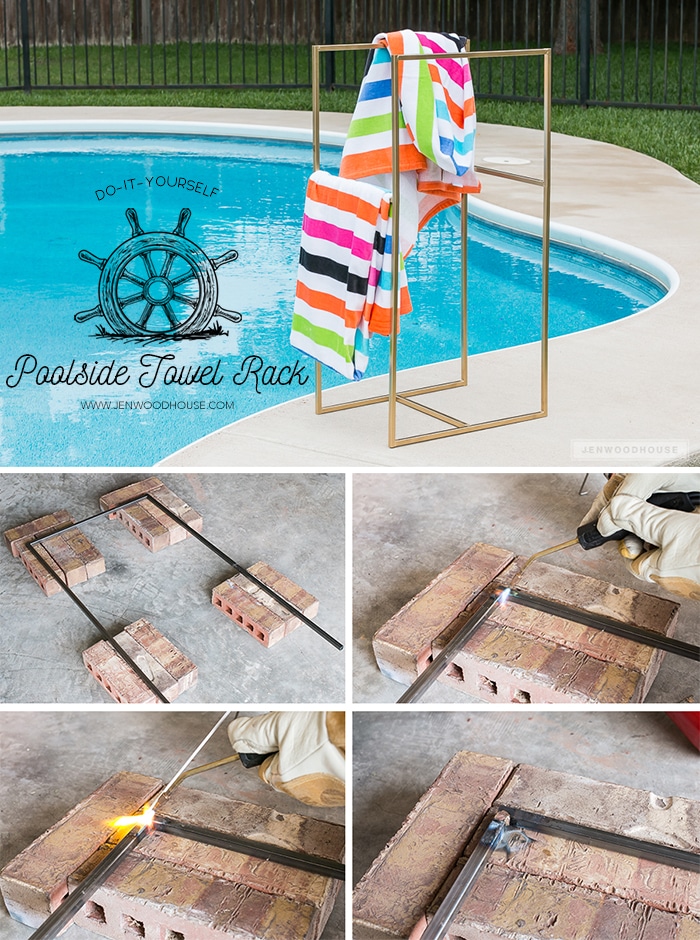
It’s Summertime here in Texas and the temps are heating up! The kiddos have been out of school for almost a month now (we homeschool) and they’ve been taking swimming lessons every week. We’ve been spending quite a bit of time out by the pool lately which is why I’m so excited to share my latest Bernzomatic project with you: this DIY Metal Poolside Towel Rack!
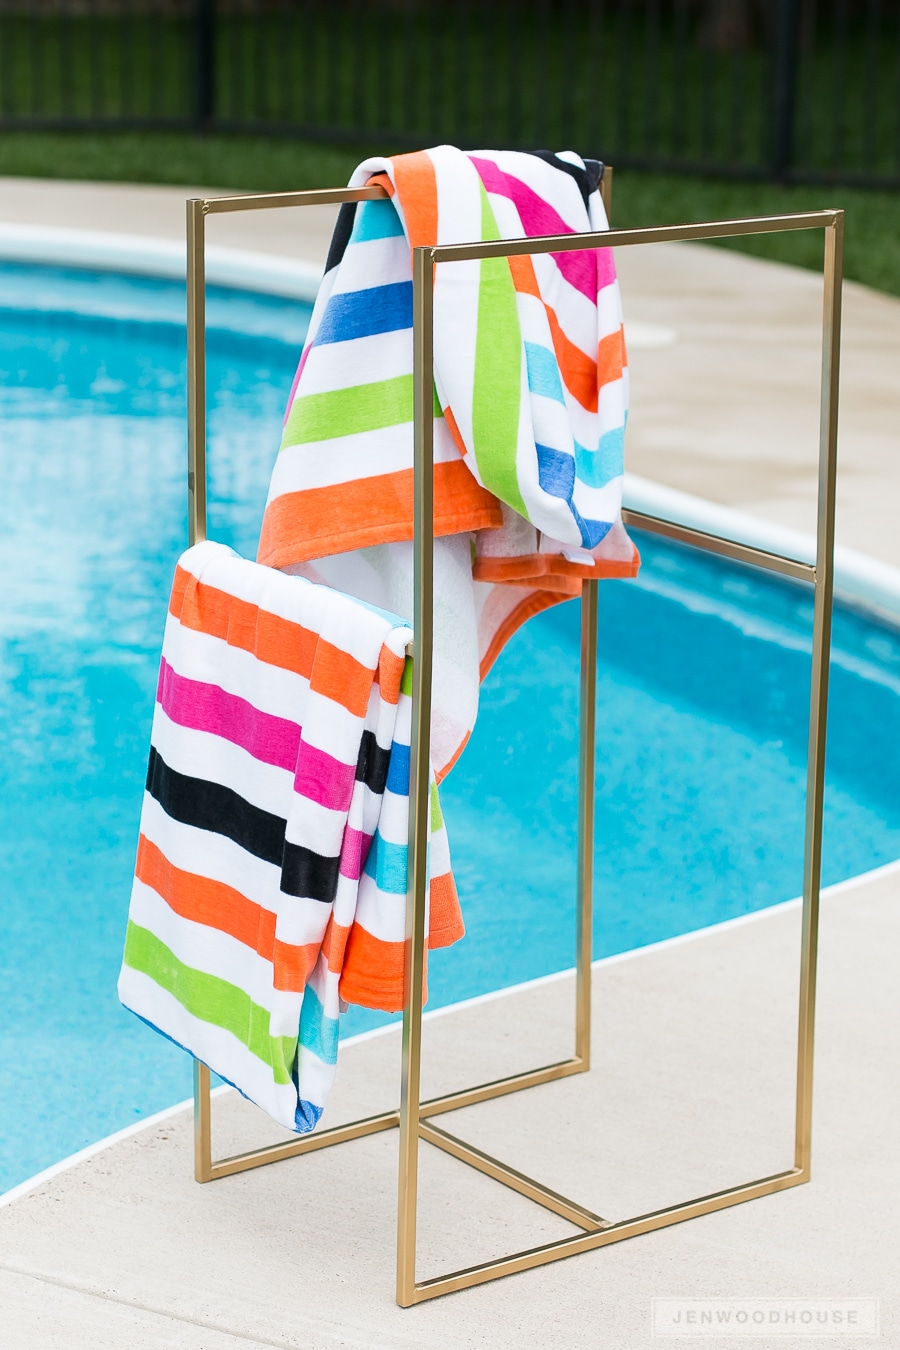
Isn’t it cute? And so handy too. I wanted the design to be sleek and modern – something super lightweight that would keep our beach towels easily within reach. Mission accomplished.
If you recall, I’ve teamed up with Bernzomatic to bring you various DIY projects throughout the year using their blowtorches. Do you remember my metal candleholder sconce, copper spice rack, and wood-burned Easter eggs? Who knew blowtorches could be so fun (and not so scary)?
So are you ready to make your own DIY Metal Poolside Towel Rack? Let’s get started!
Okay, safety first! Read these general safety precautions and follow all safety warnings included with Bernzomatic fuel cylinders and hand torches. Also, please don’t hold me liable for any injuries or damages – I’m not a blowtorch expert, I’m just a homeschooling, Army wife, work-from-home mom who enjoys learning new things and sharing my experience with y’all.
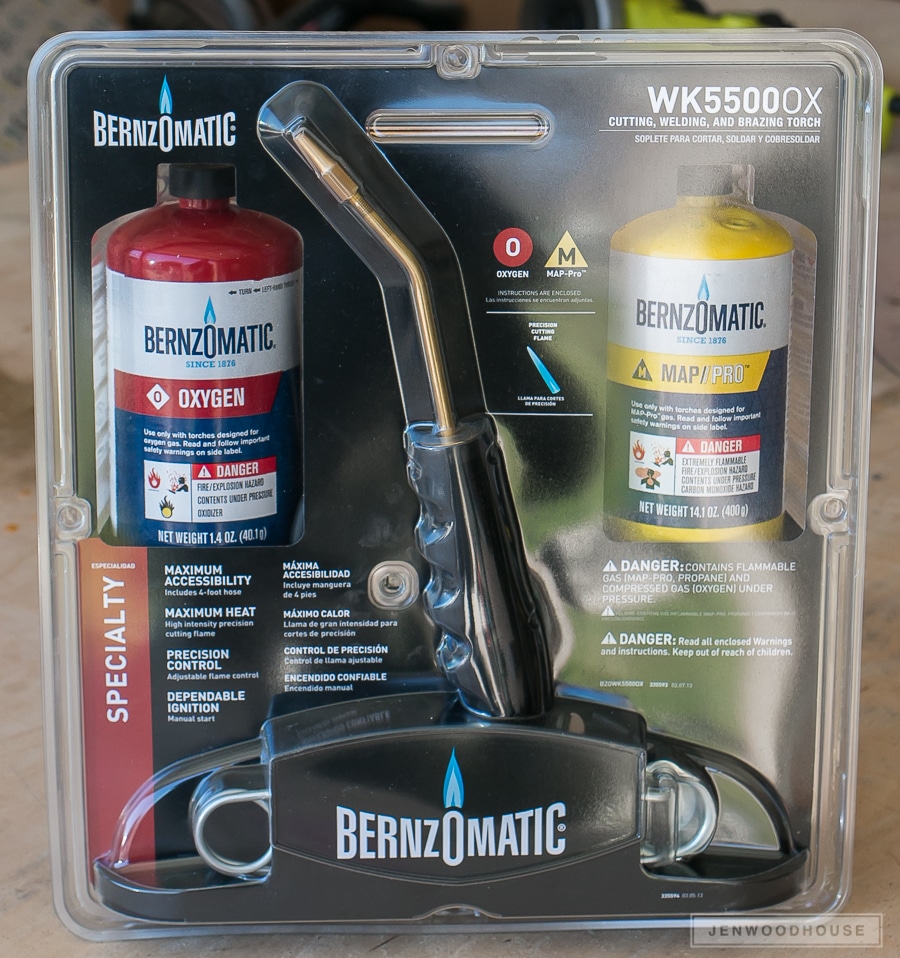
- Bernzomatic WK5500 OX Cutting, Welding, and Brazing Torch Kit
- Jigsaw with Metal Cutting Blade
- Angle grinder with grinding wheel
- Steel Clamps
- Protective Gloves
- Shade 5 Safety Glasses
Materials:
- Bernzomatic plumbing flux and acid brush
- (7) 36-inch Steel Square Tubes
- Gold spray paint (optional)
Cut List:
- (4) Steel Square Tubes @ 36 inches
- (4) Steel Square Tubes @ 18 inches
- (3) Steel Square Tubes @ 12 inches
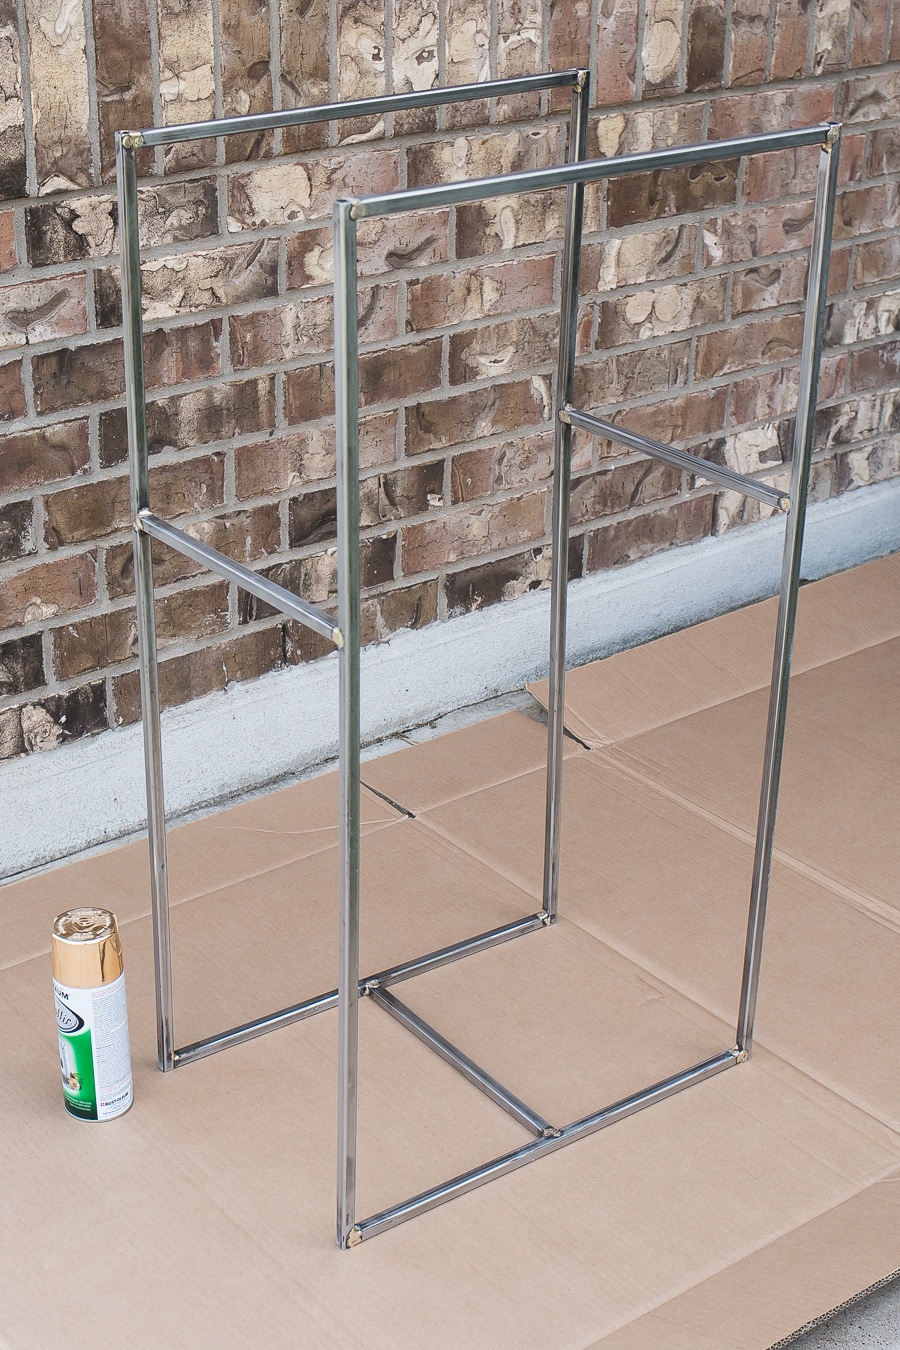
Using the cut list above, measure, mark, and cut the steel square tubes to length. We used a jigsaw fitted with a metal cutting blade. Then we used an angle grinder to grind down any sharp edges. Once all of our pieces were cut, we sprayed brake cleaner to clean the metal.
Before you fire up the torch, be sure to check the cylinders for leaks. Here’s a great video on how to do this, along with some helpful torch safety tips. After you connect the torch to the cylinders, open the fuel valve slowly and use the spark lighter to ignite the torch. The flame will appear soft yellow and should be between 4-6 inches long. Slowly increase the flow of the fuel by adjusting the fuel valve so that the yellow portion of the flame touches the tip of the torch. Adjust the fuel valve until the flame is about 7-9 inches long. Then, gradually open up the oxygen valve until there is an inner blue flame about 1/2 inch long at the tip of the torch. The outer blue flame may be longer. This is the welding/brazing flame we’ll need.
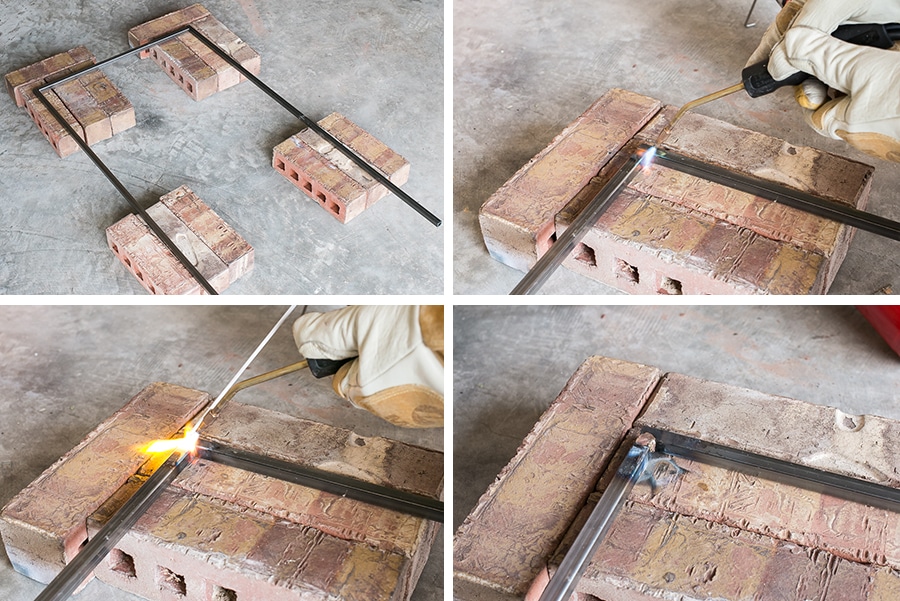
We laid out our steel tubes on a non-combustible surface and fired up the torch. Always use protective gloves and safety goggles when operating the torch. When brazing or welding, it gets pretty darn bright, so I actually recommend Shade 5 Safety Glasses.
So what the heck is soldering, brazing, and welding and what’s the difference? Here’s a helpful article.
We used the torch to start heating up the joint. I like to apply a little of the flux just to clean the metal further and get rid of any potential contaminants. The flux sizzles when you add the flame. The cleaner the metal, the better the braze will be. Also, the heat is cumulative, so keep the torch in motion because the metal will want to dissipate the heat.
Once you achieve an even, rosy orange glow, then you’re ready to introduce the welding rod. Use the brazing rod to braze the pieces together. Pay attention here because the brazing rod will melt pretty fast and will drip like molten lava. We used the rod to gently direct the melted metal along the joint. Then, we put the brazing rod down and used the flame to flatten out the seam. Turn the torch off and allow the metal to cool naturally. Don’t speed up the cooling process with water or you may risk stress fractures in the joint.
The torch kit should have everything you need to complete this project, but if you work at a slower pace, you may need to get an additional oxygen cylinder.
After the towel rack was cool enough to touch, we used a power sander to sand down the joints and clean them up a bit. Then we spray-painted it gold and let everything dry overnight.
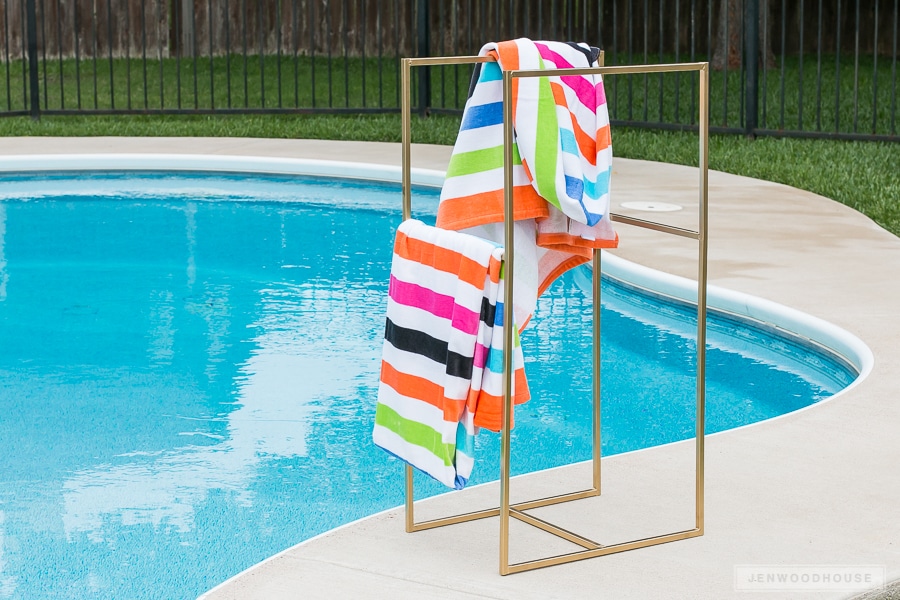
Easy as pie!
Great.
Now I want pie.
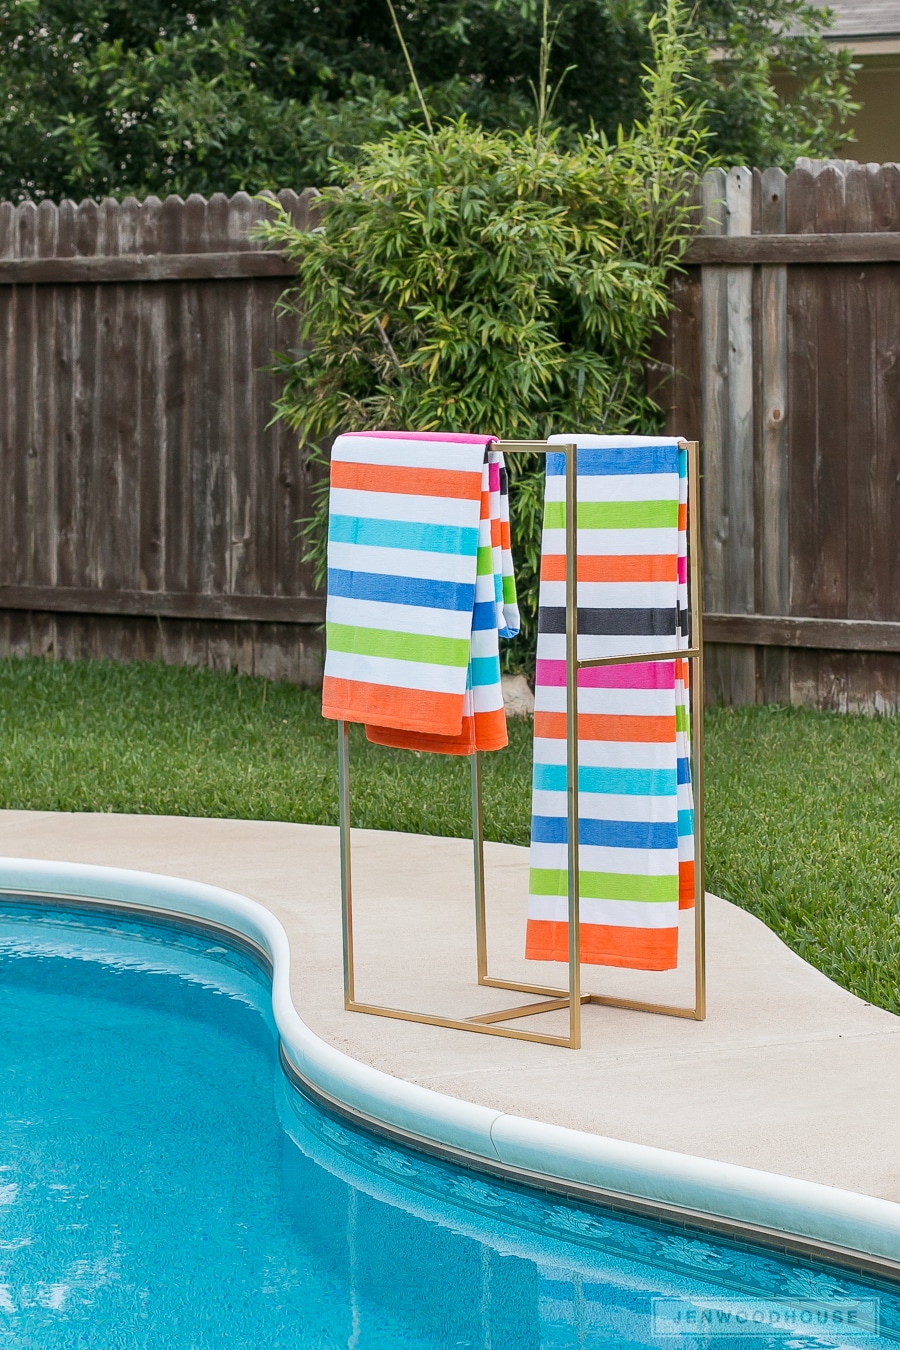
Thanks for reading friends – be safe, have fun, and get out there and make something awesome!
Did you love this project? PIN IT so you don’t forget it!
*This post contains affiliate links and is sponsored by Bernzomatic. To read my full disclosure policy, please click here. I am a Bernzomatic Torch Bearer; all opinions and efforts are my own.


So pretty, definitely fancied up that pool area with little effort.
Thanks Jaime!
I kind of love this, but wouldn’t a metal anything get really hot in the Texas heat?
Hi Mandy,
Yes, everything gets ridiculously hot in the Texas heat! There’s just no escaping it! haha
I’m worried about rust, my dad suggested we make it out of aluminum. He can has welding Equipment but I wanted to get your thoughts. Is rust really going to be an issue?
No, it shouldn’t be – we used Rust-Oleum spray paint and on the can it says that it stops rust.
Thanks Jen!