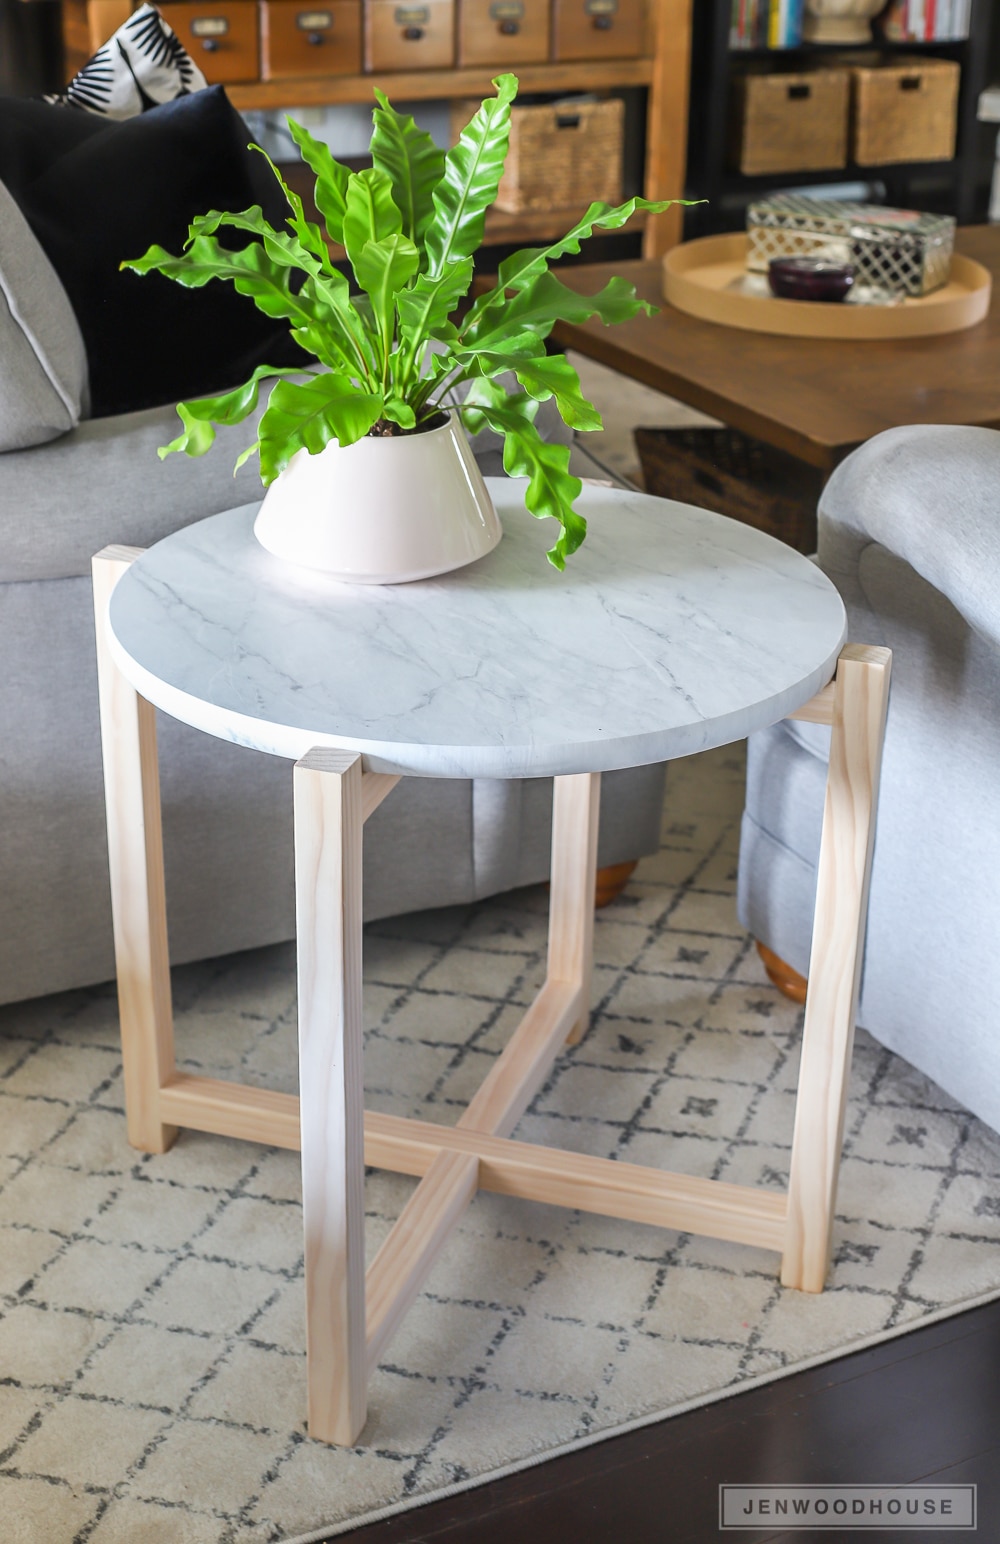
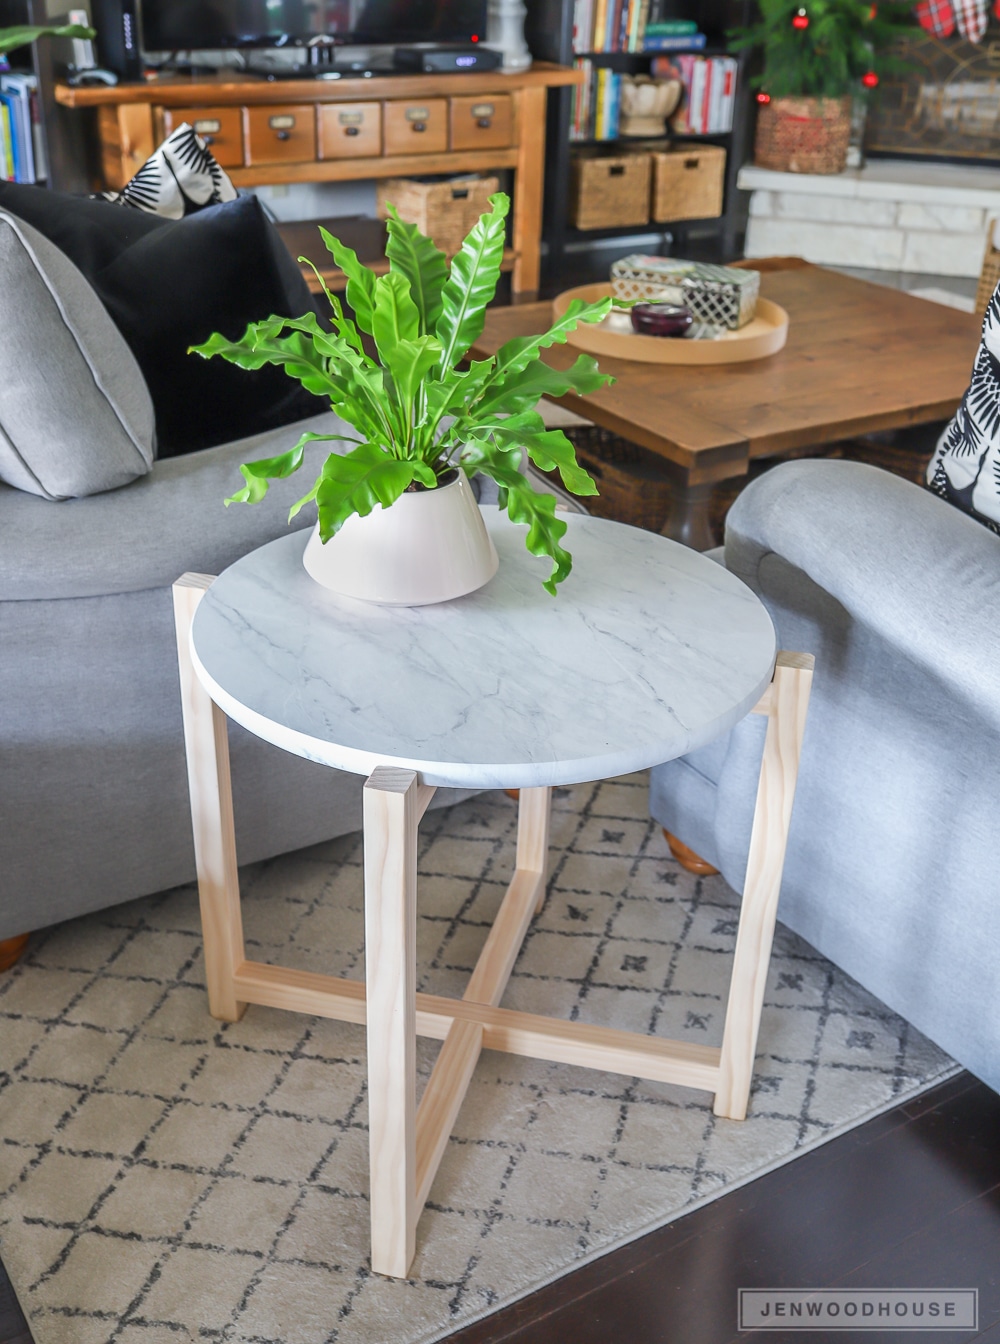
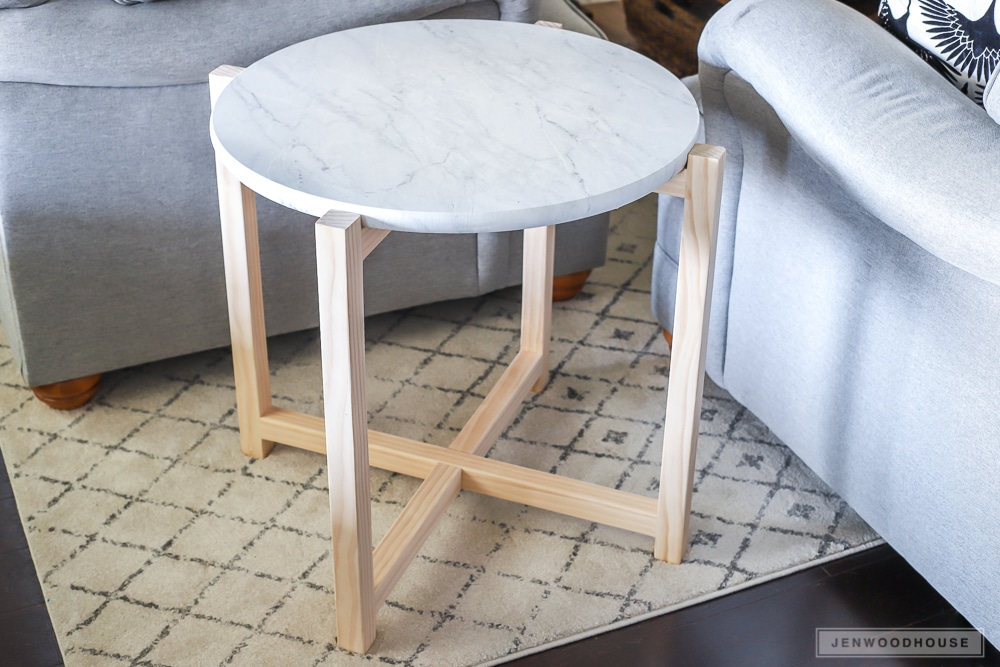
Take a good look at this round marble side table. Would you guess that isn’t real marble? It’s contact paper! Yep. It’s true. I’ve partnered with the friendly folks at BuildSomething.com again to bring you the free plans and tutorial for this chic Round Faux Marble Side Table. We’ve been wanting to put a table here between our sofas for months now, so I’m thrilled to have this project finally crossed off the list. This sleek side table cost about $50 to make!
 Materials:
- (1) 23 3/4-inch Round Wooden Project Panel
- (2) 2 x 2 x 8 Ft. Boards
- (1) Roll of Marble Contact Paper
You’ll find the complete plans on BuildSomething.com
I built this table in about 3 hours – the super simple yet sleek, modern design is beginner-friendly so if you’re wanting to tackle your first project, this is a great one for you. I used pocket hole joinery throughout the entire build, but in hindsight, I recommend using pocket hole joinery just to attach the stretchers to the legs, but using a half lap joint at the cross sections. It makes for a tighter and more elegant joint. However, if you’d prefer to stick to a simpler solution, pocket hole joinery will work just fine.
Okay, so let’s talk marble contact paper. I ended up purchasing four different rolls because I’m thorough like that (you’re welcome) and here’s what I found:
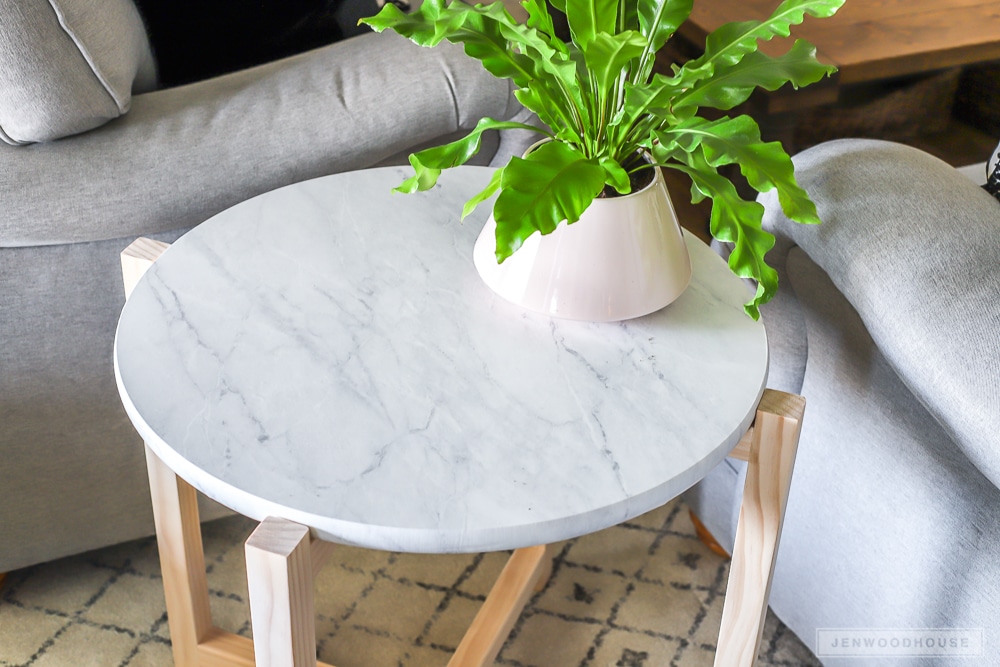
This one had a pattern that looked unnatural to me and the high gloss finish on it looked and felt too slick. I didn’t like the busy veining pattern on this one, and this one had a very bluish tone to it. This is the one that I ended up using. Initially, I was concerned that the matte finish wouldn’t hold up to moisture or things being spilled on this table, but after reading the comments where folks have used it on their kitchen counters without issue, I gave it a go. Sure enough, even though the finish is matte, it wipes up easily and it actually looks and feels more natural than the others did – so all good reports here!
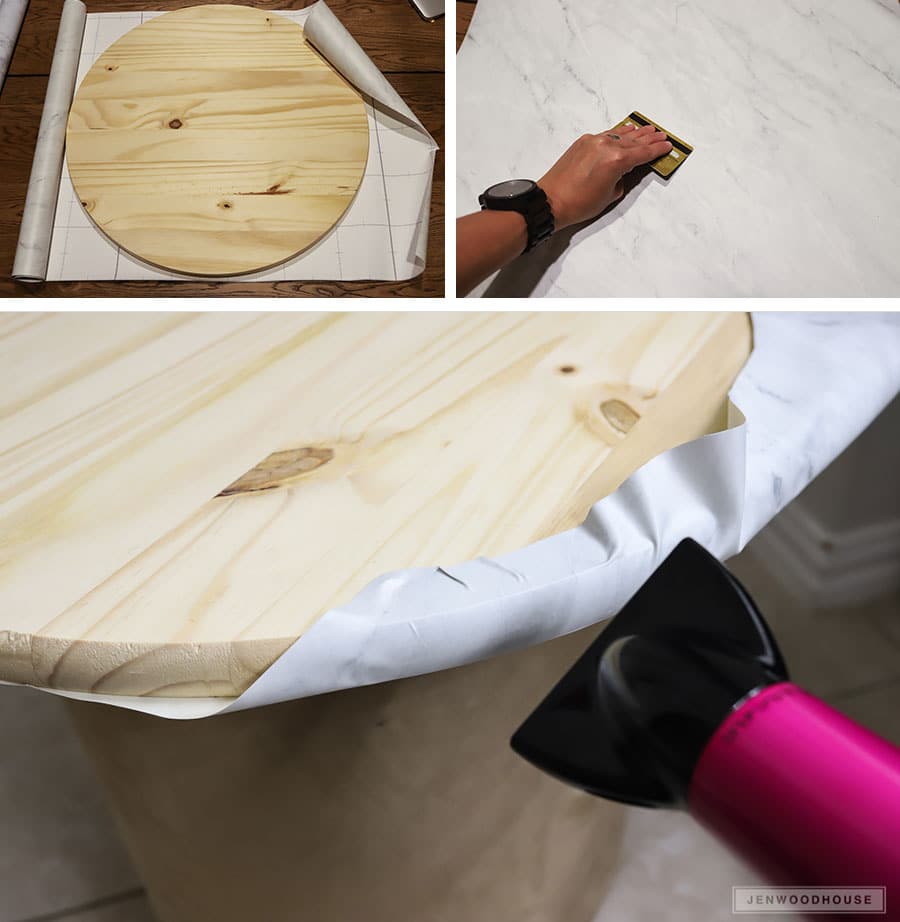
Another thing to consider is because the contact paper comes in a roll that is 24 inches wide, and the wood project panel is 23.75 inches in diameter, it’s going to be a very tight fit to get the paper to cover the entire round straight out of the package. This was the most difficult part of this project… and it wasn’t that difficult, just mildly frustrating at times.
So here’s how I did it:
This job is easier with two people – one person holds the hairdryer and directs the heat, while the other stretches the contact paper to fit over the wood round. The heat will allow the paper to stretch a couple of inches. You can also use the hairdryer as you’re pulling the paper over the curved edge; the heat gets rid of any wrinkles too! It’s super cool. Go slow and don’t get frustrated – just work in small increments until the entire table top is covered in this beautiful marble contact paper.
Attach the top to the base and there you have it! I love how versatile this table is – it can easily transition from living room end table to bedroom nightstand.
Another tip worth mentioning – if you’d like to use real marble for the table top, check out your local granite installers. Often times, they’ll have remnants that they’re willing to sell at a discount.
When we lived in Kentucky, the granite folks were practically giving their remnants away, at about $5-$10 a slab. Here in Texas, the lowest price I found was about $25-$30/square foot. I wasn’t too keen on spending a hundred bucks on a side table, so I opted for the more budget-friendly option. Fake it till you make it, amiright???
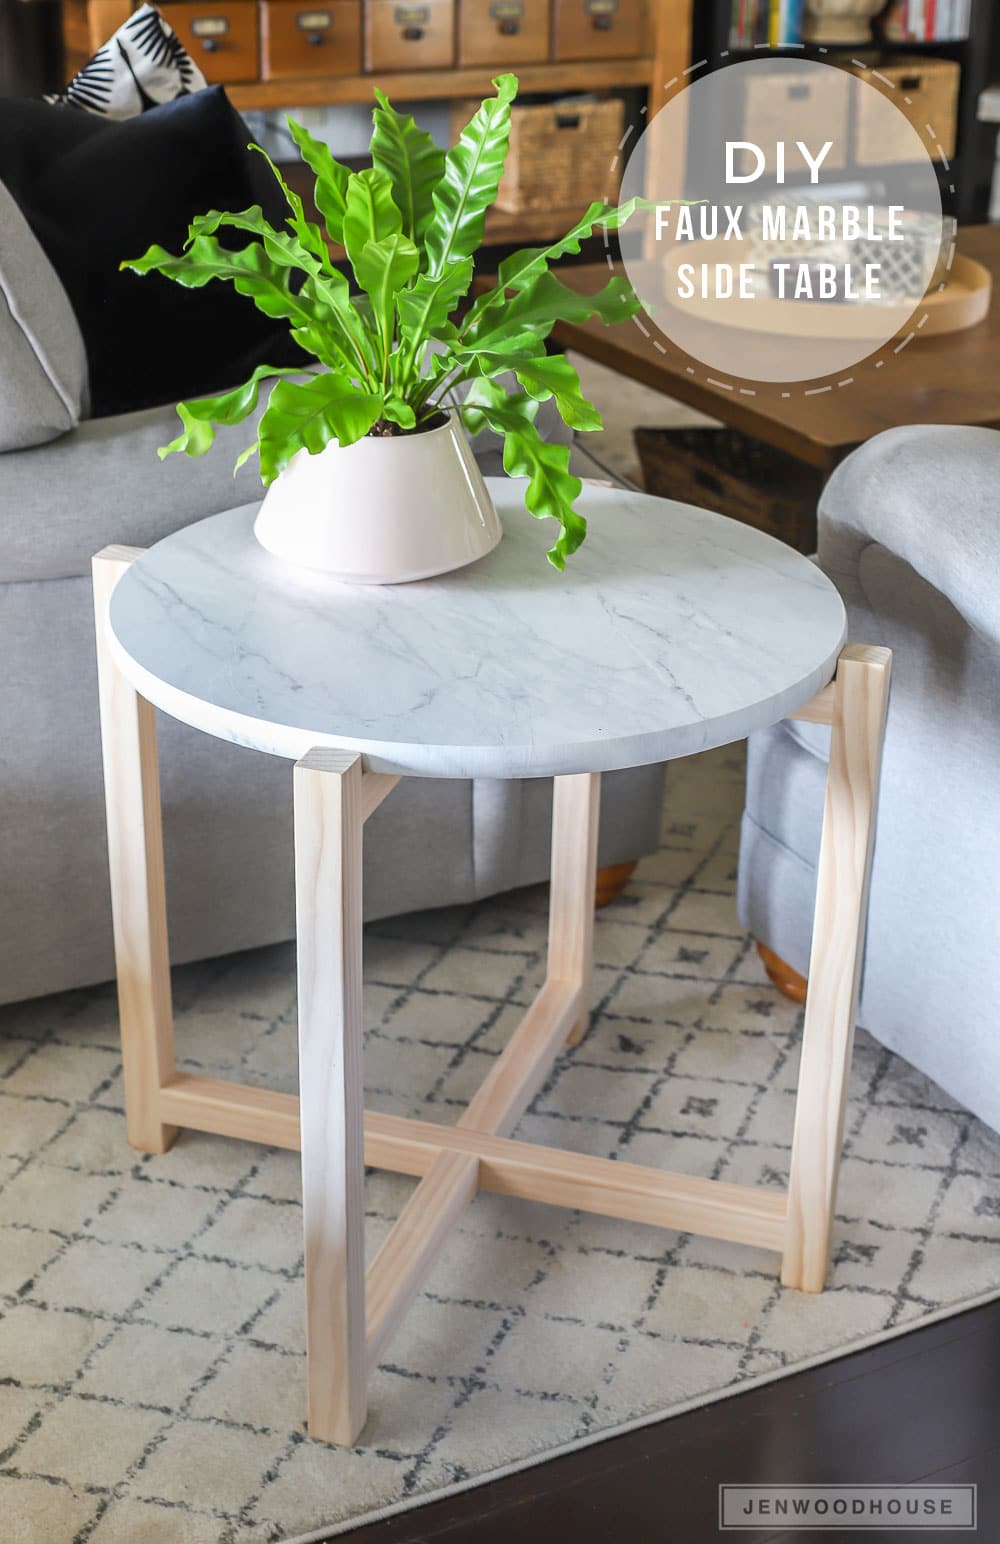
Love this project? PIN IT so you don’t forget it!


Hi! I am looking for a mini version of this– for plants!
would this work, or do you have a DIY plant stand like this?
thanks
Tara
Hi Tara,
A mini version for a plant stand would be adorable! I’d recommend shortening the length of the legs and the support boards and maybe using a 12-inch diameter top. Good luck!
Hi Jen! This is beautiful and genius, but it got me to thinking. I have an open concept plan in my new home build and wondered it this would hold up a real piece of quartz? I am paying for the quartz and if I have enough left over, I would love to use the real stuff that matches my island in my living area 🙂 What do you think?
Thanks for your wonderful ideas, they are so inspiring!
Hi Lynnette,
Lucky you to have some leftover stone! I’d definitely opt for the real thing if I had it! Yes, the frame is strong enough to hold a stone top, I’d just recommend adhering the stone to the wood with some construction adhesive. Hope that helps!
I am so in love with this! I will definitely be doing this in the near future. Thanks for sharing!