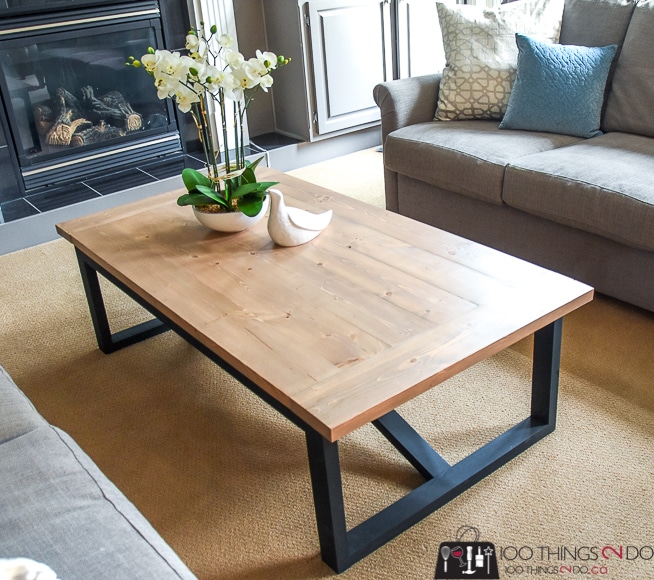
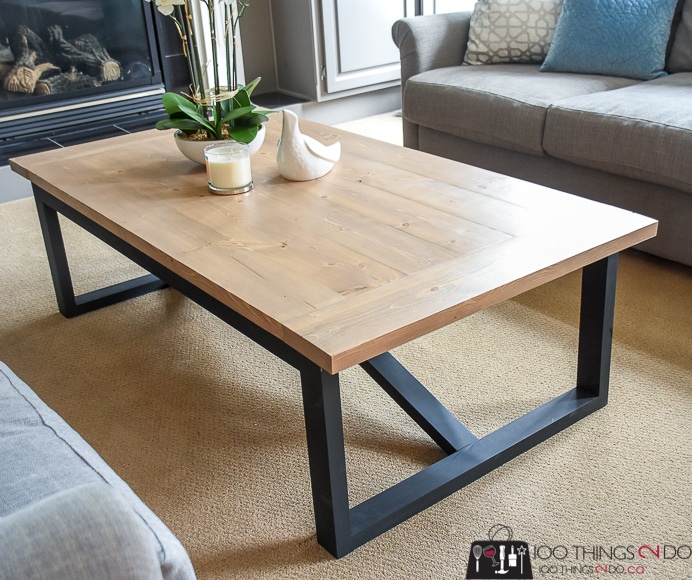
Good morning House of Wood readers! It’s Shelly from 100Things2Do.ca and I am SO EXCITED about today’s build – a rustic industrial coffee table that is SO EASY to make you’re gonna wanna kiss me! Truly. It’s easy, it’s gorgeous, and SO affordable! (Please, no tongue.)
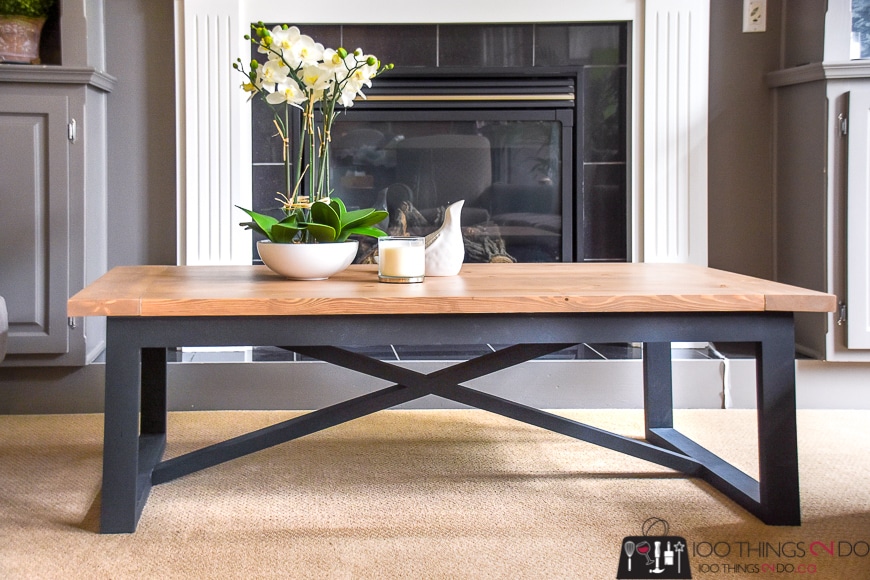
I was looking for a change from my rustic X coffee table and came across this coffee table from Restoration Hardware:
LOVE the table, HATE the price tag. That’s $3k Canadian folks – far more than selling all of my organs would raise. So instead, I came up with building plans to make my own rustic industrial coffee table – all for about $100!
DIY Rustic Industrial Coffee Table
Wood:
- (4) 2 x 3 x 8 Ft. Boards
- (2) 2 x 6 x 8 Ft. Boards
- (4) 2 x 6 x 6 Ft. Boards
(my lumber store didn’t carry 2″x 6″x 6′ so I purchased a total of 6 boards in 2″ x 6″ x 8′)
Cuts:
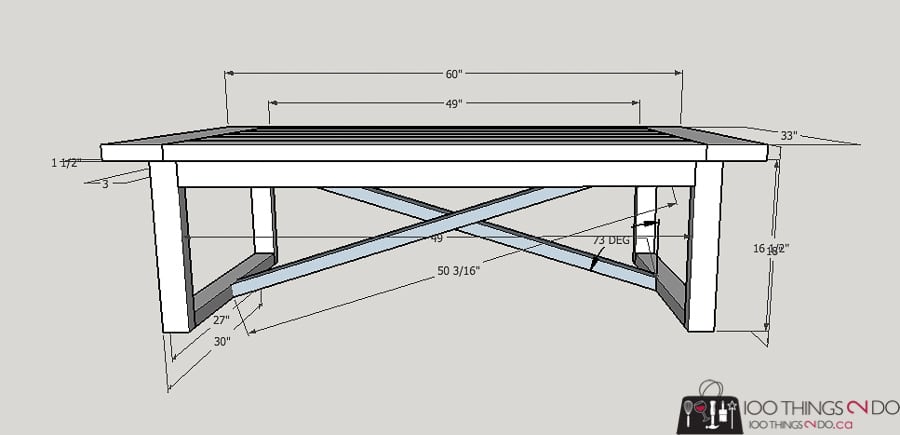
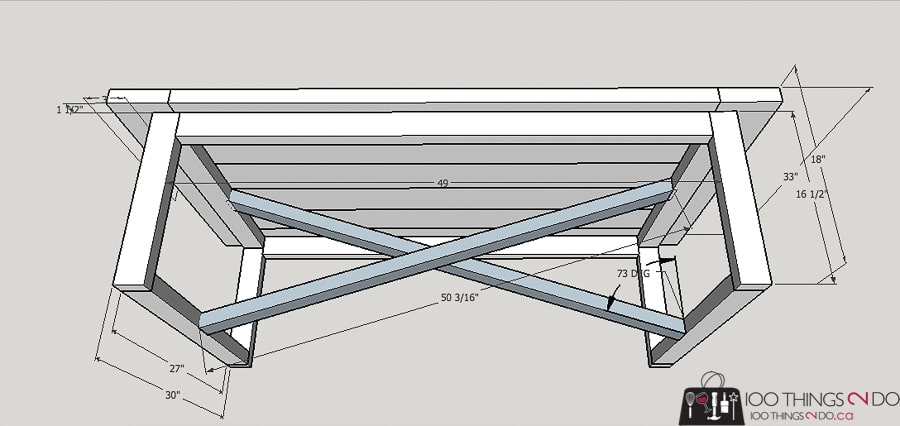
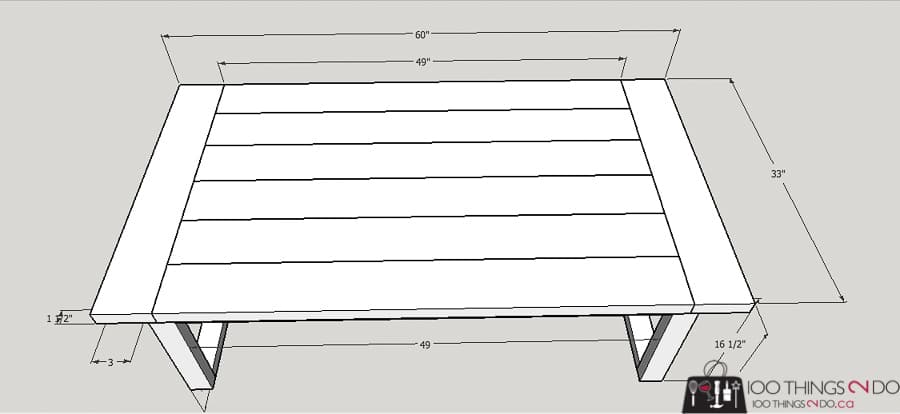
- (4) 2×3 @ 16 ½ inches
- (4) 2×3 @ 27 inches
- (2) 2×3 @ 49 inches
- (2) 2×3 @ 52 inches (angled)
- (8) 2×6 @ 33 inches
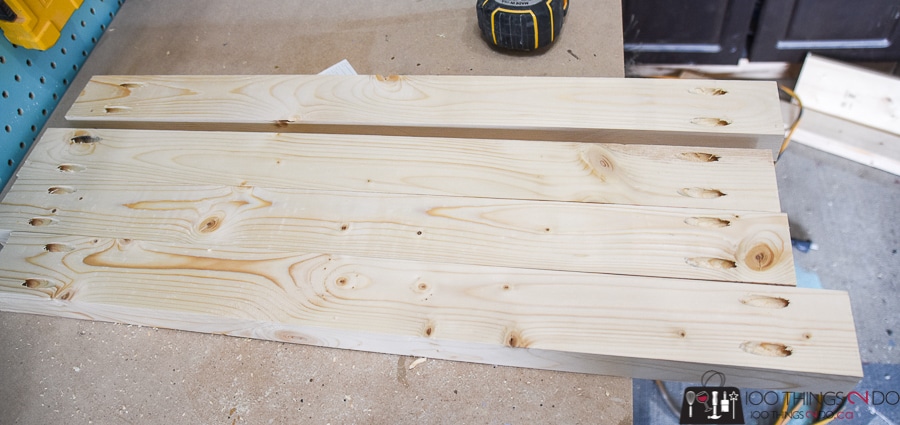
I purchased regular 2×4 lumber from my local home improvement store and ripped each board down to 2 ½ inches wide (the nominal width of a 2×3 board), and used a thickness planer to smooth the surface. The planer isn’t a “need to have”, it’s just a “nice to have” look. Your DIY coffee table will be just as gorgeous without this step.
Once all of the DIY coffee table pieces are cut, drill pocket holes into either end of the ugly side of your 27-inch boards and the ugly side of your 49-inch boards.
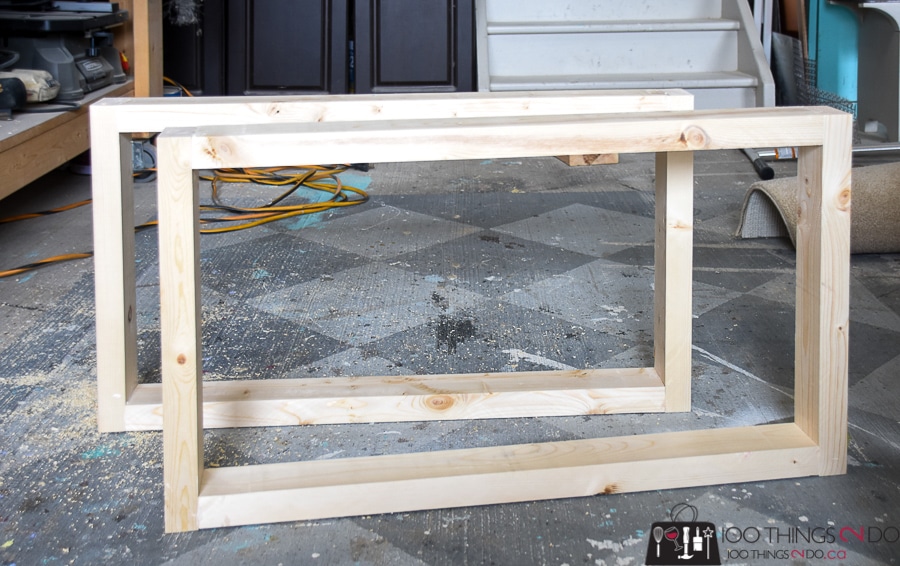
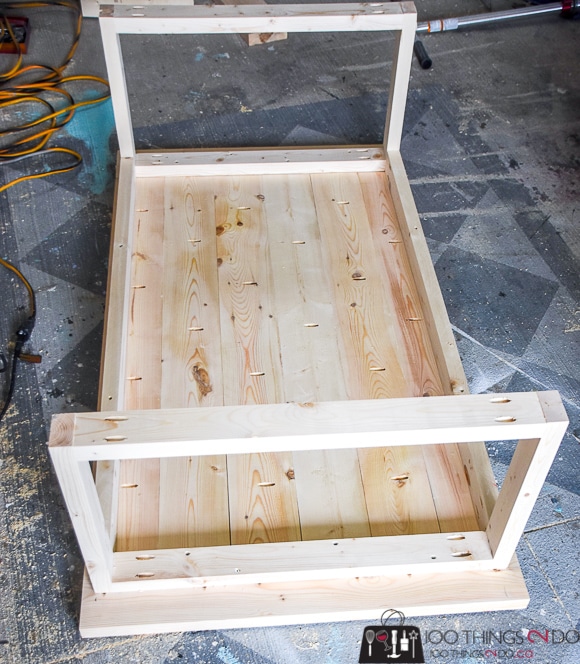
Use wood glue and 2-inch pocket screws to attach the 27-inch boards to the 16 ½-inch boards to form rectangles. Keep the ugly sides facing outwards.
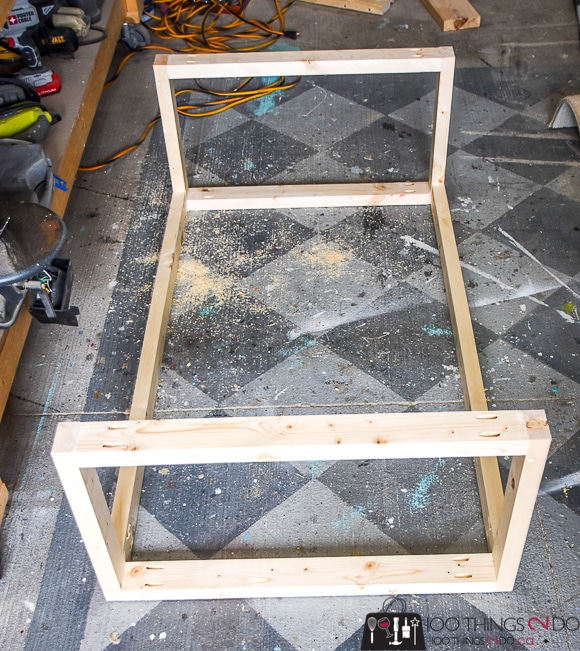
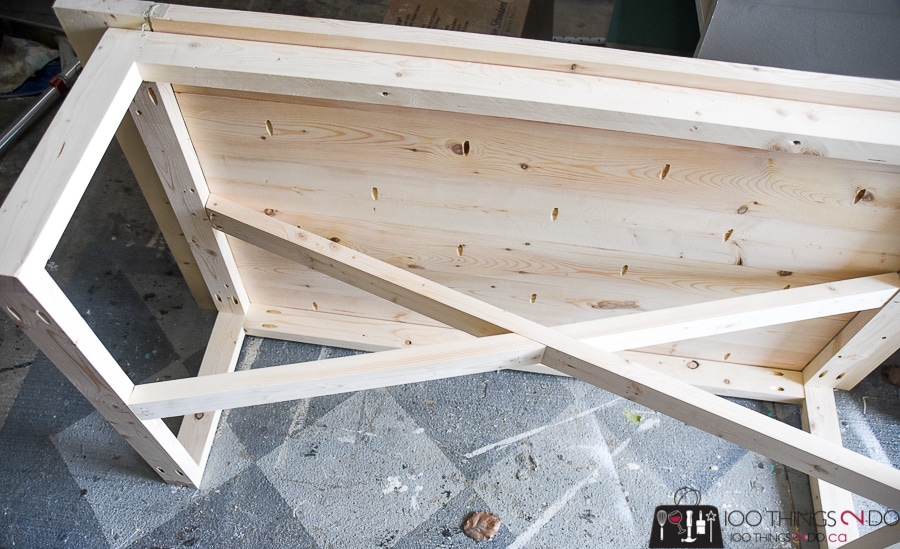
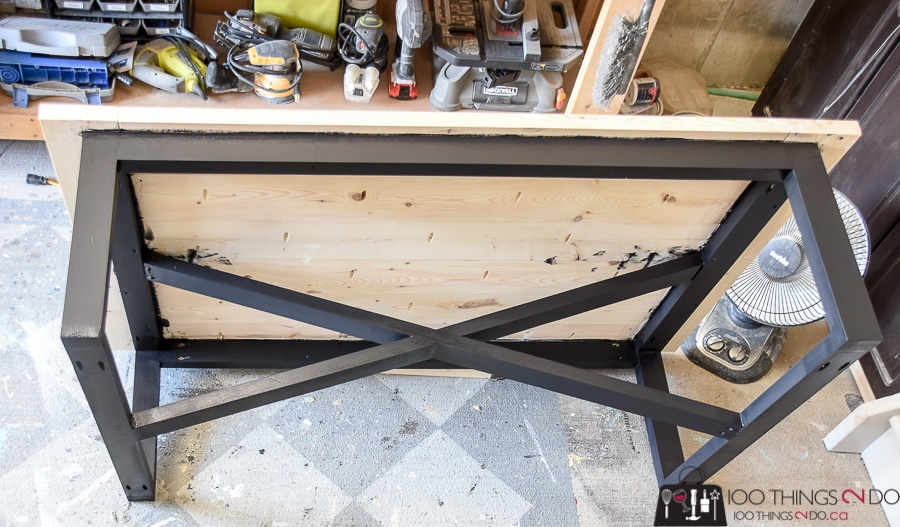
To make my life easier, I usually do all the heavy sanding at this point. I brought out the 120-grit sandpaper and smoothed out any areas that were less-than-perfect. Connect the rectangles by using wood glue and 2-inch pocket screws to attach the 49-inch boards between them. My rustic industrial coffee table (below) is upside down.
Congratulations! We’ve just made the table base together! SO EASY it’s ridonculous!
The next step in building this DIY rustic industrial coffee table is putting together the table top:
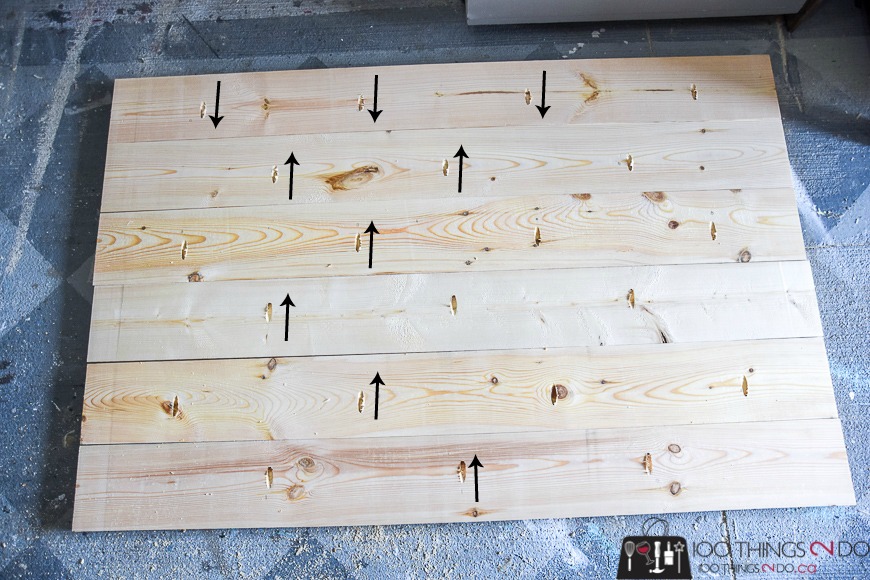
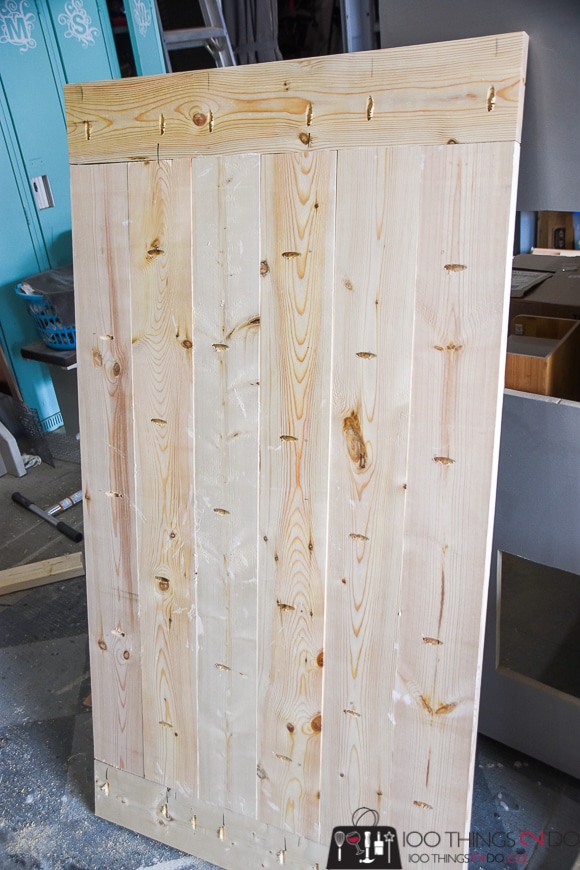
Choose two of the 49-inch boards to be the outsides – the boards that will be on either side of the coffee table and their side surface will show. Start drilling 1 1/2-inch pocket holes on the ugly side of one of these outside boards. Continue drilling pocket holes on the ugly sides of the other 4 boards (not your last good one) in staggered positions. On the last board, the pocket holes will go in the opposite direction from the rest of the table top.
Alternately, you can just use wood glue and clamps to ‘plank’ the tabletop. The pocket screws help in keeping everything together until the glue dries, but they’re not necessary if you have some good clamps on-hand.
Use wood glue and attach the boards with 2-inch pocket screws.
Now for the breadboards. While a pegged mortise and tenon joint is optimal when attaching breadboards to a tabletop, we’re going to use pocket screws here. Pine, spruce, and Douglas fir are all very forgiving wood species because the wood fibers are softer, so they allow for a little movement when the wood expands and contracts with temperature changes. You shouldn’t worry too much about cracking or warping.
Measure and mark the width of the tabletop and cut the breadboards to fit. Drill pocket holes and attach the breadboard to the tabletop with 2-inch pocket screws.
Lay the table top (good side down) on the floor and center the table base on it. Attach with wood screws or figure 8 fasteners. The tabletop fasteners allow for some wood movement.
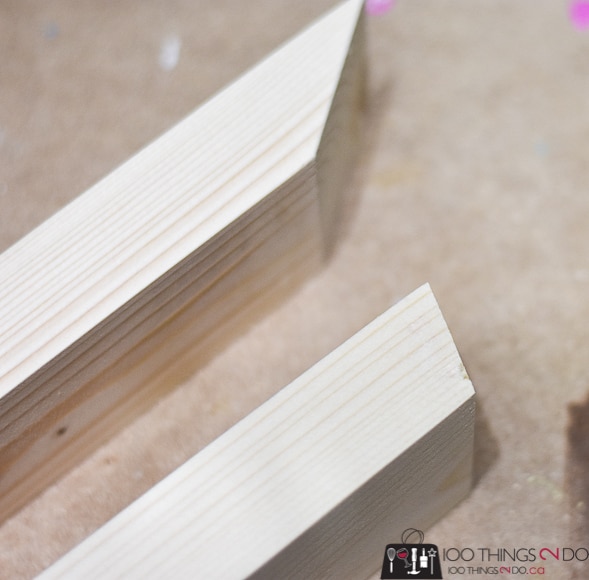
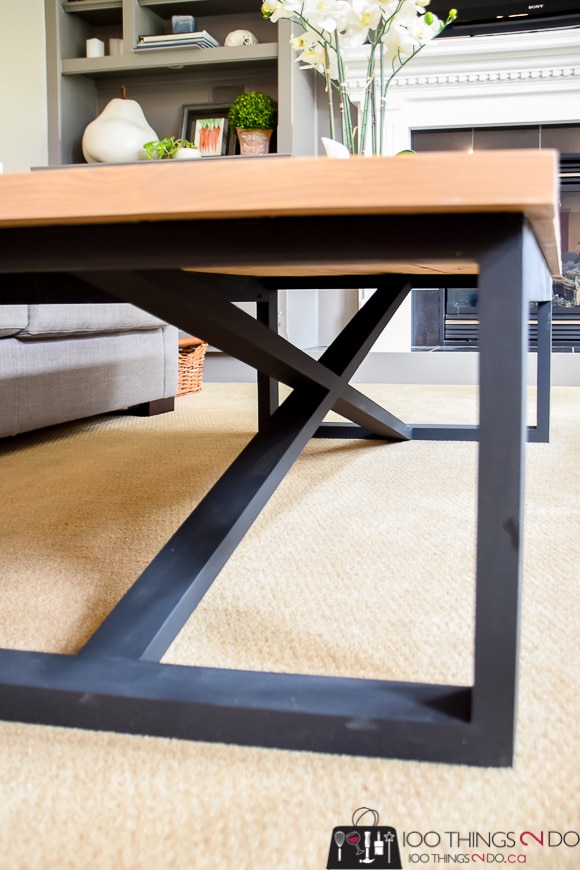
Next are the cross-braces for under the table, and these are much easier than you would think. Cut one end of each of the 52-inch boards at a 20° angle on a miter saw. Tuck it against the 2×3 board that is under the table top, and then run it down to the bottom 2×3 on the other side. Mark a line where it meets. This angle will be approximately 22°, but since I planed my boards there might be a bit of discrepancy. The best way to get the most accurate cut is to lay it out and trace. Repeat with the second 52-inch board, top to opposite bottom and cut. I made my cuts a bit longer than would fit so that I could cut down a bit at a time until everything was snug.
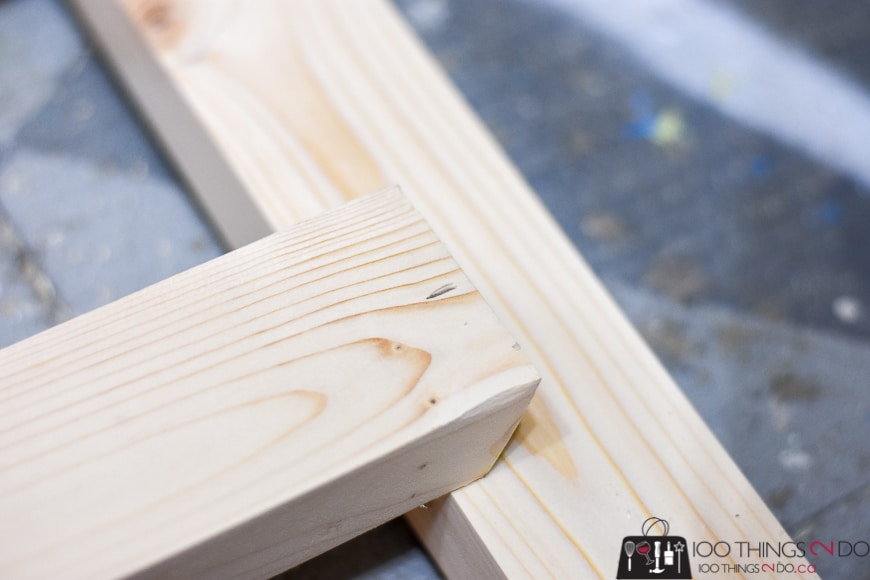
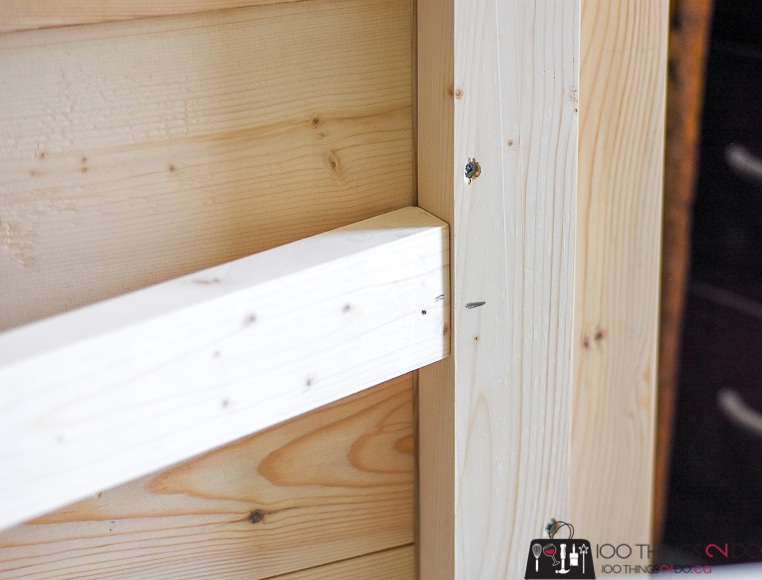
Tuck the braces in place and trace where one crosses over the other. Cut this section out of one board – the angle will be approximately 55°.
Mark the midpoint of each end of the board as well as the midpoint of the upper and lower frame boards.
Line up the center marks, glue, and nail into place.
Repeat with the board you have cut into two sections and glue/nail into place where the cross-section meets.
Woohoo! Happy dance around the garage/workshop, take tons of photos, and subject your family and friends to endless Facebook posts showcasing your brilliance. Use wood filler where necessary, sand smooth, and choose stain colors for finishing.
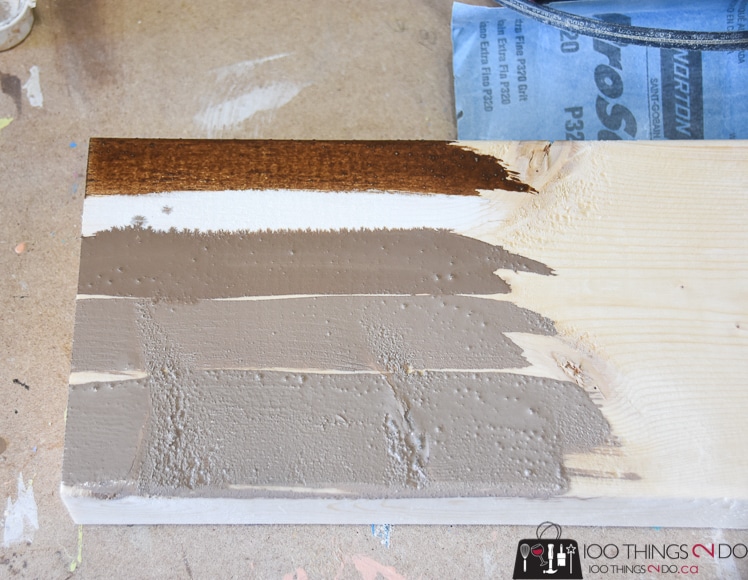
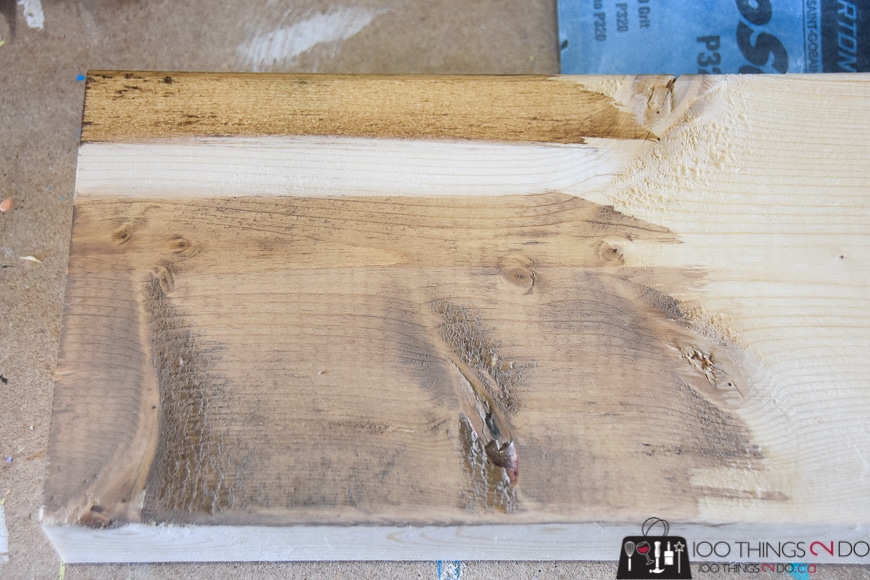
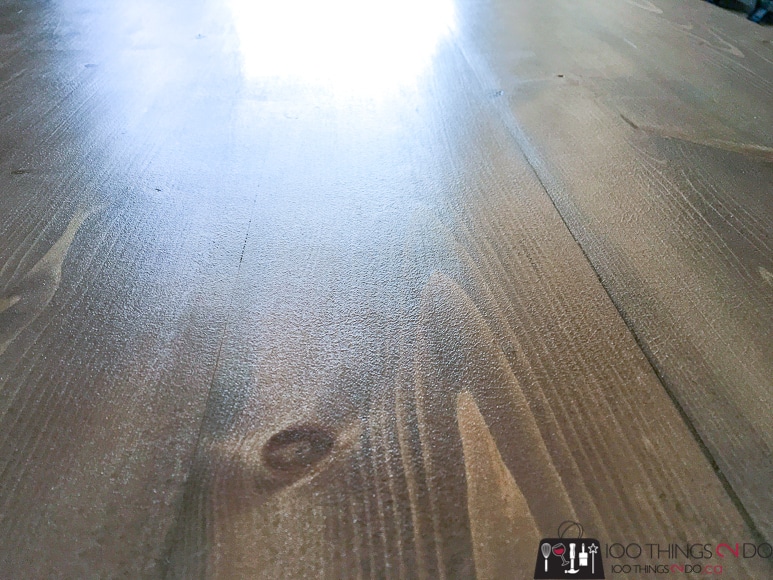
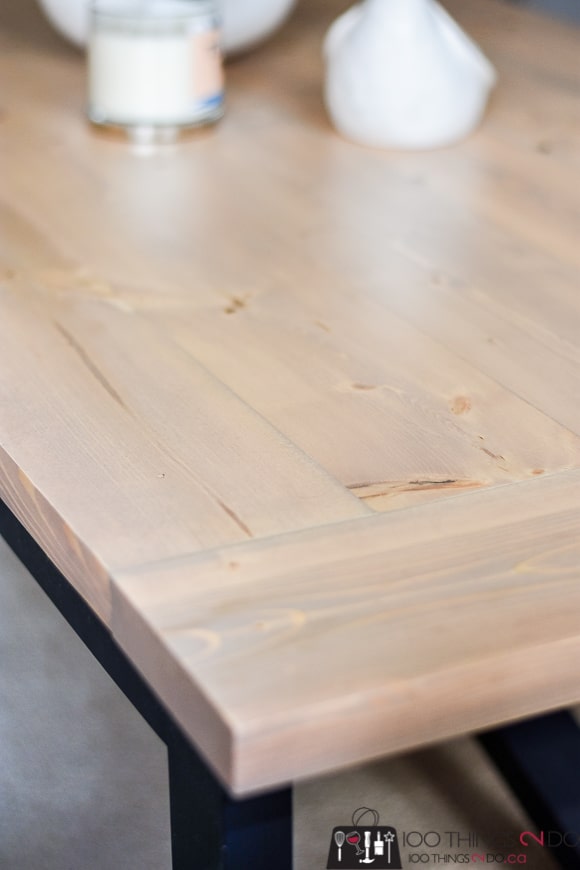
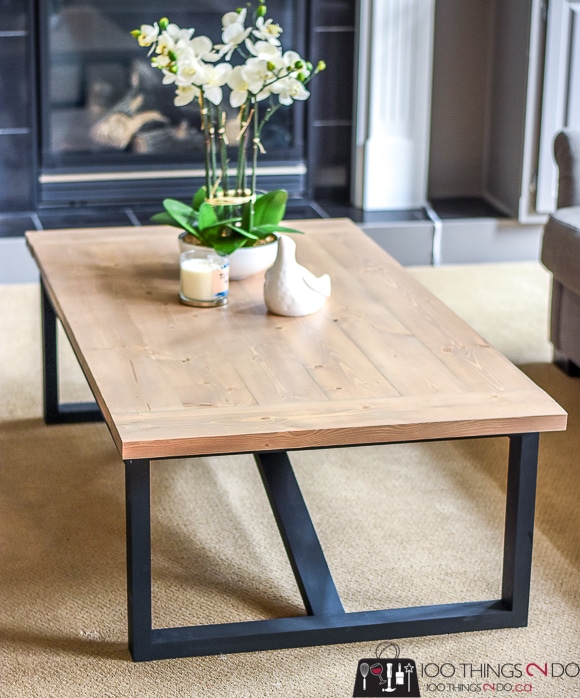
I mixed a couple of stains together to get as close to the Restoration Hardware look as I could. The top shade is called Colonial and I mixed it 2:1 ratio with a white stain to give it a more opaque and weathered look.
Apply the stain per the manufacturer’s instructions.
For the bottom of my rustic industrial coffee table, I wanted to give the look of iron without having to actually learn how to weld. A matte black paint did the trick (applied over primer per the manufacturer’s instructions).
Clear coat, sand, and then clear coat the top again and we are done!
I used a mohair roller to apply my final coat of polyurethane to give the tabletop a less glossy look. If you try this, be sure to go over it lightly to pop any bubbles that might result from your roller – and DON’T use a foam roller or your finish will go from lightly stippled to bubbly and gross and you’ll have to sand and start again.
The finish turned out perfectly – shiny but not glassy-smooth.
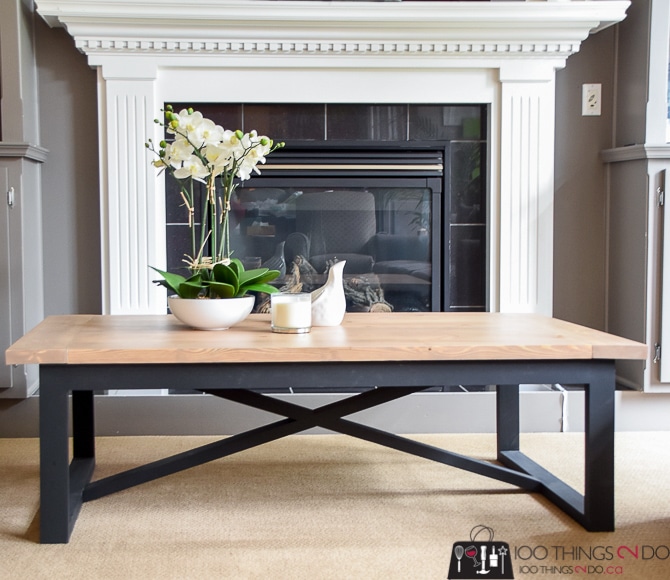
What do you think? Pretty close to the Restoration Hardware version, eh?
This is going to sound goofy, but whenever I see brickmaker’s coffee tables I always wonder how one would vacuum underneath. With this DIY rustic industrial coffee table, you can tuck a basket of blankets or pillows underneath and easily vacuum all the crumbs (ahem, dog hair) from the carpet.
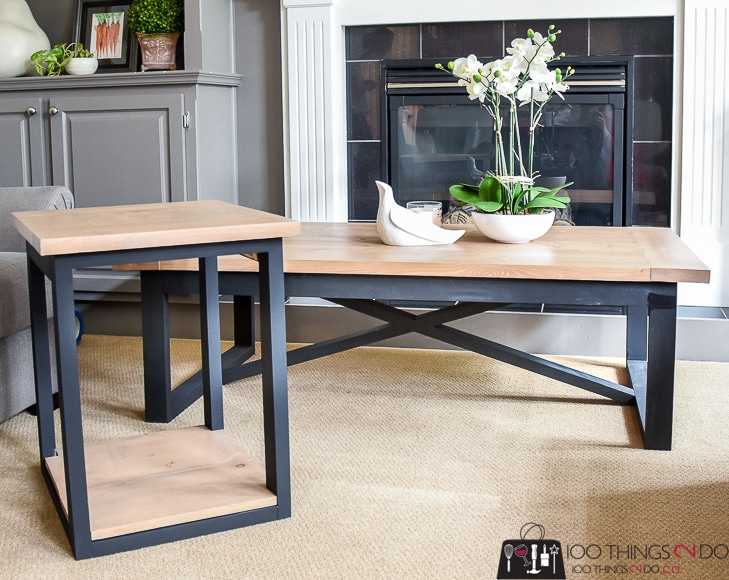
I’m crazy for this DIY rustic industrial coffee table! So crazy in fact, that I decided to make a matching side table to go with it – head over to 100Things2Do.ca to get the plans for the matching rustic industrial side table.

Cost of Materials:
- Wood $59.92
- Paint and stain $58 (TONS leftover)
- Varnish $28 (TONS leftover)
- Glue, sandpaper, screws etc. $25.47
TOTAL: $171.39 (Cdn) approximately $123.40 USD
As a bonus, I used the extra wood I had to build the matching rustic industrial side table!! (no extra cost)
Awesome-sauce? I think so.
Thank you for having me Jen-fans – have a great one!


Hi, how did you mix the stain? Did you just mix it all together 1for1?
The bill of materials doesn’t match the drawing. 8pcs 2x6x33 the drawing is 49”.
Yeah this doesnt make much sense to me either…
what is the brand of stain named colonial ??
What stain did you use? The brown one mixed with white or the grey ones mixed with white? Beautiful table!