How To Make a $4 Centerpiece With Grocery Store Flowers
Hello everyone! I am Carrie Bishop from River Rose Flower Company and I am excited to be a part of the House of Wood family! I am a floral designer who loves to teach DIY floral design on a budget. My goal is to make flower-arranging fun, inexpensive, and easy.
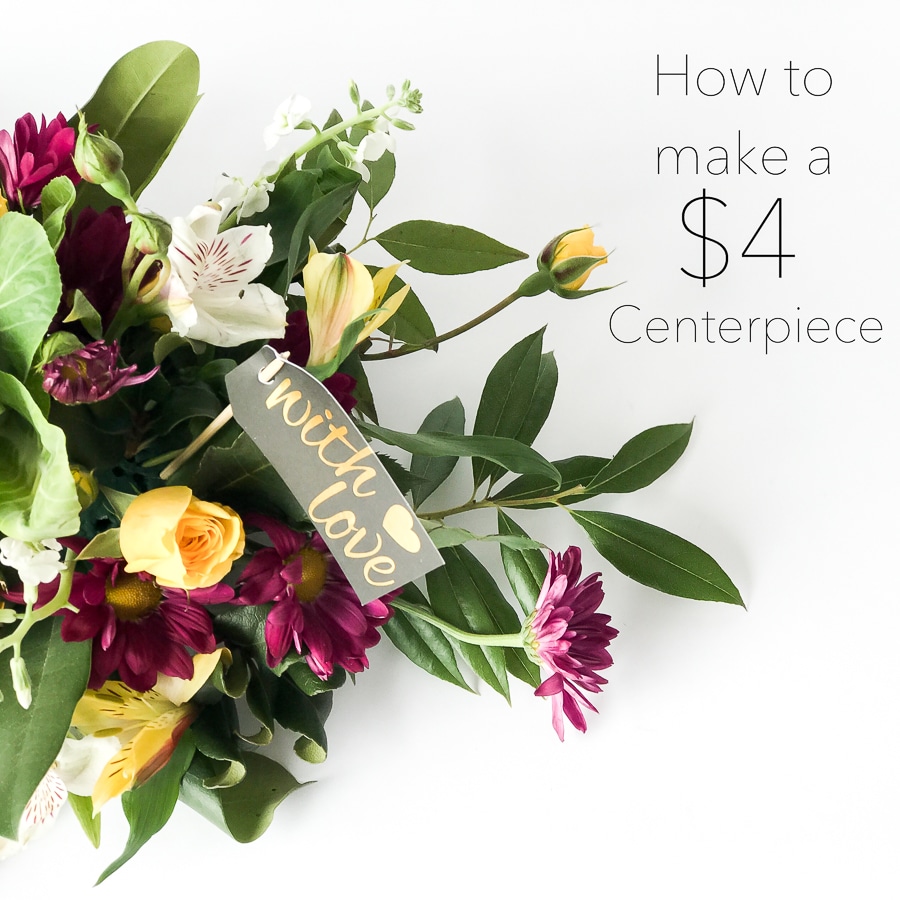
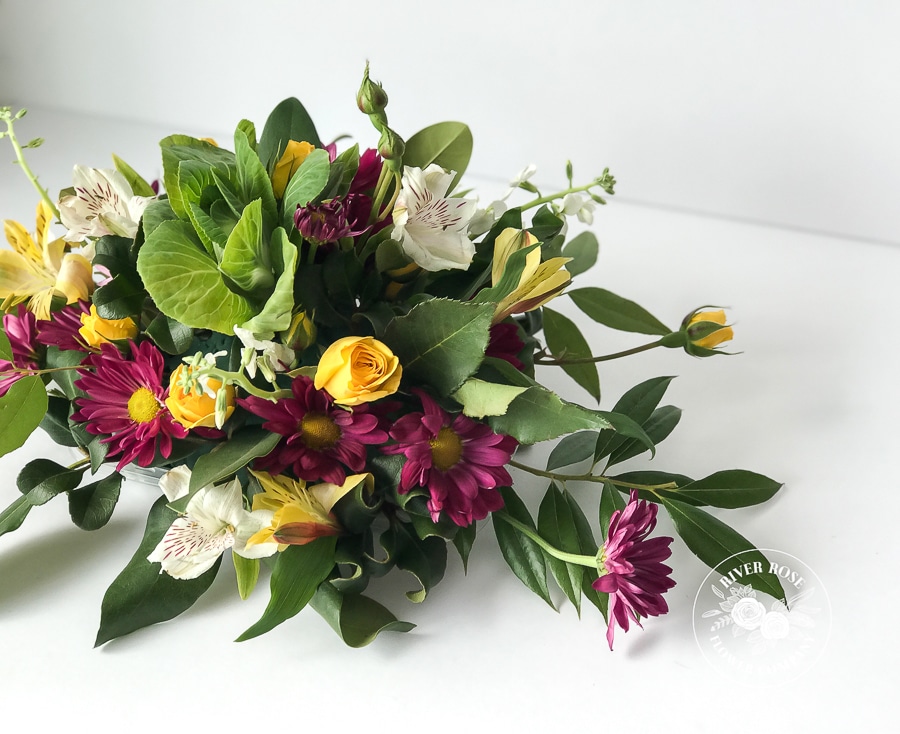
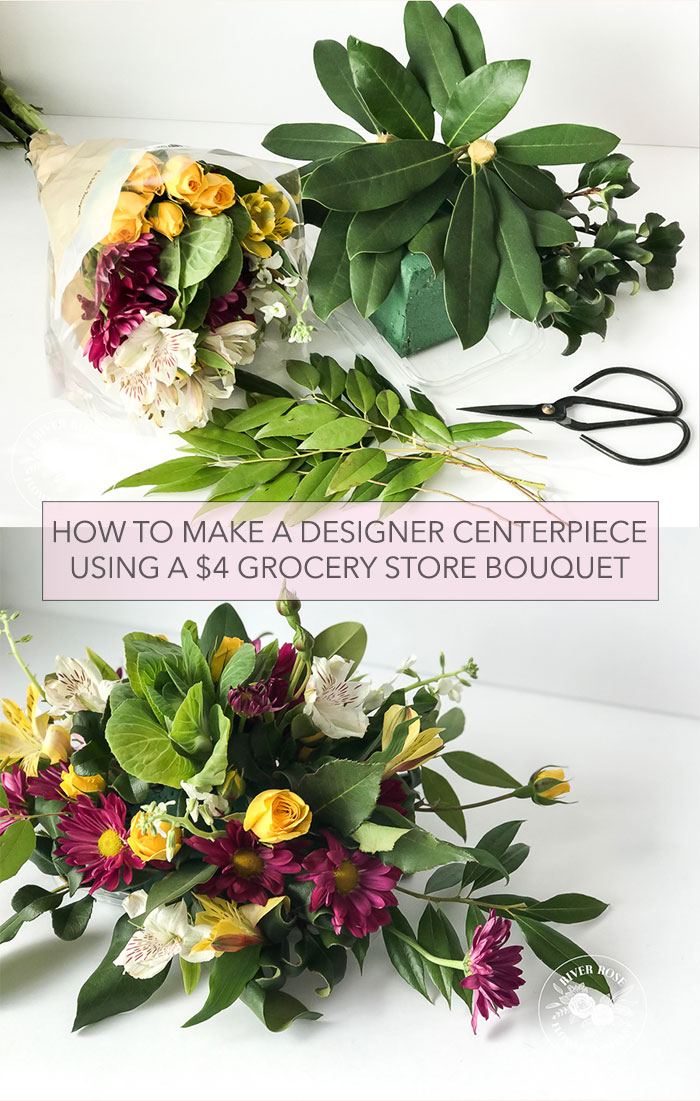
Today, I’ll be sharing how to make an easy DIY floral centerpiece from a small $4 grocery store bouquet and garden scraps. It’s easier than you think!
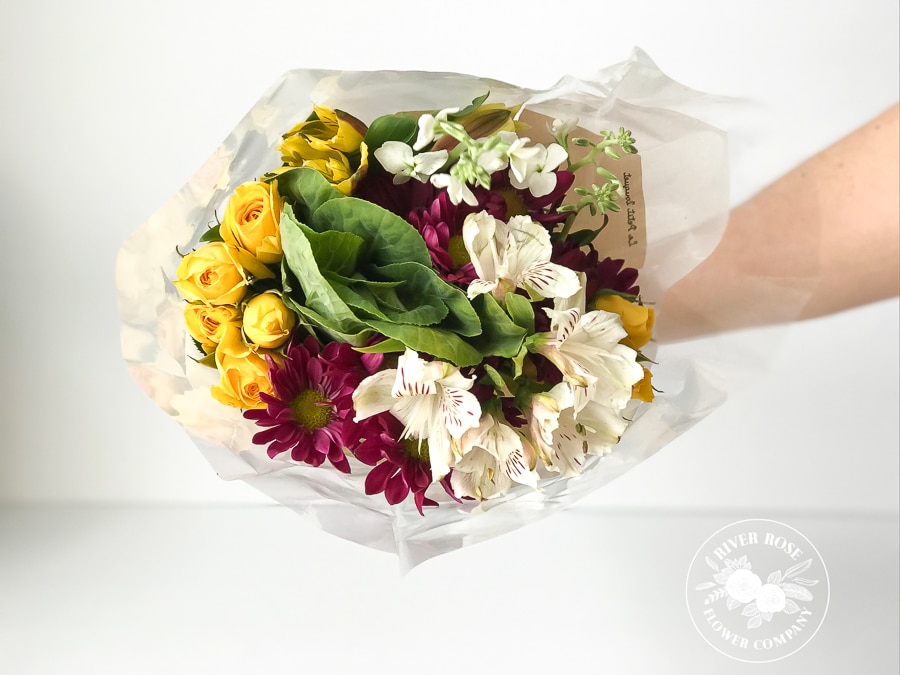
Grocery store flowers are a great and inexpensive way to sharpen your floral design skills. For a small centerpiece, you’ll want to buy a small mixed-flower bouquet. Do not be tempted to buy a larger bouquet! My goal is to teach you how to make a little bit go a long way. Garden scraps will help add bulk and shape to your arrangement.
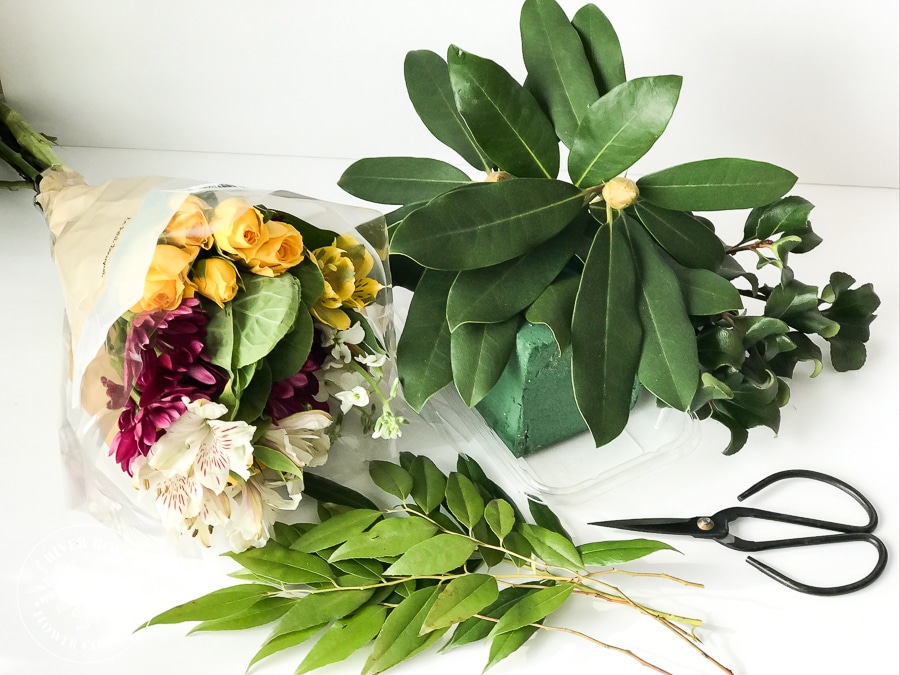
Supplies:
- Recycled sushi lid (or any disposable container you might have laying around)
- Small mixed store-bought bouquet (I bought a $4 bouquet from the grocery store)
- 1/3 of a floral foam brick
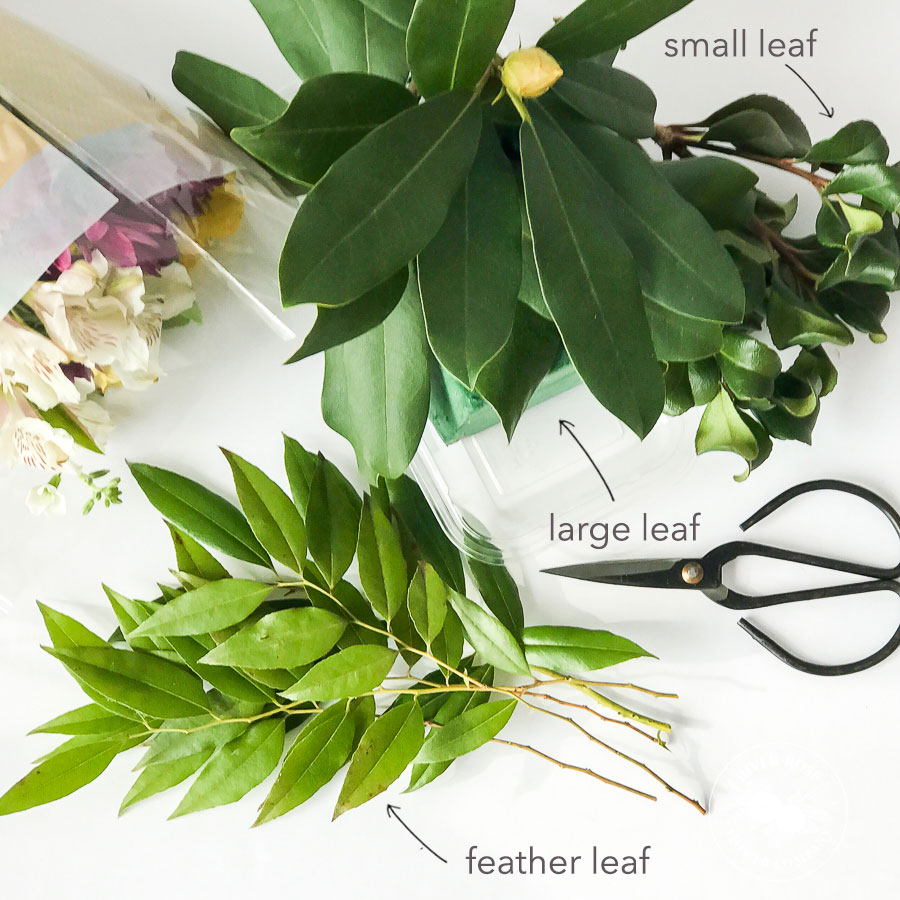
- 3-4 varieties of garden scraps (1 large leaf, 1 small leaf, 1 feather leaf)
- Floral shears or scissors
I like to have a variety of greens when I arrange flowers. When I teach workshops, I encourage my class to find three of the following types of garden scraps: small leaf, large leaf, and feather leaf. Having different types of greens will help add texture and shape to your arrangements.
*Pro Tip: examples of good garden scraps are Nandina (feather leaf), rhododendron (large leaf), and Boxwood (small leaf).
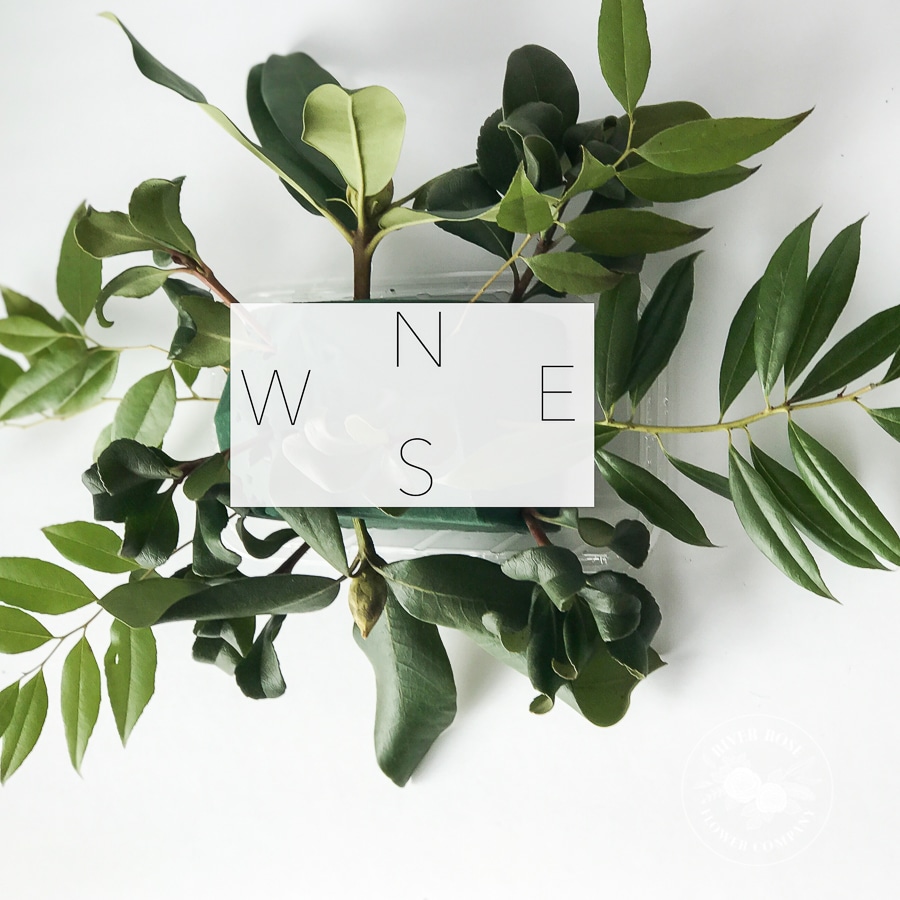
Step One: You will want to take 1/3 of a floral foam brick and soak it until it’s full of water. Place the floral foam into the plastic container. I typically do not tape or glue my foam to the container because I can have more surface area on the foam to design with. I like to put the “feather leaf” going East and West, the “large leaf” North and South, and the “small leaf” in between those points.
*Pro Tip: Angle all of your greens down in order to cover up your container.
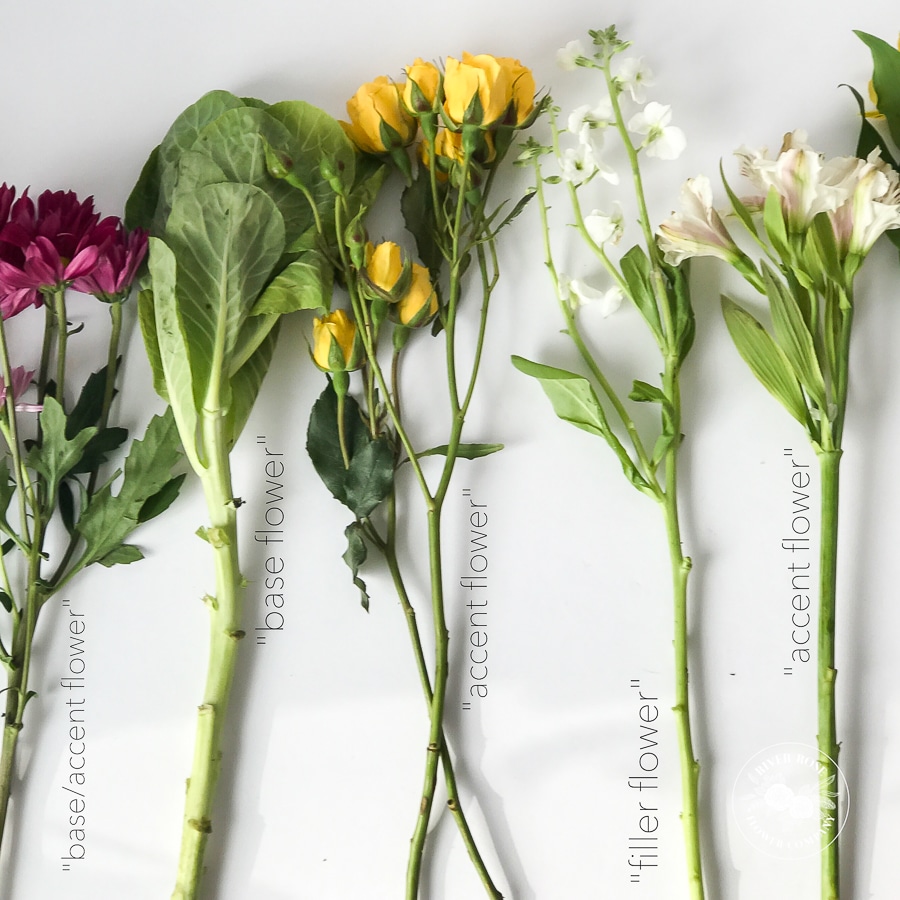
Step Two: Unwrap your flowers and figure out what you are working with. Some people can figure out basic floral arranging by looking at photos while others like to follow a recipe or formula. No matter which type of a person you are, you will benefit by separating your flowers into three groups: base flower, accent flower, and filler flower.
Knowing these different types of greens and flowers will help you when you’re choosing your own flowers for an arrangement.
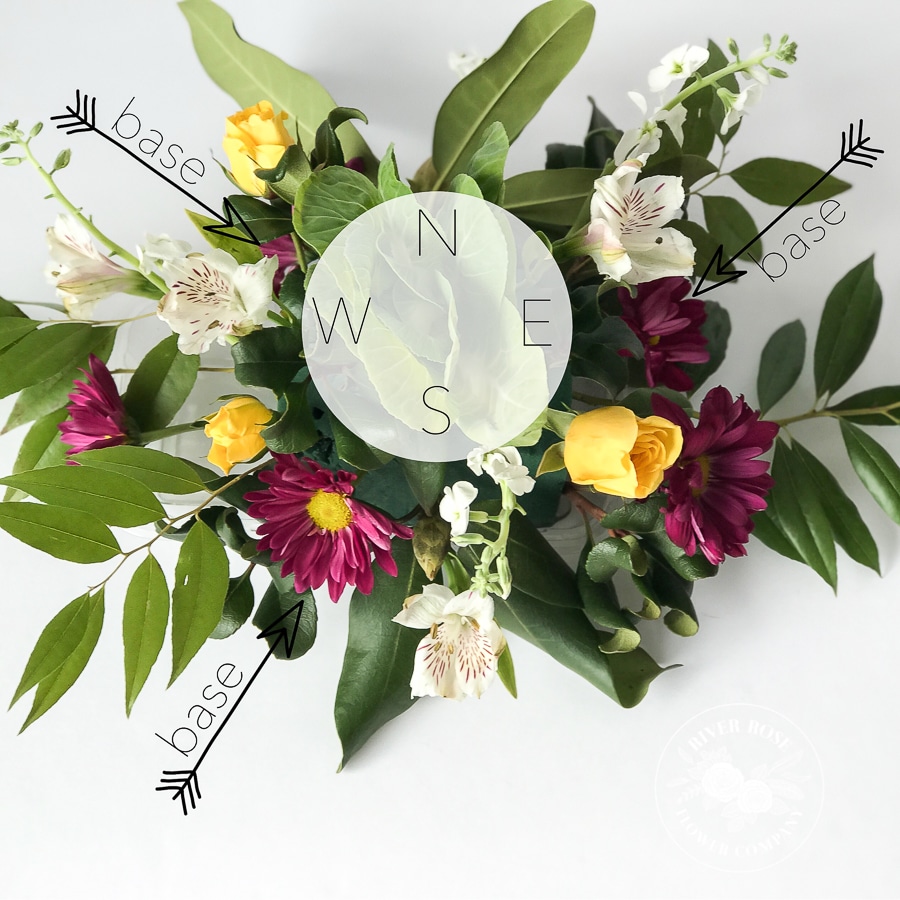
Base flower – large flowers such as hydrangea, cabbage, lilies, and larger mums or daisies. Base flowers are best placed at the bottom or base of the centerpiece.
Accent flower – medium-sized flowers such as a rose, iris, lisianthus, daisy, mum, or tulip. Your bouquet should have mainly accent flowers. They will be positioned all over the centerpiece.
Filler flower – small, wispy-like flowers such as caspia, goldenrod, lavender, statice, heather, wax flower, and astilbe. Filler flowers are added last. Most filler flowers have several mini-stems off of the main stem. Place the filler flowers in the small gaps between the accent flowers.
*Pro Tip: If you have only one stem of something, stick it on the top in the center of the floral foam. Make sure that you position some accent flowers at the base of the foam and some sticking out. This will help you cover your foam and create a nice shape.
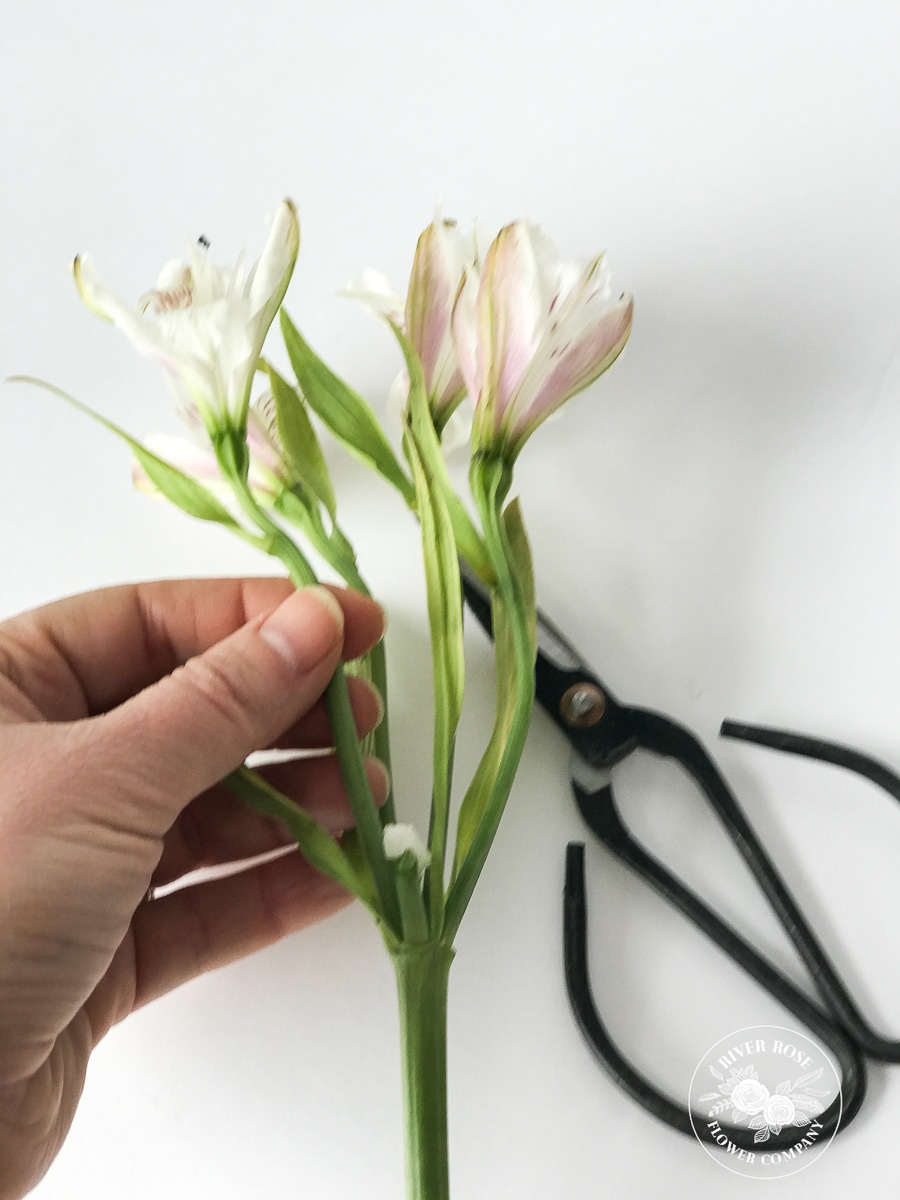
*Pro Tip: If the stems on the alstroemeria blossoms are long enough you can cut them and spread them out.
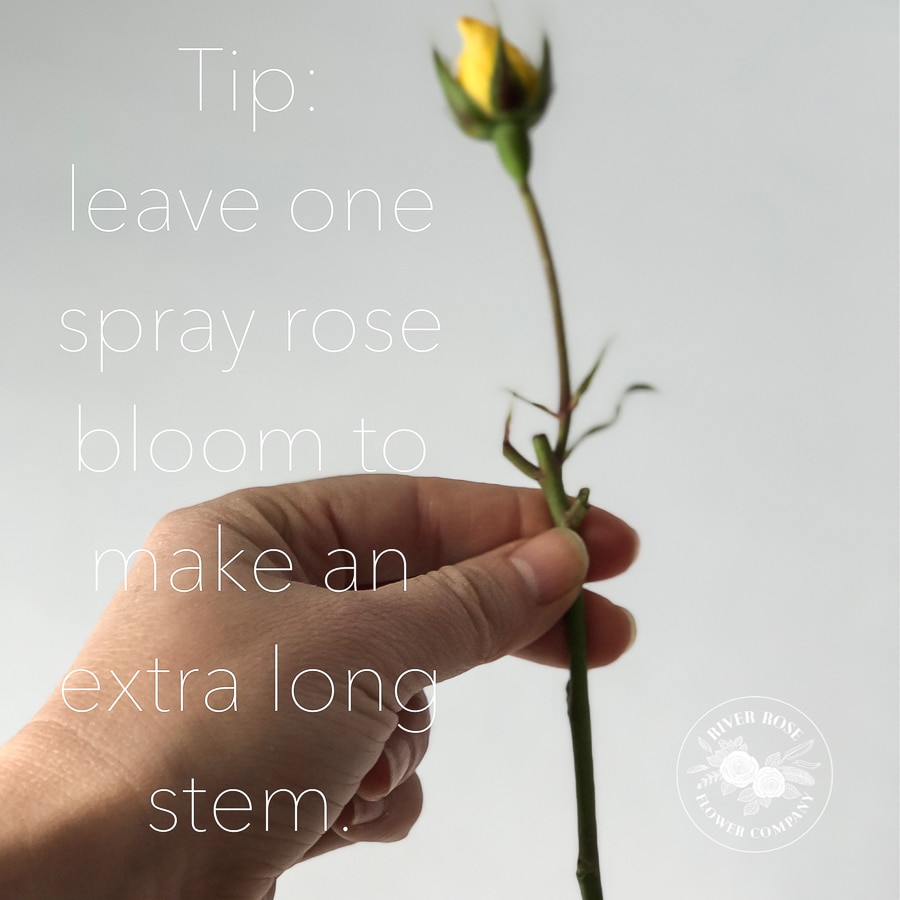
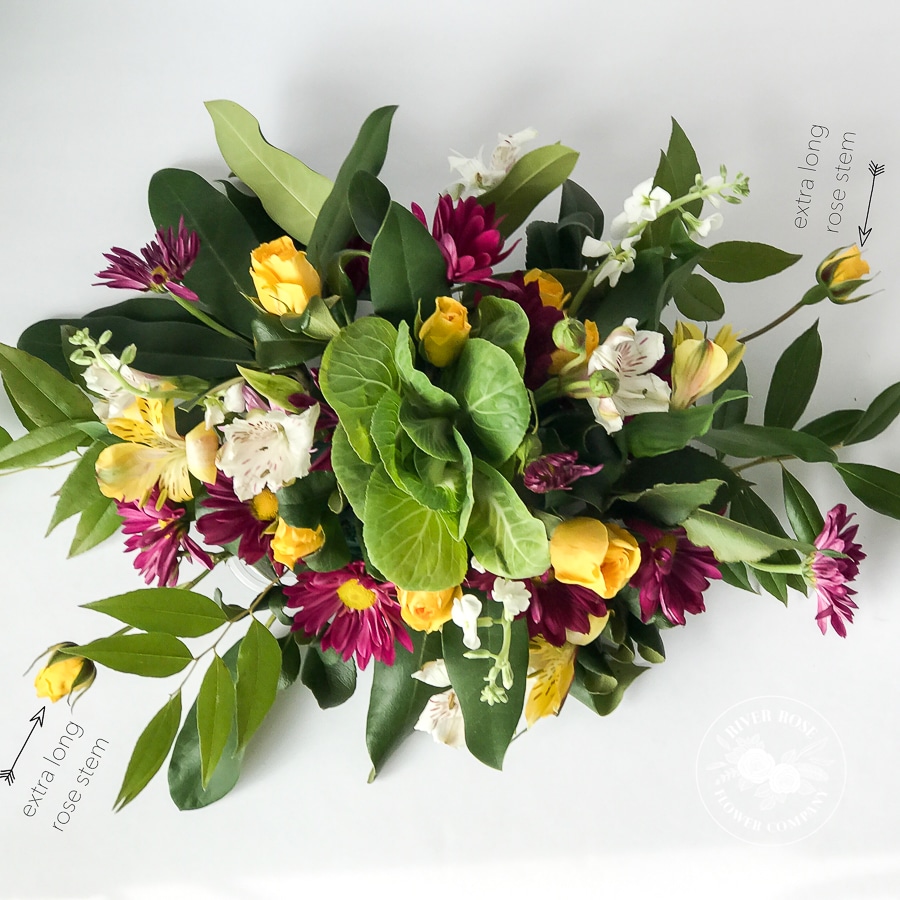
For some of your accent flowers, cut the stem long – this will create a longer reach for you to work with, making your arrangement fuller and more interesting.
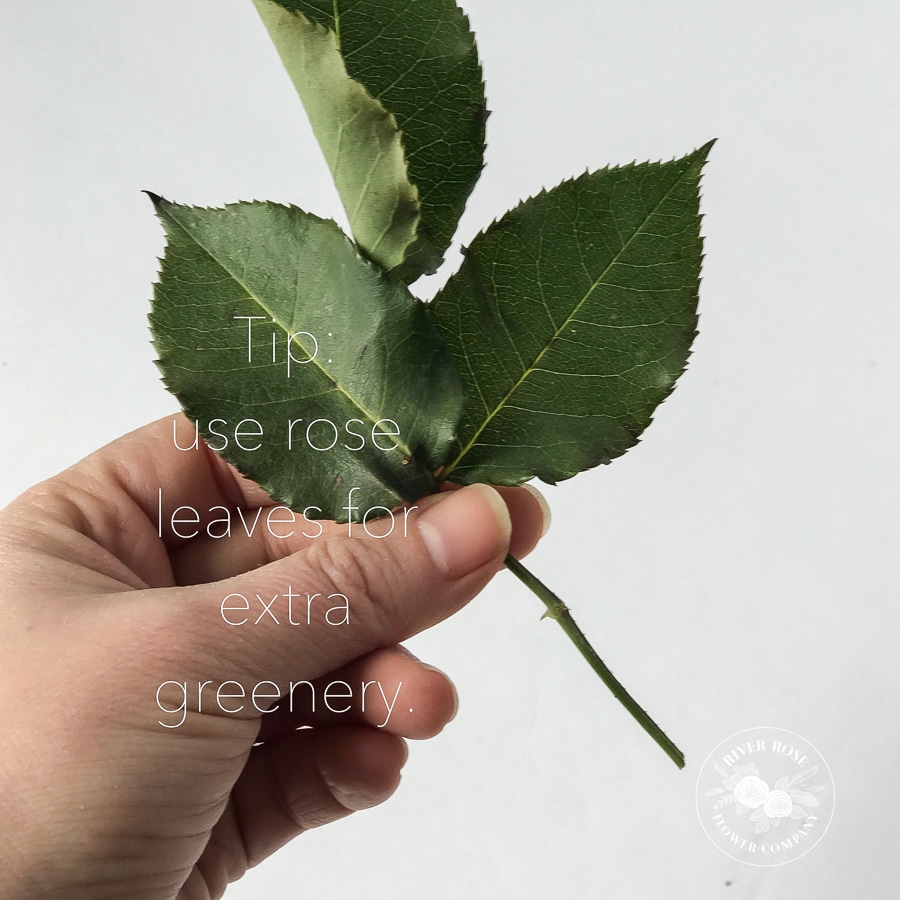
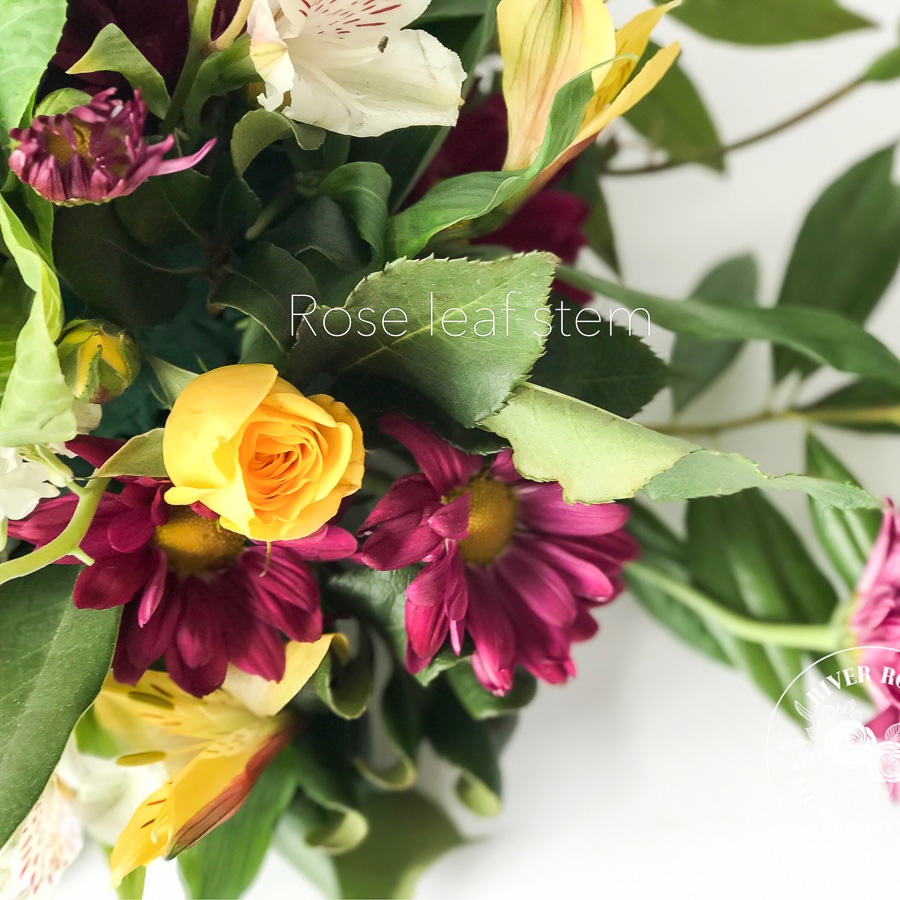
Place extra rose leaves next to your rose stems, for extra greenery.
I usually put the extra long-stemmed accent flowers on the East and West points.
If I have any extra leaf stems, I place them next to the original flower that it came with.
Okay friends, here’s a fun fact about me: I love flower buds. Please do not throw them away! They add great texture. I usually put them on top of the arrangement. Even if you have only one, add it in. Trust me, flower buds are adorable.
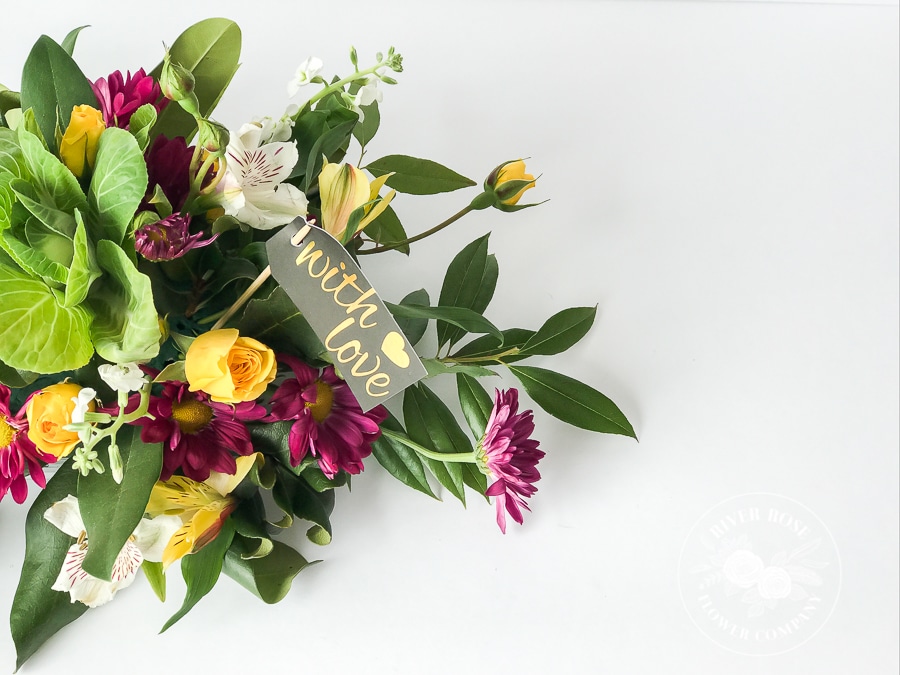
If you want to add a small gift tag to your centerpiece, simply take a wooden skewer, break it in half, poke two holes in the gift tag, and slide the skewer through.
Congrats, you did it! You made a centerpiece! I have enjoyed teaching you a little bit about flowers, garden scraps, and floral design. I hope that you’ll continue to branch out (haha, see what I did there?) and use these techniques with a different bouquet next week. Or maybe you can’t wait and want to go back to the store tomorrow…
Either way, I hope you’ll tag us @jenwoodhouse and @riverroseflowercompany so we can see your beautiful creations! Thanks for reading, friends! And if any of you are local to the Virginia/Maryland area, be sure to follow me on Instagram so you don’t miss a workshop. I’ve got a couple scheduled this month and I’d love to meet you!
Love this project? PIN IT so you don’t forget it!

I’ve been pinning floral DIYs for months and finally tried one today…this one! Great instructions and I’m super stoked about how it turned out. My MIL gave me a shallow antique silver bowl. I placed the formal foam in that and started building. Stole some Nandina sprigs (+ berries), Japanese Holly and Magnolia branches (that fell in the recent snow storm) from the yard to fill in. LOVE IT! Can’t wait to try it again. Thanks, Carrie (& Jen 😉)!
Love this post and will be trying it for my daughter’s bridal shower. How long do the flowers stay fresh for once in the foam?
They can stay great in floral foam for a week if they have enough water and are kept in the AC.