Hi friends! I have a fun outdoor kids’ project to share with you today! My kids have been asking me to build them a sand and water table for the longest time and because I am Mother of the Year, it only took me a year and a half to finally fulfill their incessant, pleading patiently-awaited request.
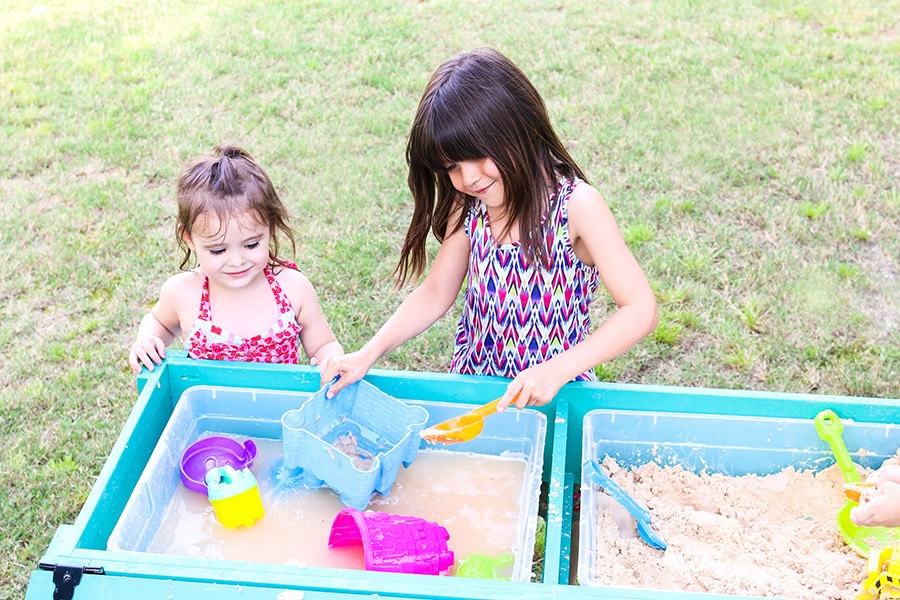
I mean, seriously, how could I have said “no” to these sweet faces for so long? What is wrong with me?! I have a heart of stone, folks. Stone cold.
Once again, I’ve teamed up with the friendly folks at BuildSomething.com and Kreg Tools to bring you the FREE BUILDING PLANS for this DIY SAND AND WATER TABLE! I’ve mentioned BuildSomething.com before when I built my desk with hidden printer cabinet, kids’ farmhouse table, bathroom shelf, and toddler tool box.
*This post contains affiliate links. To read my full disclosure policy, please click here.
BuildSomething.com is Kreg’s new DIY project plan site. It’s a wonderful, growing community of builders and makers who love sharing inspirational project ideas and step-by-step building plans. And it’s free to join!
My kids just can’t get enough. I mean, do you blame them? They officially have permission to make a mess. I love it because this play table keeps them outdoors and occupied for hours (yes, HOURS!) while I’m building in my workshop. They’re not camped out in front of the television and I’m able to get some work done without the burden of Mom Guilt. It’s a win-win. Seriously, I really should have built this a year and a half ago. Remind me to punch myself in the face later.
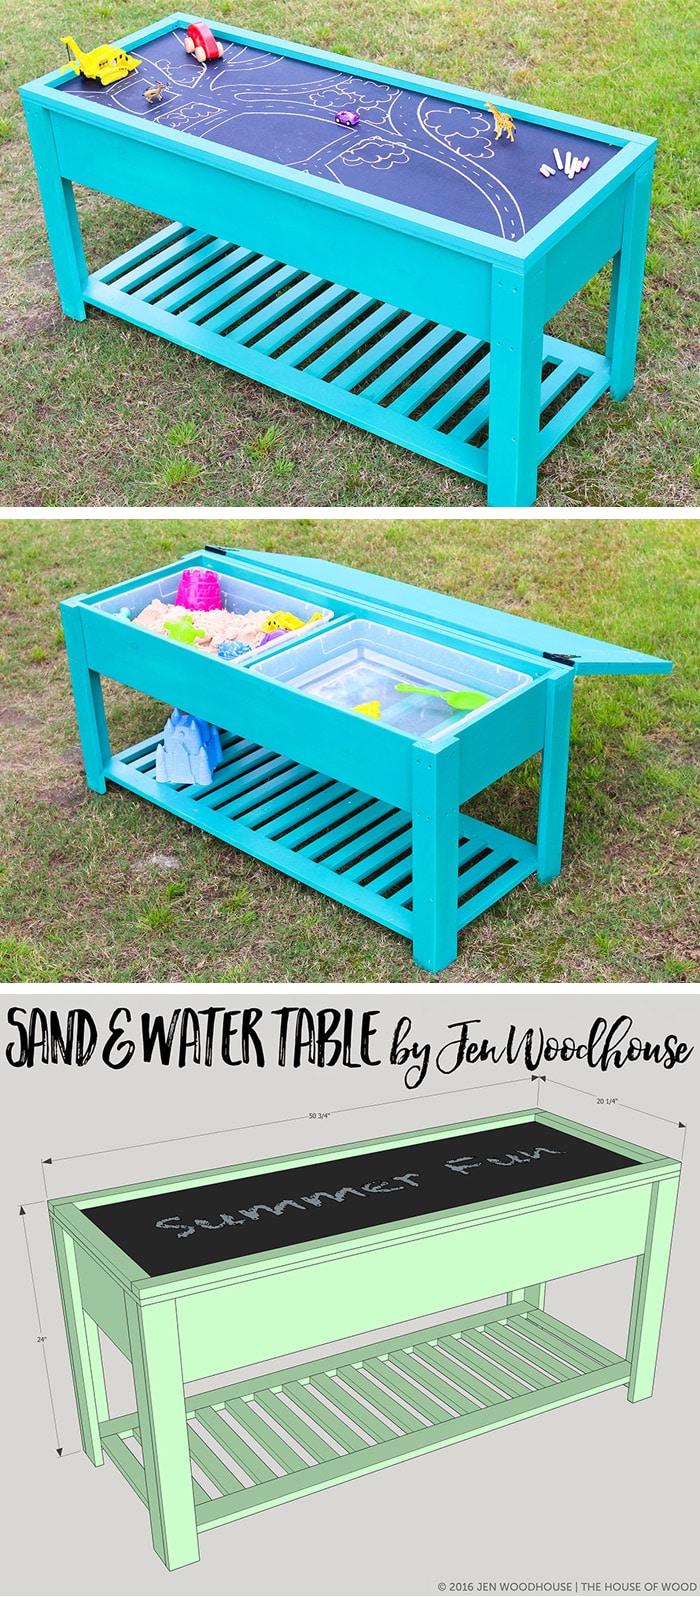
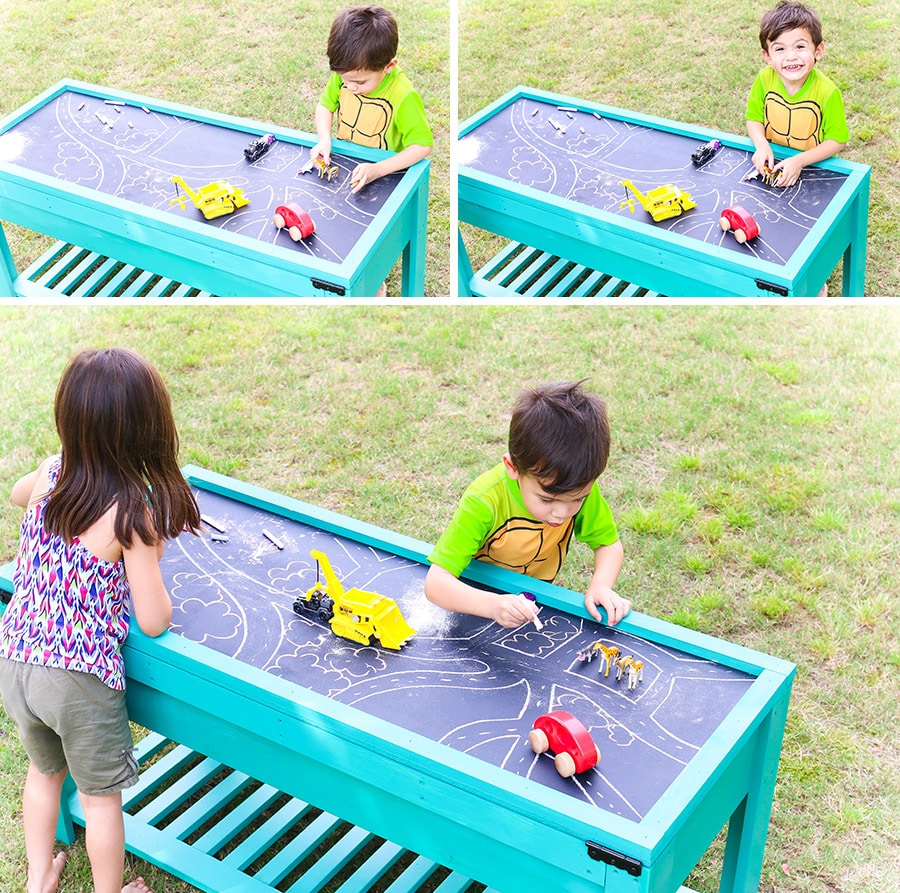
This sand and water table accommodates two of these 28-Quart Sterilite Tubs and I added a hinged lid to cover the sand and water when not in use. It’s also worth mentioning that I recommend installing torsion hinges so that the lid doesn’t come slamming down on tiny fingers. These hinges stay in the position you put them in, so they’re ideal for toy chests and the like.
DOWNLOAD THE FREE BUILDING PLANS.
Whatever color you decide to paint or stain your table, be sure to protect it from the outdoor elements with an exterior-grade finish. Also, I added the plywood top and painted it with chalkboard paint. Even though the chalkboard paint offers some protection, be sure to seal the edges to help keep moisture out. Plywood isn’t the most suitable material for outdoor use, so I would suggest storing this play table in the garage or under a covered patio area to help protect it from the weather.
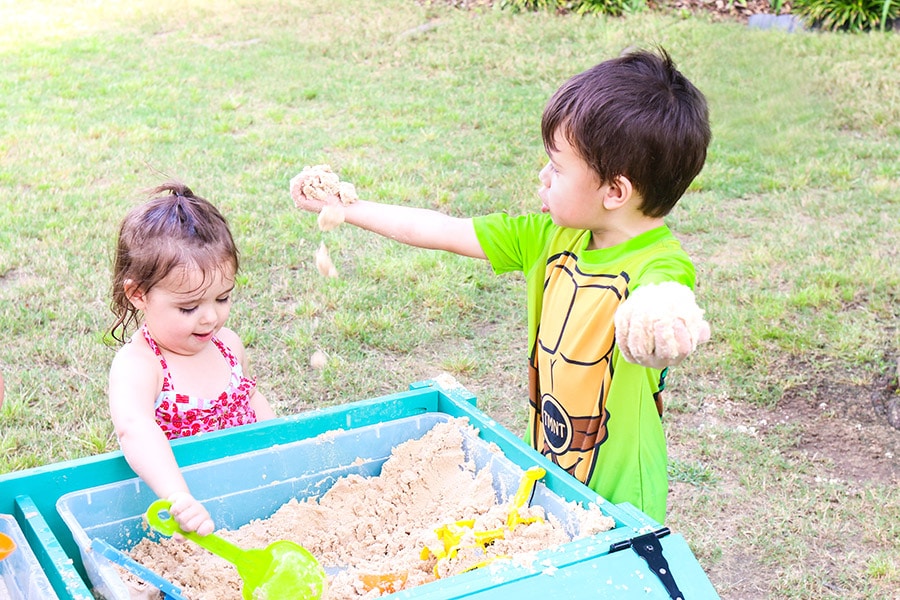
This sand and water table was such a hit, some random child even showed up to get a piece of the action. Just kidding, she’s our next door neighbors’ sweet daughter.
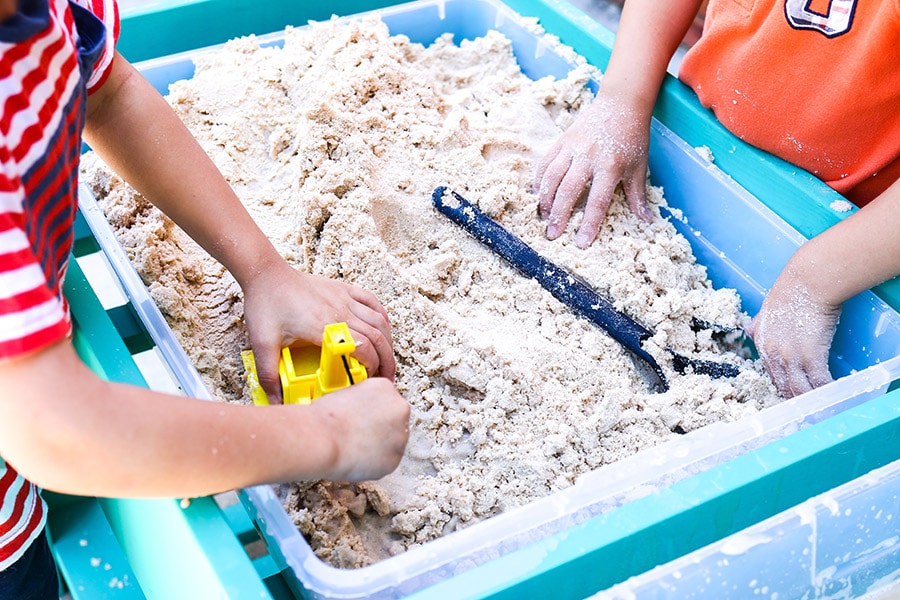
This photo just cracks me up because my son is literally proclaiming, “I AM THE SAND MASTER!” Seriously, where do they come up with these things? #shenanigans
Consider this fair warning: do not build this table unless you don’t mind random neighborhood children showing up in your backyard. If you build it, they will come. #namethatmovie
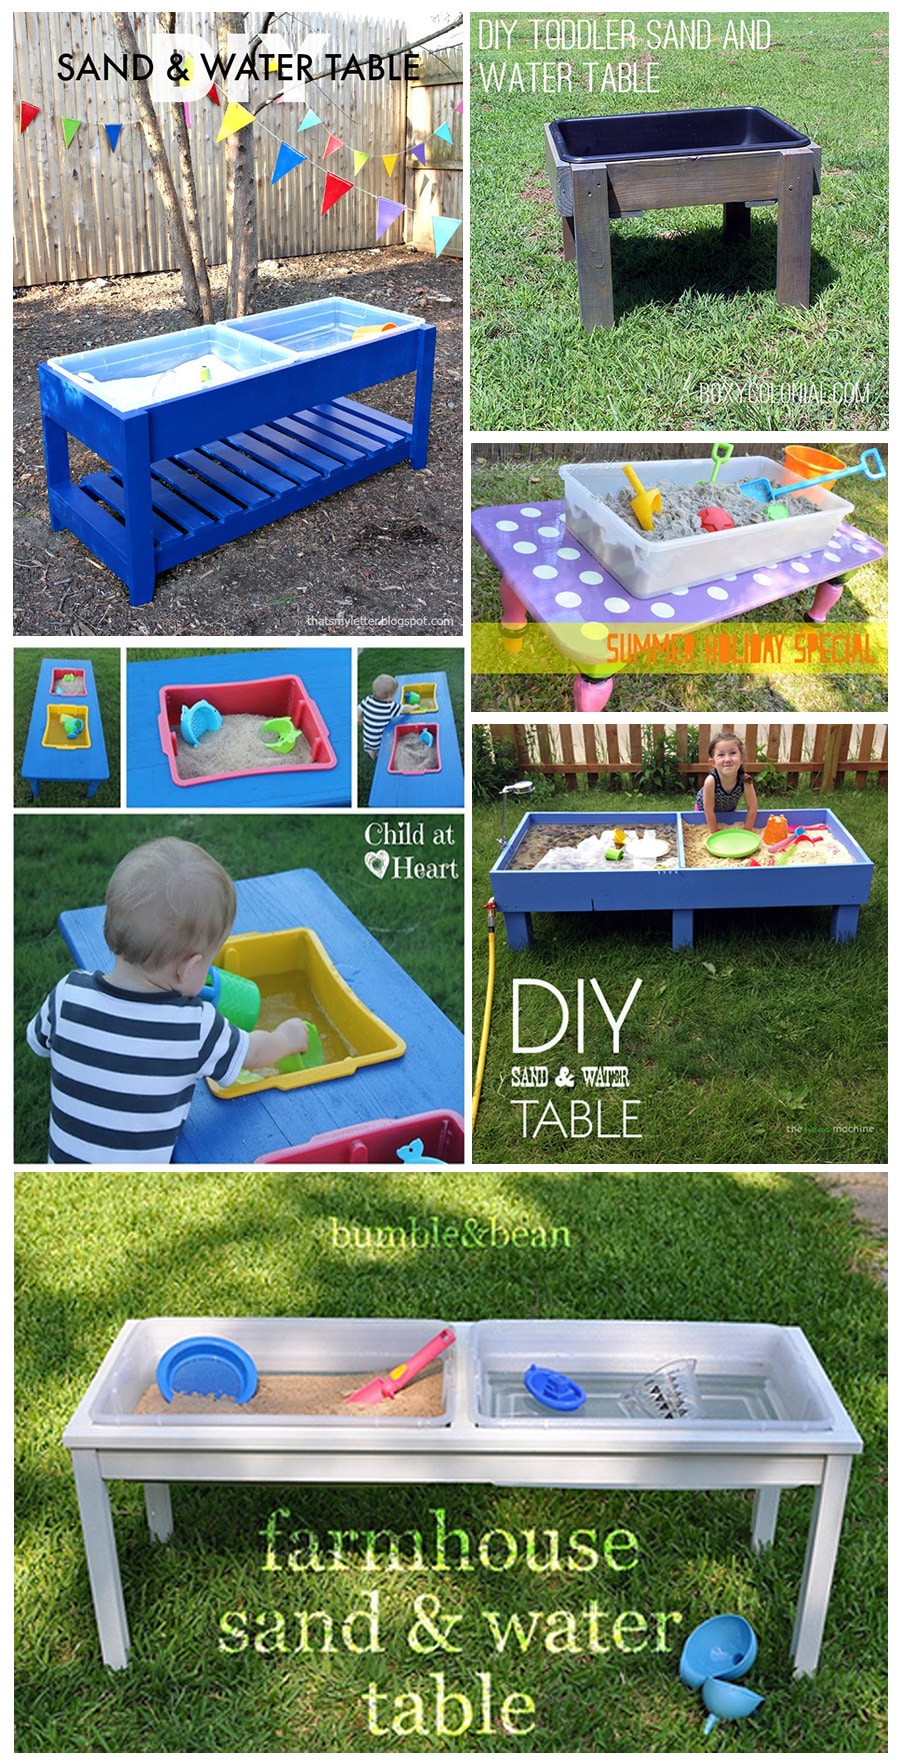
And because I just can’t get enough of this adorable and fun project, here are a few more fun DIY Sand and Water Table ideas (links are below):
- That’s My Letter / Ana White
- Boxy Colonial
- House Full of Sunshine
- Child At Heart
- The Haas Machine
- Bumble & Bean
What do you think? Did I just add one more thing to your To Build list? You’re welcome. 😉
Don’t forget to grab the FREE BUILDING PLANS on BuildSomething.com. Thanks for reading, friends. Hope your weekend is full of sawdust. Now get out there and build something!
*This post is sponsored by BuildSomething.com. All efforts, opinions, and happy, messy children are my own (well, except for the neighbors’ kids – those don’t belong to me).





Hey girl! Thanks for sharing my table along with yours…yours makes mine look like amateur hour! 🙂 I LOVE it!
I love the sand and water table. I’m a big fan of do it yourself projects. This sounds like a great table for my niece and nephew. Thanks for sharing!
I absolutely love the idea of adding the chalkboard cover on top! So creative! Ours is similar with the storage slats on the bottom, but we also added a ledge to hold sand and water toys as well. Now I am wondering how to add that cover, hmmmm 😉
Sorry if I missed it but any idea on the total cost of materials? Love the table!!
We’re in the planning stage to build this sand and water table for our grandson. The torsion hinges we’re looking to purchase needs to know how much the lid will weigh. Can you give any insight into how much the lid will weigh with your suggested materials? Thanks!
Hi Sherry,
The lid doesn’t weigh much – I would estimate no more than 20 pounds. Hope that helps!
What are the dimensions of the 28 quart containers?
Needs to be as close to 23”L X 17” W X 7” top to bottom. We picked ours up at Lowe’s.
Thank you. Used your plan as a basis with a few modifications.
1) Larger dimensions (62.5″ x 22″) to accommodate a wider bin my wife had in mind. Added feet in the front and back center of the shelf for support.
2) I have a Keg jig but the thought of drilling all those holes was not fun so i assembled the white thing with my air nailer / stapler. I top nailed the shelf slats.
3) wife wanted a natural wood top and no hinges so the table could be used from either side. I cut a piece of stain grade edge glued 24″ x 72″ to fit. Clear sealed the top and chalkboard finished the bottom so it can be flipped. Used magnetic cabinet catches to hold the top in place.
Great post! I love the idea of a sand and water table for my kids. The step-by-step instructions are super helpful, and I can’t wait to see their faces light up when they play with it! Thanks for sharing!