Hey Everyone! This is Carrie from River Rose Flower Company. Have you ever wanted to enroll in a Floral Design class for free? Well, today is your lucky day! In this blog post, I will be teaching you a two-part course in Floral Design 101.
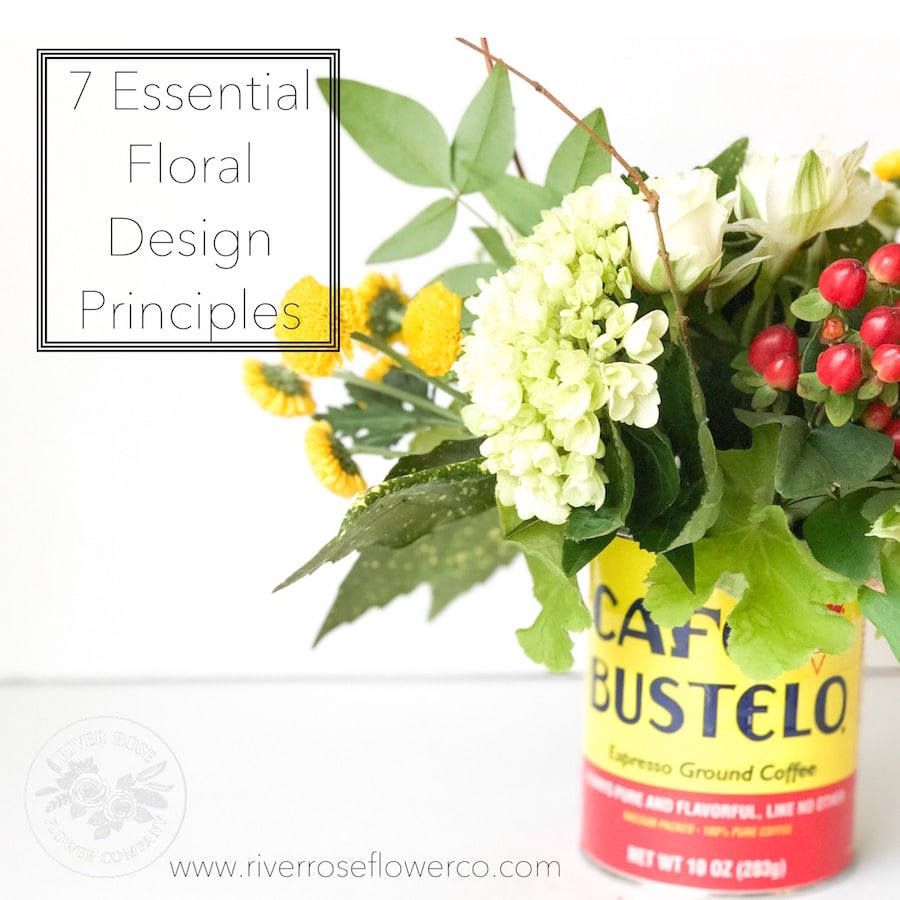
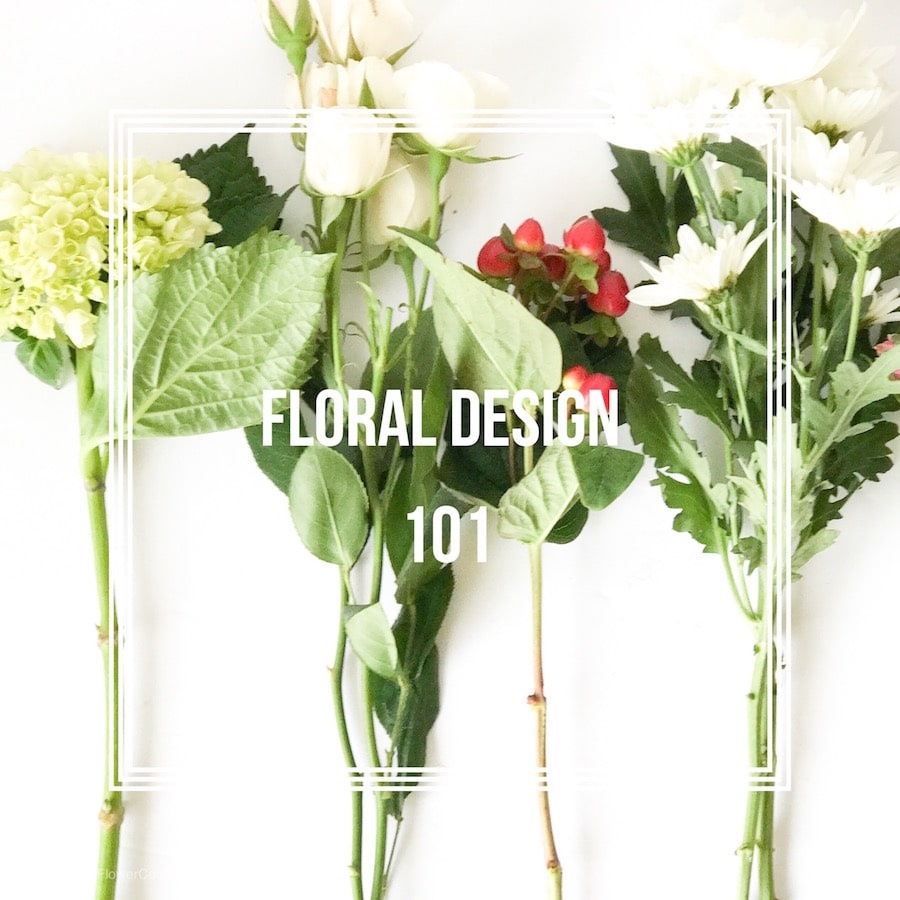 For the first half of the course, I will be teaching you 7 Essential Floral Design Principles. I’ll cover the basic logic and methods of Floral Design 101. For the second part of the course, we’ll implement those principles in a Coffee Can Flower Tutorial. Are you ready? Let’s dive in!
7 Essential Floral Design Principles
- Proportion
- Rule of 3
- Design
- Orientation
- Balance
- Patter
- Spacing
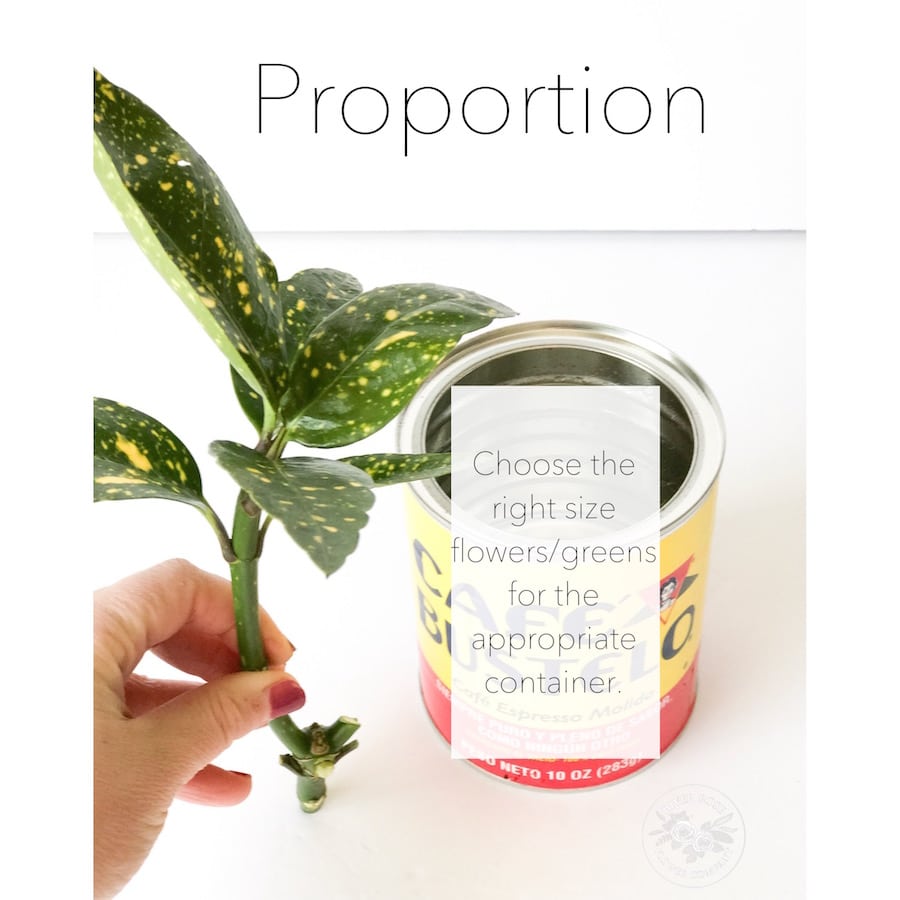
1. Proportion
Your vase and flowers need to be proportional to each other. Too small of a vase with big tropical flowers will look awkward. It’s important to measure the height of the flowers/greens to fit the size of the vase.
2. Rule of 3
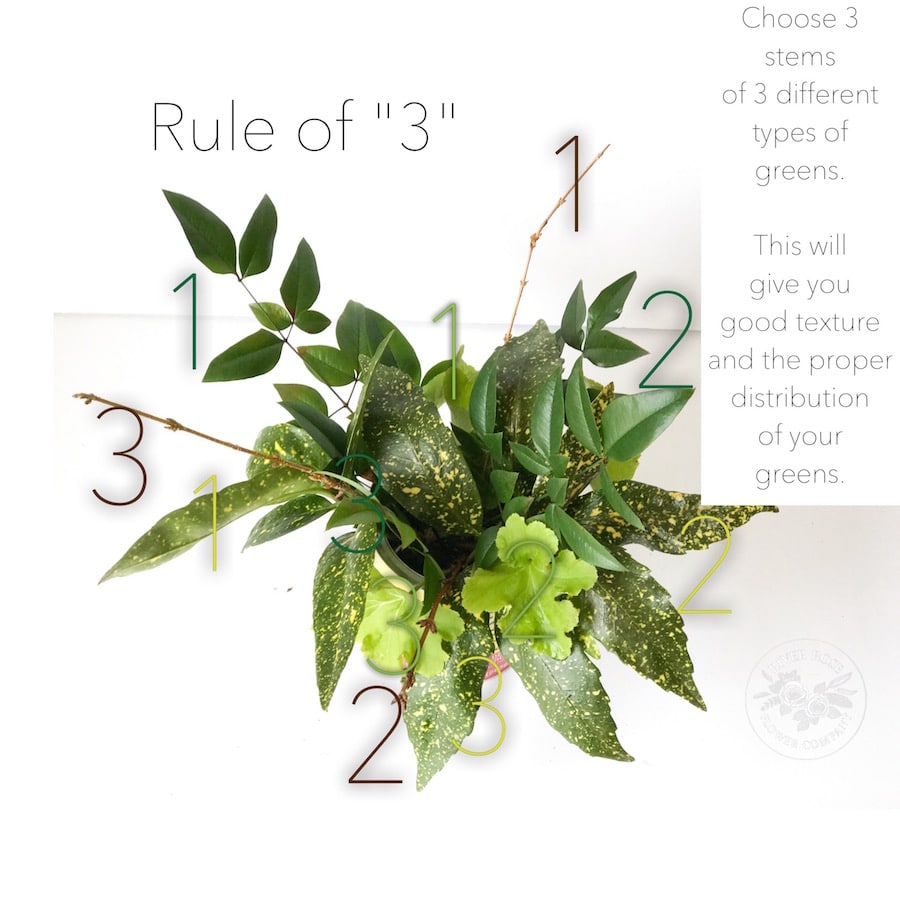
Remembering this helpful number will guide you when you are creating a base for your flowers. Having 3 different types of greens will give your arrangement a depth of color and a variety of texture. In Floral Design, even numbers do not create a balanced look. Odd numbers, like 3, help create a balanced distribution of greens/flowers.
Note: The brown numbers illustrate three branches. (Not a green, but important to note it also follows the rule of 3 for quantity).
3. Design
Most people need recipes or instructions to complete projects. Picking your design style is very helpful because it gives you a goal. You can have a small round design or a large round design. The design style is like a blueprint. You get to pick the size of the design or scale based on your container, flowers and your skill level. If you want to try different styles, try the smaller version first and then try the larger versions.
4. Orientation
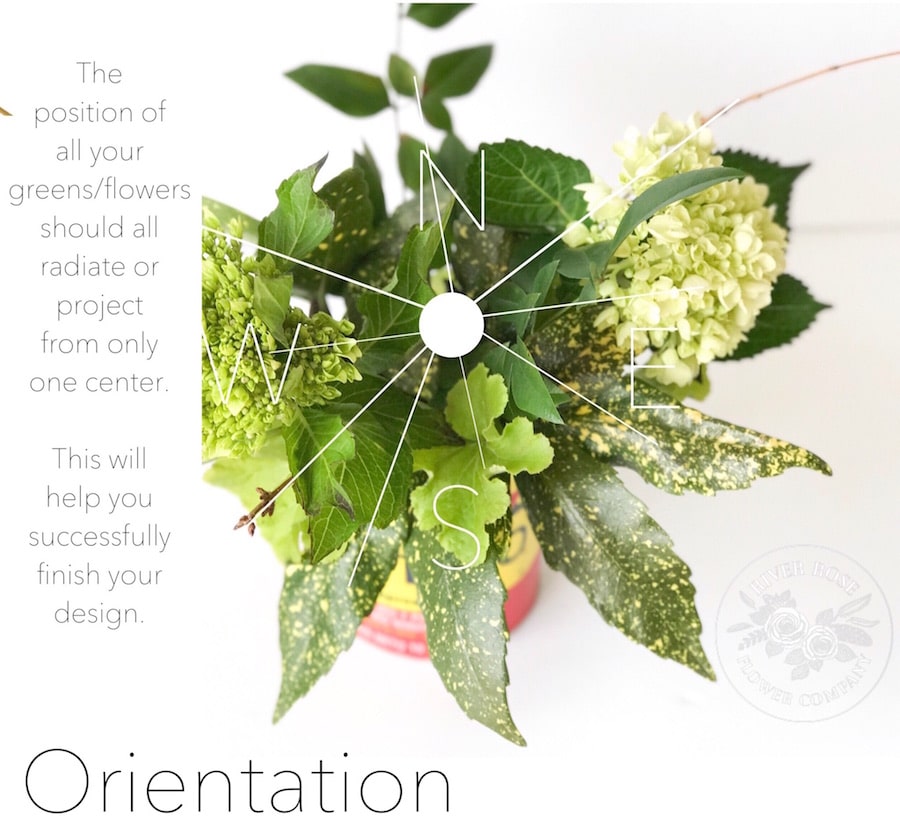
I like to teach using the compass method: find the center and then imagine a compass on your container. But in order to do that, you must have only one center. This will help you understand where the front and back of your arrangement are. This will also help you stay on track with the design style that you have picked. Flower placement is easier for you because you have a invisible compass to orientate you.
5. Balance
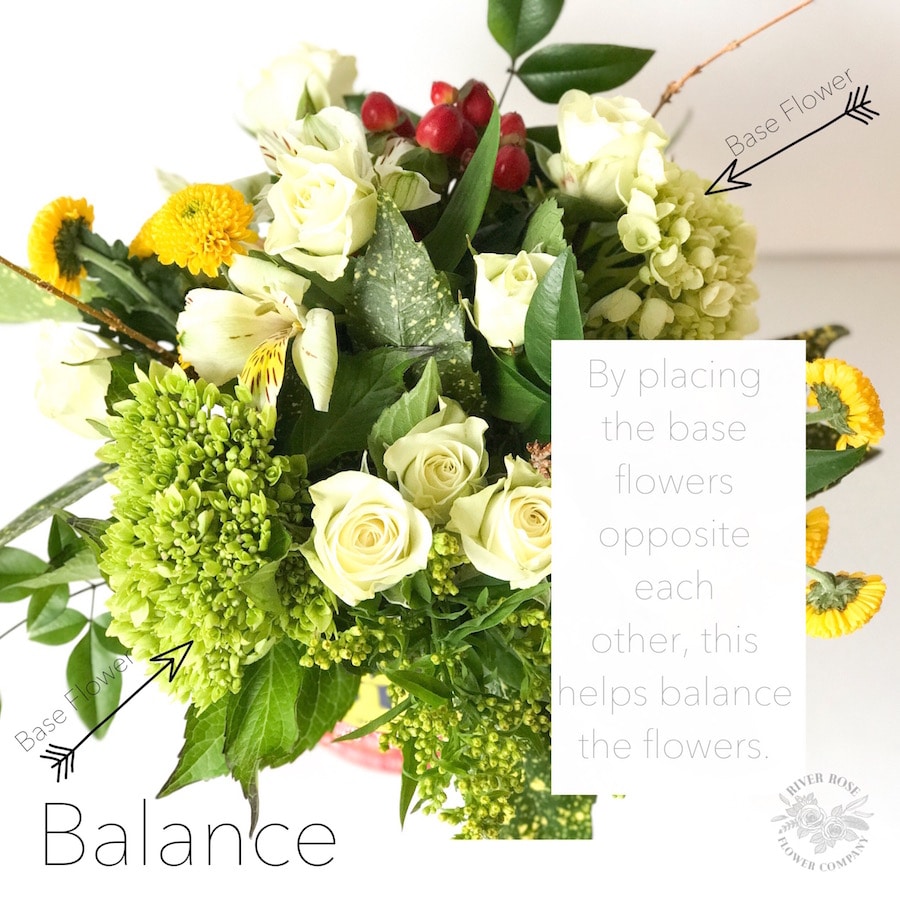
Knowing what flowers to put where is key. Your flowers should be balanced as if you had a scale under them. If you place one base flower on one side, you should place another base flower on the opposite side.
 6. Pattern
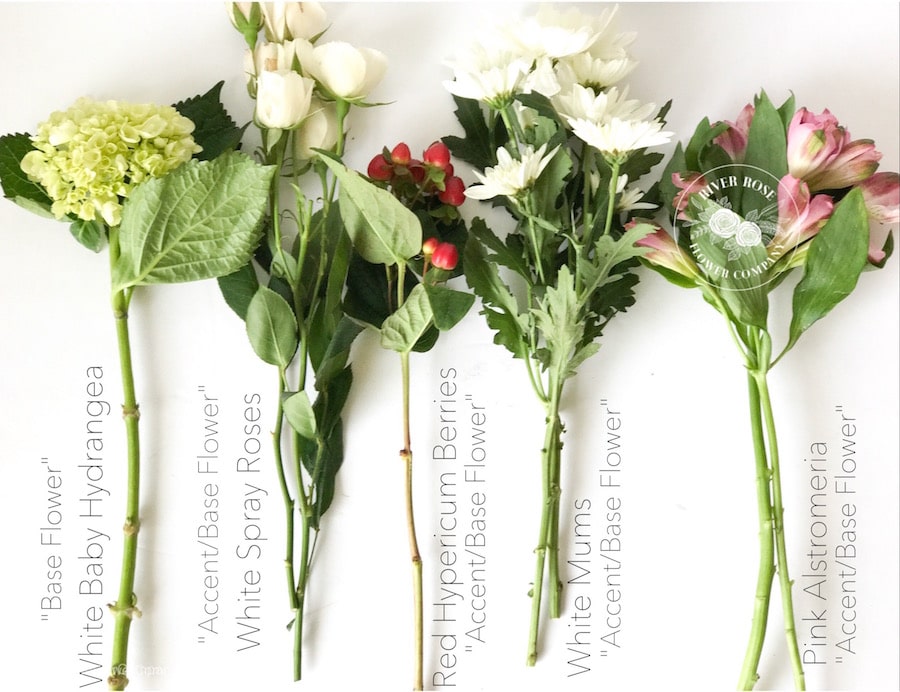
A flower pattern usually comes after you place your first few flowers. Base flowers are first and typically at the bottom. Accent flowers are next and can go throughout. Filler flowers fill in the gaps and go in last. You will figure out what your pattern is and you can easily fill in the gaps and know how to complete your arrangement.
7. Spacing
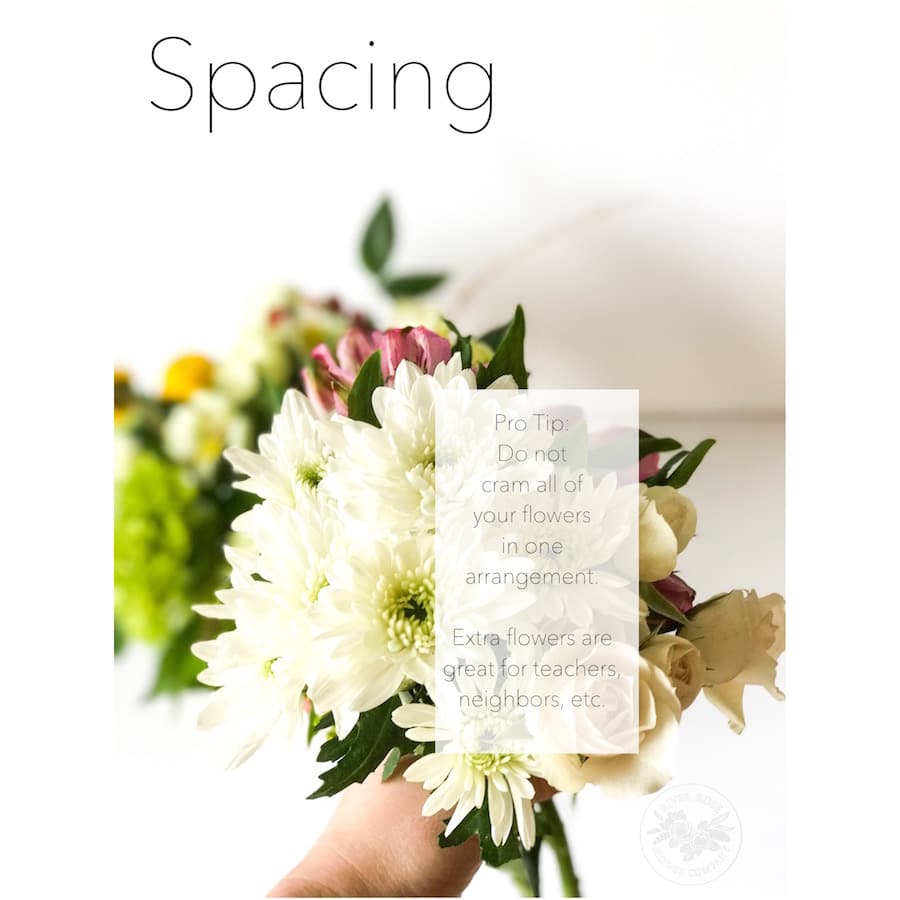
Spacing allows the flowers to show off the design style. This is key in Floral Design 101. Flowers have their own design and they can not be appreciated if they are crammed in a vase with other flowers. The only exception to this principle would be roses. For example: would I rather receive an arrangement with 5 nicely spaced roses or a vase with 100 crammed roses for the sake of LOVE? That answer is an easy “100 crammed roses”. If you have adequately spaced your flowers and followed the other 6 principles, then you can proudly make another arrangement.
Now that you are educated in the basics of Floral Design, let’s start the tutorial
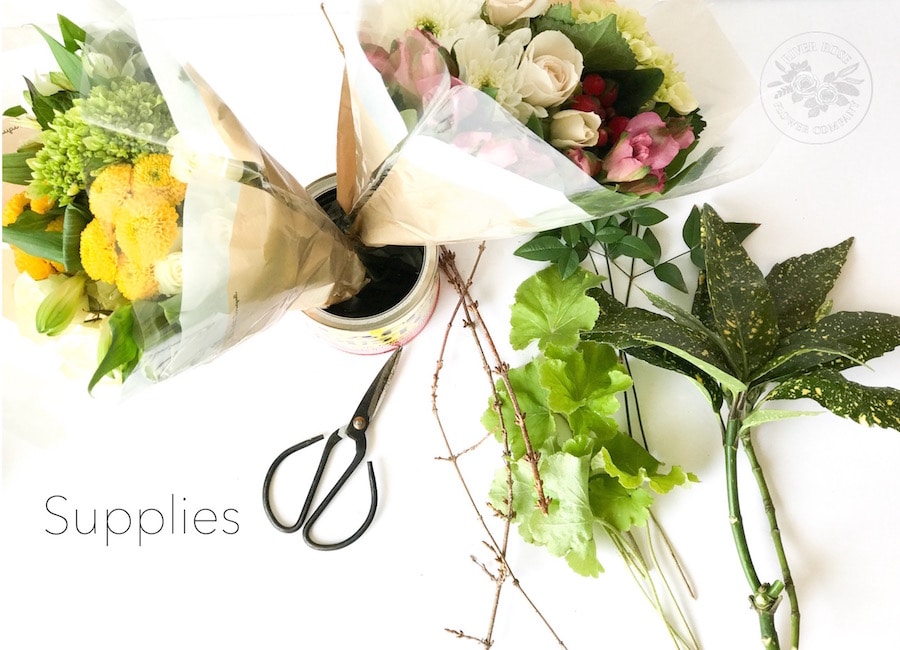
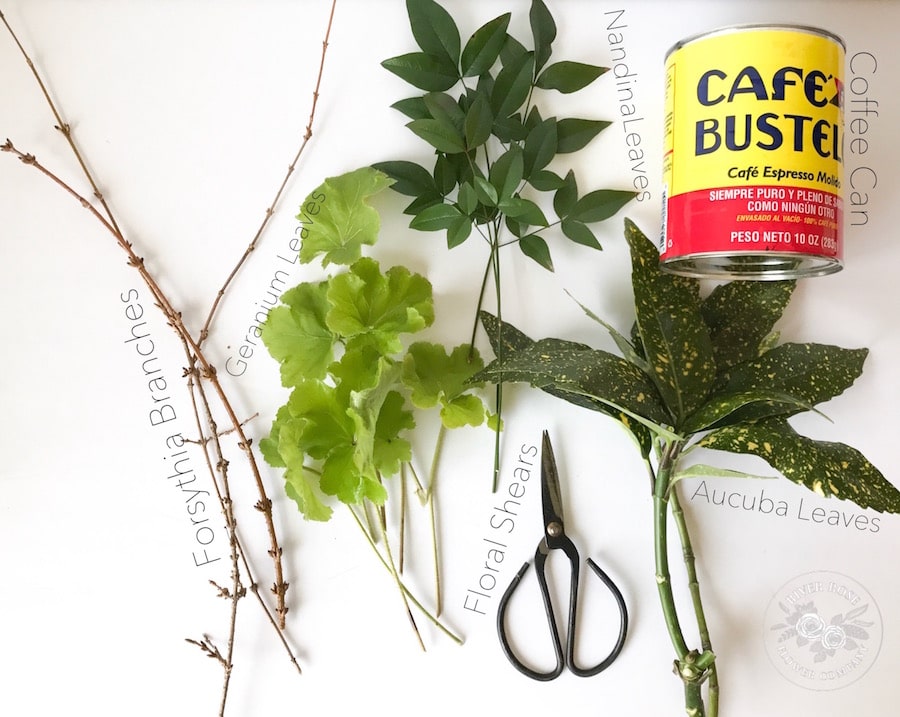
Supplies:
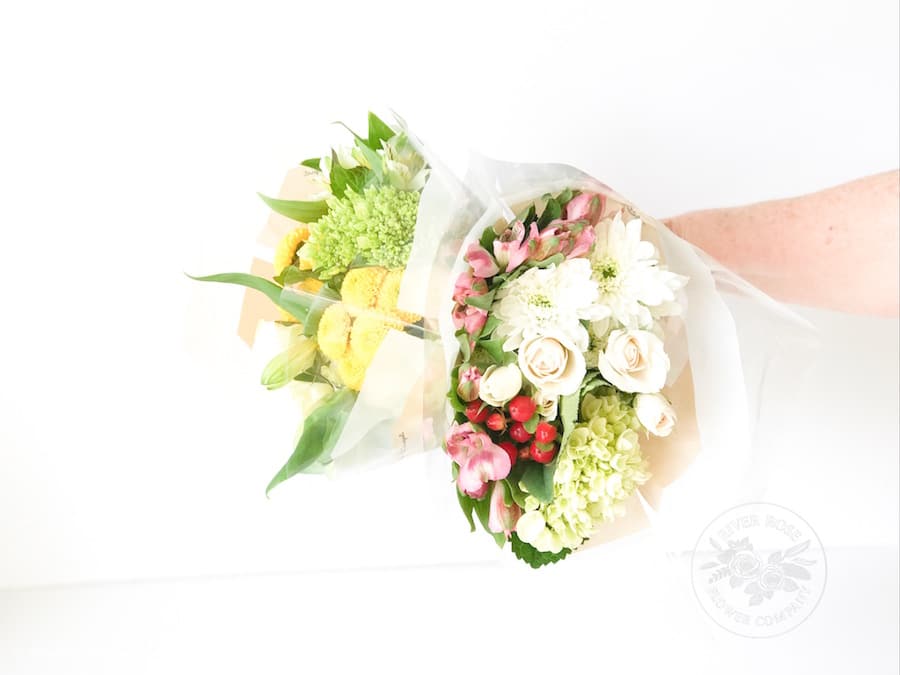
- Two small mixed bouquets or one large bouquet
- 3 different types of greens (I found all of them in my backyard).
- 1 coffee/salsa can (filled with water)
- Floral shears
- 3 branches or vines with buds
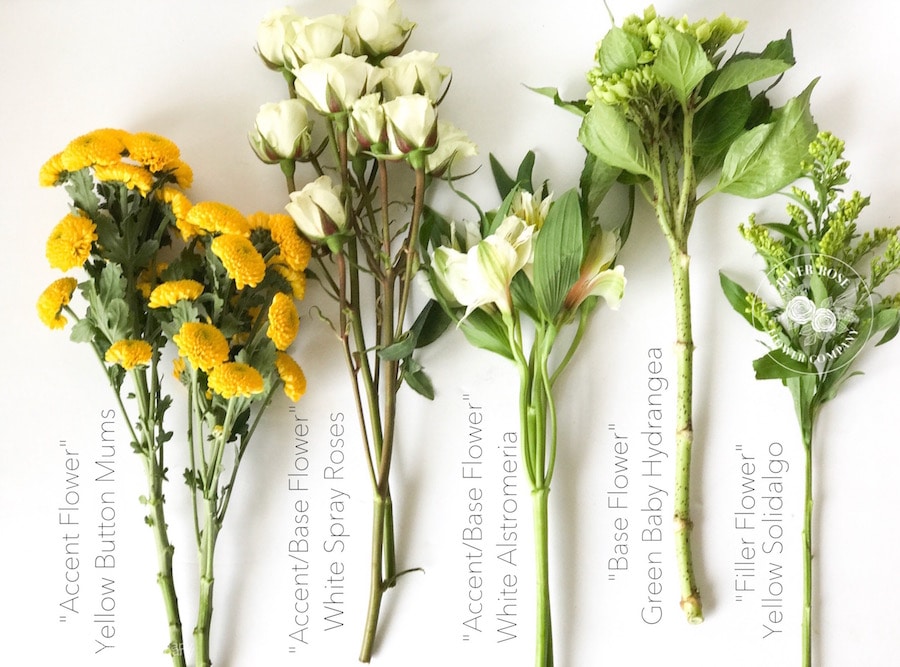
I wanted to buy flowers that would compliment the colors on the coffee can. I chose these two because one had the yellow pop and the other had the red pop. They were $3.99 each.
(See steps 3 & 4 for examples of strategic cutting)
Pro Tip: Always look for: tight buds/blossoms, flower clusters on longer stems, and no browning.
Step 1
Start off by placing the larger leaf greens as your base. Make sure your greens/flowers are proportional to your container.
Step 2
Add the remainder of your greens and any branches/buds. If you decided to do a Round Design, then you will need to have your greens frame the rim of the container/vase. I will typically make a triangle with my branches/buds. Remember the Rule of 3 for your greens.
Pro Tip: Avoid having only two branches/buds because that will give you “tv antennas”.
Step 3
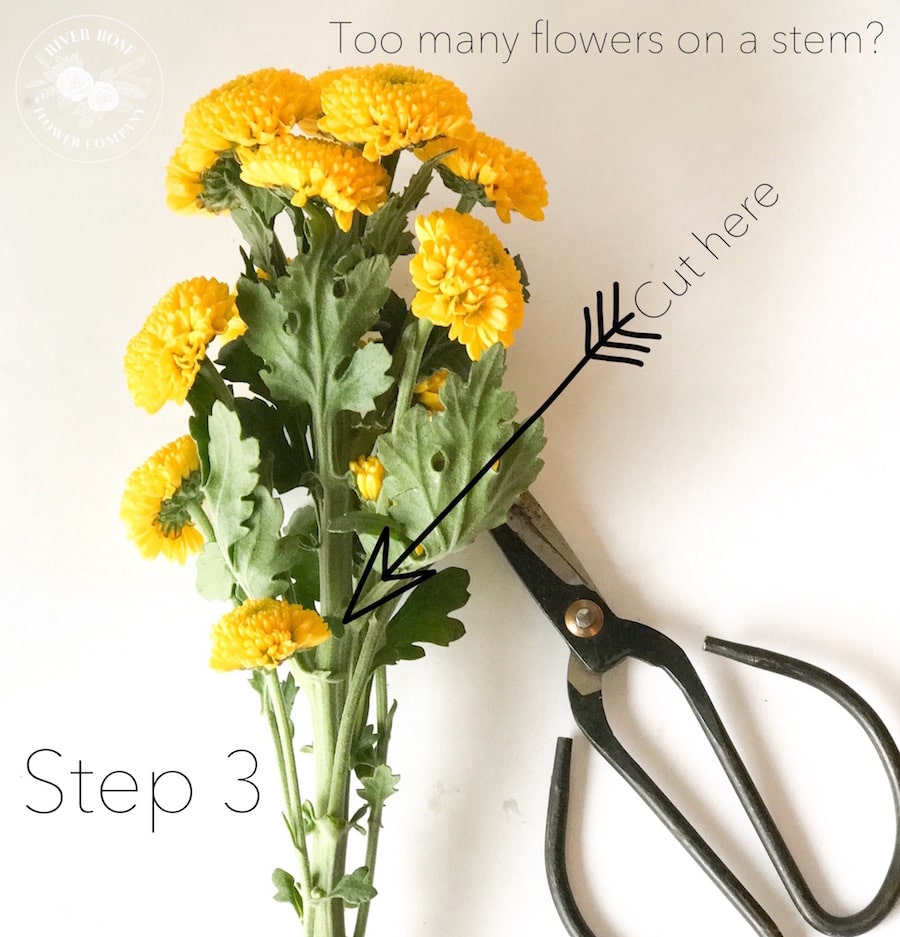
Cutting off extra flowers, will help the spacing of your flowers.
Step 4
Strategically cutting your flowers, will help you get “extra flowers”.
Step 5
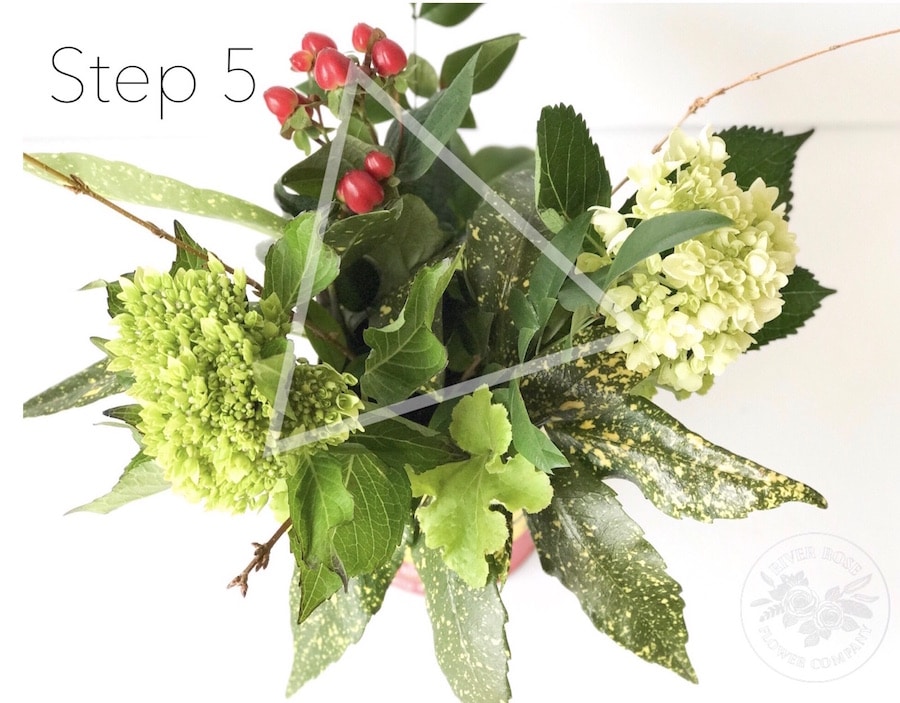
Add your base flowers first. I added the 1 stem of berries as a base flower. I created a triangle with the base flowers to balance them visually.
Step 6
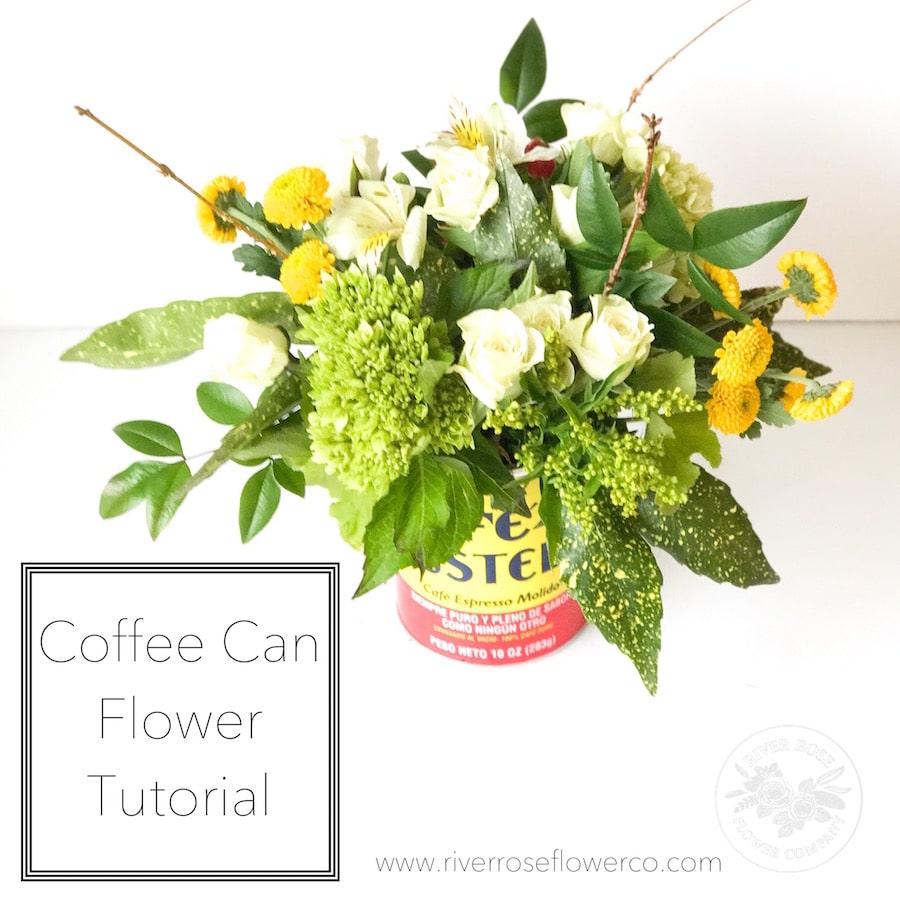
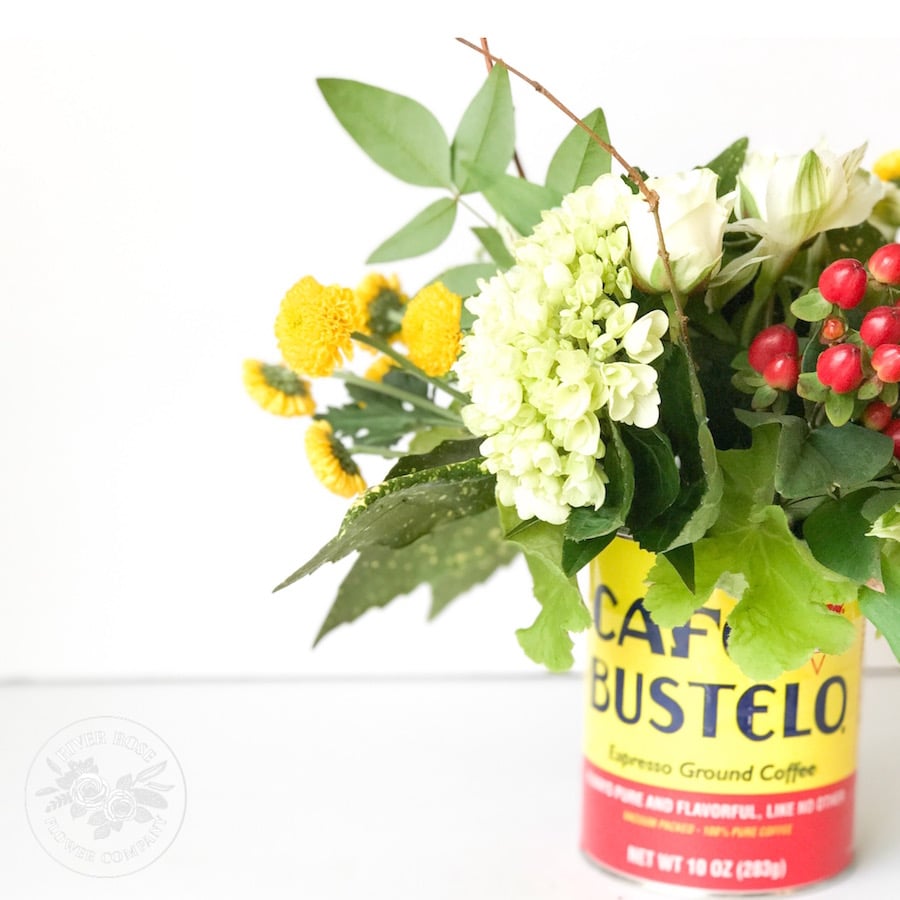
Remember to have all of your flowers radiate from the center, this will help you with your orientation. My pattern here is: hydrangea, rose, mum, hydrangea, rose, mum. If you have any filler flowers, you will put them in between the gaps. Lastly, remember your overall design and that you must have space between your flowers.
 Step 7
Take a step back and look at your BEAUTIFUL flower arrangement! Thank you for joining me for “class” today! I enjoyed teaching you my version of “Floral Design 101”.
You can see another one of my flower tutorials here.

 6. Pattern




 Step 7


When you began, did you go to a floral Design school?
I took a class…
But the teacher was No teacher(not just my opinion)
I learned more from your web site than teacher.
Thank you
I am teaching Floral Design for the second year. I am learning as my students learn. Anything I can pick up along the way would help. I have two high school classes of about 10 kids each in central Texas.
The emphasis on color theory, balance, and flower selection provides a solid foundation for anyone looking to delve into the world of floral design. Your step-by-step guide turns the post into a virtual workshop, making it feel like you’re right there guiding us through the creative process.
Such great info! Thank you. Do you have any tips for bouquets? A few of us are trying to tackle for our sons’ dates to a high school Valentine’s dance. Thanks!