An in-depth tutorial on how to build a DIY built-in bunk bed for your kids! Lots of tips, tricks, photos, and step-by-step plans, including a fun video!
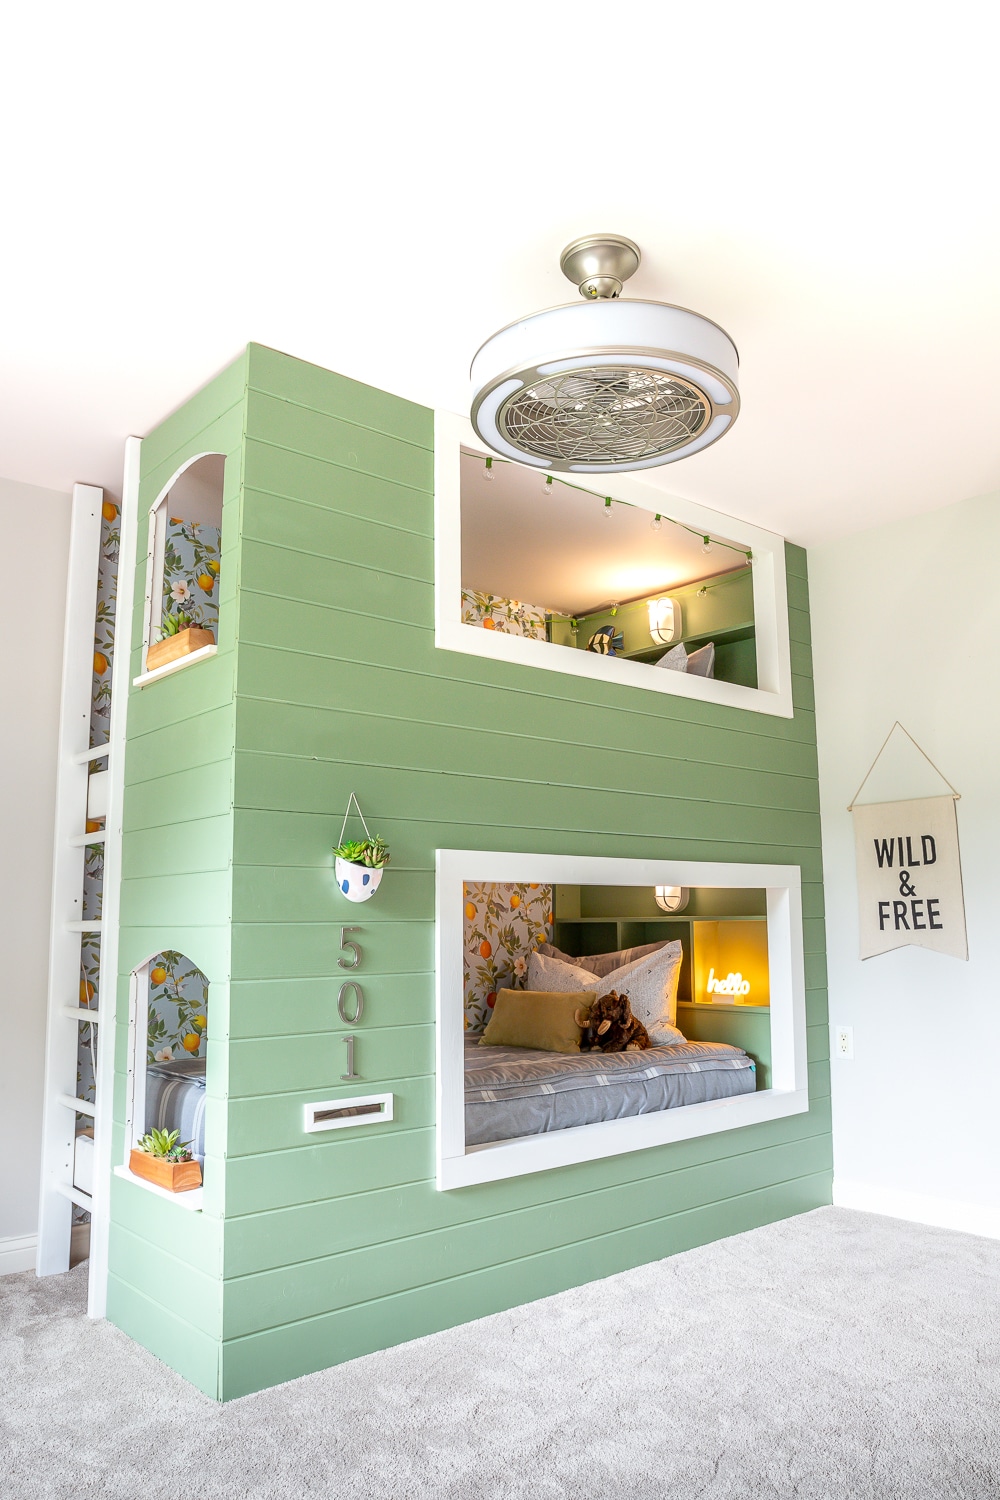
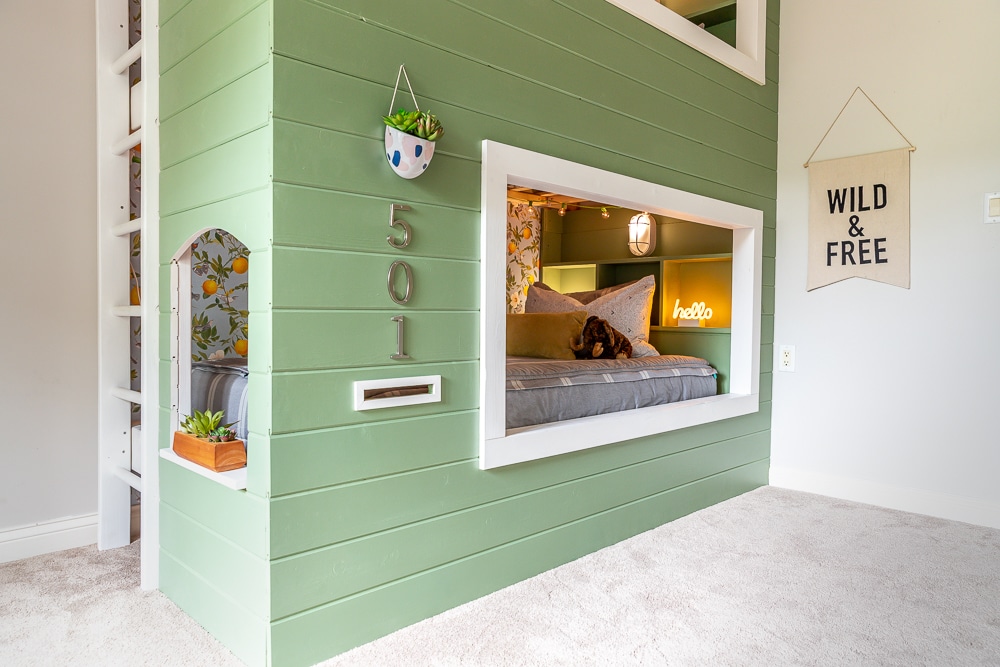
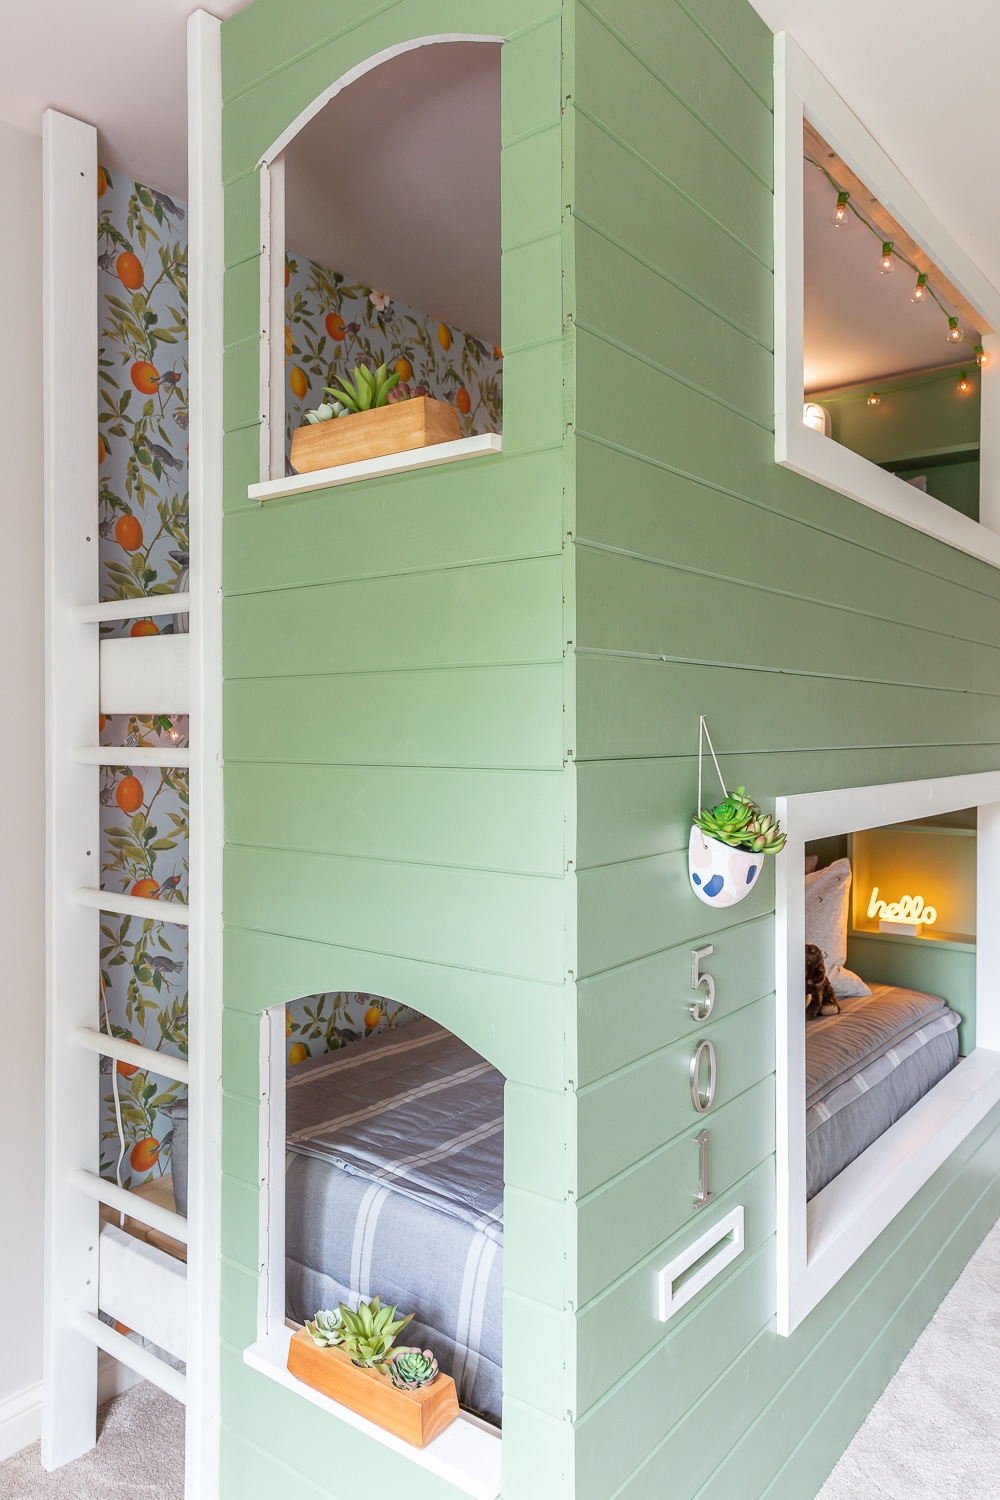
If you follow me on Instagram or Facebook, you would have seen sneak peeks of this project already. Today, I’m thrilled to share the full reveal with you! This DIY built-in bunk bed might look complicated, but it’s not! The design is simple, yet smart – we used 2×4 stud lumber and tongue-and-groove boards that “wrap” around the framework. You could build this bunk bed in just a few weekends! The design is similar to the DIY kids playhouse I built years ago. Also, even though this bunk bed is built into the room, I designed it so that it will be fairly easy to disassemble when we’re ready to move out.
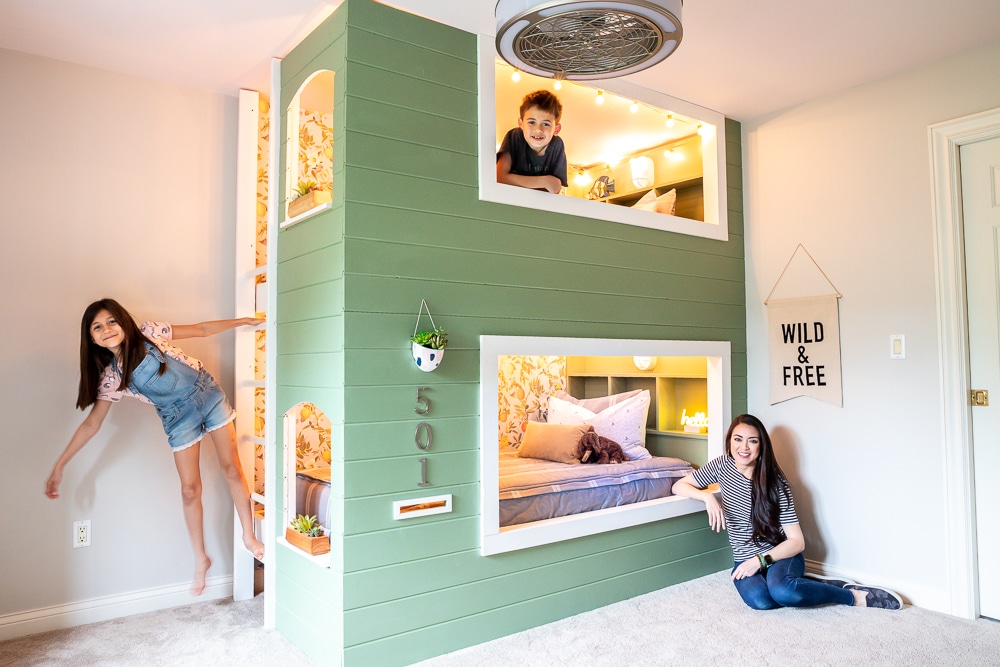
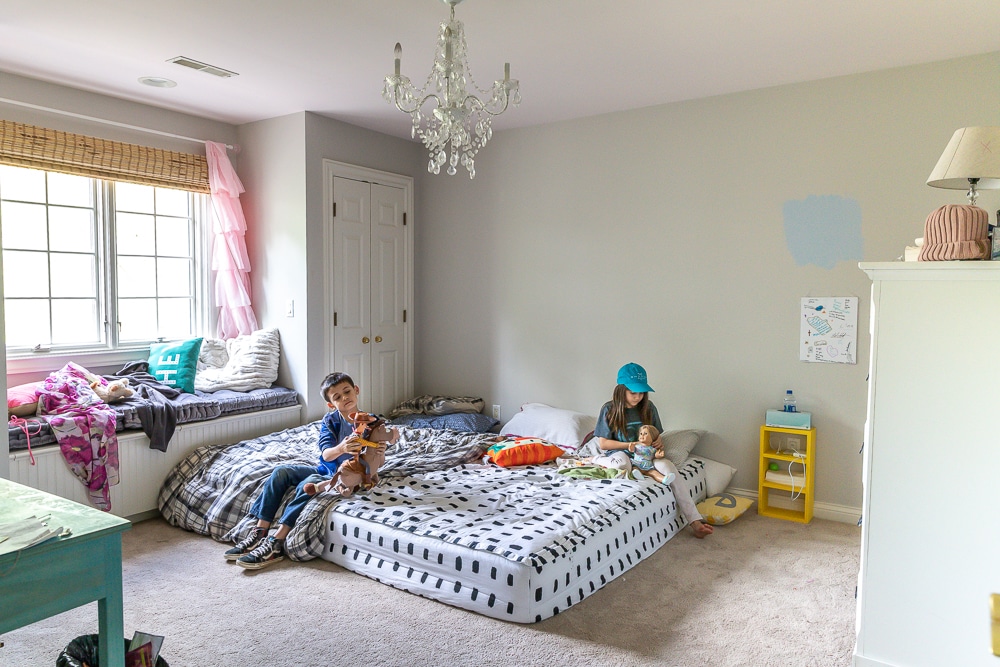
Can you even handle the cuteness?! Pretty sure I’m more excited about this DIY built-in bunk bed than my kids are! It’s not weird to live vicariously through your kids, right??? We bought this house last summer and their mattresses have been on the floor ever since. But before you pass judgement on me, allow me to defend my case! I did build them this sliding barn door loft bed and this cabin bed, both of which we sold when we left Texas. I’m embarrassed to say that this has been their situation for close to a year now. #momguilt Oh, how the mighty have fallen! I’m so happy we finally completed this project for them!
Big thanks to 84 Lumber for sponsoring this project. They supplied all of the building materials for this DIY built-in bunk bed and I’m super excited to be partnering with them this year! There are over 250 stores across the US and you can order just about any species of wood that you want – they can even find you the rare ones! Check out 84Lumber.com to get a quote and an estimate for your next project.
Watch the video
Read on for more details on this DIY built-in bunk bed project. We also made a super cute video! I’d love for you to subscribe to my YouTube channel so you don’t miss any of our future videos.
How To Build A DIY Built-In Bunk Bed
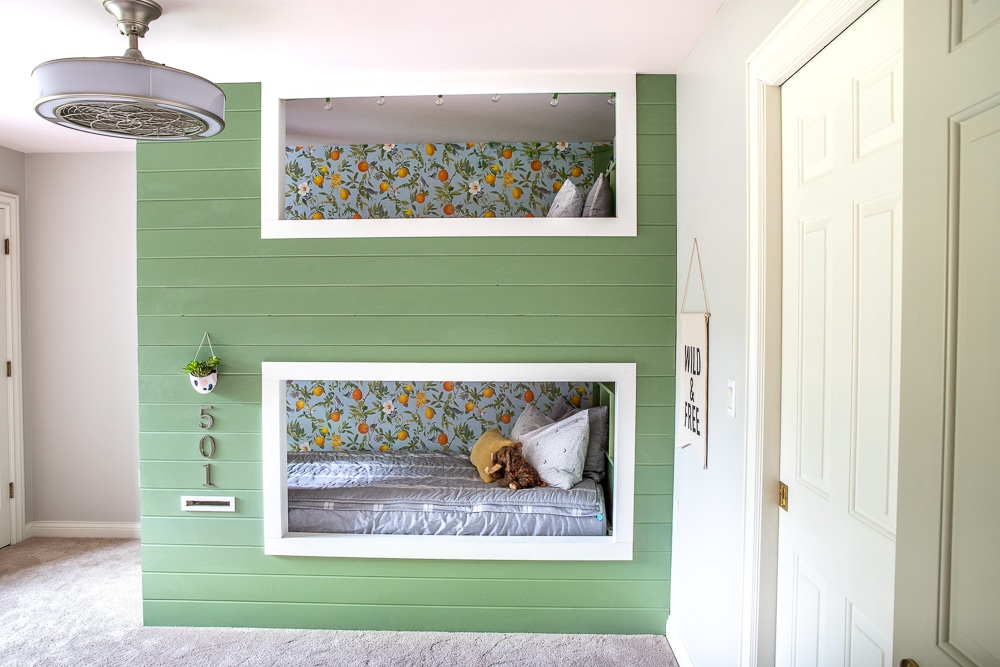
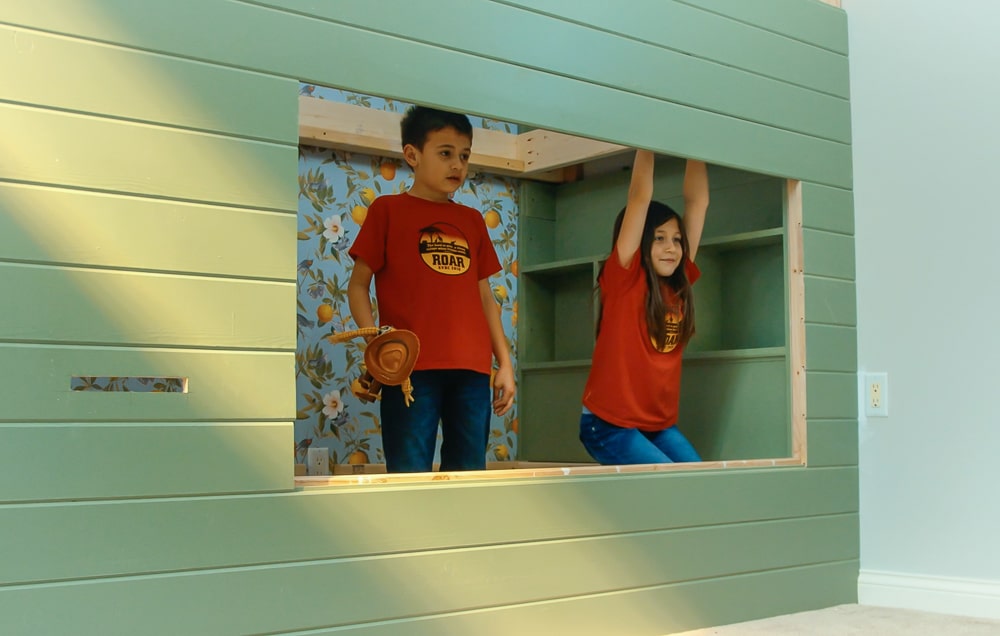
We’ve got 8-foot ceilings in this room and there’s still plenty of headroom in both bunks. My husband, Adam is 6’1″ and he can sit completely upright in there. The kids picked out this adorable wallpaper pattern as well as the coordinating paint colors. Isn’t it just darling? It reminds me of Willy Wonka’s lickable wallpaper. “The snozzberries taste like snozzberries!” Side note: don’t google “snozzberries” unless you want your childhood memories to be crushed forever.
 Wallpaper Installation
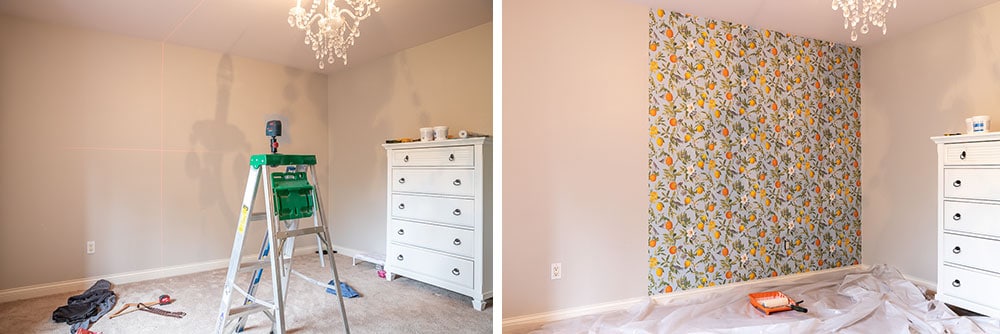
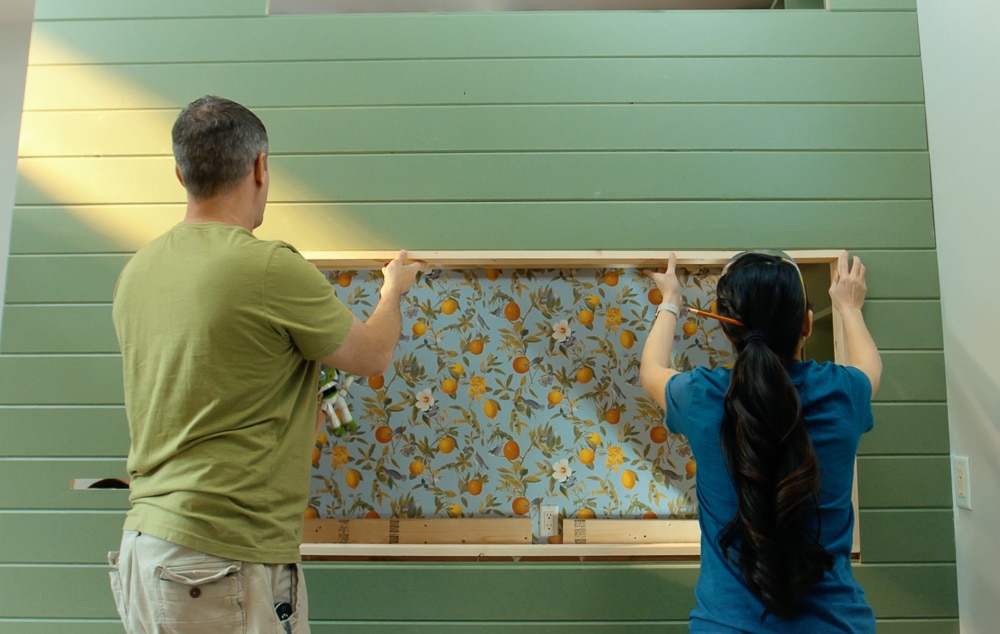
Prior to assembling the bunk bed in the room, my dear friend Lauren and I hung the wallpaper up on the wall. Admittedly, I was pretty intimidated by hanging wallpaper after watching my professional installer hang the wallpaper in our powder bath, entryway, and home office. Traditionally, you’d lay the paper out on a long table, apply the wallpaper paste to the back, then book it (fold it each end into the center), and let the paste permeate the paper before hanging it up on the wall. It seems like a much more labor-intensive process that doesn’t allow much room for error.
With this Graham & Brown wallpaper, you paste the wall and hang the paper dry! It’s a more straightforward and less messy process and as a total newbie, I fully appreciated how easy it was to work with! Lauren and I were able to knock this project out in about 3 hours and we just love how it turned out! I also love that Graham & Brown has coordinating paint colors for their wallpaper, which takes all the guesswork out of it! We recorded a timelapse video that’s saved to my Instagram highlights if you’re interested.
As always, I’ve drawn up the complete step-by-step plans for you, with all of the dimensions and 3D diagrams so you can build this bunk bed for your kids (or yourself, no judgement!). There are a few things I’d do differently if I had to build this over again, but don’t worry – I made those revisions in the plans so you can build the best version of this bunk bed. My plans go through multiple revisions before they ever get published. I write the plan how I think it’ll all play out, and then when I go to build it in real life, things often don’t go according to plan so I revise and tweak the plans until they’re hopefully foolproof for you. The overall cost of materials for this project was less than $350.
Tools
*Affiliate links used.
- Tape Measure
- Speed Square
- Cordless Drill/Driver
- Table Saw or Circular Saw
- Compound Miter Saw
- My Favorite Miter Saw Blade
- Plywood Saw Blade
- Jig Saw
- Cordless Brad Nailer
- HVLP Paint Sprayer

Build the Framework
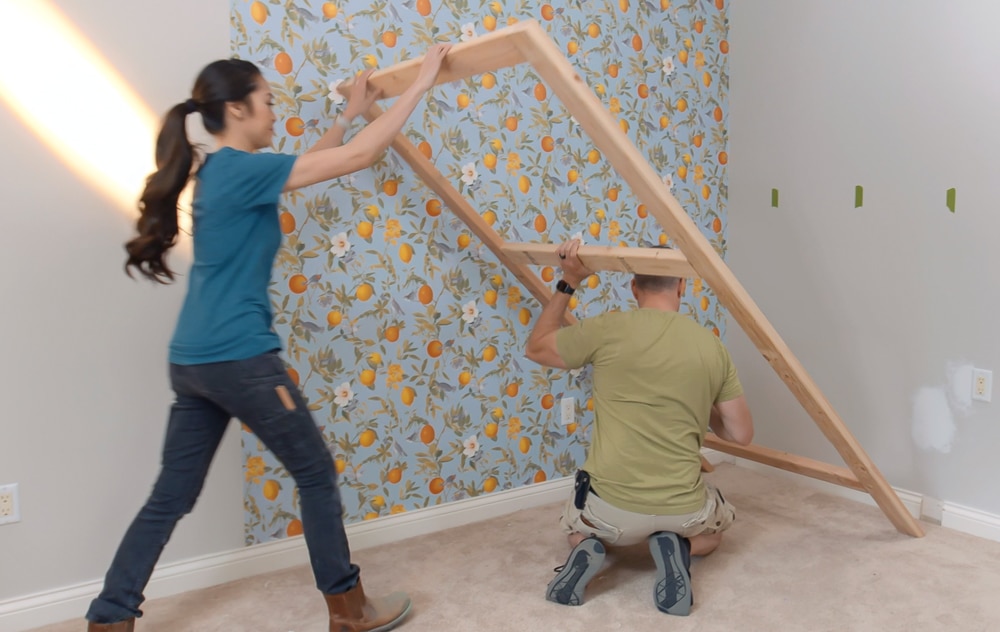
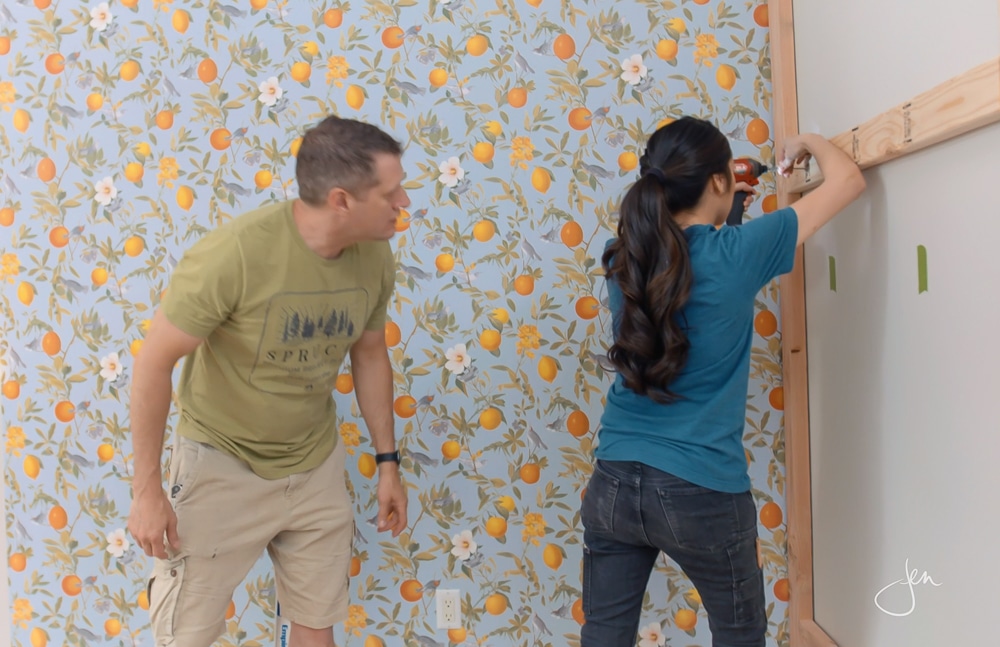
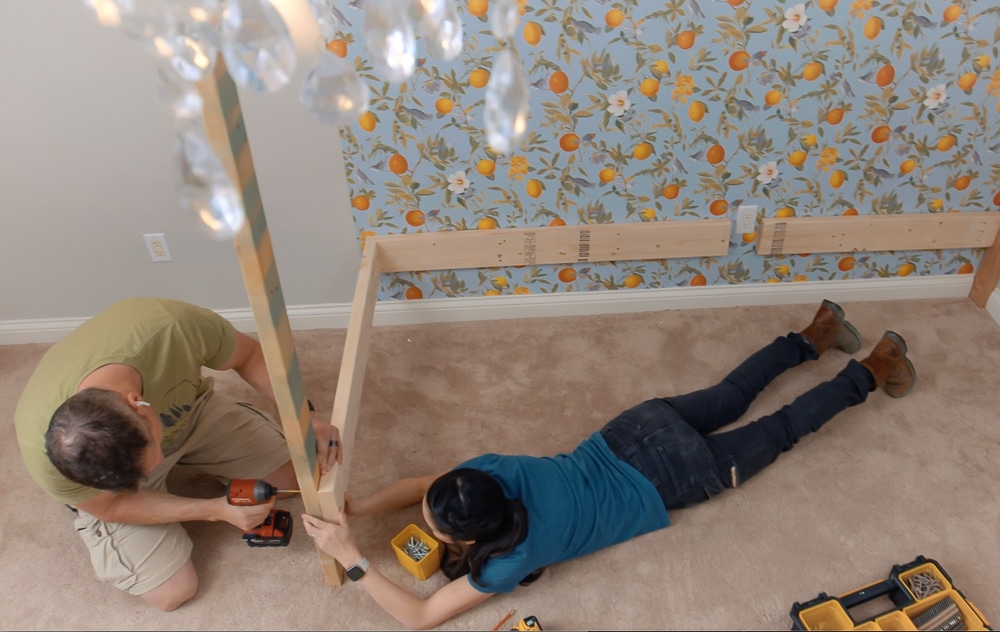
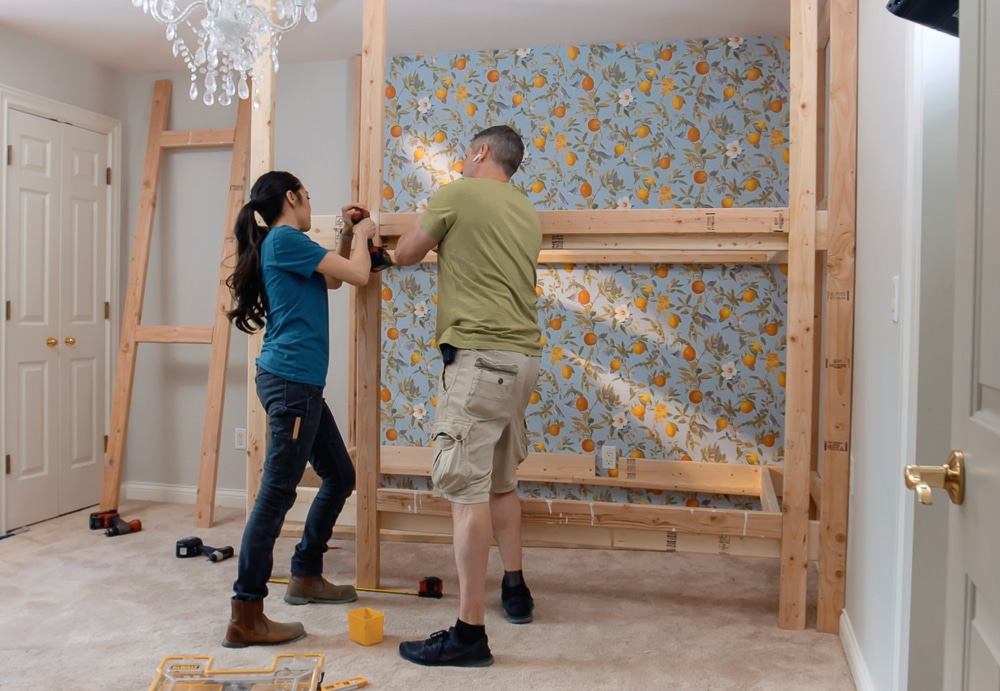
The first thing I did was build the framework out of 2×4 stud lumber. I built all of the frames in my workshop then Adam brought them into the room for assembly. The framework will be secured to the studs in the wall – we want this entire thing to be rock solid. Like most houses, our studs are 16 inches on center.
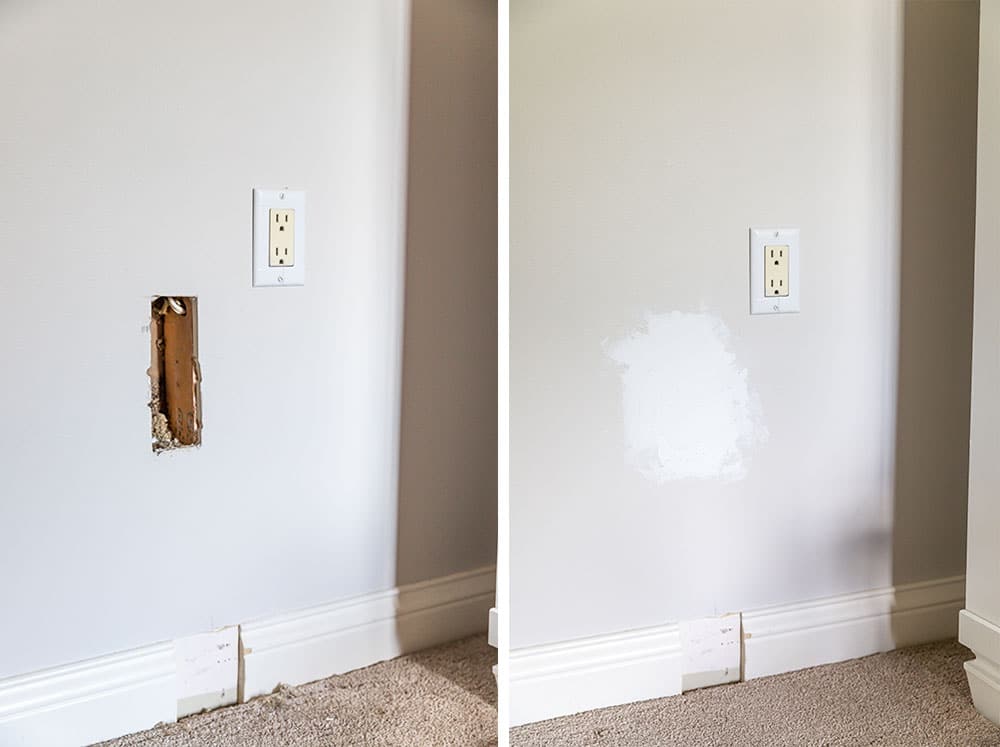
We actually had to move a power outlet on one of the walls because the bunk bed would have blocked access to it and we didn’t want to lose it. We watched a few YouTube videos and consulted an electrician before we tackled this job. It was surprisingly easy, but if you’re not comfortable doing electrical, please consult a licensed professional. We felt very accomplished for moving the outlet a few inches over. We also had to move it higher to gain more slack in the wires.
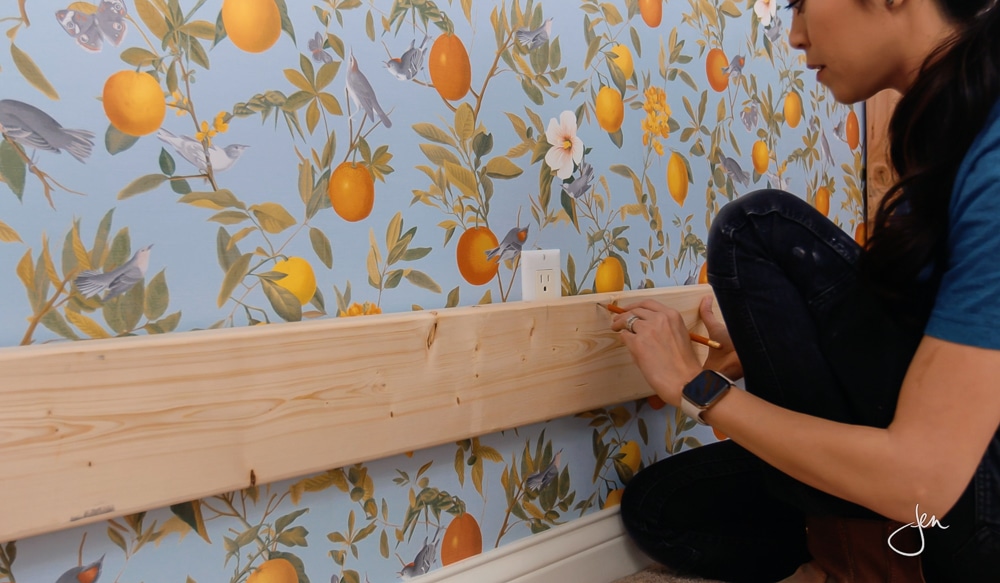
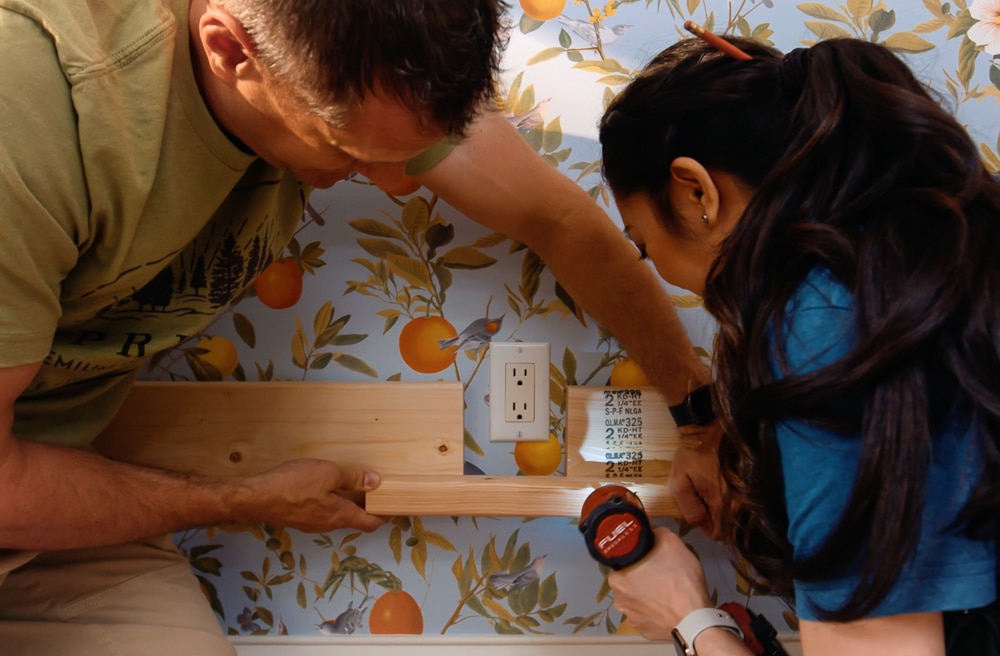
When started building the bed box, we discovered that another outlet was smack dab in the middle of where one of the boards had to go (of course). Luckily, this was an easy fix: we just cut the board to accommodate the outlet. Crisis averted!
***Update: Our electrician said this outlet near the bedding was a fire hazard, so he took it out and covered it with a blank cover. Codes may vary depending on location, so I’d recommend consulting a licensed electrician in your area if you face the same issue.***
To build the bed box in place, we temporarily screwed a scrap 2×4 to act as a support so it would be easier to get the other pieces assembled. This scrap board will be removed after the other frame parts are attached.
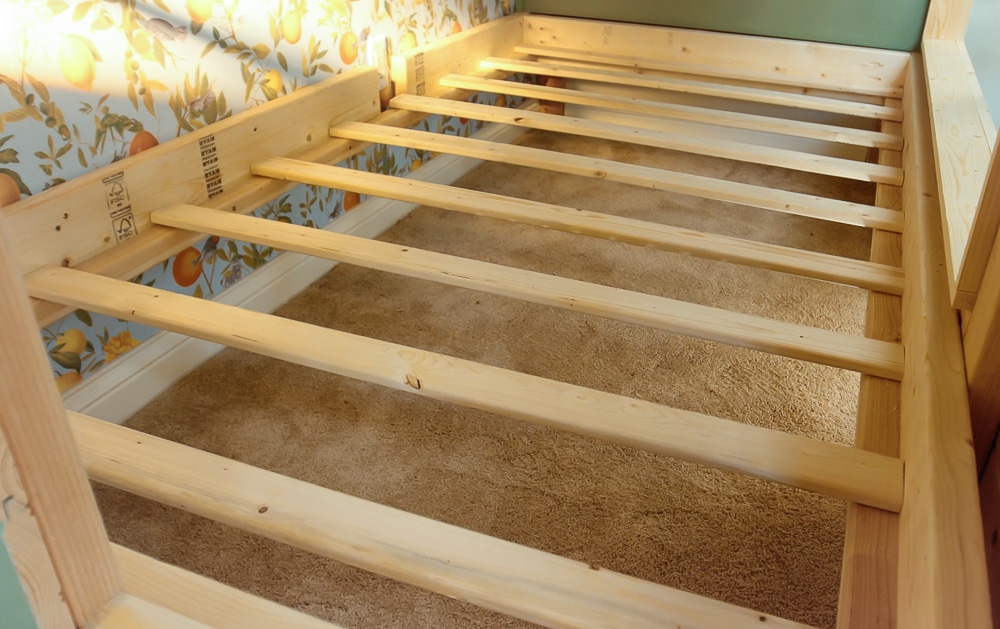
The mattress cleats support the mattress slats and are screwed to the long sides of the bed box. We ripped a 2×4 board in half to make them, but you can also buy a 2×2 board off-the-shelf.
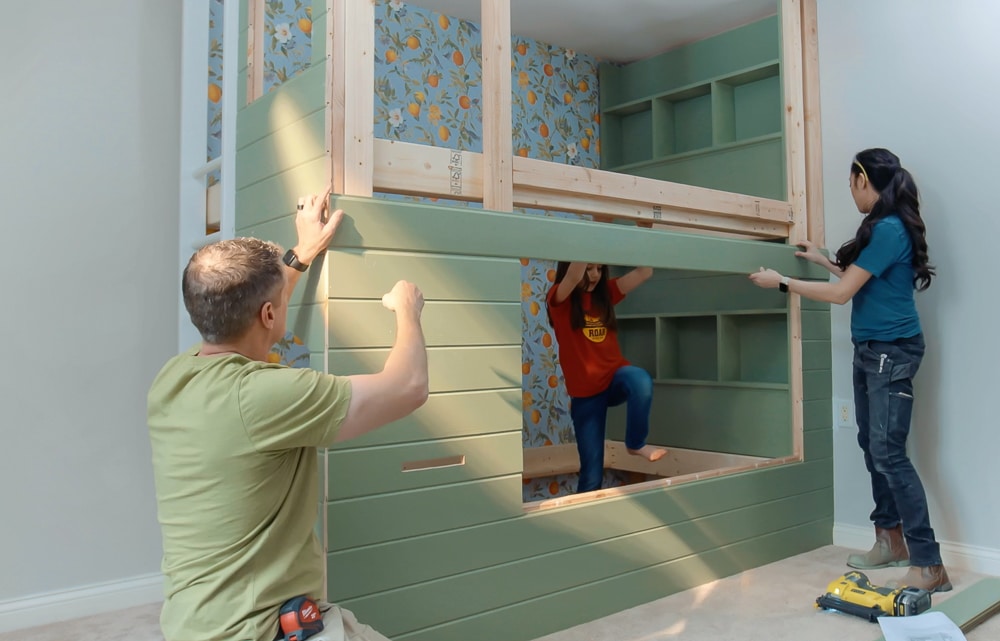
Once the bed boxes were in place and the initial framework is complete, we added additional 2×4 supports which not only strengthens the entire structure, but gives us something to nail the tongue-and-groove boards to.

Add the Ladder
The ladder is built out of 2x4s and 1 1/4-inch dowels. I chose dowels because I thought it would be easier on little hands and feet. It seems to be fine for my kids, but it hurts my feet when I climb up there. You might want to consider using 2x4s instead of dowels – just thought I’d mention it. I put the ladder in place and screwed it to the framework.

Build and Install the Shelf Units
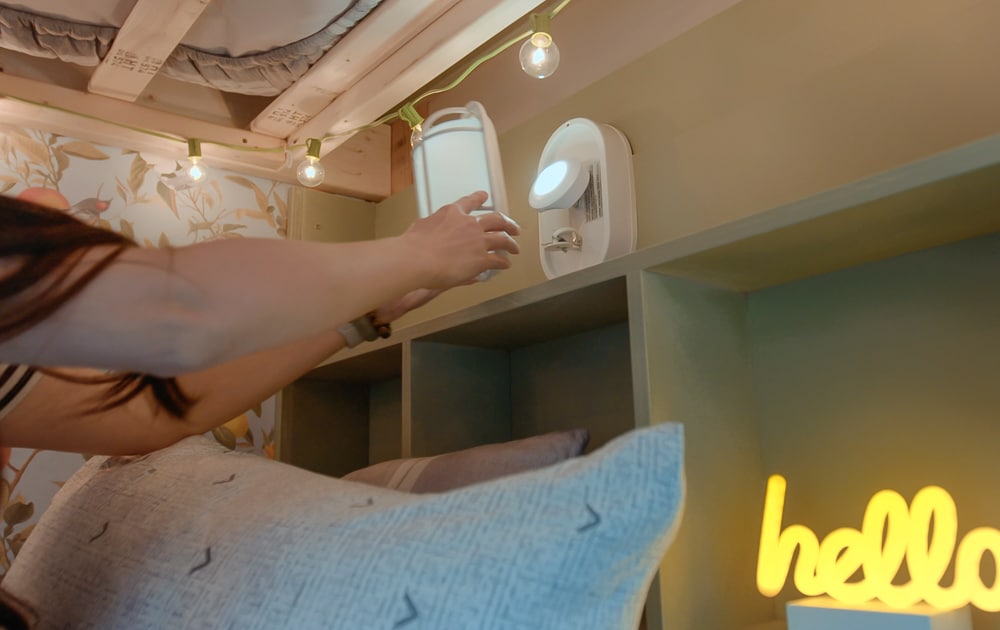
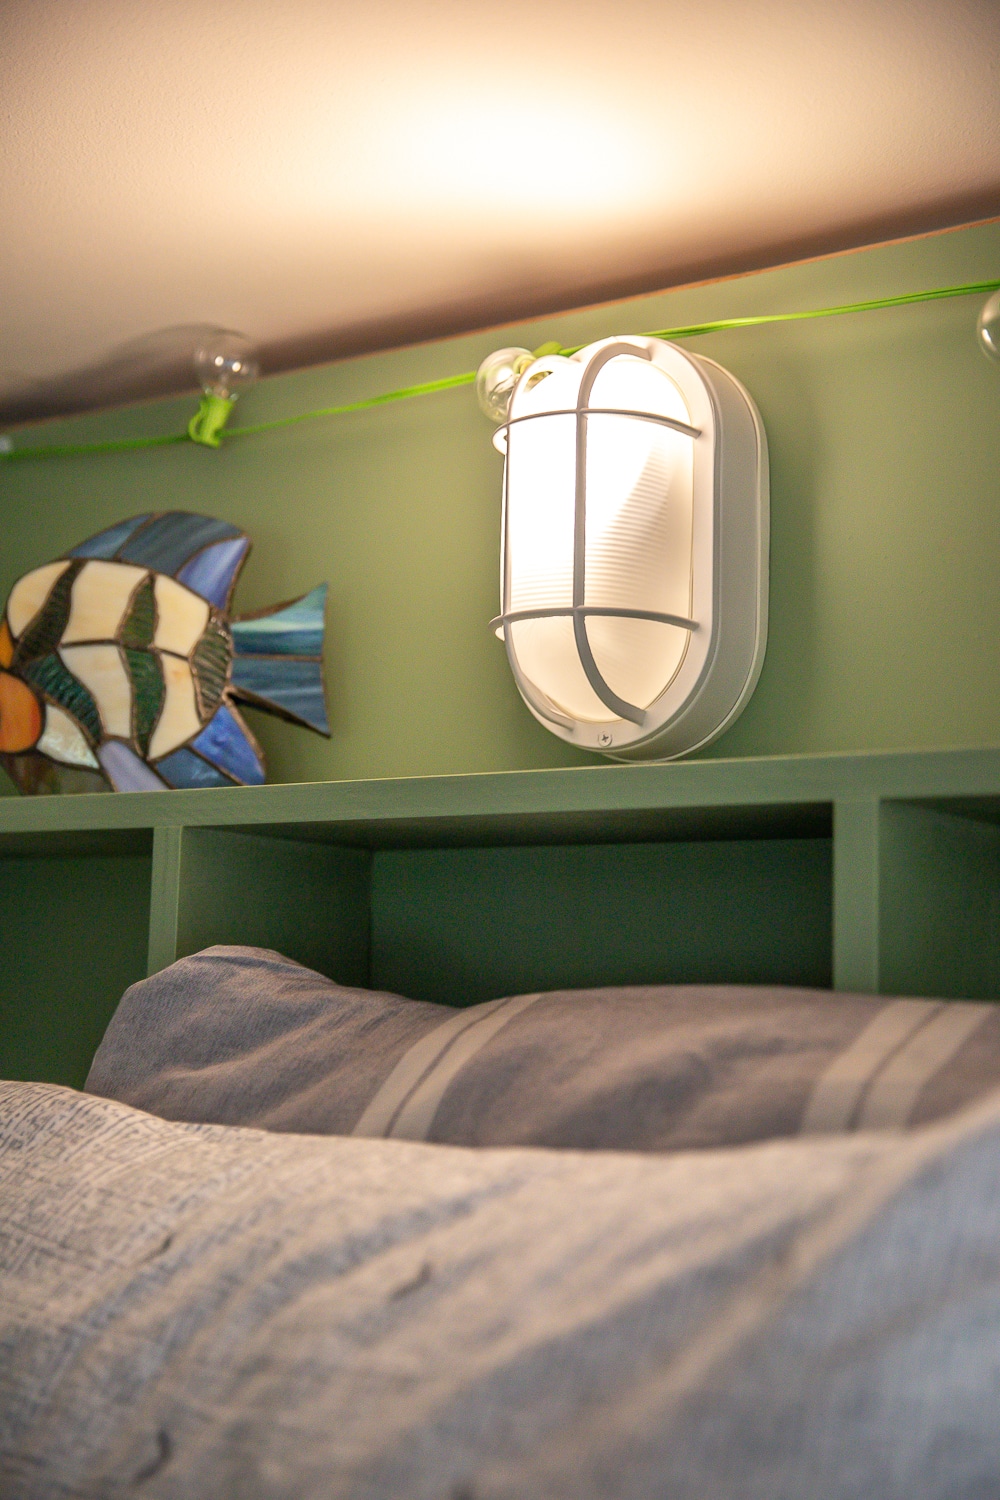
My kids love to read and draw before bedtime, so I made them these headboard shelf units. It’s a great place for them to put their books, toys, and a bottle of water. I built them out of 3/4-inch plywood and Adam set them in place. We screwed them to the framework and even added a sweet nightlight! I borrowed this clever lighting trick from my brilliant friend Mandi from Vintage Revivals. Thanks to her, I didn’t have to do any electrical work! We placed LED puck lights inside the sconces – the lights are battery-powered, remote-controlled, color-changing, and dimmable! How cool is that?! Thanks Mandi! You are a genius and I love you!

Attach the Cladding
Once the framework is done, the next part will go pretty fast. It’s just a matter of cutting the tongue-and-groove boards to length and nailing them on. The reason I chose to use tongue-and-groove boards for the cladding is because they’re surprisingly cheaper than regular 1×6 boards and I love the charming look it adds! There’s one plain side and one beaded side, so you’re given a couple of choices depending on the look you’re going for. We chose to use the plain side for a more modern look. I think the beaded side is darling though and lends itself to a cottage feel. These tongue-and-groove boards are incredibly easy to work with; there’s a groove on one edge and a tongue on the other, so each board interlocks.
There are only two tongue-and-groove boards that require a curved cut: the arch of the windows. I did this by first cutting the boards to length, then finding and marking the midpoint. Then I used a flexible piece of plexiglass to trace the curve. You can use whatever you have on-hand or even free-hand it if you’re able. Next, clamp the two boards together, then make the cut with a jigsaw.
When nailing the boards on, we started at the bottom with the tongue facing up. You’ll want to nail into the tongue so that when the next board slides on, it covers up that nail hole and you won’t have to go back and fill the nail holes with wood putty. #worksmarter
Pay attention to the alignment of the side and front planks. Ideally, you want the “shiplap” look to wrap seamlessly around the front and sides. We didn’t attach the first front plank in line with the side plank unfortunately, so as we went higher, the difference compounded and the misalignment is more noticeable as you get to the top. Just be mindful of the alignment of the boards.

Trim Out the Windows
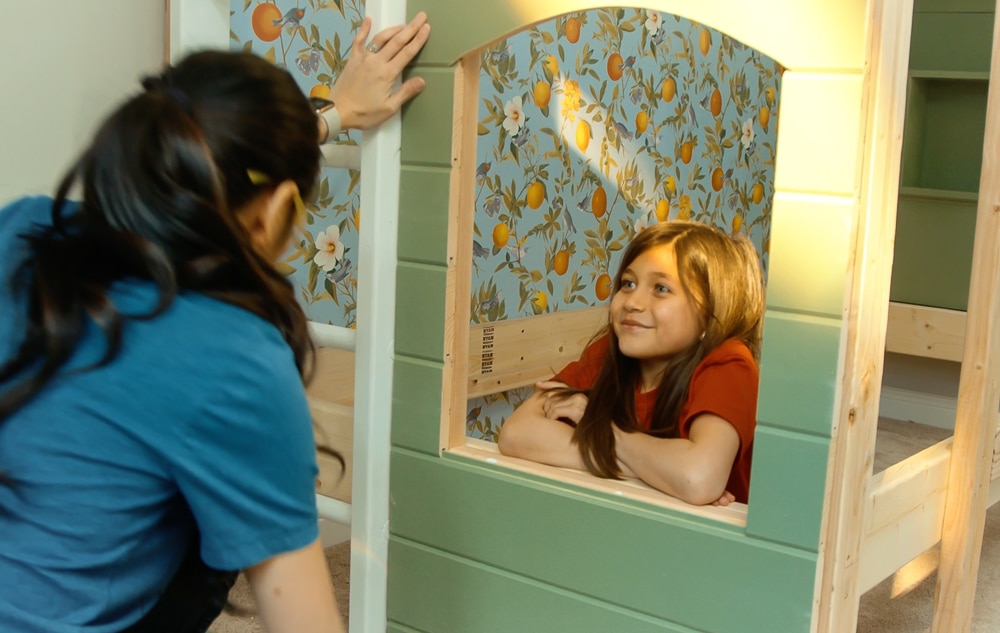
For the window casing, we ripped a few 1×4 boards down to 3 inches wide. This was just personal preference for us – I liked the look of it. If you want to keep the 1×4 boards as is, that’s totally fine. The window casing is just nailed into place. Then I measured and cut the window trim to length and nailed that on as well. I added a cute little ledge to each side window and then laid the mattress slats in place.

Add the Mattresses
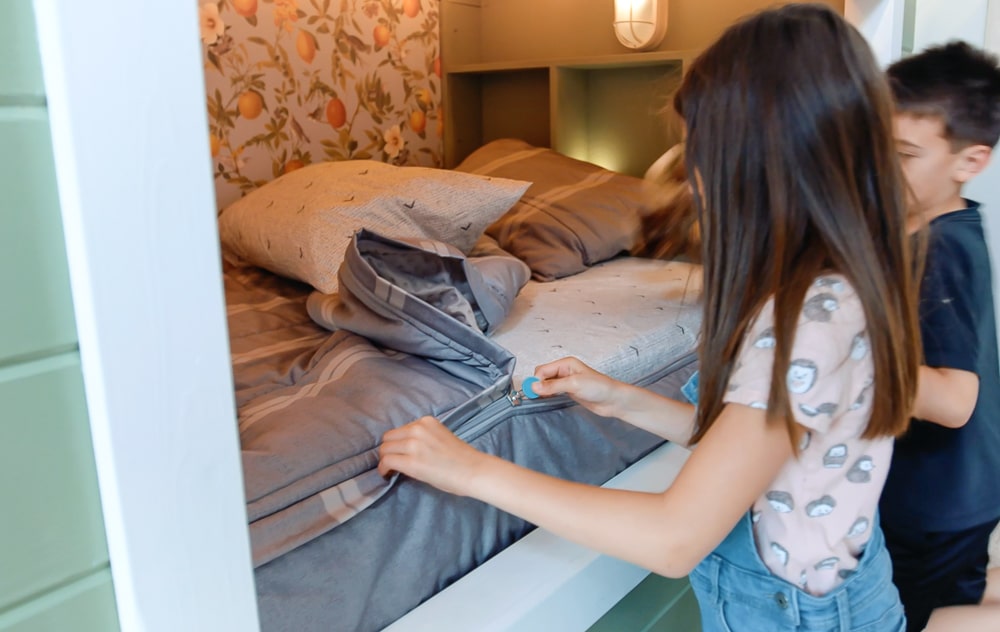
Finally, we added the twin mattresses – don’t worry, you can get the beds in through the big windows! Also, if you’re wondering how we change the sheets… bunk beds in general do make it a little more challenging than a regular bed, but this all-in-one bedding from Beddy’s makes things easier. And it zips so it’s super easy for the kids to make their own beds.
The kids couldn’t wait to sleep in these bunks! I love that they were so excited, they put their little treasures on the shelves before the beds were even complete. Super cute! Now, if I could only get them to agree on who gets the top bunk…
 Product Sources
- Beddy’s Bedding (use “HOUSEOFWOOD” coupon code for 15% off!)
- Wallpaper + Paint
- Wall Sconce
- Puck Lights
- Ceiling Fan
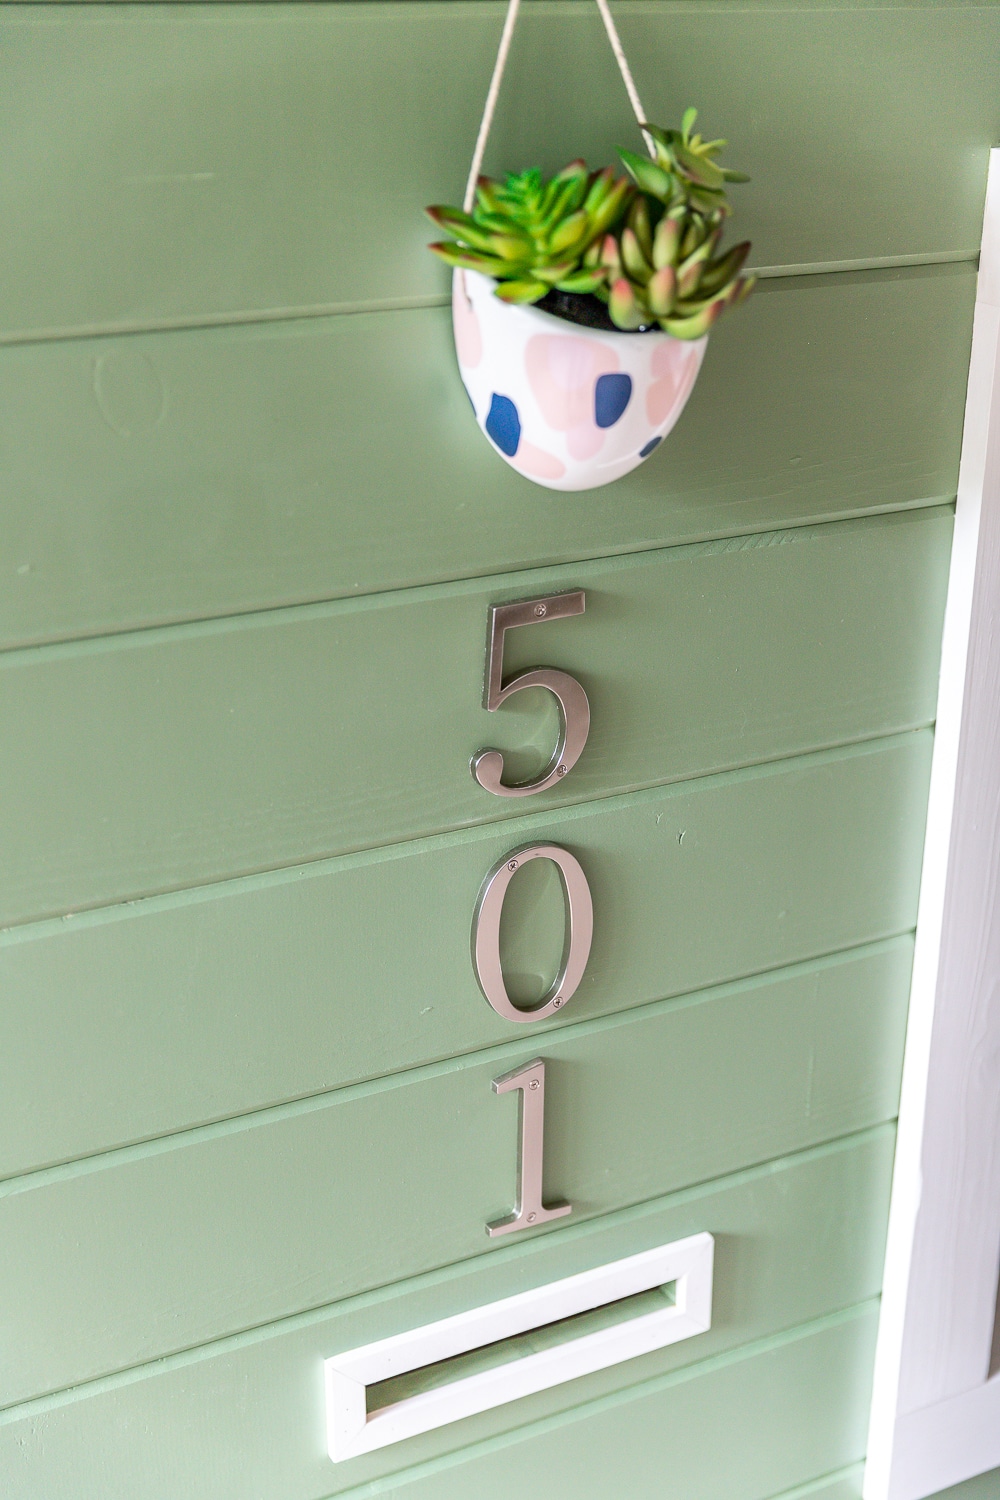
- Hanging Succulent
- Window Ledge Succulents
*This post sponsored by 84 Lumber and contains affiliate links. To read my full disclosure policy, please click here.
 Wallpaper Installation

 Product Sources

Thank you for these plans! They helped me make a dream of mine come true! I made two sets in the same room for my kiddos, and they turned out great! It was my second wood working project ever, and it took quite some time, and was way over the estimated budget for wood – just as a heads up for others looking to do this!
I would also recommend checking the placement of wood (meaning like inside/outside) before you cut and build – I had to make a head board twice because I but the sides on the wrong part.
Here are some pics of what I made! I added an under-bed drawer and the secret compartment in the headboard.
https://cdn.zappy.app/3df1dd707de2e6d18e25571deb5b66fa.png
https://cdn.zappy.app/2045f68ea69afacd5c037e5feaf6937e.png
https://cdn.zappy.app/9484044c7b871bd0c5ab0d596755db9a.png