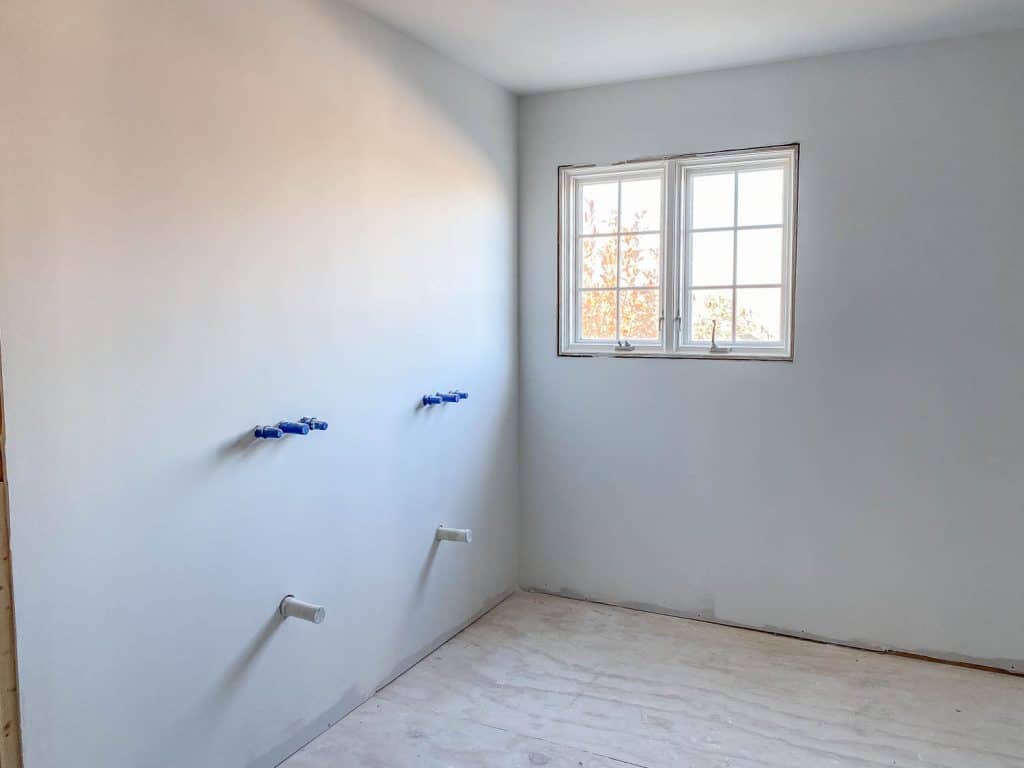
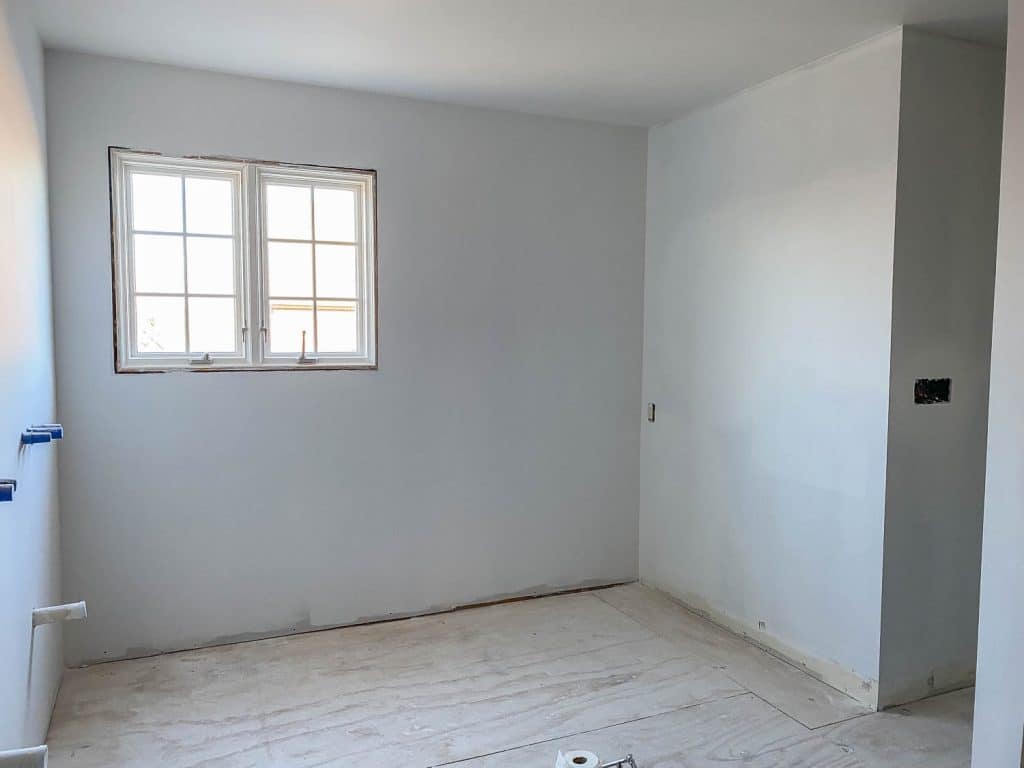
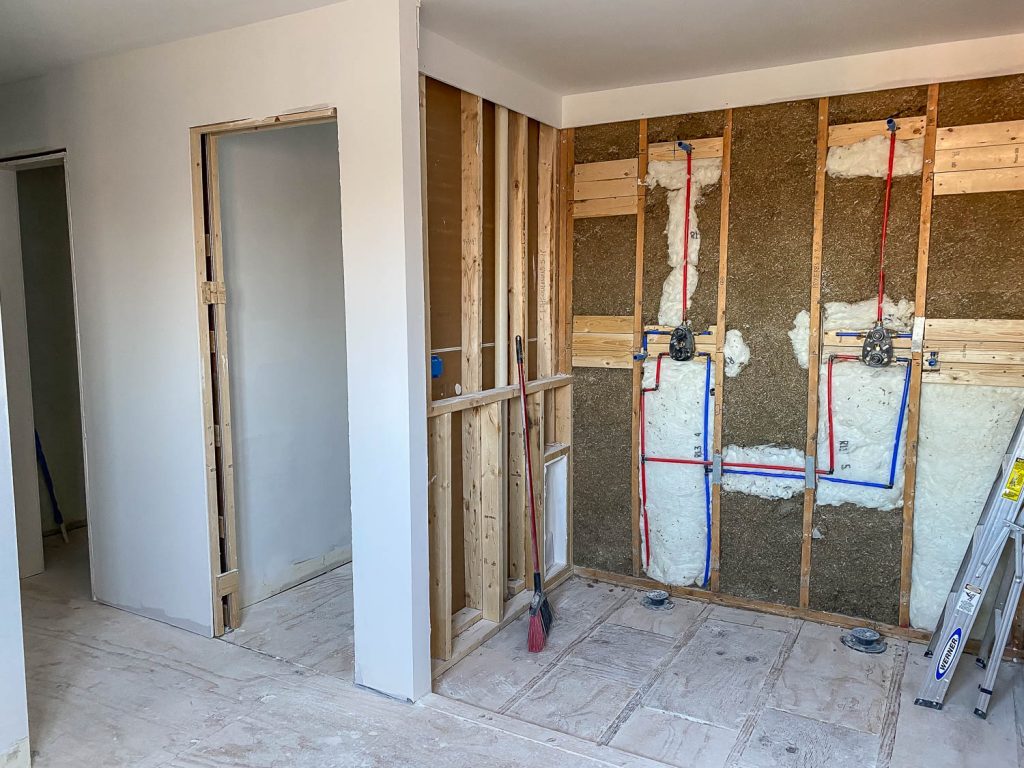
Oh me, oh my, this space is starting to look like a real bathroom! If you recall, we’re remodeling our primary bathroom and so far, we’ve completed demo, framing, rough-in plumbing and electrical, insulation, drywall, and priming. Here’s where we left off:
Check out these posts on our master bathroom remodel if you’d like to catch up:
- Bathroom Remodel Design Plans
- Demo, Framing, Rough-In Plumbing and Electrical
- Insulation, Drywall, and Priming
The materials we used are linked throughout this blog post, but for easy reference, I’ve provided a full list at the end of this post. Now it’s time for the biggest part of this renovation: TILE!!! From start to finish, the tile installers took about 6-8 days to tile the entire bathroom. This included leveling the floor, installing cement board on the floor, laying the floor tile, sloping the shower floor, laying the mud bed in the shower, setting the drain, hanging cement board on the walls, waterproofing all surfaces, tiling, and grouting. Here’s how it all shook out…
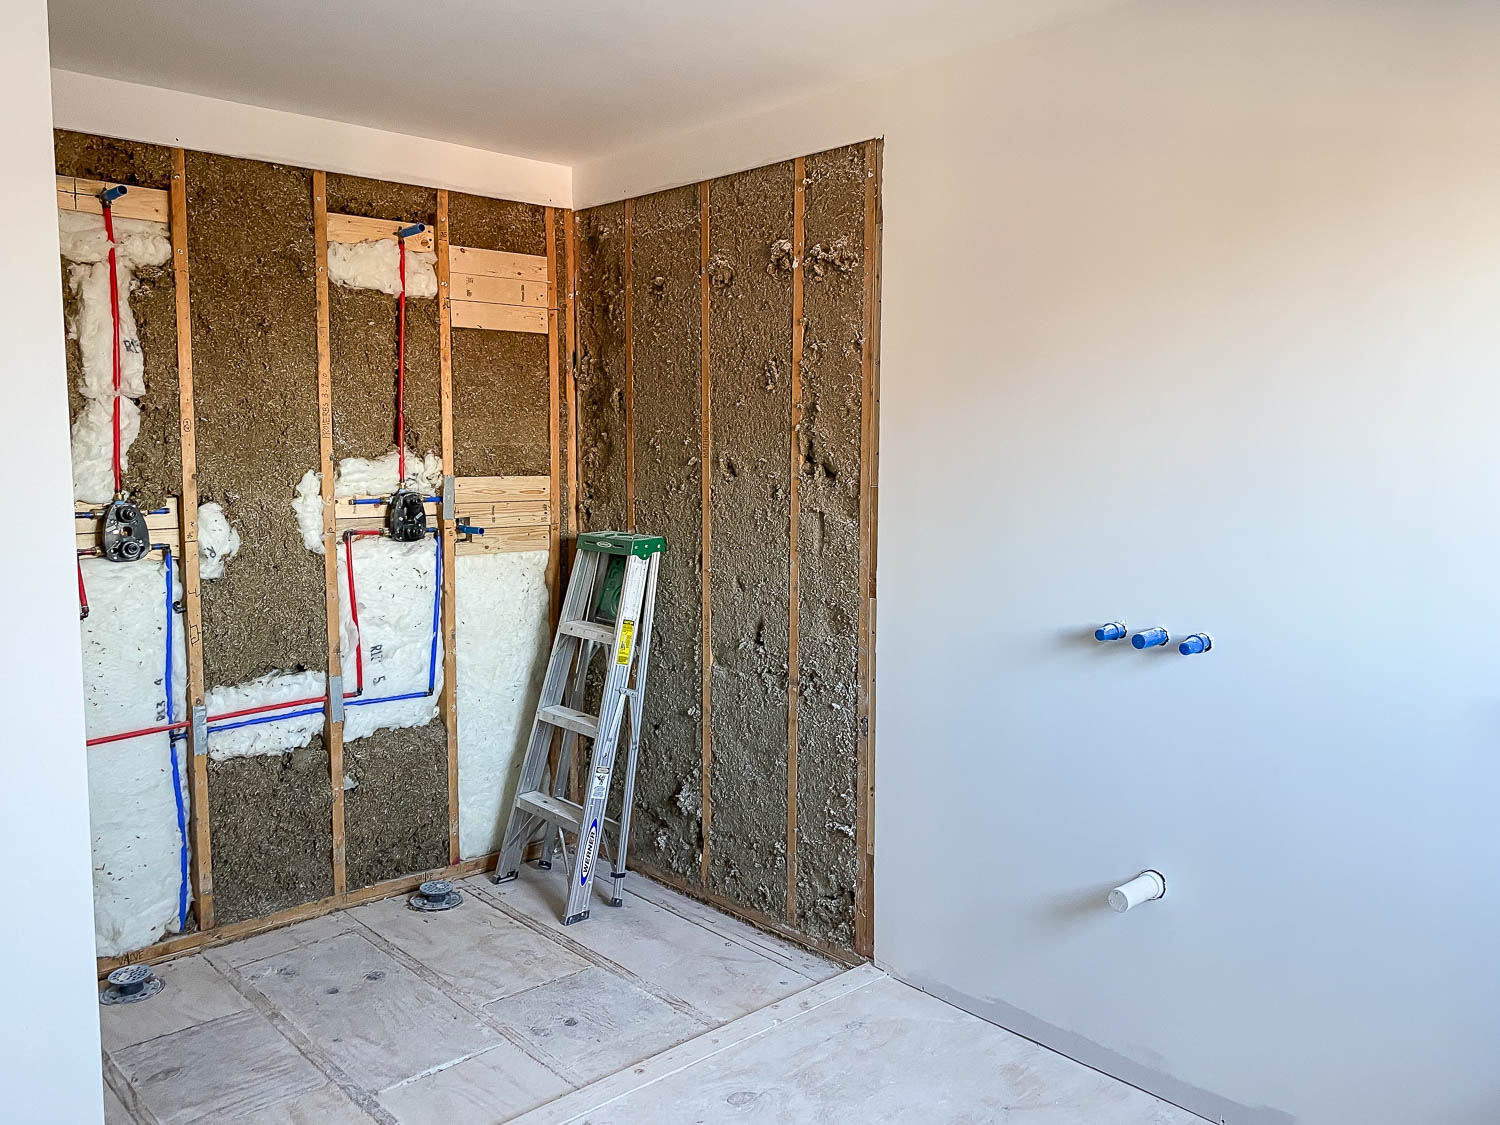
Day 1: Cement Board Installation
We’re running a few weeks behind schedule due to some unexpected delays as well as the holidays, but we’re back on track! The tile guys installed the cement board on the floor and used a floor leveler where needed to ensure the floor was as flat and level as possible. This is especially important since we’re doing a curbless shower. I talk more in-depth about how we prepared the room for a zero-entry shower in this post.
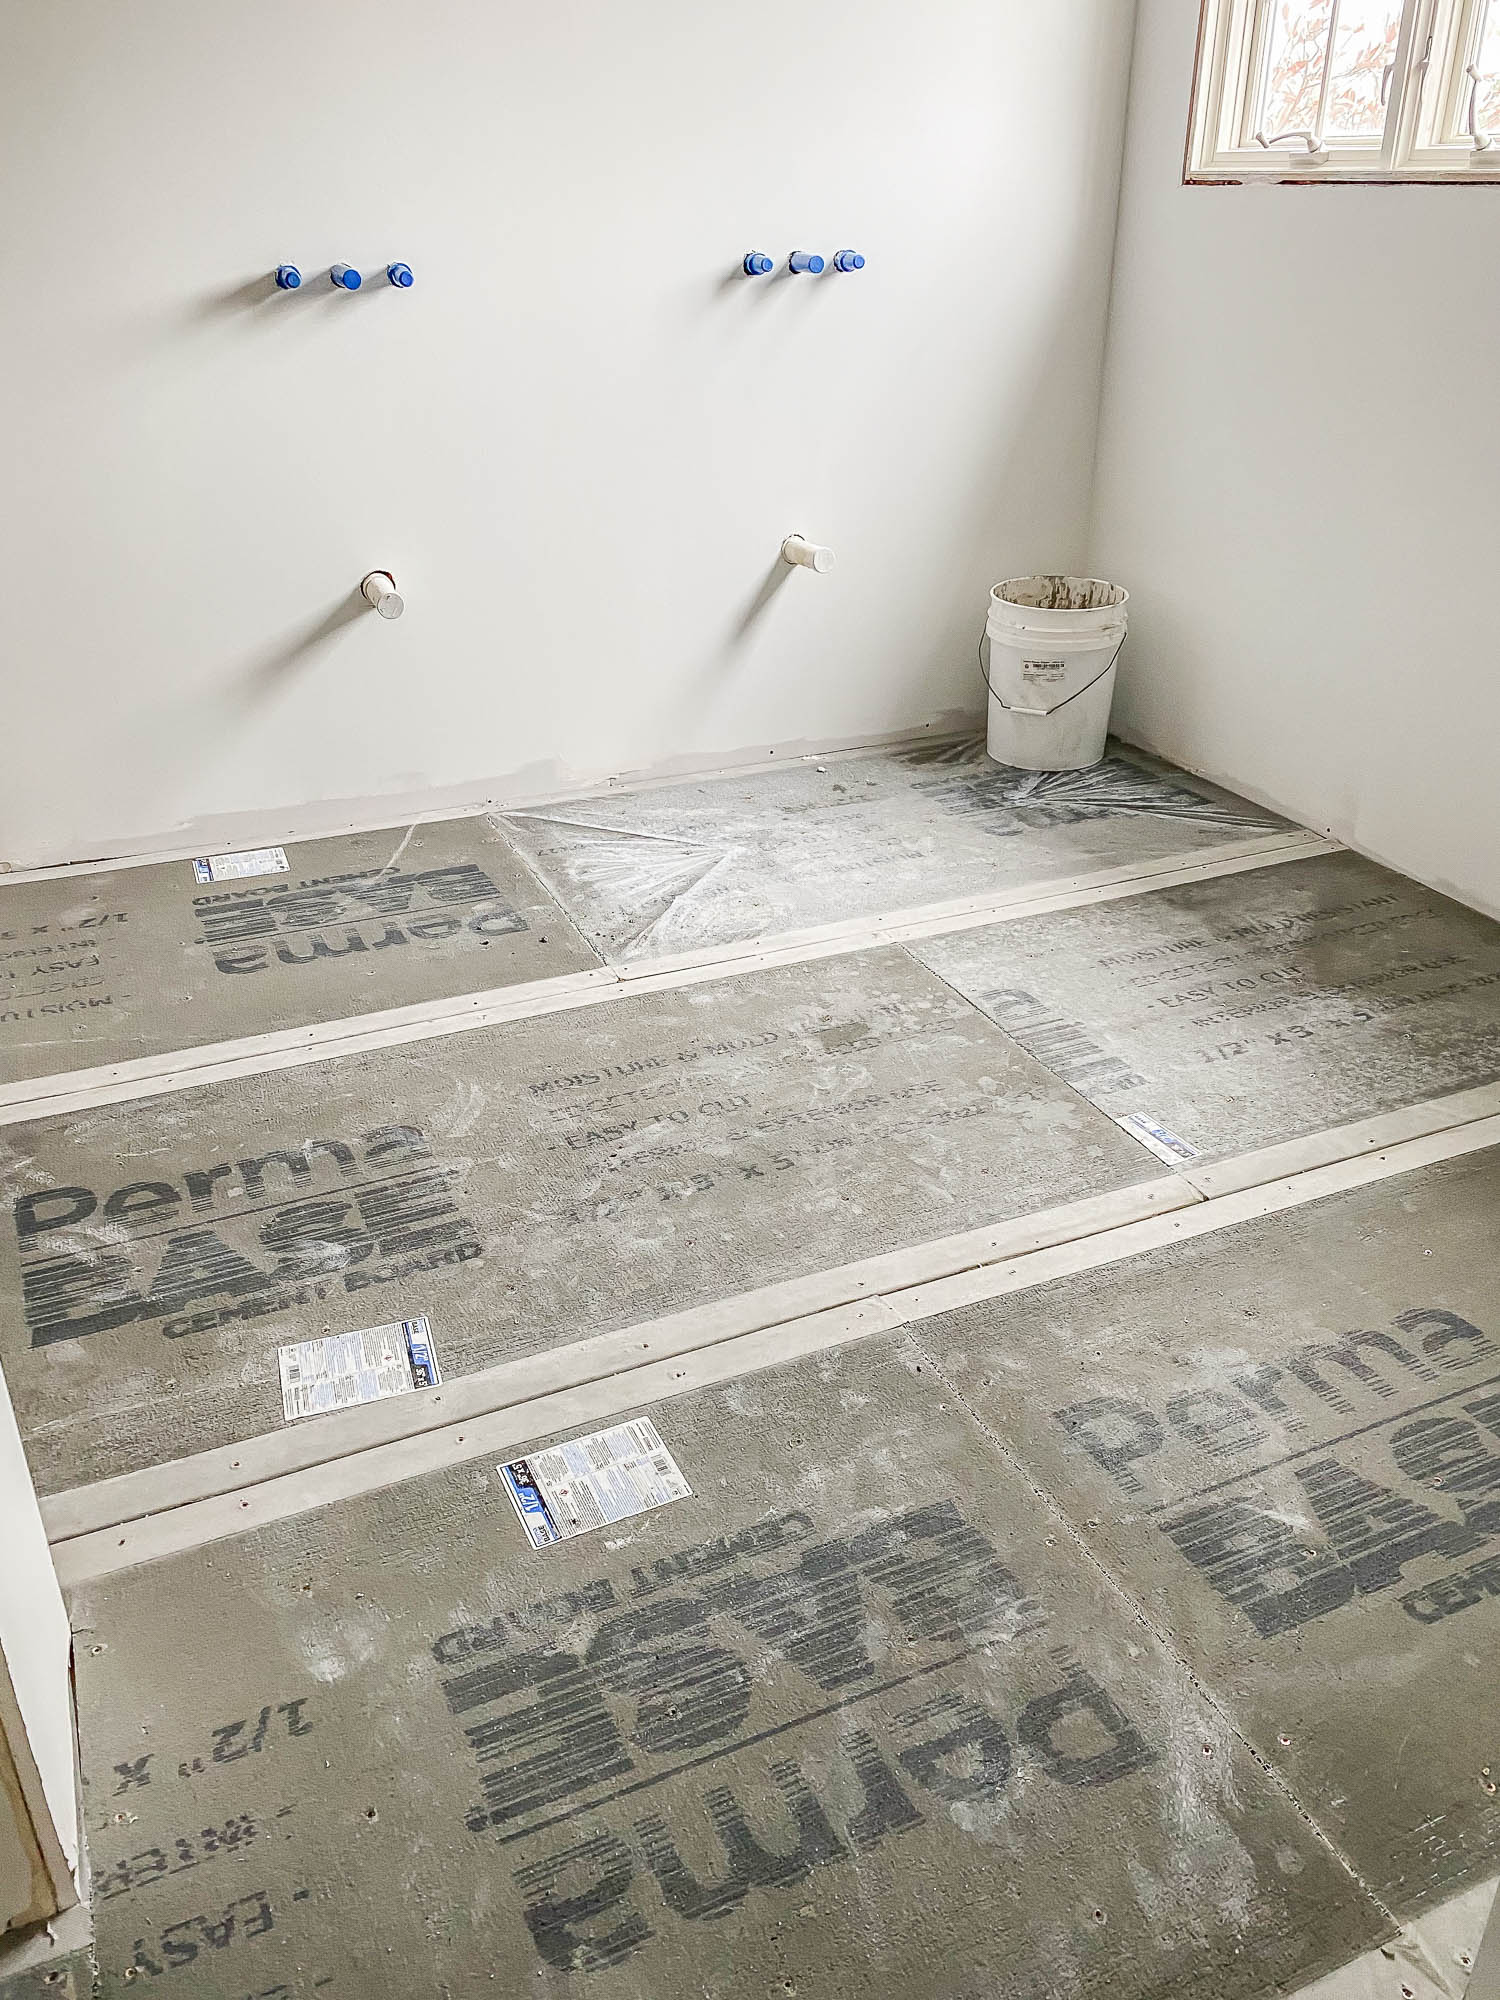
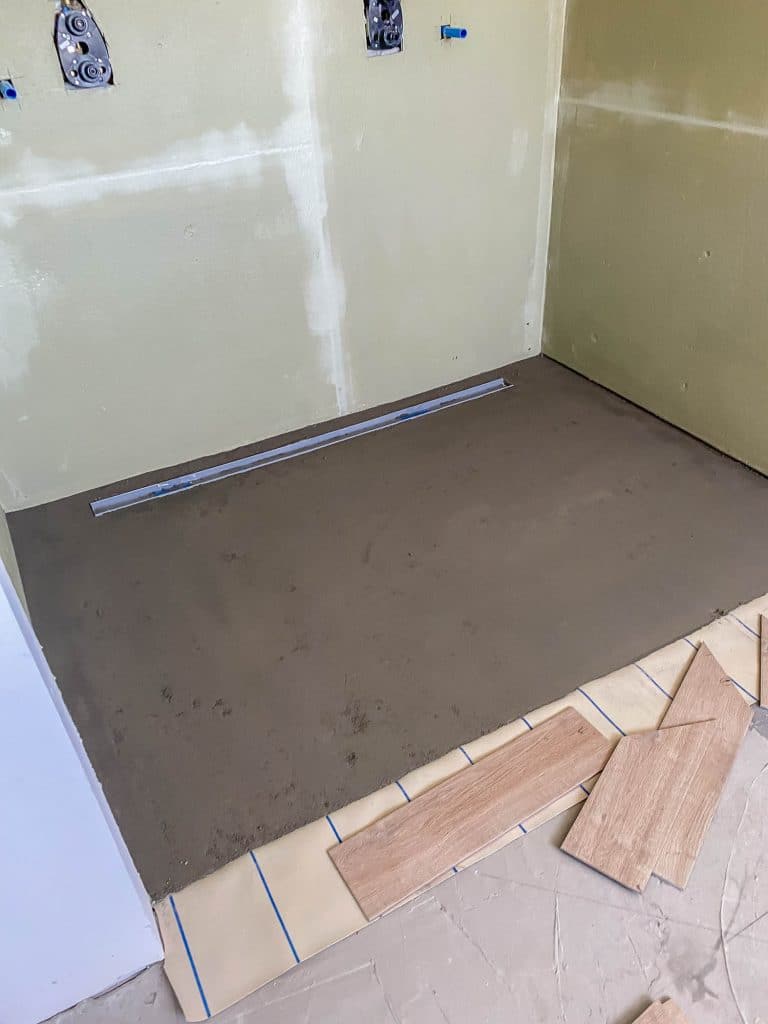
Sloping the Floor for a Curbless Shower
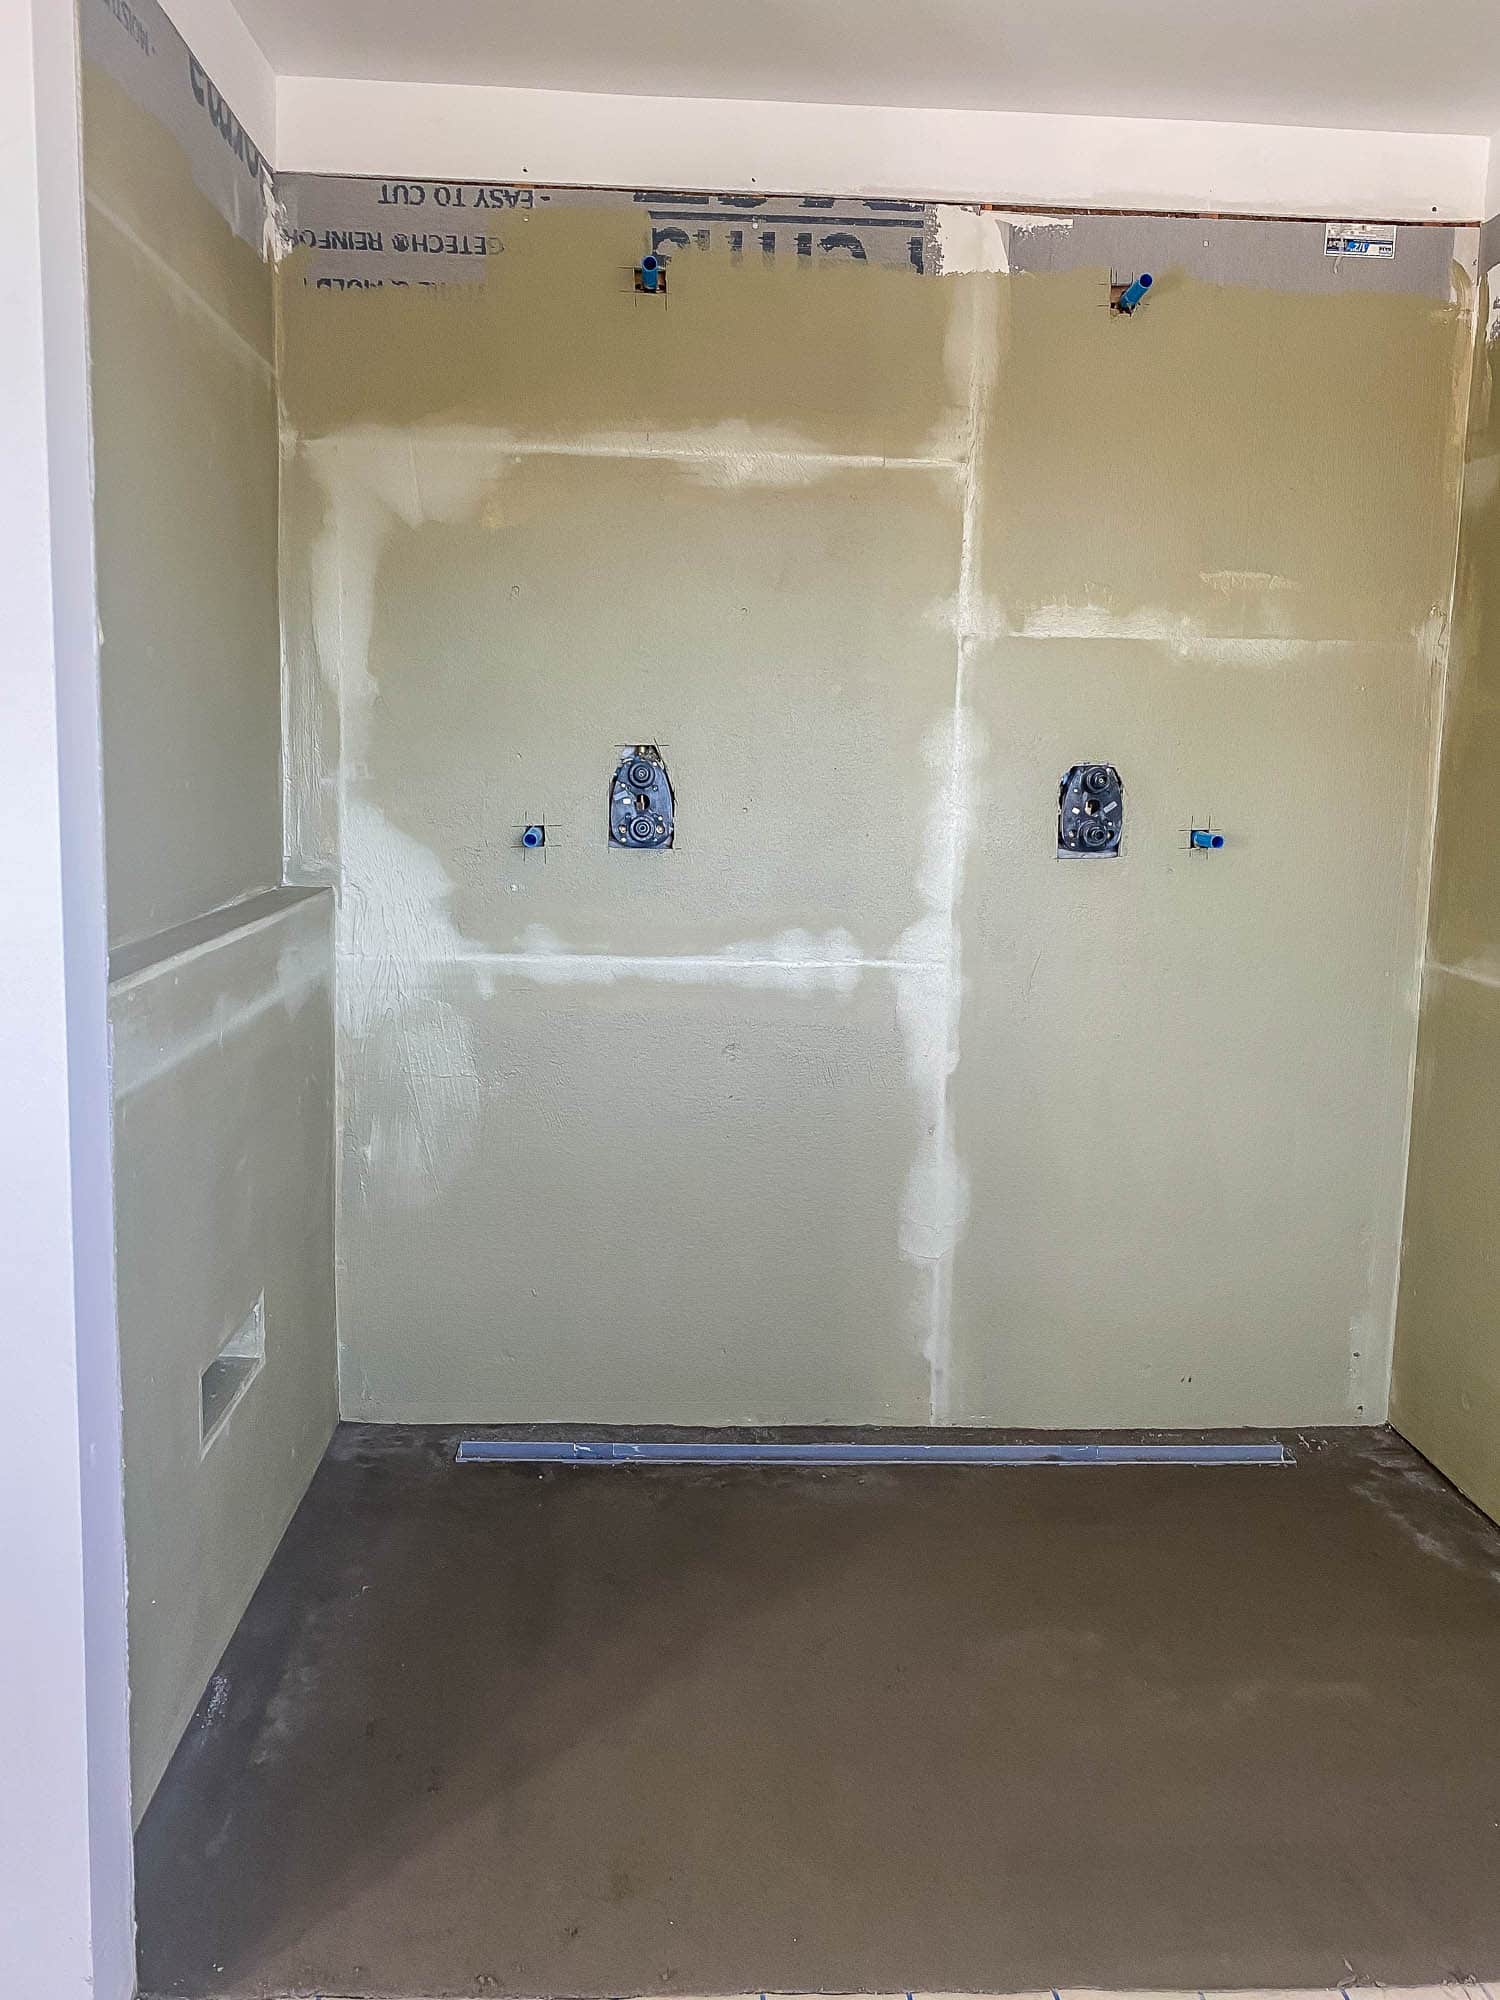
Next, they moved onto sloping the shower floor. Notice the shower floor is lower than the rest of the bathroom floor so that we can achieve that zero-entry shower.
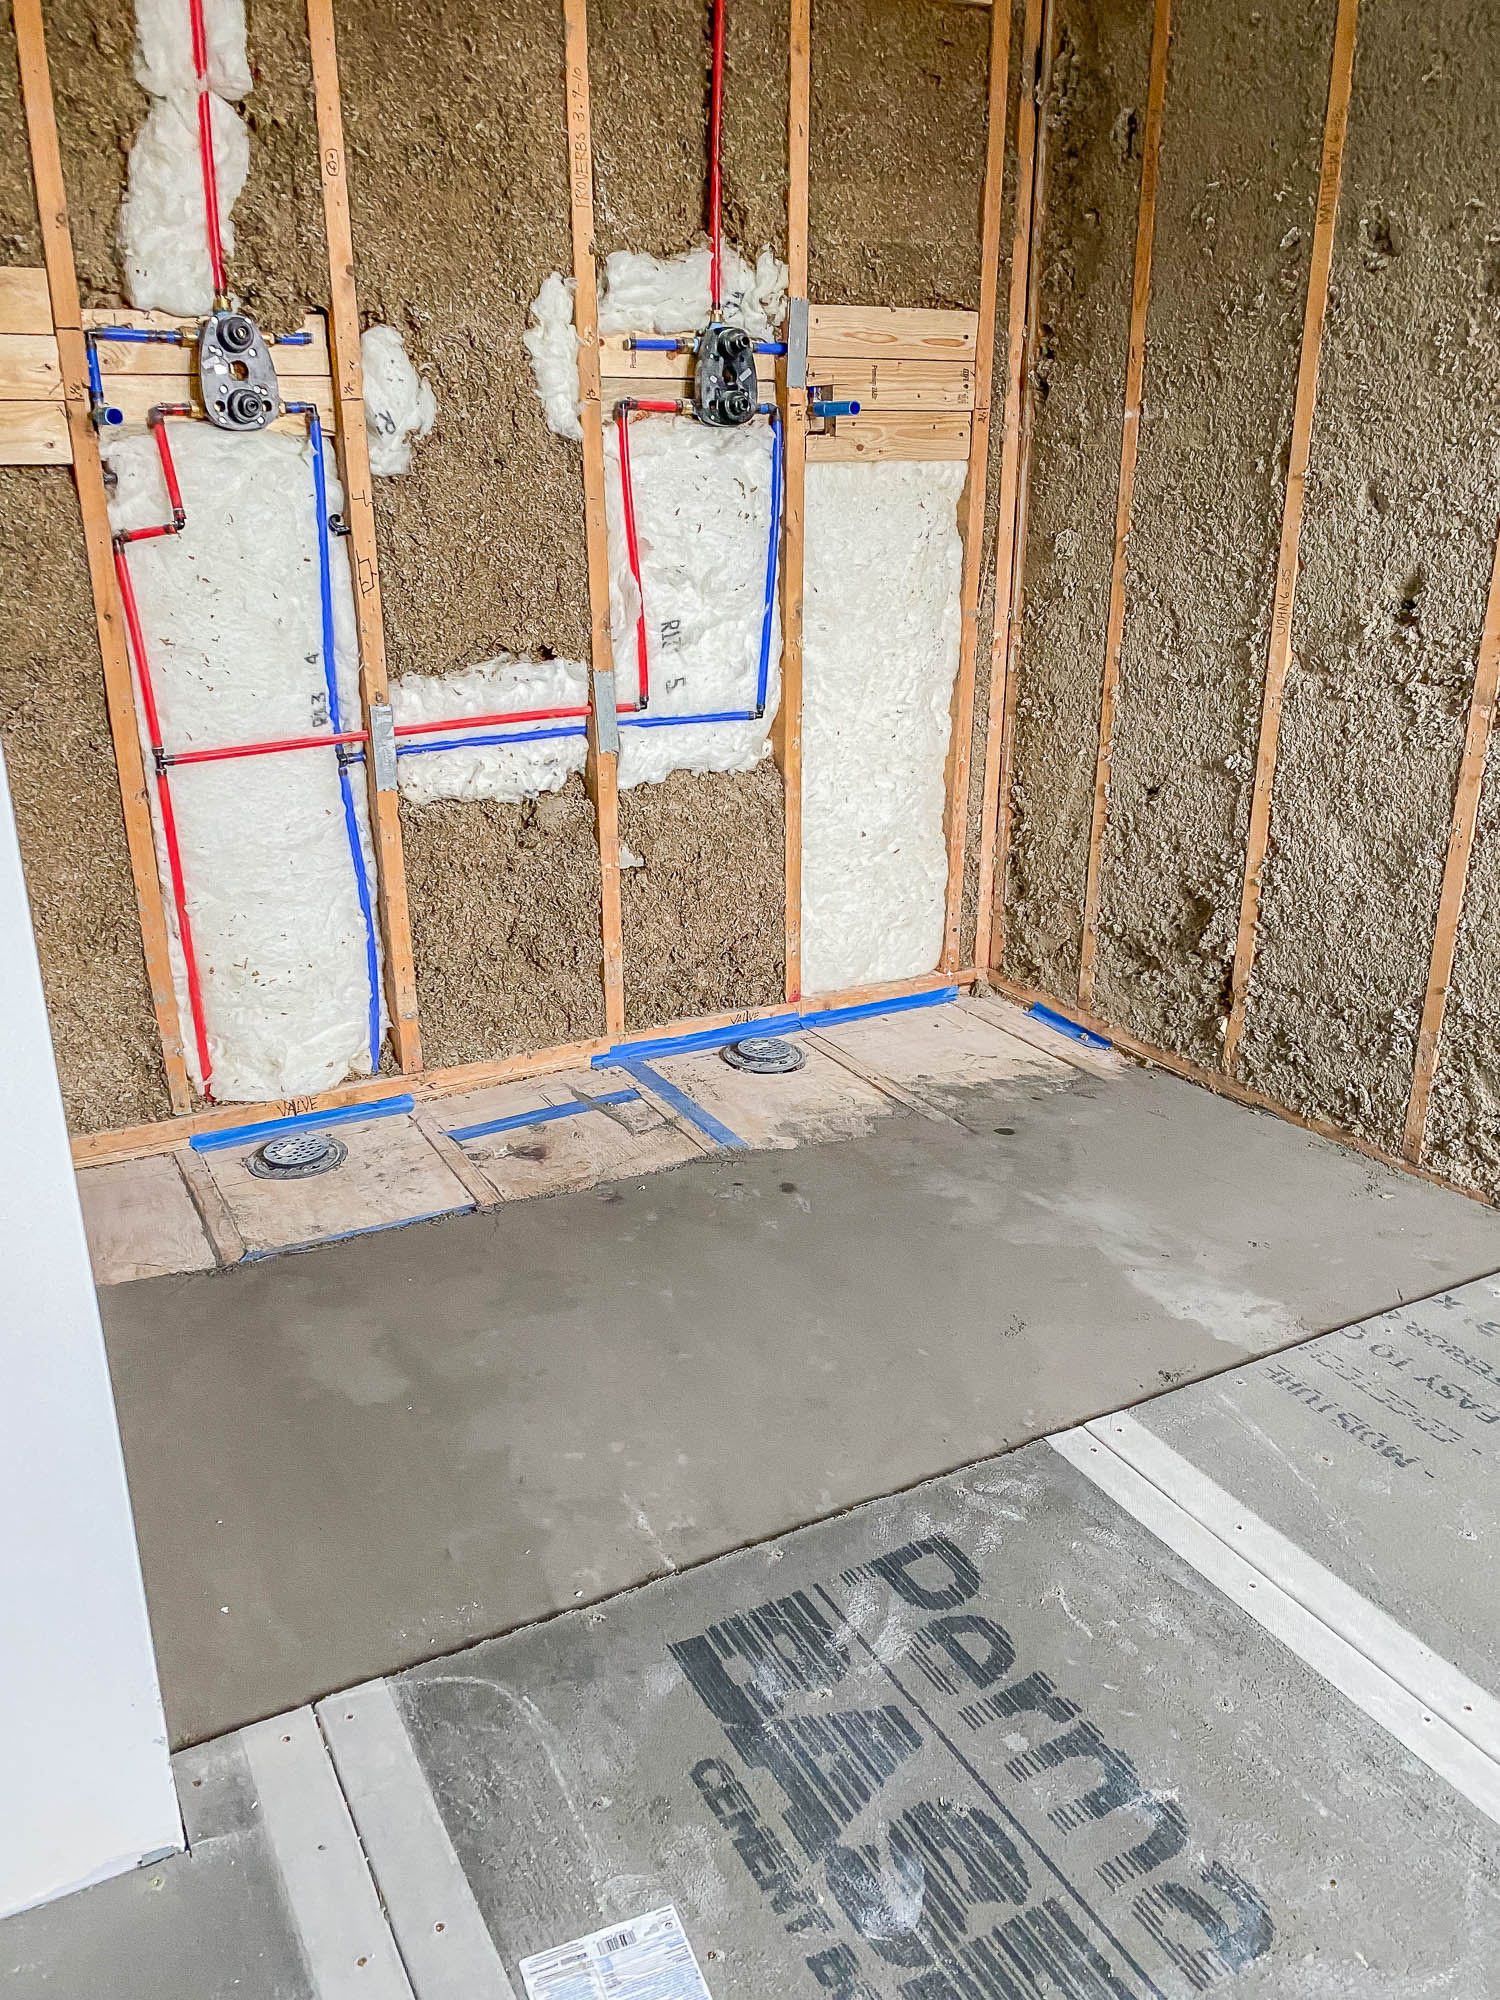
Day 2: Waterproofing the Shower
Once the mud dried, the tile guys laid the waterproof PVC liner on the shower floor and laid another layer of mud on top of that. The cement board was also hung on the walls. I thought it was interesting that they chose to use roofing nails to hang the cement board, instead of cement board screws. According to our local code, a galvanized or stainless steel nail, a roofing nail, or a wafer-head screw is permitted under a tile finish. Look at that, I learned something new!
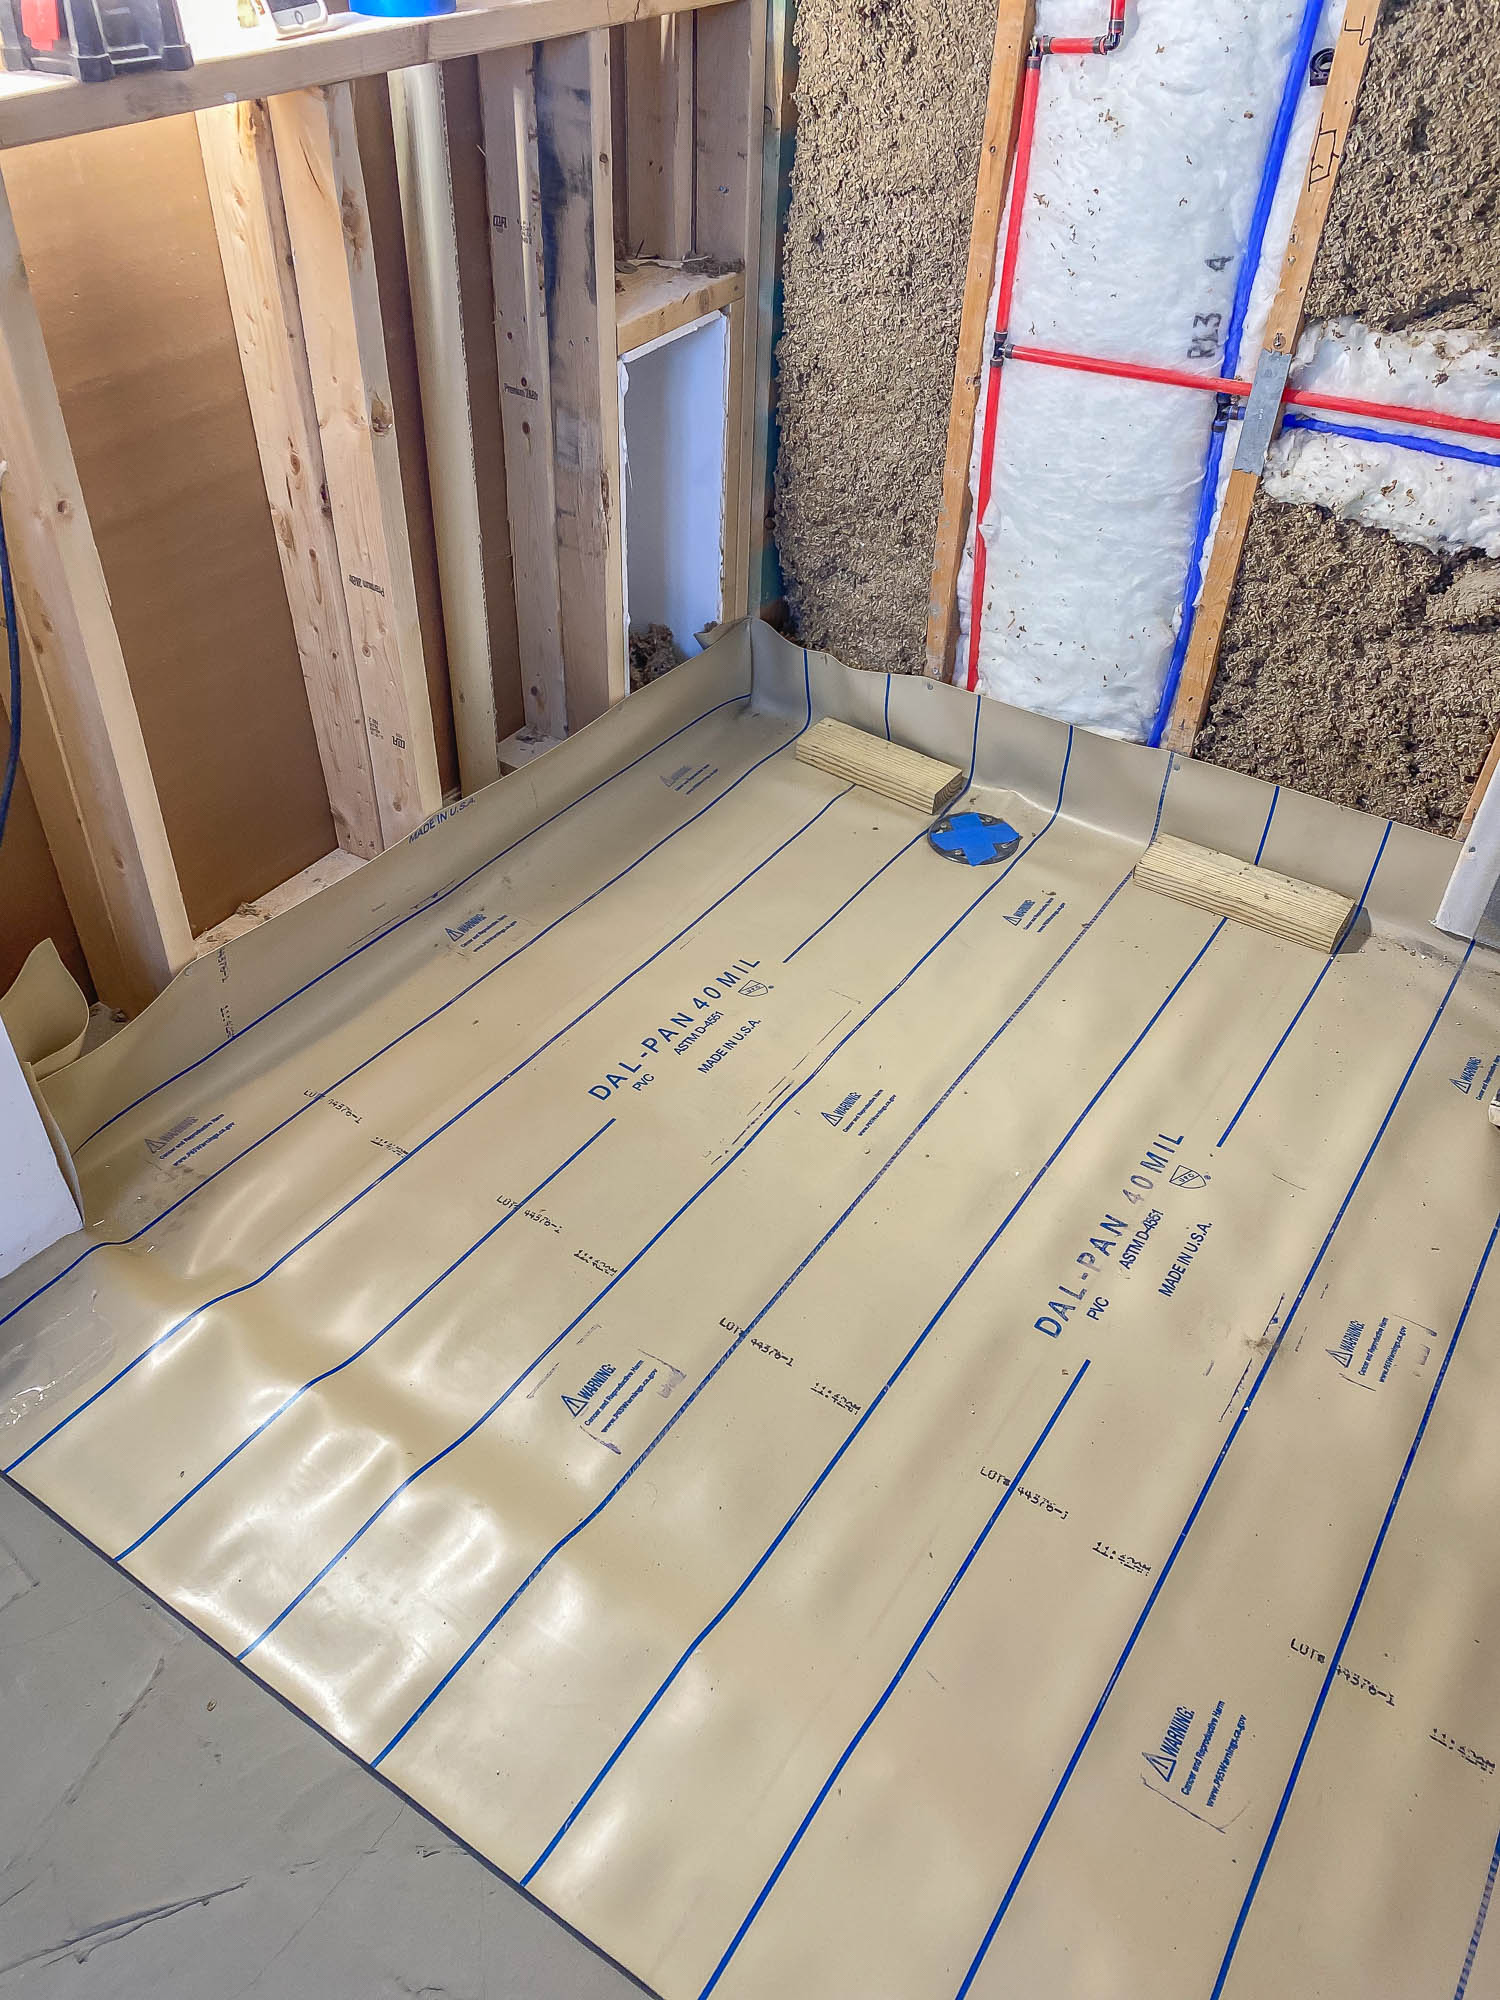
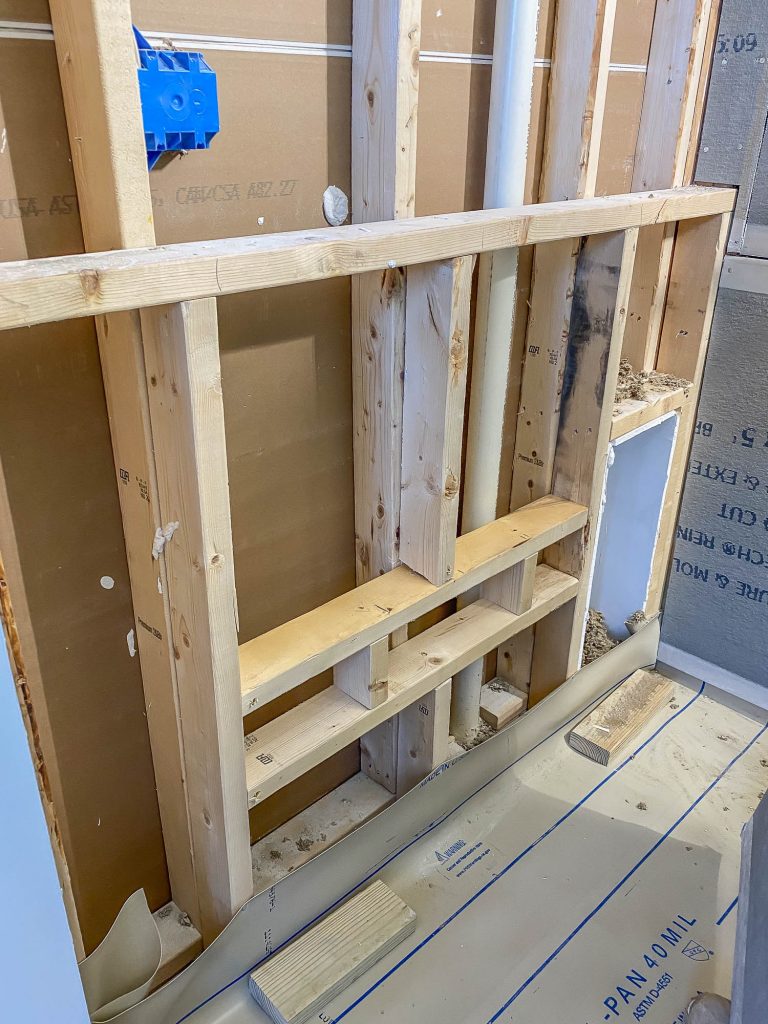
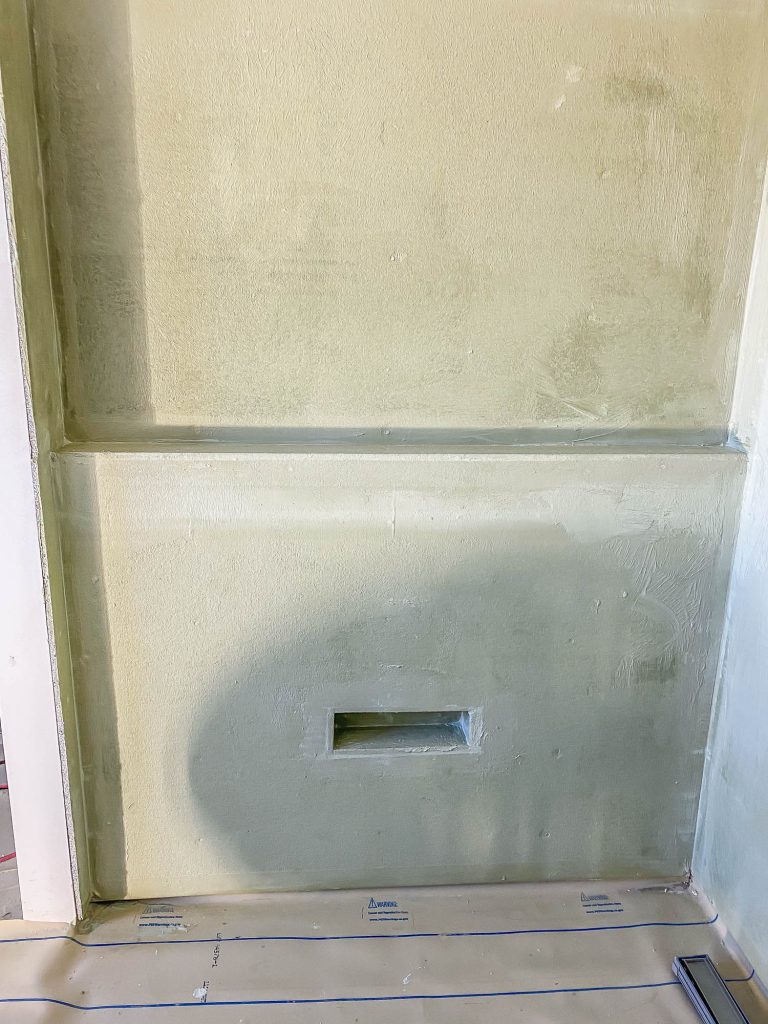
The Shower Ledge and Shaving Niche!
If you follow me on Instagram, you’ll know how I agonized over where to place the shower niche. Whenever possible, I prefer the niche to be hidden so that our toiletries and crusty bar of soap isn’t on full display, but I couldn’t decide on where to put it. Then I had a lightbulb moment and considered putting in a shower ledge instead of a niche. I’m noticing they’re starting to grow in popularity in the design world and I actually grew to love this option the more I thought about it.
In my opinion, a shower ledge is superior to a shower niche for a few reasons: they’re easier to frame, easier to tile, and easier to clean! It also allows for any size shampoo bottles to fit. And bonus: because we built the ledge, this meant the wall between the water closet and the shower is double the thickness, which allowed me to fit a little nook on the water closet side to hide the toilet brush and plunger! Huzzah! (Also, I am a genius.) And no luxury shower is complete without a foot hold to prop your leg up when shaving.
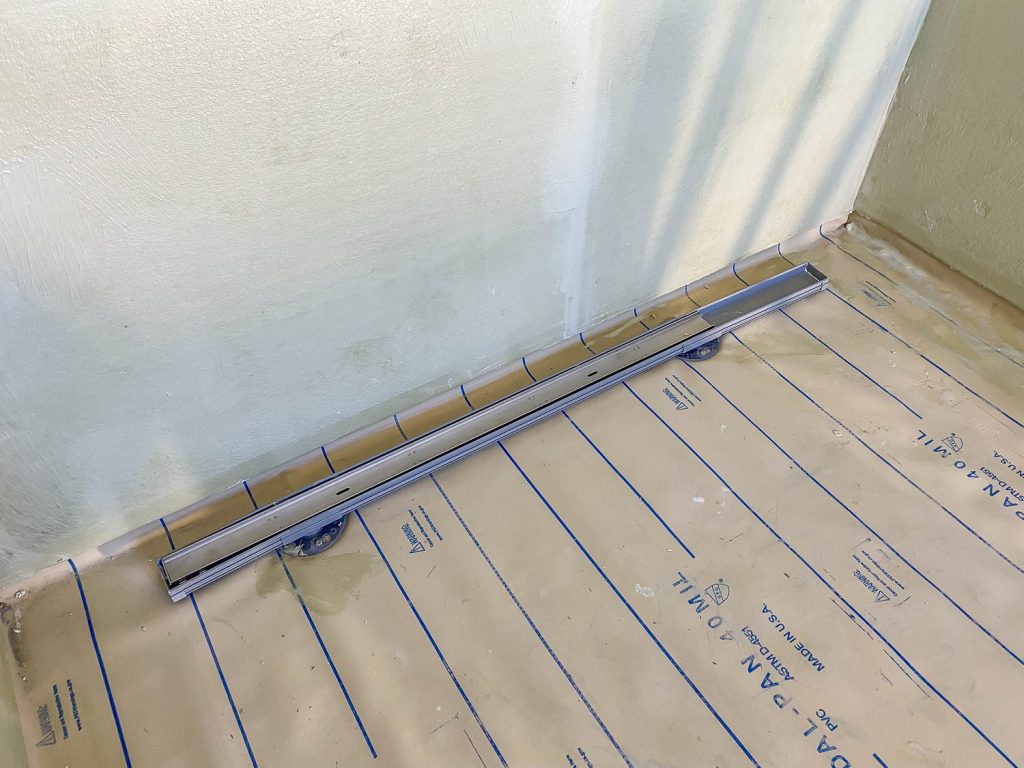
Installing the Linear Drain
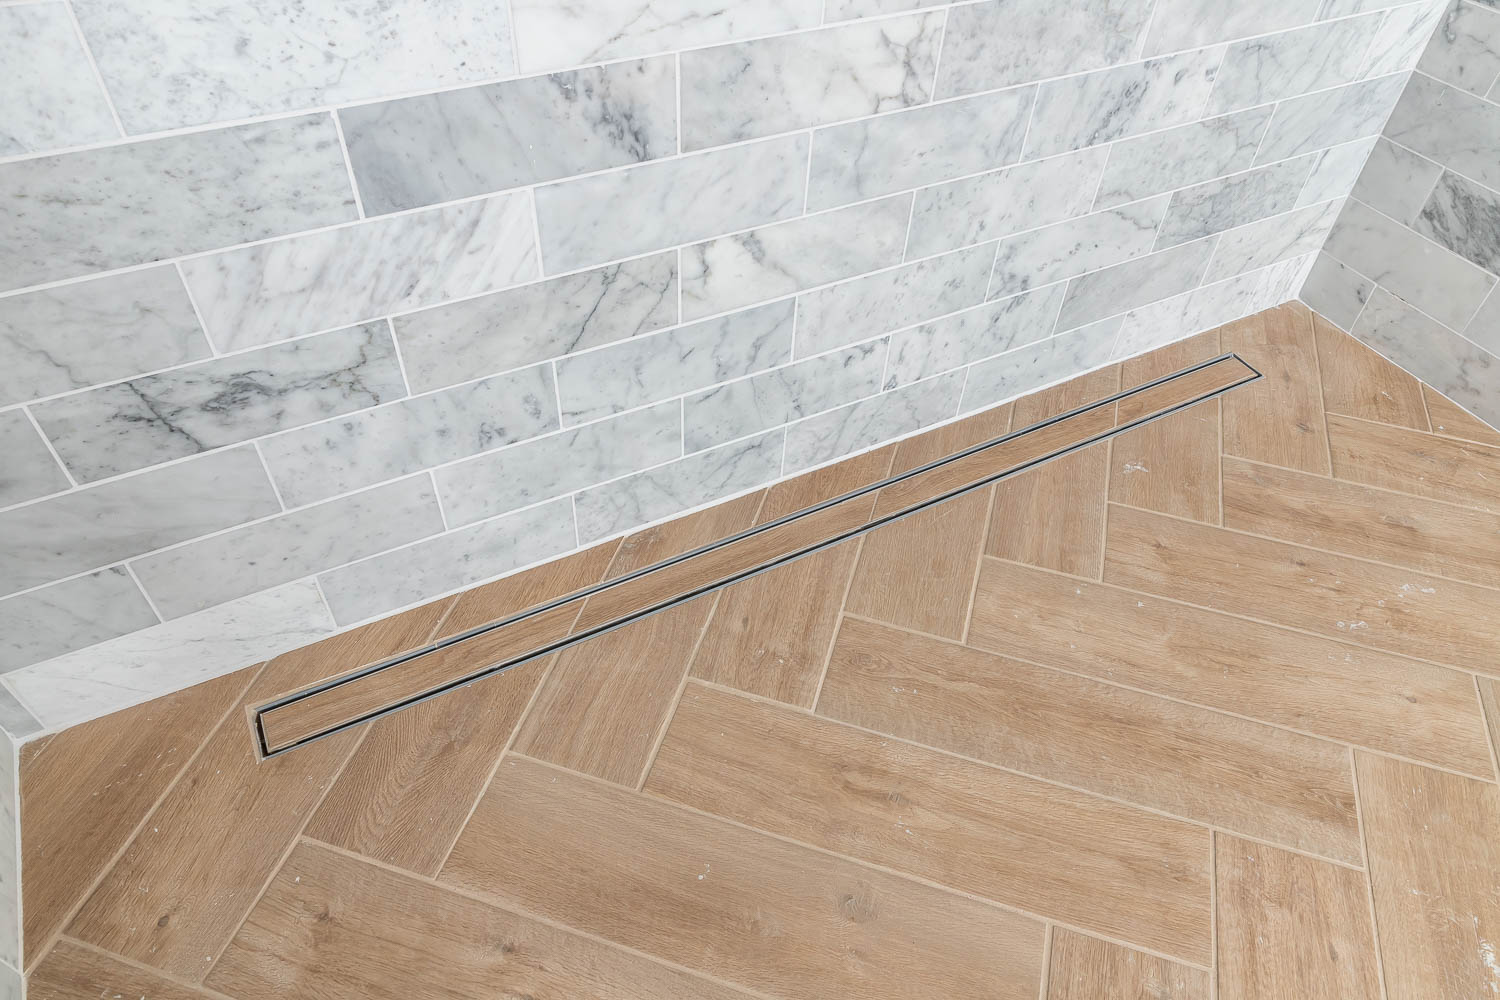
For the shower drain, we used this tile insert linear drain from Infinity Drain. It comes in many sizes and finishes and is fully customizable – you can modify the length on-site! We got the 96-inch length and the tile installers cut it down so that it ran almost the full length of our shower. I love the clean, seamless look.
They used Hydro Ban to waterproof the shower walls. It’s a roll-on/brush-on waterproofing membrane similar to RedGard (only better and less stinky). Look how nice and clean this shower looks so far! It’s going to look absolutely incredible covered in marble tile. I cannot wait!
Day 3 and 4: Laying the Floor Tile
Once the painstaking prep work was done, it’s time to lay the floor tile! I chose this wood-look porcelain tile and had it laid in a herringbone pattern. Something to note: when laying tile in a herringbone pattern, you want to buy about 20% more tile than if you were laying the tile in a standard pattern, to account for the angled cuts and more complex tile pattern.
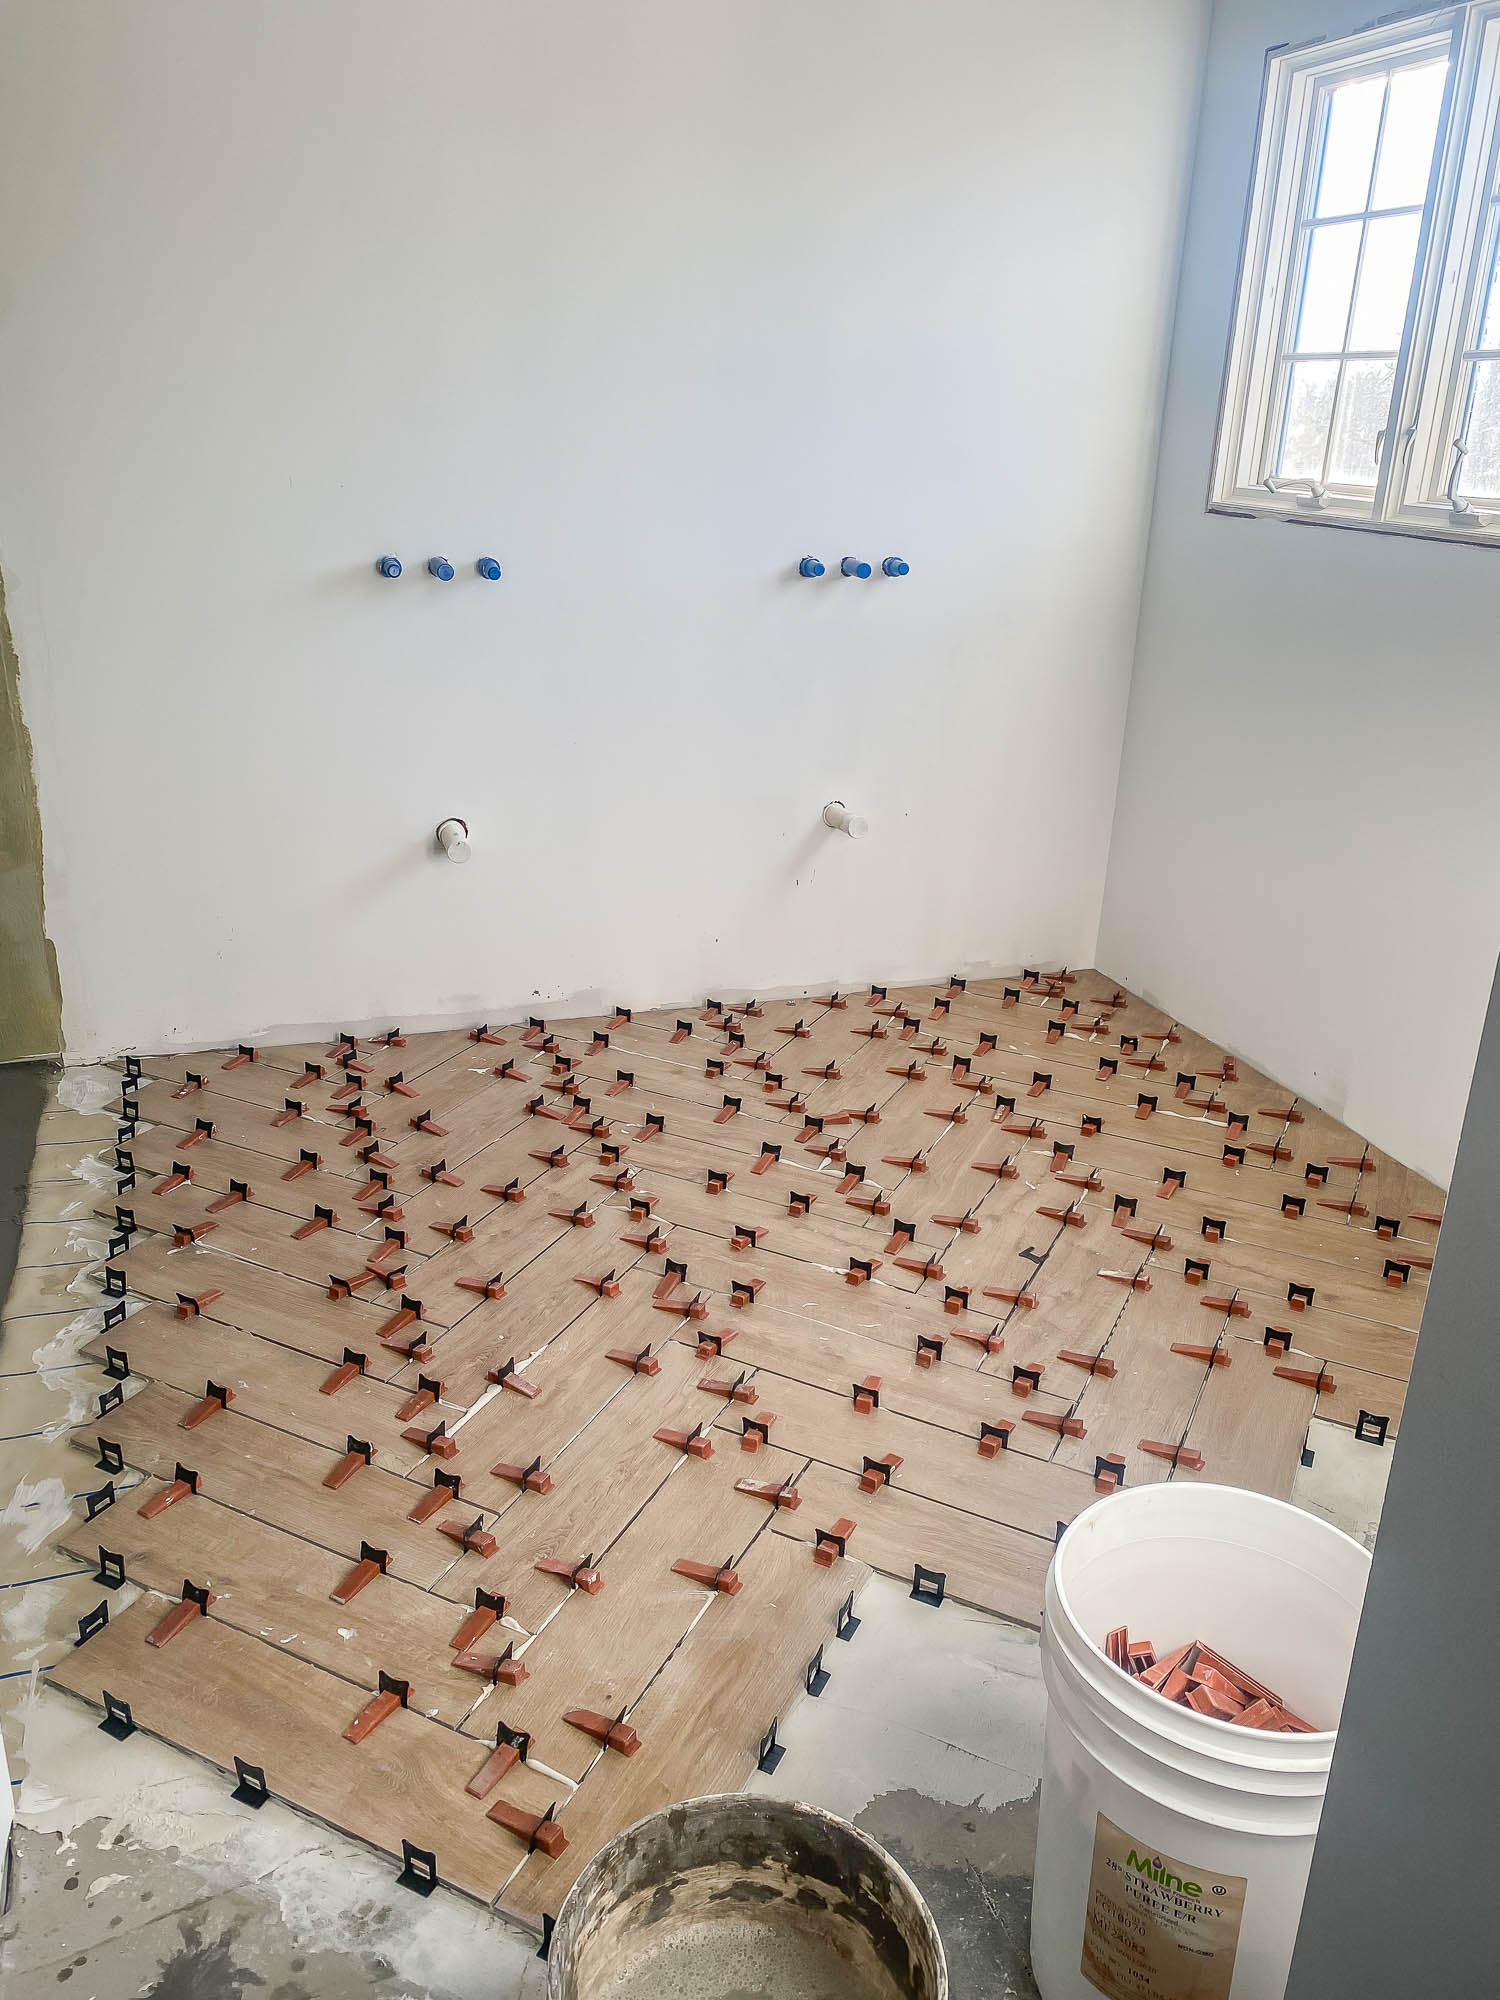
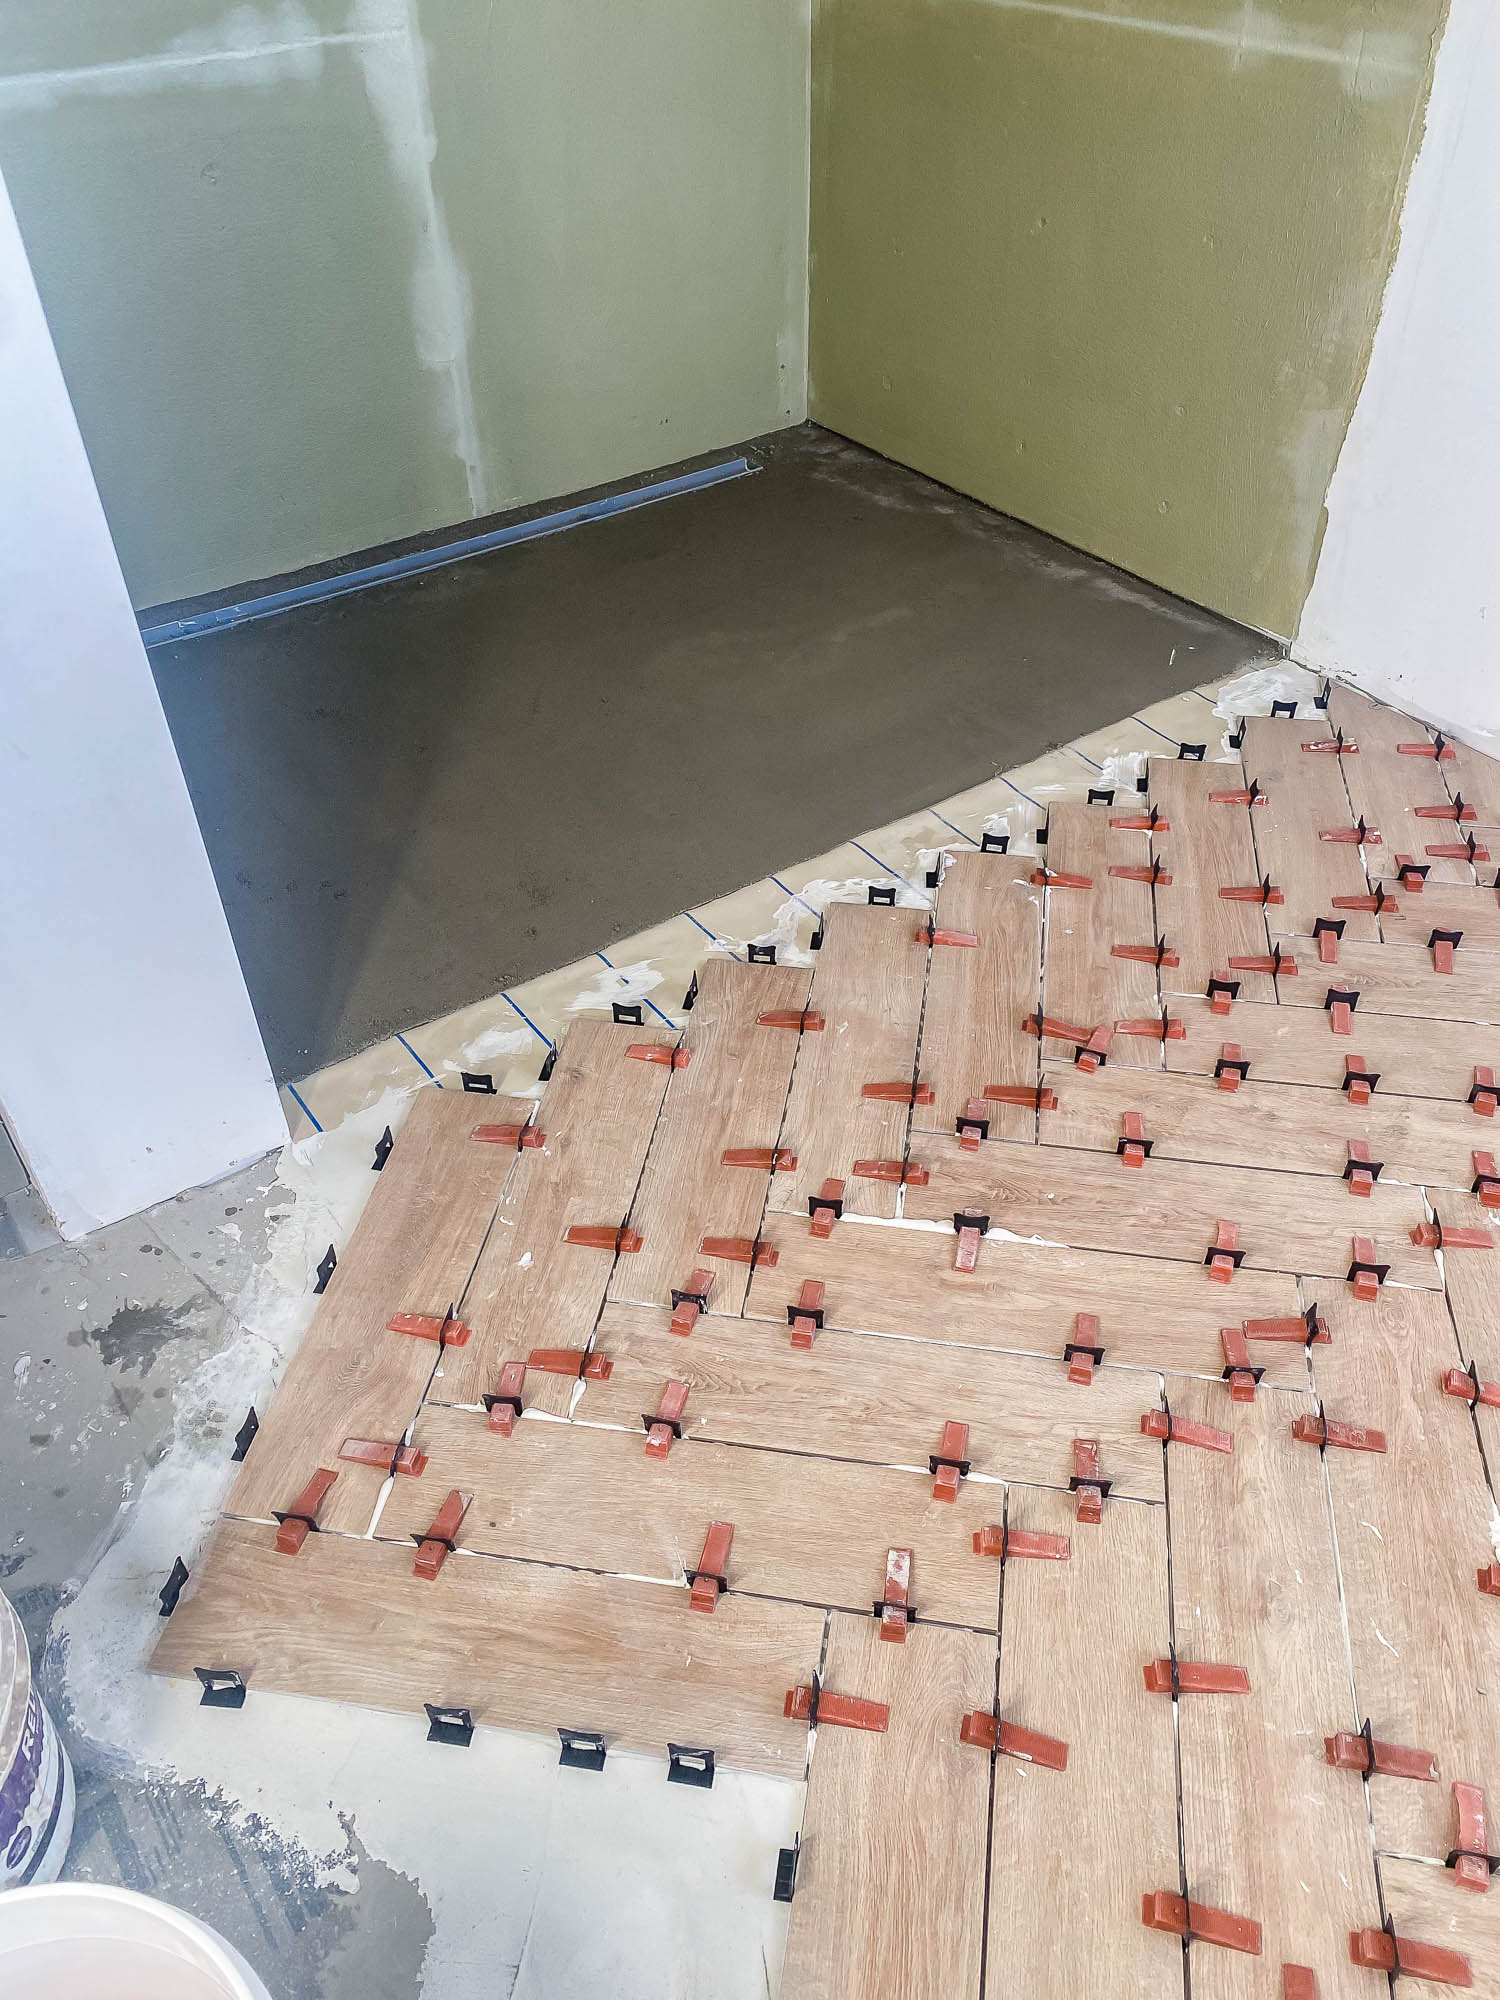
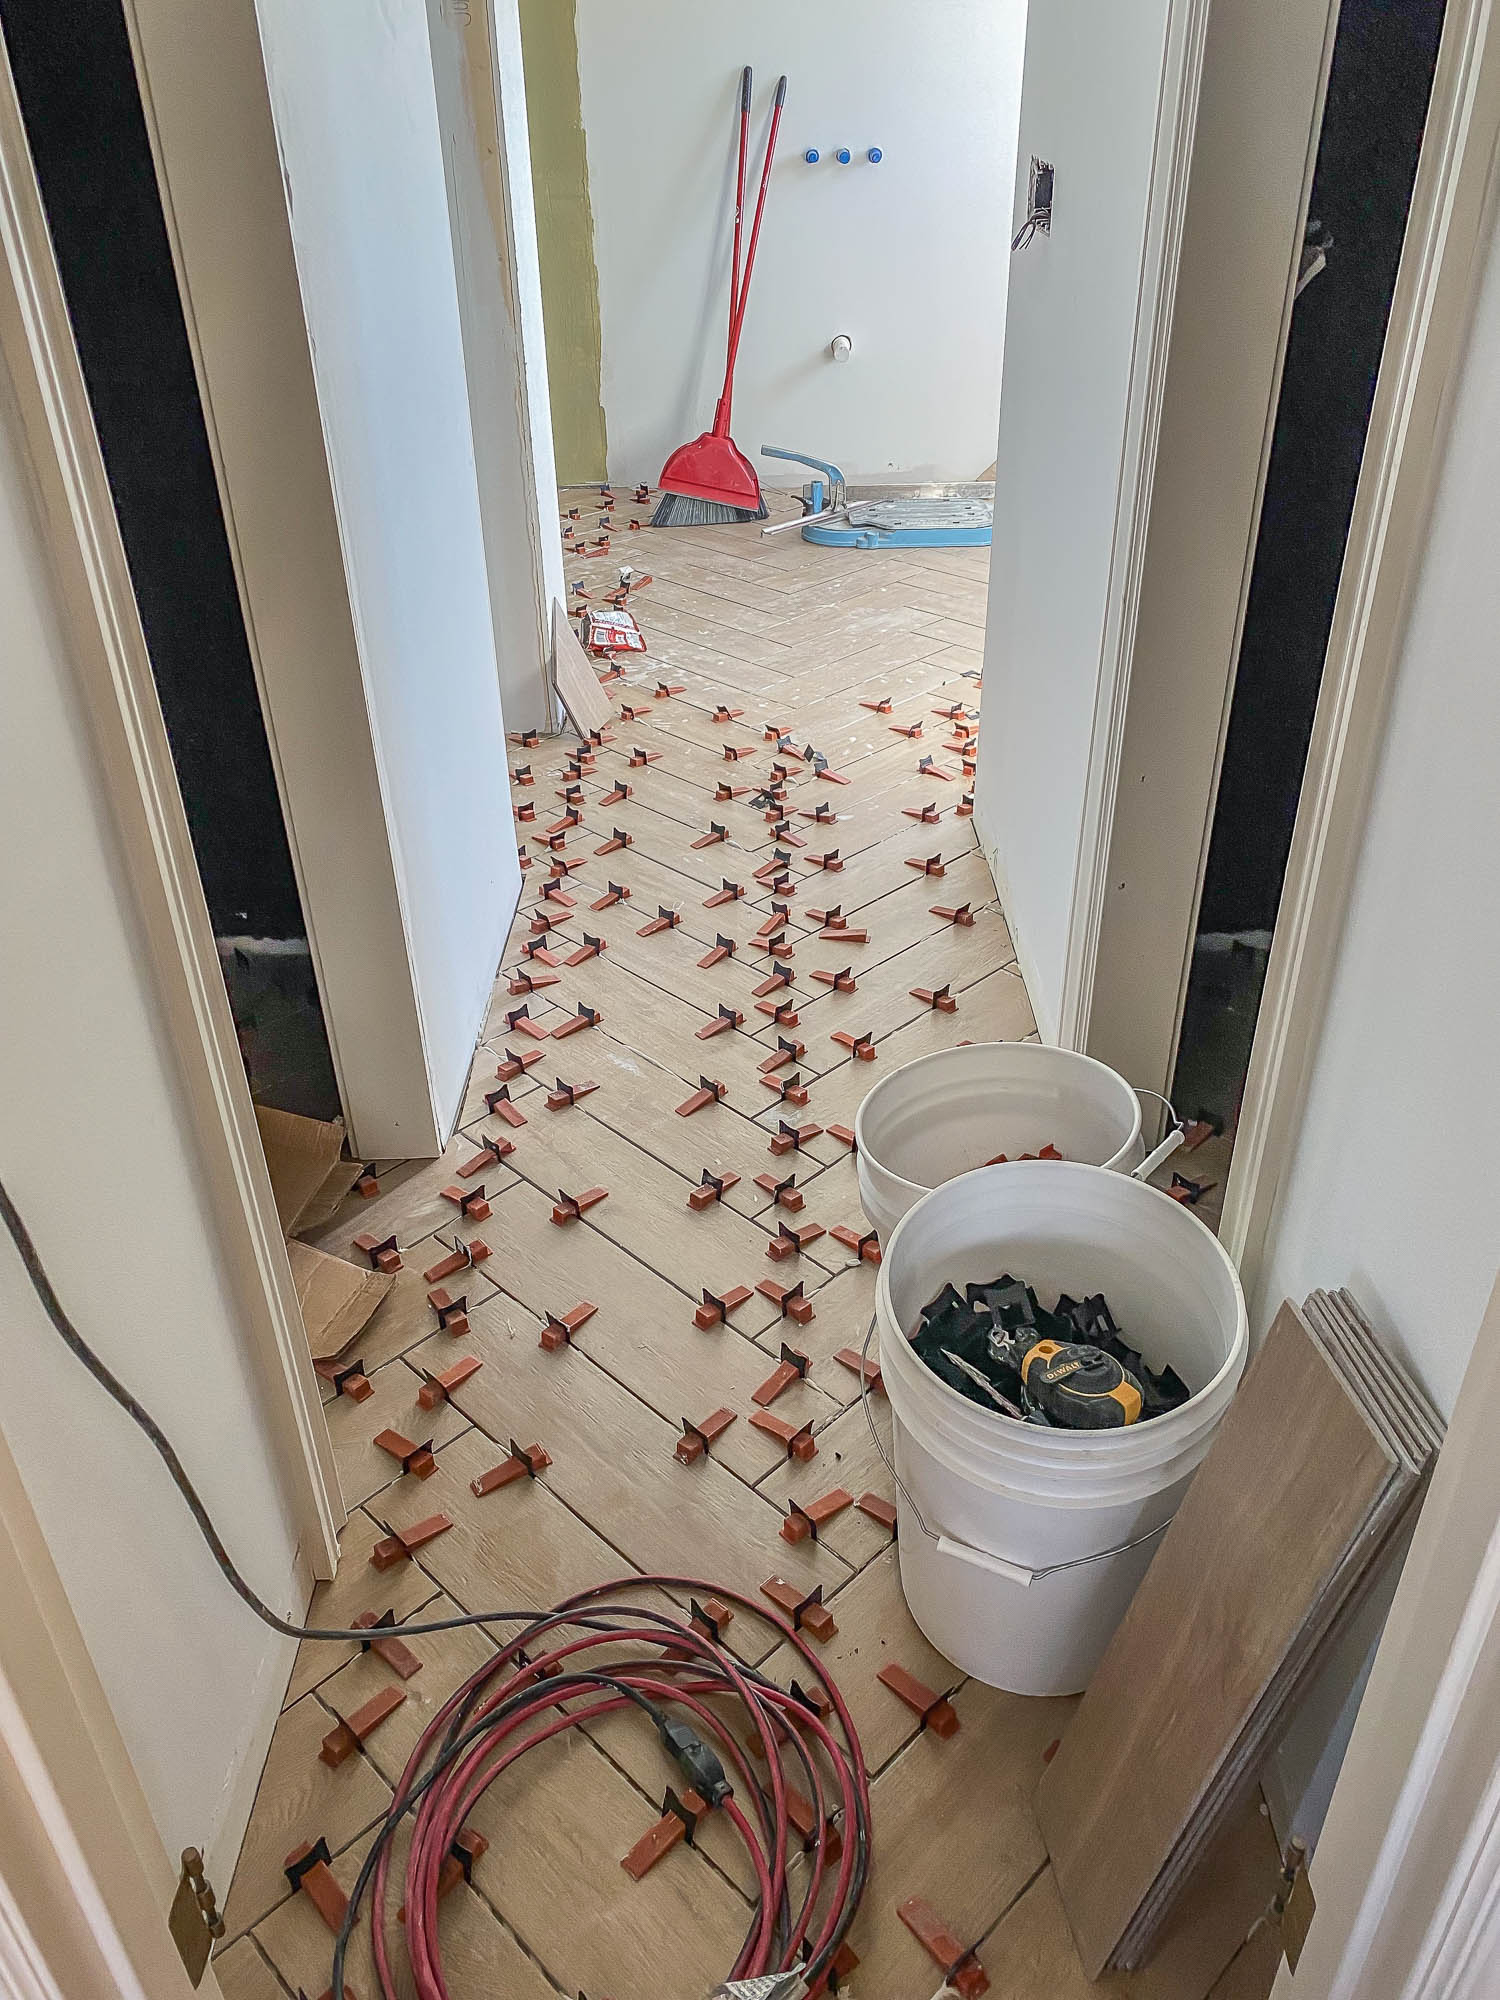
Notice how the tile guys planned the herringbone layout. Not only is the herringbone centered down the hallway, but it ends just perfectly at the shower entrance. Now that’s expert-level tile planning right there! They started tiling at the back wall and moved out towards the bedroom. The next day, when the shower floor mud bed was dry, they moved onto tiling the shower floor.
Day 5 and 6: Installing the Wall Tile
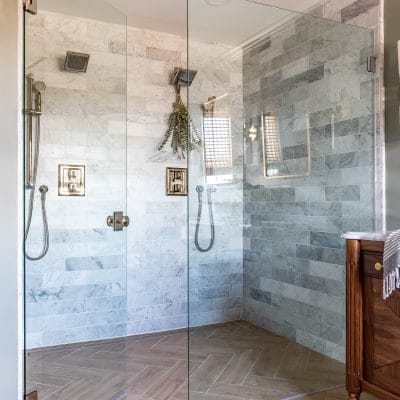
Next, they moved onto installing the wall tile in the shower. I chose this honed marble tile and paired it with this honed marble pencil tile. They started tiling at the bottom, but discovered the floor tile wasn’t quite set solid enough to support the weight of the marble tile, so they screwed a temporary ledger board to the wall and started tiling from that point up. Once the mortar has a day to set, they’ll remove the ledger board, reseal the screw holes with waterproofing membrane, then finish tiling below.
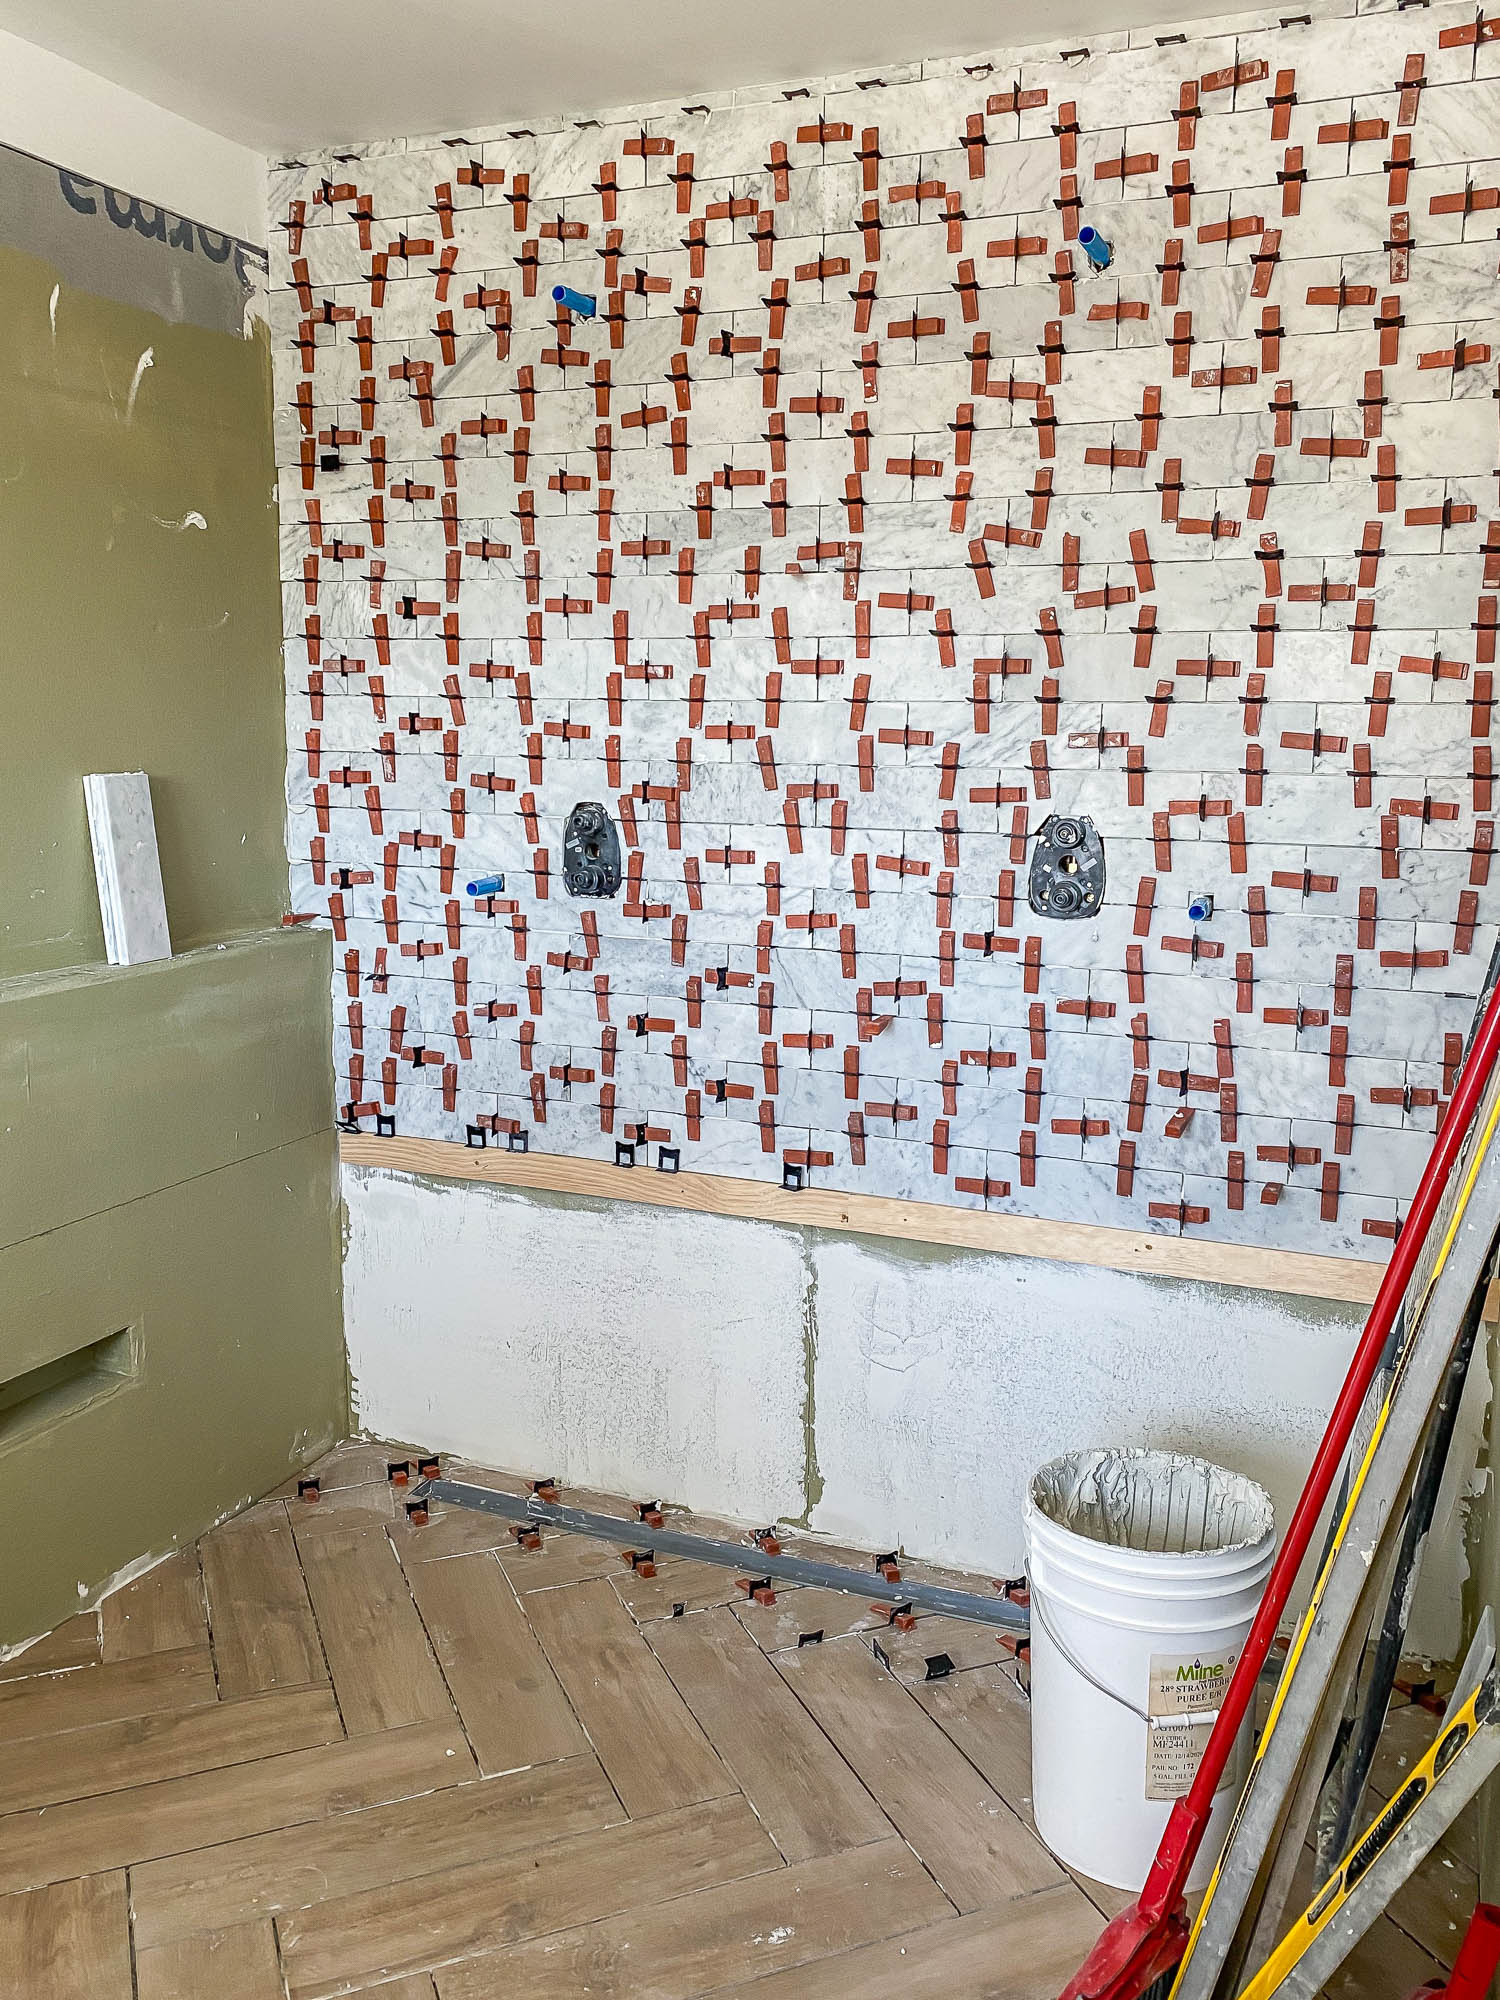
For the top of the shower ledge, we used a 6-foot long glacier white polished curb that we had to source from a local tile supplier. Look at all those spacers! I was unsure about how the wood-look herringbone would look with the Carrara marble, but now that I see the whole picture, I’m kind of loving it! I like how the warm tones of the floor tile balance the cool tones of the marble.
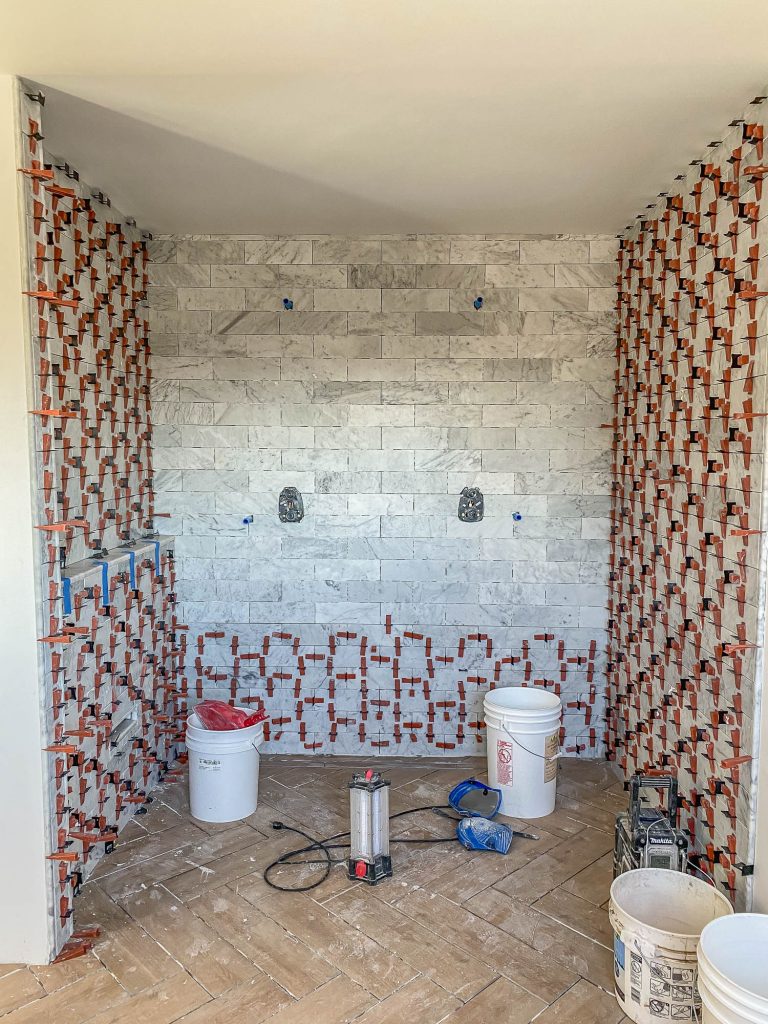
Day 7: Grout
The last day was spent removing the leveling clips, cleaning the excess mortar off the tiles, and grouting. I was so excited to see what the tile looked like without all those clips in the way! Also, grout makes a WORLD of difference!
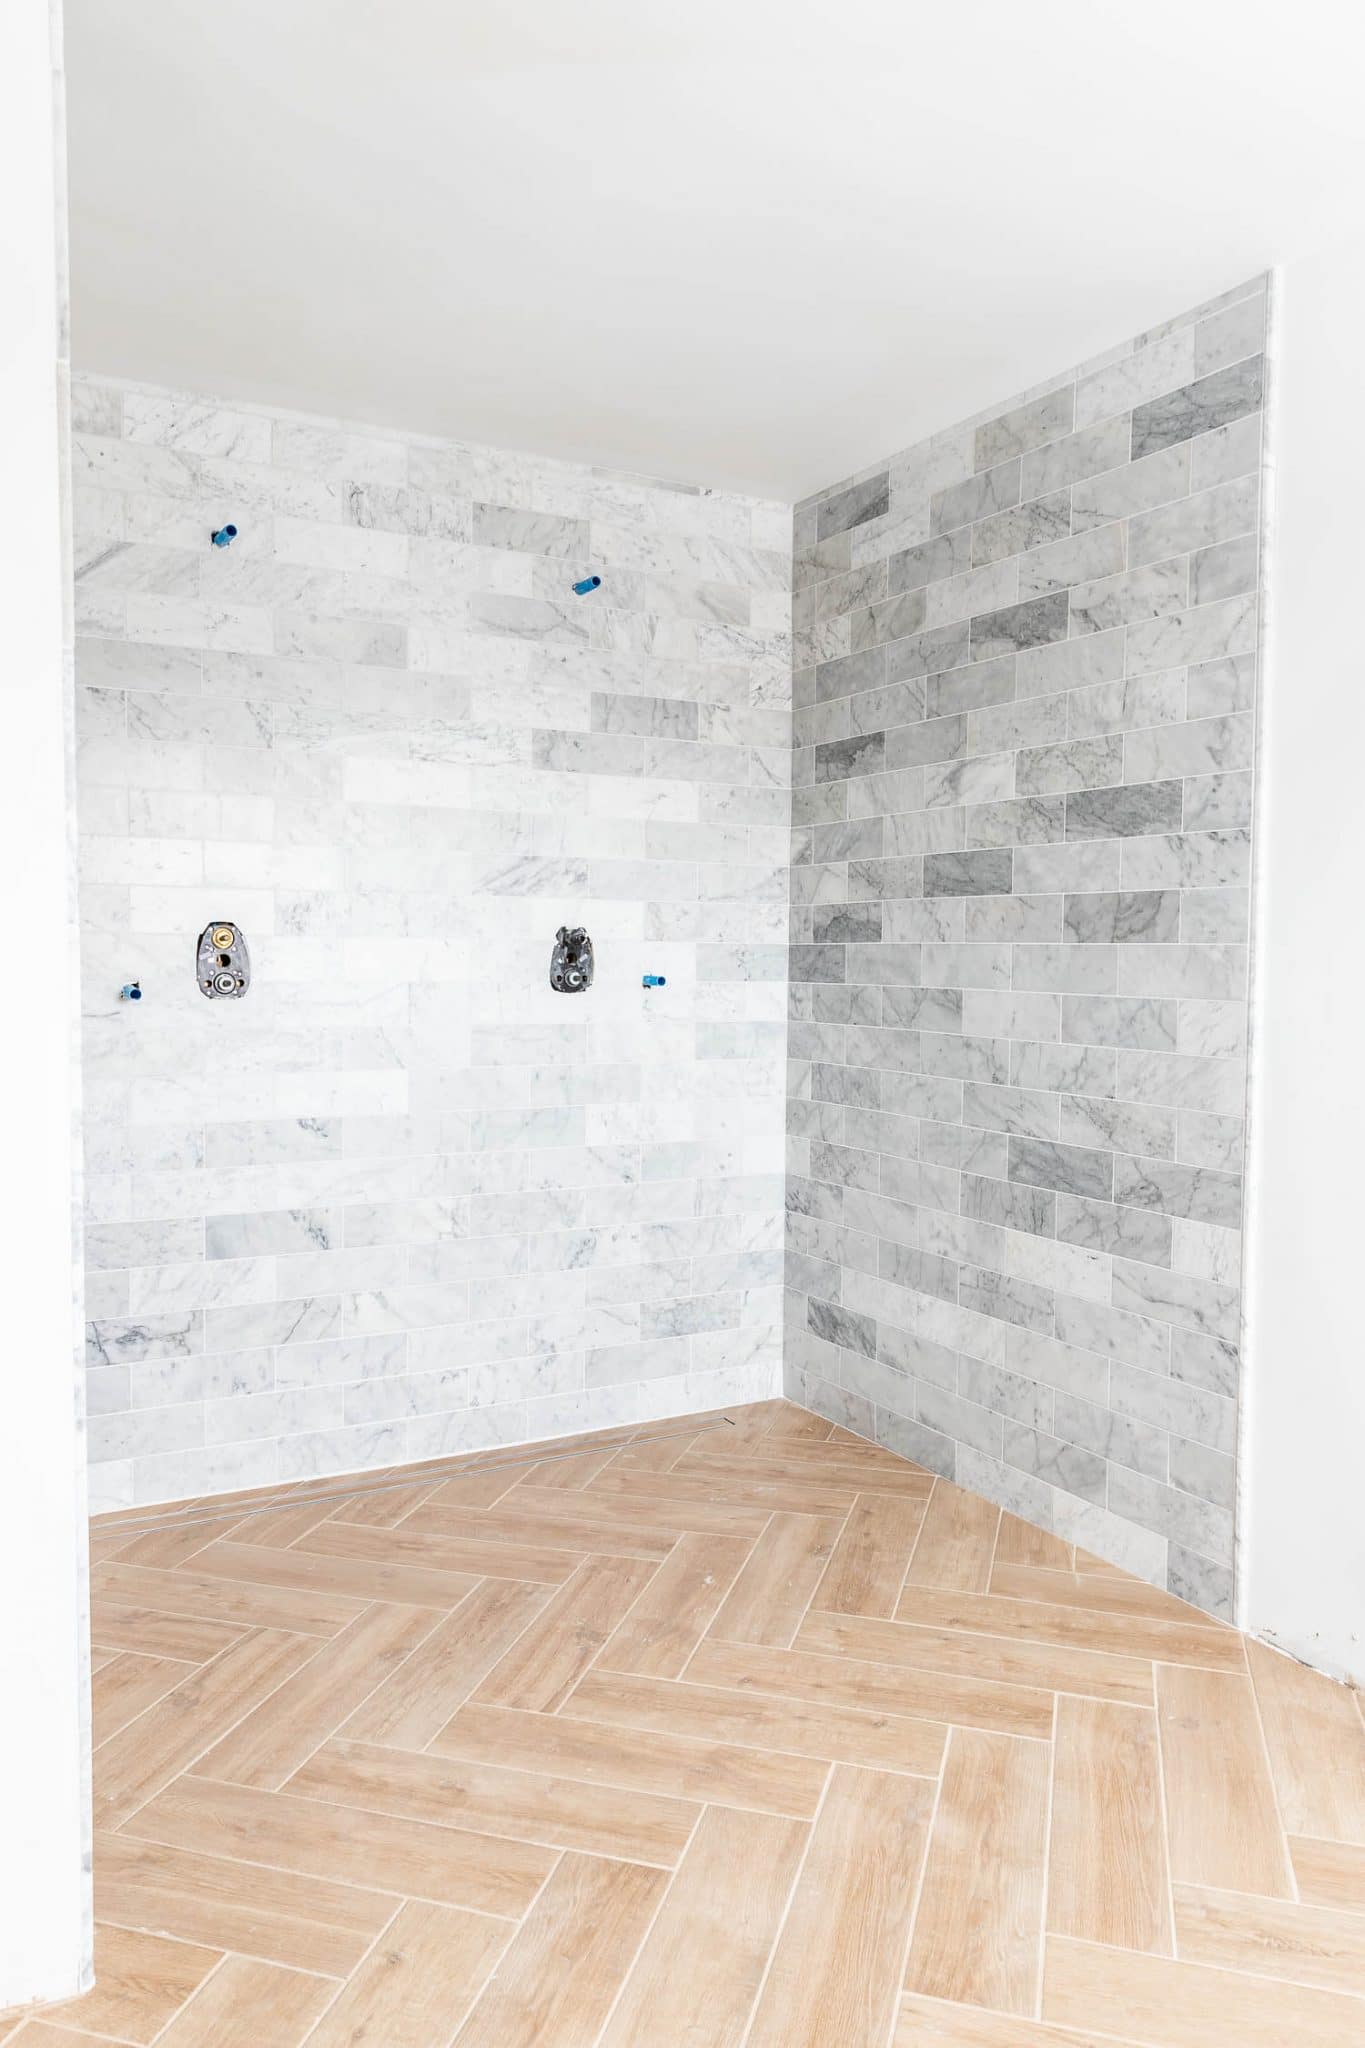
Typically, marble is sealed before grout is applied to minimize the risk of the grout discoloring or staining the natural stone, but because we chose a grout color that is very close to the color of the marble, we were able to go ahead and grout first, then seal the marble afterwards. We used Prism grout in the color Khaki for the floors and Ash for the walls.
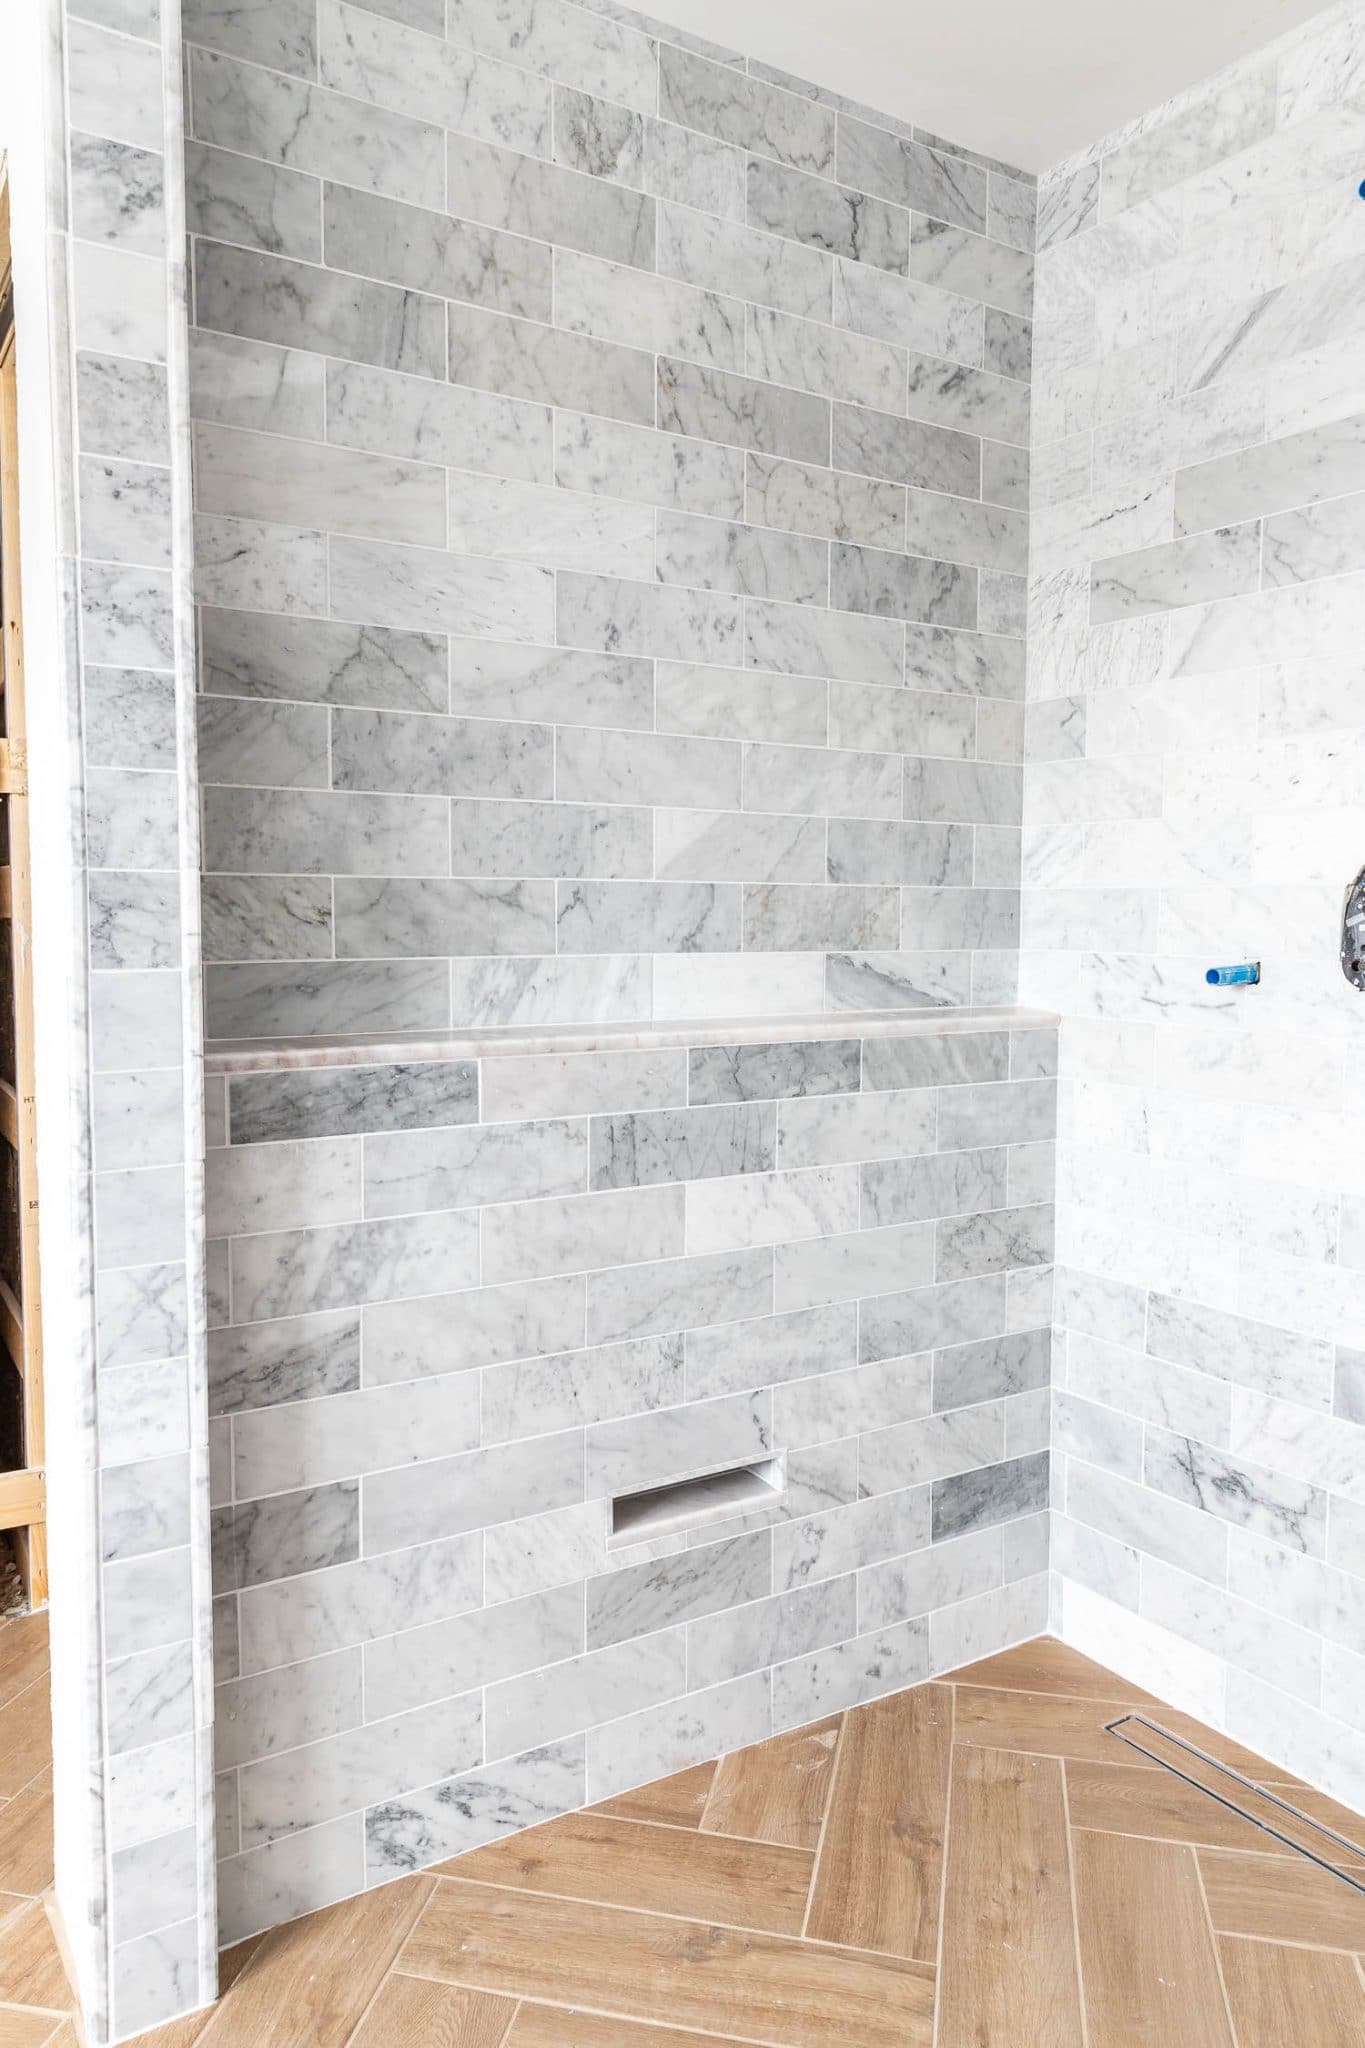
Let’s take a closer look at the linear drain. I thought it would look too busy if each tile was cut individually, to follow the existing herringbone pattern, so instead, I opted to lay only 4 tiles in the drain and match up the grout lines. I love the continuous, clean look of the linear drain!
We’re in the homestretch now! Next comes finish plumbing and electrical, and the final pieces and parts of installation. I’m building the double vanity, so I’ll have a separate tutorial (with plans!) for that, so stay tuned. Can’t wait to see this master bathroom renovation come together!
Materials:
- 1/2-inch Cement Board
- 40 mil PVC Shower Pan Liner
- Infinity Drain Linear Drain
- Hydro Ban Waterproofing Membrane
- ProLite Premium Large Format Tile Mortar (for floor tile)
- VersaBond White Thin-Set Mortar (for wall tile)
- 6×24 Porcelain Wood-Look Floor Tile, Soft Brown
- 4×12 Honed Marble Tile, Carrara White
- Honed Marble Pencil Tile, Italian White Carrara
- Prism Grout, Khaki (for floor tile)
- Prism Grout, Ash (for wall tile)
To Do List + Timeline Breakdown
Design/planning: 1-2 weeksHire contractors: 1-2 weeksOrder products: 1-3 monthsDemolition: 2-3 daysFraming: 2 daysRough-in plumbing: 2 daysRough-in electrical: 2 daysInsulation and drywall installation: 3 daysPriming: 1 dayWaterproofing and Tile Prep: 2 daysTile installation: 6-8 days- Vanity build: 2-3 days
- Countertop fabrication: 1 week
- Shower glass fabrication: 1-2 weeks
- Finish plumbing: 1 day
- Finish electrical: 1 day
- Finish carpentry: 1-2 days
- Finish Painting: 3-5 days
- Finishing Touches: 1 day
- Inspection: 1 day


It looks fantastic Jen! I like the herringbone wood look tile. I hope you and your hubby can see light at the end of the tunnel and the vision you had coming to completion. Prayers for you and your family and all the projects you have planned for 2022. I know you’ll enjoy your new beautiful bathroom once it’s finished.
Now if I could just borrow you for a week to do some built ins in my living room my projects for 2022 would almost be complete!
The tile looks so nice! The tile spacers are cool…….sure wish our installer (through the builder) knew about them when he did our floors!
Your shower looks great. But having just recently gone thru a bathroom and shower installation myzrkf, I can’t help but wonder where are your safety grab bars? We plan on aging in place on our home so had them installed without a second thought( installed thru the tile into the studs…not the really usafe suction cup style). We later found out our building code requires them in New shower and bathtub builds. They look great and lend an added sense of security in the shower. ( I’m 64 and my husband is 67).
Sharon
Hi Sharon,
Great question! We opted not to install grab bars, however we did add some extra blocking behind the walls in case we want to install them in the future.
Thanks for the kind words!
Just look so perfect Jen. This skill is really rare specially with women.
what tile levelers are these?
Hi Emily,
The tile levelers are contractor-grade clip tiles: https://www.contractorsdirect.com/Raimondi-RLS-Clips-Red. Hope that helps!
Thanks for sharing your bathroom remodel! So detailed and helpful. Can’t wait to see the finished room!!