Good morning – Shelly here from 100Things2Do.ca! I hope everyone had a sunny Memorial Day weekend! Today’s project – this gorgeous DIY garden gate – was a bit of trial-and-error for me, but not only did I learn new techniques, the finished product is just spectacular. Follow along as I walk you through how to build your own DIY Garden Gate (and show you the errors to avoid as well).
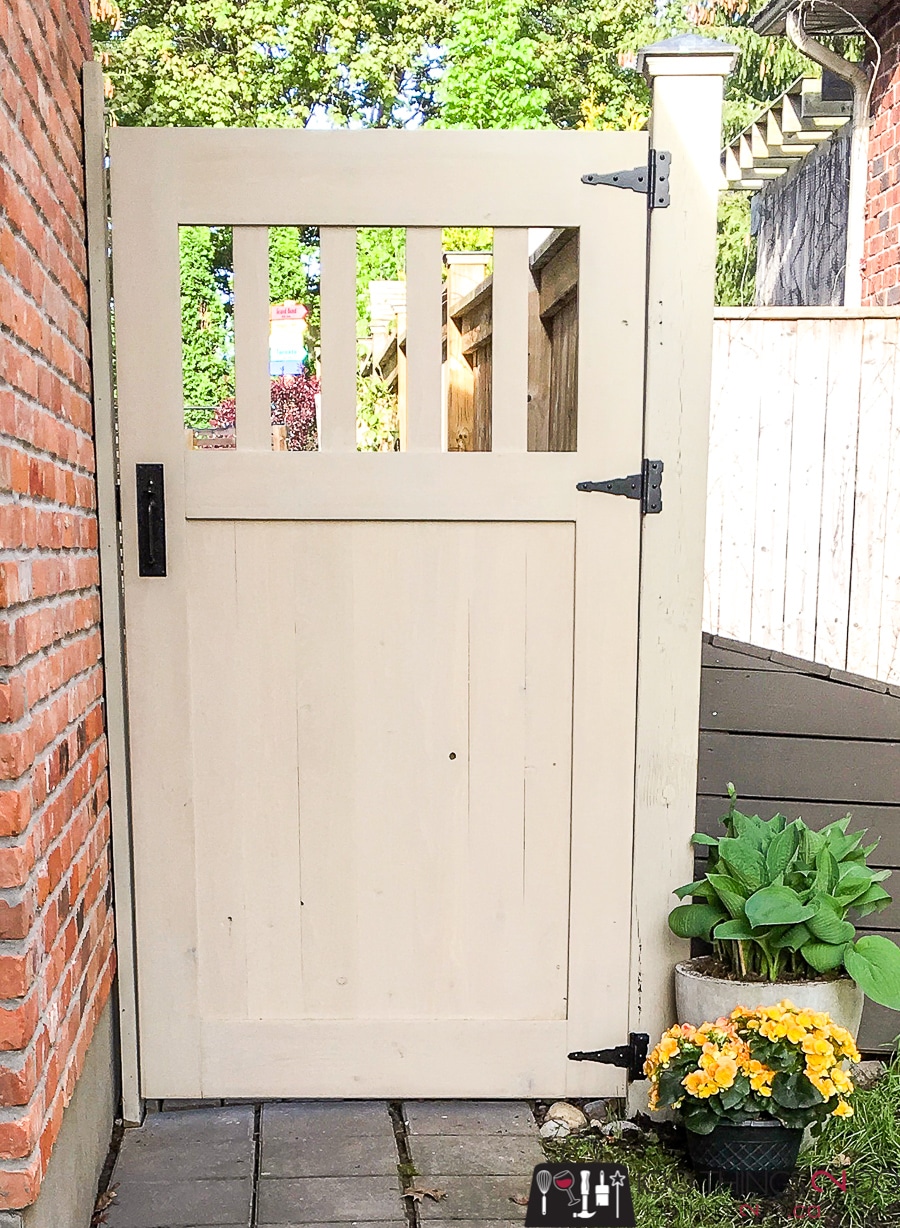
This DIY garden gate may be too big or too small for your own yard, but the fundamentals of the build will remain the same. It’s fairly easy to modify the cuts to make it fit your space.

DIY Garden Gate
Wood:
- (2) 2 x 6 x 8 Ft. Boards
- (1) 2 x 6 x 6 Ft. Boards
- (1) 2 x 8 x 8 Ft. Boards
- (4) 1 x 6 x 8 Ft. Boards
Cuts:
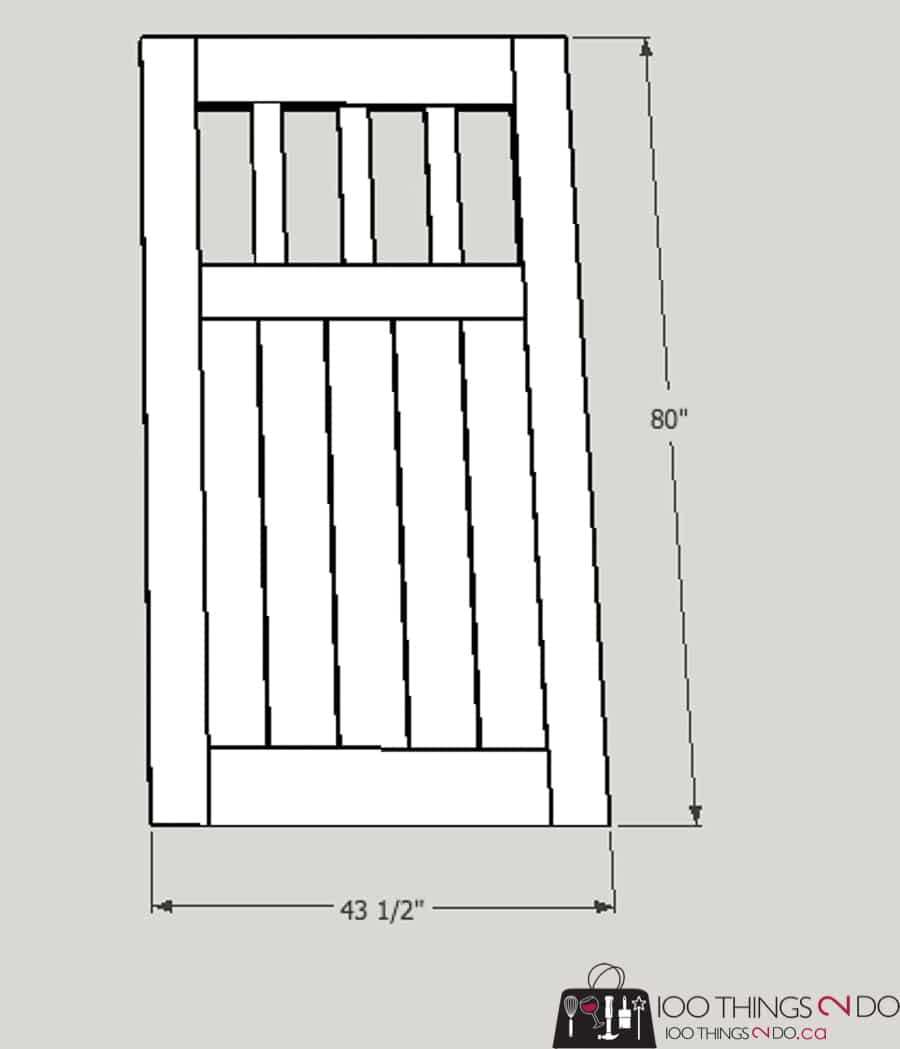
- (2) 2×6 @ 80 inches
- (2) 2×8 @ 34 inches
- (1) 2×6 @ 34 inches
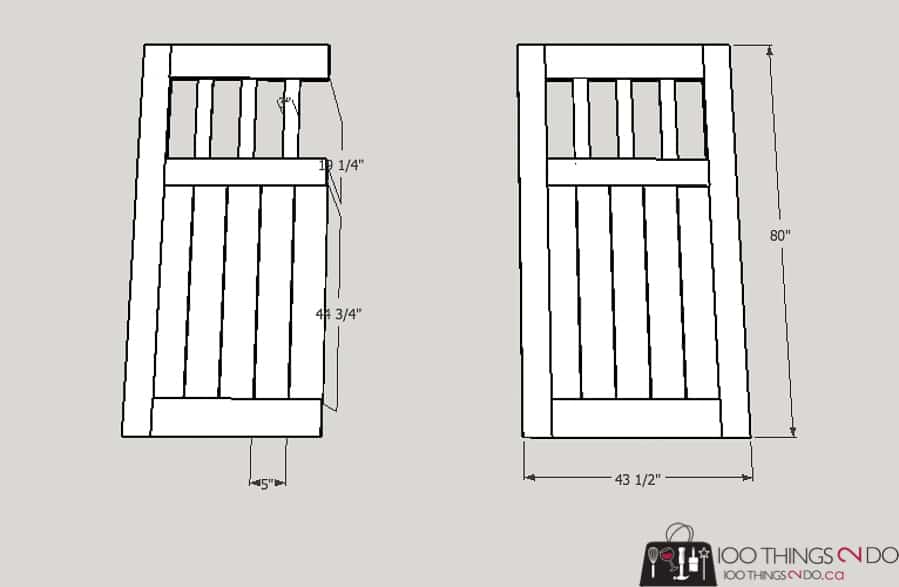
- (7) 1×6 @ 43 1/4 inches
- (4) 1×6 @ 19 1/4 inches
Tools and Supplies:
- miter saw
- table saw
- ruler
- carpenter’s square
- 3/4-inch chisel
- level (for hanging)
- exterior-grade wood glue
- rubber mallet
- 2 pipe clamps or bar clamps that can clamp 43 inches
- gate hinges
- gate latch kit
- nail gun (optional)
- random-orbit sander and sandpaper (optional)
- exterior wood stain and paintbrush (optional)
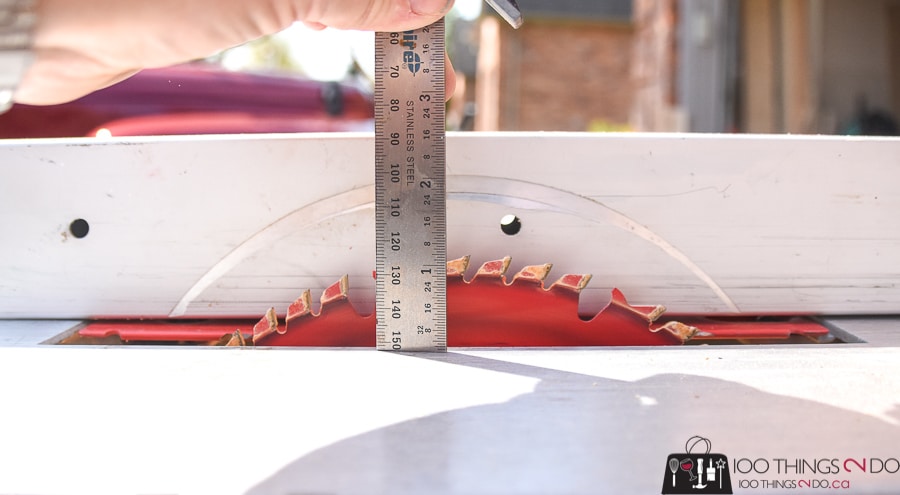
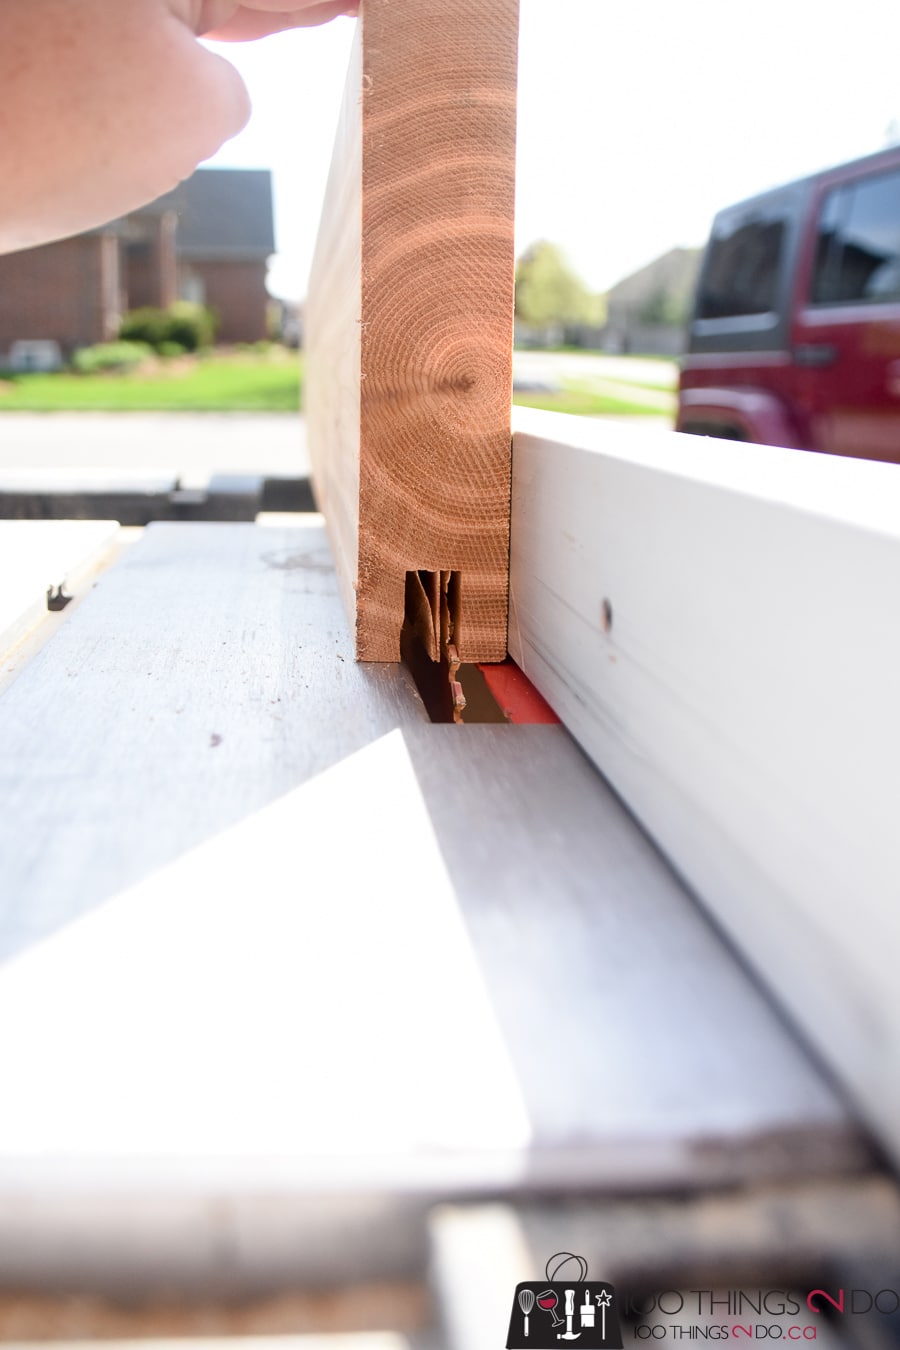
Cut the wood down to size, then using a table saw, create a groove in each of 2×6 and 2×8 boards. Set the table saw blade height to 3/4 inch high and move the guard so that the blade will cut into the center of the board. (In the photo below, my blade needs to be lowered – it’s just for demonstration.)
Run each of the boards through – it’s best to run them all at once, over the blade for your first cut. The short 2×6 board will need to be run through on both sides. Next, turn the boards around and run them over the blade again – if the blade isn’t perfectly centered, this second cut will make up the difference.
Move the fence away from the blade by 1/8 inch and repeat, again flipping the board so that a second cut is made on the other side of center.
Continue moving the fence out by 1/8″ until the overall groove is 3/4 inch wide. Use a 3/4-inch chisel to clear out any material in the groove.
Next, we’ll cut the tongue that will make up this tongue-and-groove joint.
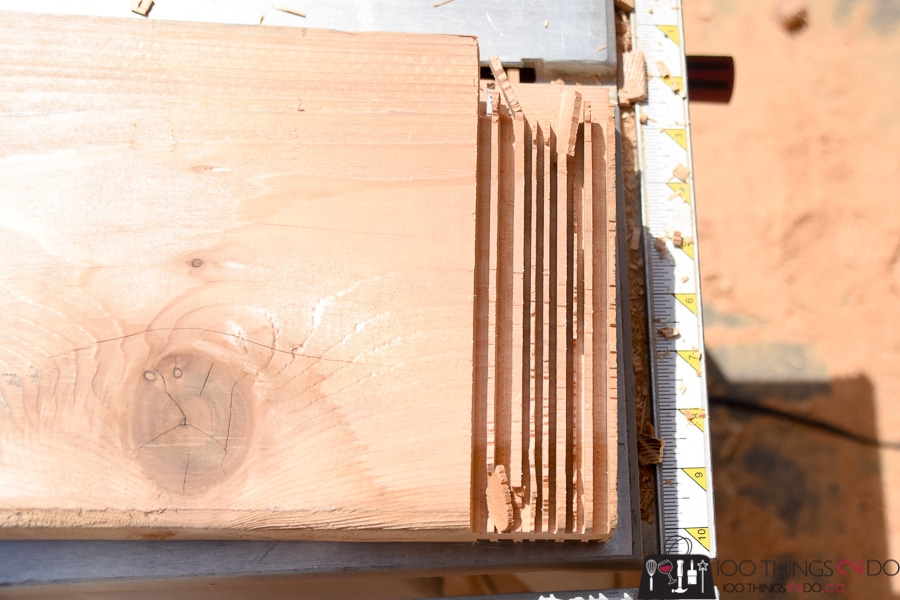
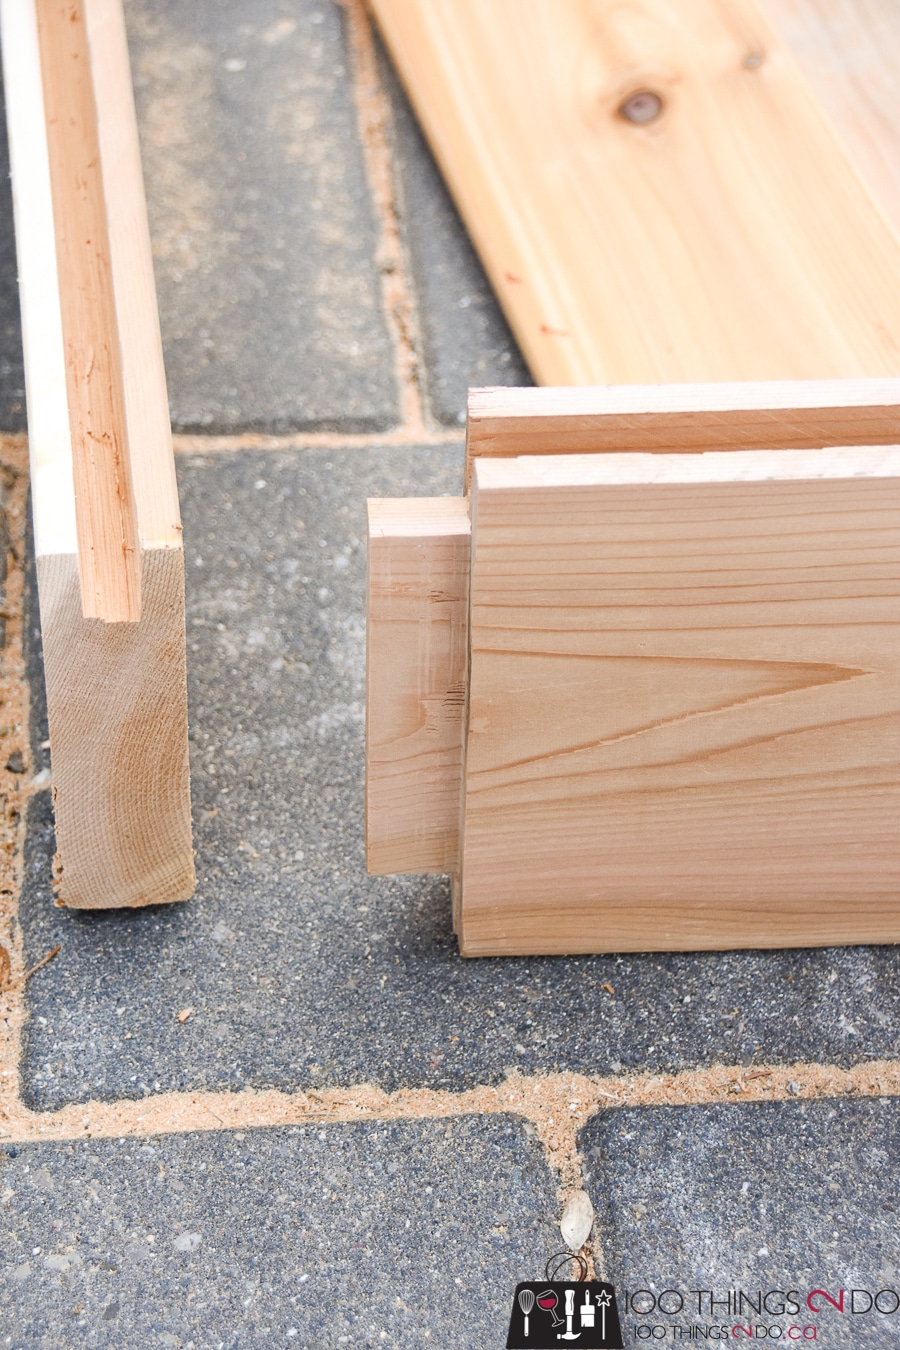
Reset the height of the table saw blade to 3/8 inch, set the fence at 3/4 inch, and cut the face of each short side of each board. Flip the boards over and repeat on the other face. Move the fence towards the blade by 1/8 inch and repeat until you have reached the end of the board (both sides). It will look something like this:
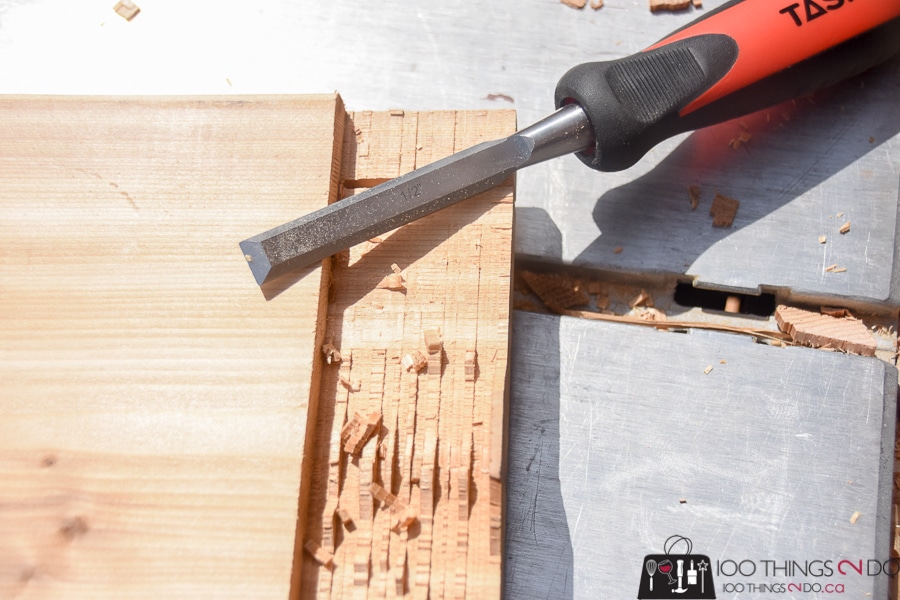
With a chisel, remove the extra material to smooth out the surface. Do this for both ends of the boards.
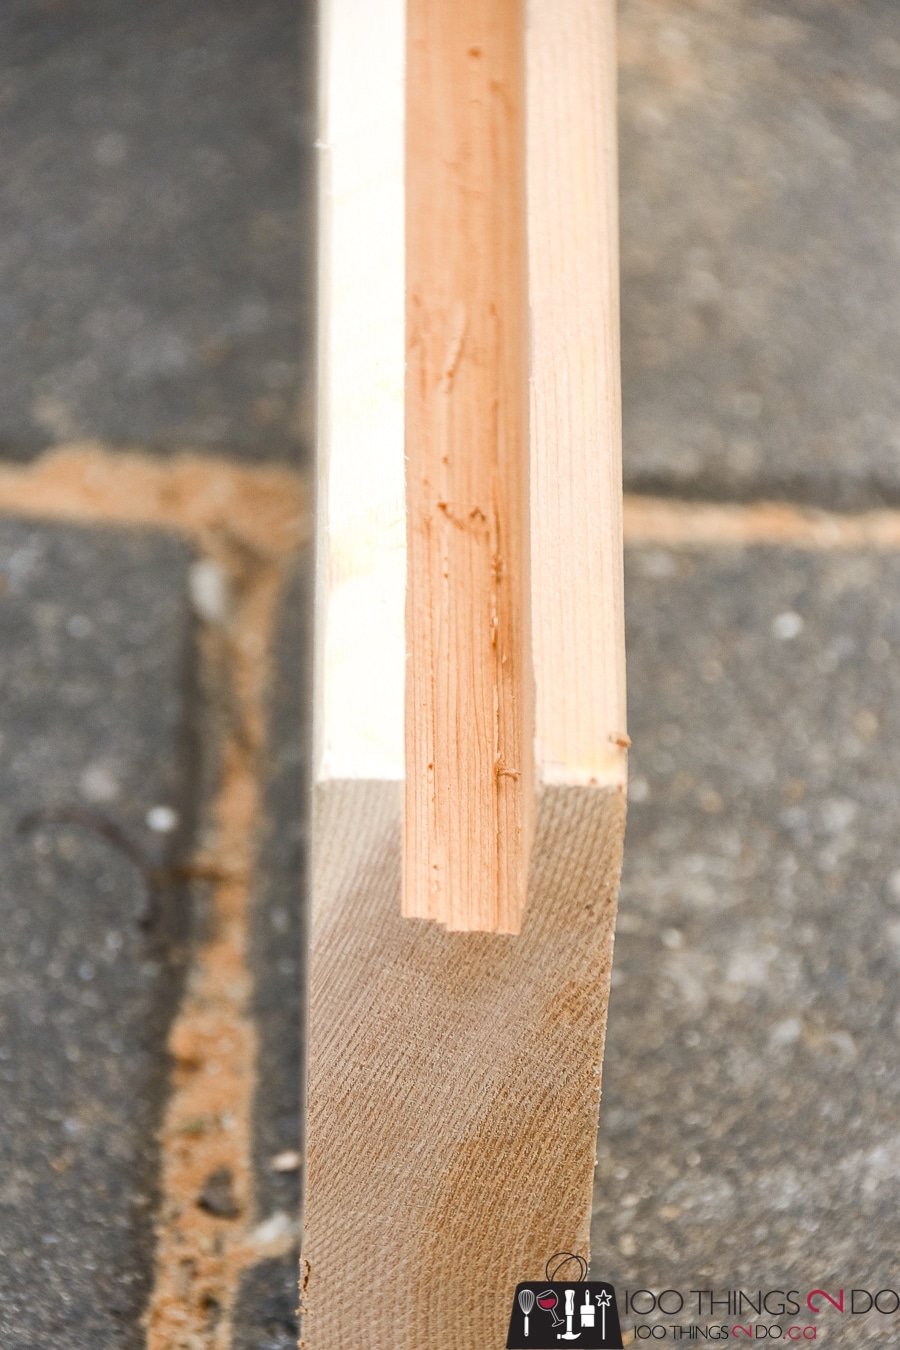
I cut the ends down to more of a tenon joint (in error) you don’t need to do this. You’ll see at this point how your corners will fit together – do a test fit to make sure that the tongue is narrow enough to fit snugly into the groove.
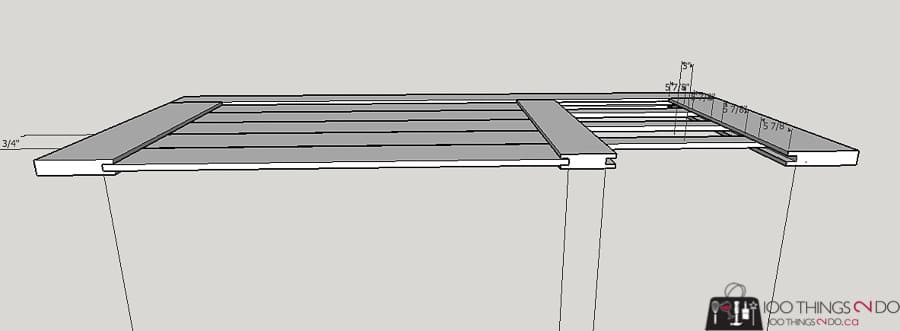
The graphic below will give you an idea of how it’s all going to fit together:
Measure, mark, and cut the 1×6 boards to length.
Set the table saw to cut 1/8 inch off either (long) side. This will remove the rounded edges and allow your garden gate panels to fit snugly together. You will be left with boards 3/4-inch thick by 5 inches wide.
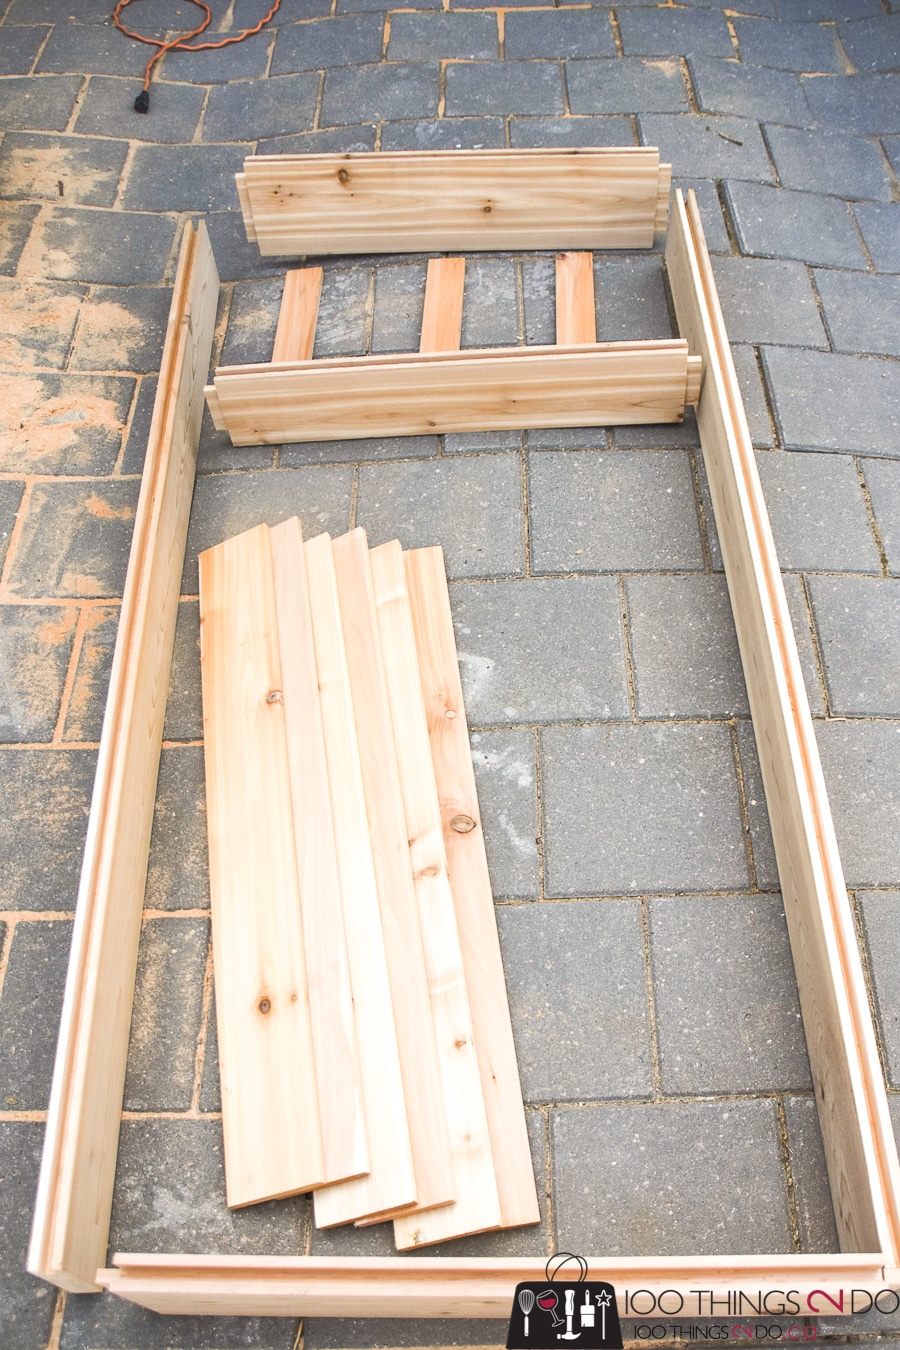
It’s best to do a dry-fit of your DIY gate to make sure that all of the grooves are sufficiently smooth and to make sure that all of the pieces fit snugly in place. This is where I caught the rest of my errors – sections of the groove not sufficiently cleaned out, bowed 1×6 boards that needed to be run through the planer, etc.
After a successful dry-fit, it’s now time for the glue-up! I recommend using an exterior-grade wood glue, since this gate will be outdoors. The glue should be waterproof and weather-resistant.
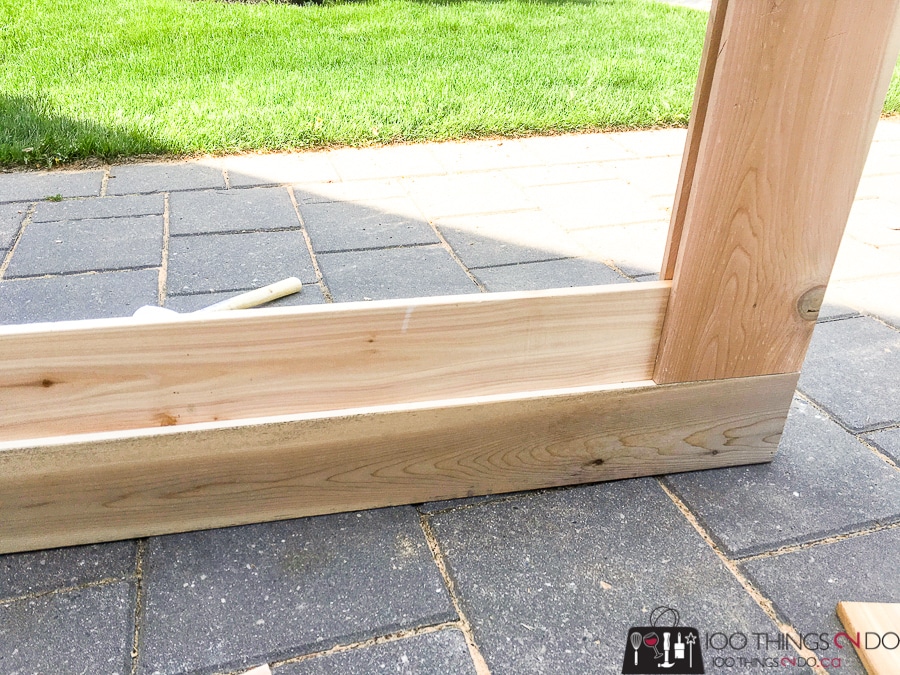
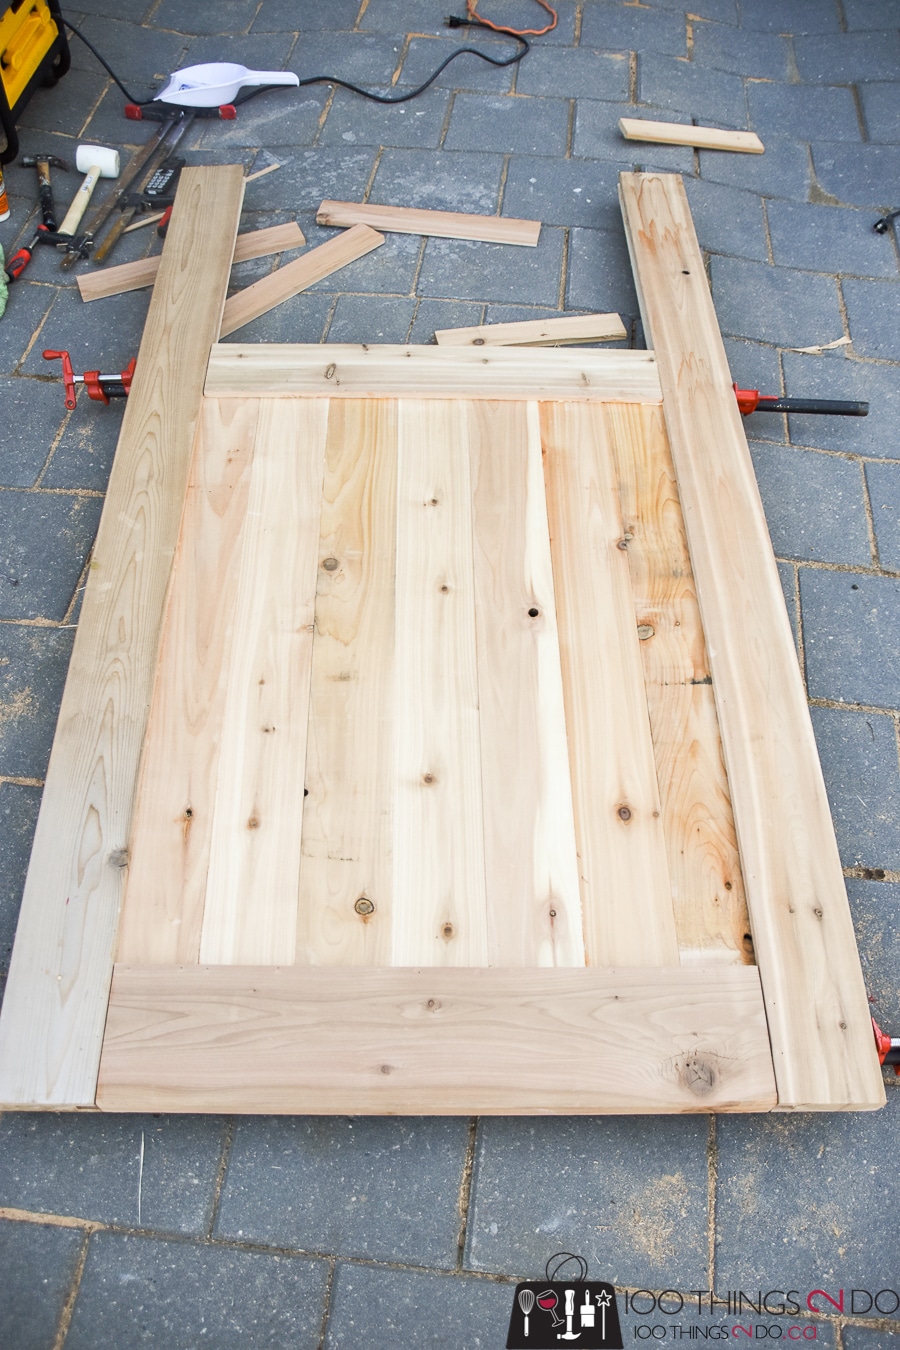
Spread glue along the tongue section of the lowest board and tuck it into the bottom of the side board (stile) – use a rubber mallet to tap it into place, so you don’t damage the wood. Slide the 1×5 panel pieces into the groove and use wood glue to secure.
Once all of the panels are in place, glue the other stile and use your mallet to pound gently nudge into place over the last panel. If we’ve done everything right (and I didn’t at first), your garden gate should fit snugly together with no (or minimal) gaps between the boards.
I won’t lie – there was a LOT of swearing going on my driveway at this point. I’d tap one side into place and the other side would pop off. If you have help, this will run much more smoothly. Set up a pipe clamp on the lower section of the DIY gate and clamp it loosely together.
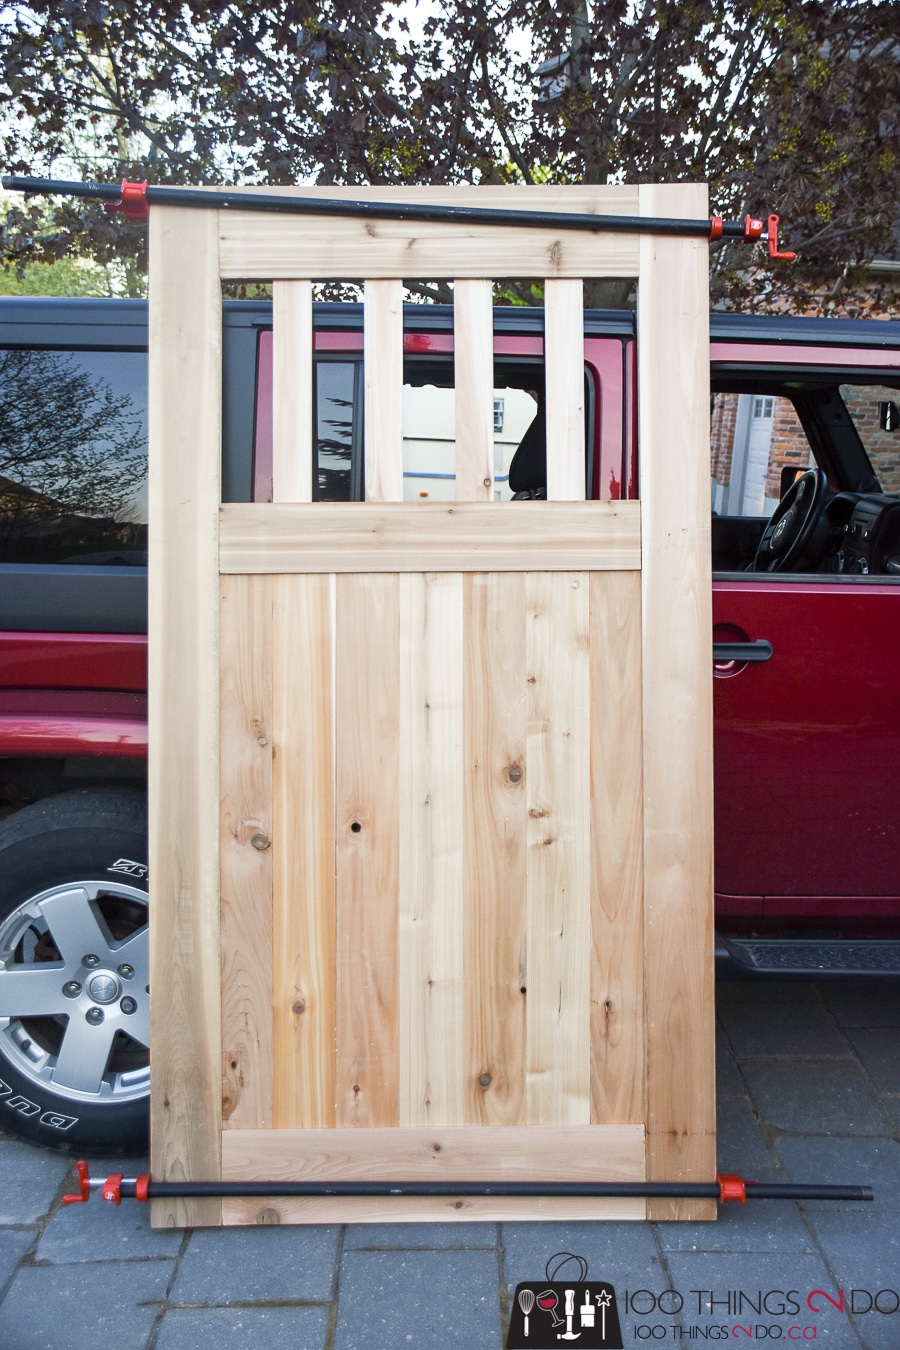
Glue and insert your 2×6 cross section over top of the panels and nudge into place – get as snug a fit as you can. Use another pipe clamp to hold loosely in place.
For the upper window section of your garden gate, the spacing is entirely up to you. The building plans call for 3-inch boards spaced 5 7/8 inches apart. Once I had the frame of the gate set up, I decided that I wanted more boards in the window, so I used four 3-inch boards spaced 4 1/4 inches apart.
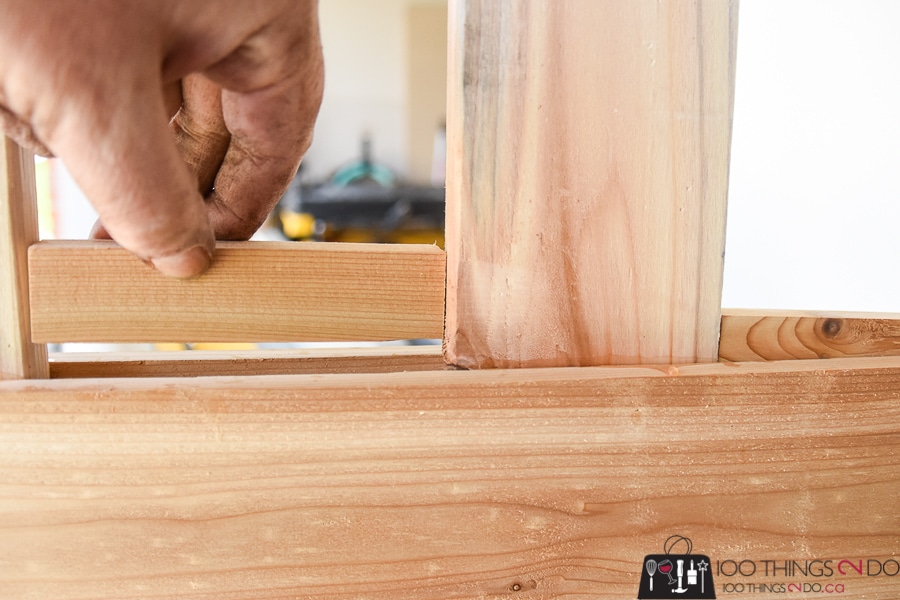
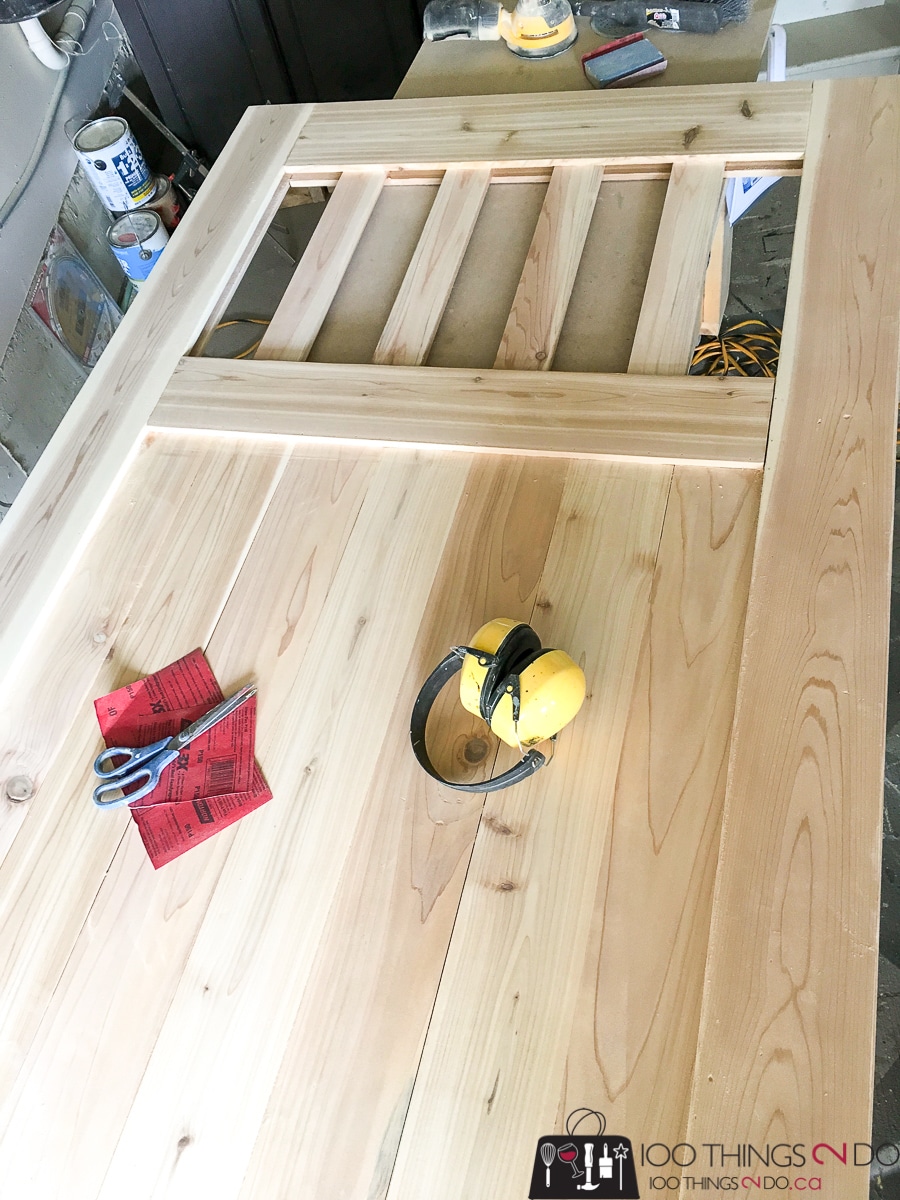
Using wood glue on either end, I tucked the muntin bars into place and held them there with finish nails, then attached the upper rail of my garden gate and tapped it into place. Once everything is nice and snug, tighten the pipe clamps and let it dry overnight (I did add some finish nails here and there as reinforcement).
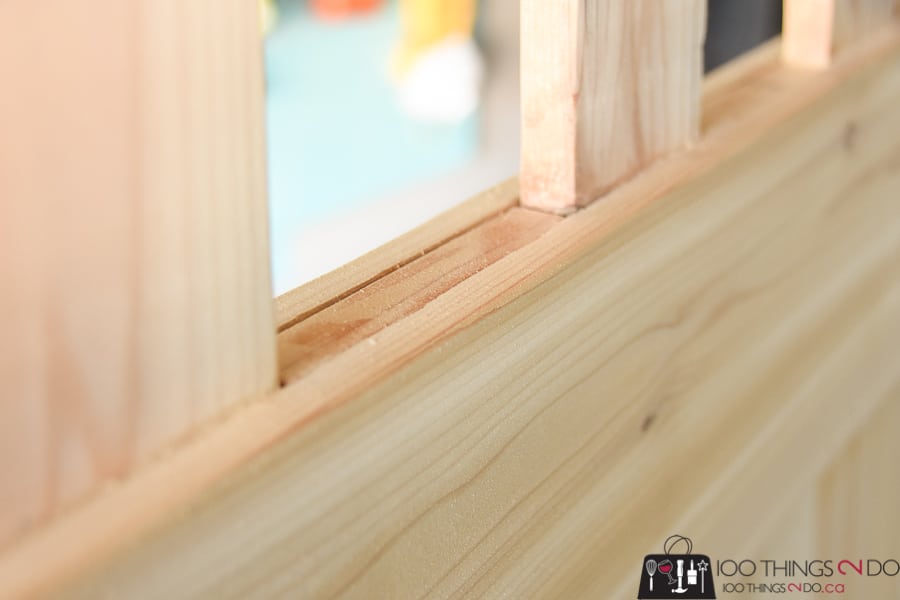
I was worried about water sitting in the grooves between the window bars, so I used some of the scrap pieces to fill that space.
Please forgive the filthy hands – there is a LOT of wood glue in this project.
You may notice that my early photos have morning sun and my later photos are shaded… yes, this took me most of the day to figure out, mess up, cut, and clamp. Hopefully you can avoid a couple of my mistakes and shave a bit off time off of your DIY garden gate build, but this is a “fancy” garden gate and these joints are more furniture-like – so hang in there, it will be well worth it in the end.
Day 2 of my DIY garden gate build consisted of sanding, staining, and hanging.
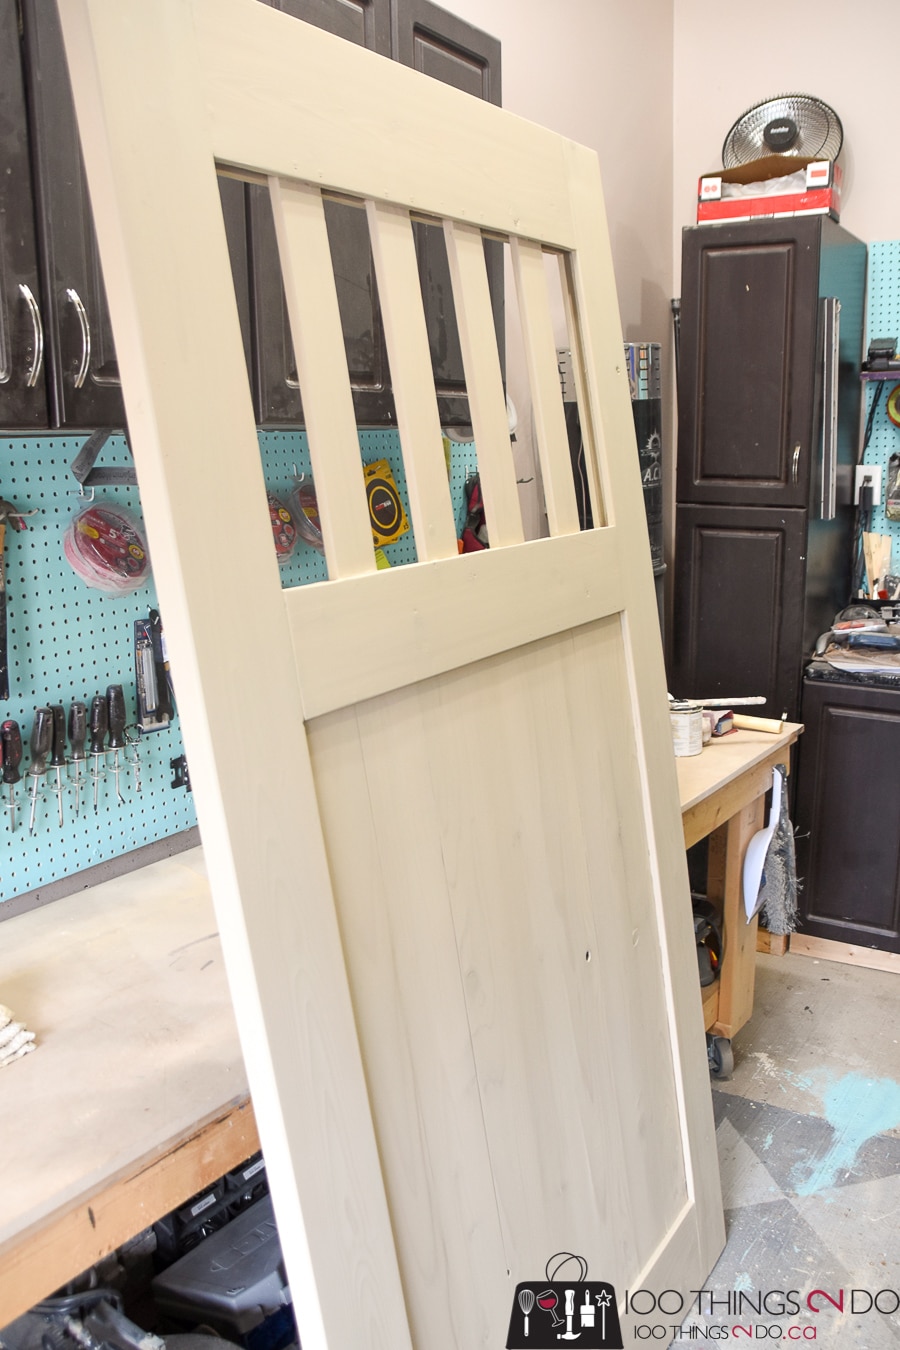
You don’t have to sand if you don’t want to, but I had a fair amount of glue coming out of the joints (see filthy hand photo above) and since I’d already spent so much time making this DIY gate a piece of furniture, I didn’t want to skimp out at the finish line.
I used an opaque stain so that you can still see a bit of the wood grain, but it lessens the look of the knots. Cedar ages beautifully, so you can totally skip this step if you want a more natural look.
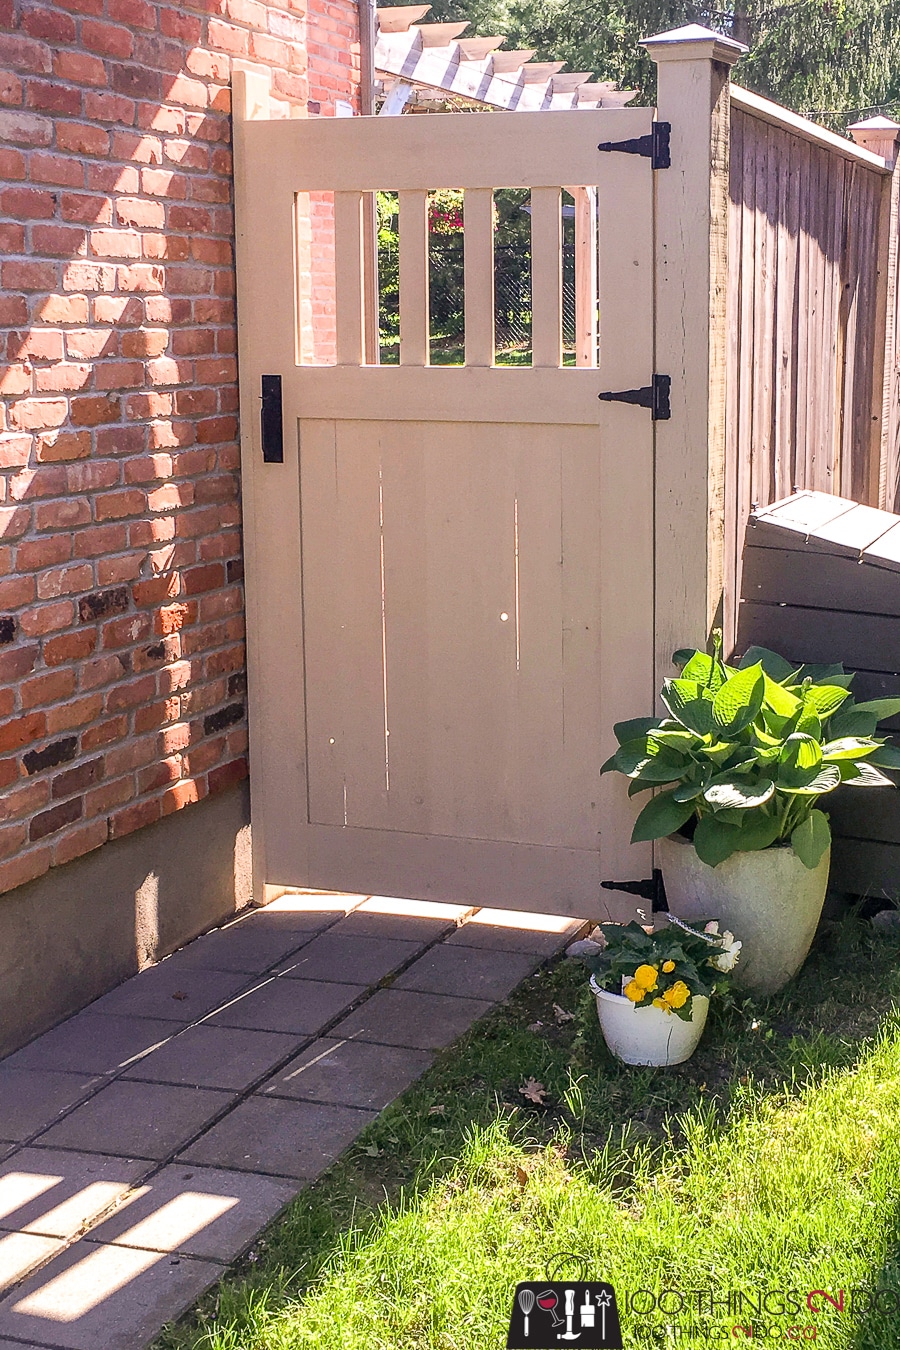
Just look at how thin this gate is! Because I used cedar, this gorgeous garden gate is only half the thickness of regular gates – it is SO light!
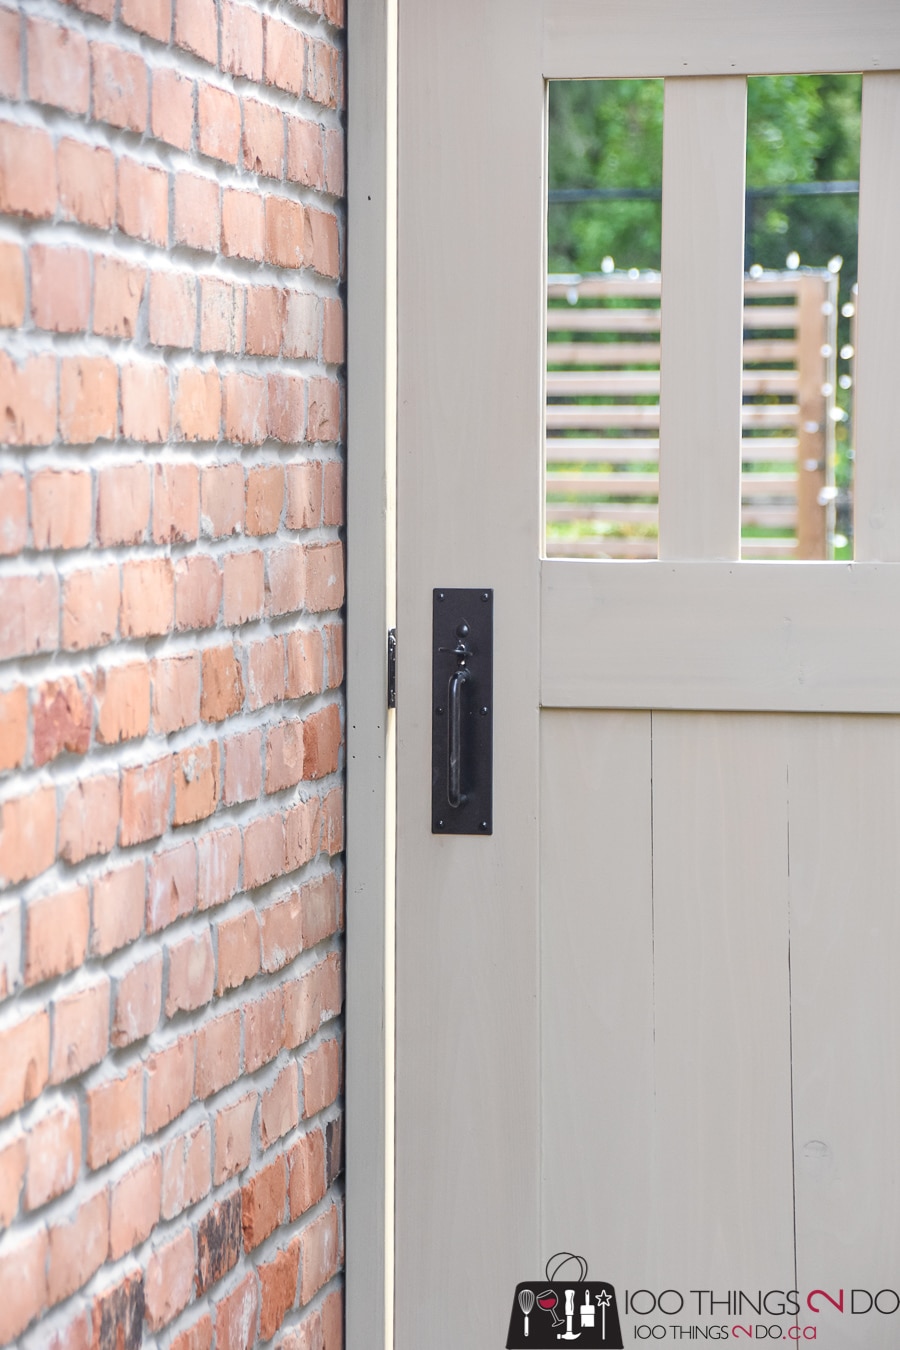
I picked up hinges and a latch kit at my local home improvement store and installed per the manufacturer’s instructions.
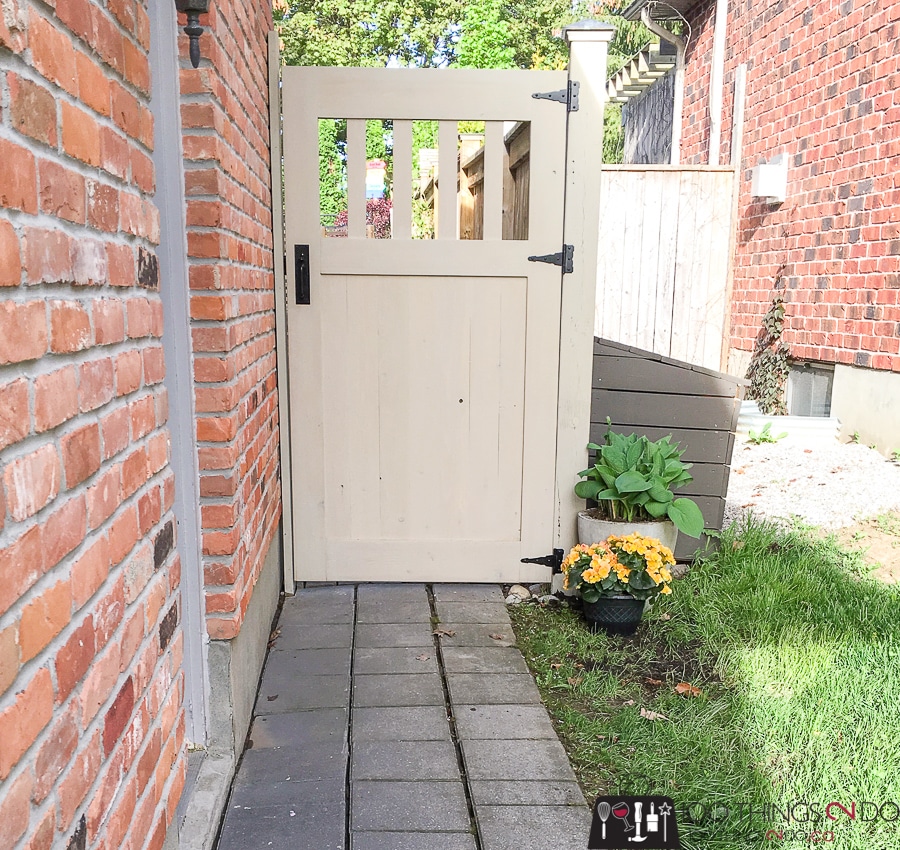
I used three hinges for aesthetics, not necessity.
A couple of knots fell out during building, but we’ll call those “peekaboo holes” for my dog Lacey.
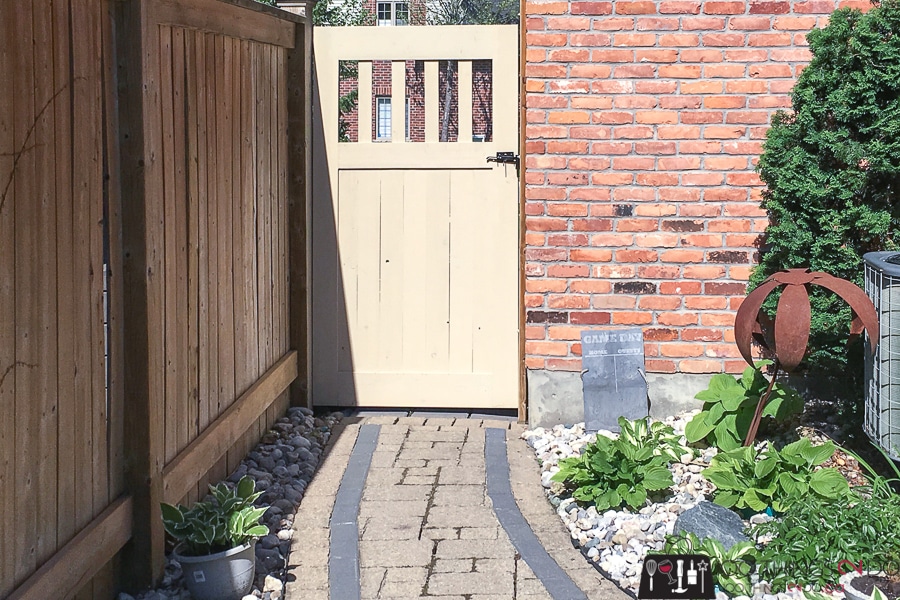
Here’s a view of my gorgeous DIY garden gate from the inside of my yard:
I can’t tell you how pleased I am with this build and how many compliments I’ve received already! Building this DIY garden gate was totally worth the time, swearing sweat, and effort!
Head over to 100Things2Do.ca if you want to see the before photos and get a true feel of the vast improvement this DIY garden gate made. Thank you for having me Jen and Jen-readers! Have a great one!



How is the lovly gate attached to the brick wall?
looks like it’s attached to the fence
So cool! You are my new home project hero! – Gayla, Richland WA
What keeps it from sagging? I always thought gates had to have a diagonal cross brace. I’m working on designing my own gate but the cross brace is not an aesthetic I like.
Article is nicely done.
My projects involve curses/swearing too… thought I was the only one.
This is exactly what I want to do. With some modifications. Where did you get the hardware? Specially the Latch.
Well done. I’m going to build one next spring. The only adjustmen I have to make is were only aloud 6′ tall fencing in my area. Thank you.
Jeff
Could you please send me your DIY Garden Gate plans so I can Print them. You sent them out a few years ago and they were great.
I’d love to print them and build a cedar gate.
Thank you very much.
Mike Davis
Really nice project – thank you for taking the time to post it. I was looking for a gate built exactly this way, so I very much appreciate the photos and explanation on how you put it together.