If you’ve kept up with me on Instagram, Facebook, or Pinterest, you’ll gather that I’m crushing on all things shiny and sparkly right now. Gold, crystal, mirrors… anything unapologetically girlie and glam has been my latest obsession. Gold, especially.
*This post contains affiliate links. To read my full disclosure policy, click here.
Last week, I shared a free printable that I made using Silhouette’s printable gold foil. Not satisfied with just sticking the gold foil stickers on the paper, I embarked upon a DIY gold foil tutorial hunt.
Surprisingly, there isn’t much information out there in the interwebs about how to DIY gold foil. I know, crazy, right? So I told myself, “Self, you will figure this out.” Luckily, I stumbled across this handy video tutorial. God bless you, YouTube. Unfortunately, the tutorial recommends a pricey laminator. Because I’m cheap not willing to spend that much time and money on a passing trend, I decided to try my gold foil experiment (*experiment being the key word here) using this basic laminator instead. If all else failed, I could use it as an actual laminator. Imagine that. I wanted one that was at least 13″ wide just in case I ever wanted to laminate (or hot foil) 12×12 scrapbook paper.
Okay, onto my DIY gold foil experiment! You guys are going to flip out over how easy this is!
Here are the players:
Alright! Let’s get started (and wish me luck)!
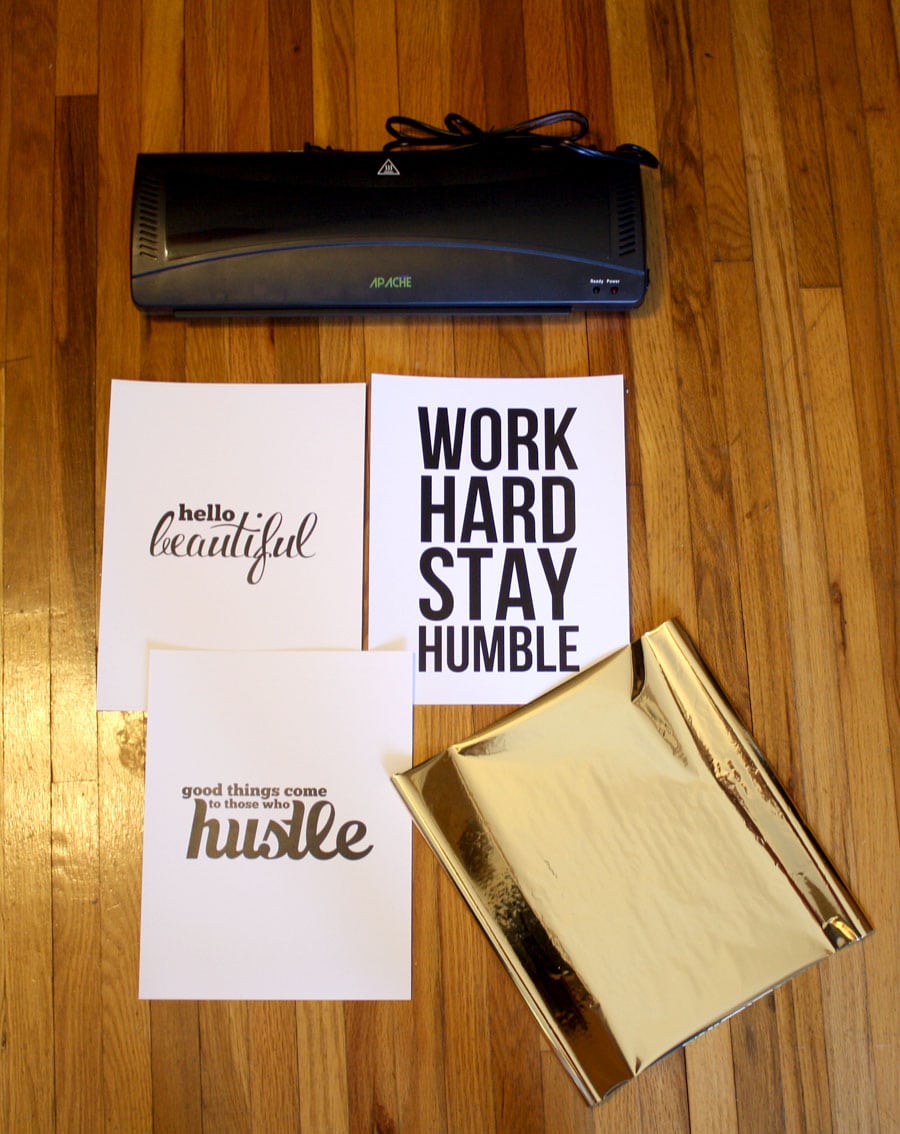
I created these black and white prints in Photoshop and printed them out on a laser printer. You should use a printer that prints with toner because it’s what the foil will react with. You can print your image using a laser printer, or even a photocopier. Just make sure it’s black and white and toner is what’s used (not ink).
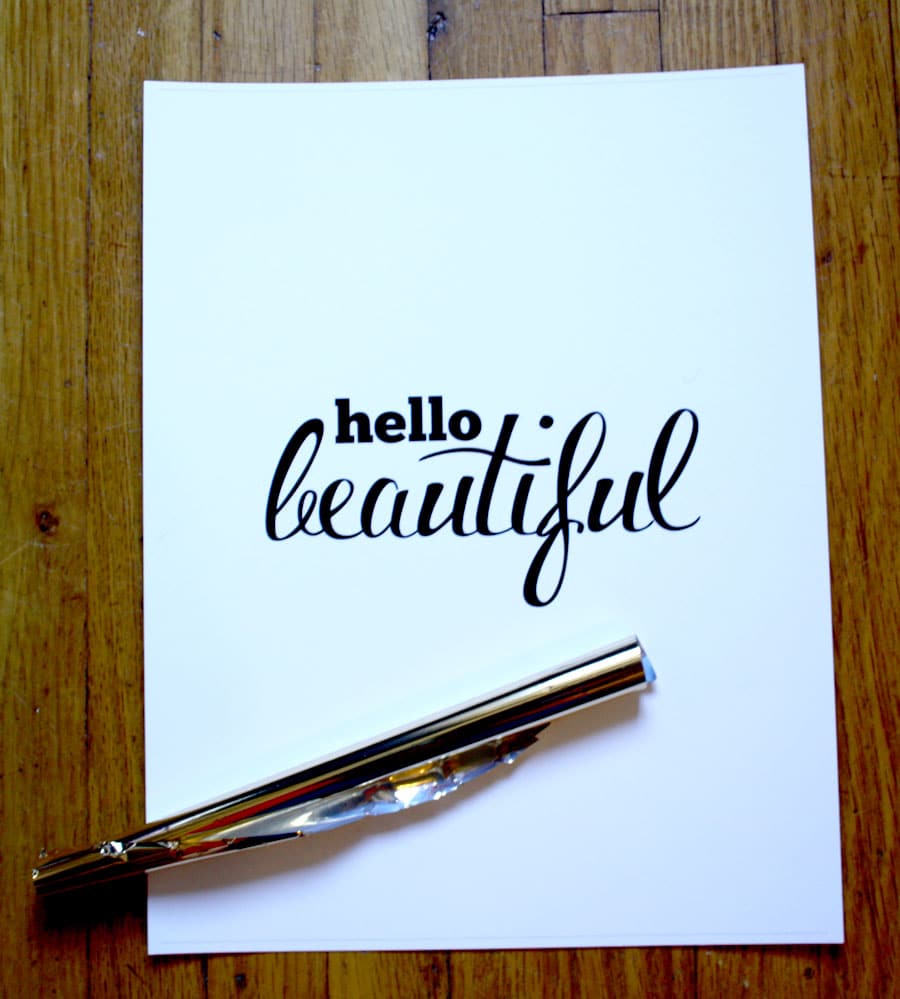
Next, I cut a piece of toner-reactive foil large enough to cover the image, gold side up, smoothed out any wrinkles in the foil, then put another sheet of paper on top, to hold everything in place (so that the foil is sandwiched between the two pieces of paper). Then I sent it through the laminator with my fingers crossed!
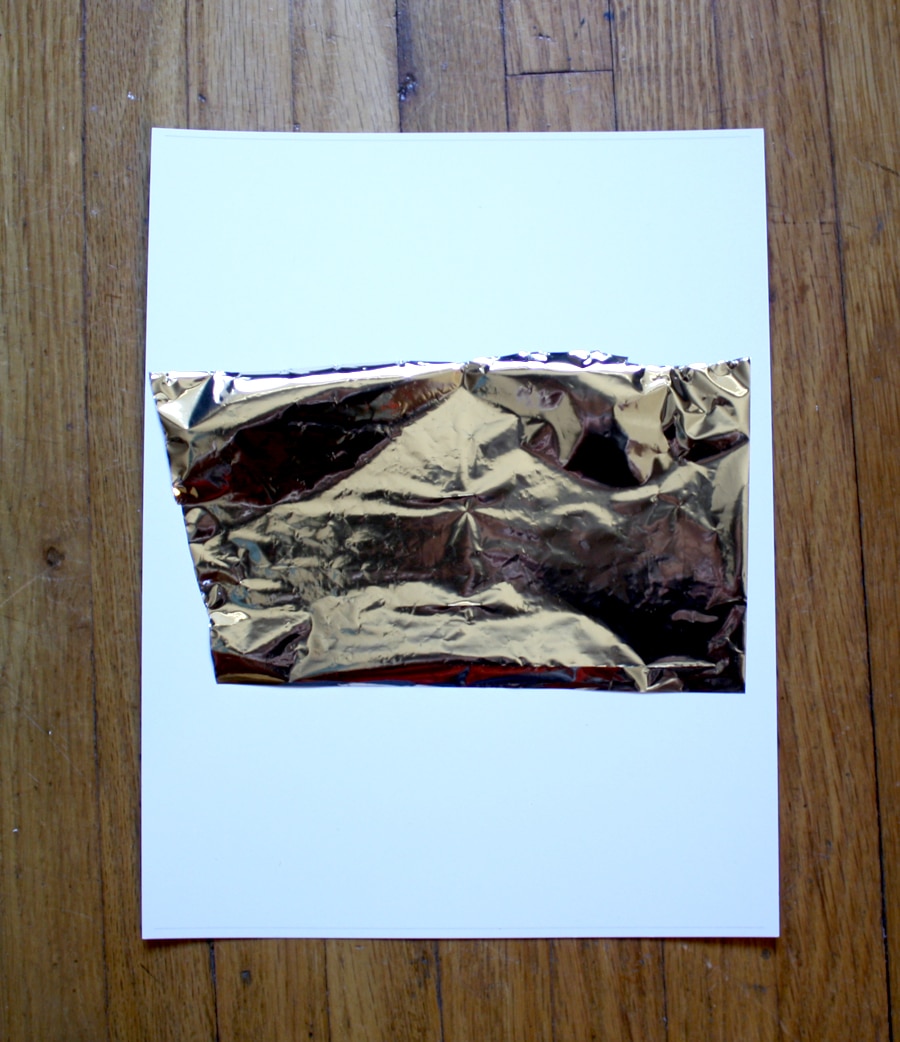
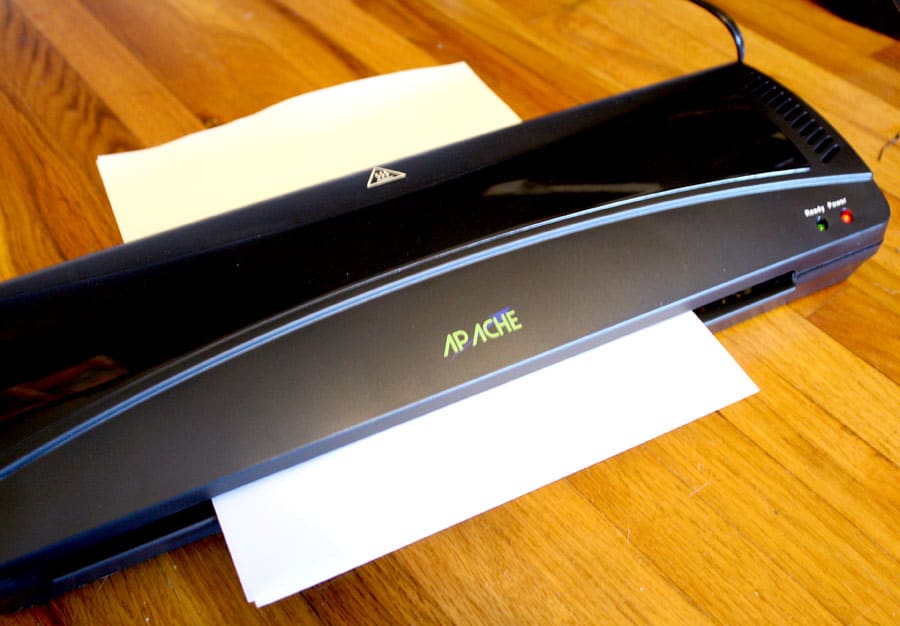
Once it came through the laminator, I peeled back the foil and this is what I found:
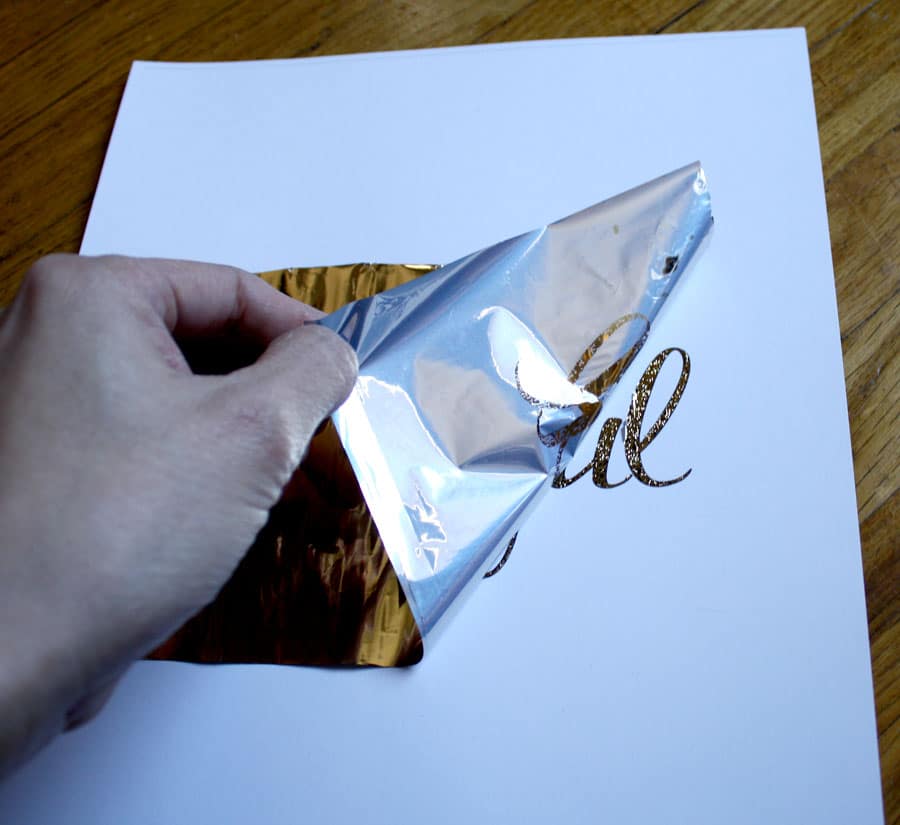
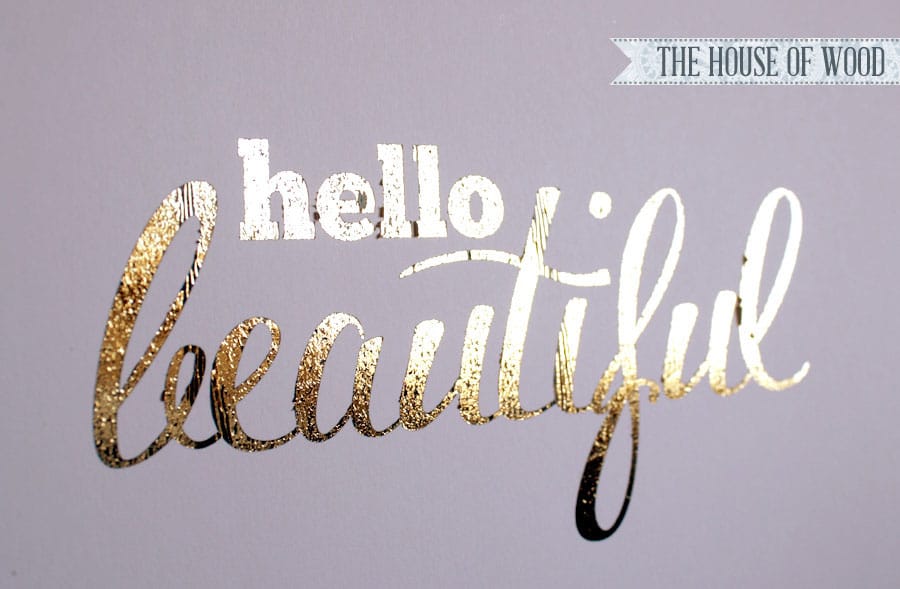
Me, oh, my! My very own DIY! (Gold foil print, that is.) It’s far from perfect, and it certainly won’t buy me a house on the hill if I were to sell them in my Etsy shop, but how neat, right? Here are my 2nd and 3rd attempts:
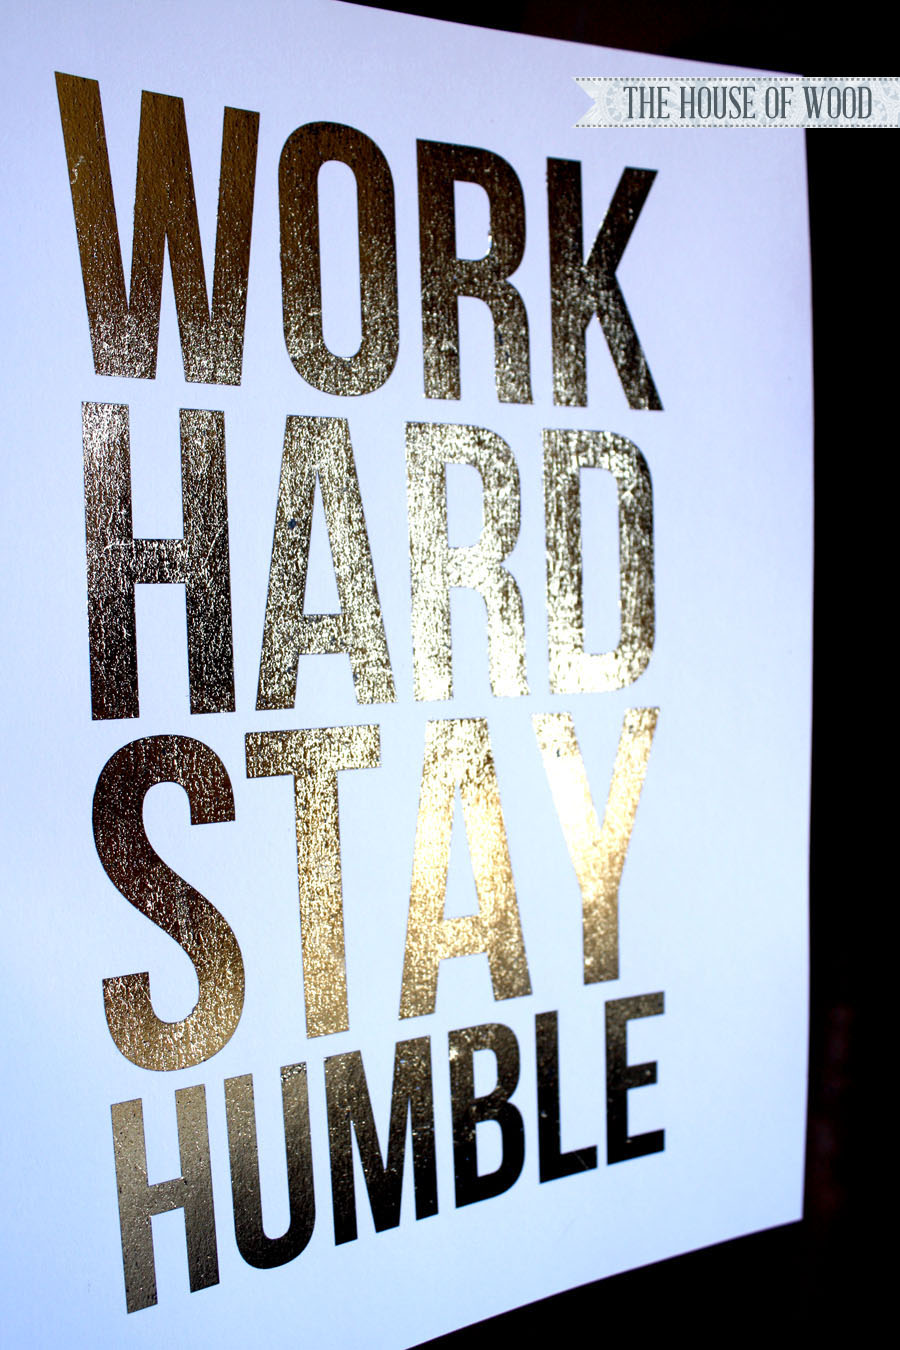
Ahhh, my preciousssss… so shiiiiiiny… And nothing says “Work Hard Stay Humble” quite like glam gold does, amiright? I mean, you can be hard-working, humble, and glamorous all at the same time. True story.
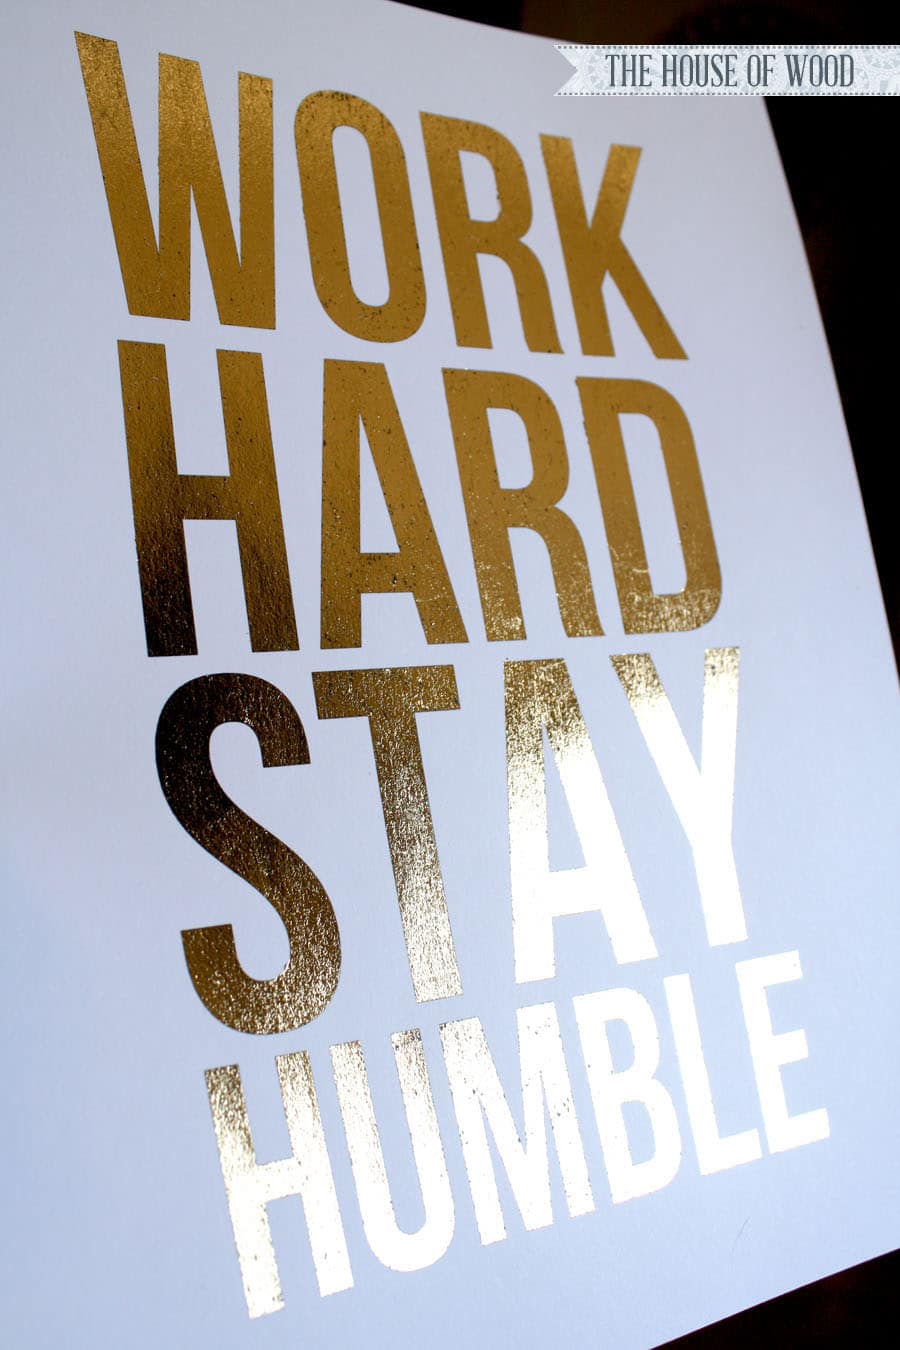
I also learned that lint and dust (or dog hair, in my case) is not good when hot stamping foil to paper. See exhibit A below:
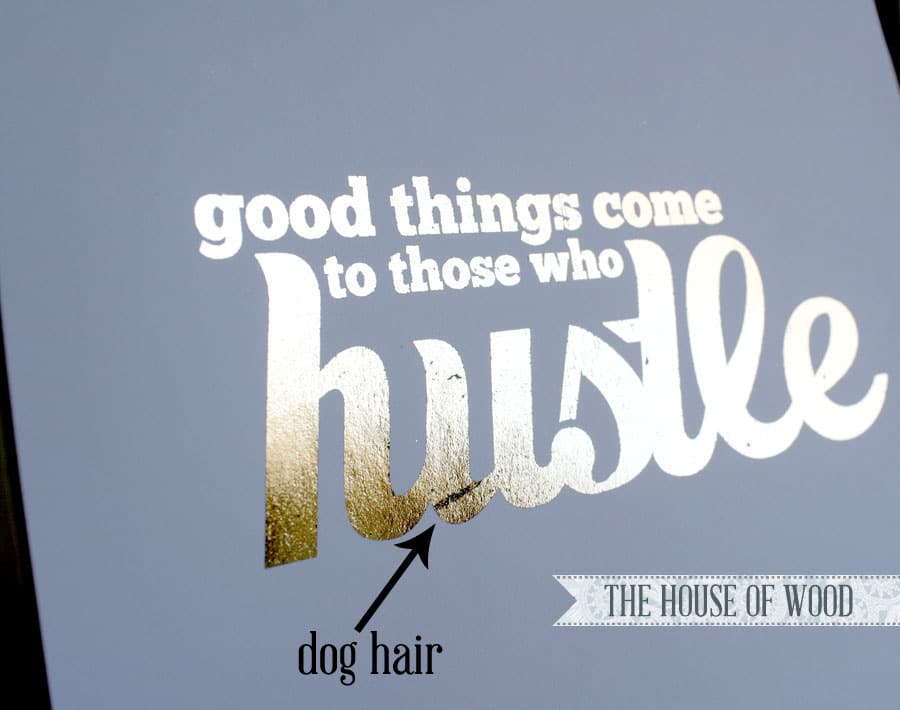
But overall, not a bad little DIY experiment, right? I imagine my DIY gold prints will look even better once they’re framed and hung; you might not even notice the dog hair and other little imperfections (crossing fingers). What do you think? Huzzah for DIY gold foil prints!


Has anyone tried any DIY foil methods where you can have foil and a digitally printed design? I’m hoping to make cards with a floral print with a phrase in gold foil. Thanks!
print the background with a ink jet printer and then run that paper back through a toner printer. The gold leaf will only stick to the toner and not the background
You can you the same laser printer if you don’t have a laminator. And please NEVER use “photoshop” for type/fonts/letters/numbers/copy-based designs. (Cringe)
It ruins the integrity of the typeface. Photoshop is for…. Photos!
Honestly, this is is for home DIY’ing cheap prints, I’m reasonably sure the DIY’er is not concerned with the ‘integrity of the typeface’ or whatever other stuff that makes graphic designer types ‘cringe’. It looks pretty and satisfies the end user, that is sufficient enough.
I cannot believe this! I was considering to get it done at a professional printing place that would of cost me hundreds of dollars. I’m working on a major project right now for uni and I’m just watching my money waste away with all the special printing I need to get done. And now I can just do this! Have you tried it with different sized paper and paper stock? Also have you tried it with layering the foiling onto of an illustration? So some parts are foiled but the rest are left untouched?
I haven’t tried that, but I’m sure it would work if you just put the foil onto the parts that you want to be foiled and leaving the rest untouched. Good luck!
Really wish I would have seen this a few months ago! Could have been great for some wedding invitations I was making. Better late than never though – I will definitely be testing this out! Thanks for sharing!
I know this is an older tutorial, but I’ve just stumbled upon it and I’m definitely interested in trying it out so I hope you’ll see this question!! Did running the foil through your laminator damage the machine in any way? I use mine quite often for actual lamination, so I’d hate to ruin it!
Hi there! No, no damage that I know of. But I haven’t used it as an actual laminator yet, so there’s that… Sorry I’m not much help!
Hi Jen
Your gold foil prints look amazing!
I’m trying to do the same but using an iron and the foil isn’t sticking properly. It’s patchy, like a leather or zebra print design. Do you have any ideas why this might be happening? I’ve tried different heat levels but still not working properly. Thank you !
Hi Tammy,
I’m not sure, I haven’t used the iron method myself. The laminator is the only thing I used and it worked with that. Sorry I’m not much help with that!
HI! Does the Silhouette’s printable gold foil work as well as the Laura Murray? Thanks!
No, it has to be toner-reactive foil.
This is amazing. Do you think it would work on a woodgrain cardstock? I really want to incorporate this into my save the dates. Thank you!!
Hi! Do you know if gold leaf would work instead of gold foil? I already have some so I was hoping I wouldn’t have to go buy the foil too.. Thank you!
I’m not sure. I’ve never tried it with gold leaf. The thing about the foil is that it’s toner reactive. Not sure if gold leaf is too. Try it and see what happens!
Hi! Does it work the same if the toner of the prints is dry? Because I do not have a laser printer at home, so I was wondering if I should get the same result going to print my creations to the printer and then come back home to gold foil them.
Yes of course! That should work 🙂
Hi Jen! I recently was asked by one of my friends to help create some wedding invites so this is the perfect tutorial that I need in order to accomplish her gold foil lettering. Real quick question for you! Do you know if there is a way to have the gold lettering on top of a background image? For example my friend is hoping to have an engagement picture in the background with the lettering on top. I’m stumped and google searching isn’t providing any answers.
Thank you so much for the help!
Hmmm… maybe if the engagement picture is printed with ink (not with toner) and then the lettering is printed with toner – the toner-reactive gold foil only reacts to the toner, so in theory, that might work. Good luck!
That’s what I was starting to think, but of course I couldn’t find anywhere whether or not that is a terrible idea (putting an ink-based print into a laser printer)… But I might just do it and see what happens since we are both thinking the same technique would work (at least in theory). Thank you so much!!
If the toner supplies heat and pressure wouldn’t an iron suffice?
Yes, though I haven’t tried it myself. I’ve heard mixed reviews from people who have used an iron for this project. Try it and let me know how it goes!
wow…..good work !!
very inspiring
hi. I can’t wait to try this! Does the font matter? I’m assuming something thicker and not too much script works better. What fonts have been most successful?
I think heftier fonts work better – the thicker space allows more real estate for the gold foil to stick to. I haven’t tried it with thin fonts, though – let me know how it works for you. Good luck!
Hi Jen, great post and inspiration for all of us! I just wanted to clarify for a few people who may be getting confused about the Silhouette’s printable gold foil which was mentioned in the post. Although it was brought up in the comments, I just want to clarify that people shouldn’t buy that paper to do the gold foil prints. Also, I have a website where I sell gold foil prints – check it out at www.myblueavenue.com – I’ll have more new prints up soon. If anyone can’t get the foiling to work and wants to buy one, check out my site. I hope you don’t mind the link – feel free to remove it if needed. 🙂 One quick tip – if some of the gold foil won’t stick perfectly to the toner, try setting the temp a little lower and then leave the gold foil exposed. This will create a strong bond and will not result in many, if any, black spots. Try one paper one cover sheet on the bottom, leave top exposed and it will stick a lot better. You’ll have to mess with the temp a little to find the sweet spot – depends on paper thickness and foil used.
Thanks for sharing those tips, Savanna! Off to check out your print shop now… Thanks for stopping by!
I’ve heard that the foil sticks better to coated cardstock than uncoated cardstock. Can anyone report what kind of cardstock you have found to work the best? Will your standard $10 pack of 100 sheets from Wal-Mart do the trick? Or is there a better (reasonably-priced) option out there?
I just used regular ole cardstock, bought at Staples, in a pack. Good luck!
Savanna – Thanks for the tips! Your prints look great. Can I ask what model of laminator you use?
Thanks for the awesome tutorial, Jen! The best I’ve seen! 🙂
just to make sure I don’t ruin my laminator at work- you would layer the paper with the foil and put it through? Foil going through the laminator?
Thanks!!!
I sandwiched the foil in between two sheets of paper.
That was the best….and easiest DIY directions. I completely love the pics you did. Thank you for taking the time to put that up…..Awesome!!!!