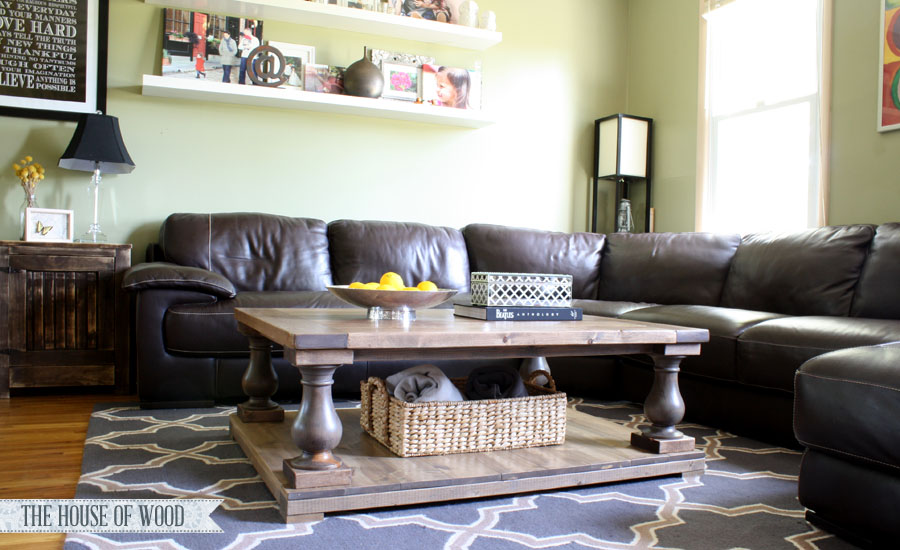
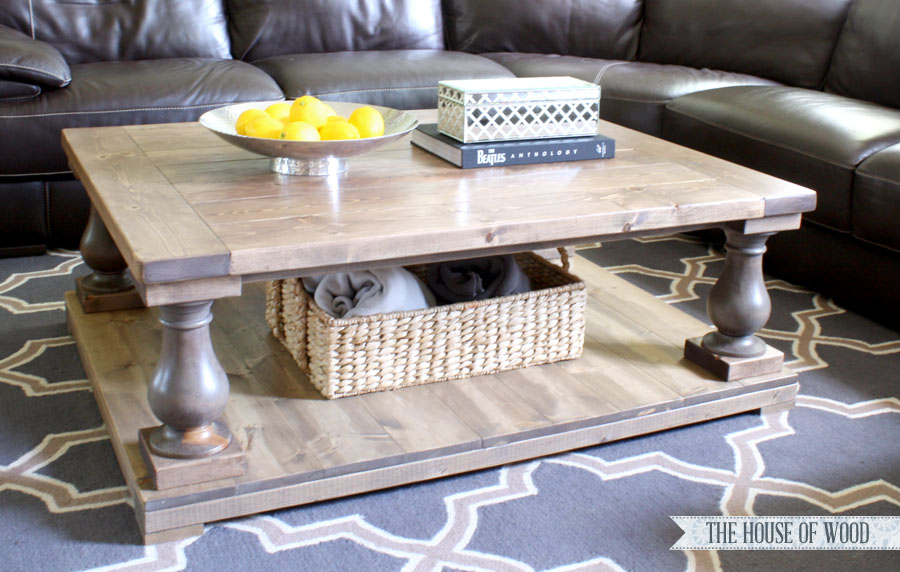
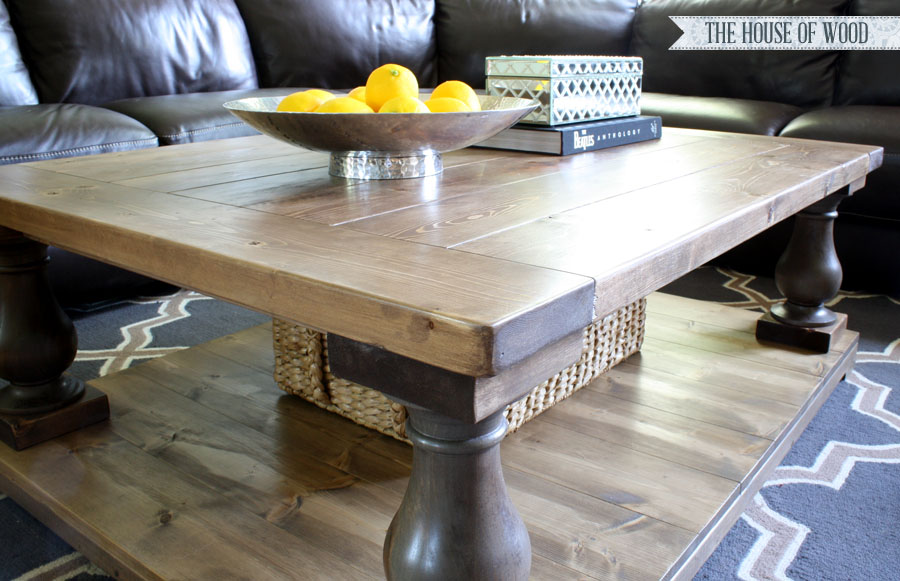
Remember that beautiful Restoration Hardware-inspired coffee table I built for my parents? Well, it was such an easy project and I loved it so much that I decided to make one for our living room! The folks at Osborne Wood were kind enough to send me another set of the turned legs they designed for this coffee table! The legs are custom, but are available for sale here!
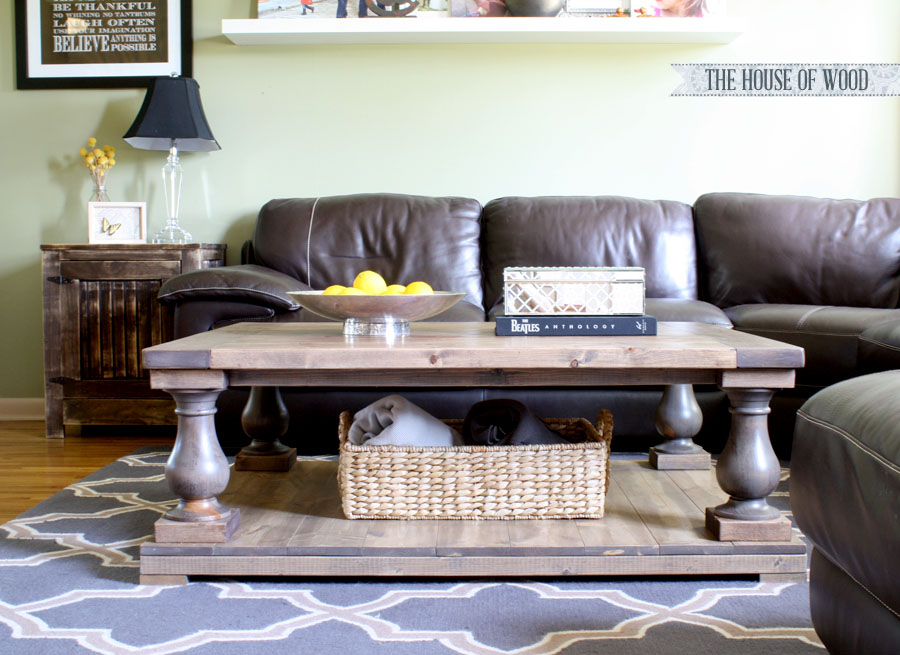
Here are my modifications:
Shopping List:
- 5 – 1x6x8
- 4 – 2x4x8
- 5 – 2x6x8
- 1 – 1×4 @ 15″ long
- 4 – turned legs (Osborne Wood #1332)
- 1-1/4″ and 2-1/2″ pocket hole screws
- 2″ or longer wood screws
Cut List:
- 9 – 1×6 @ 38-1/2″ (bottom shelf)
- 2 – 2×4 @ 49-1/2″ (bottom frame)
- 2 – 2×4 @ 30″ (bottom frame – may need to cut to fit)
- 4 – 1×4 @ 3-1/2″ (feet)
- 8 – 2×6 @ 5-1/2″ (blocks on each leg)
- 2 – 2×4 @ 36-1/2″ (long aprons – may need to cut to fit)
- 2 – 2×4 @ 25-1/2″ (short aprons – may need to cut to fit)
- 7 – 2×6 @ 38-1/2″ (top shelf)
- 2 – 2×6 @ 38-1/2″ (breadboard ends – may need to cut to fit)
I won’t write up a long, detailed tutorial because that one already exists, so here’s a quick run-down:
I like to cut as I go along, so my measurements are more precise and there is no wasted lumber. I cut nine of the 1×6 boards to 38-1/2″ long and then assembled them with pocket hole screws underneath. Next, I measured the long side of the bottom shelf (49-1/2″), cut two 2×4 boards to fit, and attached them to the underside of the bottom shelf. Then I measured the space along the short side of the bottom shelf and cut two 2×4 boards to fit (30″) and attached those to the underside of the bottom shelf as well, to create a frame under the bottom shelf.
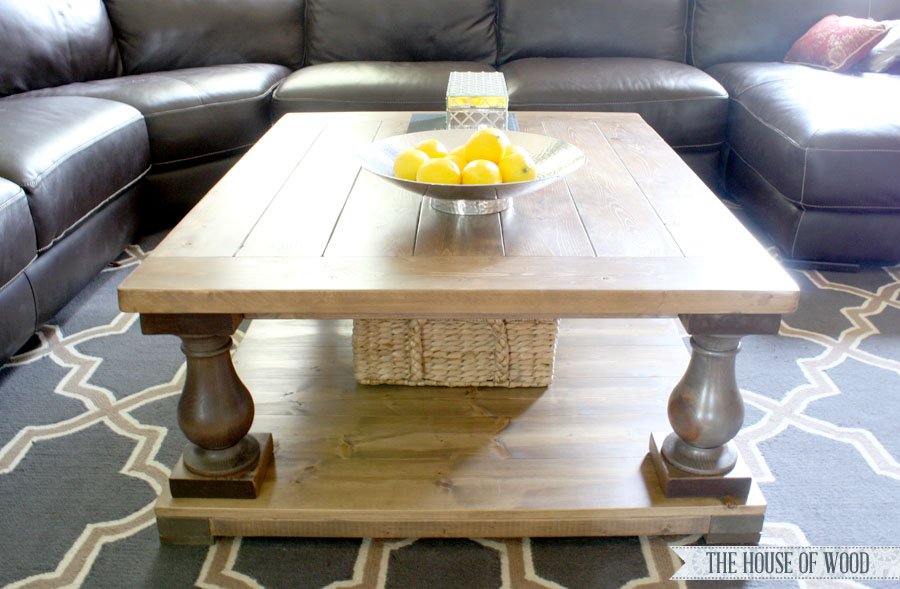
After that, I attached a 3-1/2″ square “foot” to each corner of the frame. Then I moved onto assembling the legs and attached them to the bottom shelf, 1″ inset from the edges. Because there are plenty of variables that decide how long the aprons will be, I measured the space between each leg and cut an apron to fit. I ended up cutting four different aprons for each side. The long aprons measured 36-3/4″ and 36-7/8″ and the short aprons measured 25-3/4″ and 25-5/8″. I attached them to the legs with pocket holes.
I assembled the table top in the same manner as the bottom shelf then attached it to the aprons and legs with wood screws and glue. For a more thorough tutorial, check out Ana’s original plans here.
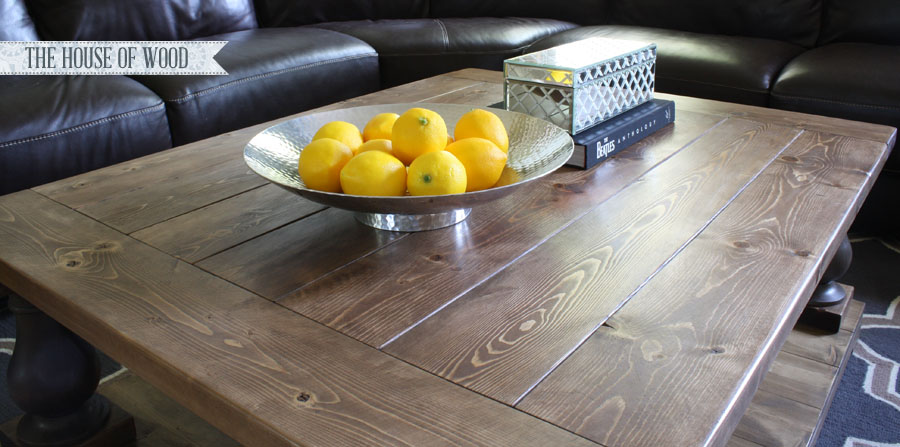
Then for the stain, I layered Minwax’s Special Walnut over their new color, Weathered Oak, and finished it using their Wipe-On Poly (amazing stuff!). I applied 3 coats of poly, sanding in between coats, wrapping a sheet of 400-grit sandpaper around a scrap block of wood and sanding the table top and bottom shelf by hand, before wiping on each coat. I’m telling you guys, this Wipe-On poly stuff is the jam. It’s so easy to apply and you don’t have to worry about drips, brush strokes, or bubbles! And it provides enough protection for these occasional tables, that I am smitten. Ah-mah-zink.

Feel free to pin and share this project! Thanks for reading, friends!
*This post contains affiliate links. To read my full disclosure policy, please click here.



LOVE this! do you have plans for a matching end table?