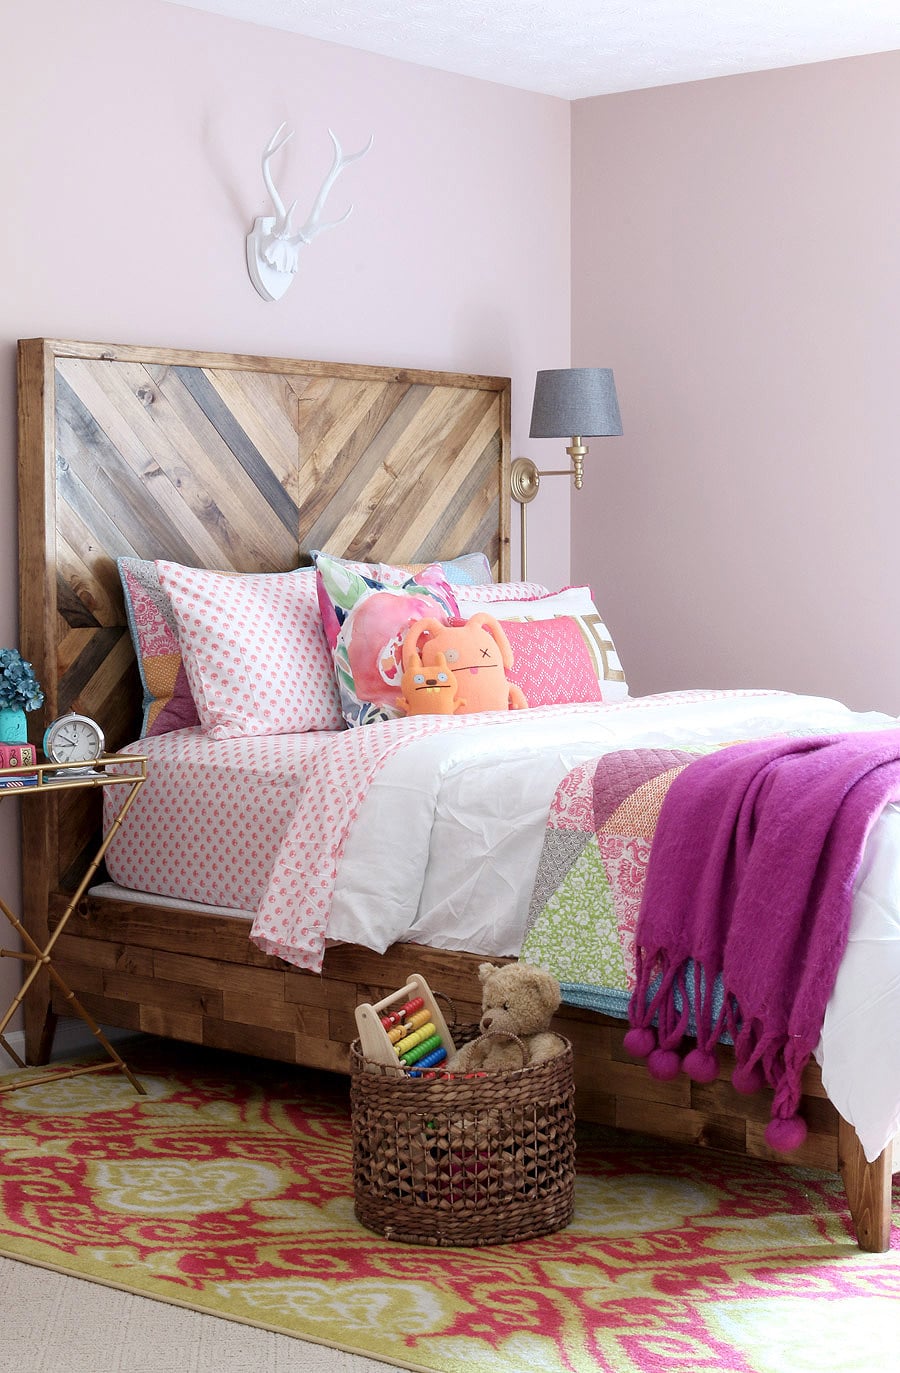
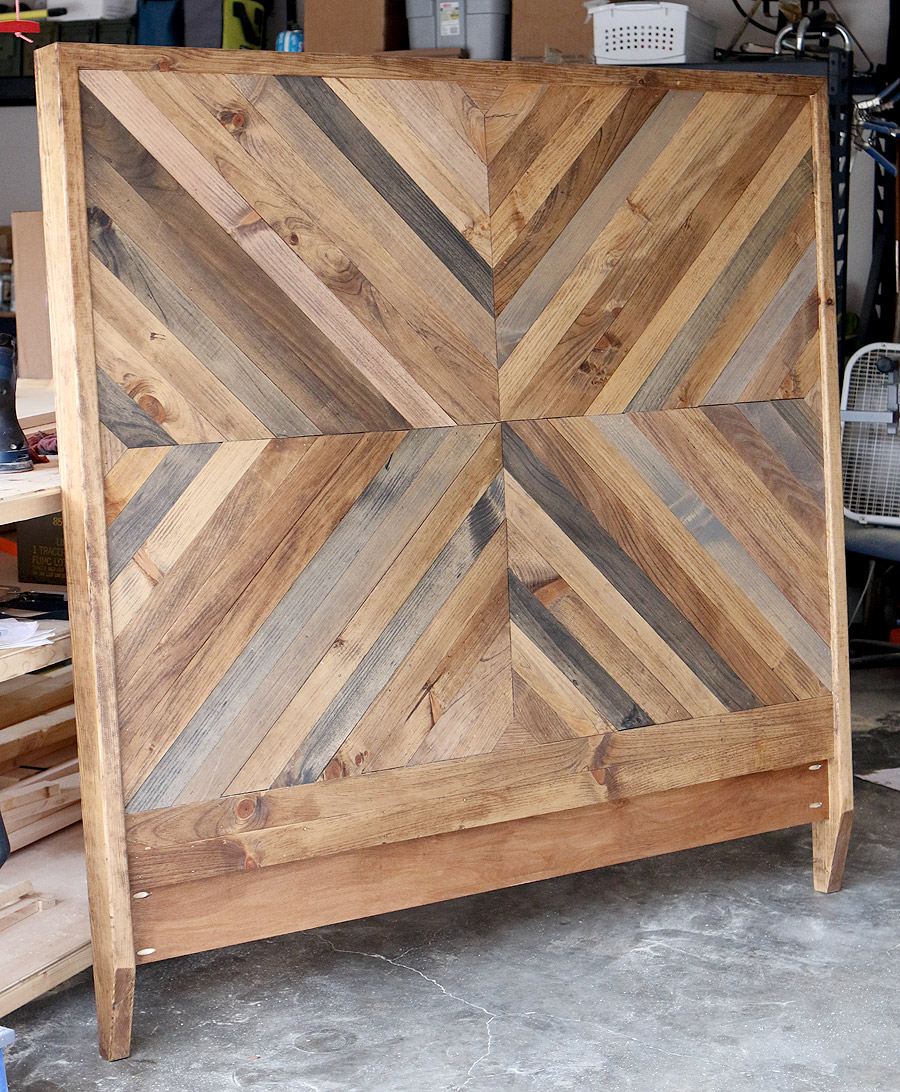
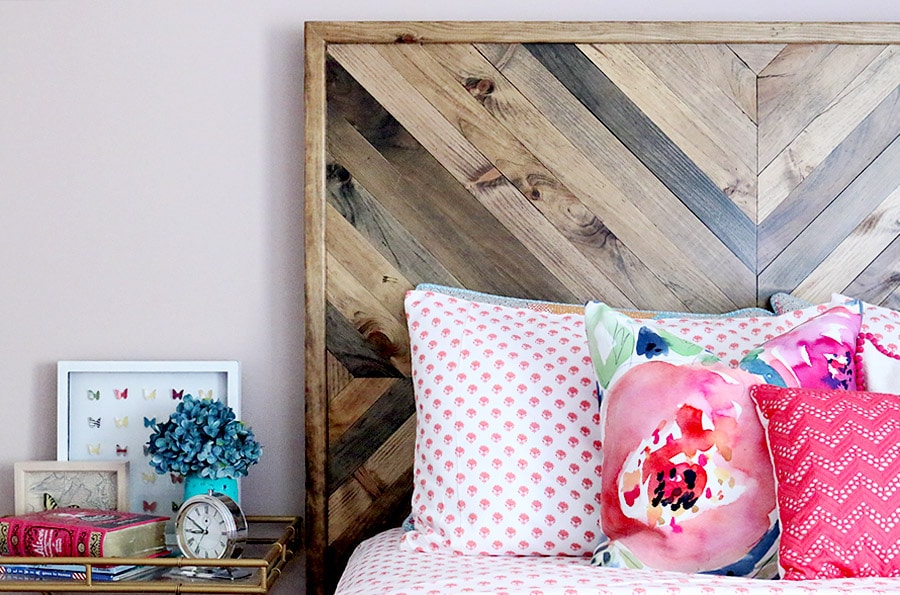
It’s here! It’s here! It’s finally here! After getting so many requests for the building plans for this beautiful DIY West Elm Alexa Chevron Bed in a king size, I’m happy to finally deliver. Thank you for being so patient with me!
*This post contains affiliate links. Click here to read my full disclosure policy.
When I built this West Elm-inspired queen bed for my daughter, I had no idea how popular it would become. I’ve been absolutely thrilled to see many of you build this bed for your own homes. It makes my heart so happy.
A few tips worth mentioning in cased you missed the original tutorial:
- These metal bed rail brackets allow for all four components (headboard, footboard, and two side rails) to be easily disassembled. This is a must for us, since we move so often due to our military lifestyle.
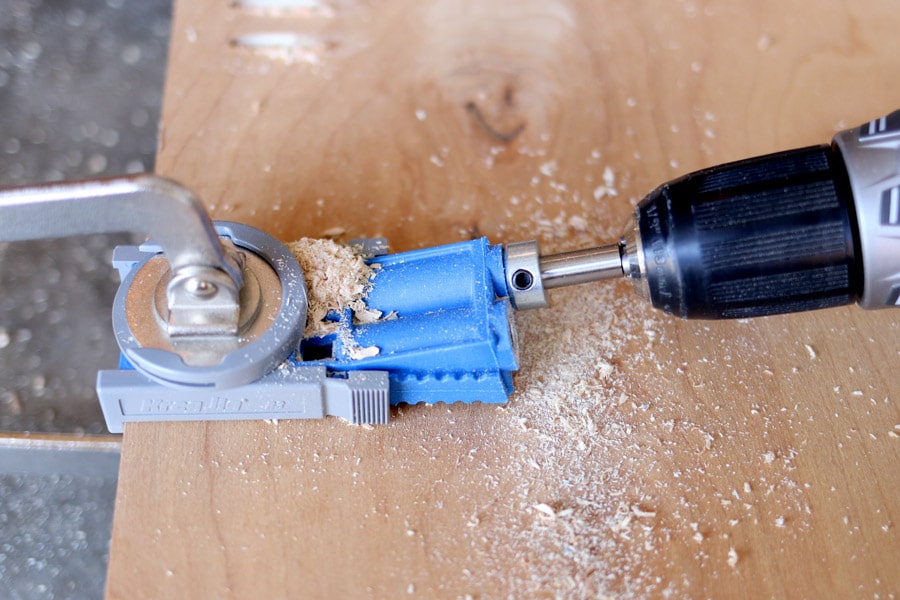
- The plan uses quite a bit of pocket hole joinery. While I usually prefer to use the Kreg K4 pocket hole jig, for this particular project, the smaller, more portable Kreg R3 model is much easier to move around the plywood, rather than try to wrangle large plywood panels into the K4 jig.
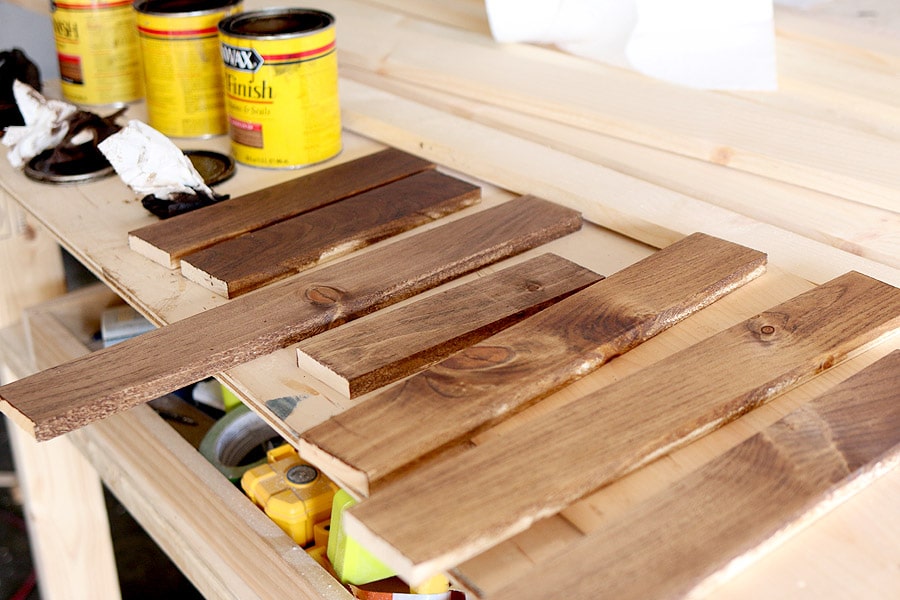
- Sand and stain the planks before attaching them to the bed. This way, you don’t have to tape off boards to stain them in various colors.
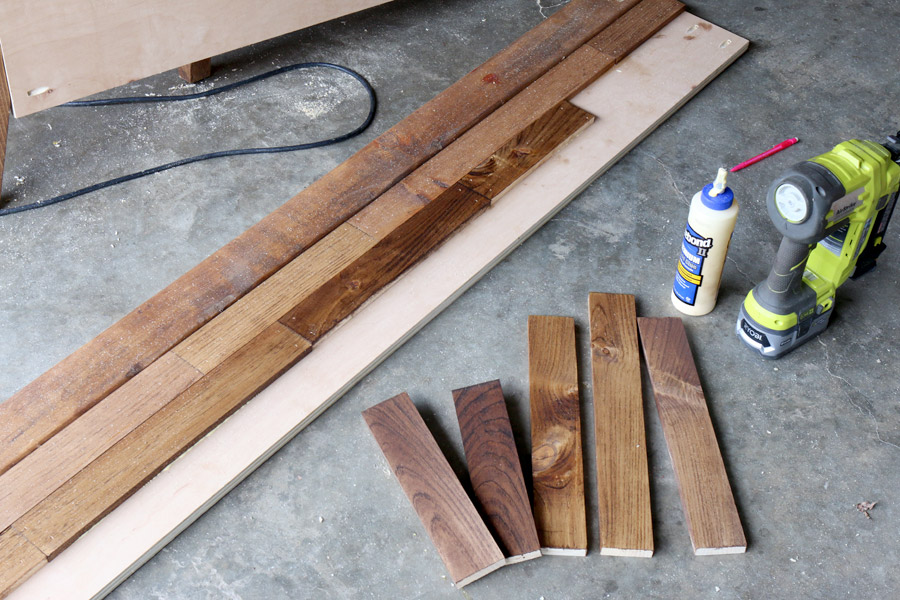
- If you want to save yourself from filling a bajillion nail holes after the fact, you can use wood glue alone to attach the planks to the plywood panels, however you must ensure that the boards remain stationary until the glue dries.
- I recommend holding the chevron boards in place, then marking and cutting them to fit, rather than using a tape measure. This will ensure the most precise fit.
Now then! Go get your build on and be sure to tag me (#jenwoodhouse #houseofwood) when sharing your projects on social media so I can see your handiwork! Be safe, have fun, ask questions if you need to, and go make some sawdust!
Source List:
- Sheet set
- Duvet cover
- Quilt and shams
- Bedside table – no longer available, similar
- Rug – no longer available, Joss & Main
- Throw blanket – no longer available, World Market
- Antler wall decor
- Floral pillow
- Pink chevron pillow
- Evie pillow
- Ugly dolls
- Basket – no longer available, similar
- Swing-arm lamp – (came in chrome, I spray painted it gold)
- Grey linen lampshade




Gorgeous bed and wonderful that you made FREE plans for each size of the bed. I am building a full bed right now and was just looking online at different plans for measurements and noticed that your FULL bed plans may be a bit off. The width is set at 51″ on the inside (where the mattress would sit) and 54″ on the outside but a Full bed measures roughly 54″ wide x 75″ long. Just wanted to point it out in case that was a mistake.
Good catch, Ashley! I’ve revised the plan. Thank you!
When I bought all the supplies a month ago, the pdf was free! Now when I’m ready to build the bed, it isn’t free anymore. I should have saved the pdf then! =(
Yep – I kept the plans free for over 7 months. Thank you so much for supporting my site and allowing me to keep drawing up plans for you guys. I really appreciate it! Good luck on your build – can’t wait to see it!
Obviously different locations may yield different end-cost, but can you give an estimate of how much money was spent to get the end-product?
Hi Courtney,
I spent about $200 when I built the queen size. Hope that helps!
Hi Jen! I absolutely love all of your work! My husband and I are in the process of buying our first home, that we will need to COMPLETELY furnish, so I’m looking for some ways to save some money. It just so happens that you have created my DREAM bed! However, I have never even picked up a saw before, and my husband is not much handier. What would you say the difficulty level of this project is? Is it something 2 newbs could take on? Or would you suggest getting some (more skilled) help? Thanks so much!
Hi Jenna,
Congratulations on your new home! I think this project is absolutely beginner-level. It’s not hard, it’s just tedious (cutting and placing all those planks). If you can follow a recipe, you can build from my plans (they read like a recipe). Feel free to reach out with any questions you might have along the way – you can do it!
Hi Jenna,
My husband and I are building this now and almost at the staining phase. What specific stain colors and brand of stain did you use?
Thanks!
Kara
Hi Kara,
How exciting! I used a variety of stains and custom mixes. I go into more detail in this post: https://jenwoodhouse.com/diy-reclaimed-bed. Hope that helps!
I’m thinking about buying this bed plan. Before I do I’d like to know what tools are required since I will have to buy them all first. Thank you!
Hi Summer,
You’ll need a drill, saw, hammer (although a brad nailer will make for fast and easy work), and pocket hole jig at the very least. Hope that helps – good luck!
Did you stain the frame of the headboard before or after you added the Chevron pieces? Do you remember what stain you used for the frame as well?
Hi Kim,
Yes, I stained the frame first, then individually stained the chevron pieces before attaching them. I believe I used Minwax’s Early American on the frame. Hope that helps!
Hi Jen, I purchased your queen bed plans a months ago and now that I am ready to build I cannot find them. Where did u send them to was it my email?..sorry can’t for the life of me remember where I saw the plans at.
My husband and I built this bed as our first DIY woodworking project a little over a year ago, and we absolutely love it! The plans were very easy to follow and extremely helpful. We decided to modify the style and did straight planks on the headboard instead of chevron. We also made some dado cuts in lieu of using the Kreg Jig in some areas. Some parts of it we definitely made mistakes, but we like to think it just adds to the rustic charm. Thanks for the plans! We look forward to building a set of Original Woodhouse night stands to go with the bed, next.
So wonderful to hear, Maria! Thanks so much for sharing!
Hi! Is this plan made to have a box spring underneath? How many inches are there between the slats and the top of the frame? If I have to use a box spring, I want to make sure my mattress won’t be too high. and If possible, I’d like to not use a box spring at all.
Thanks!
Hi Rachel,
Because the mattress slats are about 4 inches apart, the mattress is fully supported and a box spring isn’t necessary. However, we did use a box spring (as seen in the photos) and it didn’t raise the bed too high. Hope that helps!
Jen any idea (estimate) of what this cost to build in a queen size? This looks great and I’m excited to start but want to make sure if make sense to build and not buy.
Thanks so much!!
Hi Brian,
It cost us about $200 in materials to build the queen size! Definitely a lot cheaper than the retail price! Hope that helps!
Where are the dimensions and everything to build it? There’s no link or anything that tells me sizes!
Hi Courtney,
All of that information (dimensions, tools, cut list, etc.) is in the plans.
What was the coat of all the materials? Before I buy plan I would like to know if you can provide that information? Thanks so much beautiful design!
Sorry just found it below. Sorry!!
Hi. I purchased the plan for the Alexa bed. I’m just wondering which Kreg jig you suggest to buy? Thanks! Can’t wait to do this!
Hi Wendy,
This model will do the job: https://homedepot.sjv.io/qPgny This way, you can move the tool around the large plywood panels. Happy building!
Is this a platform bed or is there a boxspring? I’m looking for plans that would let me set a boxspring down into the frame. I love the look of this bed. Thanks
Hi Wendy,
We used a box spring with this bed.
Any suggestions on how to modify the King plans to fit a California King mattress?