Hi friends! I’ve got some exciting news to share with you today. You are looking at the newest Brand Ambassador for Bernzomatic. My official name? #BernzomaticTorchBearer. Sounds pretty hardcore, right?
I’ll take it.
As a Bernzomatic Torch Bearer, I’ll be sharing several DIY projects throughout the year featuring their blowtorches. Now, I know what you’re thinking: fire = scary. I totally get it. When the folks at Bernzomatic first approached me about being a Torch Bearer, I thought, “no way, I don’t work with fire… unless you count throwing my wood scraps into the burn barrel. Nope. Nuh-uh. Count me out.” I was completely intimidated by the whole thing. After all, I work with wood – it’s the house of wood, not the house of burning wood, thank you very much.
But the more I thought about it, the more the whole idea intrigued me. Metalworks has been one of those ‘maybe someday’ skills I would like to acquire. Learning how to weld is definitely on my bucket list, but I have no idea when I’ll muster up the courage for that.
Well, these Bernzomatic torches are a great starting point so I’m dipping my proverbial toe in the metalworks fire. I’m happy to report I’m still alive and well and I didn’t burn my workshop down in the process. Success! The torch was safe and surprisingly easy to use. If I can do it, so can you.
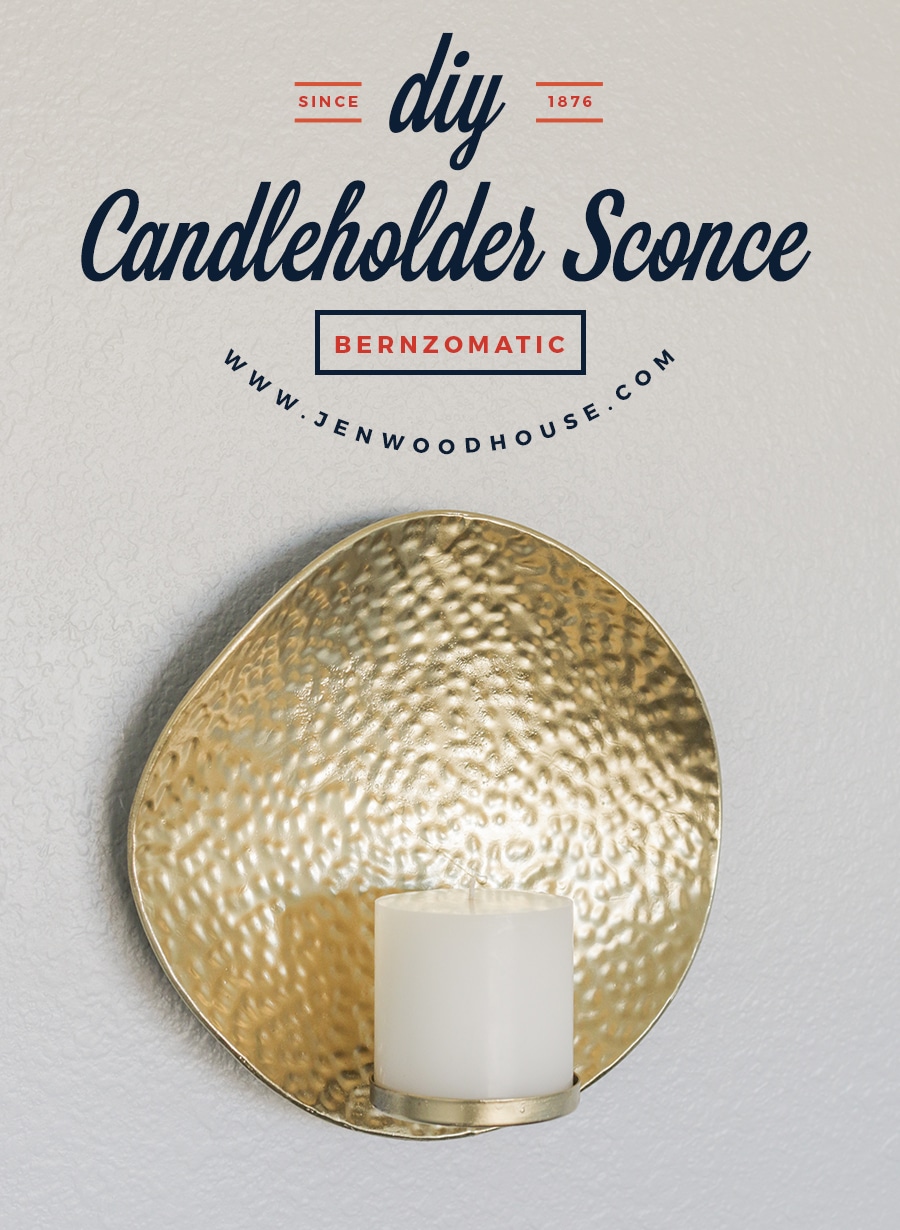
So here’s my first Bernzomatic project: a DIY candleholder sconce. Want to see how I made it? Let’s do this.
Just to be clear: I am not a master welder, metalworks craftswoman, or anything official like that. I’m just a do-it-yourselfer learning as I go along and am here to share what I’ve learned. In other words, use my tutorials at your own risk. Be sure to read your product manuals thoroughly and take necessary safety precautions.
You can customize this project to your heart’s desire. I chose this hammered gold metal plate as the backdrop for my candleholder, but you can use anything really, as long as it’s metal. Here are quite a few ideas I found on Pinterest.
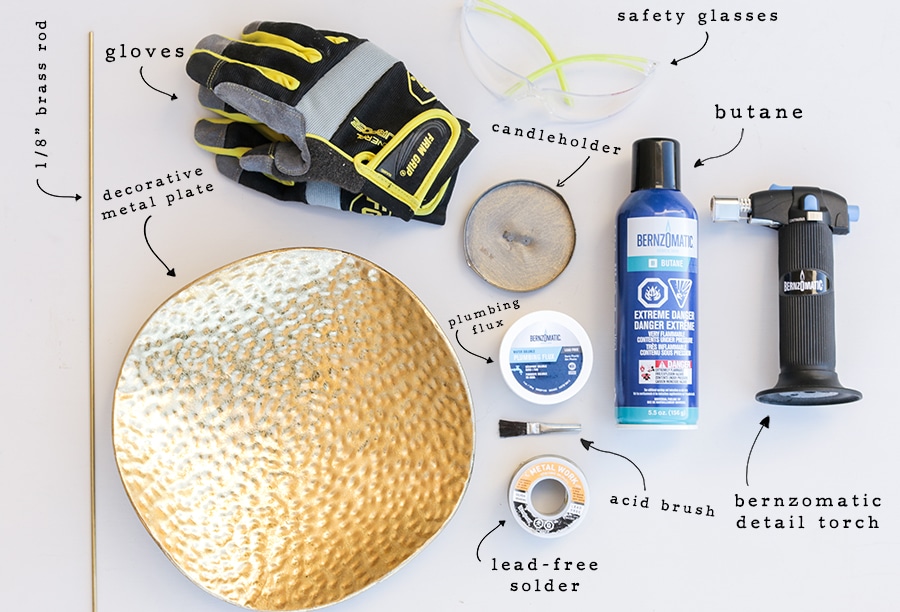
- Bernzomatic detail torch
- Bernzomatic butane cylinder
- Bernzomatic plumbing flux and acid brush
- Bernzomatic lead-free solder
- Decorative metal plate
- Metal candleholder
- 1/8″ Brass rod
- Gloves
- Safety glasses
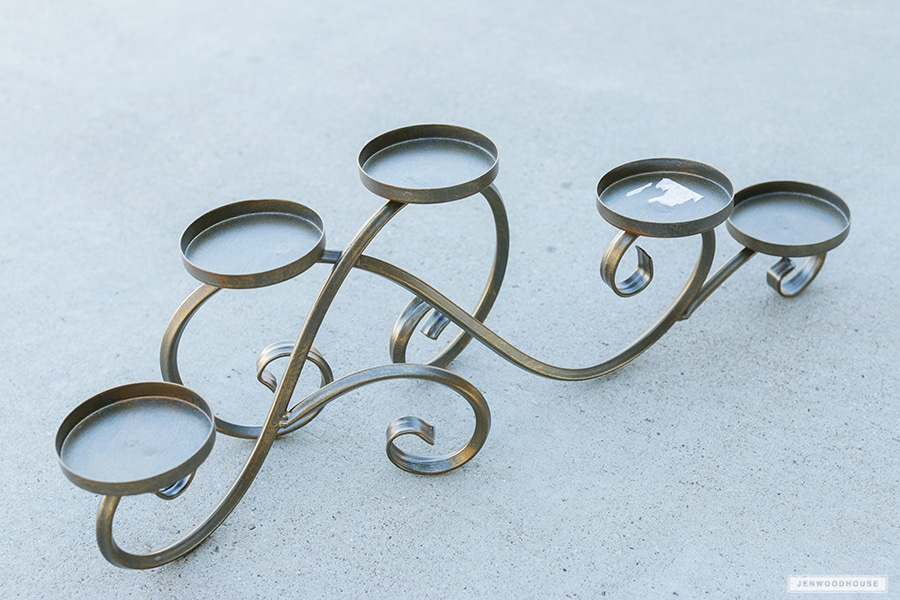
I had this tabletop candleholder that I never used, so I sawed off the candleholder platform part with a hacksaw because that’s the only part I needed for this DIY candleholder wall sconce.
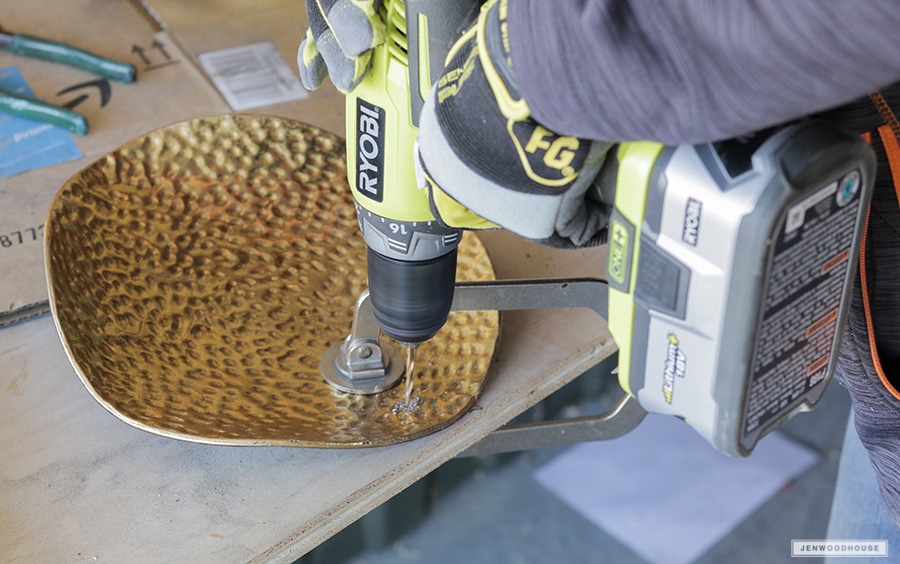
Then I drilled a hole at the bottom of the decorative metal plate to feed the brass rod through. Sand off any rough edges if necessary.
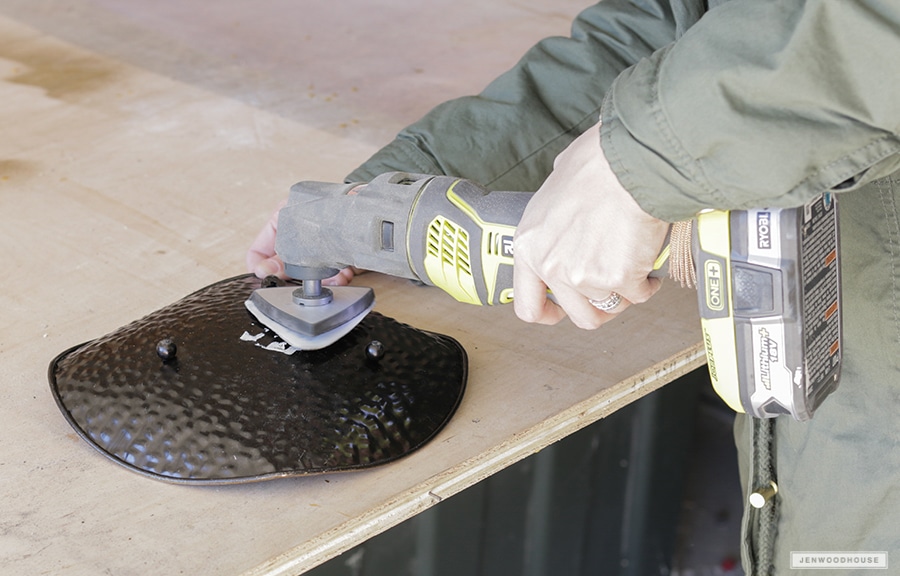
My next door neighbor is a welder so I consulted him throughout this project. First, you want to make sure to clean the area you’ll be soldering really well. I used a detail sander with 60-grit sandpaper to sand off the paint and get down to bare metal. This also helps to rough up the surface a bit so that the solder will adhere better.
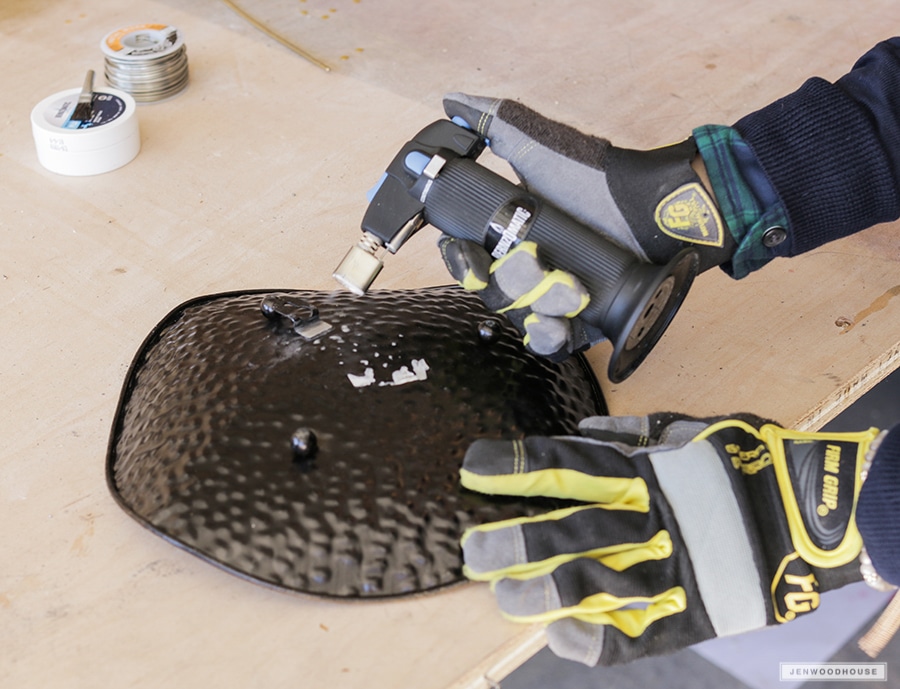
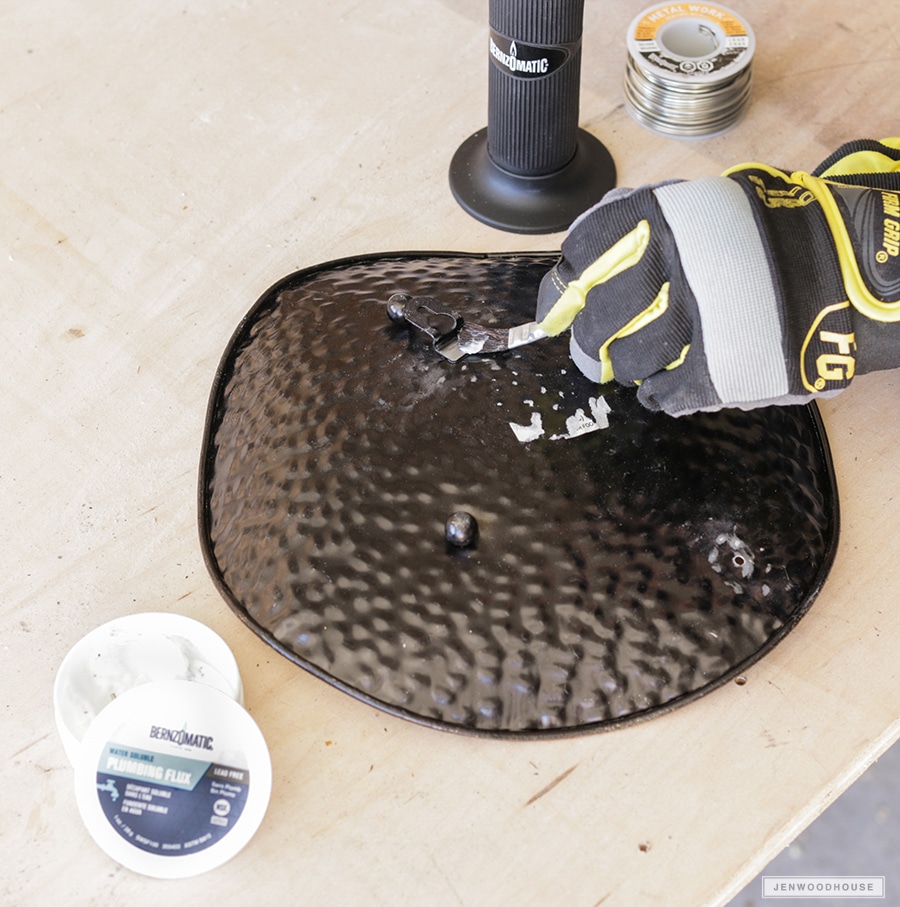
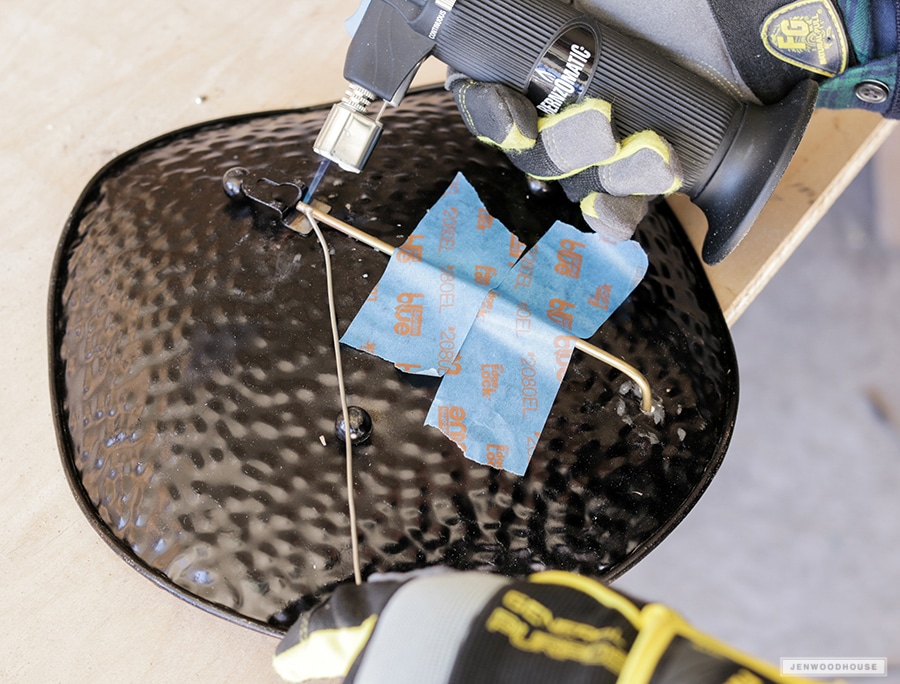
Next, using the micro torch, heat up the area and then apply the plumbing flux. You’ll hear the flux sizzle a little bit – that’s okay. It’s cleaning the area and preparing it to receive the solder.
You’ll want to clean all the metal parts this way – including the rod and the solder. Just be careful not to heat the solder too much that it melts. You simply want to heat it and dip it in the flux to get rid of any contaminates.
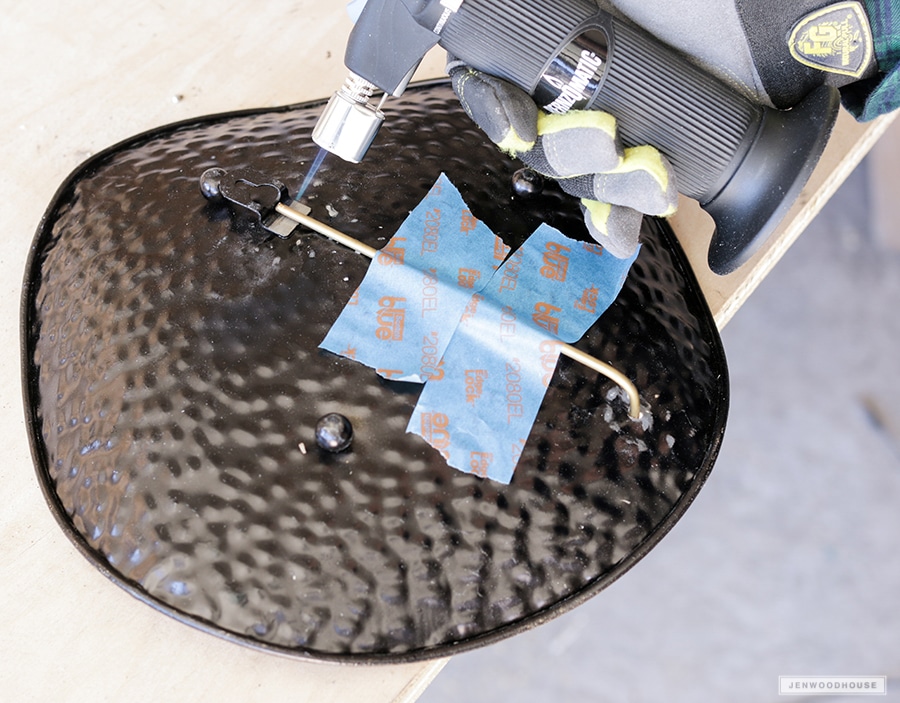
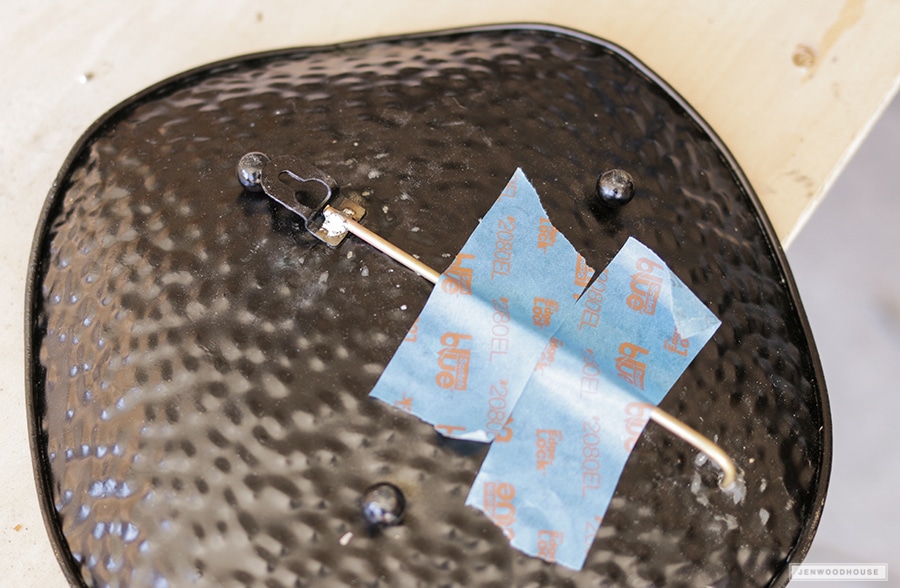
Then, position the rod as shown and heat both metals before introducing the solder. Make sure it’s good and hot and then slowly introduce the solder.
The solder will melt really fast and drip, so try to maintain control of it as best you can and direct it where you want to apply it.
Allow the metal to cool naturally. If you speed up the cooling process with cold water or a damp rag or something, you could risk causing stress fractures in the joint. Just let it cool off naturally. Patience, Grasshopper.
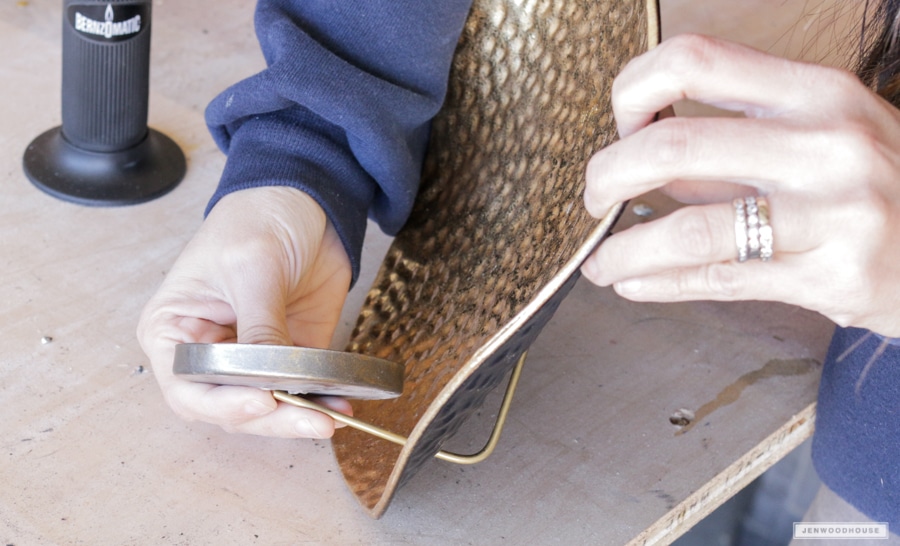
Here’s how it’s going to look on the front side – the bent rod comes through the drilled hole and the candleholder platform thingy will rest on top like so:
Repeat the soldering process to attach the candleholder platform to the rod. After everything has cooled, spray-paint the entire candleholder wall sconce with metallic gold paint to cover the silver solder joints. And that’s it! Not as scary as you thought, right? Yeah, me too.
Hope this tutorial helped open the door to DIY torch projects – stay tuned, I’ll be back to share more Bernzomatic projects in the coming months. Thanks for reading friends!
PIN IT so you don’t forget it!
*This post is sponsored by Bernzomatic. I am a Bernzomatic Torch Bearer; all opinions and efforts are my own.

That looks so neat, and when I first saw the title of this I swore it was mental instead of metal, lol!