Hi friends! I’m so excited to share my latest project with you: my new and improved DIY mobile workbench with shelves! If you recall, my old workbench was quite a beast. It served as an out-feed table for my table saw so I specifically designed it to be large enough to hold a full sheet of plywood. But after a year of using it, I discovered that I didn’t realistically use all that space very often and it was taking up valuable real estate in my shop. We had to move (Army life!), so I gave it away to a friend with the expectation I’d be building a new workbench in Texas.
I am absolutely thrilled to be partnering with Rockler Woodworking and Hardware to bring you the plans for this project. I took cues from my old design but improved upon it, making it stronger and more efficient. Feast your eyes on my new favorite thing:
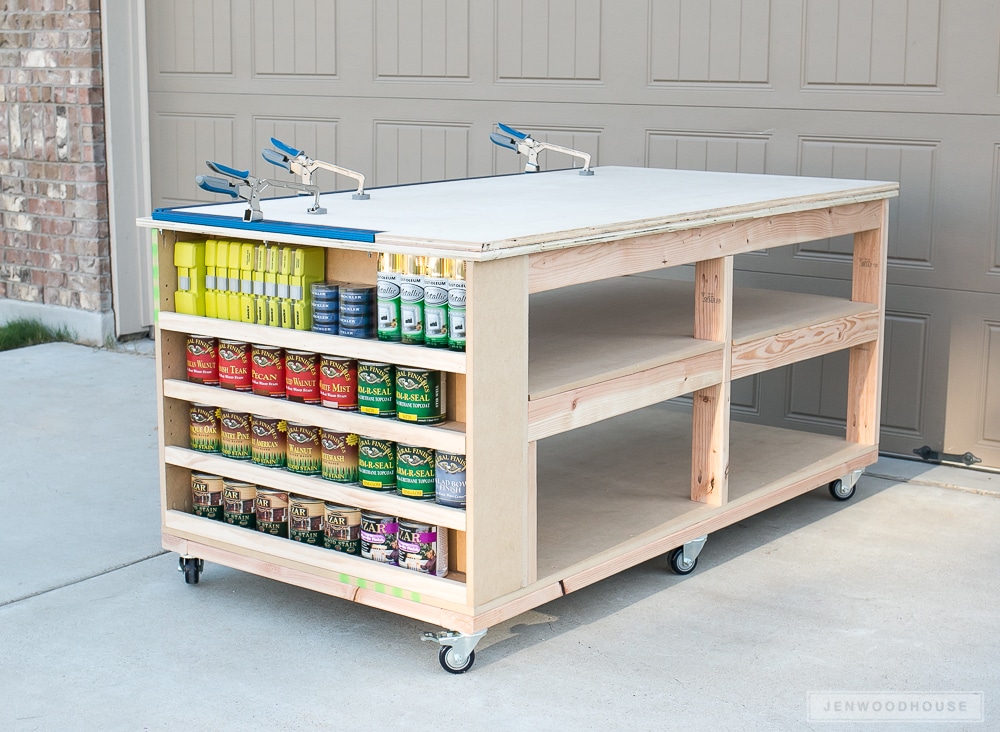 How do you like that extra storage feature on the end? I borrowed that idea from my buddy Jamison – here’s his workbench.
I just love this DIY mobile workbench and can’t wait to start building on it. My knees have not been very happy with me this past year. Side note: holy moly, have we really been living in Texas for a whole year?! We like it. We’re Texas proud.
I’ll walk you through part of my build process, but I encourage you to purchase the PDF plans below for a complete list of materials, cuts, and tools you’ll need for this project, as well as step-by-step 3D diagrams.

 *This post contains affiliate links. To read my full disclosure policy, please click here.
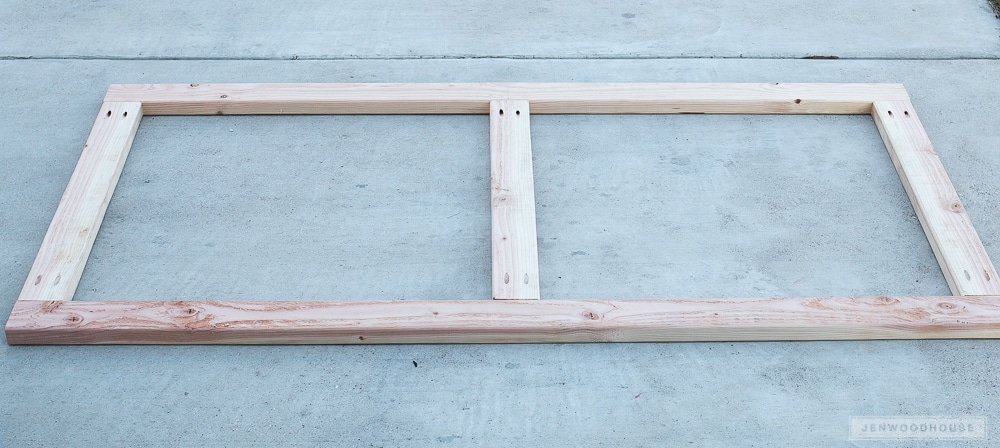
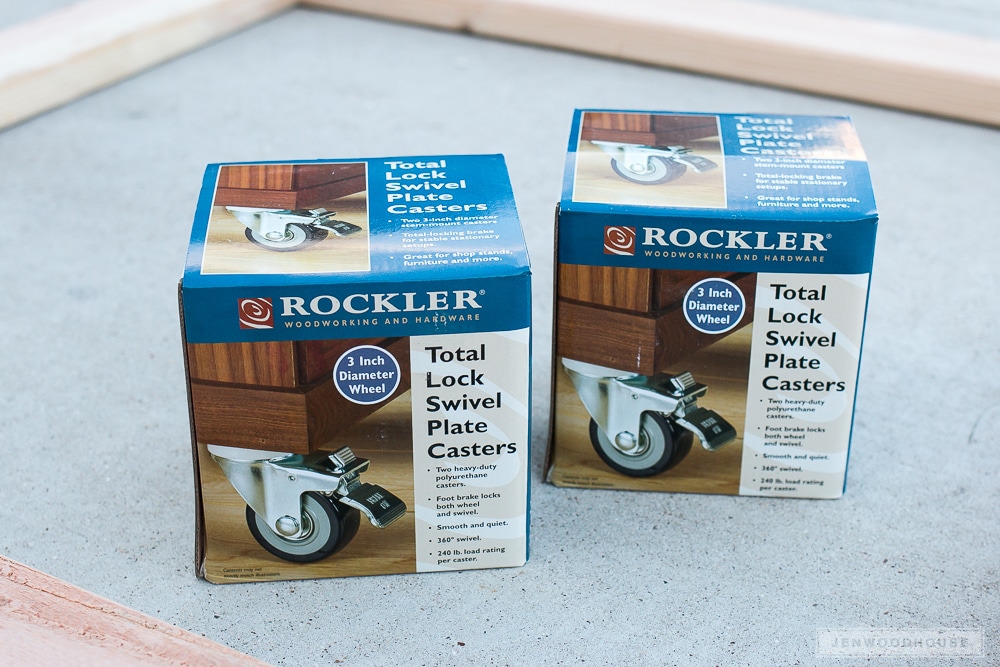
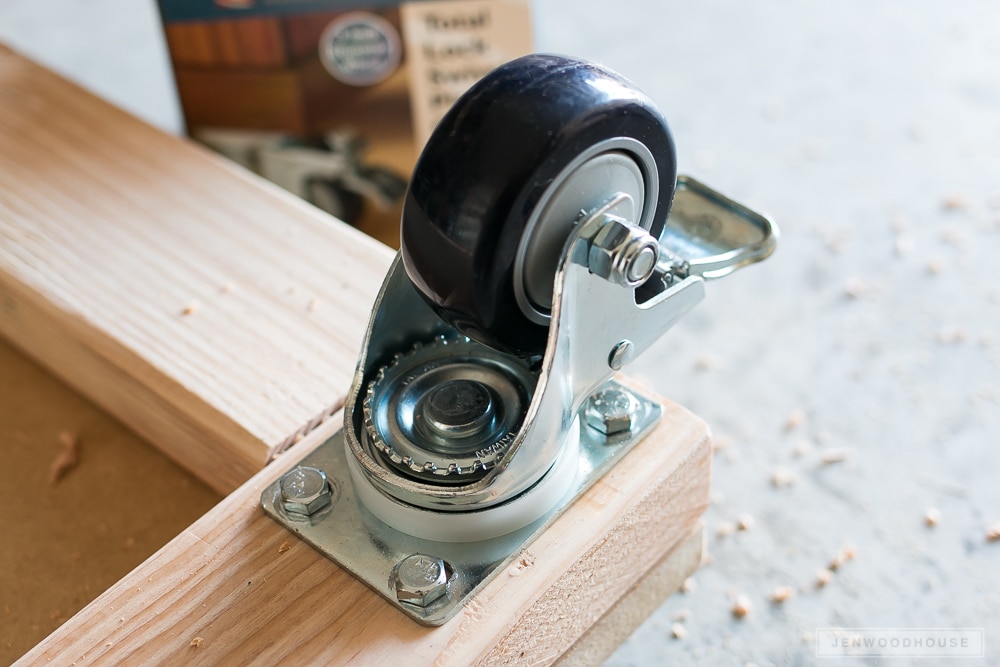
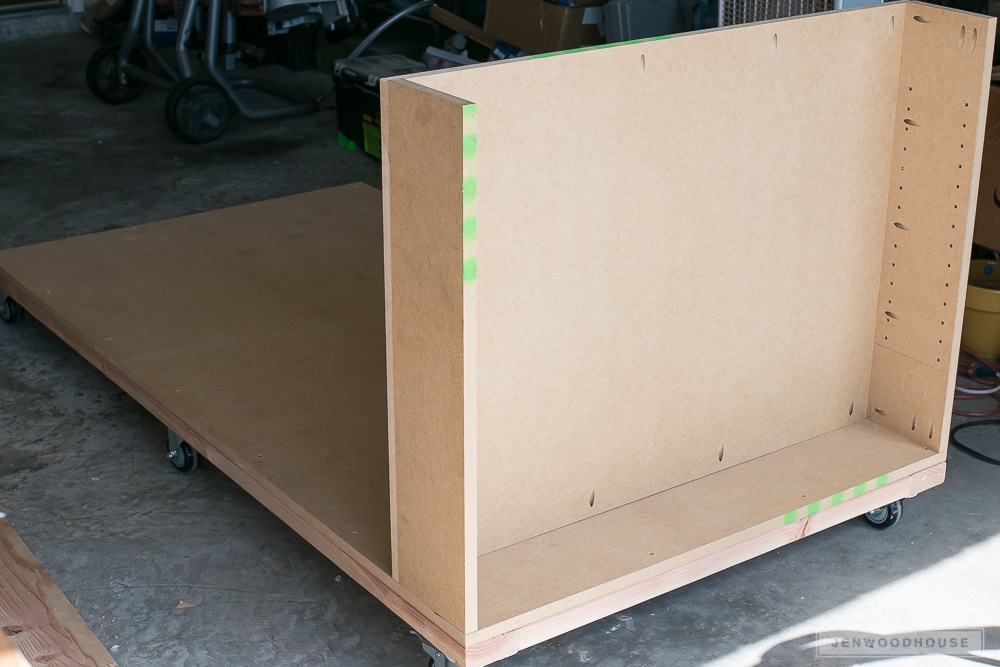
First, I built the base frame and installed the casters. These are the 3-inch heavy duty casters I used. The four outer casters will be locking while the two middle casters are not. Here is another great option for workbench casters. These are nice because they don’t add height to your workbench when disengaged, so if you have a stationary workbench and you’d like to make it mobile without increasing the overall height, these casters are an excellent choice.
 I used 2-inch lag bolts to install the casters. Be sure to do this before you move forward with the rest of the build, otherwise your bench will be a behemoth to flip over for installation.
 I chose to use MDF for part of the build simply because of cost, but I soon regretted that decision. I like that MDF cuts like butter on my table saw, but if I were to build this bench over again, I’d spring for hardwood plywood for the entire thing because it’s stronger and prettier. I did use Purebond plywood for the top two panels because I was afraid that with the clamp track being on there, repeated clamping would stress an MDF board to pieces.
Oh, and check out those professional-looking shelf pin holes – now my shelves are adjustable! I used the Kreg Shelf Pin Jig for this.
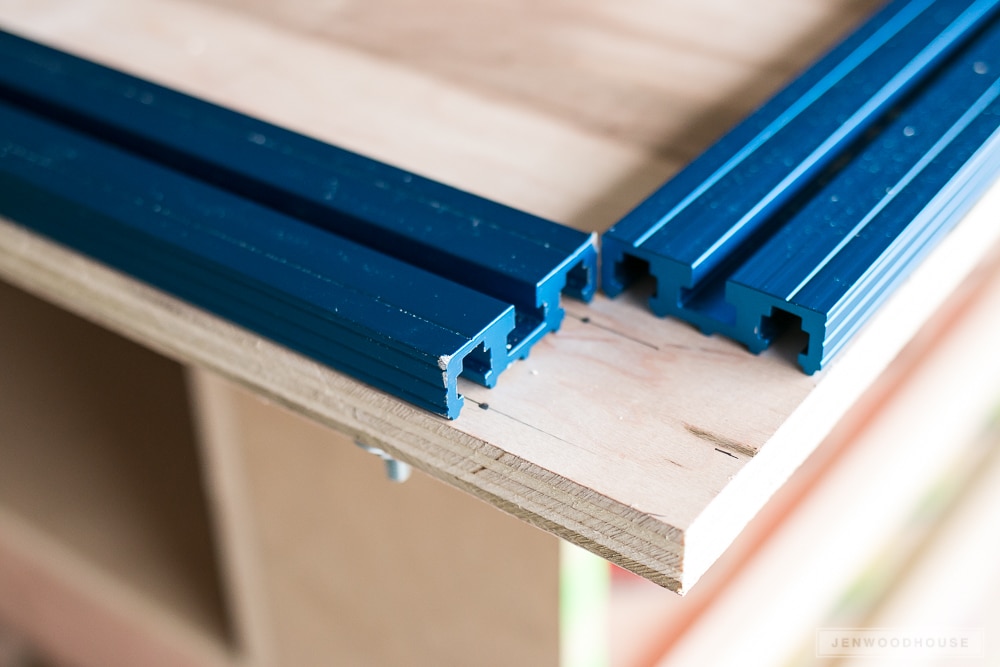
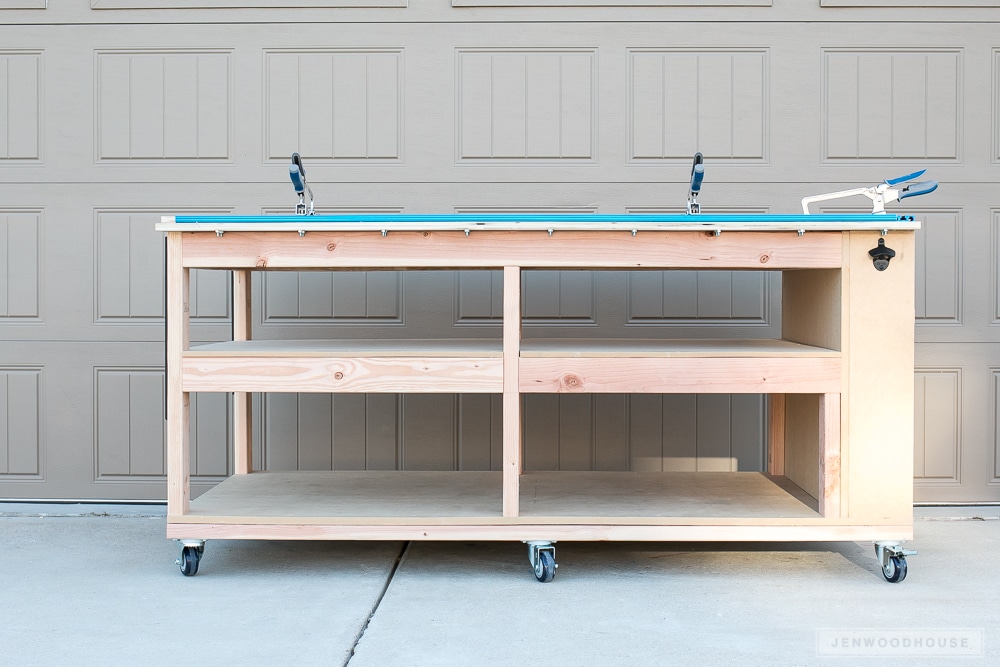
 I installed the Kreg Universal Clamp Trak™ Kit to the top of my bench. For some odd reason, my kit didn’t come with any hardware or instructions (I think it was a fluke), so Adam and I just had to figure it out.
This is what we came up with:
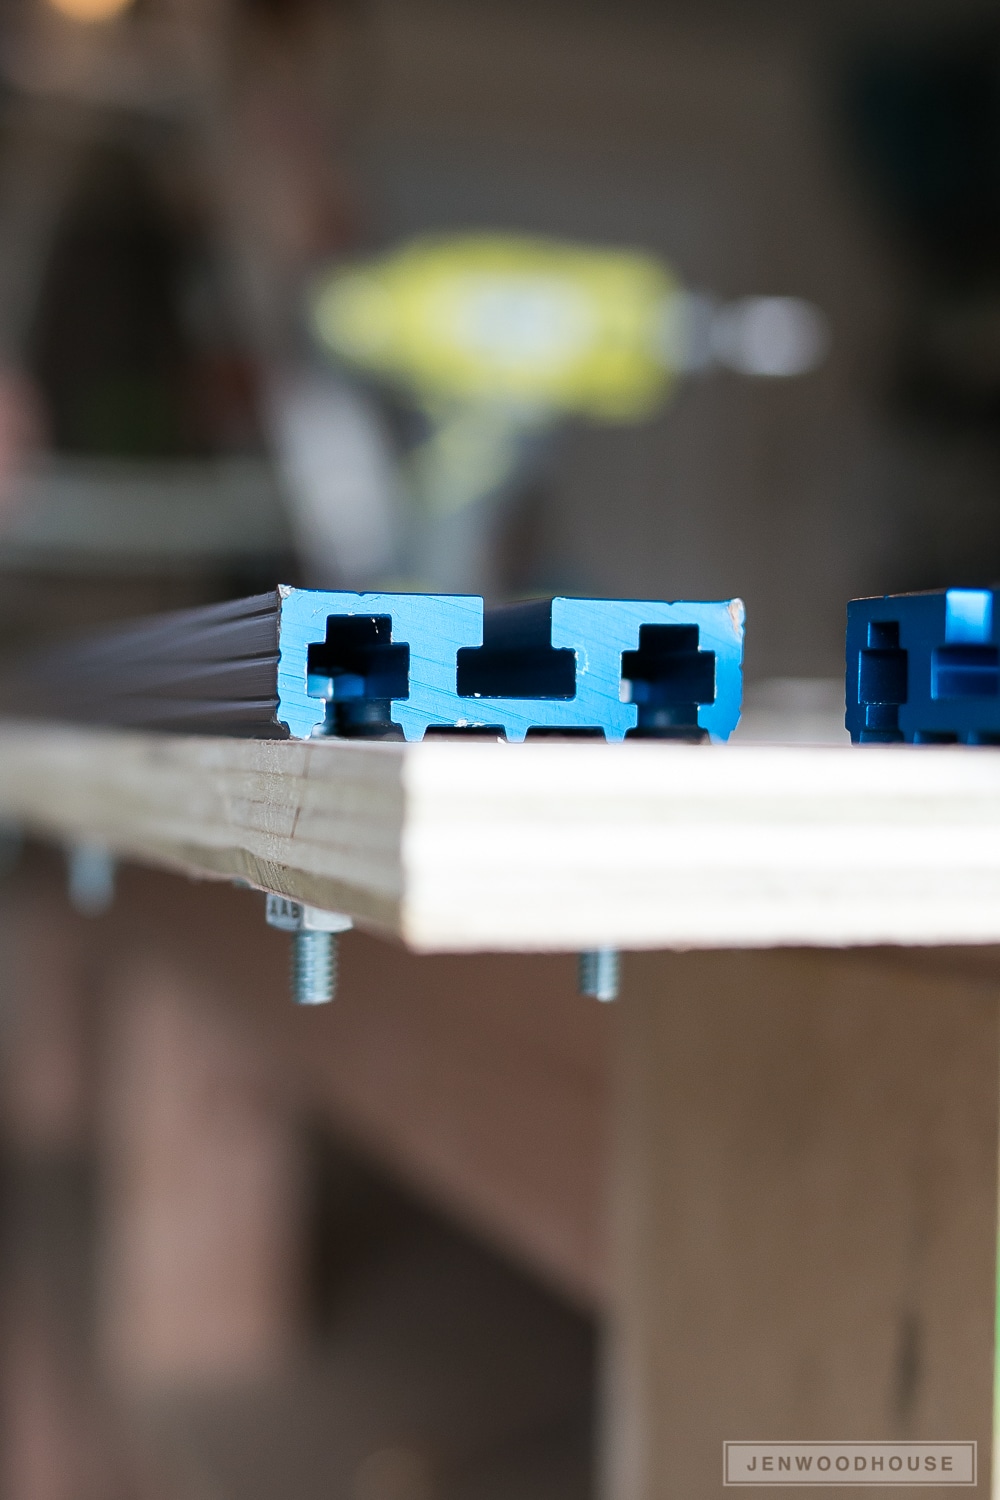 We positioned the clamp track in place on the bench top, then marked where to drill the holes for the hardware. Then we removed the track, drilled the holes and screwed the hex head bolts in.
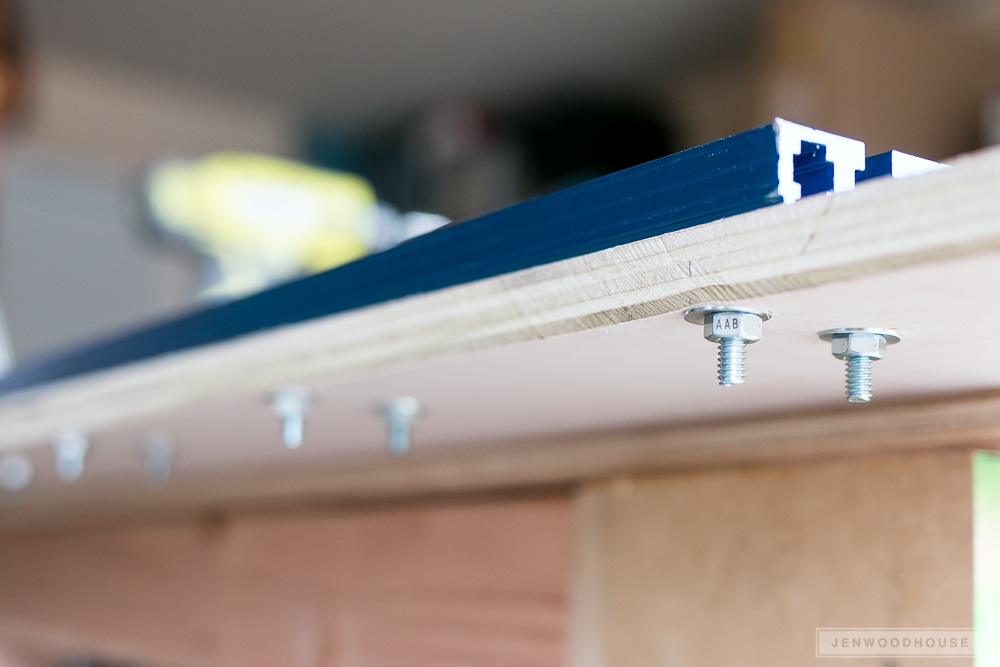
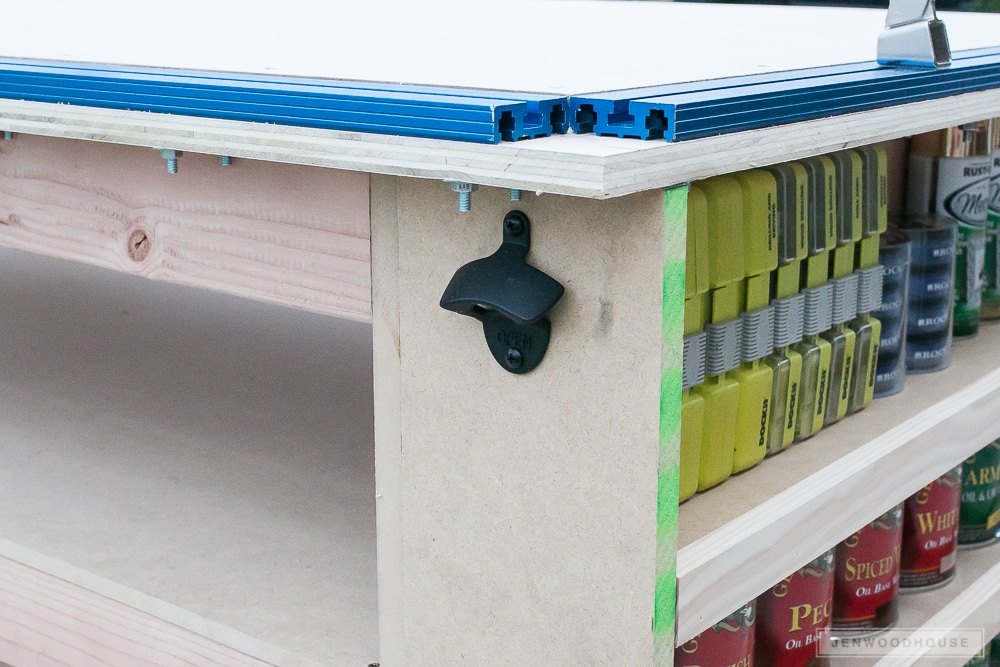
 Underneath, there’s a washer and nut to hold each bolt in place. We used 18 bolts for the long track and 6 bolts for the short one. Then we slid the tracks on and tightened the bolts. We had to make sure there was a slight overhang on the bench so that we could have access to the bolts.
 These are the bench clamps that work with this track. I also installed a couple of magnetic strips to hold stray bits and screws. I took these off my old workbench, but here’s another option.
 I added this bottle opener just for Adam. He’s much more inclined to help me lift the heavy things when beer is involved.
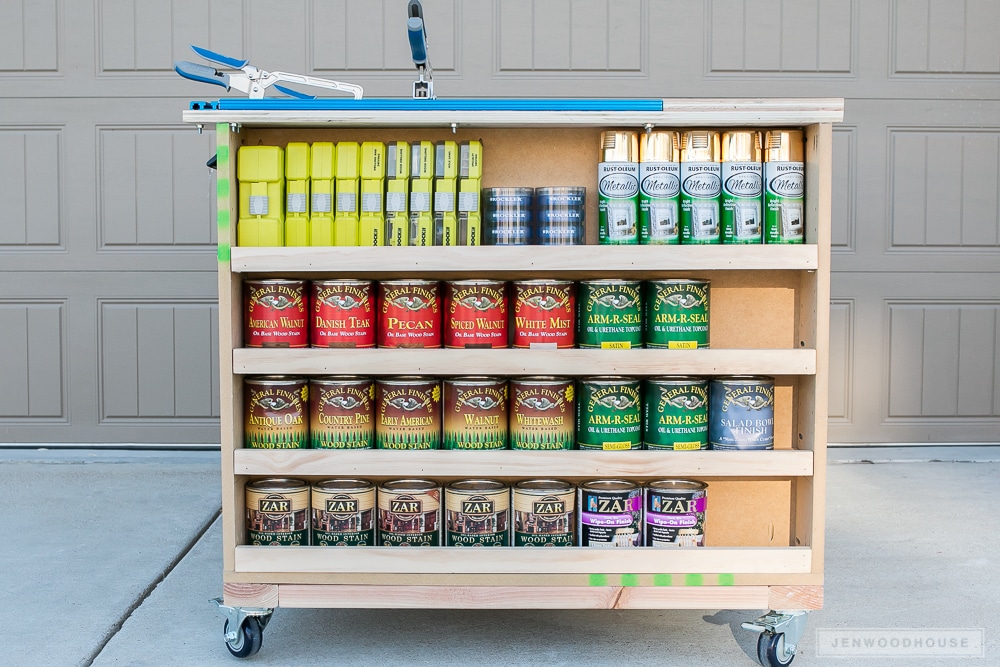
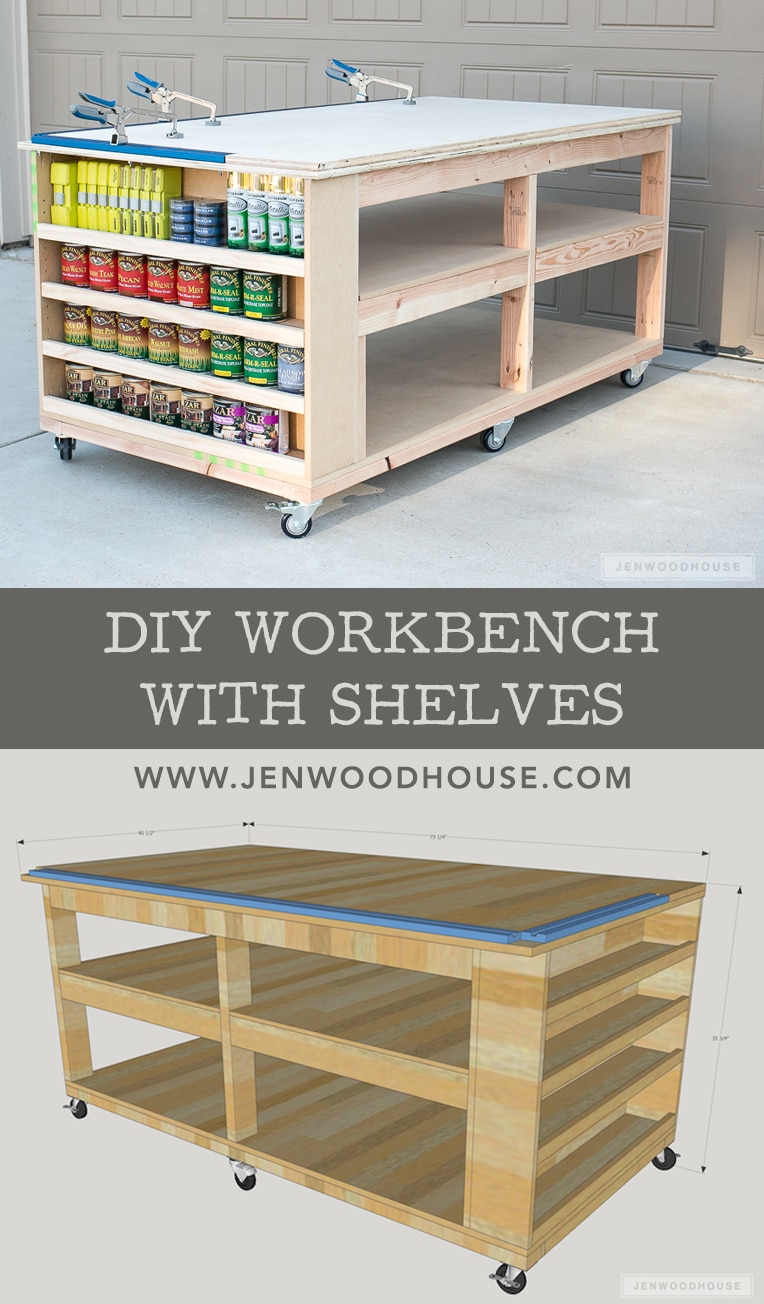
 As soon as I was done building this thing, I couldn’t wait to load up the shelves with quart cans of my favorite stain and finish. This added feature makes me absolutely giddy.
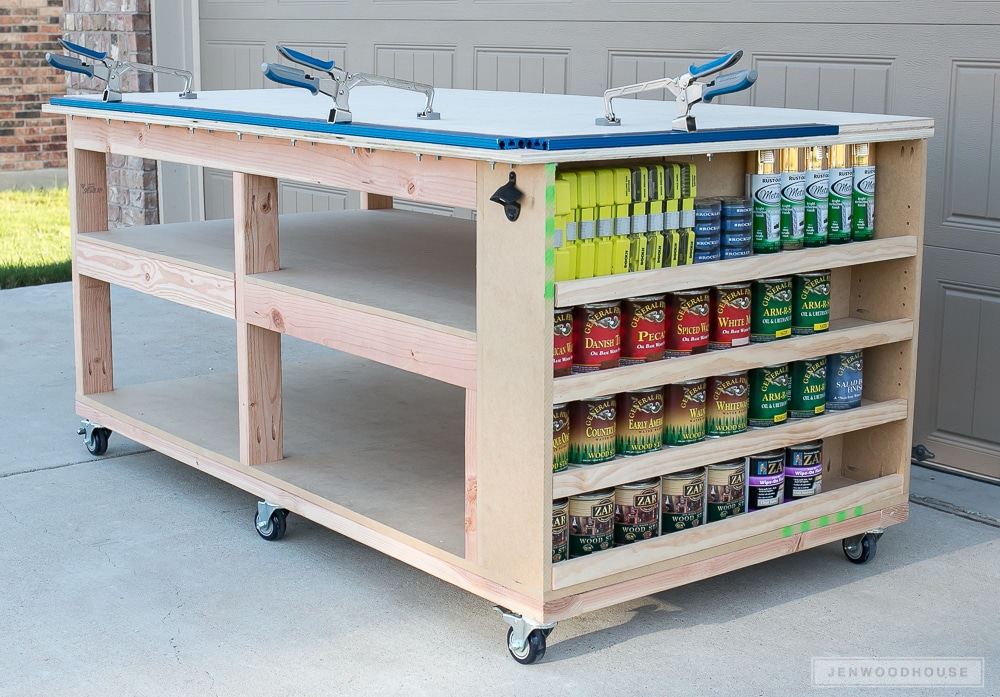
Oh, one more thing I should mention… do you see that 2×4 piece attached to the shelves on the end there? I added that for extra support of the middle shelf. It’s not in the plans, but I didn’t feel confident that the MDF would be strong enough to hold up the middle aprons. Why build when you can overbuild?
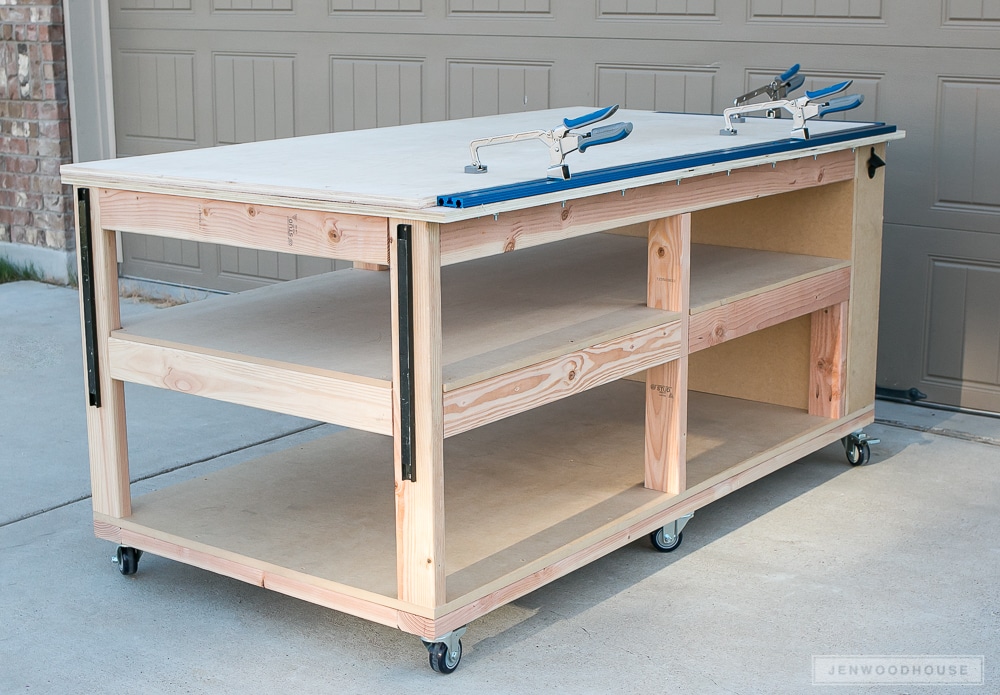 And a few more beauty shots, just because:
 I am seriously loving this thing – like, in a creepy, non-platonic, on-the-verge-of-totally-unacceptable kind of way.
 But can you blame me? I am So. Freakin’. Excited that I don’t have to build on the garage floor anymore! Woohoo! Be glad you’re not here to witness my happy dance.
Thanks for stopping by – I hope these DIY mobile workbench plans are useful to you. Be sure to tag me or send me photos if you build this workbench for yourself. Until then, get out there and make some sawdust!
Love this DIY Mobile Workbench with Shelves? PIN and SHARE it!
*A big thank you to Rockler Woodworking and Hardware for sponsoring this post. All efforts, opinions, and awkward happy dances are my own. I make no apologies for my sweet dance moves.


Hi Jen, I just purchased the plans for the workbench and they have not come through to either my email or my spam folder. Could you resend them please?
Thanks!
Jill
Hi Jill,
Thank you so much for your purchase and for supporting our vendors on Spruc’d! Plans are automatically sent to the email used on the transaction, but can sometimes end up in the spam folder. I just resent the plans, so please let me know if you’re still unable to access them. Thanks again!
About how long did it take to build this and should I double the time for someone who is less familiar with the process?
I like what I saw, nice work bench. I would like to follow your blog, how do I do that?
Also how would I purchase your plans for this workbench
This DIY mobile workbench looks fantastic! I love the idea of incorporating shelves for extra storage. Can’t wait to give this a try in my garage. Thanks for the detailed instructions!