Hi friends! I’m so excited to share my latest project with you: my new and improved DIY mobile workbench with shelves! If you recall, my old workbench was quite a beast. It served as an out-feed table for my table saw so I specifically designed it to be large enough to hold a full sheet of plywood. But after a year of using it, I discovered that I didn’t realistically use all that space very often and it was taking up valuable real estate in my shop. We had to move (Army life!), so I gave it away to a friend with the expectation I’d be building a new workbench in Texas.
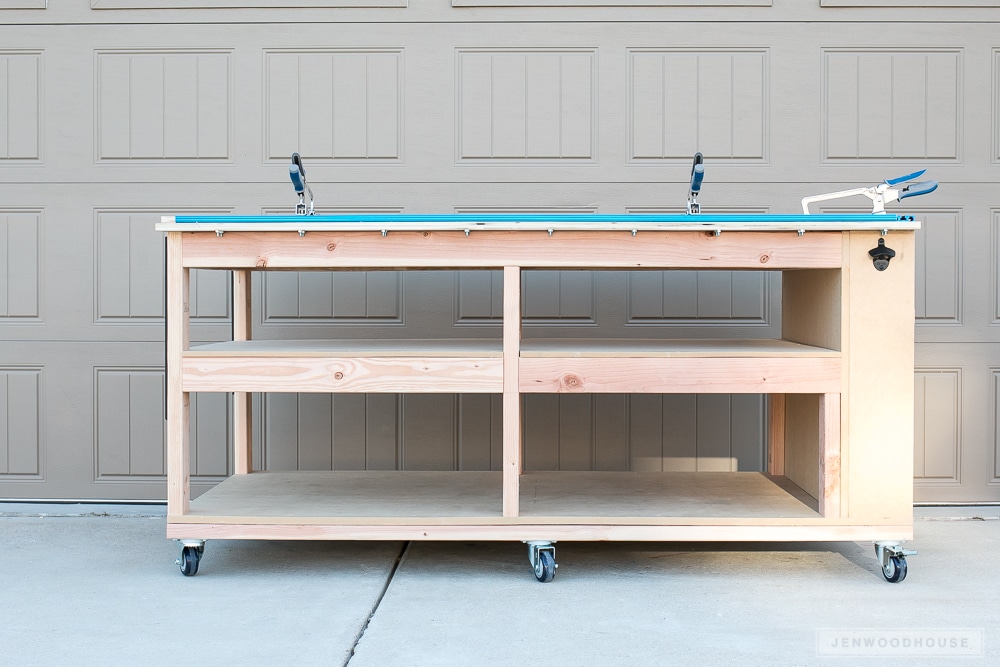
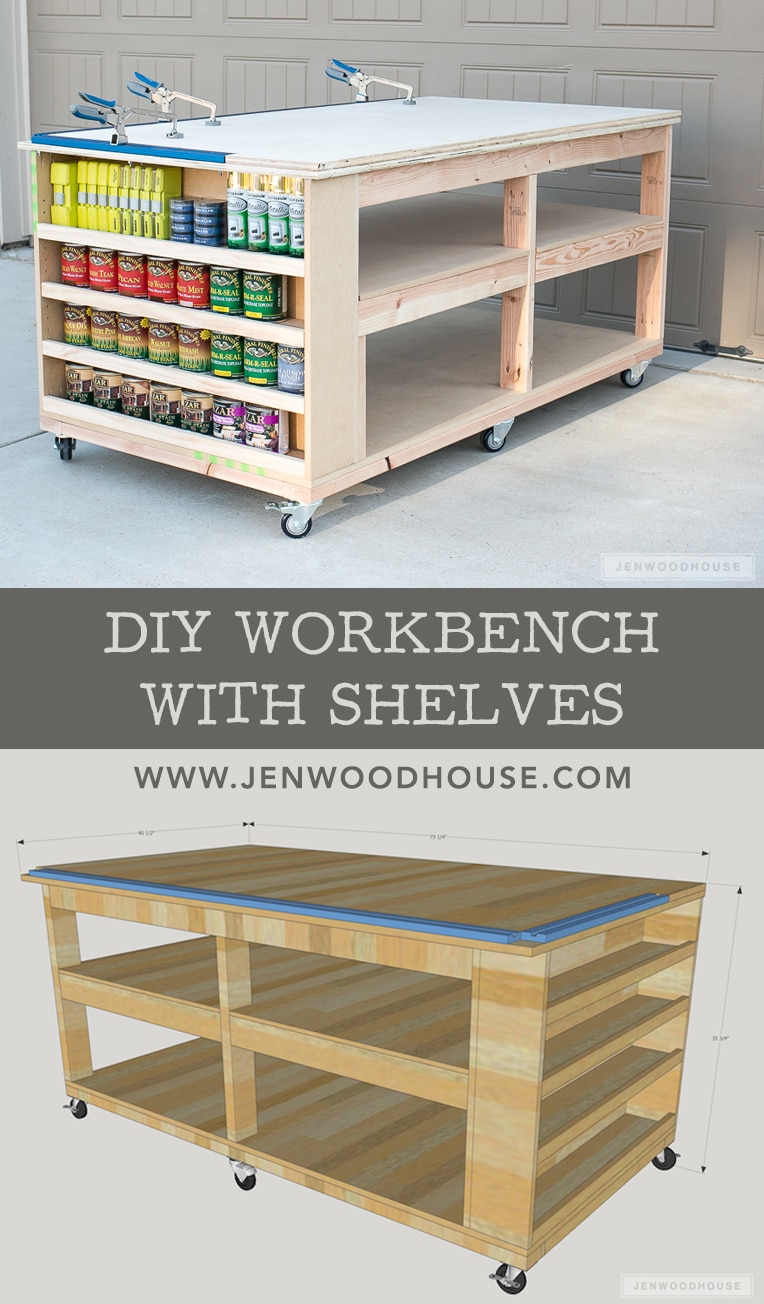
I am absolutely thrilled to be partnering with Rockler Woodworking and Hardware to bring you the plans for this project. I took cues from my old design but improved upon it, making it stronger and more efficient. Feast your eyes on my new favorite thing:
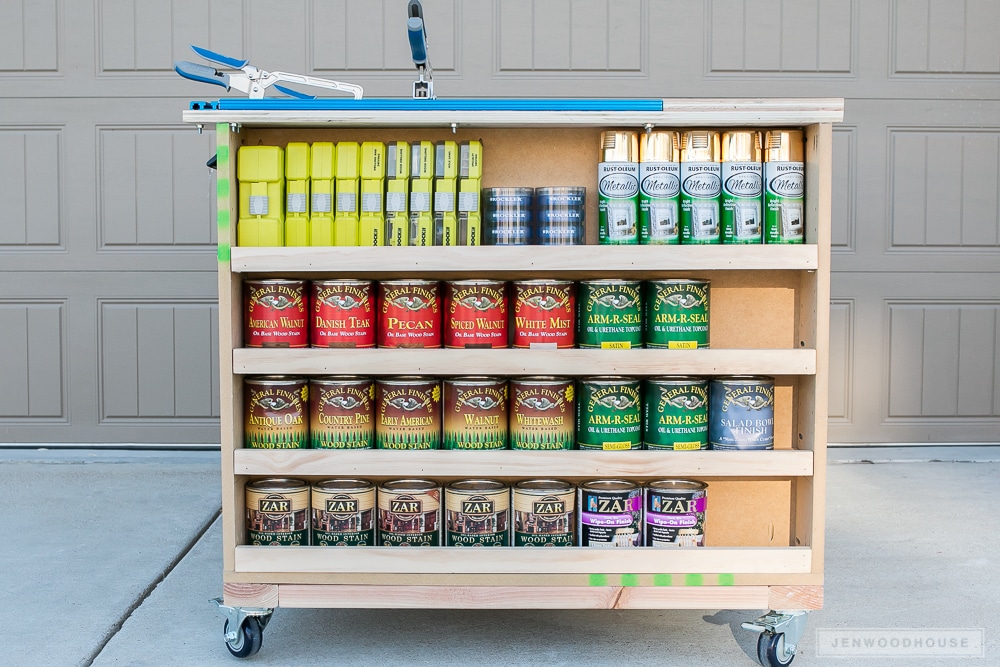
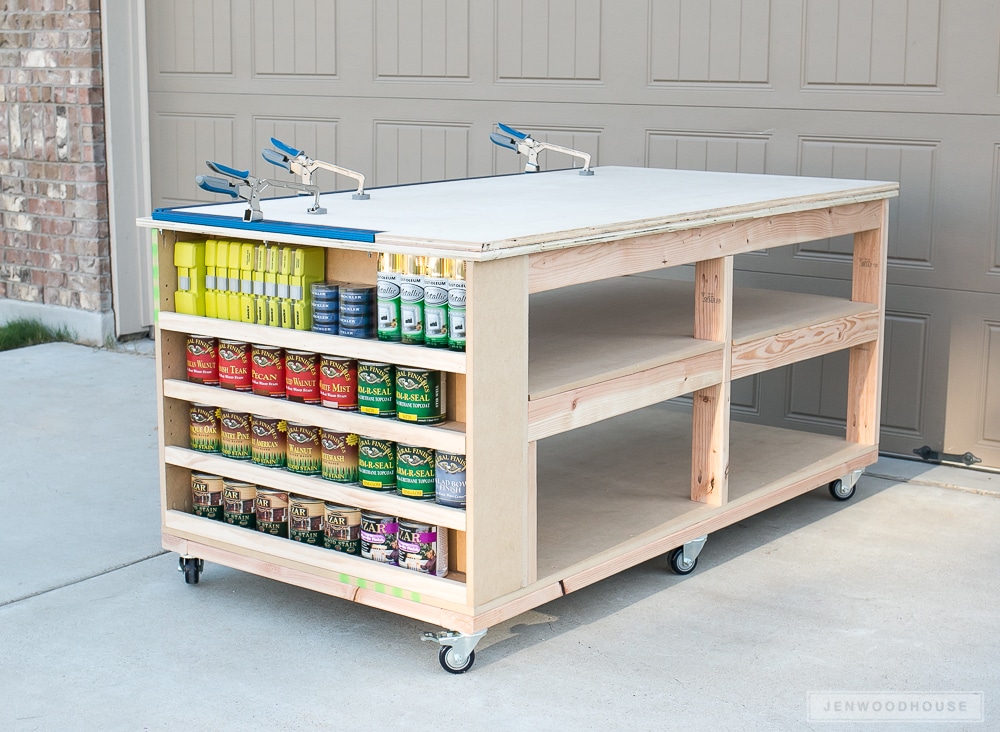 How do you like that extra storage feature on the end? I borrowed that idea from my buddy Jamison – here’s his workbench.
I just love this DIY mobile workbench and can’t wait to start building on it. My knees have not been very happy with me this past year. Side note: holy moly, have we really been living in Texas for a whole year?! We like it. We’re Texas proud.
I’ll walk you through part of my build process, but I encourage you to purchase the PDF plans below for a complete list of materials, cuts, and tools you’ll need for this project, as well as step-by-step 3D diagrams.
 *This post contains affiliate links. To read my full disclosure policy, please click here.
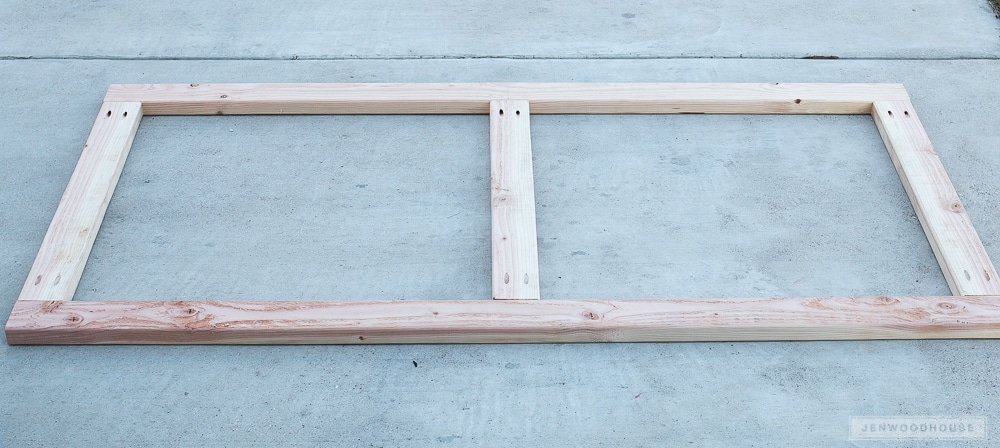
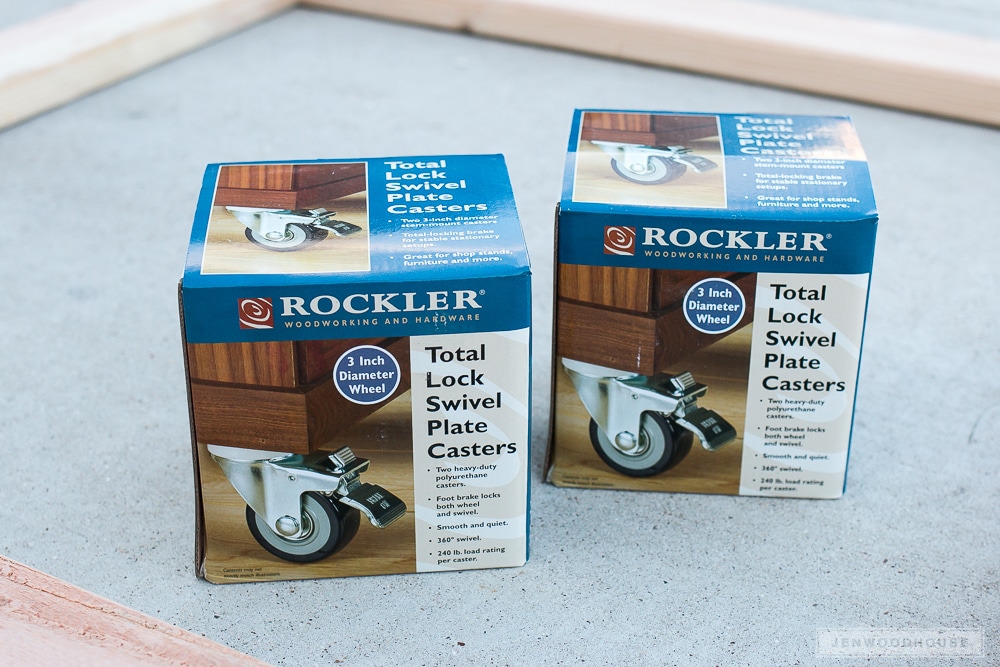
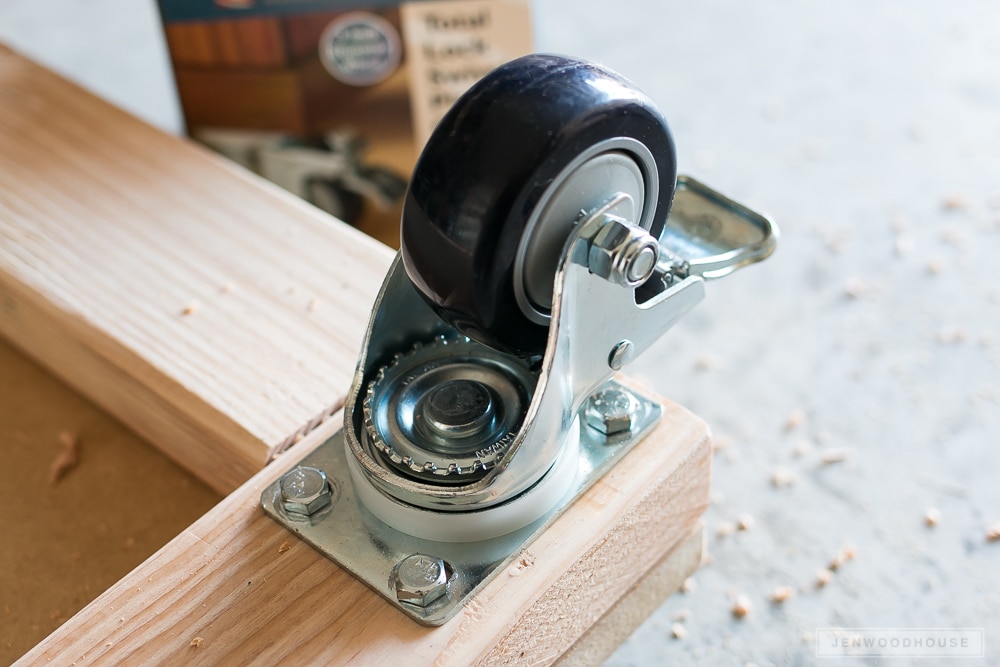
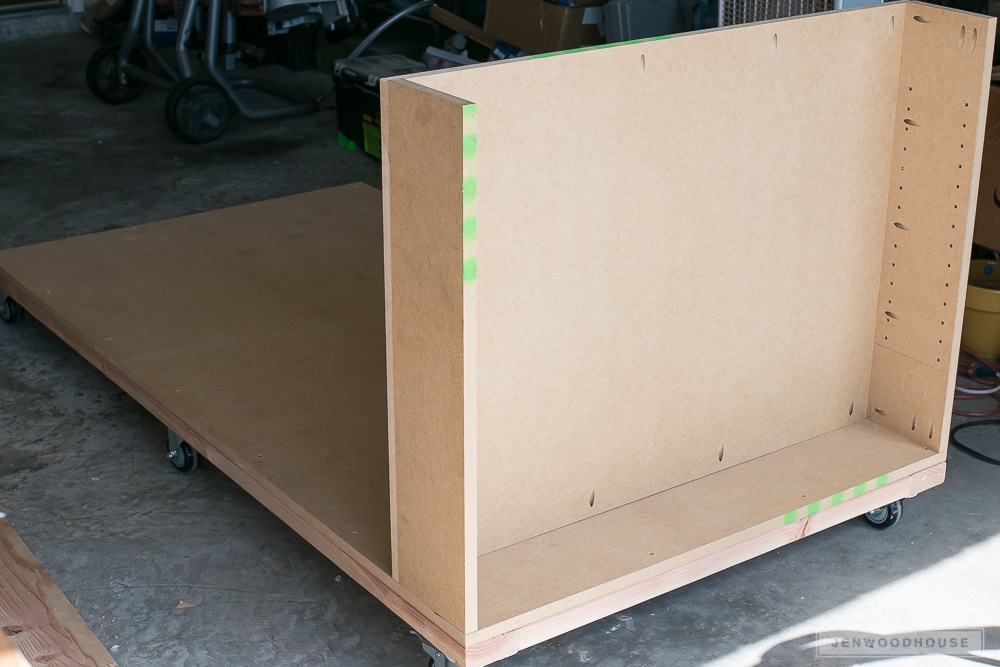
First, I built the base frame and installed the casters. These are the 3-inch heavy duty casters I used. The four outer casters will be locking while the two middle casters are not. Here is another great option for workbench casters. These are nice because they don’t add height to your workbench when disengaged, so if you have a stationary workbench and you’d like to make it mobile without increasing the overall height, these casters are an excellent choice.
 I used 2-inch lag bolts to install the casters. Be sure to do this before you move forward with the rest of the build, otherwise your bench will be a behemoth to flip over for installation.
 I chose to use MDF for part of the build simply because of cost, but I soon regretted that decision. I like that MDF cuts like butter on my table saw, but if I were to build this bench over again, I’d spring for hardwood plywood for the entire thing because it’s stronger and prettier. I did use Purebond plywood for the top two panels because I was afraid that with the clamp track being on there, repeated clamping would stress an MDF board to pieces.
Oh, and check out those professional-looking shelf pin holes – now my shelves are adjustable! I used the Kreg Shelf Pin Jig for this.
 I installed the Kreg Universal Clamp Trak™ Kit to the top of my bench. For some odd reason, my kit didn’t come with any hardware or instructions (I think it was a fluke), so Adam and I just had to figure it out.
This is what we came up with:
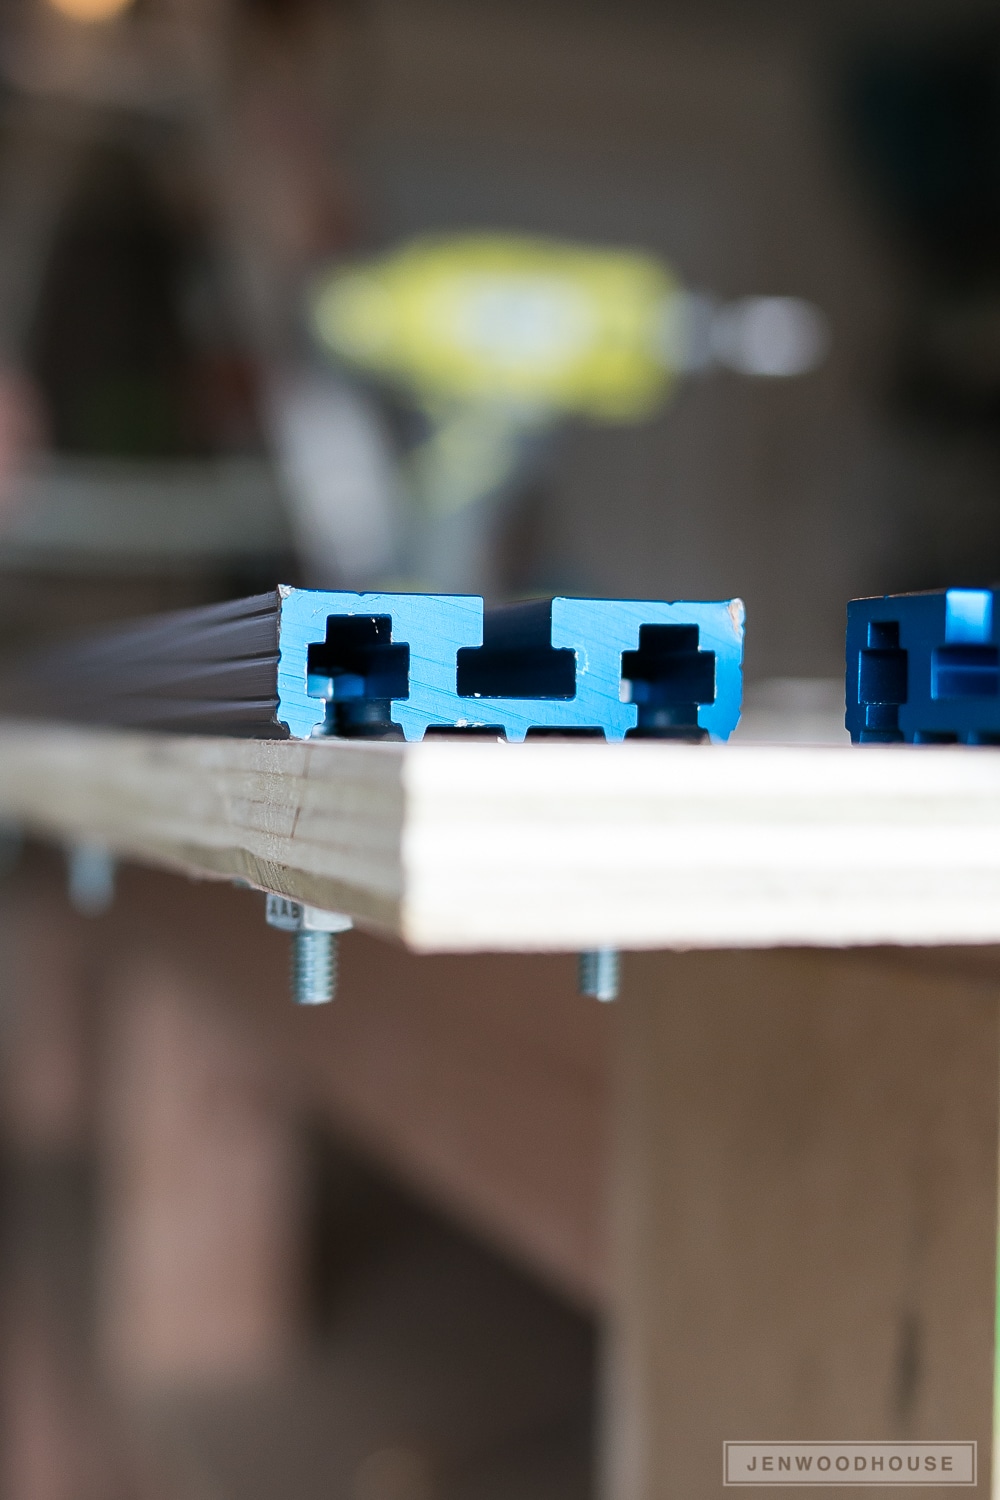 We positioned the clamp track in place on the bench top, then marked where to drill the holes for the hardware. Then we removed the track, drilled the holes and screwed the hex head bolts in.
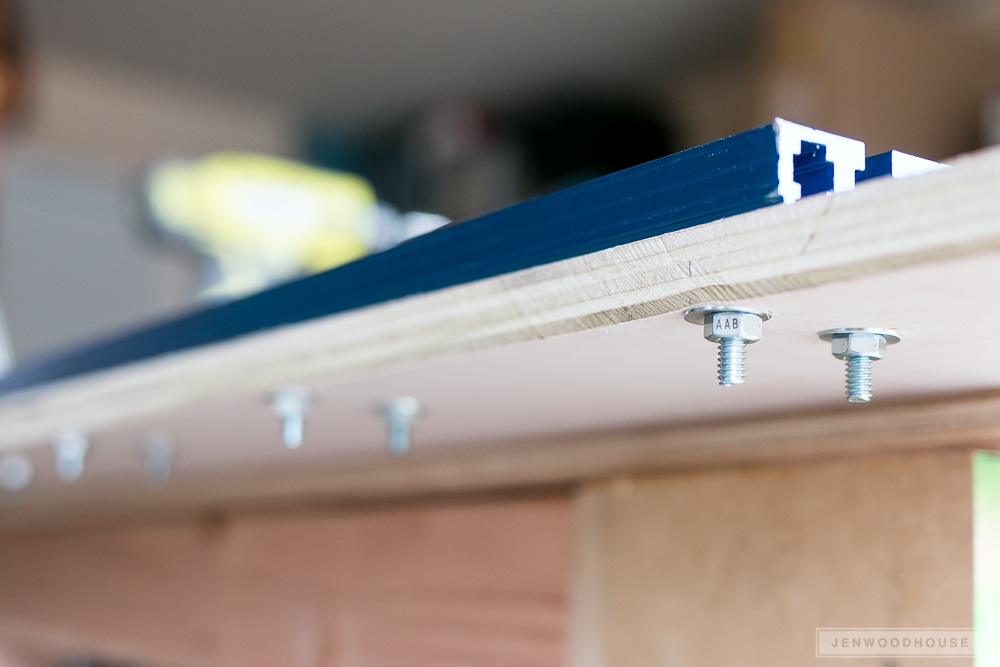
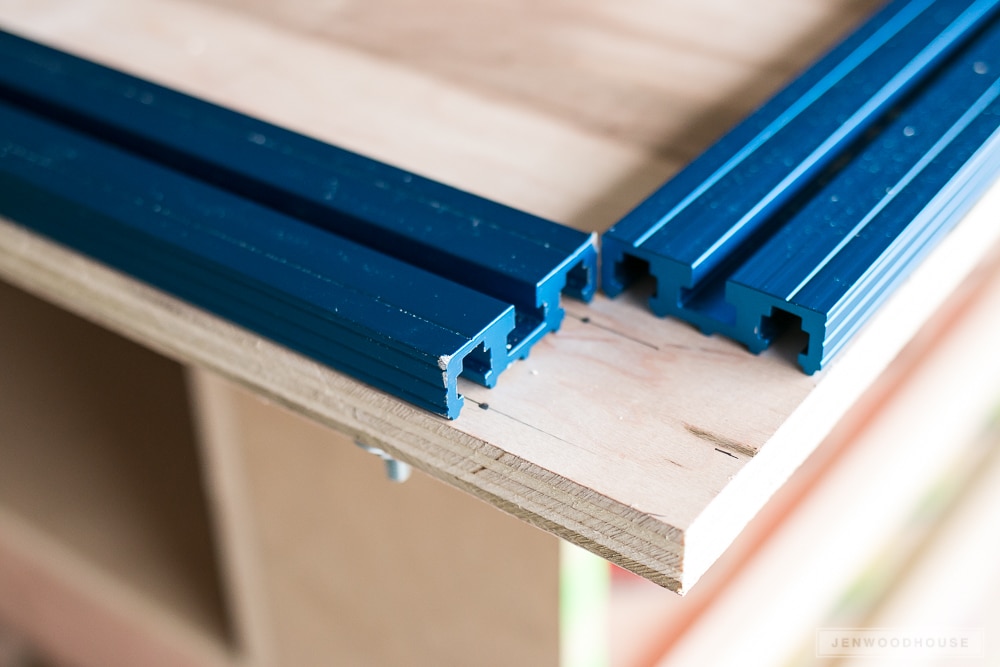 Underneath, there’s a washer and nut to hold each bolt in place. We used 18 bolts for the long track and 6 bolts for the short one. Then we slid the tracks on and tightened the bolts. We had to make sure there was a slight overhang on the bench so that we could have access to the bolts.
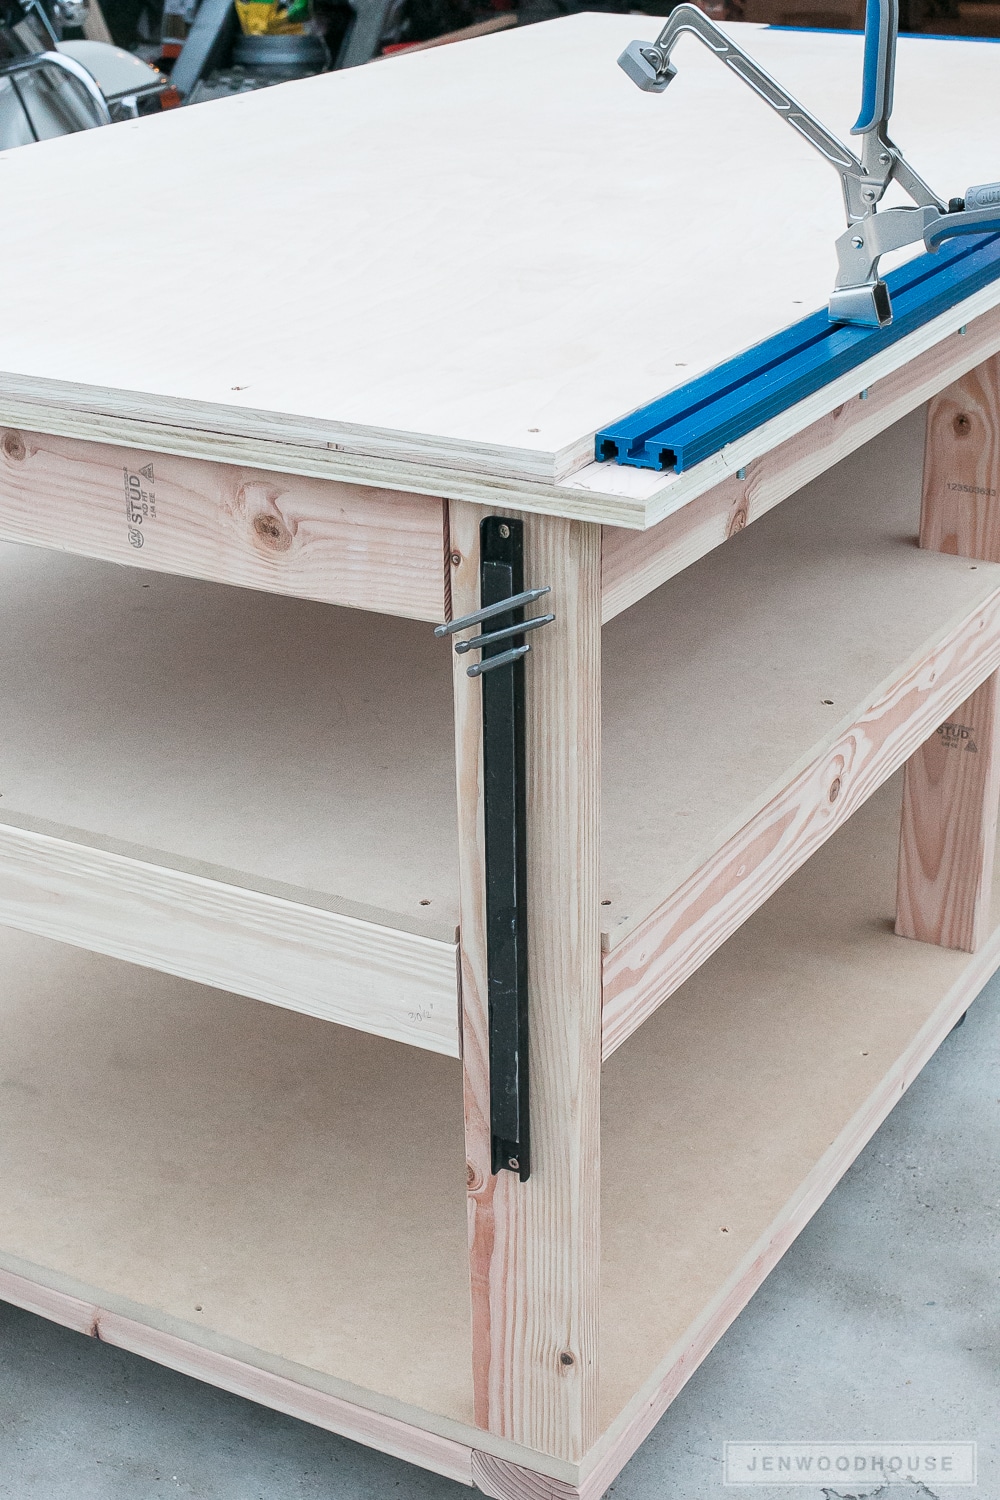
 These are the bench clamps that work with this track. I also installed a couple of magnetic strips to hold stray bits and screws. I took these off my old workbench, but here’s another option.
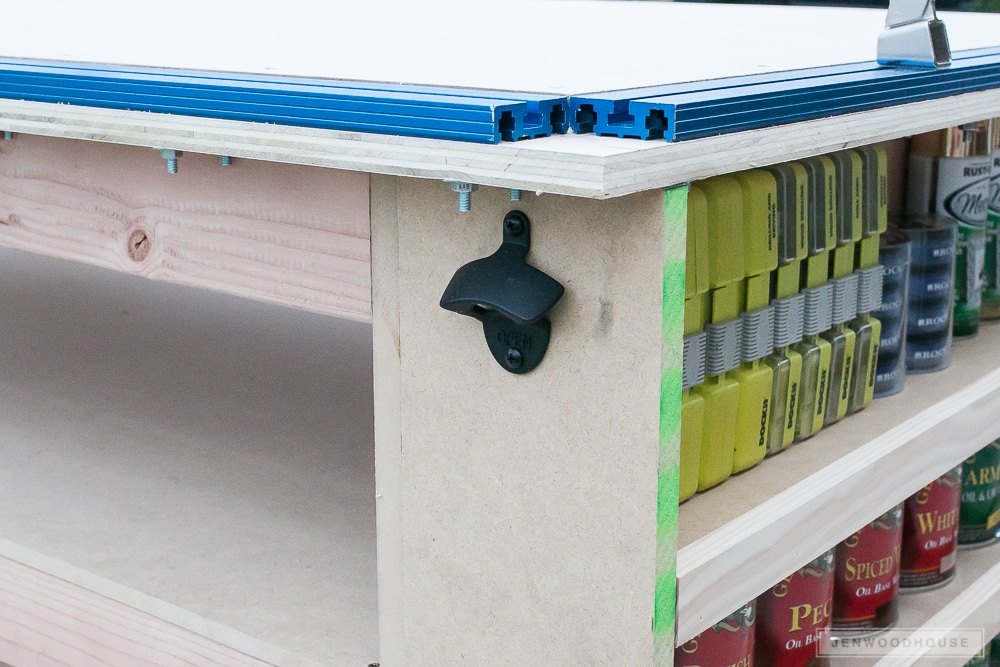
 I added this bottle opener just for Adam. He’s much more inclined to help me lift the heavy things when beer is involved.
 As soon as I was done building this thing, I couldn’t wait to load up the shelves with quart cans of my favorite stain and finish. This added feature makes me absolutely giddy.
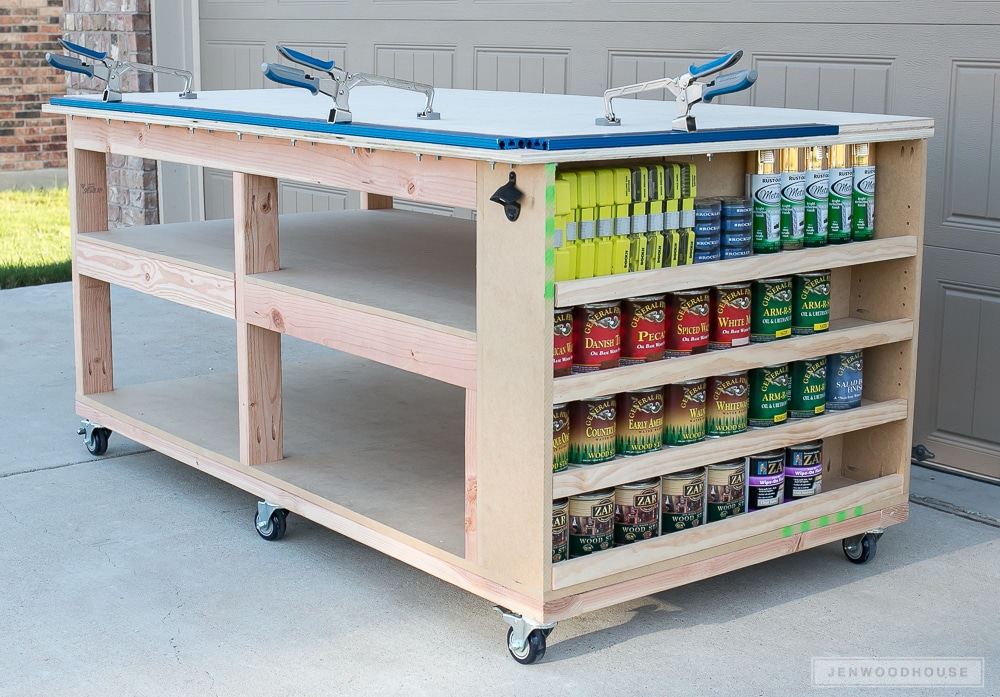
Oh, one more thing I should mention… do you see that 2×4 piece attached to the shelves on the end there? I added that for extra support of the middle shelf. It’s not in the plans, but I didn’t feel confident that the MDF would be strong enough to hold up the middle aprons. Why build when you can overbuild?
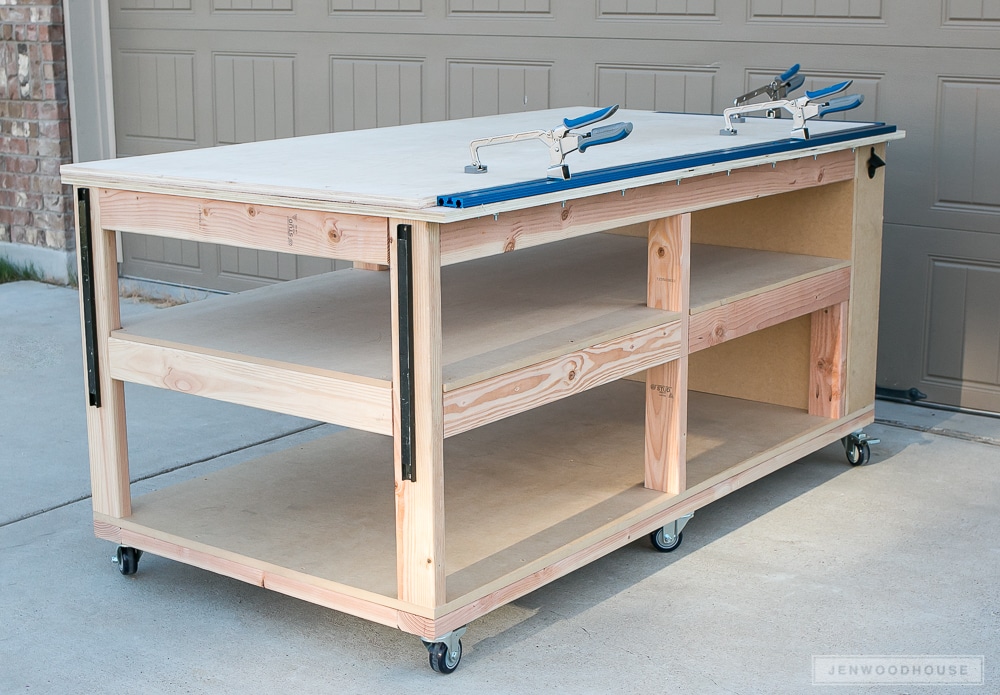 And a few more beauty shots, just because:
 I am seriously loving this thing – like, in a creepy, non-platonic, on-the-verge-of-totally-unacceptable kind of way.
 But can you blame me? I am So. Freakin’. Excited that I don’t have to build on the garage floor anymore! Woohoo! Be glad you’re not here to witness my happy dance.
Thanks for stopping by – I hope these DIY mobile workbench plans are useful to you. Be sure to tag me or send me photos if you build this workbench for yourself. Until then, get out there and make some sawdust!
 Love this DIY Mobile Workbench with Shelves? PIN and SHARE it!
*A big thank you to Rockler Woodworking and Hardware for sponsoring this post. All efforts, opinions, and awkward happy dances are my own. I make no apologies for my sweet dance moves.




That’s an awesome workbench! I want one but really don’t have the space, so I’ll just drool over yours? Love your projects!
Thank you Janet!
Great post. I dont have the space for a bench that size 🙁 But its definitely given me some inspiration for making a slimmed down version of it 🙂
Thanks Nathan! Yes, this workbench would be easy to modify!
I cant wait to build this! We moved and I have spent the last five months in the garage floor! Miter saw and all! Perfect timing. Thanks so much, gonna be a great help!
I luv this and am going to get my materials to make this today! I’d luv to share it on my new blog when it’s done and link to you! Perfect!
Jen – I recently completed this workbench for my garage and love it! I just completed a new king size bed frame for our master bedroom that would not have been possible without this large mobile work bench. I will try to post pics of it when I get home this evening.
Awesome, Mark! That’s so great to hear!
I would love a copy of these plans to built this for my workbench…?
How do I get the PDF? May be a silly question, but I’ve looked through this post 4 times already and didn’t see a link to download it. Might be thanks to it being 11:45pm here and me being exhausted though!
Hi there! Sorry, the widget wasn’t loading, but I fixed it. Thanks for the heads up! You should be able to click the gray “download plans” button. Thanks so much!
I am building a midfield version of this work branch am add my table saw and miter saw. It will ba 36” by 96 with table saw on the end without the shelf’s, thank.
Interesting post I very like it!
I bought your plans and I’m part way through building this. I can’t wait for it to be done to actually use it.
As everything is expensive in Canada (even wood, oddly) I’m doing it paycheck by paycheck.
What should I (or, should I even..) finish the top surface with to make it a bit more durable and resistant to glues and goos, but not so slippery that it works against clamping (I realize it is a sacrificial/replaceable top, but still…)
When I was in the military, we used to get rolls of this 8 or 9 mil Blue Rubber for out technicians to line their work benches. My computer guys somehow “acquired” a few feet, and ever since, we have been trying to source a supply – the techs were total dicks and the QM staff would not do a search for us.
20 years later, I still have a 3ft piece on my workbench, but it is only 14″ wide, and I would really like a roll of the4 ft wide stuff – about ohhhh, 30 feet?
Still looking. Hope you like this idea as it is/was an excellent surface to do any kind of work on: Woodwork, electrical, crafts, etc.
Could the “blue rubber” possibly be the stuff that is used on the top of drafting benches? Not sure where you would locate a source for it but it might give you something specific to look for.
Making this workbench as I “speak.” Questioning the 2 1/2 inch pocket screws into the back of the end shelf 3/4 inch plywood. It seems that they would come through the back of the shelf. Any input from someone who has built this ?
I just finished the workbench myself! Tonight in fact. I’m guessing you are already done, but just in case — I had no problems with the 2 1/2 screws. On the contrary, I had the opposite problem — in a few places, the 1 1/4″ screws were too short to hold things, and I had to get 1 5/8″ screws. Also, my Kreg rails didn’t come with installation hardware either, just as Jen describes.
Hope this helps someone! It’s a great project and I learned a ton doing it.
Thank you for your response. I too just about finished this project today. I made it to be used as a storage and “buffet table” in my basement and will paint it (shelves and top have polyurethane). I didn’t add the Kreg guide. First thing I ever made and my first retirement project. So fulfilling! Everywhere I was going into 3/4 inch plywood I made a 3/4 inch hole and used 1 1/4 screws and that worked for me. Congrats on your build!
Just finished this tonight and wanted to say thanks! It looks great. I think I need to give everything a good sanding but it is a vast improvement over what I had. And I learned so much building it. Thanks!
What are the dimensions of the bench?
I know my response is way over due but just reading this string. Try Oregon Rubber Mat, oregonrubbermat.net. I’m a glass artist and top all my workbenches with thin rubber mat. The best. Good luck.
I built this in 2019 (see previous comment). I LOVE THIS WORKBENCH. I made the top a little bigger and trimmed the double thick top with 1.x2s, mitred at the corners. And at the time I skipped the TTrack but I’m about to re do the top layer and will add the tracks to it this time. I’ll also be adding a woodworking vice. This workbench is the “centrepiece” of my workshop.
So awesome to hear, Steven! Thanks!
This is a good project, inexpensive, but sound. Special thanks for the method of fastening t-shaped guides – simple but effective.
But two things were confusing me.
The first. Why are the corners of the table not rounded? Do you like getting bruises on your legs when you quickly try to get around the table?
Second. Maybe it was worth considering MDF for the top panel of the table after all? Are you afraid that MDF will not be strong enough to withstand such long distances? But MDF combined with 3/4-inch thick plywood as the bottom base will provide you with the necessary rigidity.
In addition, MDF is a more gentle material for your workpieces.
Hi Jen. I love your post and think I might want to do this build. Can you please tell me the dimensions ? Thanks in advance.