Hi friends! I’m so excited to be sharing the plans and tutorial for this DIY outdoor storage bench! Texas weather is so strange… one day it’s 80 degrees (it’s February, by the way) and the next it’s in the low 40s. My immune system doesn’t know how to react, but I can assure you, it is not good. Let’s just say, I’m considering buying stock in Puffs Plus Lotion with Vicks. Have you guys tried these tissues? They are life-changing. Every blow is a revelation. Can you develop an addiction to Vicks? I’m pretty sure I’m getting some sort of contact high off of these tissues – they are thaaat good.
What were we talking about again?
Oh, yes.
This outdoor storage bench!
I was going somewhere with this, trust me: outdoors –> weather –> sickness –> terminal congestion –> best tissues ever. Right. And we’re back.
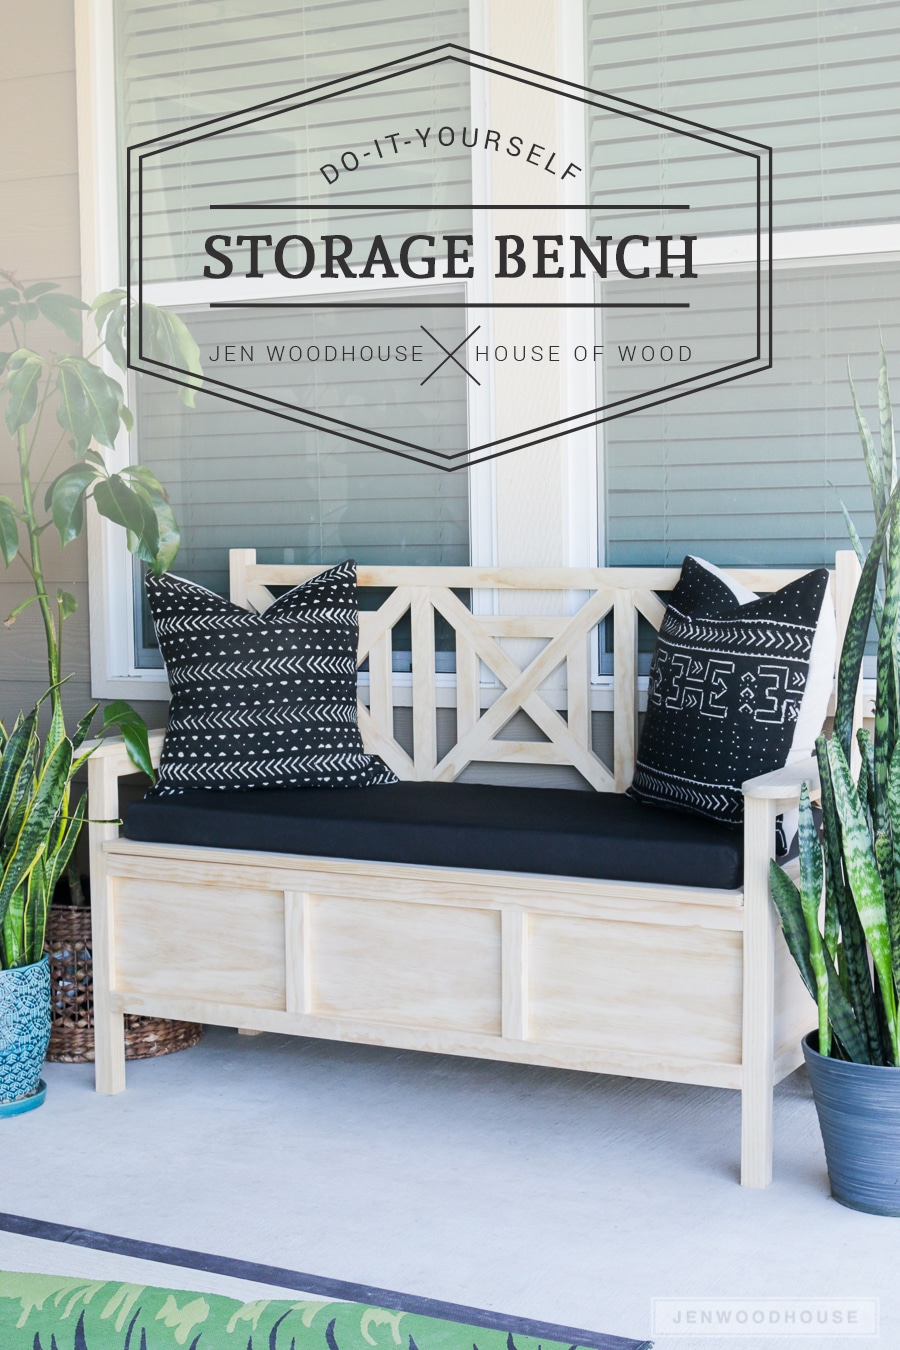
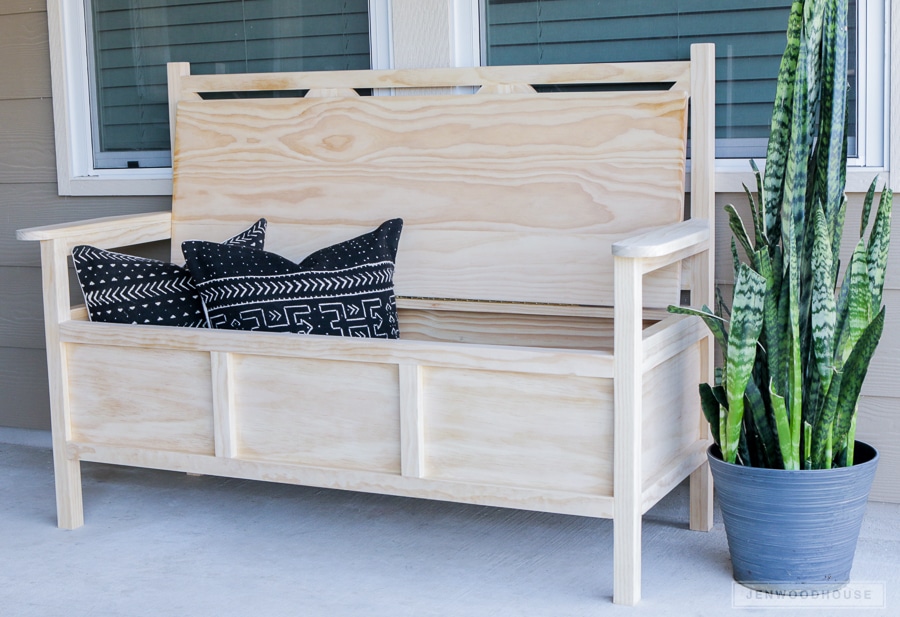
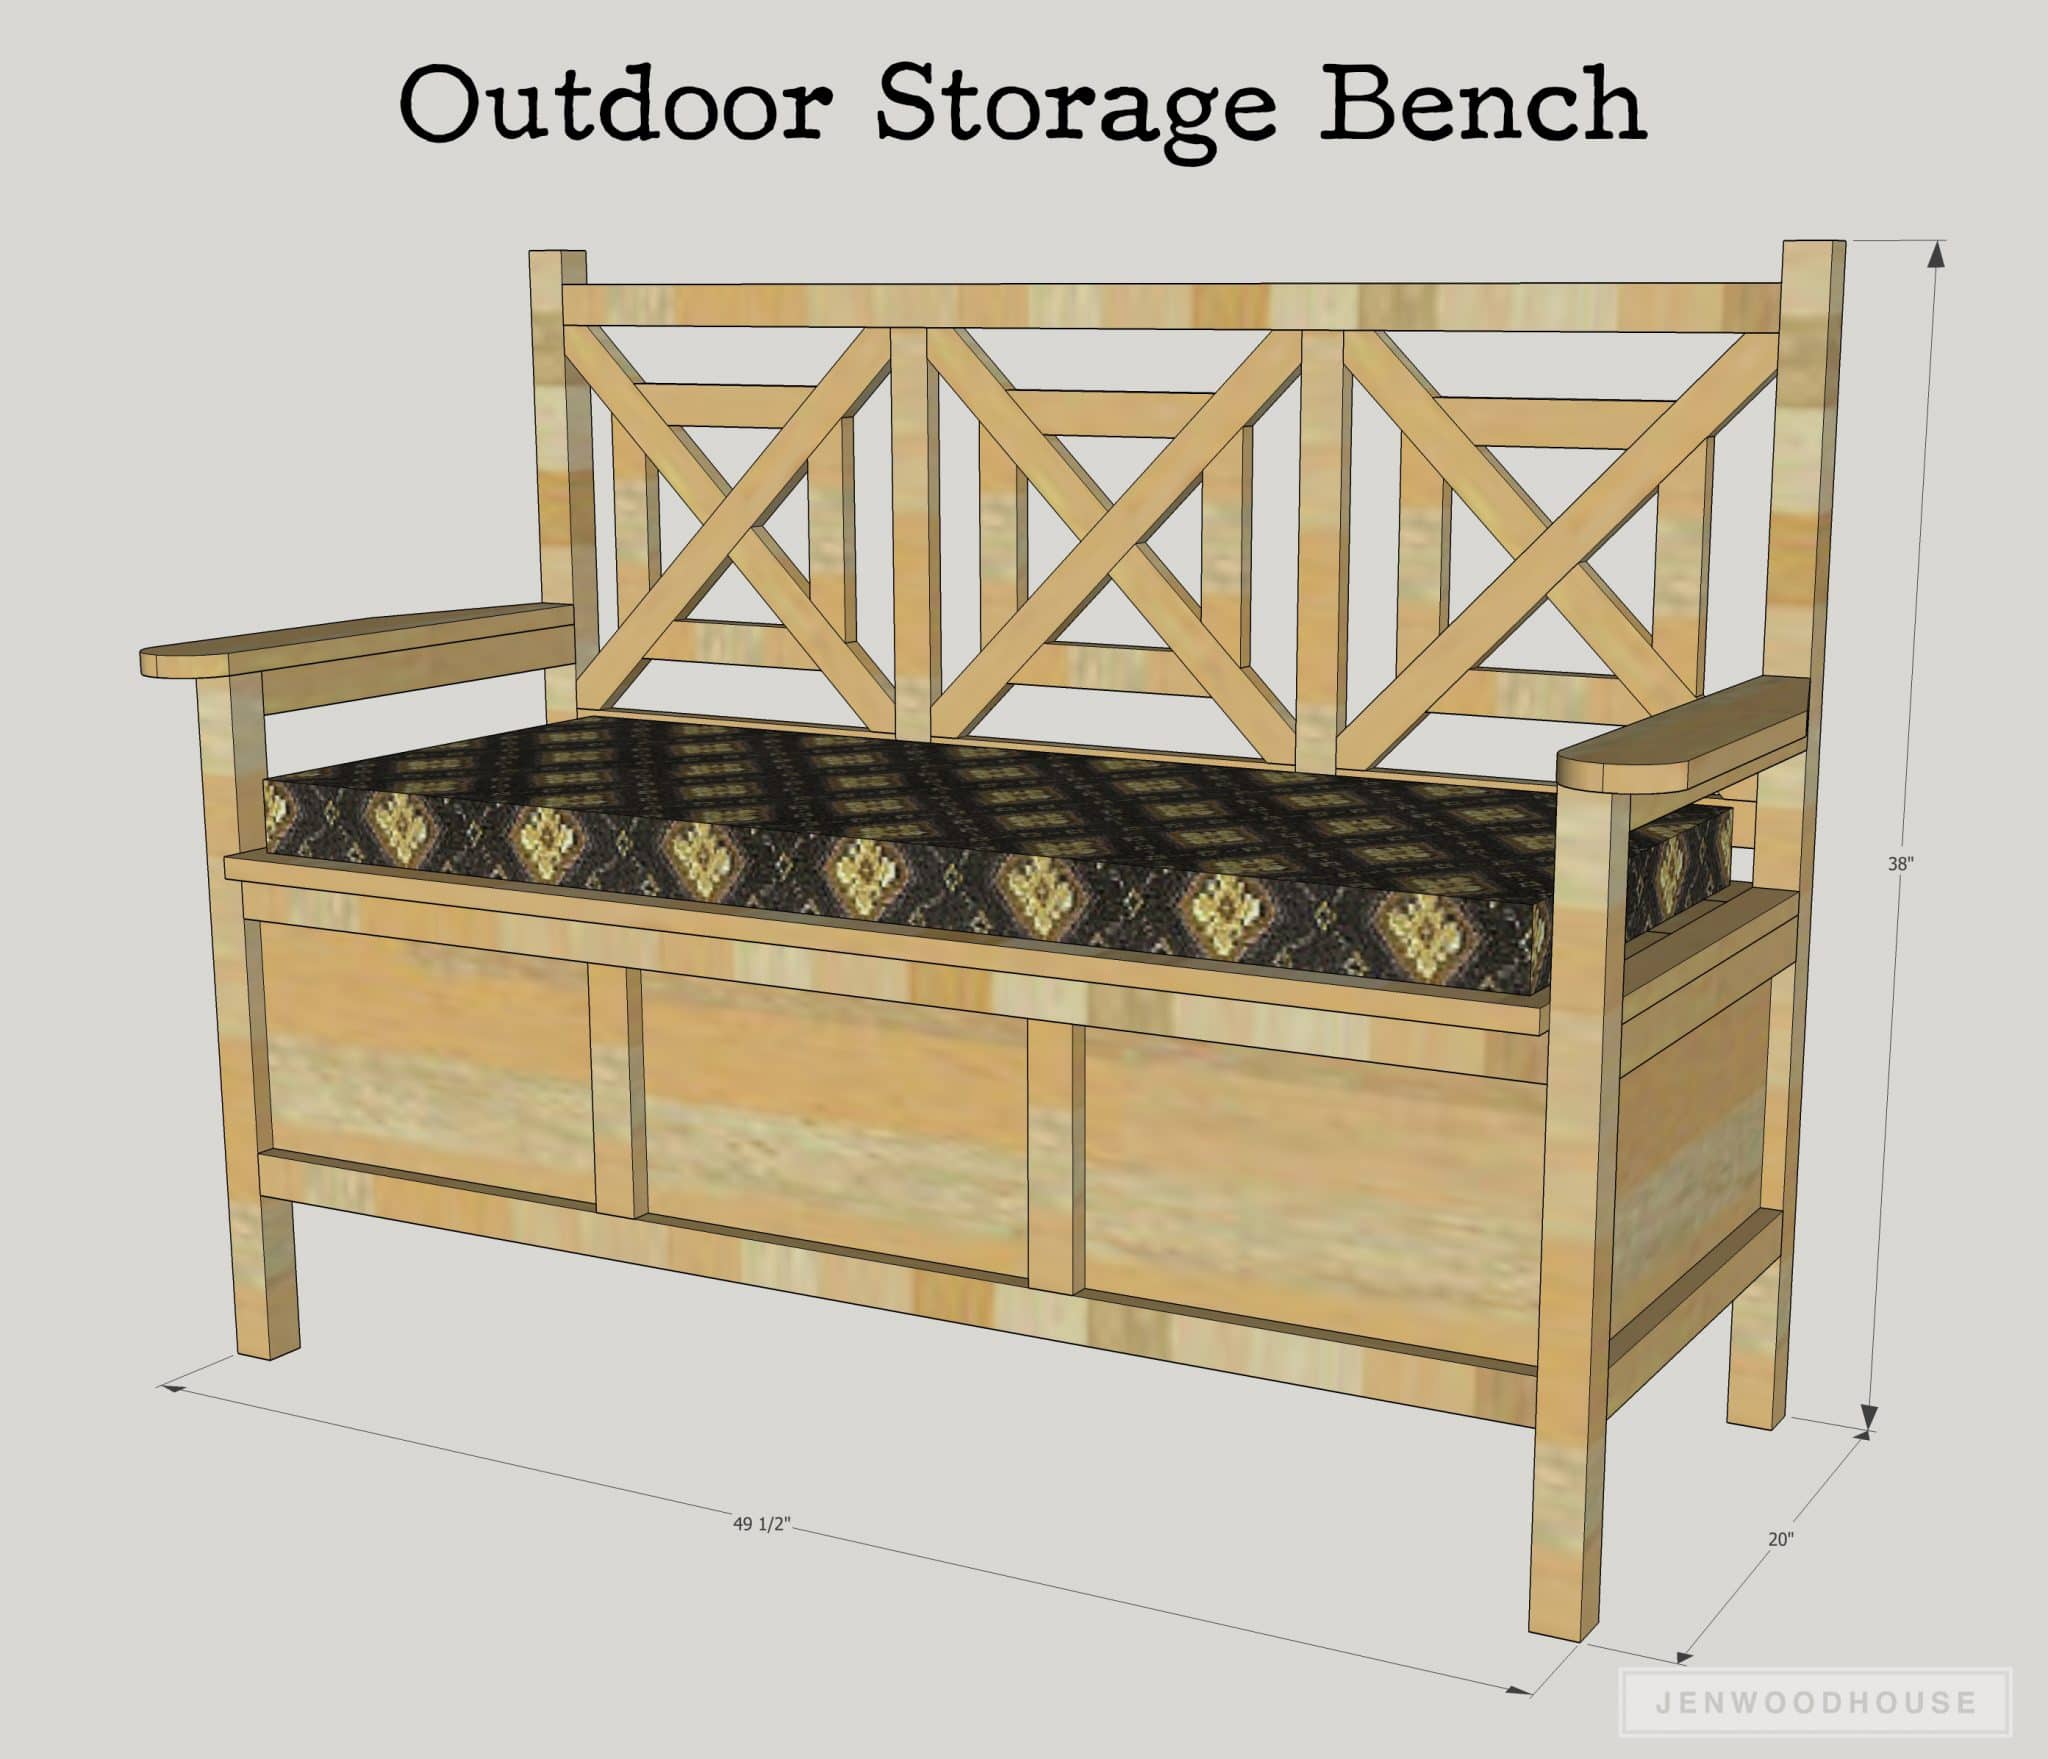
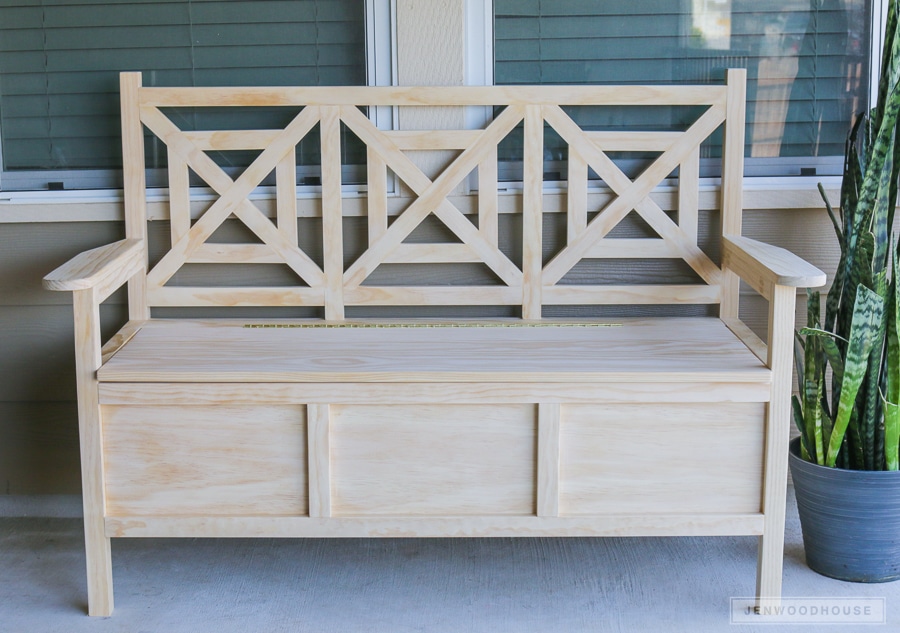
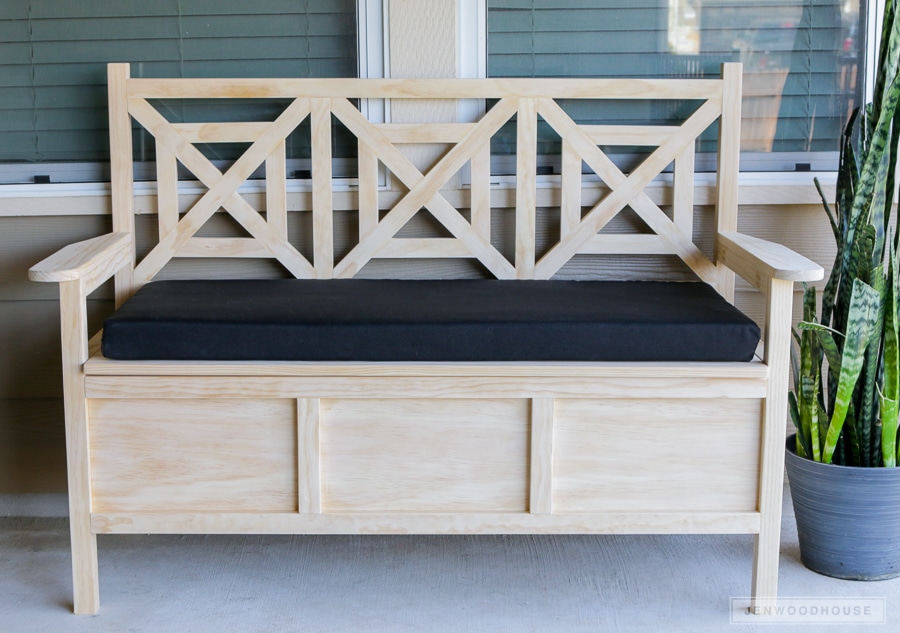
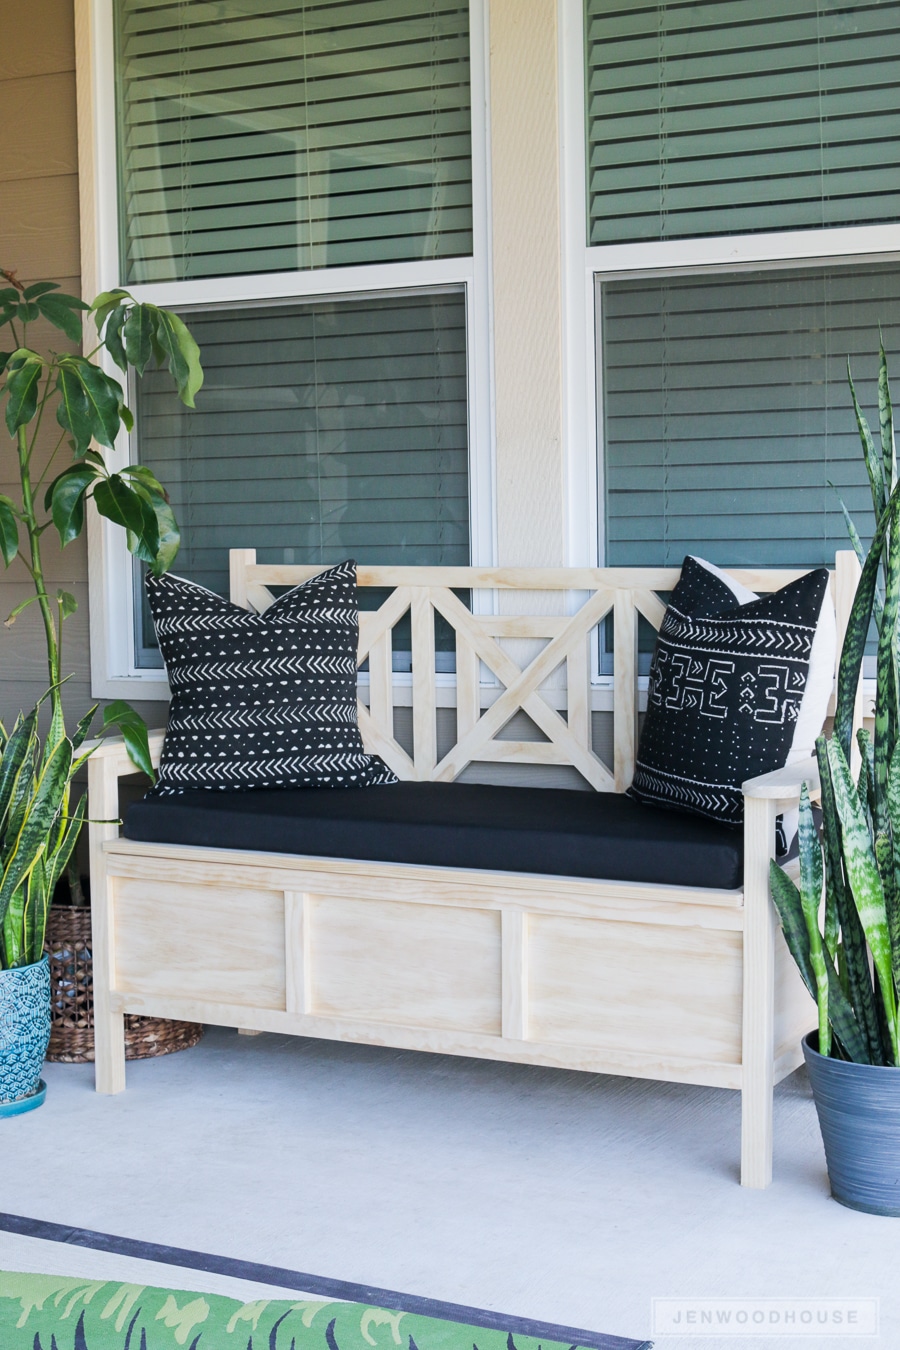
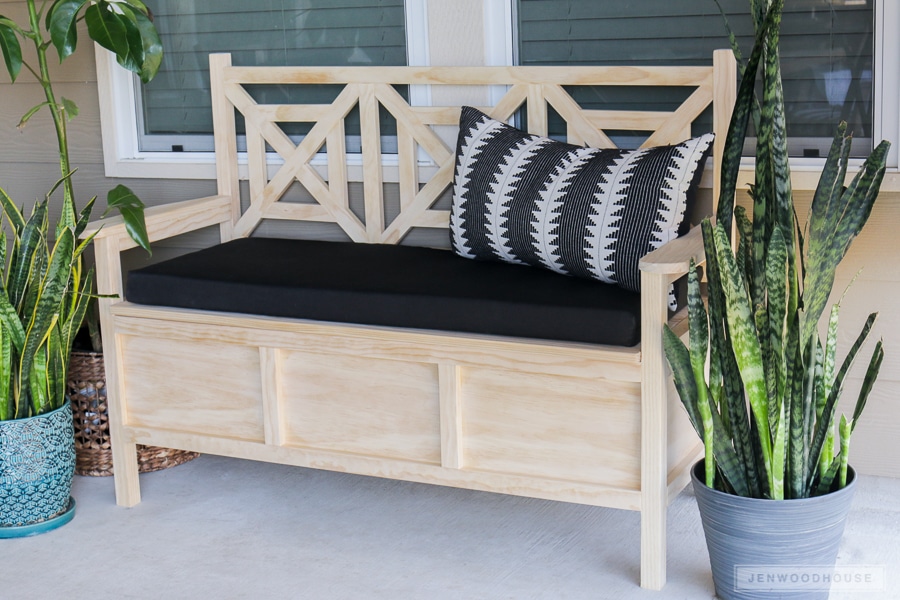
I built this storage bench for our patio and I just love how it turned out. The fretwork detail on the back makes it look extra fancy, but those angled cuts are all at 45 degrees, so this project is totally doable.
You can find the complete tutorial here on HGTV.com (I’m still pinching myself over seeing my projects there) and download the PDF plans below.
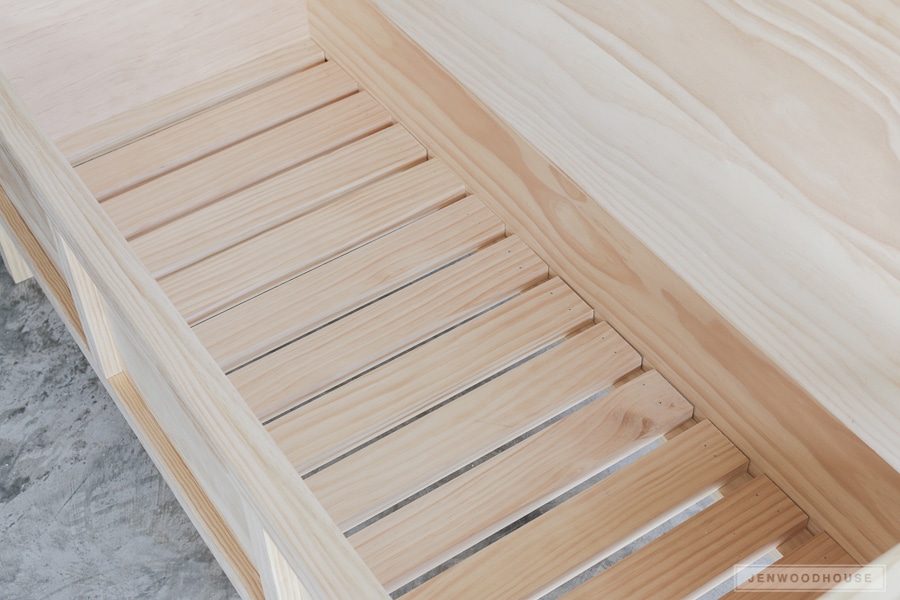
Surprise! Flip the seat and you’ve got a place to stash those outdoor pillows (or extra boxes of tissues… you know, whatever).
*This post contains some affiliate links. To read my full disclosure policy, please click here.
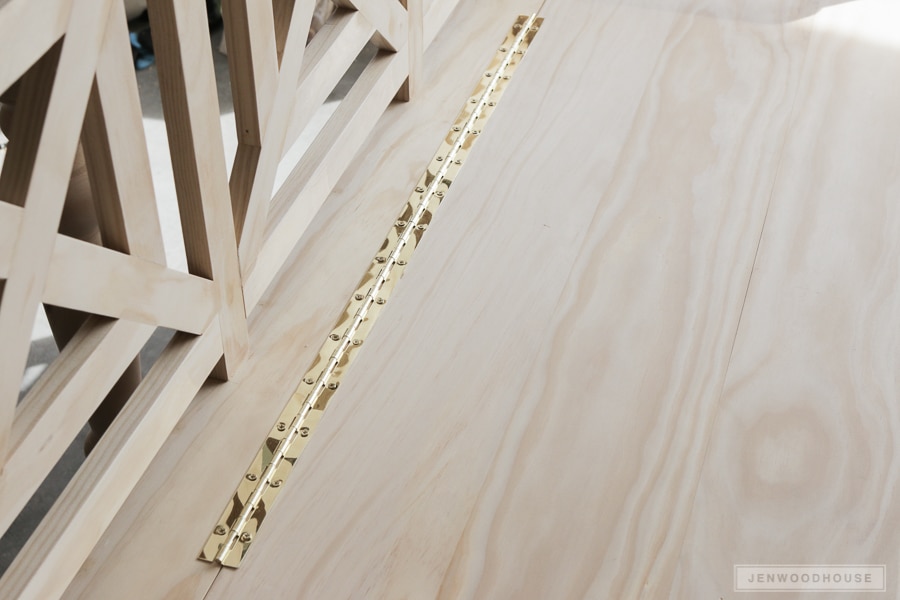
I used a piano hinge for the seat, but there are some torsion hinge options if you’re looking for a hinge that will hold the lid up – kind of like a toy box hinge, where the lid won’t come slamming down on any fingers. Torsion hinges work like a laptop hinge; the lid will stay where you put it.
Want to build this DIY outdoor storage bench for your own home? Here’s the tutorial and be sure to download the PDF plans too.
SHOP THIS POST
I designed this bench to fit a standard 45-inch bench cushion. Here’s where I bought the cushion.
Source List:
Be sure to PIN IT so you don’t forget it!



This is awesome and I want to make this!! Definitely saved the plans and pinning 🙂
Yay! Good luck!
HGTV?! That is awesome, this bench is so cute, I love the detail on the back. And the Vick’s tissues are the bomb.com!
This is awesome and I am going to make 10 or 15 of them before the summer end.
What kind of wood did you use?
on your cut list at the bottom you have (1) 1×4 x 20″ armrest shouldn’t that be (2)?
Hi Ray,
Yes! Great catch. I’ve revised the plans. Thank you!
Hi, Jen!
Would you mind sending me the revised plans? I requested to have them sent to my email numerous times, but nothing is showing up in my inbox. I also check my spam and junk folders, but nothing there either. Thanks a ton and love this bench! I’m asking my dad to build it for us for our foyer!
The 1x6s, Im assuming 2, are also missing from the materials list.
Back to the lumber yard tomorrow I guess lol
Beautiful bench! What kind of wood did you use?
Thanks Aline! I used pine.
Wow! what a brilliant idea. I like this creative, space saving, clever and amazing thought. I have to follow your ideas. Thanks for sharing an intelligent storages ideas.
The final outcome is amazing! I love the contrast of the (unfinished?) pine with the black cushions, and the hidden storage underneath. This project is way too advanced for me, but I would love to be able to build something like this bench one day.
I really love how this bench looks! My backyard and porch definitely need something like this. Thank you for sharing the details!
Love this project! Very stylish and practical!
Really like the artistic flare on the back . Very nice indeed
Love this design. I’m going to have to make one soon… Though I’ll probably out to use cedar since mine will be sitting exposed to the weather.
You can definitely see your enthusiasm in the article you write.
The world hopes for more passionate writers such as you who
aren’t afraid to mention how they believe. All the time follow your heart.
I love this design and would like to make it. I see in the plans you call for 1″x2″, 2″x2″, etc. pieces. How exactly did you accomplish that? Lumber at the two local big name’s is dimensional so a 1×2 is actually 3/4×1.5″, not truly 1×2. Even cutting down a 2×4 stud will only yield 1.75″ on one dimension though a 2″ dimension is possible on one side. Thanks for any input you can provide.
If a design calls for 1×2 or 2×2, it’s softwood, and the designer knows that is the nominal size. In reality, you will be using wood that is actually .25 inches smaller on each side.
If it was hardwood, it would call for 4/4 or 8/4 instead of 1″ or 2″ respectively. That’s in quarters of an inch.
All that to say, you can use the big box stuff and you’ll be fine.
Hola! Me enamoré de este banco y de muchos de tus proyectos. Eres mi inspiración, me siento tan identificada contigo… Tengo un problema, no me deja ver el tutorial porque te escribo desde España y me dice que no está disponible en mi país. Cómo podría verlo? Podrías subirlo a YouTube? Puedo conseguir igualmente los planos?
Gracias por lo que haces, eres encantadora!
Hi, I already subscribe to your website and could not find the plans for this particular bench. Can you help? Thanks!
I recognize these plans are several years old – but I love the bench and the dimensions. I’m curious if you have ever given thought to how this could be created so it is weather proof (I.e. I want the inside to stay dry during some of our rainy windy seasons). The bottom is easy enough to use plywood, but the top – any ideas on how to get water to roll off the back when opening instead of into the box?