Welcome back to our master bathroom remodel! If you recall, here’s where we left off:
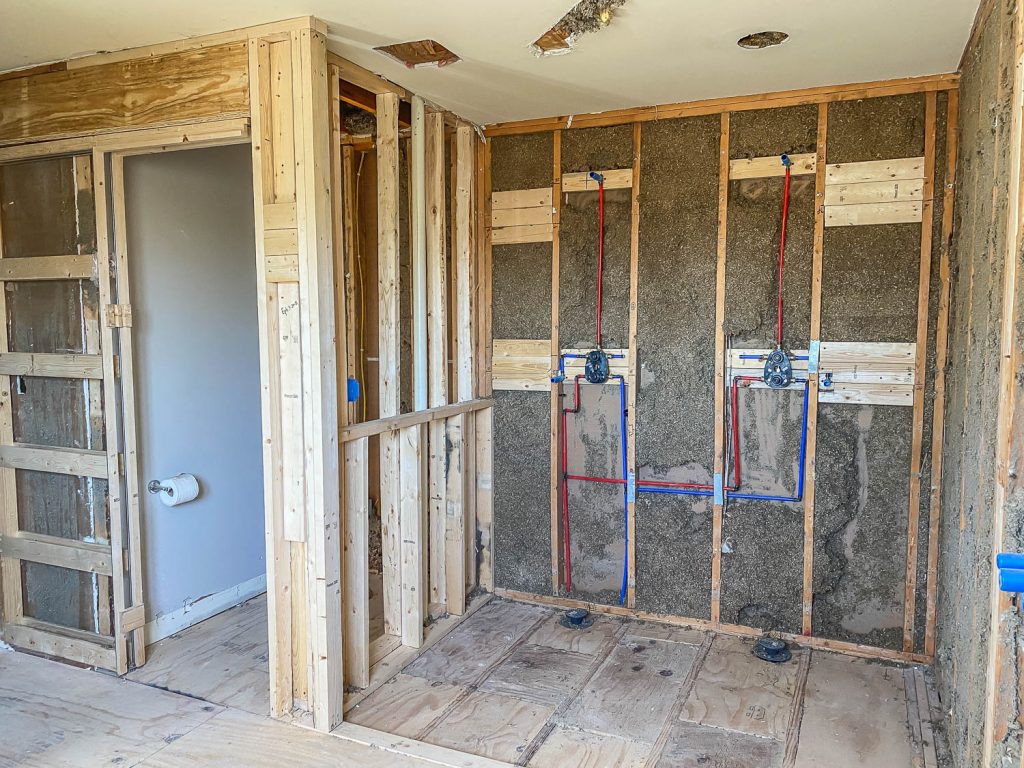
Demo, framing, rough-in plumbing and electrical have been done and now we’re moving onto insulation, drywall, and priming. In my previous bathroom renovation posts, I shared our design board, why we’re forgoing the bathtub in favor of a large double shower, the changes we had to make in our floor plan, bathroom remodel costs, as well as the benefits of a curbless shower.
Check out the posts below if you’d like to catch up:
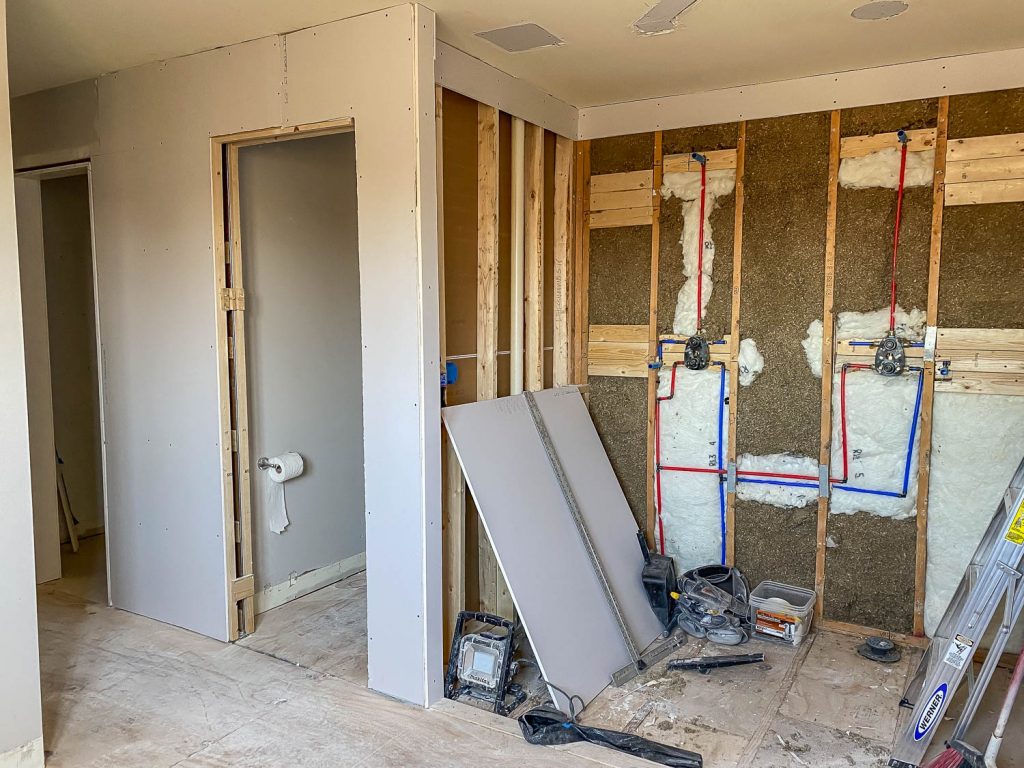
Insulation and Drywall
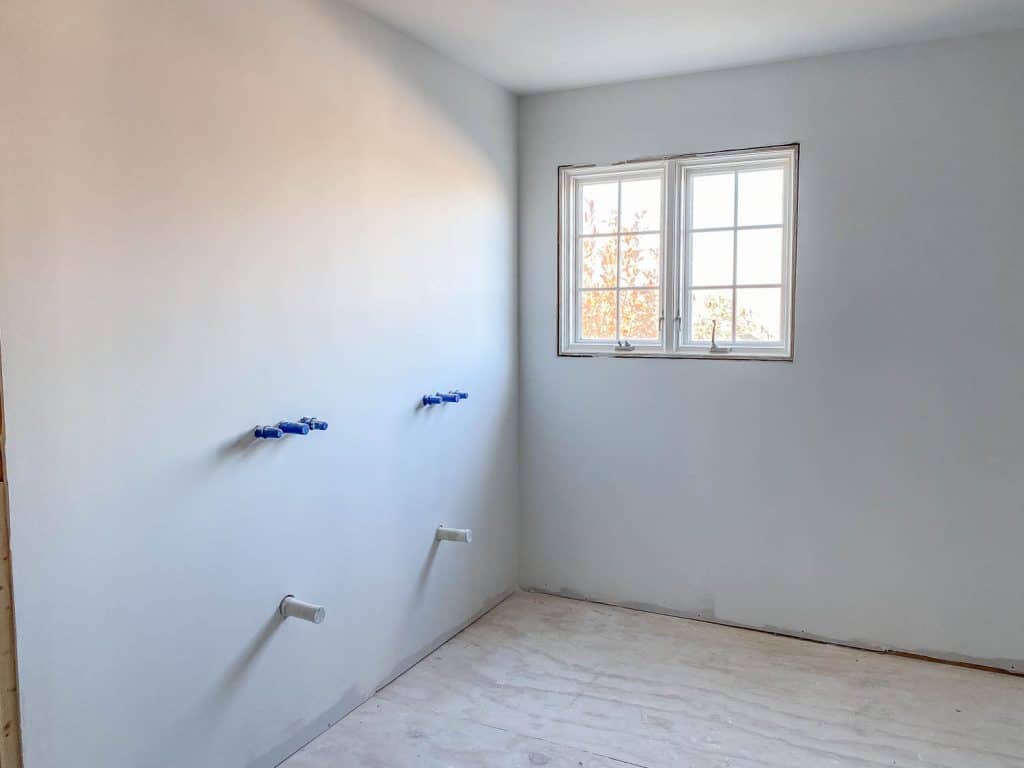
We spent about half an hour filling in the voids in the walls with sound-dampening batt insulation and then the drywall could be hung. If you’re looking for a stellar drywall guy in the central KY area, I can’t say enough good things about The Drywall Guy, Chris Nipper. His work and his work ethic are top-notch. Sadly, sub-par workmanship and questionable work ethic seem to be the norm among subcontractors in our area; they’re notoriously unreliable. So when you do find a sub that not only does excellent work, but has the work ethic to match, it’s literally like finding a pot of gold! Chris showed up when he said he would, he and his guys worked the entire time they were here, they were all highly skilled, professional, efficient, trustworthy, and friendly. Five stars, highly recommend!
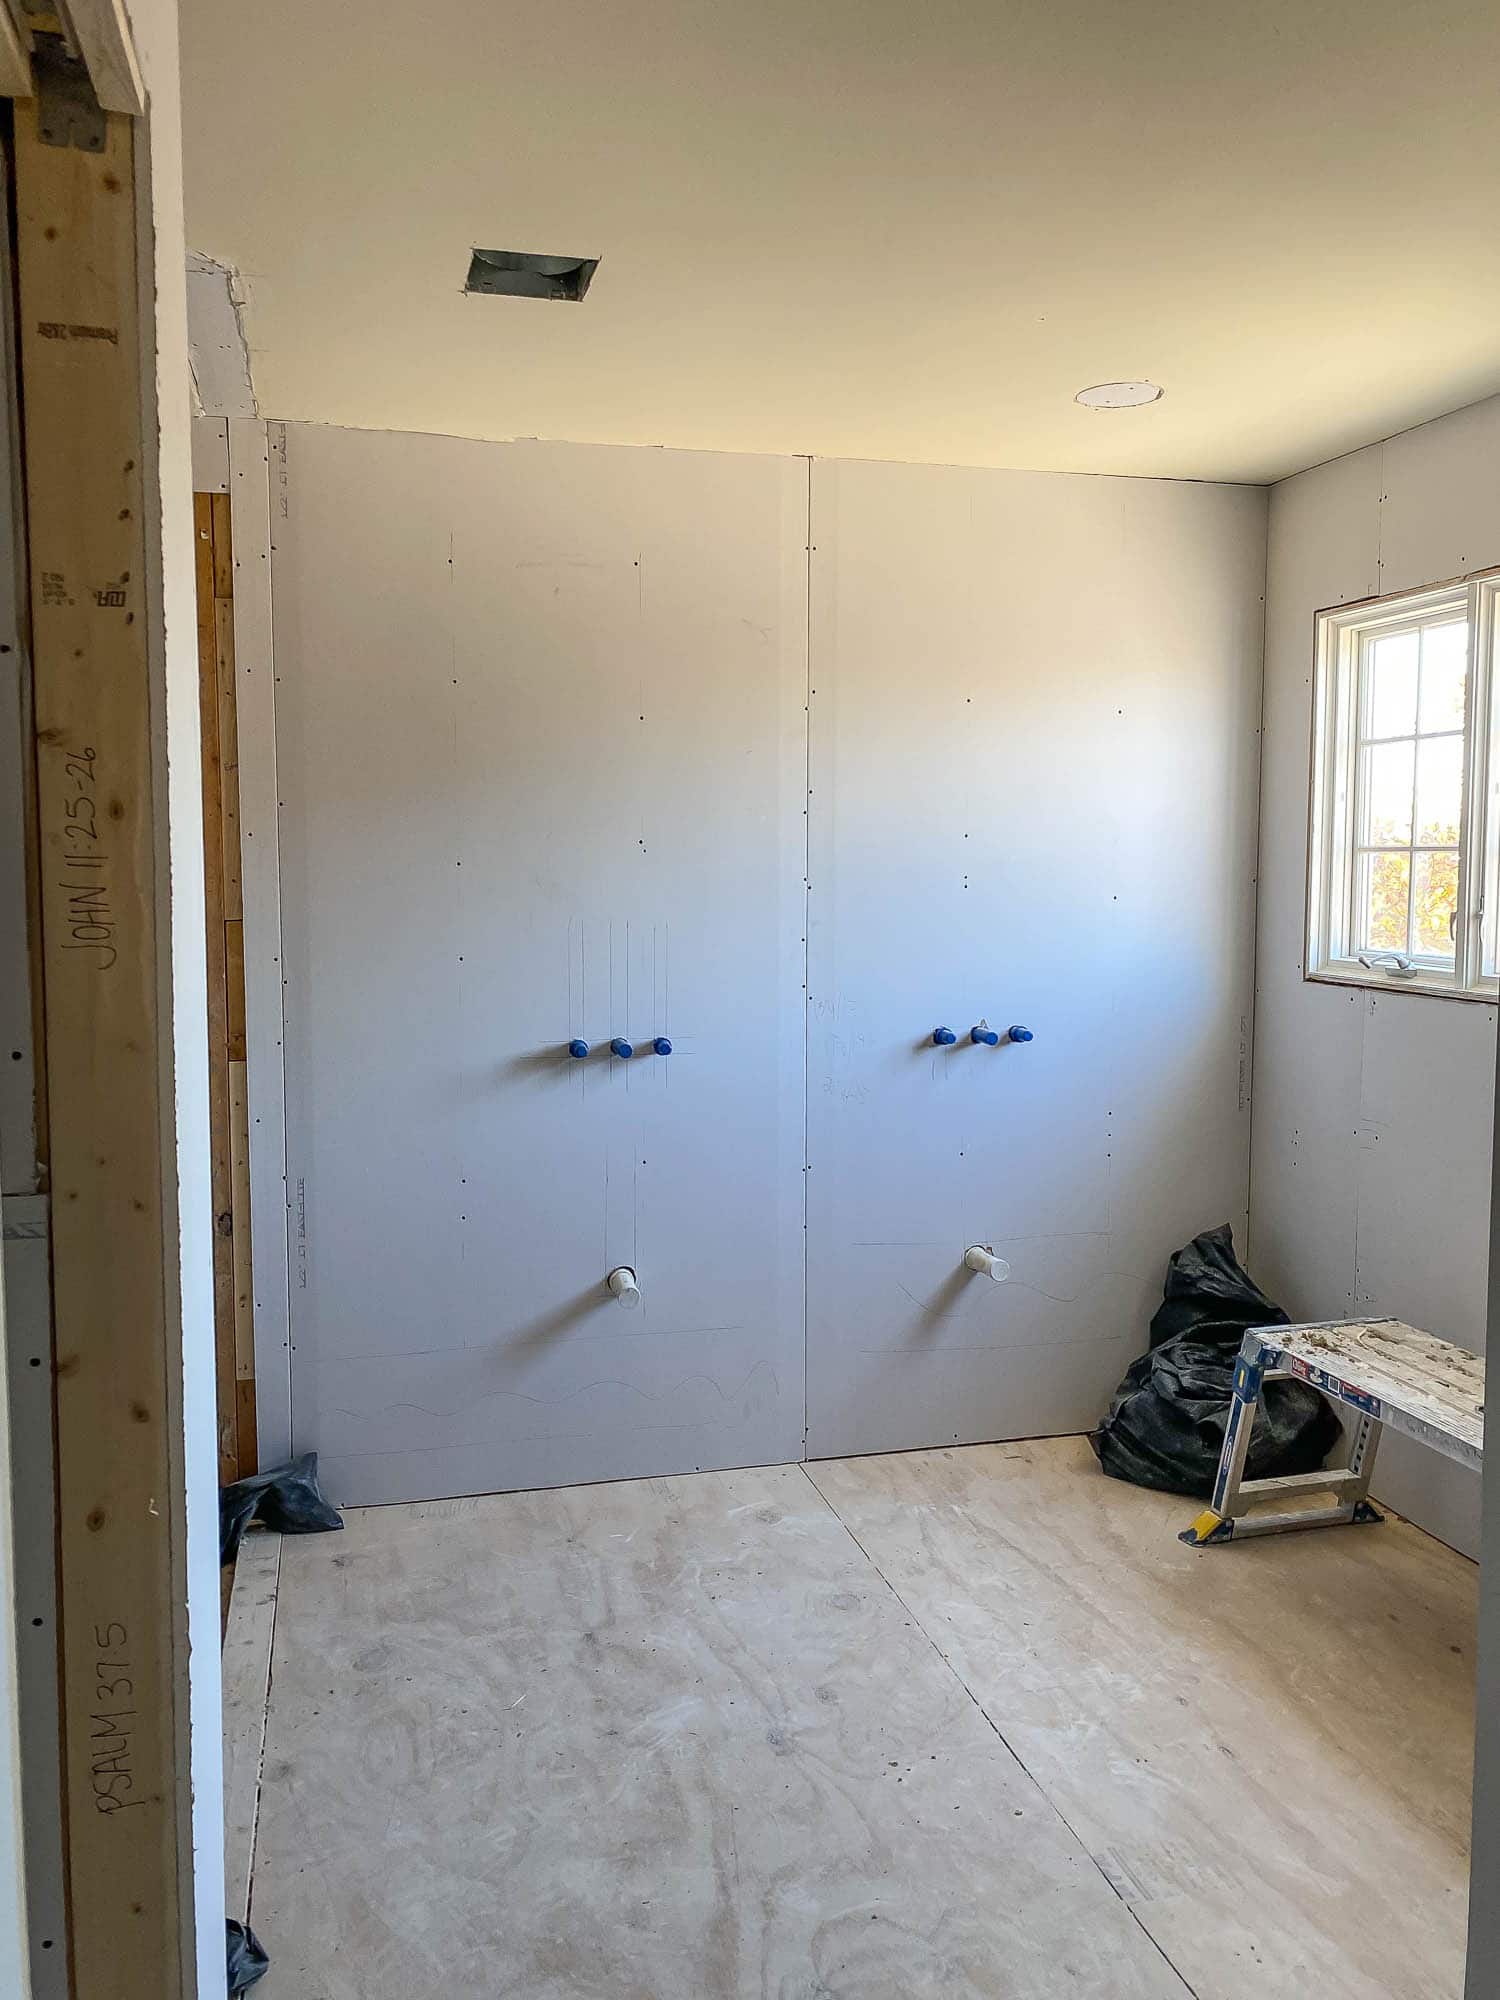
The first day, Chris spent a few hours hanging the drywall. He used a cordless cut-out tool to cut the holes for the faucets and other fixtures, then screwed the drywall to the studs with a cordless drywall screwdriver. He also marked where the electrical wires were on the vanity sink wall.
I still can’t get over how removing that old tub and taking down the shower wall opened up the whole space. It’s like doubling the size of your bathroom! I hope removing the tub from the master won’t hurt our home’s resale value. If any future homeowner’s want a tub, there’s still one in the kids’ bathroom. Also, I’m banking on the high-quality fixtures and finishing touches to really sell this space.
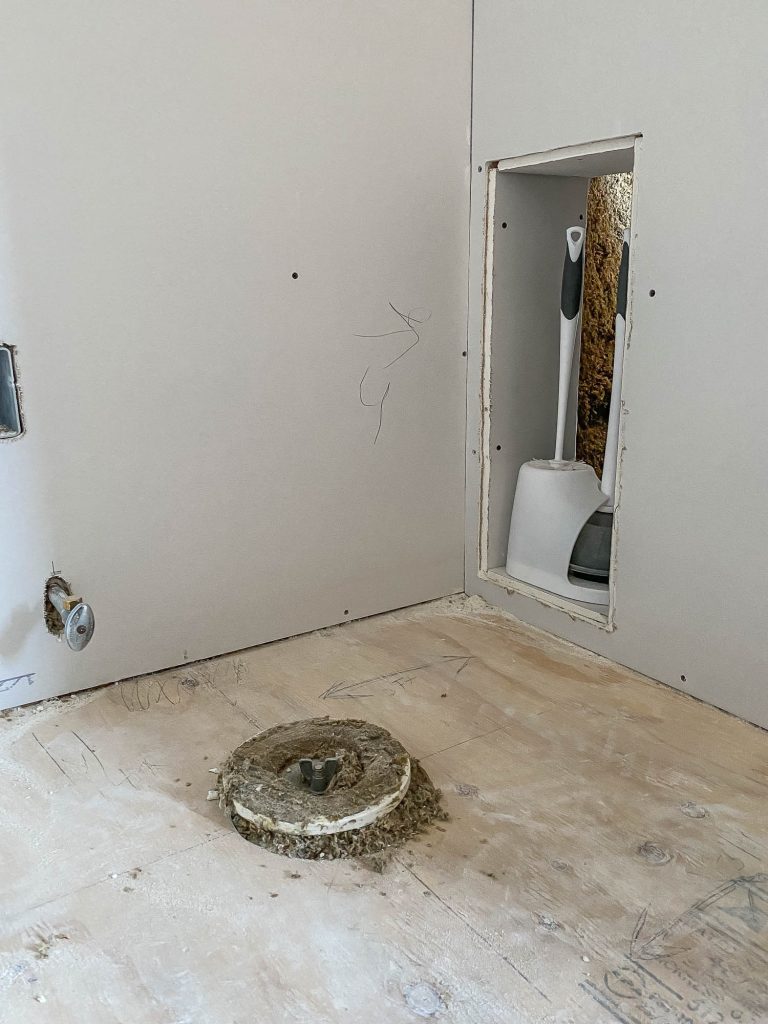
A Custom Nook for the Plunger and Toilet Brush!
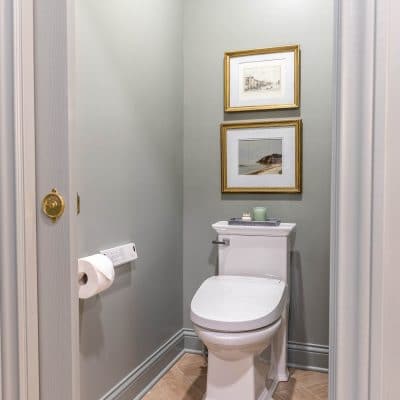
Although we were able to make our water closet just a tiny bit bigger by squaring off the angled wall and adding a pocket door, it’s still a tight space at 36 inches wide. For this reason, I decided to frame out a little nook for the toilet brush and plunger to be tucked neatly away. How clever is that?! No precious floor space will be sacrificed and those nasty things are totally hidden! I’m very proud of myself for adding this little detail.
Priming the Drywall
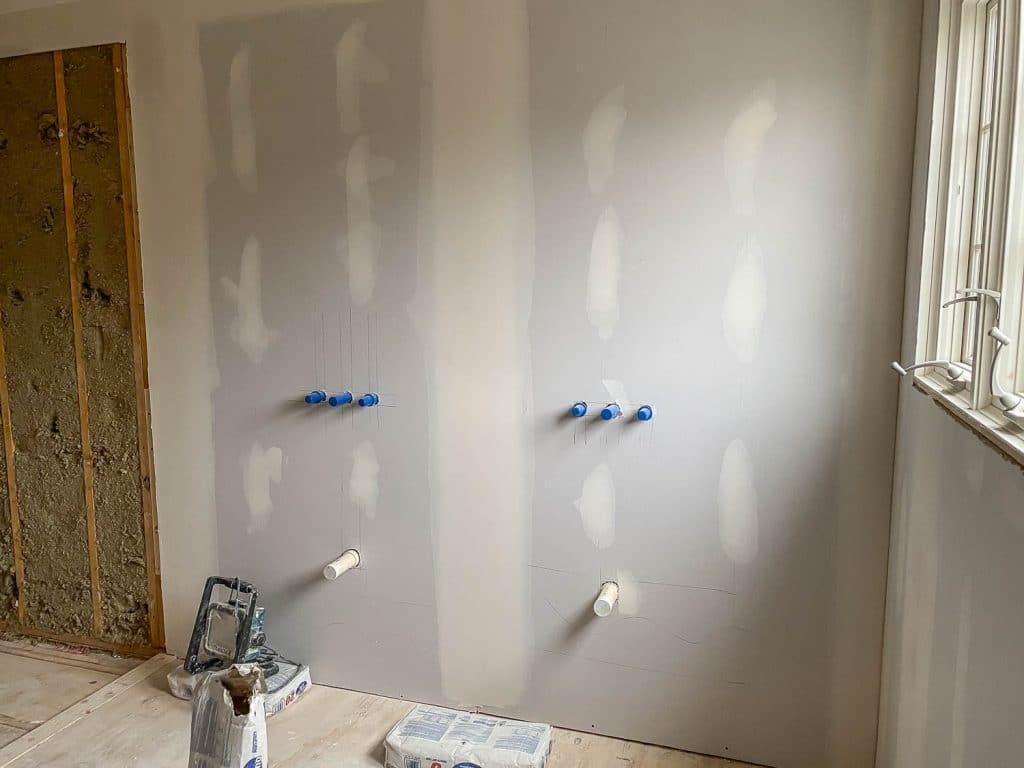
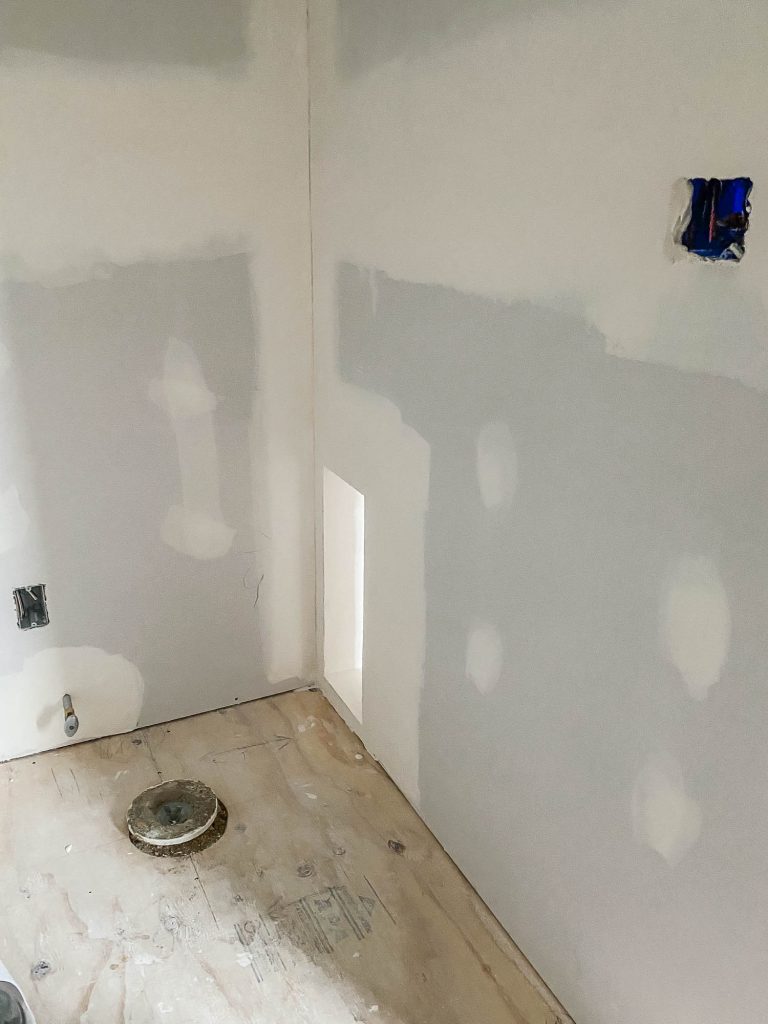
Shortly after the drywall mud was dry, my favorite painters squeezed me in between jobs and spent a few hours priming the walls and ceiling. They love following a great drywall guy because it means there won’t be any mistakes that they need to fix. They can just roll with it and move onto the next job.
Next up is tiling and oh, what an adventure that will be! I’m not DIY tiling the bathroom this time, so it’ll feel so amazing to sit back and leave this job to the professionals. Stay tuned!
To Do List + Timeline Breakdown
Design/planning: 1-2 weeksHire contractors: 1-2 weeksOrder products: 1-3 monthsDemolition: 2-3 daysFraming: 2 daysRough-in plumbing: 2 daysRough-in electrical: 2 daysInsulation and drywall installation: 3 daysPriming: 1 day- Waterproofing: 1 day
- Tile installation: 8-10 days
- Countertop fabrication: 1 week
- Cabinetry: 2-4 weeks
- Shower glass fabrication: 1-2 weeks
- Finish plumbing: 1 day
- Finish electrical: 1 day
- Finish carpentry: 1-2 days
- Finish Painting: 3-5 days
- Inspection: 1 day


For the toilet brush/plunger nook, are you going to put a little door on it?
Can you talk more about the sound-dampening batt insulation that you installed? I’m interested in doing something similar but never heard of such a thing.
Great blog!