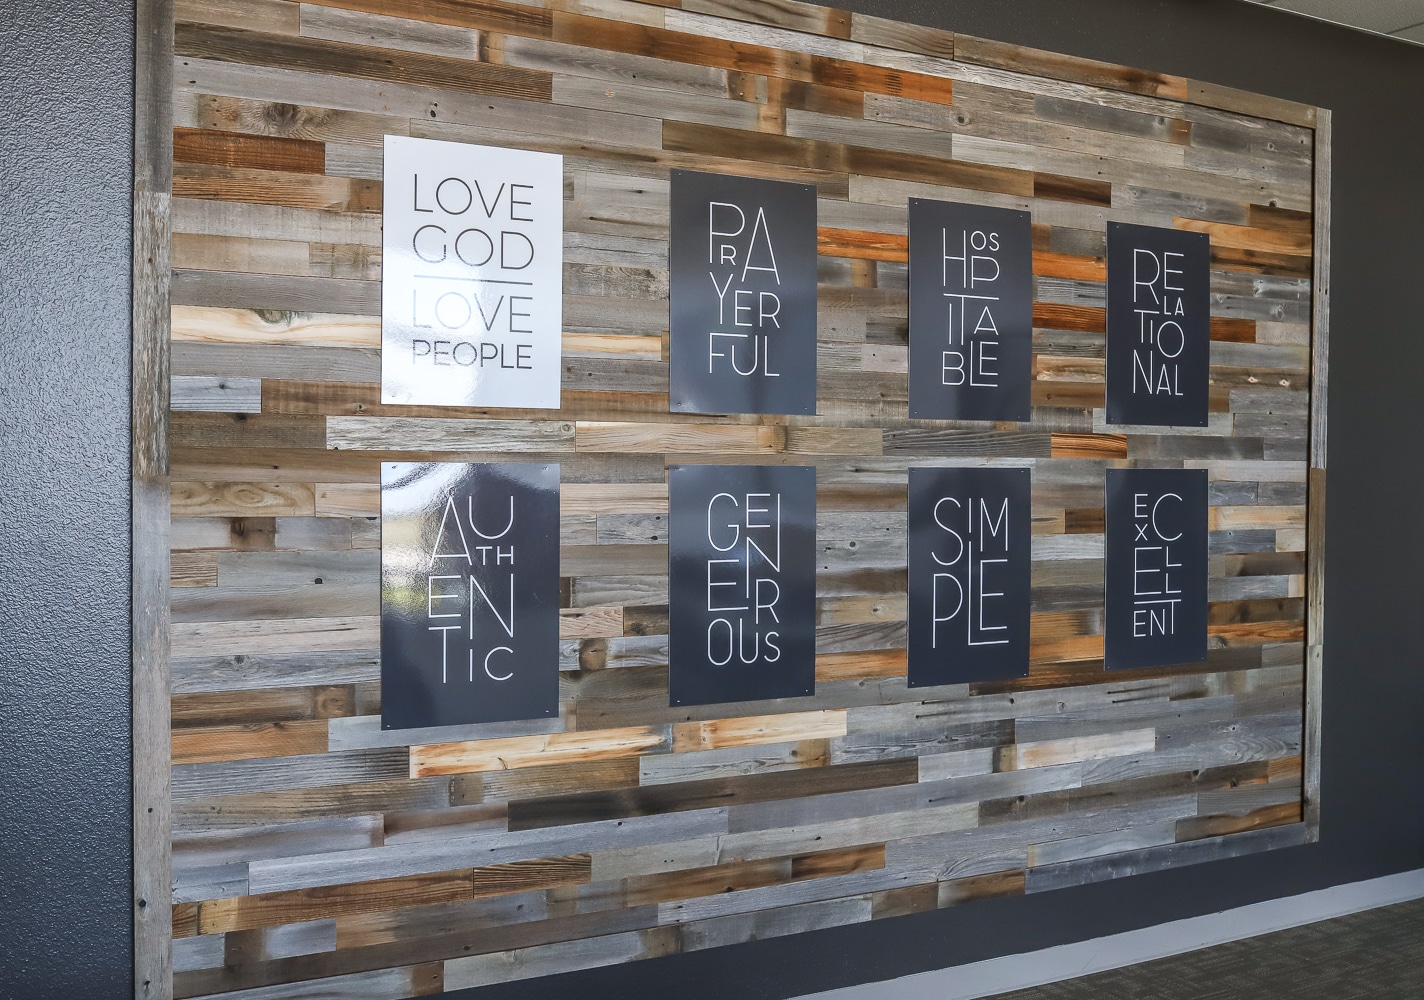
Hi friends! I’m so excited to share my latest DIY project with you all! My church wanted to update their staff area with a feature wall where they could hang their Core Values and the very next day, a company called Plank and Mill emailed me about a potential collaboration. Ahhh… God’s perfect timing!
Plank and Mill is an Oklahoma-based company that sells real reclaimed wood planks. The planks are peel-and-stick, so installation is super simple! We were able to transform a blank, boring wall into a show-stopper in just one afternoon.
And we made a video! I’d love for you to subscribe to my YouTube channel. Check out our how-to video:
Plank and Mill has a square footage calculator on their site, so you can calculate just how much product you’ll need to buy. They recommend ordering a little more than you need, just in case, so we ordered about 100 square feet of the reclaimed barn wood planks to cover our 96-square-foot space.
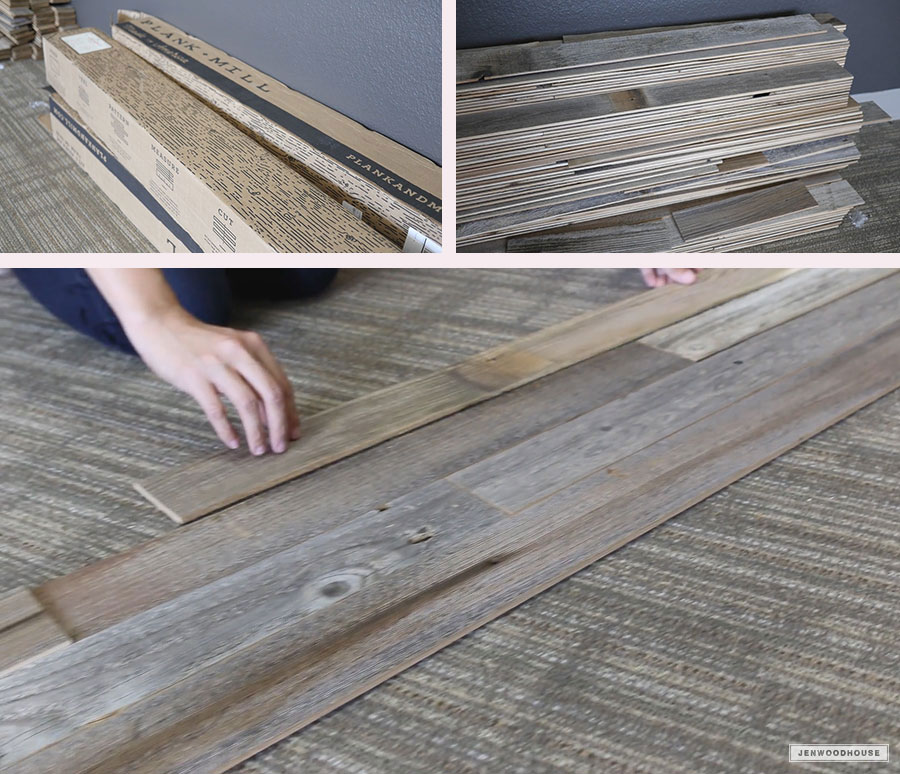

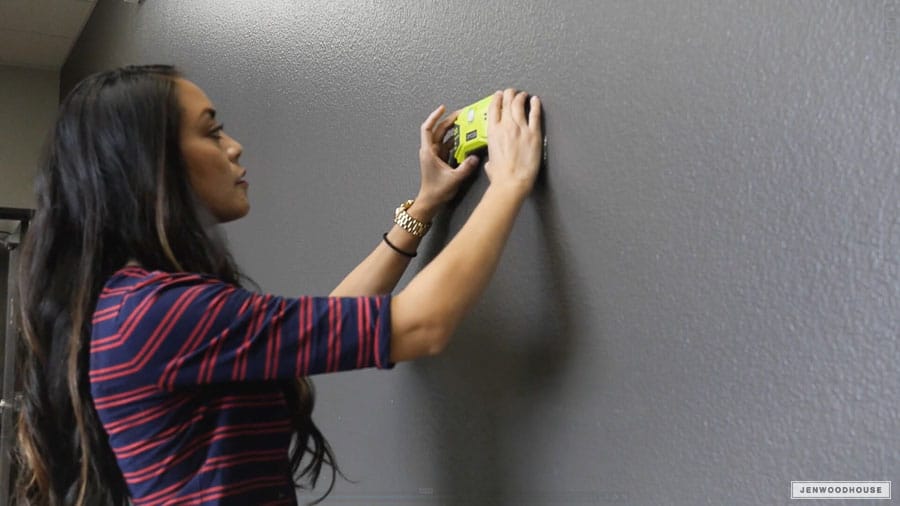
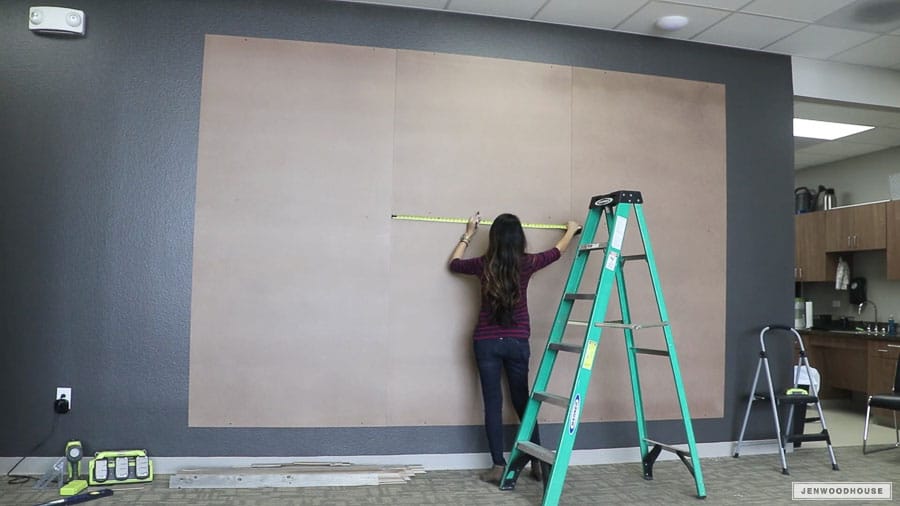
Per the instructions on Plank and Mill’s website, they recommend starting in the middle and working your way out, so that’s what we did. In hindsight, however, I realized that I could have started at the top left corner and I don’t think it would have made much difference.
I also used the level periodically just to make sure I was still on track.
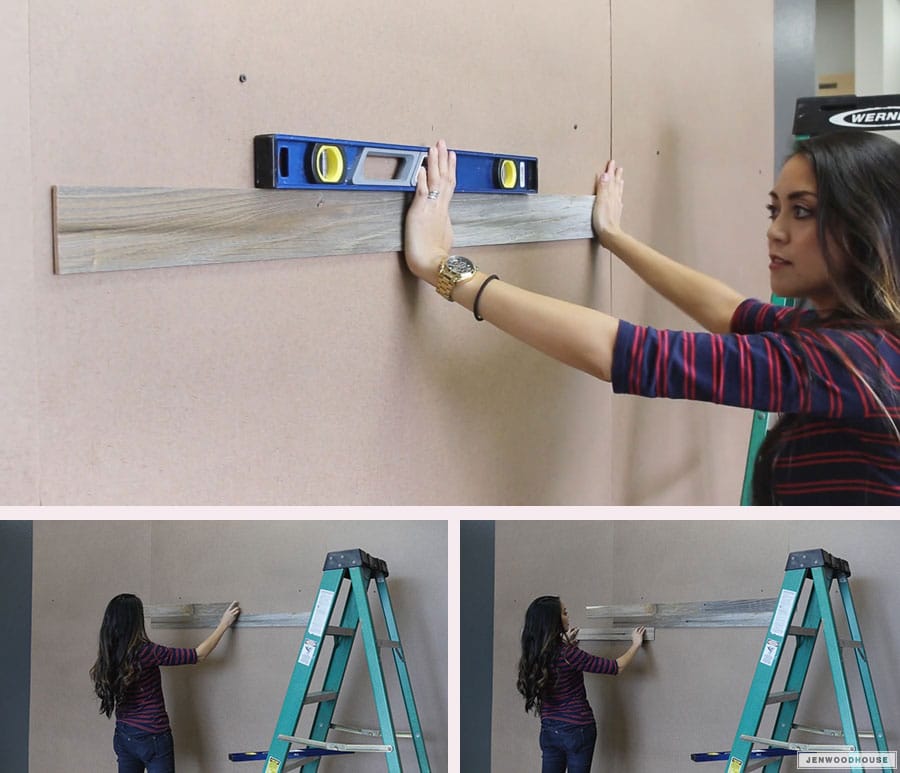
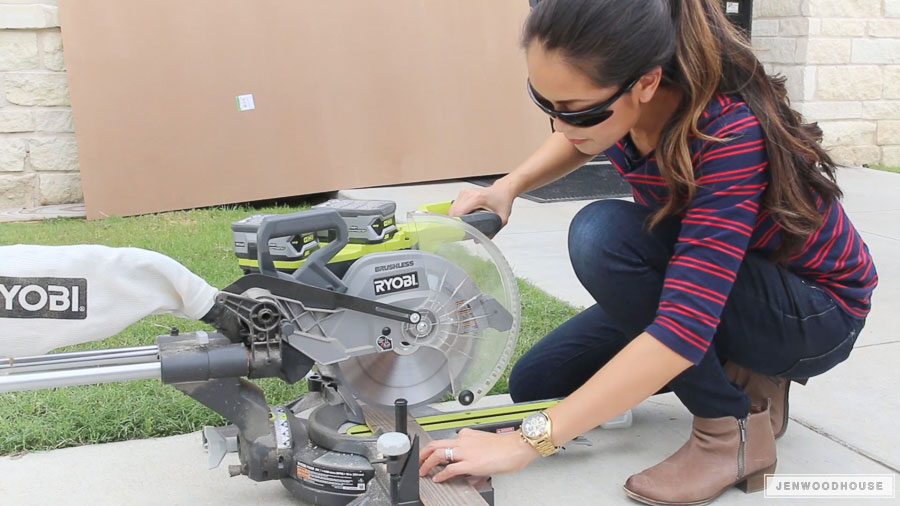
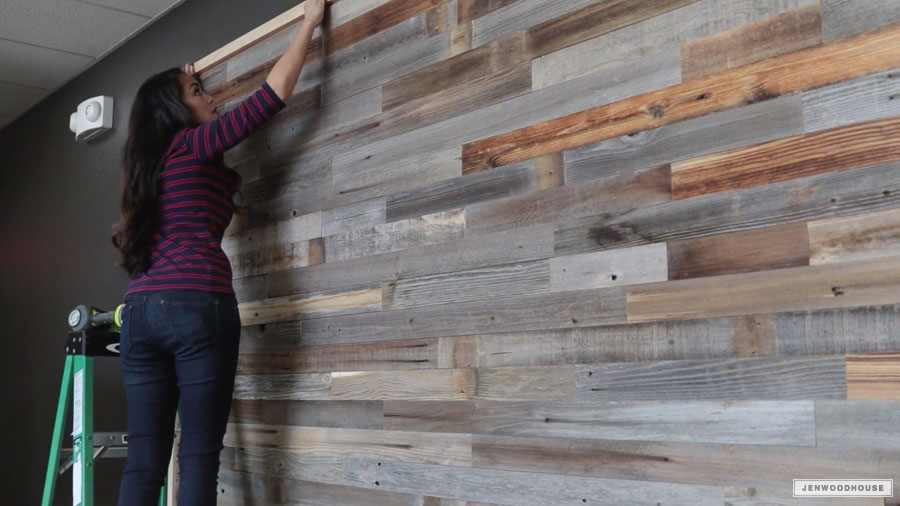
I staggered the planks for an authentic look, making sure to randomly sprinkle the different tones and colors throughout. There aren’t any hard or fast rules here; the random imperfection adds to the rustic beauty.
Visit Plank and Mill to learn more about the wood we used for this project and if you create a reclaimed wood wall, we’d love to see it! Please tag @plankandmill and me (@jenwoodhouse) so we can see your projects!


Leave a Reply