Hello and happy Tuesday, friends! I hope you enjoyed the long holiday weekend. I spent mine building, so I was a happy camper. Oh, and I have some super exciting news too. If you’ve been hanging around here for awhile, you’ll know that I’m a big fan of Simpson Strong-Tie® products. I used their connectors and fasteners when I built my DIY Workbench and Restoration Hardware-inspired industrial rolling console, so when they approached me about being a 2016 Brand Ambassador, I couldn’t say “heck yeah!” fast enough.
Jen Woodhouse: Simpson Strong-Tie Brand Ambassador. I’m so fancy. Yep – I have officially arrived. Would it be weird to get that title tattooed on my arm? Oh, too much? Yeah, you’re probably right. I’m expecting my diplomatic license plates any day now.
By the way, being an Ambassador doesn’t grant you parking privileges in the fire lane. Apparently, “diplomatic immunity” is a government thing.
Pfft.
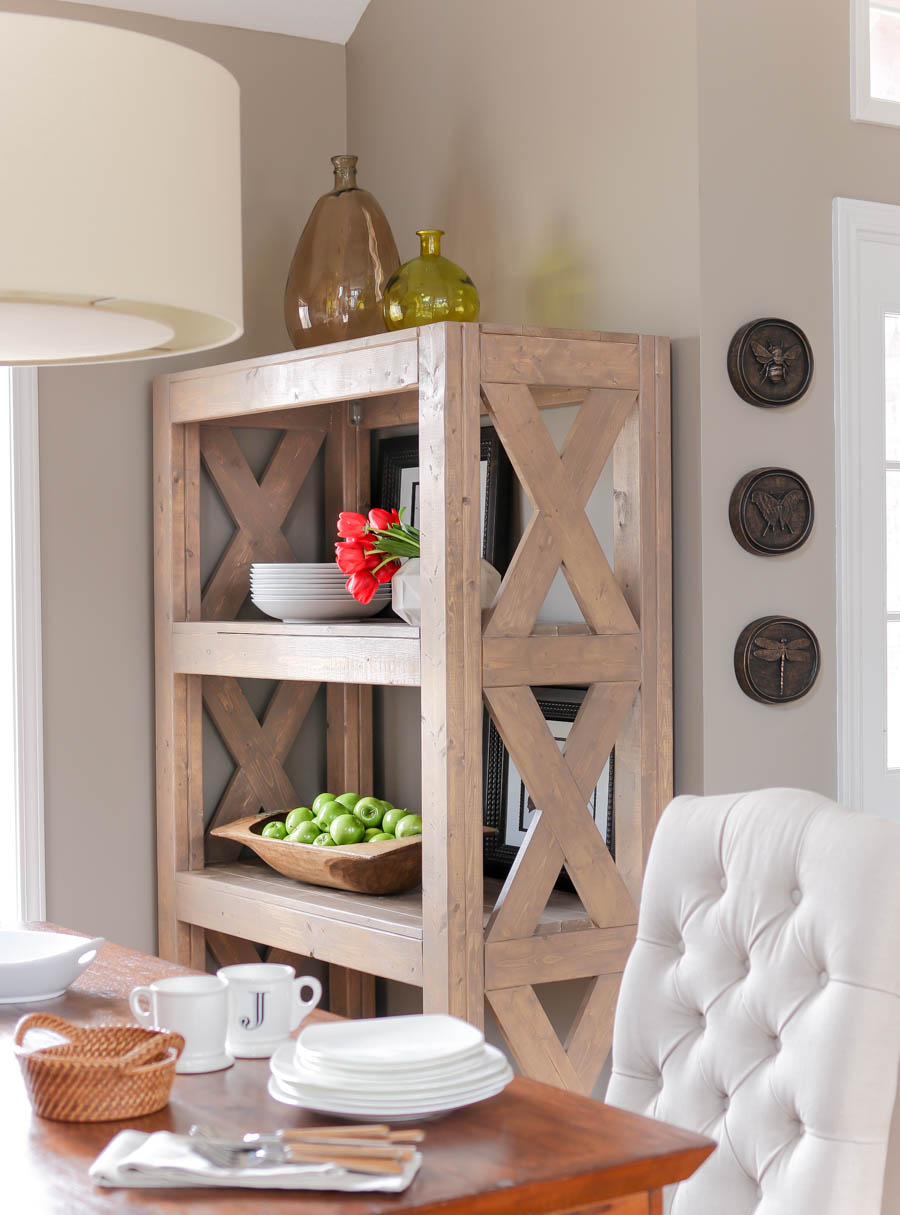
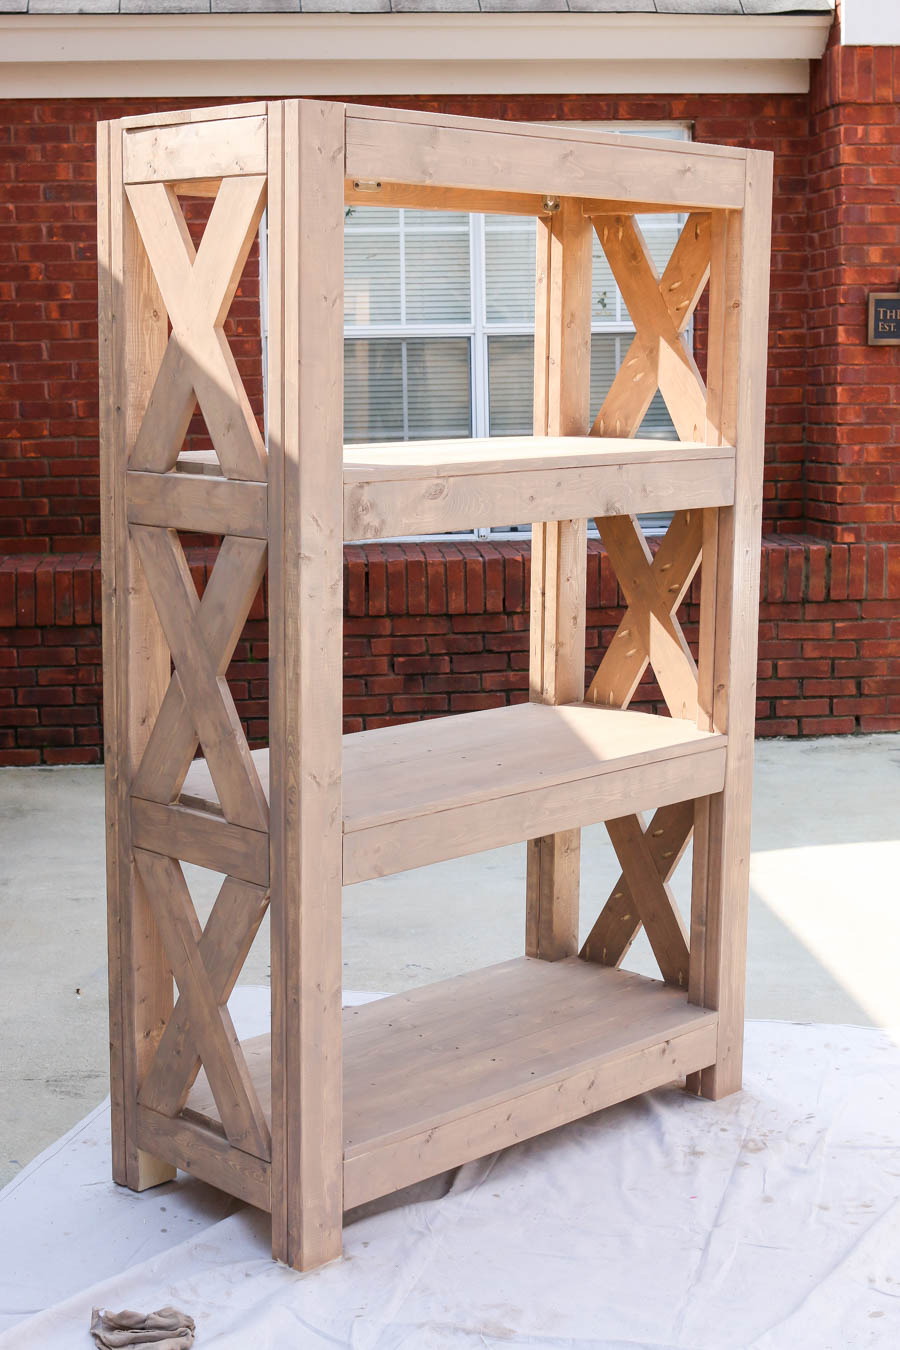
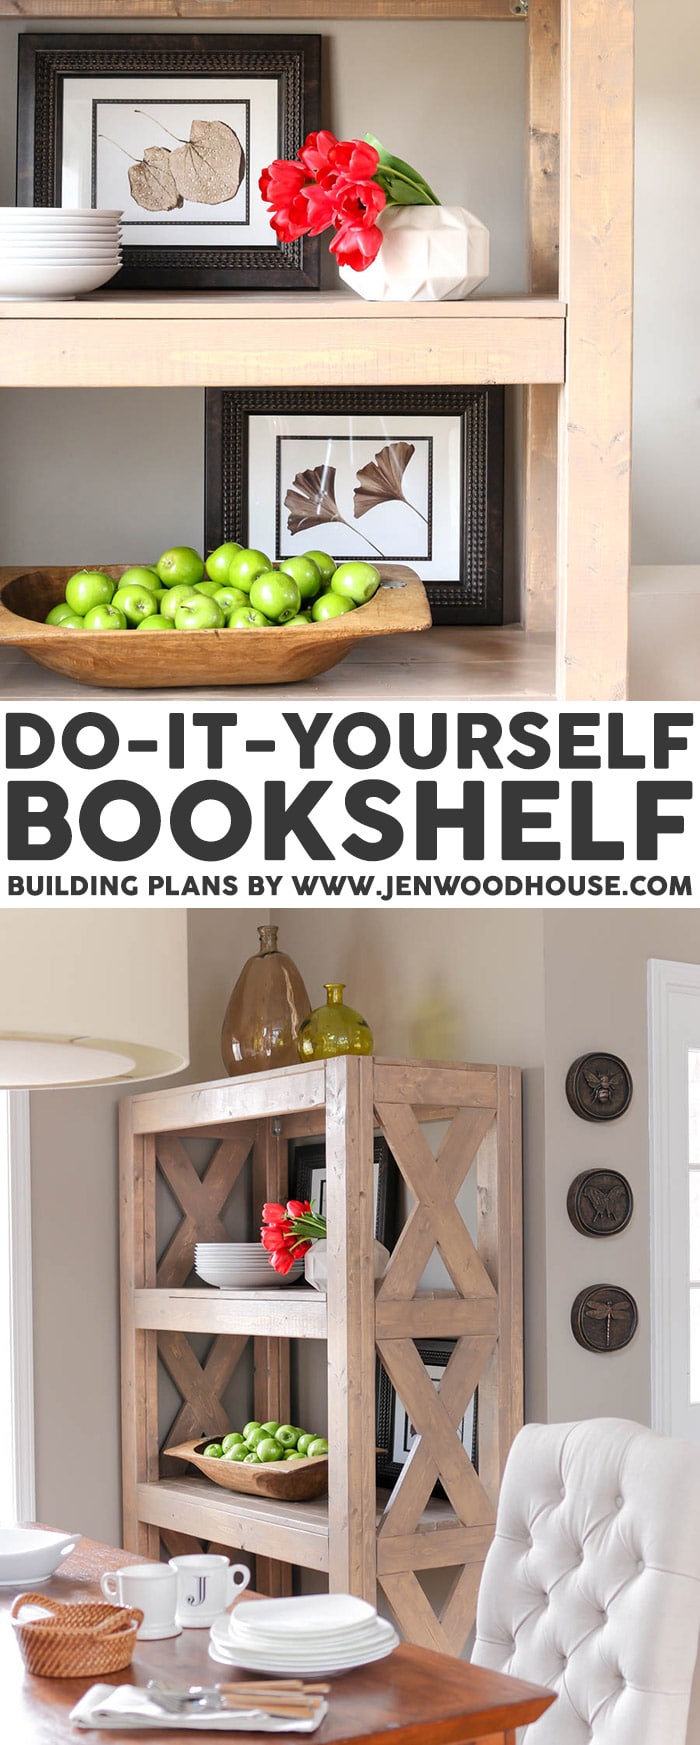
If you’re not familiar with Simpson Strong-Tie, take a peek at their DIY Done Right website. From brackets and angles to joist hangers and post caps, Simpson Strong-Tie is the industry-standard for metal connectors and fasteners. I built and finished this bookshelf over the weekend and it’s not only stylish, but strong and sturdy. Using Strong-Tie connectors makes building simple and quick.
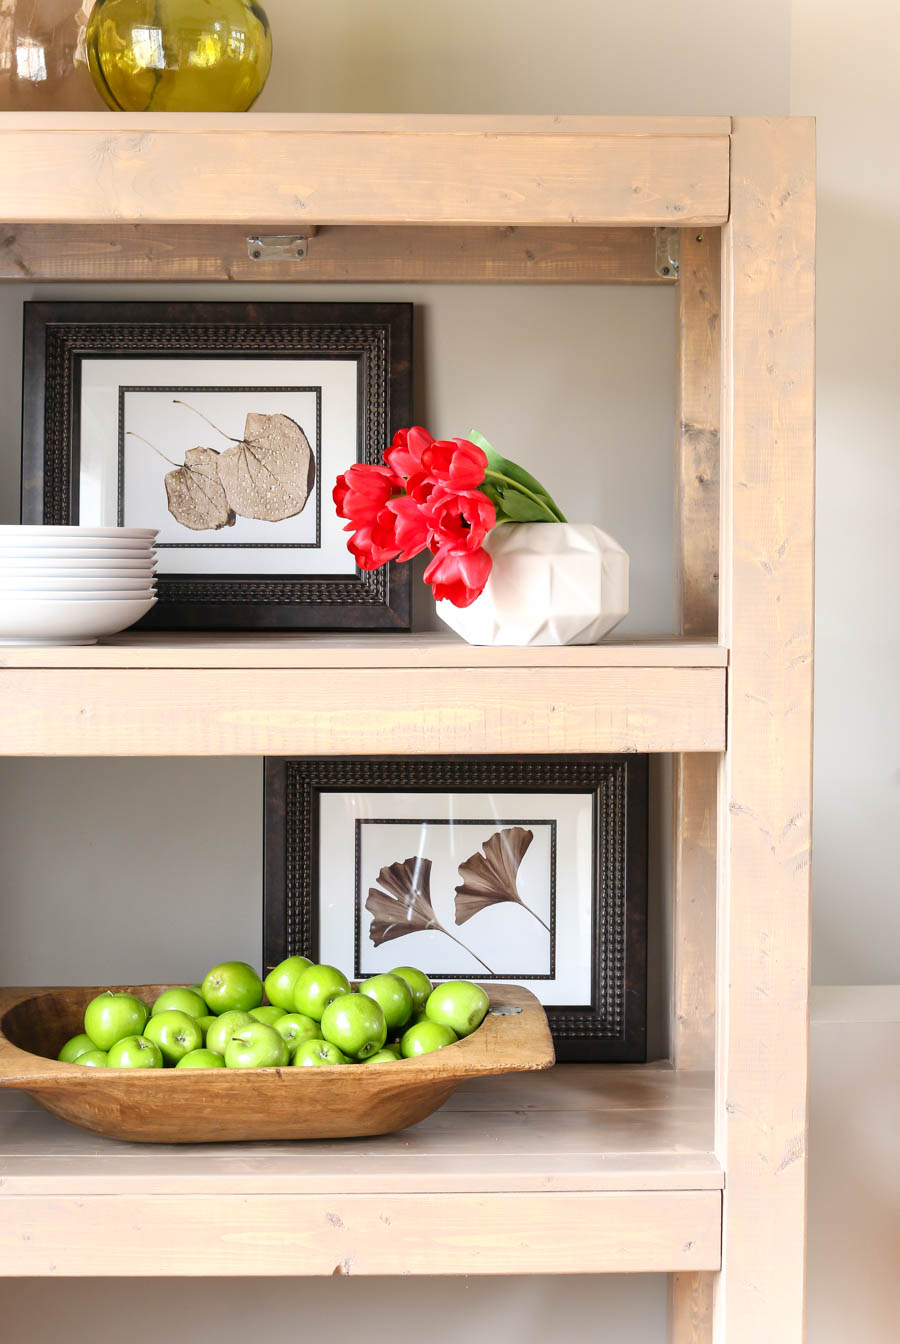
So are you as excited as I am? Let’s get building, shall we? This project will run you about $75 to build. Is that not crazy?! You’ll pay hundreds more to buy a solid wood bookshelf like this one in stores. This is just one of the many reasons why I love to DIY, folks.
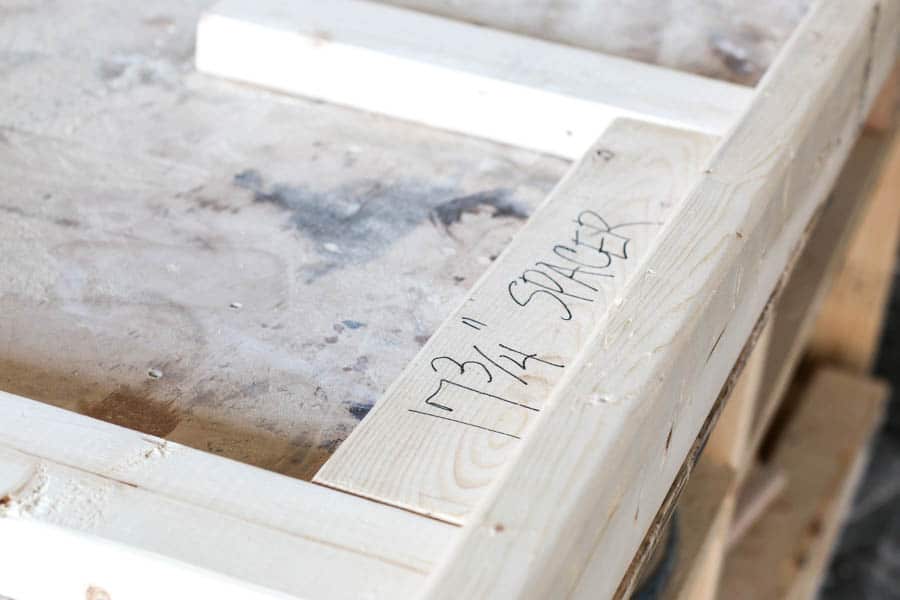
No, Son. Go sweep up the sawdust instead. He’s three years old and I’m lucky he still gets excited about these things. #motheroftheyear
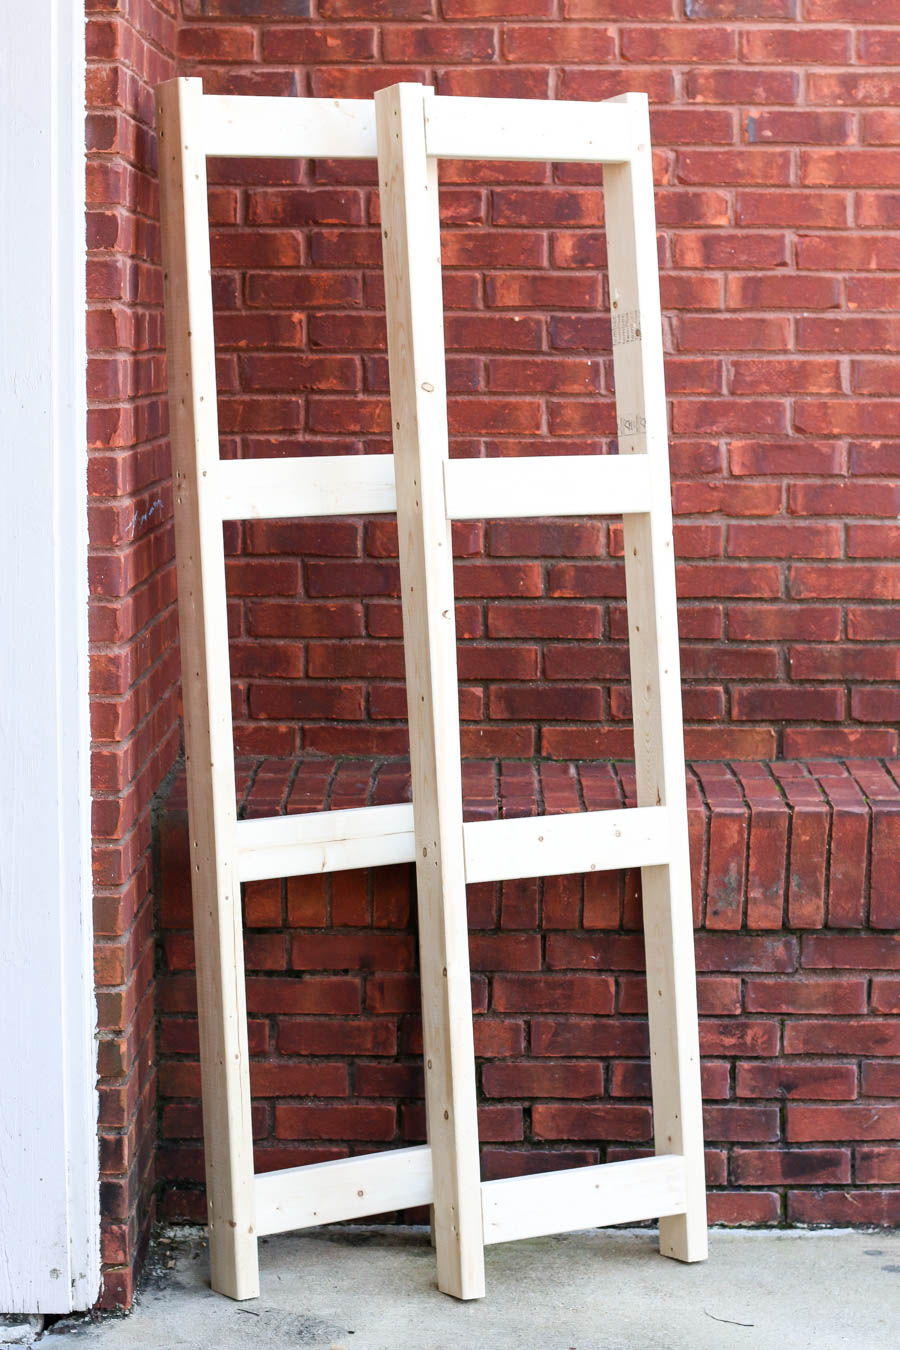
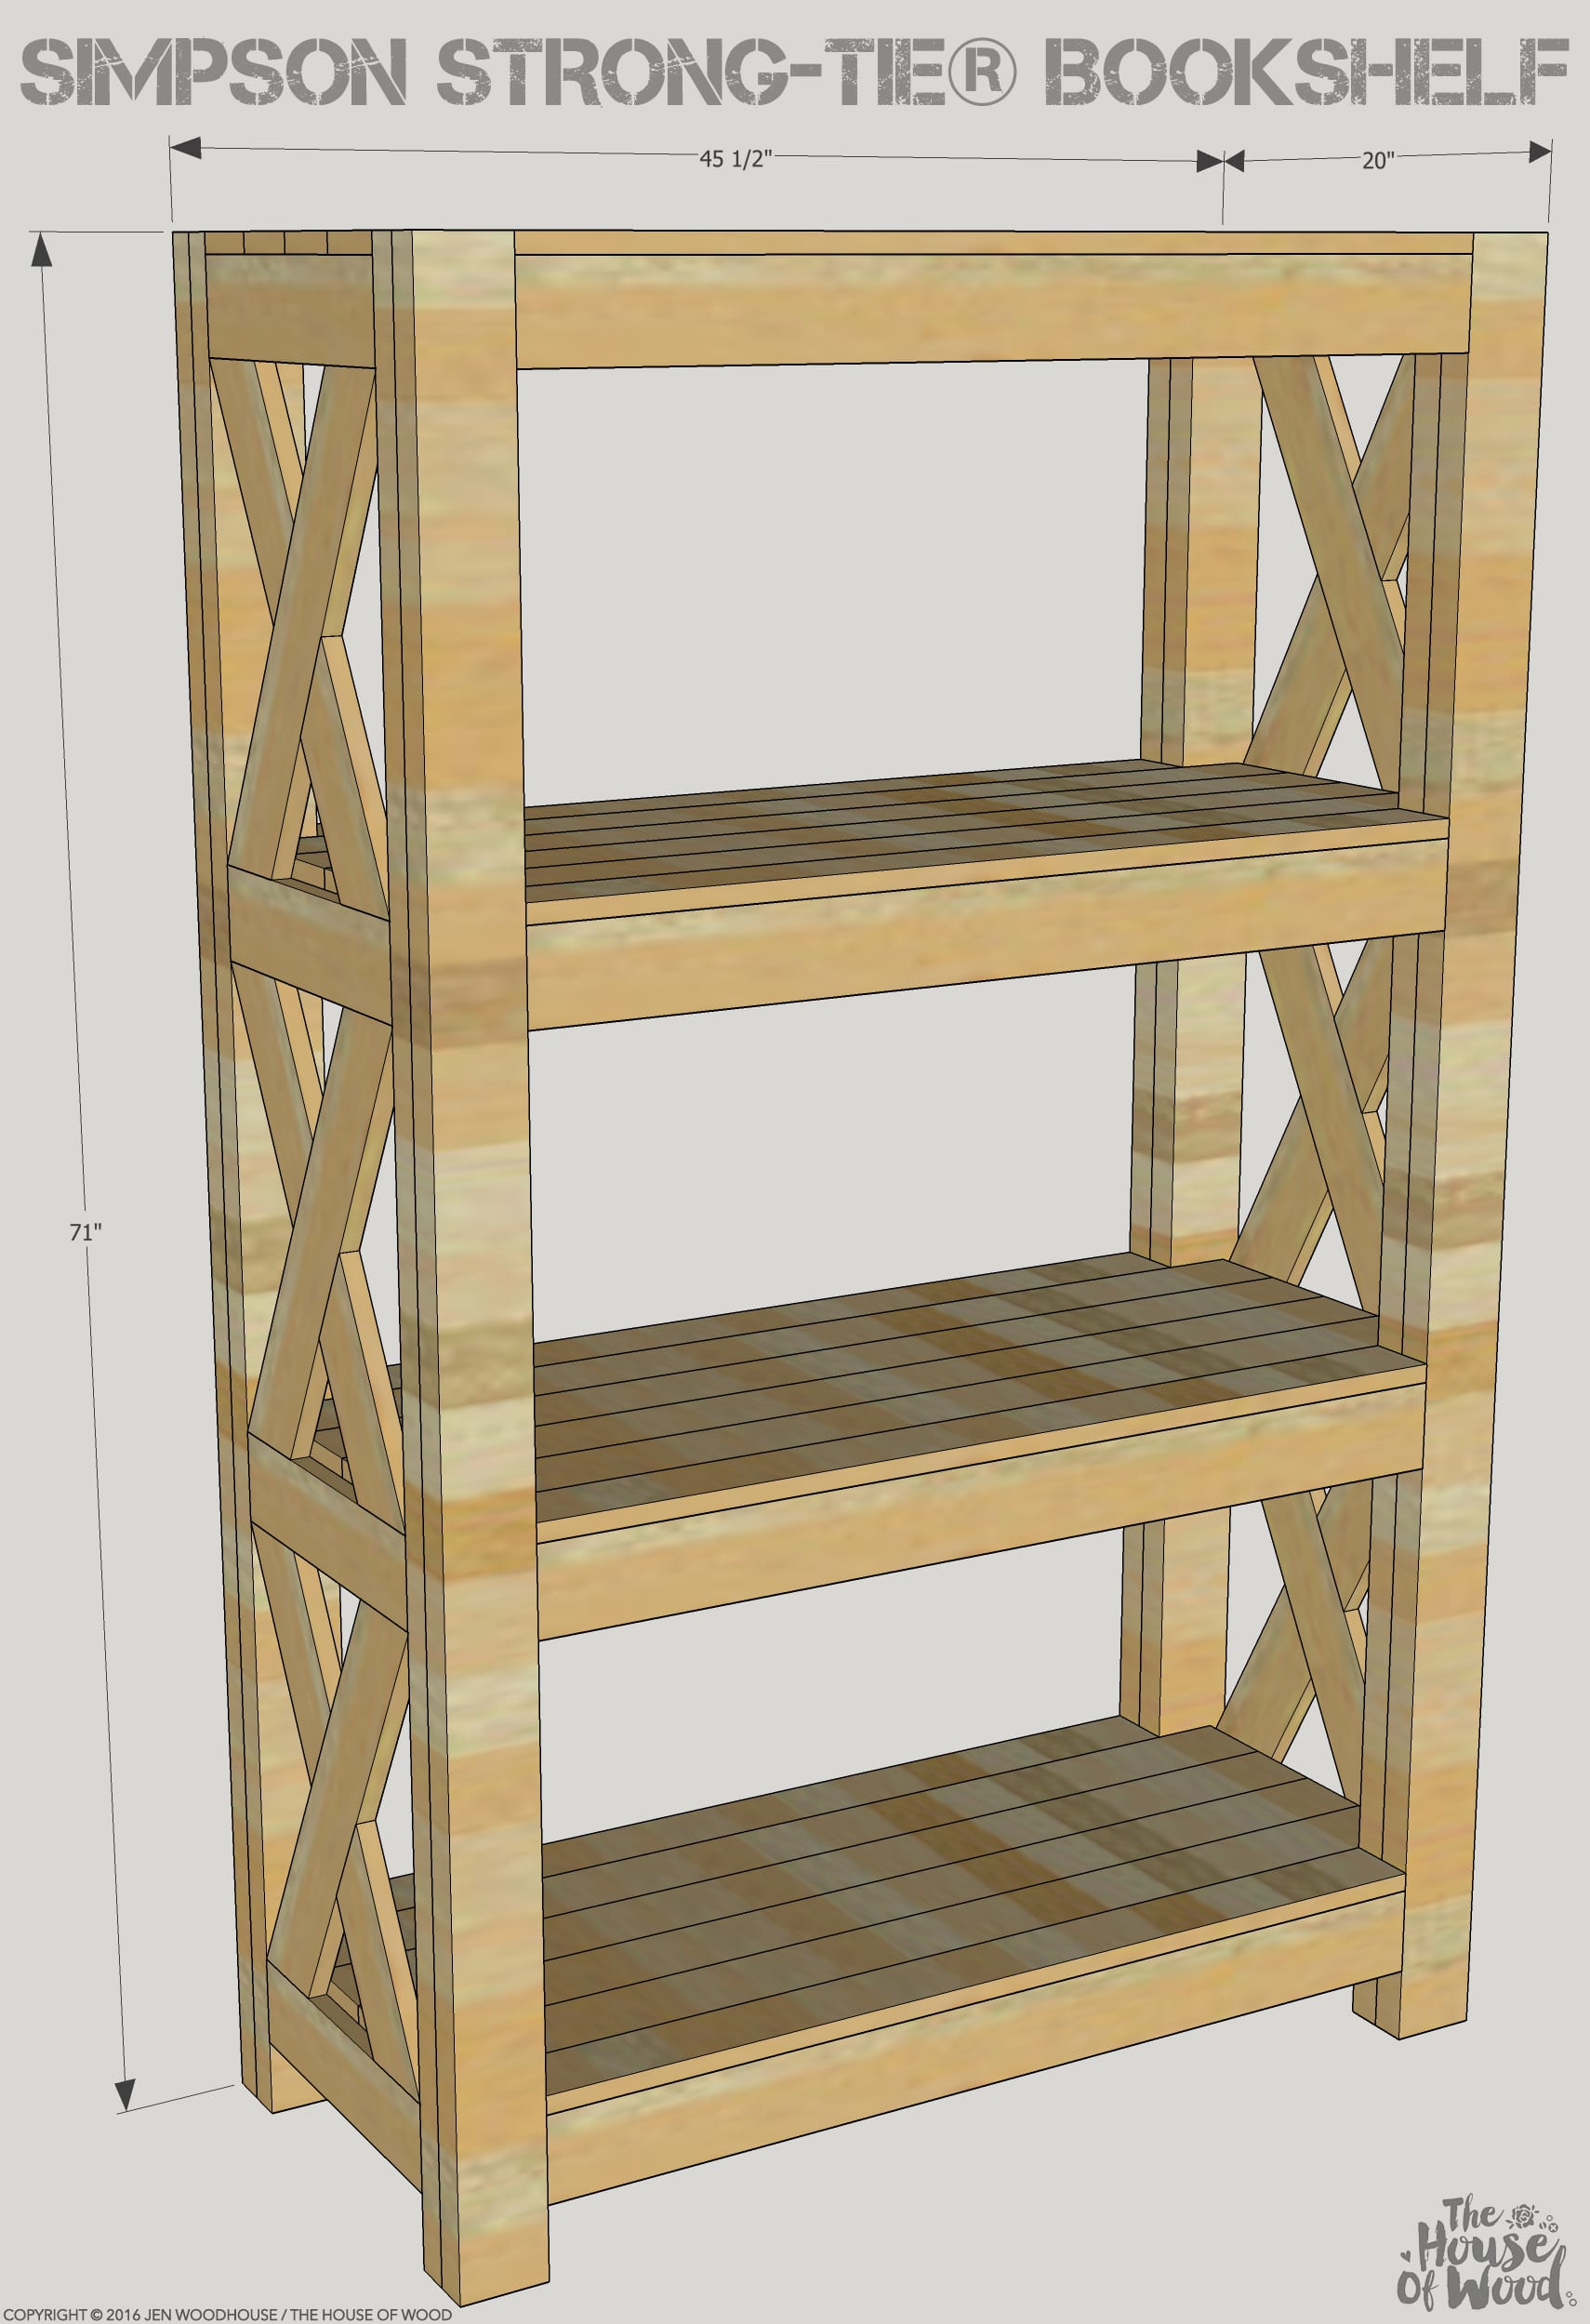
While I provided the angles and measurements for the X pieces in the plan, I recommend holding your boards up and marking them in place and then cutting them from that information for the most precise fit. There can often be variables, so it’s better to measure, mark, and cut according to your space.
I drilled pocket holes to connect the X pieces, but you can also use biscuit joinery or simply clamp and use wood glue, if you have the time. These Strong-Tie straps and plates would also work, if you’re looking for a more industrial look.

Here’s a tip: fill the screw holes after the first coat of stain. Once it’s dry, go back and fill the holes in with wood filler, then stain those spots once the wood filler is dry. Wood filler never seems to stain uniformly, so this helps minimize the discrepancy and makes the wood filler less noticeable.
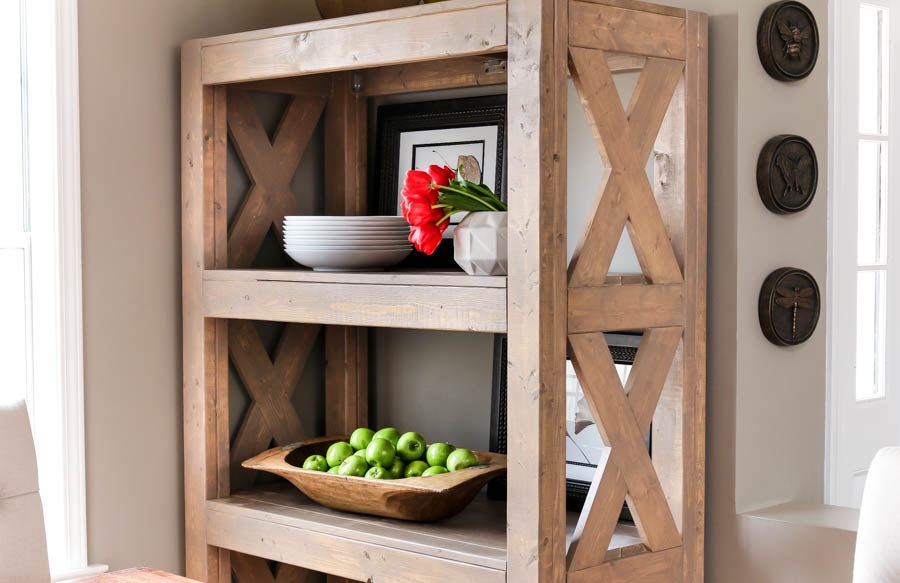
Download the PDF plans if you’d like to build this DIY Simpson Strong-Tie bookshelf. It’ll have the step-by-step directions, along with dimensions and a complete materials and cut list.
Thanks for reading – have a lovely rest of the week.
Oh, and be sure to PIN IT so you don’t forget it!
SHOP THIS ROOM
*This post is brought to you by Simpson Strong-Tie. All efforts, ideas, opinions, and unfair parking tickets are my own.


This is great Jen! I love the “x” look with the 2×4’s. And congrats on your Ambassadorship! Simpson Strong Ties offer so many great products that really help you build stronger projects, easier.
Thanks Leslie! Agreed!!!
Could you please share the color stain you used? Thanks!
Yes, I mixed up a custom stain and will be sharing the full tutorial soon! Thanks Stephanie!
Cool! I was just going to ask about this!
I LOVE this! I am going to build this, but I have a question I would really appreciate if you could answer
– Do you plane or trim your boards before you build with them?
I am always wondering if there is any board prep needed before I start putting the boards together.
I also wanted to let you know that the FIRST thing I ever built was your Perfect End Table! I love it and have made it several times. I love your site and appreciate all of the inspiration you give to me and others! I am turning 50 this month and all of my children are in or out of college and I decided that I needed a new hobby. And this is it! Thank you again for everything you do!
Hi Nancy, thank you for taking the time to leave such a lovely comment – it truly made my day! I’m so glad to hear it – yes, we still use that perfect end table everyday! As for your question – I did not prep my boards before building with them because of time constraints. Because 2x4s are curved at the edges, ripping 1/8″ off each edge, then planing them would have made everything square up so much easier, and the joints would have been tighter. Plus, I think it just looks better. If I could do it all over again, I would certainly take the time to rip and plane the 2x4s before building with them. Hope that helps. Good luck and have fun with your newfound hobby!
Thank you!
I love the look of this bookshelf. Your photography and staging looks really beautiful too! Have you considered creating a tutorial for diy photography? It’s an area I need some serious work in. 😛
Thank you for the sweet compliment, Ashley! I haven’t written a tutorial on photography and styling (yet), but I did list all the gear I use and love here: https://jenwoodhouse.com/photo-gear/ Hope that helps!
Would you recommend this project for a beginner?
Hi Jessica, absolutely – this is the perfect beginner-level project. The trickiest part would be cutting the angles of the X pieces. You can modify that detail by simply cutting the boards straight and attaching them horizontally or vertically. It would give a different aesthetic, but would make this build a lot more straight-forward. Good luck!
What is the estimated cost of this project?
Hi Kris,
The estimated cost of this project is $75.
All of your projects are so inspiring. I love the way your bookshelf turned out. You styled it perfectly!!
Thanks friend!
Love love the bookshel wonderful job. What stain was uses please ?
I’m having a very hard time finding good wood. Any suggestions?
Love this project! Very neat idea!!
Dear Jen,
Thank you for sharing this and other projects!
Could you please name (or recommend) the program that you use to scetch such furniture?
Thanks Michael! I use Google Sketchup to draw my plans. Hope that helps!
Hi Jen, I just submitted my email she’s to get the plans for this bookcase, and I’ve received nothing… My husband tried as well. Is your website having difficulties?
Address… Not she’s. Sorry for Autocorrect typo ?
Hi Tricia,
Thanks for your comment! Yes, we’re in the midst of transitioning to a new email service. I emailed you a link to the plans. Thank you!
Hi Jen,
I am also having troubles receiving the plans. I just moved into a new home and this we would be perfect for my living room!
Hi Jen!
I love this bookshelf. I just moved into my new home not too long ago, and this would be perfect for my living room. But I am having troubles receiving the email, I have tried twice.
Thanks in advance!
Hello. I signed up for the bookcase instructions but have not received them.
Hello! I tried twice to get the plans but have not received them. Can you please try? I absolutely love this design!
Hi Brittany,
Thanks for your comment! I’m showing that the plans were delivered, but the email hasn’t been opened. Maybe it ended up in your spam folder?
Good morning! I provided my email as well, but have not received the plans 🙁
Hi Jen,
I’ve reviewed the plans and will be building a series of these shelves this weekend for my bourbon collection/lounge. I am planning on slightly modifying them to provide for corner shelving. Have you done this before? I’m thinking basically building two units with one of them not having an end cap on it and then tying that into the side of the other. Thoughts on this? I’m happy to shoot you a picture of the finished product. All of this after just spending $400 on shelving units online that cannot be returned and cannot be used due to weight limitations. My home is farmhouse style and I think this fits better with my decor anyway. I’ve just stumbled onto your site and am anxious to try out the plans. Love what you have created here.