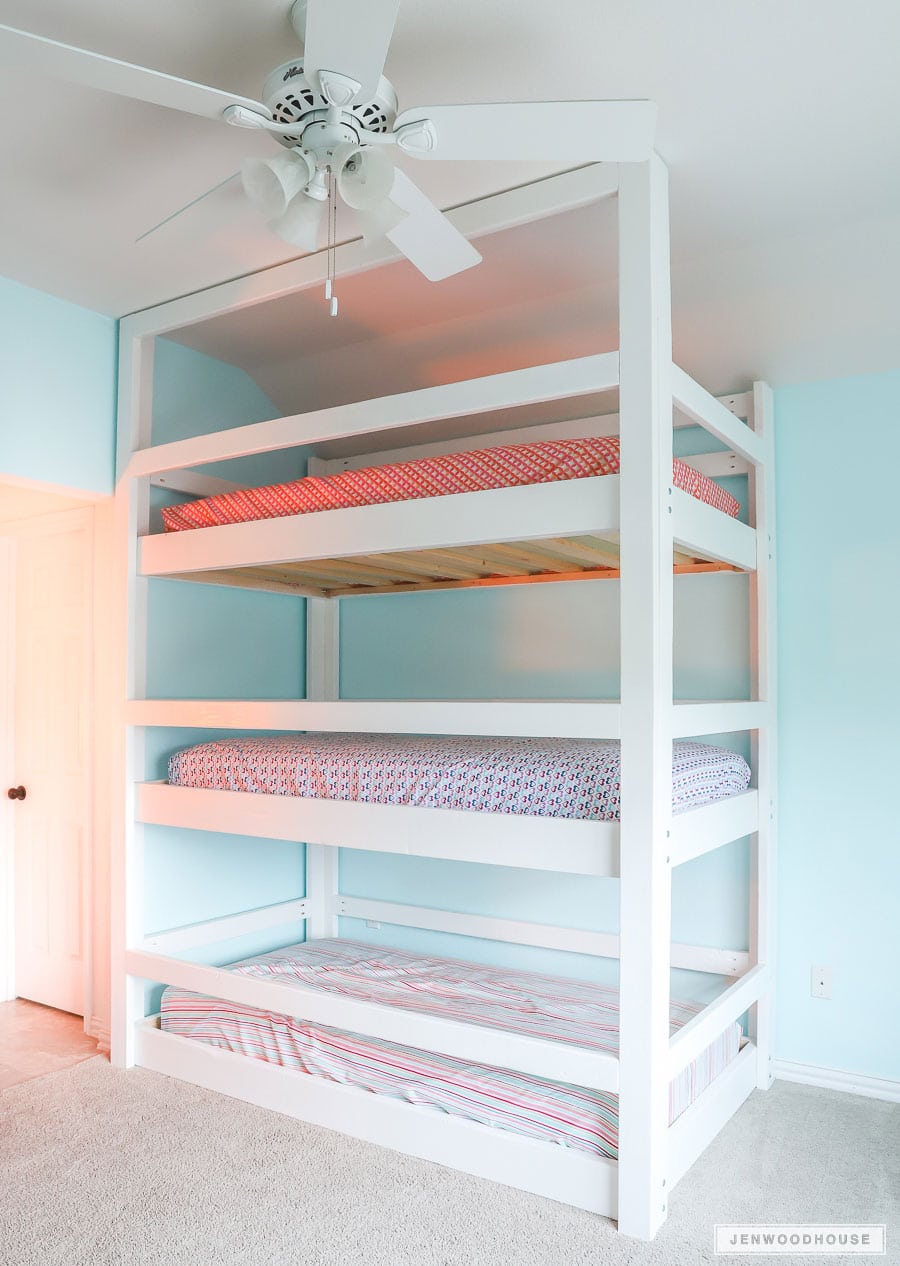
Hi friends! I’m so excited to share our latest DIY project with you: a DIY Triple Bunk Bed! We built this triple bunk bed for our sweet neighbors, who have triplet girls! I know I’ve been posting teasers of this build on Instagram stories for months, so thank you for being patient with me as I took my sweet time getting the tutorial and plans up. We had good reason, though – we were too busy snuggling their brand new baby – Tamra, the mother of the triplets, just had a baby girl! This bunk bed photo shoot could certainly wait.
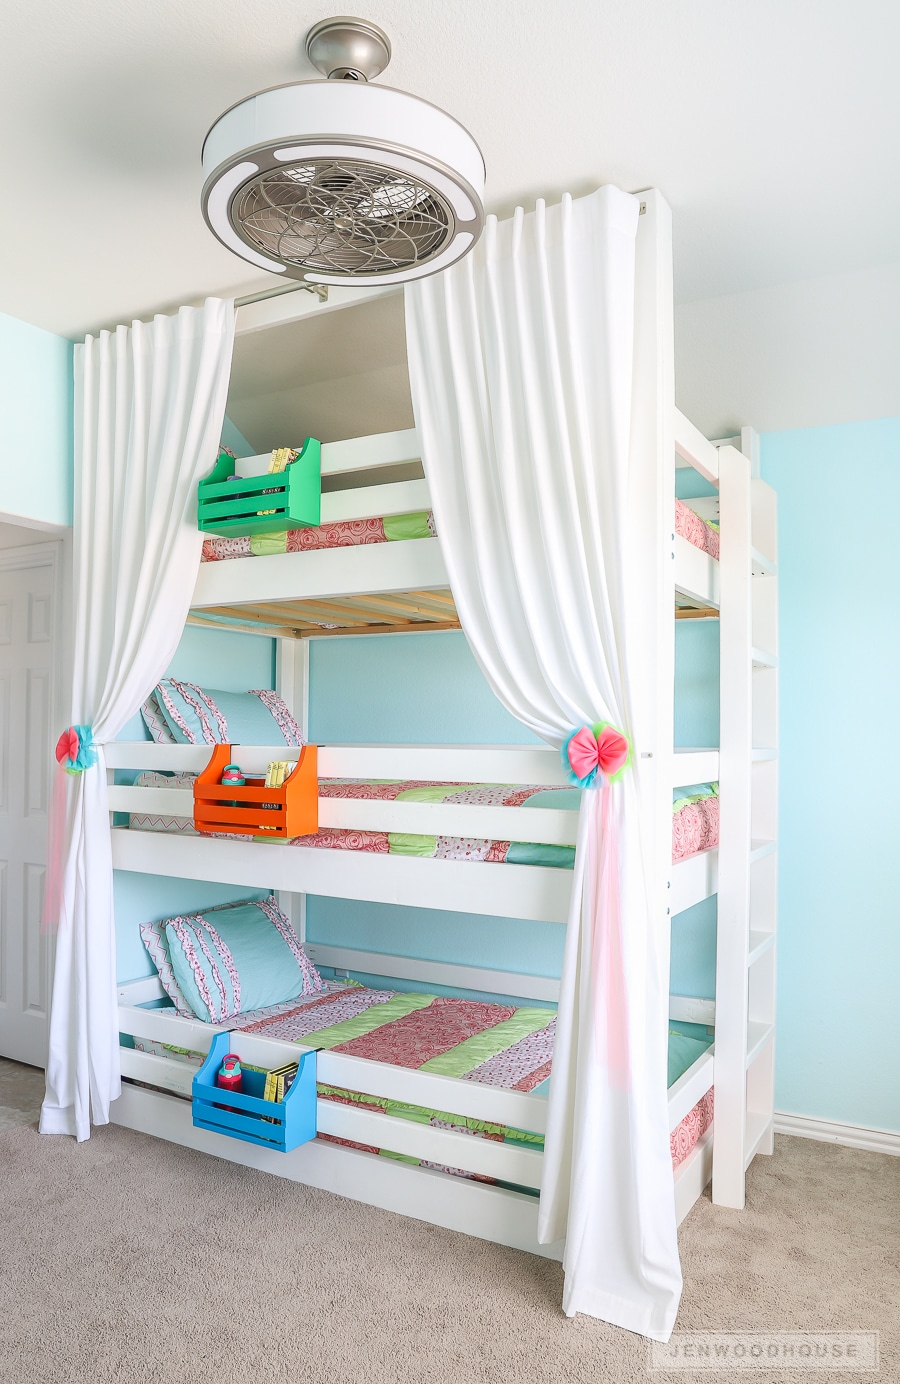
This DIY triple bunk bed is such a huge space-saver – the girls have so much floor space in their room now that their beds are tucked away in one corner. This is also a smart solution for grandchildren or multiple kids sharing a room. These beds fit a twin-size mattress, and with the total cost of lumber just under $200, building them was not only fun but also cost-effective! Pretty awesome, right? I just love DIY.
Product Sources:
- Bedding (use “HOUSEOFWOOD” coupon code for 15% off!)
- Ceiling Fan
- DIY Bunk Bed Shelf
- Curtains
- Benjamin Moore Simply White Paint Color
So, are you ready to make your own DIY triple bunk bed? You’ll build these components separately, before assembly:
- (1) Front panel
- (1) Back panel
- (2) Side panels
- (3) Mattress boxes
- (1) Ladder
Once you’ve built all the components, you’ll bring all the parts into the room for assembly. We built the bed custom to the triplets’ space – if you’ll notice in the photo above, there’s a slant in the ceiling. The ceiling at the tallest point is 9 feet high, and it slants down 1 foot along the back wall. Because of this ceiling slant, I designed the bed accordingly. The triplets’ mother wanted to hang curtains on the bed, so I had the panels go all the way up to the ceiling so we had a place to screw the curtain rod. The front panel is 9 feet tall, and the back panel is 8 feet tall. Just FYI: the plans don’t reflect this custom feature – all of the panels (front, back, and sides) are the same height at a little over 7 feet tall.
How to Build A DIY Triple Bunk Bed
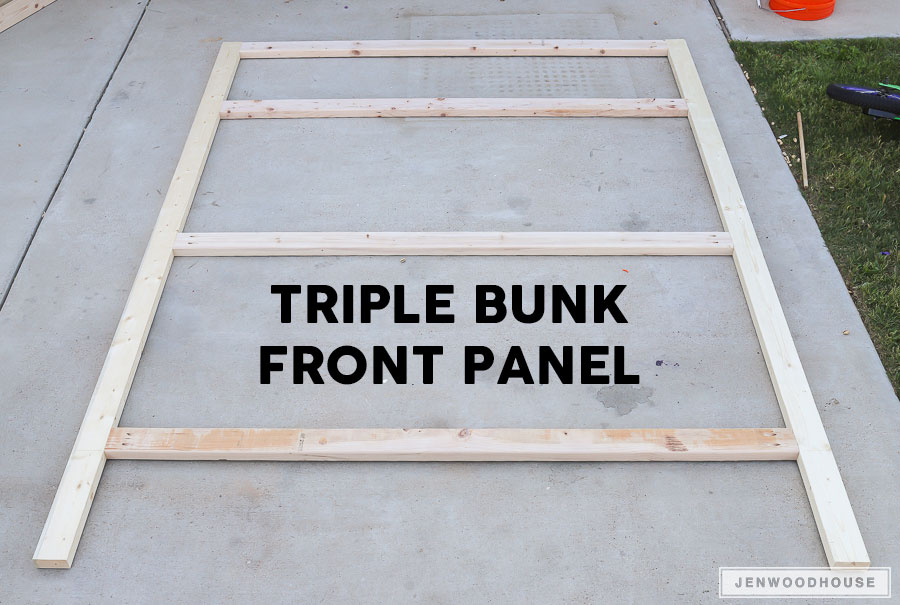
1. Build the Front Panel
Drill pocket holes into the rails and attach them to the legs with pocket screws and wood glue. All of the measurements are listed in the plans.
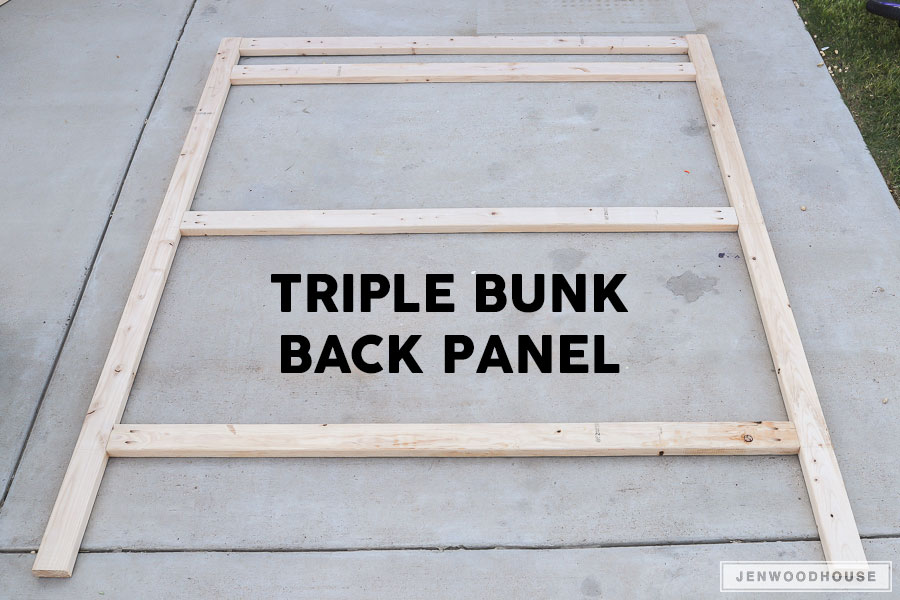
2. Build the Back Panel
Once again, drill pocket holes into the rails and attach them to the legs with pocket screws and wood glue.
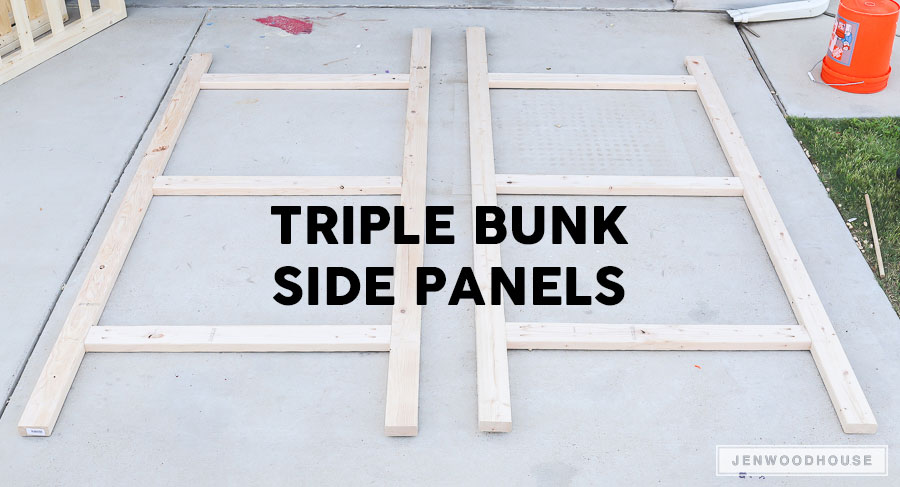
3. Build Two Side Panels
Same song and dance here – drill pocket holes into the rails and attach them to the legs with pocket screws and wood glue. Again, the legs for our triple bunk are different lengths because of the slant in the ceiling. Disregard this for your build and follow the plans.
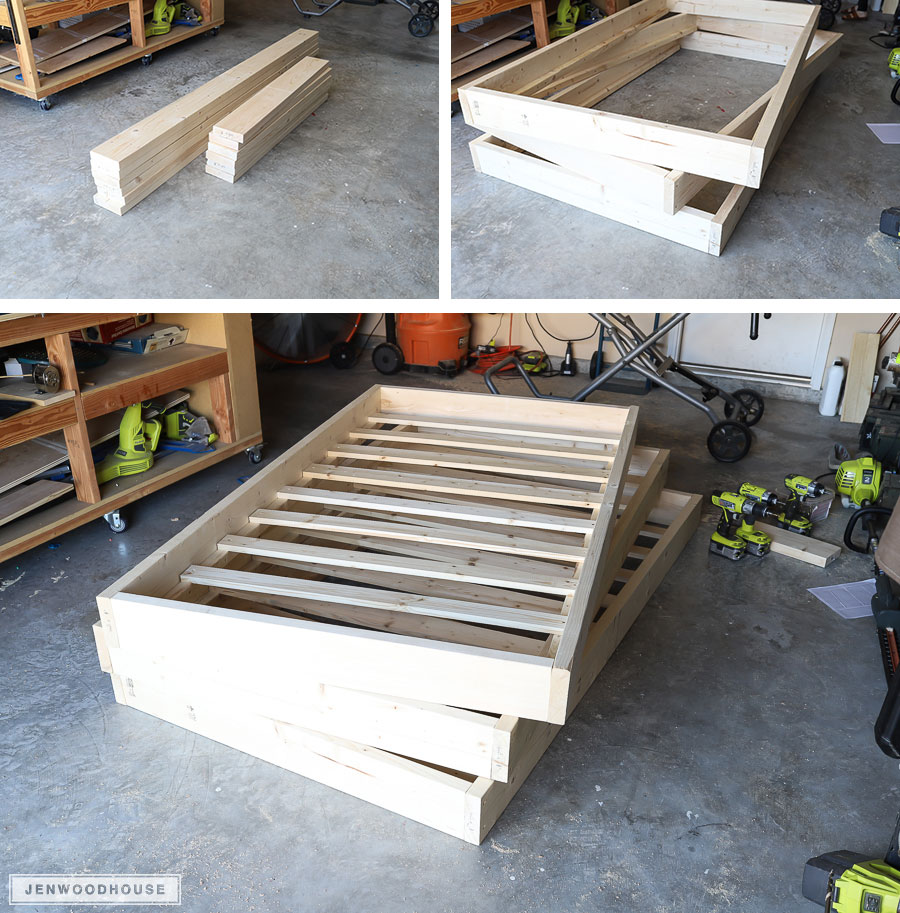
4. Build the Mattress Boxes
Build three mattress boxes and attach the mattress slats. Be sure to pre-drill all pilot holes to minimize the risk of wood splitting.
5. Build the Ladder
I’m not sure how I missed taking photos of the ladder construction, but I did. Must be sympathetic pregnancy brain – is that a thing? After all, Tamra and I spent quite a bit of time together – she helped build and paint the whole thing – 9 months pregnant and all! At any rate, the ladder section is pretty straightforward in the plans.
Now that all of the components were built, Tamra and I sanded and painted all of the parts Benjamin Moore Simply White.
6. Assembly
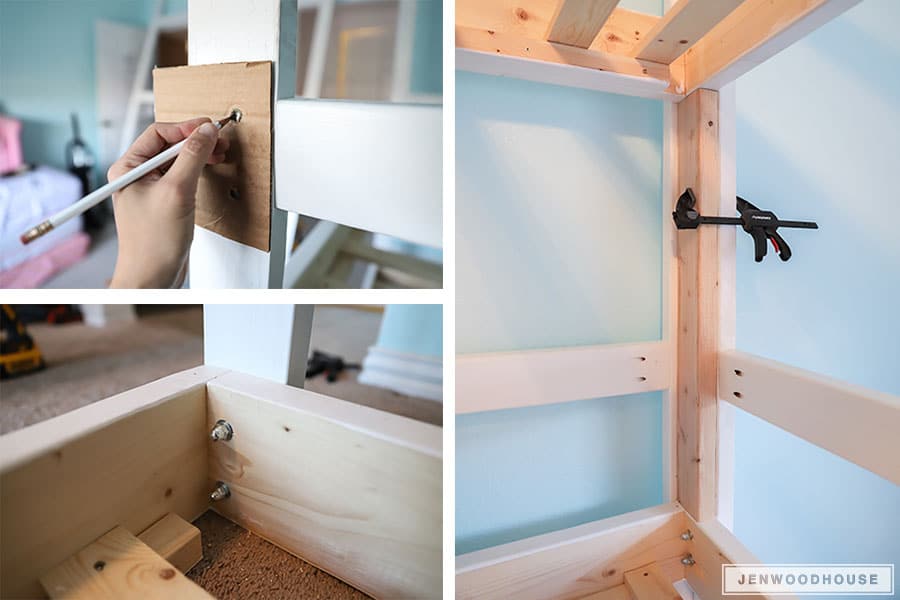
After all of the parts were fully dry, we brought them into the room for assembly. I made a quick cardboard template so the bolts were all attached to the same place on each bed. We attached the bed boxes to the panels as we did for my daughter’s sliding barn door loft bed. We used 3 1/2-inch carriage bolts, flat washers, split locking washers, and cap nuts. We pre-drilled holes through the 2x4s and 2×6 bed boxes, then inserted the carriage bolts, washers, and cap nuts.
We attached the back and two side panels to the bottom bunk first, then moved onto the middle bunk, and finally the top bunk. After that was constructed, we attached the front panel.
*Pro Tip: Cut a couple of scrap 2x4s to 29 3/4 inches long and clamp them as shown below, to support the mattress boxes in place during assembly. This will also ensure equal spacing between the bunks.
 Finally, it’s time to attach the ladder. Adam and Tamra attached the ladder to the bed by pre-drilling pilot holes and driving wood screws from the inside of the railings. We chose to place the ladder on the side for the most streamlined design.
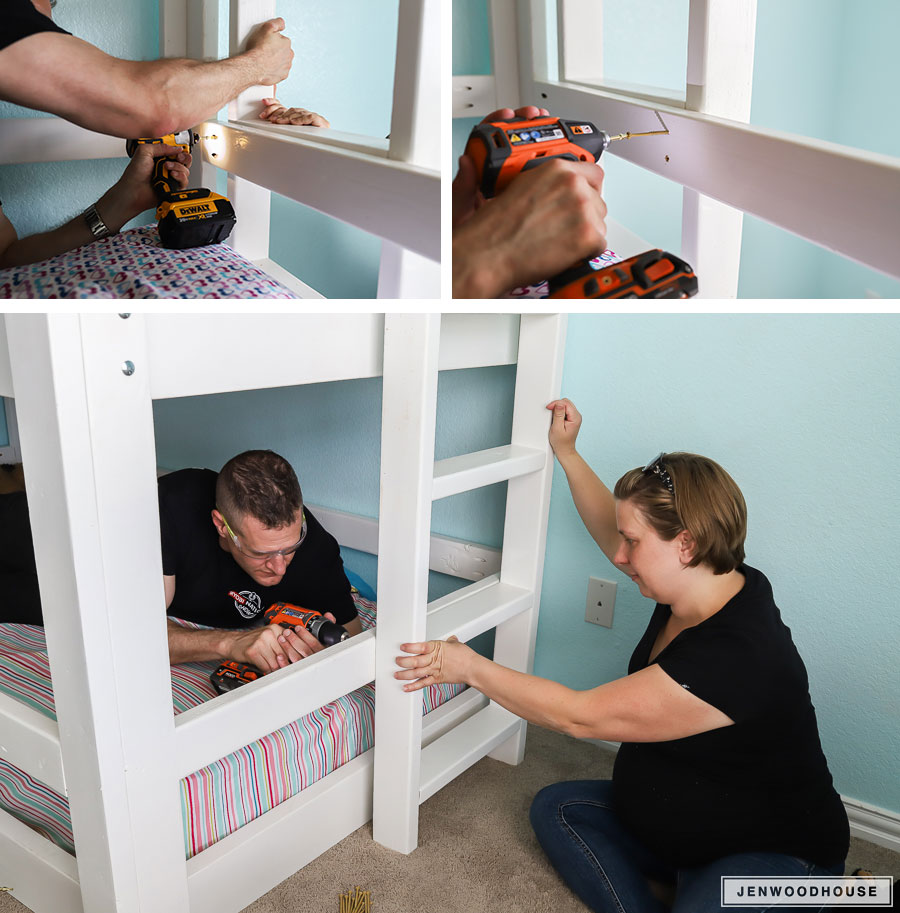
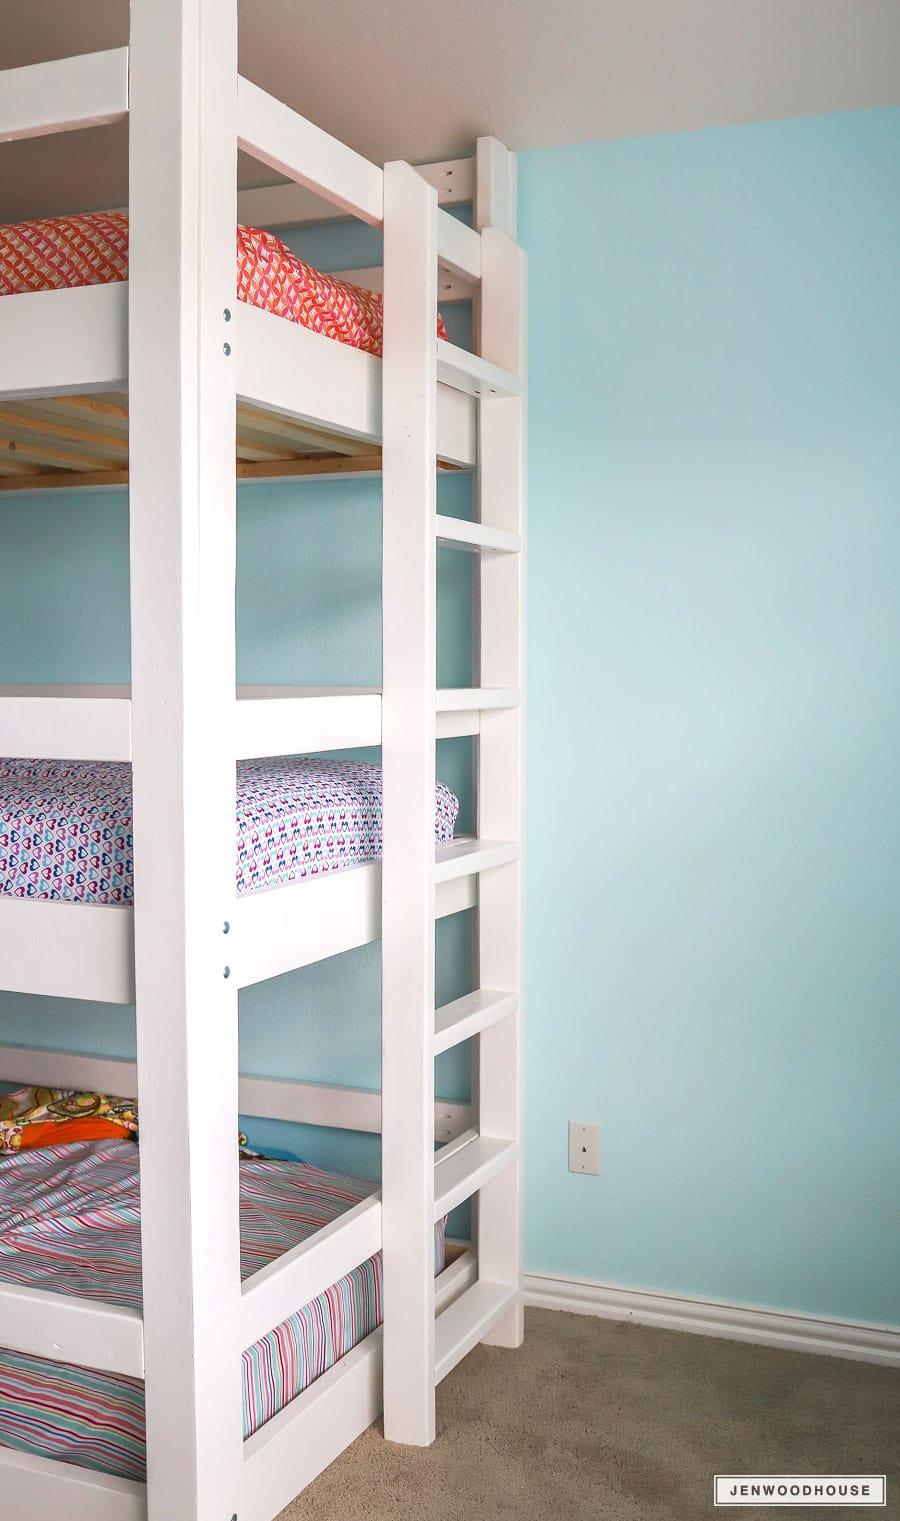
You may notice we’re missing some railings – I added an additional railing to each bed after we discovered the triplets were squeezing their tiny bodies through the sides of the beds. I revised this in the plan, so when in doubt, follow the plan!
Last but not least, Adam is doing a quick strength test – he weighs a little over 200 lbs.
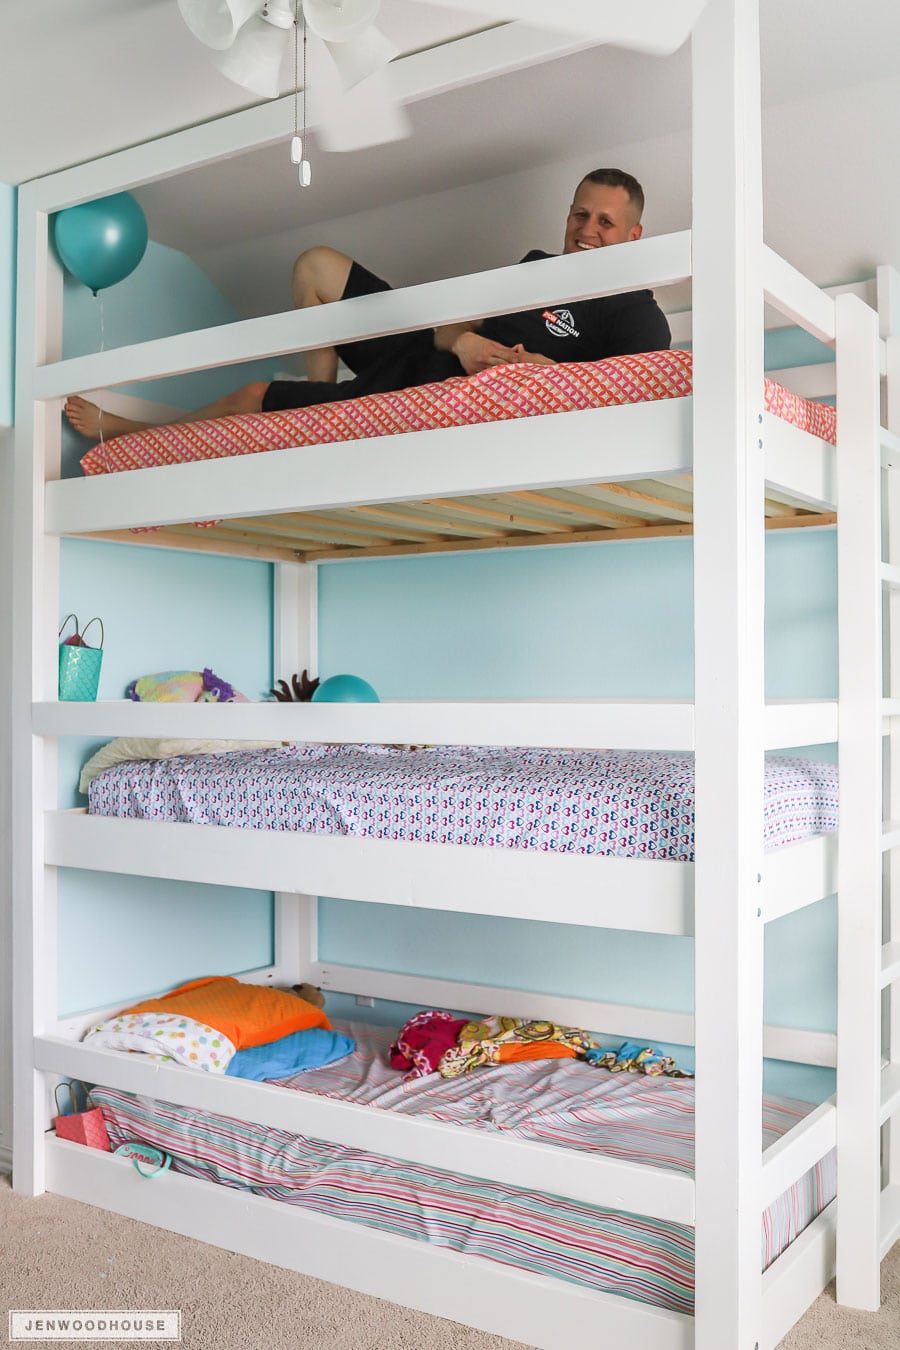 Another thing worth mentioning: we didn’t feel comfortable having those ceiling fan blades so close to the top bunk bed, so we switched out the standard ceiling fan for this remote control LED fan from Stile – the blades aren’t exposed, and it’s a much smaller profile, which works best for this room. We have 3 of these fans in our own home, and we love them!
Huge thanks to the generous folks at Beddy’s – they provided the bedding for this project, and they’re offering my readers 15% off when you use the “HOUSEOFWOOD” coupon code! We have the same all-in-one bedding on my daughter’s loft bed, and it makes changing the sheets and making the bed so much easier. We just knew they’d be perfect for this triple bunk bed, too!
We attached a curtain rod at the top and hung these 108″ white curtains. Tamra made the curtain tie-back bows – aren’t they cute? We love how it turned out, and the girls absolutely adore their new beds! We finished this project just in the nick of time, too. A few days later, the triplet’s baby sister arrived!

If you build this DIY Triple Bunk Bed, we’d love to see it! Be sure to tag me (@jenwoodhouse) on social media so we can see your projects!
*This post contains affiliate links. To read my full disclosure policy, please click here.


Where did you get that amazing light fixture with the fan built in?
Hi Heather,
It’s from Stile and it’s linked in the beginning of the post!
Hi! What paint finish did you use for this?? Thanks!
What is the color of the paint used on the walls?
Hi Amanda,
This is my neighbor’s rental home – I don’t know what color is on the walls. It was there before she moved in.
Did you all use a box spring under each mattress?
Did they use a box spring under each mattress?
Hi Douglas,
No, there’s no box spring. The mattress is directly on the mattress slats.
So you have a list of supplies, i.e. dimensions of the lumber?
Thank you
Hi Marie,
Yes, it’s all in the plans, which you can download by clicking the gray button. Thanks!
I’ve tried clicking in the box to download thenplans but they still haven’t arrived in my email. Am I doing something wrong?
Hi Catherine,
I’m showing that the plans were sent to you Sept 11th at 9:59am. They might have ended up in your spam folder!
I have clicked the link to have the plans emailed to me but I haven’t received them yet. I received an intro email from [email protected] and so I added that to my contacts, but I still have not received the plans.
Hi William,
Thanks for subscribing! I’m showing that the Triple Bunk Bed plans were emailed on Sept 22nd at 7:35pm. They might have ended up in your spam folder – so sorry about that! Try this link: https://jenwoodhouse.com/plans/Triple-Bunk-Bed.pdf?link_list=5855951 Hope that helps!
Can you send plan to [email protected] please? Also where did you find those pretty flowers on the curtains?
Hi, Great work, looks fab, I think my girls would love this.
What is the ceiling height of this room?
Im not in the states so buildings may be of different heights and i would like to see if this would work in my house.
Thanks
Paddy
Love this and it would be perfect in the kids room! 😉
We are in the process of fostering children in need and this is what we plan on building this weekend. I’m super excited!
Quick question – what type of wood did you decide to go with?
Thanks in advance!
When we finish ours, I’ll be sure to tag you on it!
Thanks again!
Carla
Hi Carla,
Thanks for your note! We used regular framing lumber!
Hi Jen! I’m in the process of building this amazing bed and noticed that the cut list has 18 1x3s, yet each mattress box has 9 (maybe 10) slats per box.. Am I going crazy or missing something? I obviously don’t do this regularly ha! ?
I’m planning on building this for my daughters and I love the color of the paint. You stated in the post the brand and color but how much paint did it take? I already downloaded the plans and thank you for the complete list of building materials.
Hi Jamie!
We bought 2 gallons and used about a gallon and a half. Hope that helps and happy building!
I just want to thank you all we have been llooking for plans for the project and haven’t found any so detailed. Thank you. I will send pictures when we are done.
Where did you get those adorable book/water bottle caddies? I’ve been searching for something like that! Also, we only have 7.5′ ceilings in our apartment. Would these plans still work?
Thanks Christel! I made them! They were a quick and easy scrap wood project – you can find the how-to here: https://jenwoodhouse.com/diy-bunk-buddy/ Also, the bed is 7 ft. tall, so the plans should still work for your space!
Thanks!
Hi Jen.
I am in the UK and have downloaded your plan for these beds. Can you advise on the mattress size you used please, I think American and UK sizes differ slightly..
Thanks
Ant
We build this bunk bed for our kids and absolutely love it! It is wonderful too that we can easily take it down for moving!
When putting the bed together it seemed like the materials/cut list might be short for the 1×3’s needed. We measured out the spacing on the plans, which comes to nine for each bed box. On the cut list it says you need 18, but with three beds we needed 27. Maybe we missed something, but we ended up needing five more 8ft boards.
So excited to try more projects!
Great to hear, Amber! And thanks for the heads up – I’ll take another look at the plans and see if I missed something! Thank you!
Do you remember bhow much it cost to build?
We just built this bed and we’re so happy about how it turned out. We have to build 3 more for the rest of our children and we’ll probably paint them. Lol i was too anxious to paint the first set. Do you recommend primer first, then painting, or would primer + paint work the same?
So great to hear Chevjon! We used a paint + primer in one paint and it worked great!
Thanks, i’ve downloaded the plans, as soon as i finish the ceiling i’ll start with this project, thanks so much for your help, I’ll tag you when I get it done
How long did this take to make? My husband and I are taking in 3 foster siblings/children next week and we need a triple bunk bed before they come 🙂 Do you think we could do it all in a weekend? 1/2 of Saturday and 1/2 of Sunday? LOL…it seems like an easy project but I’m so bad at judging how long things will take. 🙂
Hi Sarah,
Yes, building this project can take a weekend! The longest part is the painting/dry times, but the actual construction doesn’t take long at all. Hope that helps!
Where can we find the plans for this triple bunk bed?
Hi Becky,
Click on the big gray button that says “download plans.” Hope that helps!
I am a beginner at all this DIY stuff so I apologize if this is a newb question, but is the glue super vital?? We are renters so it is important to be able to disassemble this to move it to a new place if we move. Thanks!
Hi Jeannie,
I always use glue when I use nails, but not always with screws. If you’d like to disassemble parts, then I would suggest not using glue. Good luck!