Do you ever have those projects that get pushed to the back burner over and over, and what should have taken you a week to make, ends up taking you months? This DIY Edge Grain Walnut Cutting Board with Epoxy Resin Inlay is one such project. Life happens. Pressing deadlines must be met. And so this cutting board sat in my garage for months, quietly waiting for me to find the time to finish it. I’m so glad I finally did because it turned out to be one of the most beautiful things I’ve ever made.
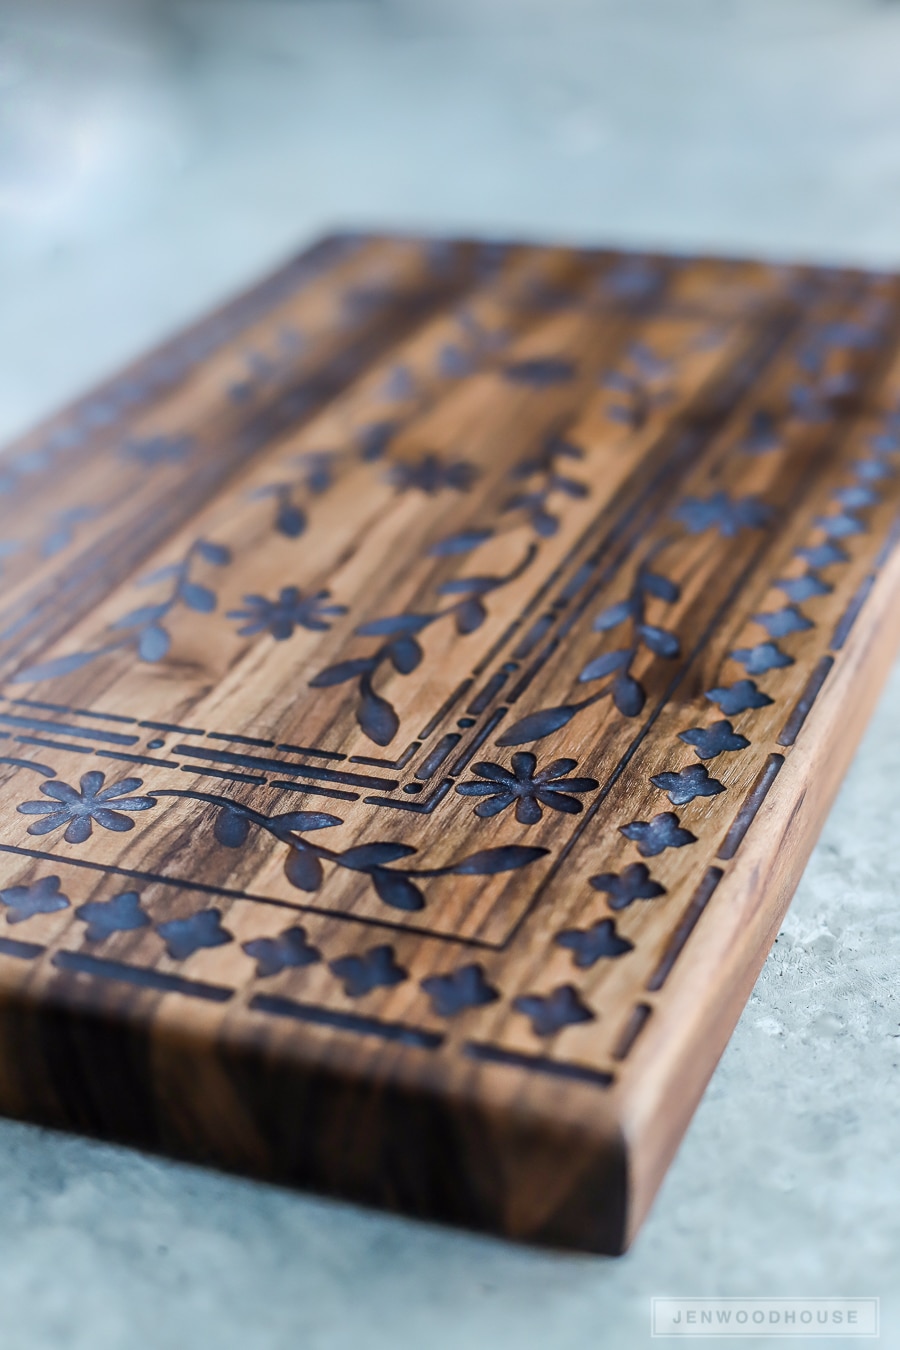
Walnut Cutting Board w/ Epoxy Resin Inlay
Tools:
- Inventables X-Carve 3D Carving Machine
- 60º V-Carve Bit
- Easel Design Program
- Inlay Pattern SVG File
- Miter saw
- Table saw
- Thickness planer
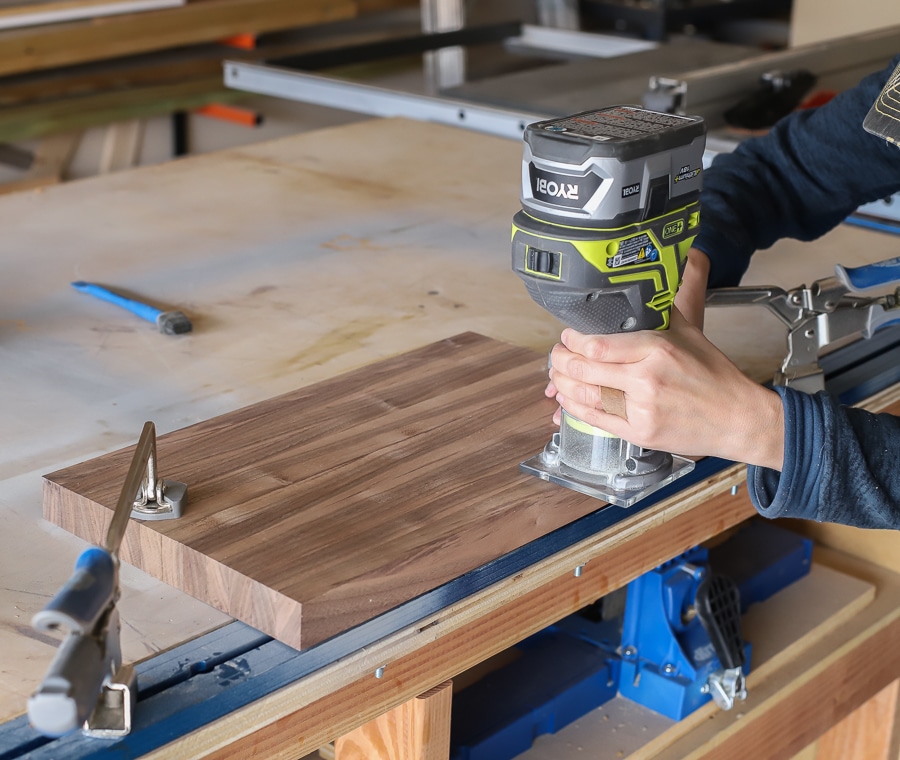
- Trim router with roundover bit
- Orbital sander
- Clamps
Supplies:
- Black walnut or other dense hardwood, such as maple or cherry
- Food-safe epoxy resin
- Wood glue
- Food-safe finish

Make the Cutting Board
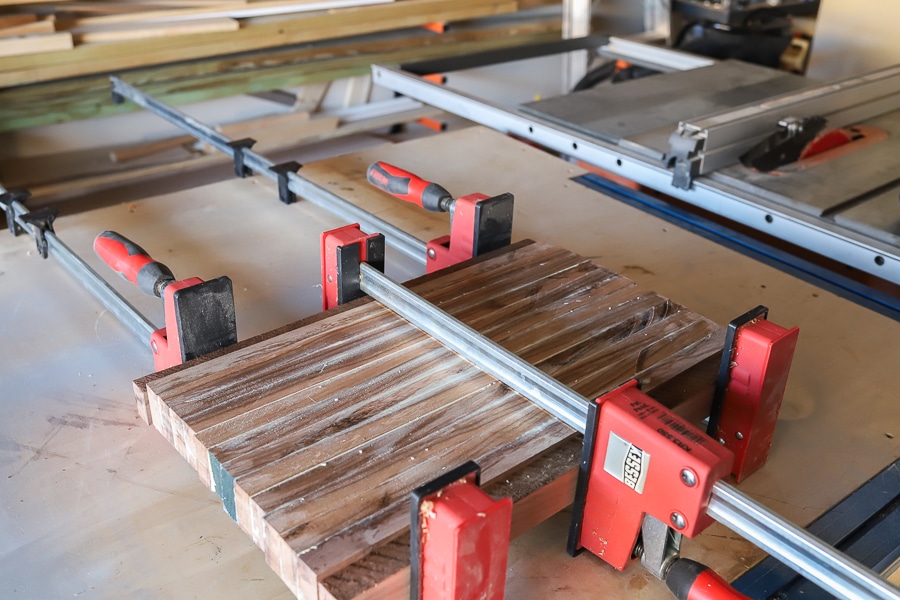
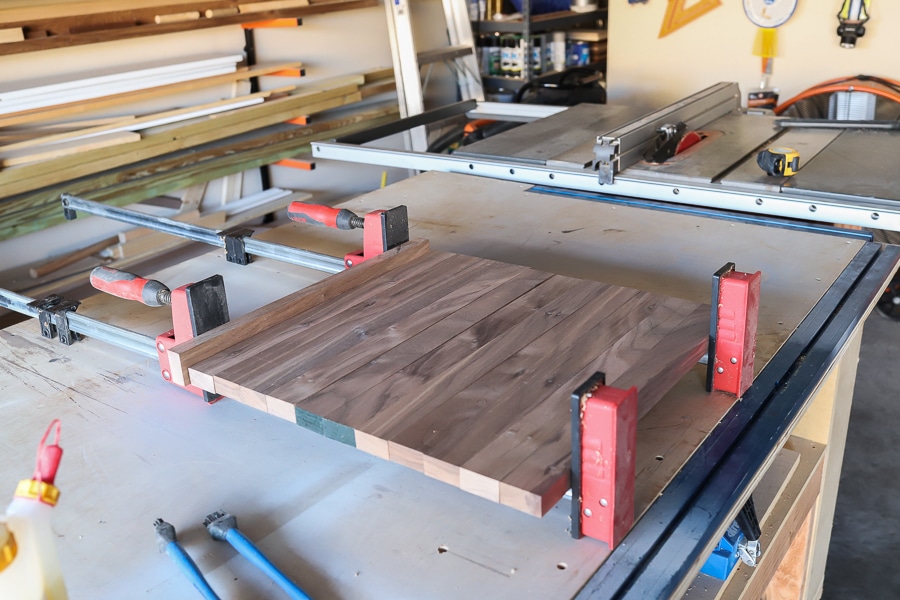
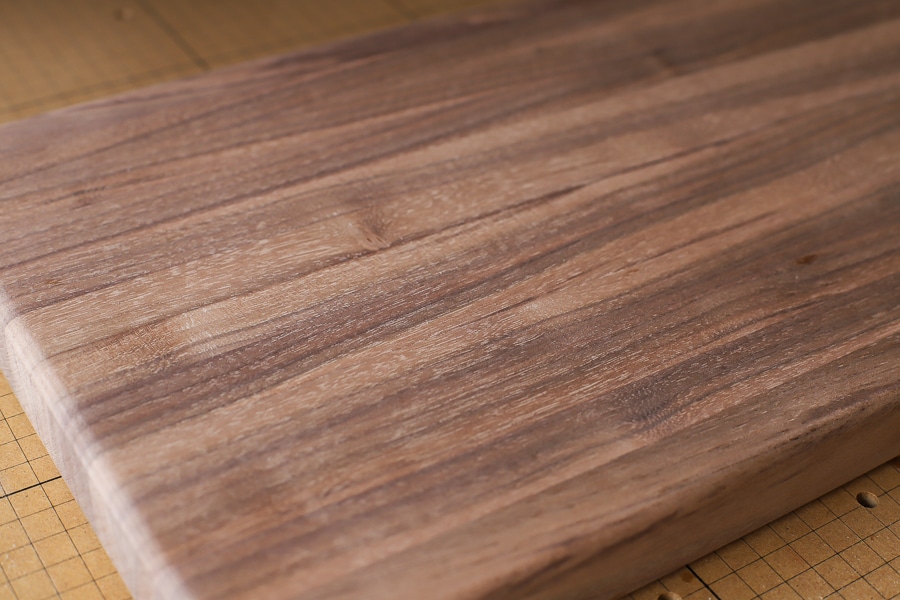
First, we need to make the cutting board. I dug through my scrap wood pile for some black walnut. I made this cutting board much like this one – I cut the board to about 16 inches long, then using my table saw, I ripped it to 1 1/2 inches thick. After determining which edges I wanted to be the top surface of the cutting board, I laid the boards on their faces and applied wood glue. Then I turned the boards back on edge and clamped them together until the glue dried. I love using these parallel bar clamps for this task.
You’ll want to get the boards as flat and as lined up as possible, to minimize the tedious task of sanding later on. I also used a couple of sacrificial boards on each side (see photo below) so as not to mar the cutting board with the clamps.
While the glue dried, I opened up Easel, Inventables’ web-based program and started working on my inlay design. Huge shoutout to my dear friend Katie from Addicted 2 DIY. When I was having trouble getting my design to work properly in Easel, Katie walked me through Adobe Illustrator (a program completely foreign to me) and helped me get the files to properly talk to each other. She was a huge help. Katie is also an Inventables Brand Ambassador. Check out her awesome projects, like this adorable DIY pie box.
I’ve said it before, but I truly believe that a rising tide lifts all ships and the people I choose to surround myself with also live by that phrase. I love how supportive and encouraging our woodworking community can be!
 Carve the Inlay Design
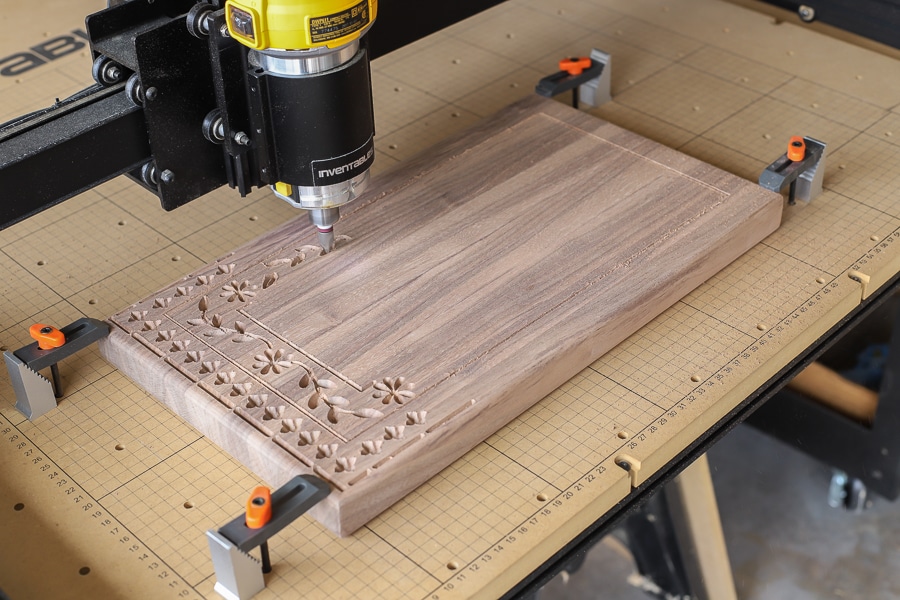
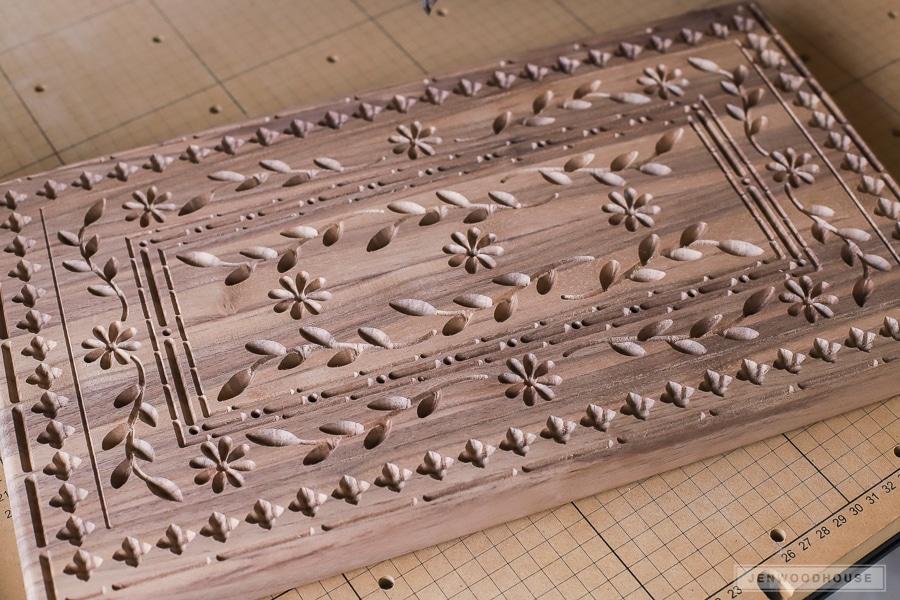
I opened up Easel, clamped the board to the work surface and let the X-Carve do its magic. A standard straight bit won’t result in a crisp, clean cut with this particular pattern, so I used a 60º V-carving bit, which is ideal for carving very detailed and intricate designs.
 Pour the Epoxy Resin
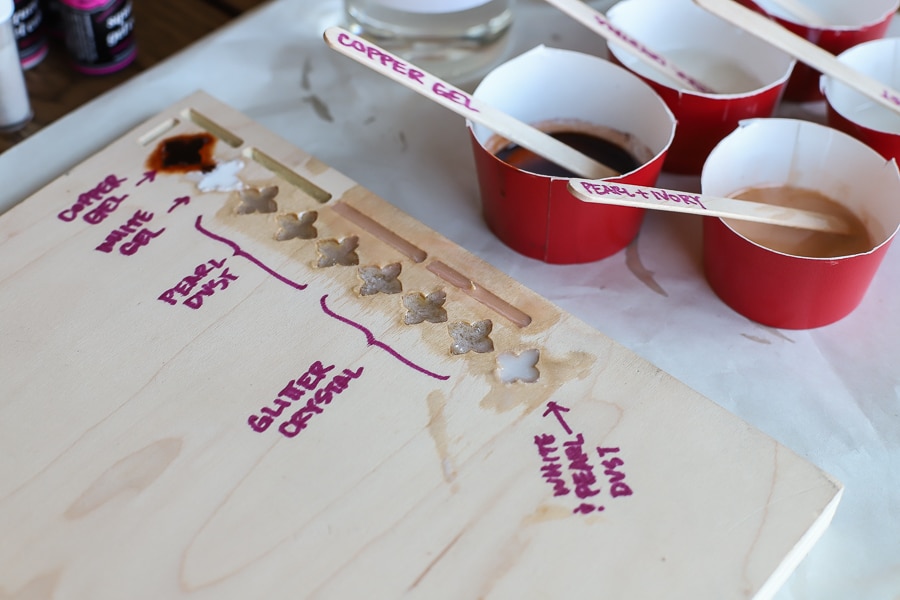
Now it was time to fill the carving with epoxy resin. I’ve never worked with epoxy resin before, so I did a few trial runs on a scrap piece of plywood before going in for the real deal. And because this is a cutting board that will come into contact with food, I chose this food-safe epoxy resin.
I really wanted the inlay to look like mother-of-pearl, so I experimented with different colors and additives, all of which are food-safe! I found a lot of these edible gels and crystals in the baking aisle of the craft store.
 Sand the Cutting Board
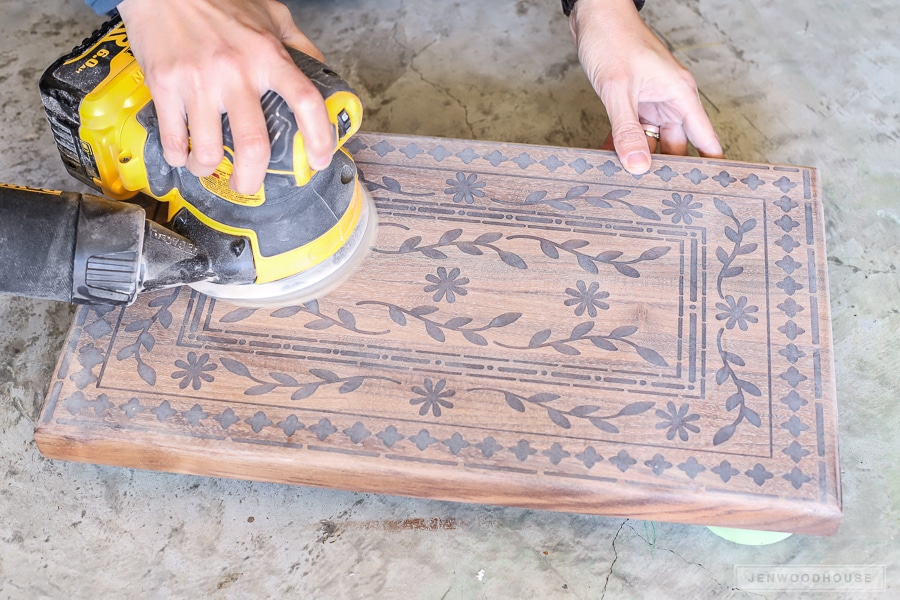
Once the resin hardened, it was time to sand the surface smooth. This is truly the most difficult part of this project, because you’re going to sand for days, and then sand some more. The resin kept gumming up my sandpaper, so I had to keep replacing the sanding discs. I started with 80-grit sandpaper and worked my way up to 320-grit.
When I finally got the surface perfectly smooth and flat, I quickly rinsed the cutting board with water to get rid of the dust and debris, and also to raise the grain one last time. After the board dried, I hand-sanded it with a 400-grit sanding sponge to knock the wood fibers back down then removed the remaining dust with a damp cloth.
 Apply Finish
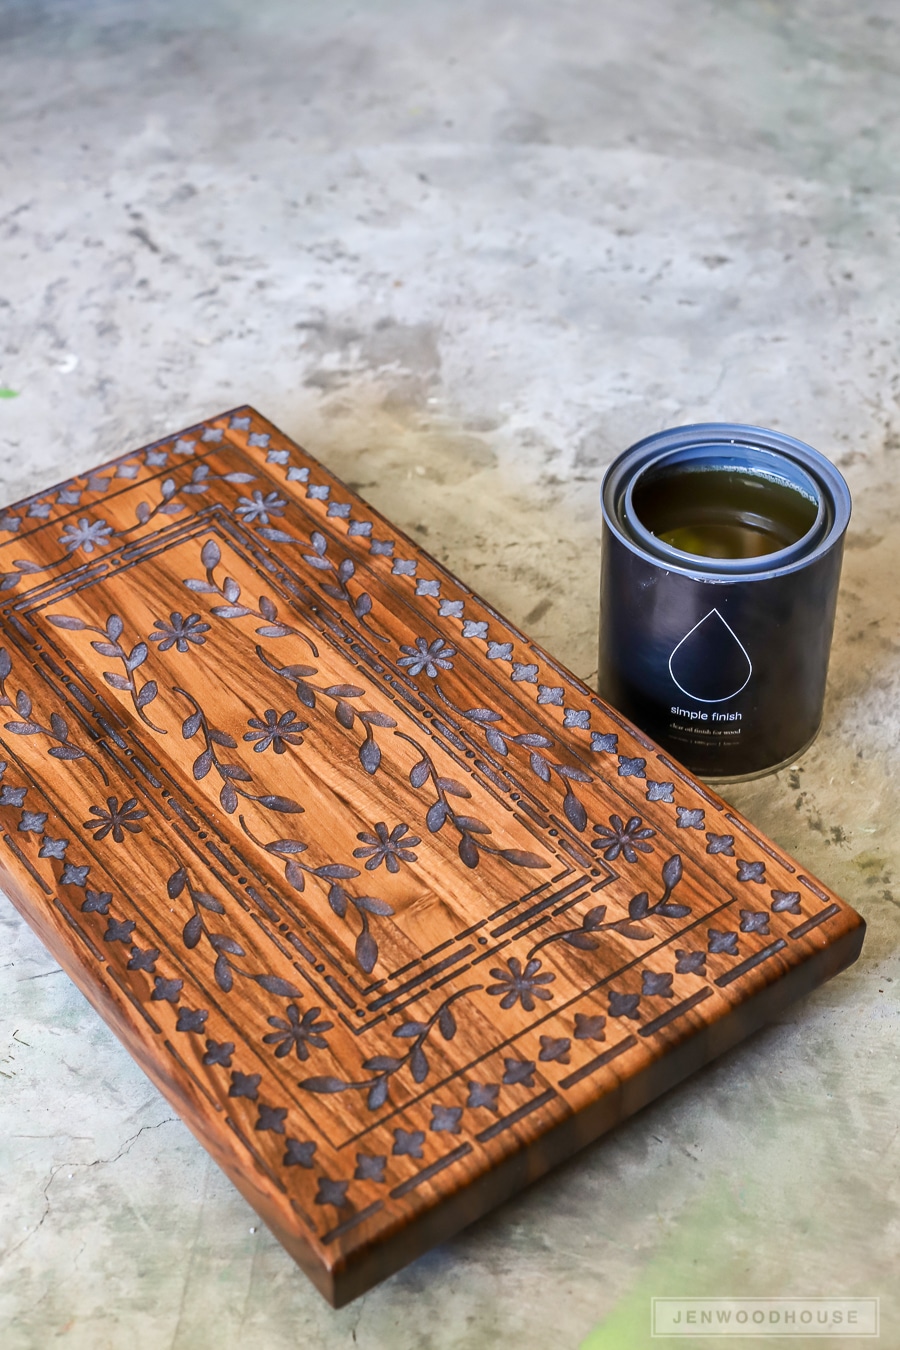
Now it’s time to apply a food-safe finish! You can use mineral oil or butcher block oil for this, but my good friends recently launched a new finishing product line, so I was excited to give it a try. It’s called Simple Finish – you can learn more about it here. It was super easy to apply – simply wipe a heavy coat on, wait 15 minutes for it to penetrate, apply another coat, wait 10 more minutes, then wipe off the excess and buff with a soft cloth.
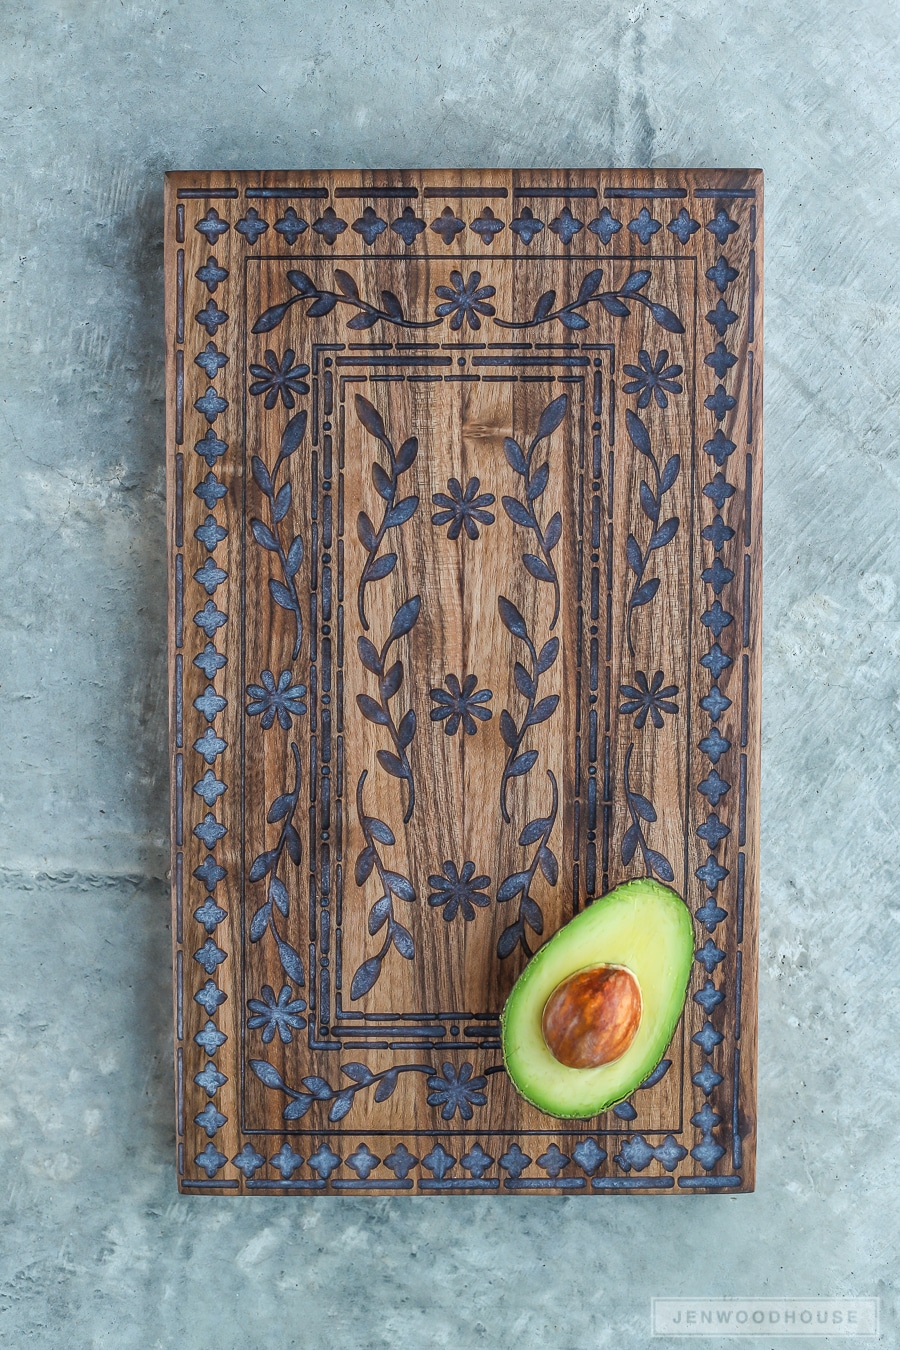
Feast your eyes…

*This post contains affiliate links and is sponsored by Inventables. All efforts and opinions are my own.
 Carve the Inlay Design
 Pour the Epoxy Resin
 Sand the Cutting Board
 Apply Finish
ive been watching you tube ive been wating to make one with resin like blue and water looking i want one bad
Wow!! Thanks for sharing, this is absolutely gorgeous! I love it!
Wishing you and your family a very merry Christmas and a happy, healthy New year!
Lynn
This is beautiful!! I would definitely love to find one under my tree!!!
Oh my goodness – the cutting board is GORGEOUS!
Great project! We are ready to cut on a different CNC machine but I’m having trouble re-creating the pattern shown. Could you provide the cutting file or a link to the source images?
Hi Mark,
Thanks for your note! I emailed you the SVG file.
Great project love the way it came out I have been doing inlays with would and like to try epoxy do you share this file thanks
Hi Kevin,
Yes, I added the link to the SVG file in the materials list. Hope that helps!
Hi, this is a beautiful design! Are you able to share the plans?
What dye did you use to color the epoxy?
Hi Jeff,
It’s not a dye, but a sparkly powder – I experimented with several different additives, found in the baking aisle of the craft store.
How is this cutting board holding up to knives? From what I read, this kind of cutting board is more for cheese and the associated wooden cutters, not regular metal knives.
Hi Sandra,
To be honest, I haven’t tried cutting on it yet – can’t bring myself to cut on that beautiful inlay! End grain cutting boards are typically best for knives, since the wood fibers ‘give’ into the blade, but I chose to use the edge grain because it required much less effort and sanding.
To answer the above question if you care about your knives. Do not cut on an epoxy inlayed one. Yes wood edge and end grain are good for knives. But hardened epoxy is like cutting into rock. You will dull you knives very quickly. This should be advertised as a serving board not cutting board just my opinion! Very nice board, beautiful work!
Are you sharing the SVG file for this? My MIL saw it and fell in love with it. I just got an X-carve and thought I’d try and make it for her Birthday 🙂
Hi Beth,
That’s so awesome to hear! Yes, I added the link to the SVG file for the inlay pattern. Hope that helps! Can’t wait to see your version!
Hi Jen! I just got a Shapeoko and have started cutting things. I’m ready to move to cutting boards, and your site popped up first. Any chance you would share the .svg file? Thanks very much!
Thanks Cate!
I just added the link to the SVG file. Happy carving!
Hi Jen,
What a beautiful cutting board! Just found your website! Loved catching up to see what you guys are up to!
Missing you in TX!
So great to hear from you Teresita! Hope you and the family are doing well!
That is gorgeous! Is there any way I might be able to get that file from you?
Hi Ashley!
I just added the link to the SVG file – thanks!
This pattern is so beautiful! There is a bohemian style in this work!
I like it so much!! Would you mind sharing the SVG file please? Thank you very much!
🙂
Hi Kuku,
Yes – I just added the link to the SVG file. 🙂
Hi Jen!!
Would you please share the SVG file with us as well? Thank you and love ALL your work so much!
Hi Dana,
Yes of course! I just added the link to the SVG file. Thanks!
This is SUCH a beautiful board! Would you be willing to share the SVG file? Thank you for such a lovely project!
Hi Mary,
I just added the link to the SVG file. Thanks for stopping by!
This is so beautiful!! Thank you for sharing!
Thank you for the tutorial! I appreciate that you included all of the nuances of using epoxy such as covering with a box, testing out results, and sand paper gumming up. I also have ordered from your link, the simple finish oil. Ironically I just ran out of the stuff I was using before and needed some new stuff!
If you care about your knives don’t use an epoxy board as a cutting board. Hardened epoxy is like rock and will dull your knives like crazy. As well you don’t particularly want epoxy chipping off into the food you are prepping food safe or not. Also when sanding ensure you epoxy is fully cured to avoid gumming. Should be very dusty and easy to wipe away. Every one or two passes are wipe away with a cloth to also avoid gumming. You will also want vacuum away as much of the dust as possible. Hope these extra tips can help! Awesome looking board by the way, well done!!
beautiful work.
Could you please share the dxf file or the format you use to replicate the design.
Thank you.
Beautiful work! Could you share where you got the file? Thank you!