As you may know, we’re in the middle of a kitchen renovation and today’s project goes hand-in-hand. Let’s make a DIY Cookbook Stand! This cookbook holder not only allows for perfect visibility on your kitchen counter while you’re cooking or baking up your culinary masterpiece, practicing on your favorite recipes, or grandma’s beloved recipe cards, but the clear acrylic sheet will protect those precious pages that somehow hold the answers to life, love, and a full belly (aka spills and splatters). But wait… there’s more! I designed it so that it folds completely flat for easy storage in a kitchen drawer or bookshelf, saving you valuable counter space. While it can hold heavy cookbooks quite easily, if you’re more tech savvy, you can even use this cookbook stand for your tablet or other electronic device! I’m thrilled to partner with Arrow Fastener on this project.
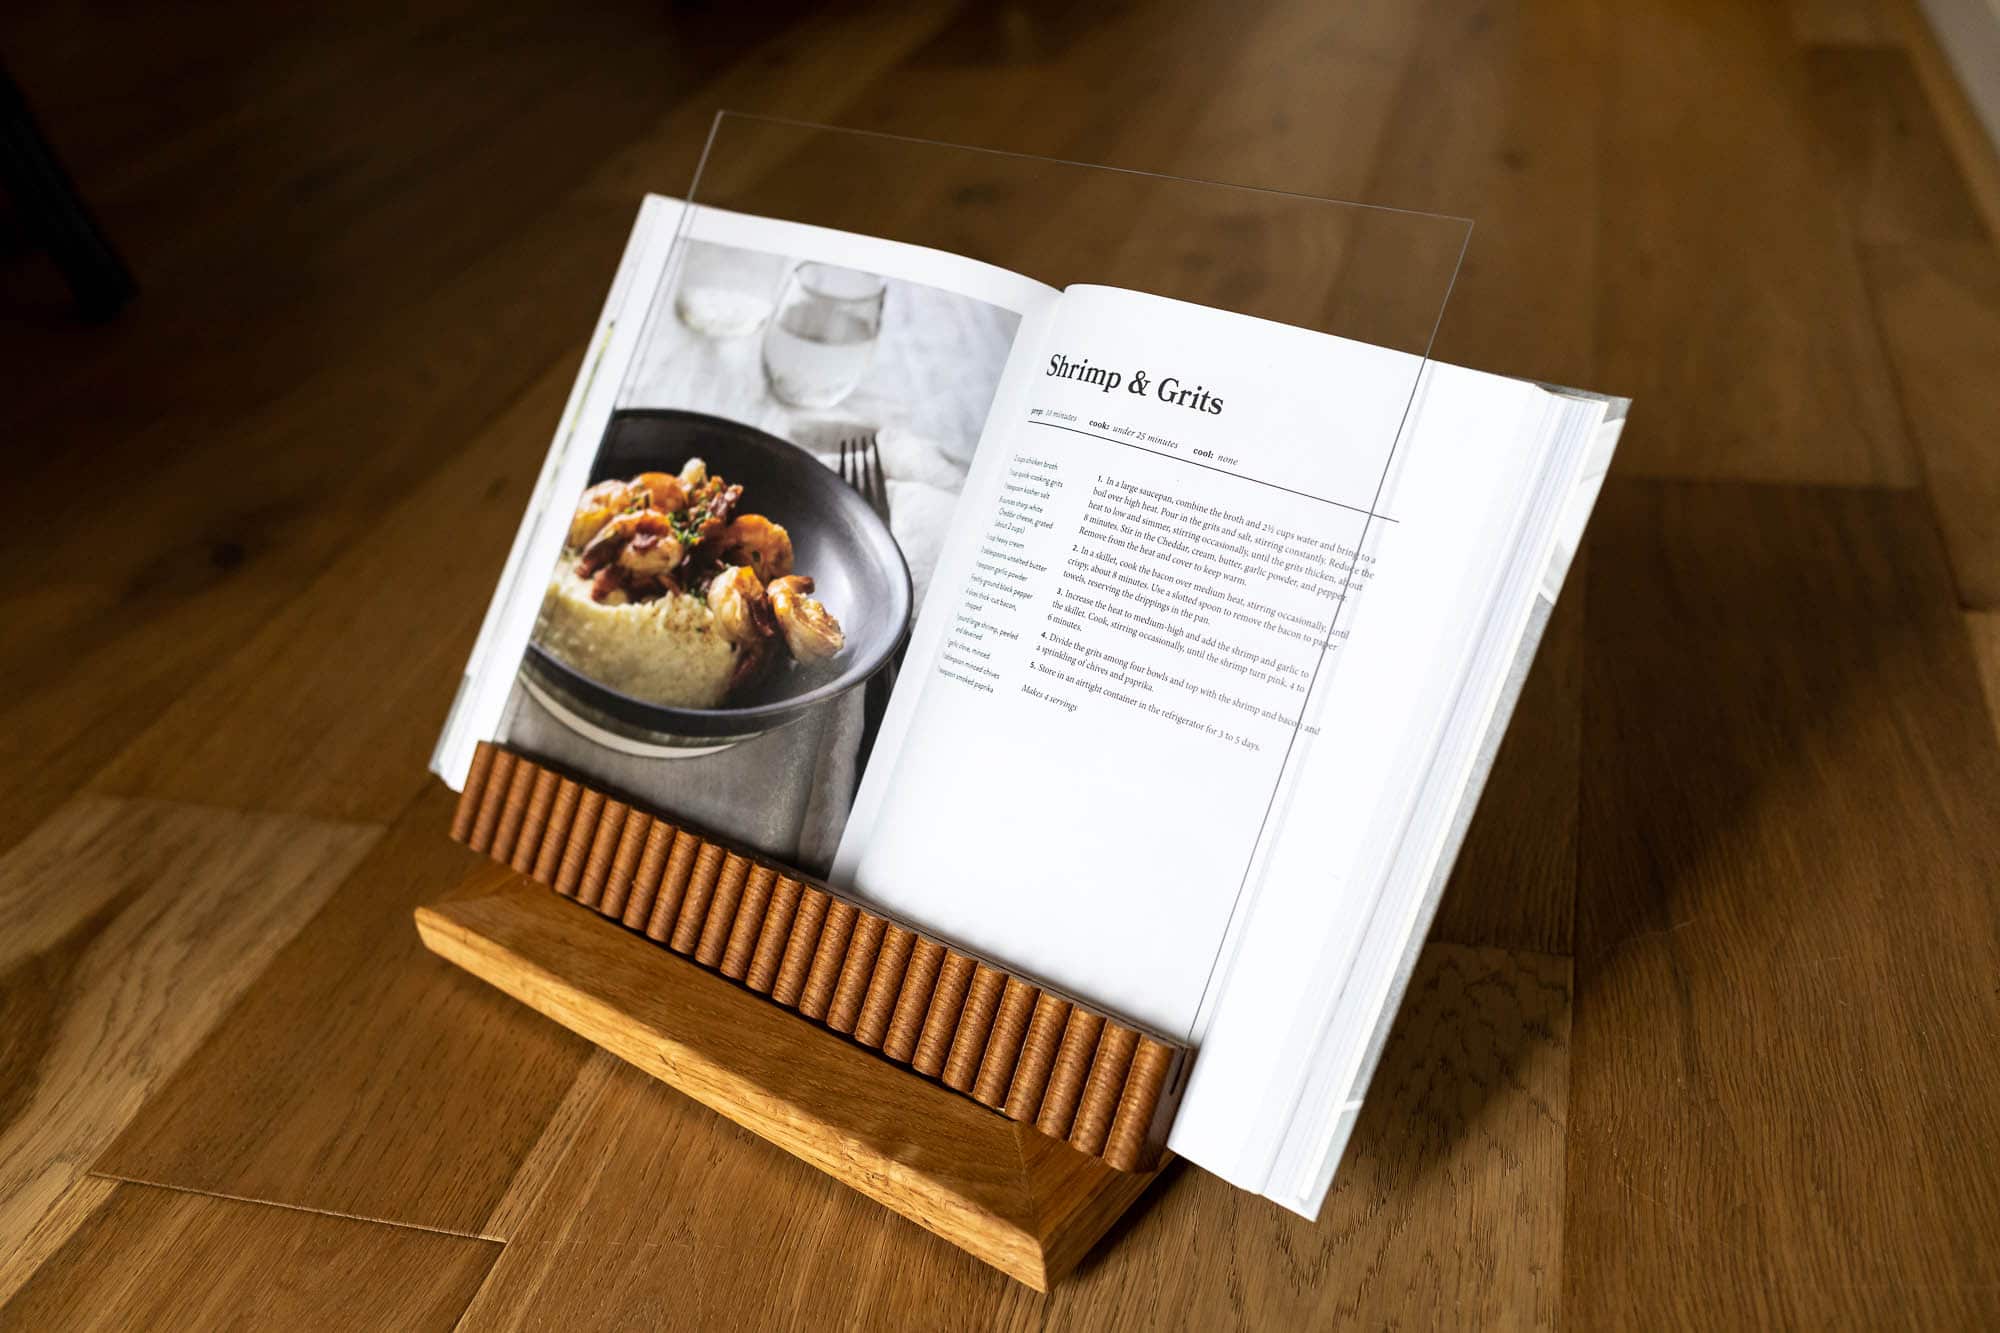
How To Make A DIY Cookbook Stand
Tools:
- Arrow Fastener Pin Nailer
- Tape measure
- Speed square
- Cordless drill/driver
- Table saw
- Compound miter saw
- Frame clamp
- Mallet
- Plastic sheet cutter
- Safety glasses, hearing protection, dust mask
Materials:
- (1) 1 x 2 x 8-foot board
- (1) 11 x 14-inch acrylic sheet
- (2) small hinges
- (1) 3/16-inch diameter dowel
- 1-inch pin nails
- wood glue
- clear silicone adhesive
I was able to make this DIY cookbook stand out of scrap wood and various materials I had on-hand. I used some leftover white oak from our DIY nightstands (including that beautiful fluted wood!) and the brass rod cutoffs from our basement theater bar tables. If you were to purchase all the materials new, I’d estimate this project will cost less than $20. Williams-Sonoma, Sur La Table, Pottery Barn, etc. sell beautiful cookbook stands, but they’re pretty pricey, typically starting at $50 and up!
Step 1: Cut the Parts
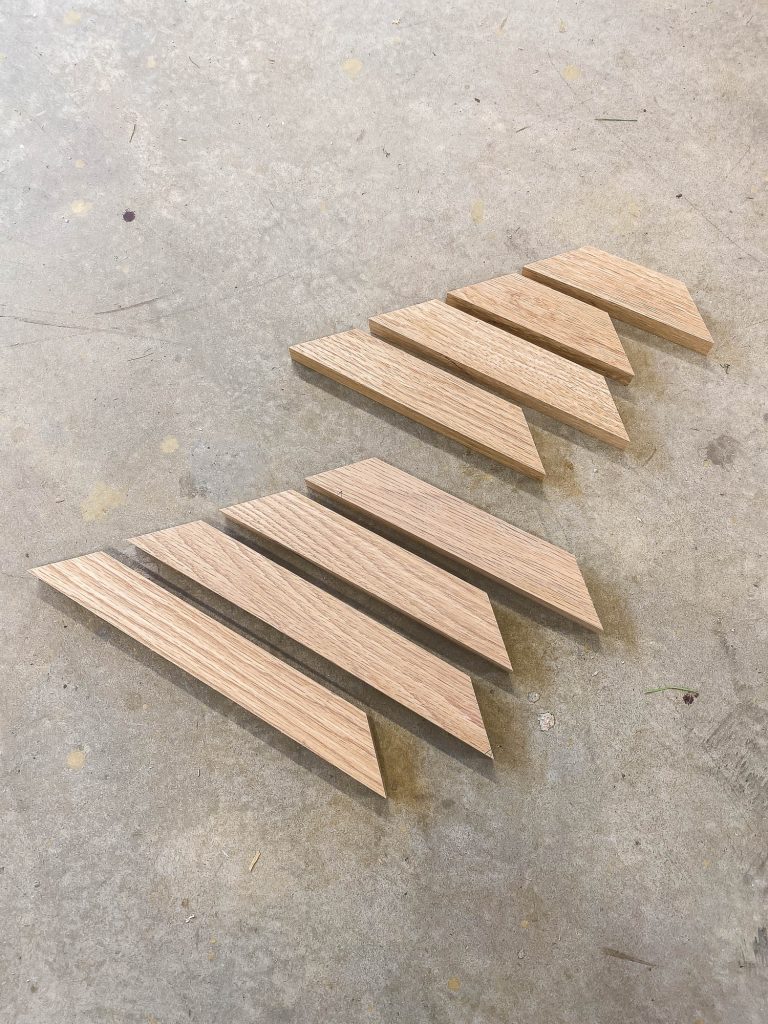
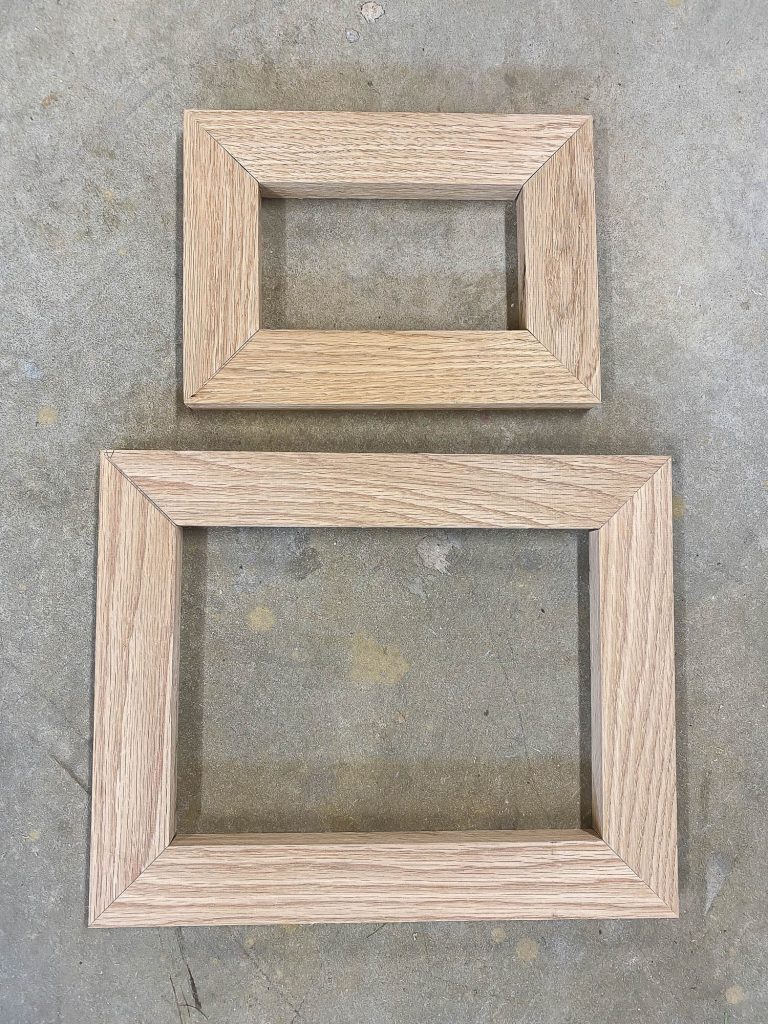
The first thing I did was cut all the parts. We’re basically going to make two frames: one large and one small. The smaller frame will fit inside the larger frame. All of the frame parts are cut at a 45º miter. You can easily modify this plan to whatever size you need, just be sure to allow yourself some wiggle room for the smaller frame to fit inside the larger frame, with about 1/4-inch gap on the inside. This gap will allow for the small frame to swing like a hinge inside the large frame. It will also allow space for the hinges.
Once the parts were cut, I dry-fit them to make sure the cuts were precise and the mitered joints would be tight.
Step 2: Assemble the Two Frames
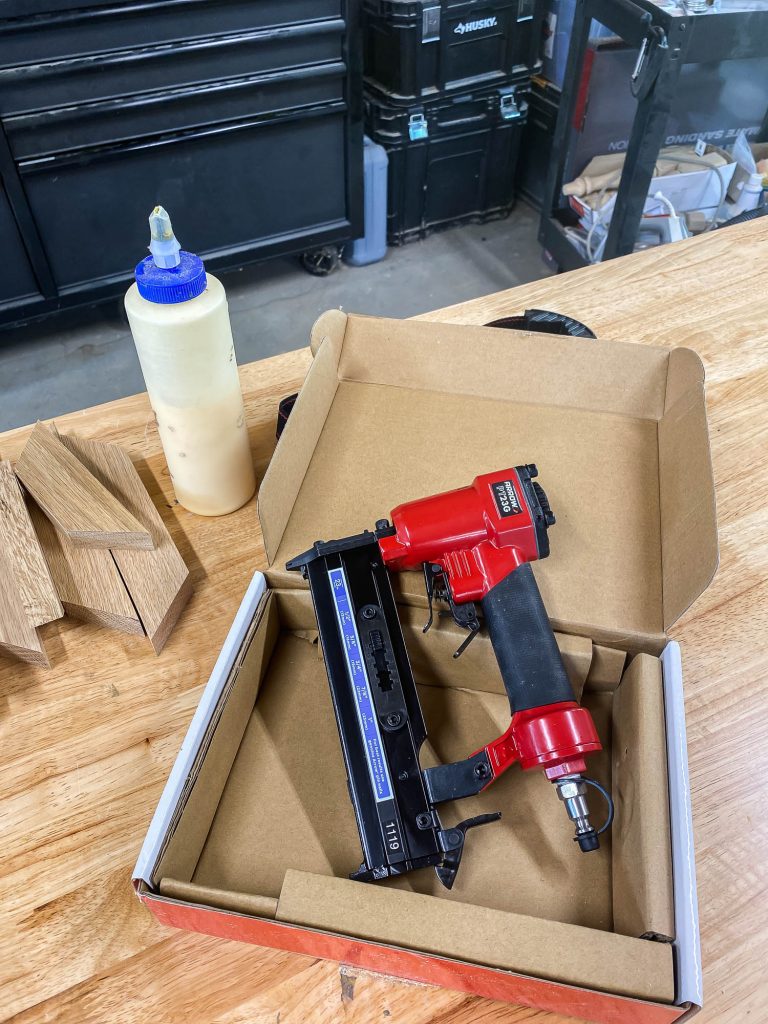
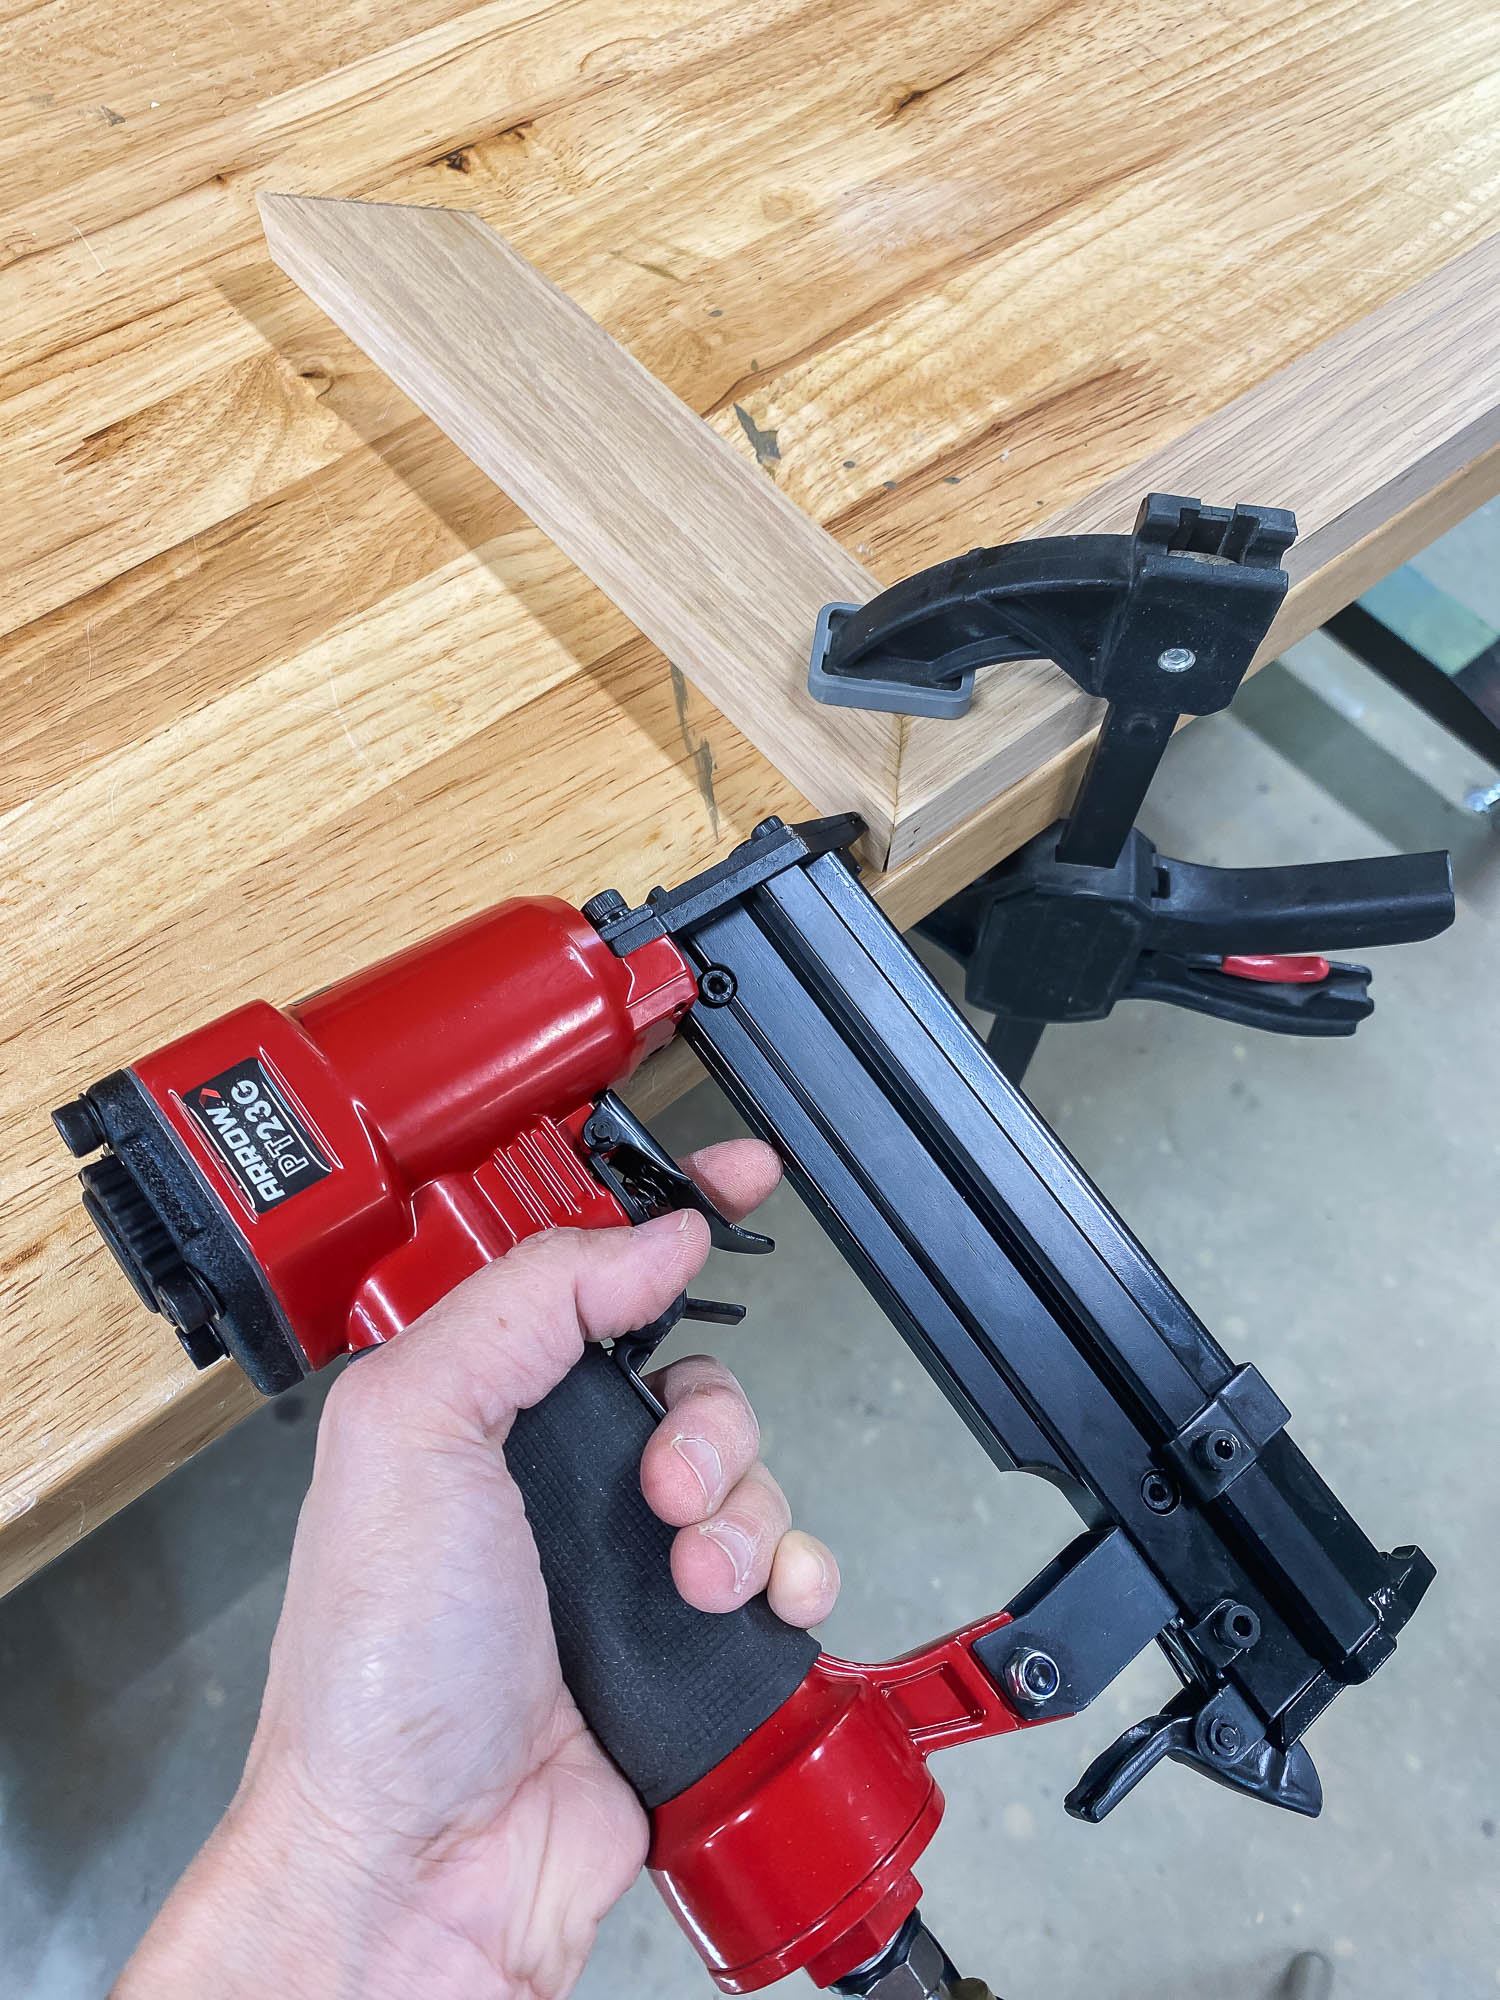
I used this Arrow Pneumatic Pin Nailer and some wood glue to secure the frames together. I love this pin nailer because it’s great for more delicate jobs like this one and the nail heads are virtually invisible! You could also use the Arrow Pneumatic Brad Nailer if you don’t have a pin nailer, but I found it to be a bit heavy duty for this project.
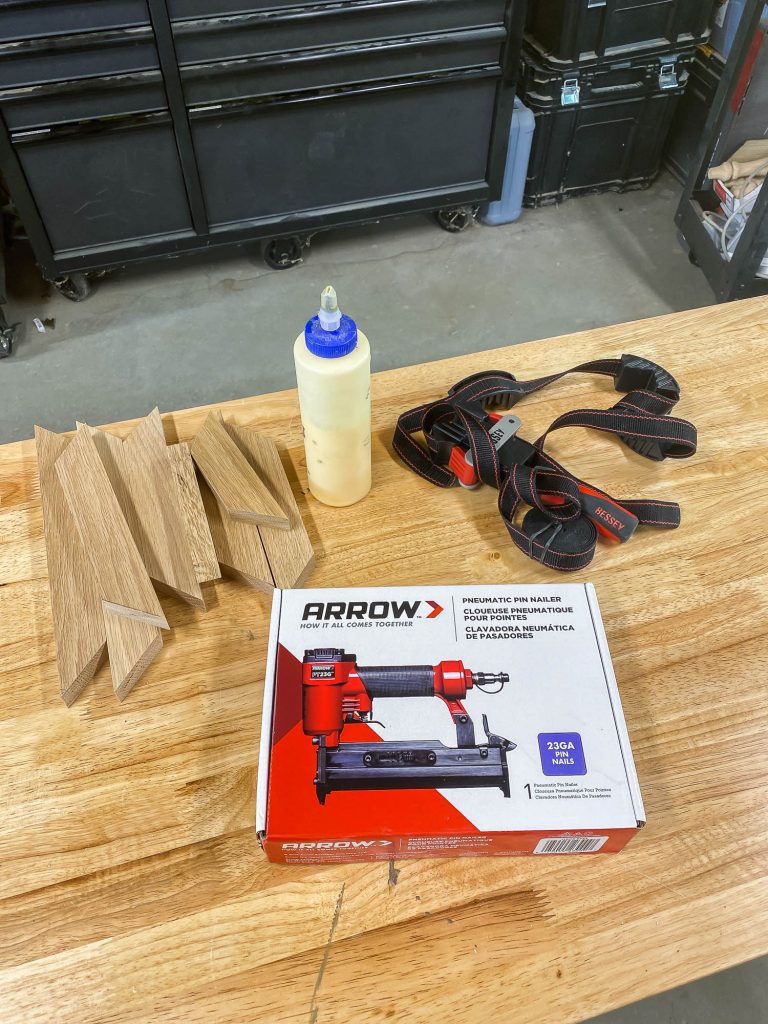
Apply glue to the mitered ends and clamp in place. Make sure the joint is square, then shoot a couple of pin nails into the corners to secure the frames. Use a frame clamp (also called a “variable angle clamp” or “strap clamp”) to hold the frames in place while the glue dries.
Step 3: Add the Dowel
Once the frames are done drying, take them out of the clamps and place the small frame inside the larger frame. There should be a 1/8-inch gap from side to side and a 1/4-inch gap from top to bottom. Position the smaller frame inside the larger frame, allowing for the necessary gaps, and mark where the dowel will go on both frames. Drill a hole all the way through the sides of the large frame, but only about half an inch deep into the sides of the small frame. Cut the dowel a little longer than needed, then tap it into the holes with a mallet. Check to make sure the small frame swings freely inside the large frame, then cut the excess dowel length. The two dowel pieces should end up being about 2 inches long.
Step 4: Add the Acrylic Splash Guard
For the splash guard, use a table saw to cut a groove along one edge of the board. This groove will be where the acrylic sheet will slide into. I purchased an 11×14-inch acrylic sheet and cut it down to size using a plastic sheet cutter. Simply score the acrylic sheet with the cutting tool, then snap it off. It should be a clean break. Run a bead of silicone down into the slot and insert the acrylic sheet. Allow to dry.
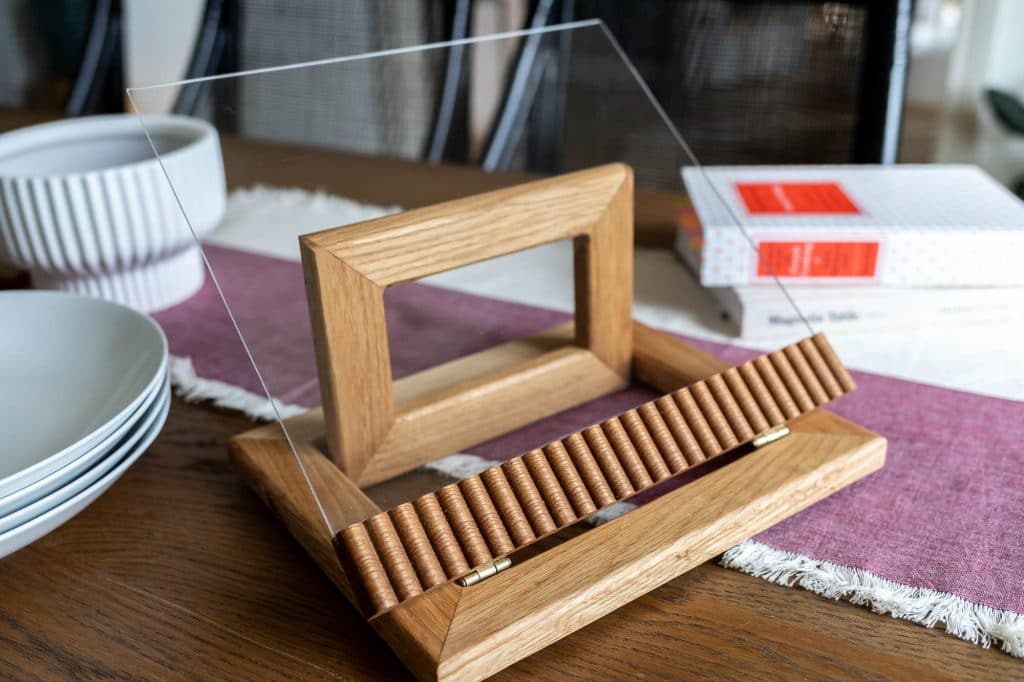
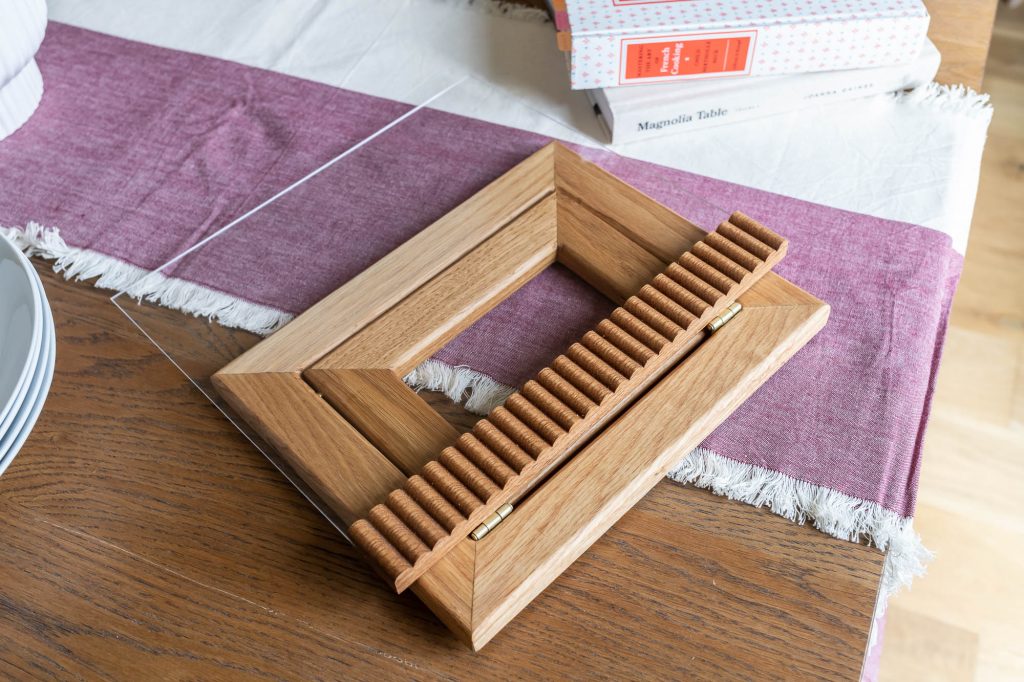
Add the hinges to the inside of the larger frame and screw on the splash guard. When done correctly, this DIY cookbook stand should fold completely flat. I love this feature because it can easily be stored in a kitchen drawer or on a bookshelf, alongside treasured cookbooks.
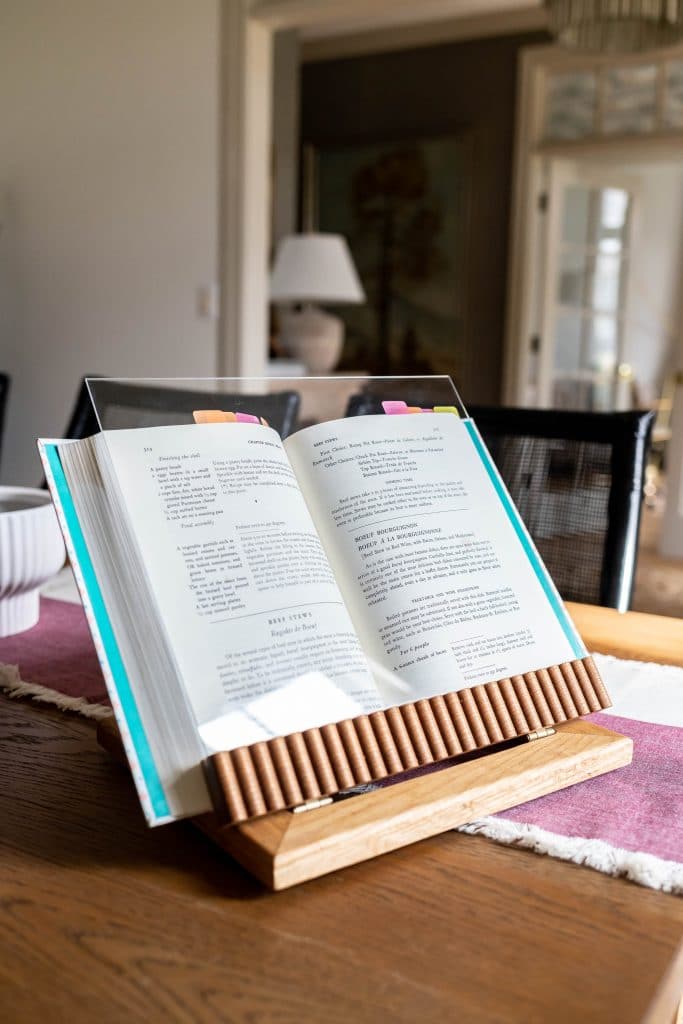
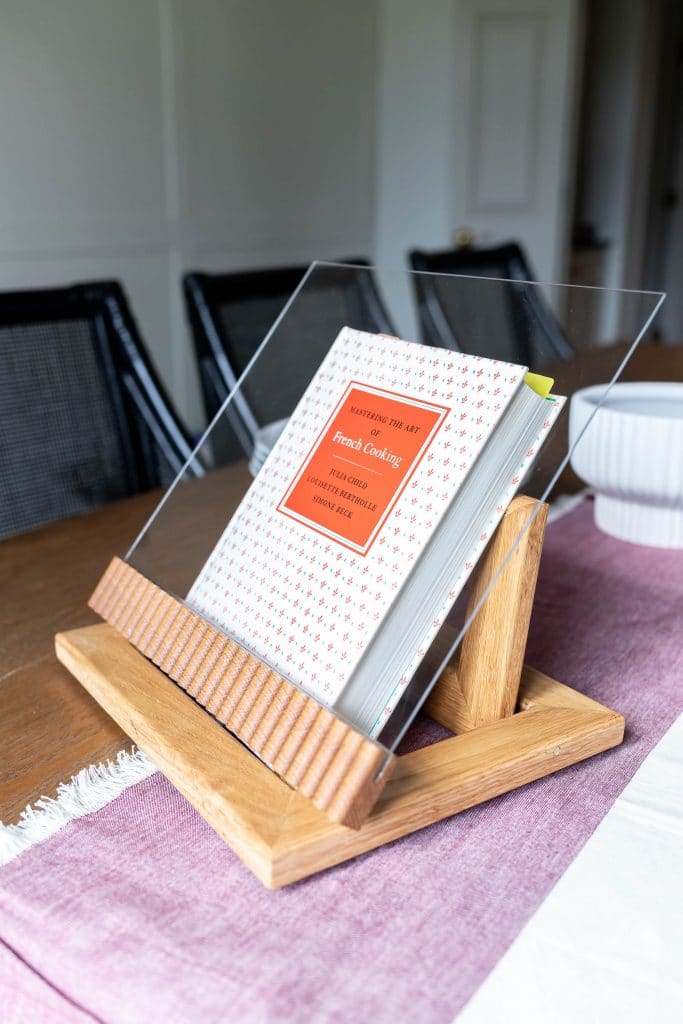
Purchase Arrow Fastener Tools




Hi thanks for this it looks great. One thing I don’t understand is the sort of bumpy wood that holds the acrylic sheet… I dont see any mention of this or how to make it? I would love to know as I want to make these for a few friends for christmas gifts. Any advice would be greatly appreciated! Thanks again.
Hi Ian,
Thanks for your note! The beaded 1×2 on the front is a scrap wood off-cut from a previous project, seen here: https://jenwoodhouse.com/diy-white-oak-nightstands/ I made it with a router! Hope that helps.