If you’ve kept up with me on Instagram, Facebook, or Pinterest, you’ll gather that I’m crushing on all things shiny and sparkly right now. Gold, crystal, mirrors… anything unapologetically girlie and glam has been my latest obsession. Gold, especially.
*This post contains affiliate links. To read my full disclosure policy, click here.
Last week, I shared a free printable that I made using Silhouette’s printable gold foil. Not satisfied with just sticking the gold foil stickers on the paper, I embarked upon a DIY gold foil tutorial hunt.
Surprisingly, there isn’t much information out there in the interwebs about how to DIY gold foil. I know, crazy, right? So I told myself, “Self, you will figure this out.” Luckily, I stumbled across this handy video tutorial. God bless you, YouTube. Unfortunately, the tutorial recommends a pricey laminator. Because I’m cheap not willing to spend that much time and money on a passing trend, I decided to try my gold foil experiment (*experiment being the key word here) using this basic laminator instead. If all else failed, I could use it as an actual laminator. Imagine that. I wanted one that was at least 13″ wide just in case I ever wanted to laminate (or hot foil) 12×12 scrapbook paper.
Okay, onto my DIY gold foil experiment! You guys are going to flip out over how easy this is!
Here are the players:
Alright! Let’s get started (and wish me luck)!
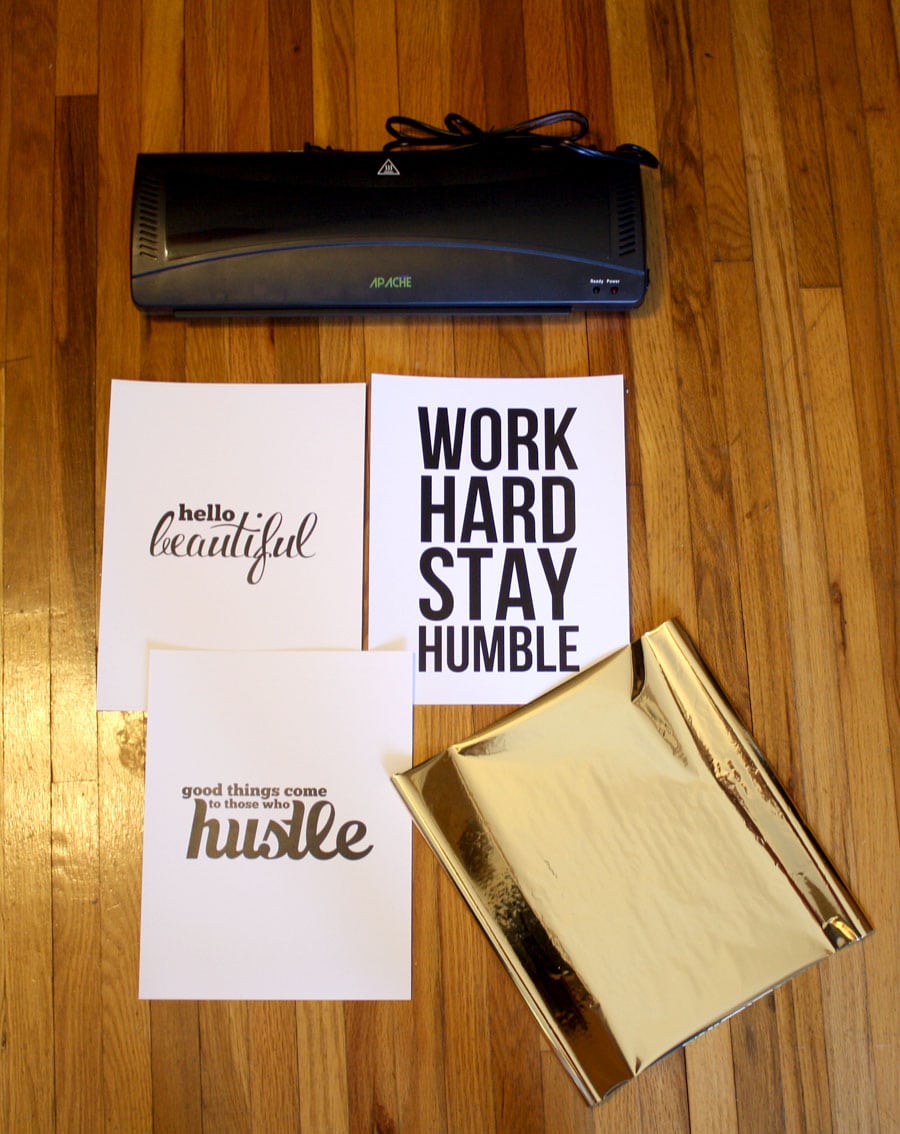
I created these black and white prints in Photoshop and printed them out on a laser printer. You should use a printer that prints with toner because it’s what the foil will react with. You can print your image using a laser printer, or even a photocopier. Just make sure it’s black and white and toner is what’s used (not ink).
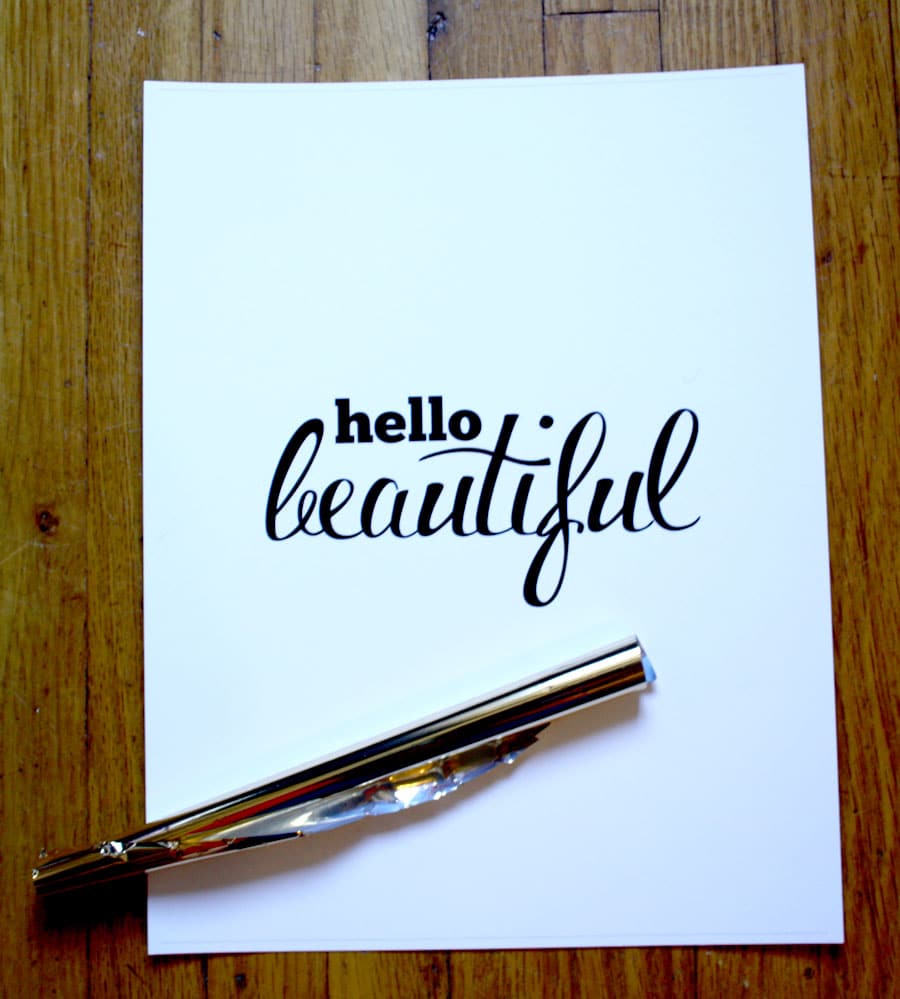
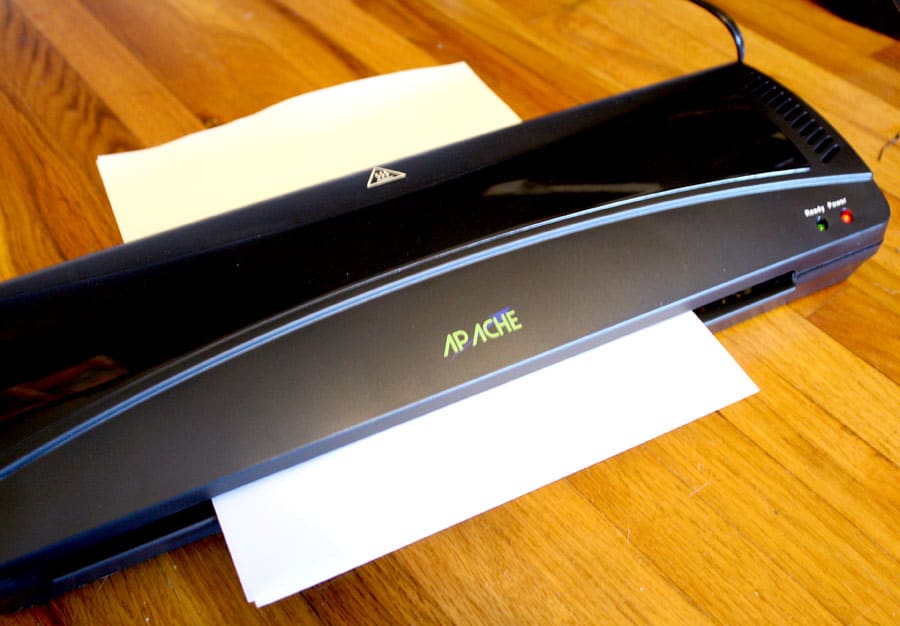
Next, I cut a piece of toner-reactive foil large enough to cover the image, gold side up, smoothed out any wrinkles in the foil, then put another sheet of paper on top, to hold everything in place (so that the foil is sandwiched between the two pieces of paper). Then I sent it through the laminator with my fingers crossed!
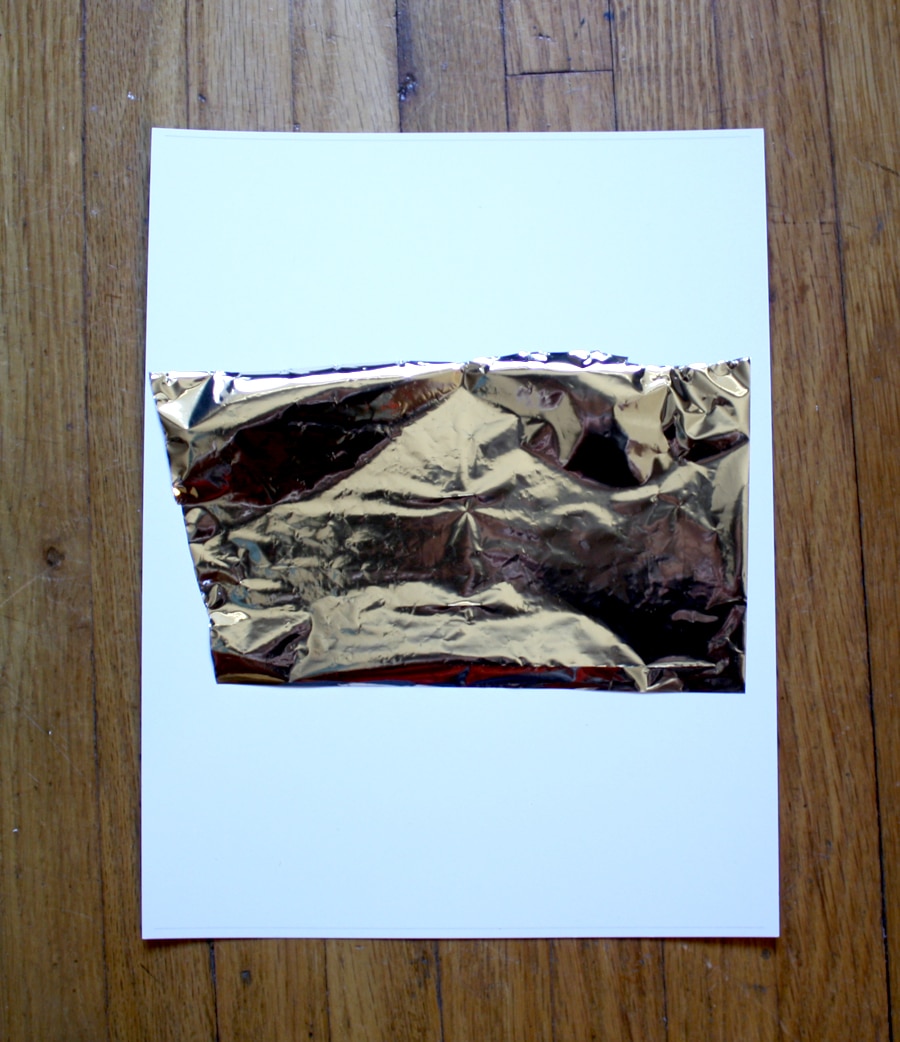
Once it came through the laminator, I peeled back the foil and this is what I found:
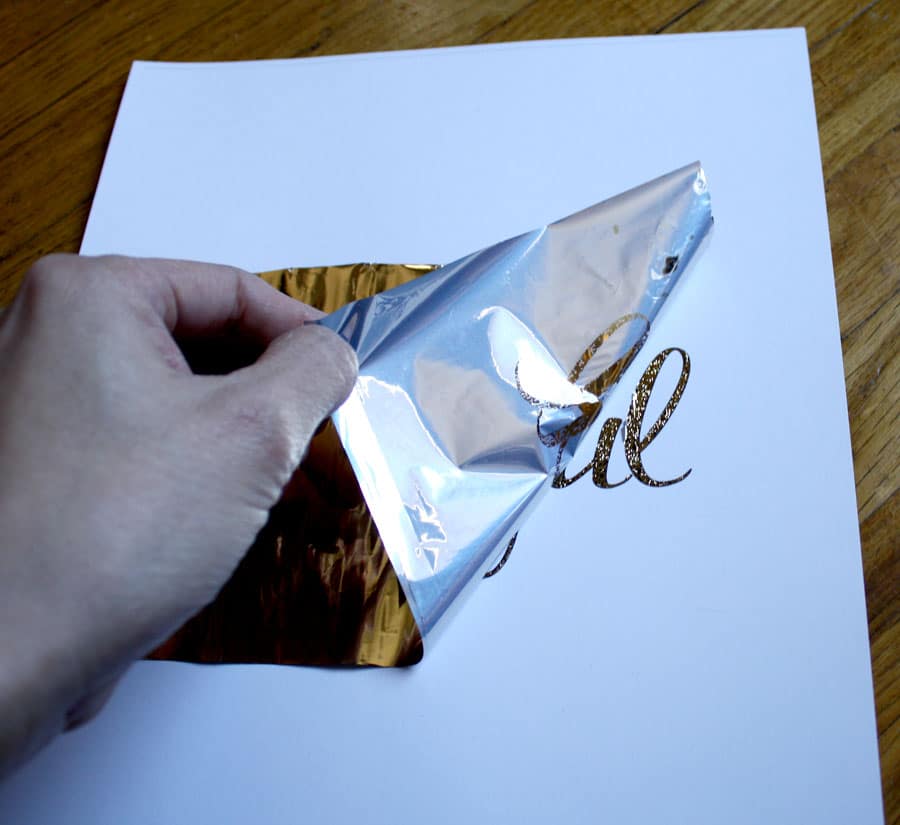

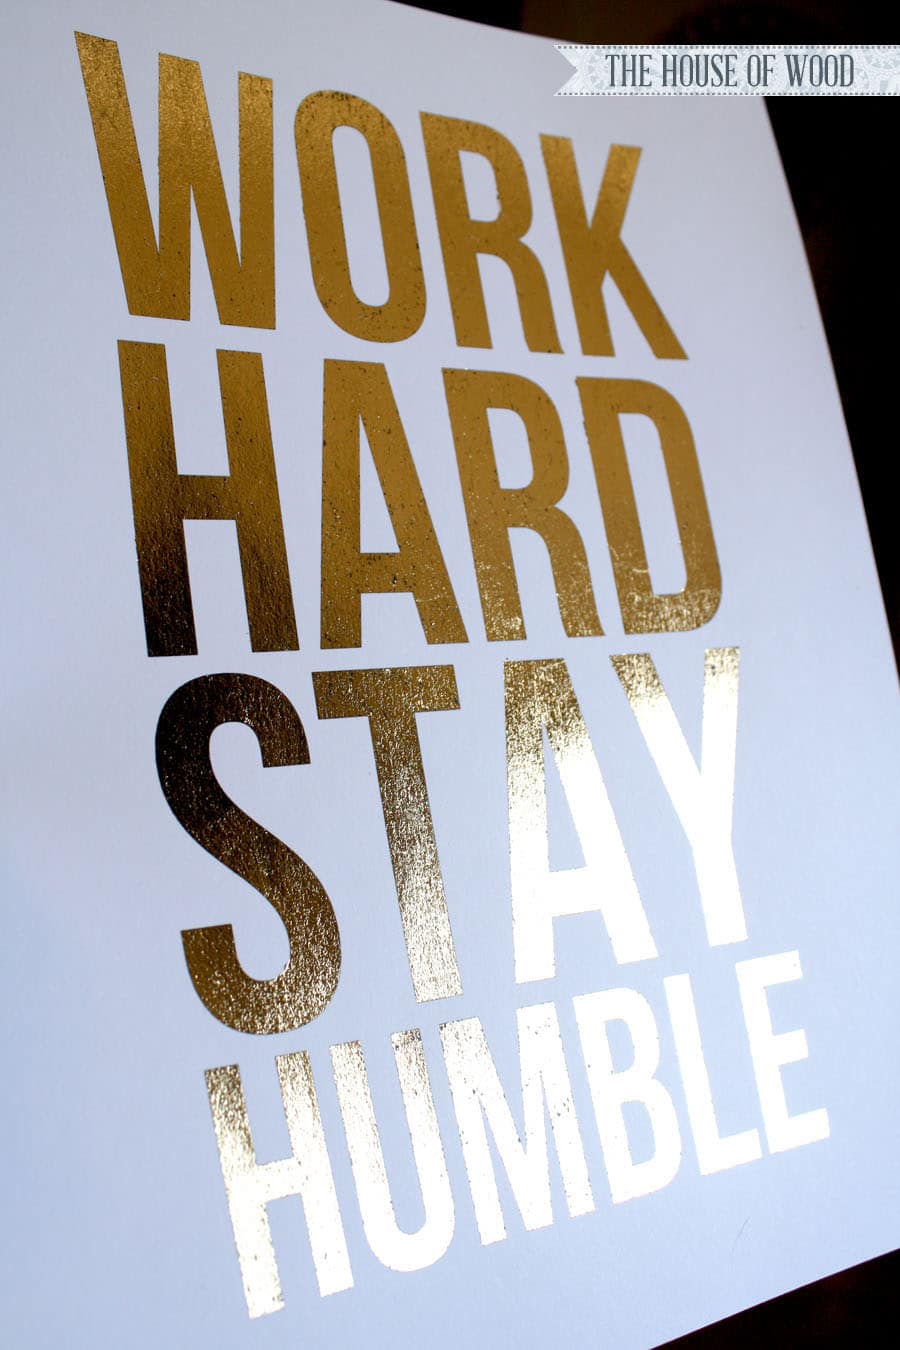
Me, oh, my! My very own DIY! (Gold foil print, that is.) It’s far from perfect, and it certainly won’t buy me a house on the hill if I were to sell them in my Etsy shop, but how neat, right? Here are my 2nd and 3rd attempts:
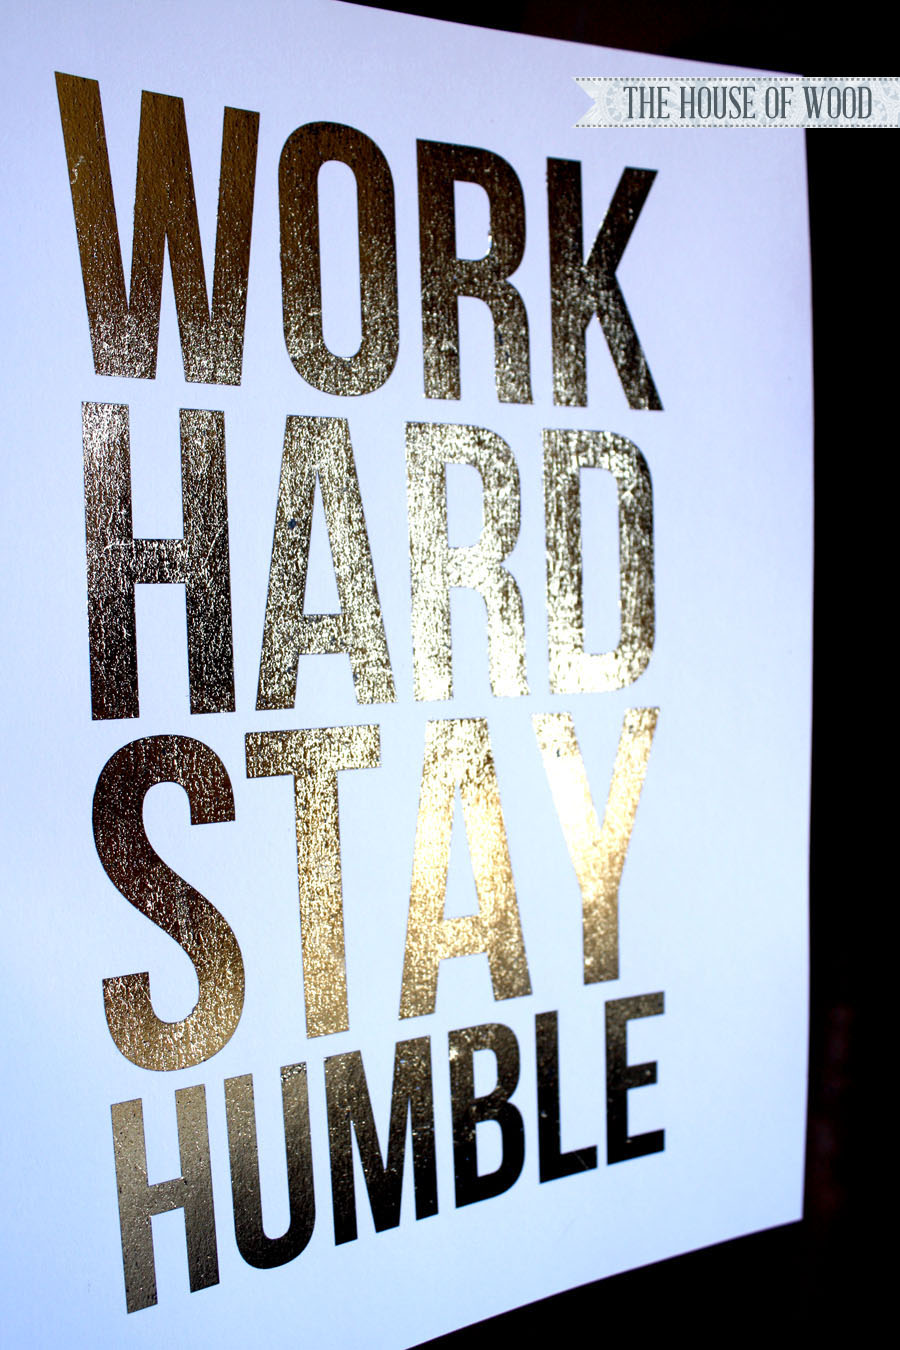
Ahhh, my preciousssss… so shiiiiiiny… And nothing says “Work Hard Stay Humble” quite like glam gold does, amiright? I mean, you can be hard-working, humble, and glamorous all at the same time. True story.
I also learned that lint and dust (or dog hair, in my case) is not good when hot stamping foil to paper. See exhibit A below:
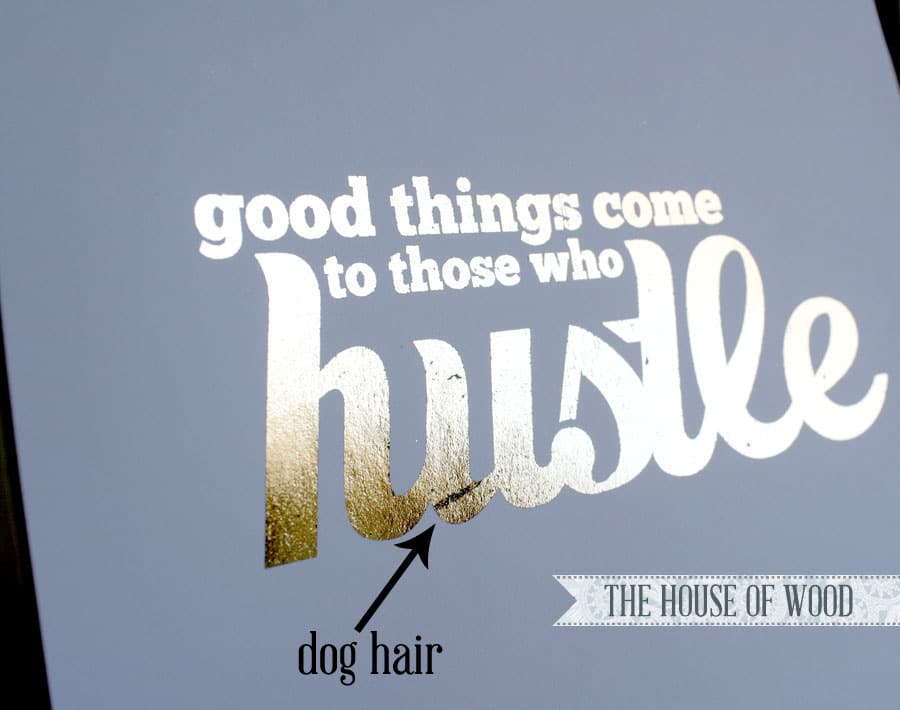
But overall, not a bad little DIY experiment, right? I imagine my DIY gold prints will look even better once they’re framed and hung; you might not even notice the dog hair and other little imperfections (crossing fingers). What do you think? Huzzah for DIY gold foil prints!


Hi, amazing tutorial, good advice given! Don’t worry, i’m not going to ask if you can do it with an iron…
I’ve been working on this recently and find it hard to get really good results, most often the result having heavy set creases through it. I’ve tried putting paper over the top and it didn’t really work, and i’ve tried tracing paper which worked better, but still i’m looking at 1 in 3 which I can use. Do you have any tips on reducing crease lines etc?
Thanks in advance
Smooth out the foil as best you can, because once it goes through the laminator, it goes in and comes out as is, wrinkles and all. So try your best to smooth it out as much as possible. If you have a crease in your foil, try to use a section that is crease-free and you should get better results. Good luck!
I found your blog via Pinterest & this tutorial was EXACTLY what I needed! I’ve been foiling for a few years but with spray adhesive & gold leaf. I must say this rocks all the other types of foiling/leafing! I did purchase the laser printer & laminator for under $50! I ordered the foil from Amazon & found some multi colored foil at Michaels (half off). The 1st laminator left me with very wrinkled gold foil & not so pretty gold letters, I exchanged it for a Scotch brand & that did the trick! I’m beyond thrilled & you’re so right, IT’S ADDICTIVE! Thanks for your post & even more for answering the questions in the comments. That’s speaks volumes!!
Yay! I’m so glad you found my tutorial helpful! When I first posted about it, I found ZERO tutorials on it, which surprised me! So glad it turned out well for you!
Fantastic information mate thanks so much, Can you tell me does the Laser print have to be straight out the printer to work as im getting my Wedding invitations printed commercially and then sent back to me will they still work when i try to gold foil them ?
I got mine printed and then waited a few days before I got around to putting them through the laminator. No problems here.
HI there! I just came across your blog. I love it! I have a couple questions for you… So I have HP Deskjet 2514 but it does have a scanner? If I copy my projects will it print on toner?? Maybe you don’t know but I thought I would give it a shot in the dark. Also, How do you get your prints to fit in a 8X10 and still making them pretty? Because obviously you have to cut it down a size to make it pretty from a standard printer sheet but how do you make it look good? Does that even make sense? I wish I could explain what is in my head hahaha! Thank you!
Why is the foil not only sticking to the toner buy my card as well?
You need to use toner-reactive foil, so that it sticks to just the areas with toner on it. Here’s the link: http://amzn.to/1YgJHdB
Hmm… this didn’t work for me and I’m confused. I printed a design at Office Depot on 110 lb silk cardstock. (They do use laser printers, which I confirmed.) The foil I had left over from a Heidi Swapp Foil Laminator—which didn’t work for me either and I’m returning.
Am I not using the right paper? Is her foil not good either? I have an Amazon laminator and I used it on both the 3m and 5m setting and all it did was heat up my project, but the foil didn’t stick. It all peeled right off.
Any advice? I was hoping this would work and I could add to my crafting projects.
Was your foil facing the right direction? Meaning the silver side is against the image and the gold side is up because when you lift the foil after it’s gone through the laminator the gold is still what you want to see.
How hot does your laminator get? When I did this, the foil stuck to the lettering and left gold streaks on the paper.\Thanks Bonni
Oi Bella!
I recently went to Joann’s and was obsessed over the DIY Gold Foil paper & images. I knew there was a cheaper way to gold foil without buying the $150 Minc Machine. I was just talking to my best friend about trying it out with a laminator. Glad it works, I might try it with a different laminator to see if I get a better result. I’ll be blogging about it within the next month so feel free to come check it out!
oohBella.com
Ciao Bella!
I’m with Bonnie! My foils stuck to the letters but ALSO all over the paper below 🙁 is this maybe because I have heat foils and not toner??
I’m not sure… I used a toner-printed print and toner-reactive foil. The links to the products I used are in the post.
Buying these today!!
A couple questions please…
1. Do you know if you can reuse the foil in the spots that didn’t peel off?
2. What technique got you the absolute best coverage!? Thanks
Yes, you can use the foil that didn’t adhere to the toner! Just be sure to smooth out the wrinkles as much as possible – and keep lint (or dog hair, in my case) from getting in between your foil and paper, otherwise it’ll be part of your print!
Hi!
Thank you for the tutorial – I can’t wait to try it out!
Are you selling the black & white prints you made? I really like all three prints – they’re exactly what I’ve been looking to hang up in my room.
Hey there,
I have been experimenting with foil printing using my laminator. I run in through and sometimes when I remove the foil, you can see where the square of foil was, like the outline around the words and there is a shimmer where the space with no letters is (I hope this makes sense)..:any ideas on preventing this? Have you had this happen before?
No, I didn’t run into this issue. I’m sorry I can’t be more help!
Great tutorial but I have to laugh at the exact same questions getting asked again and again. Does it just drive you nuts? I’m getting mad at reading them over and over I can imagine how frustrating it must be to have to politely respond with the same answer repeatedly – patience of a saint! 🙂
Haha, thanks for visiting Andrea! Perhaps I should revise my post to include a FAQ section. 🙂
Hi! I was wondering if you have tried this with labels or stickers? Wedding DIY and wondering is the adhesive on the labels/stickers would get weird with the laminator. Thanks!
Hello!
Forstly, well done on the DIY gold leafing, your images are awesome!
I just want to ask you, after the prints were finished (in the gold state), does the gold come off in any way? As in, if you rub it?
I’m hoping to do something similar for a project
Many thanks for the inspiration