If you’ve kept up with me on Instagram, Facebook, or Pinterest, you’ll gather that I’m crushing on all things shiny and sparkly right now. Gold, crystal, mirrors… anything unapologetically girlie and glam has been my latest obsession. Gold, especially.
*This post contains affiliate links. To read my full disclosure policy, click here.
Last week, I shared a free printable that I made using Silhouette’s printable gold foil. Not satisfied with just sticking the gold foil stickers on the paper, I embarked upon a DIY gold foil tutorial hunt.
Surprisingly, there isn’t much information out there in the interwebs about how to DIY gold foil. I know, crazy, right? So I told myself, “Self, you will figure this out.” Luckily, I stumbled across this handy video tutorial. God bless you, YouTube. Unfortunately, the tutorial recommends a pricey laminator. Because I’m cheap not willing to spend that much time and money on a passing trend, I decided to try my gold foil experiment (*experiment being the key word here) using this basic laminator instead. If all else failed, I could use it as an actual laminator. Imagine that. I wanted one that was at least 13″ wide just in case I ever wanted to laminate (or hot foil) 12×12 scrapbook paper.
Okay, onto my DIY gold foil experiment! You guys are going to flip out over how easy this is!
Here are the players:
Alright! Let’s get started (and wish me luck)!
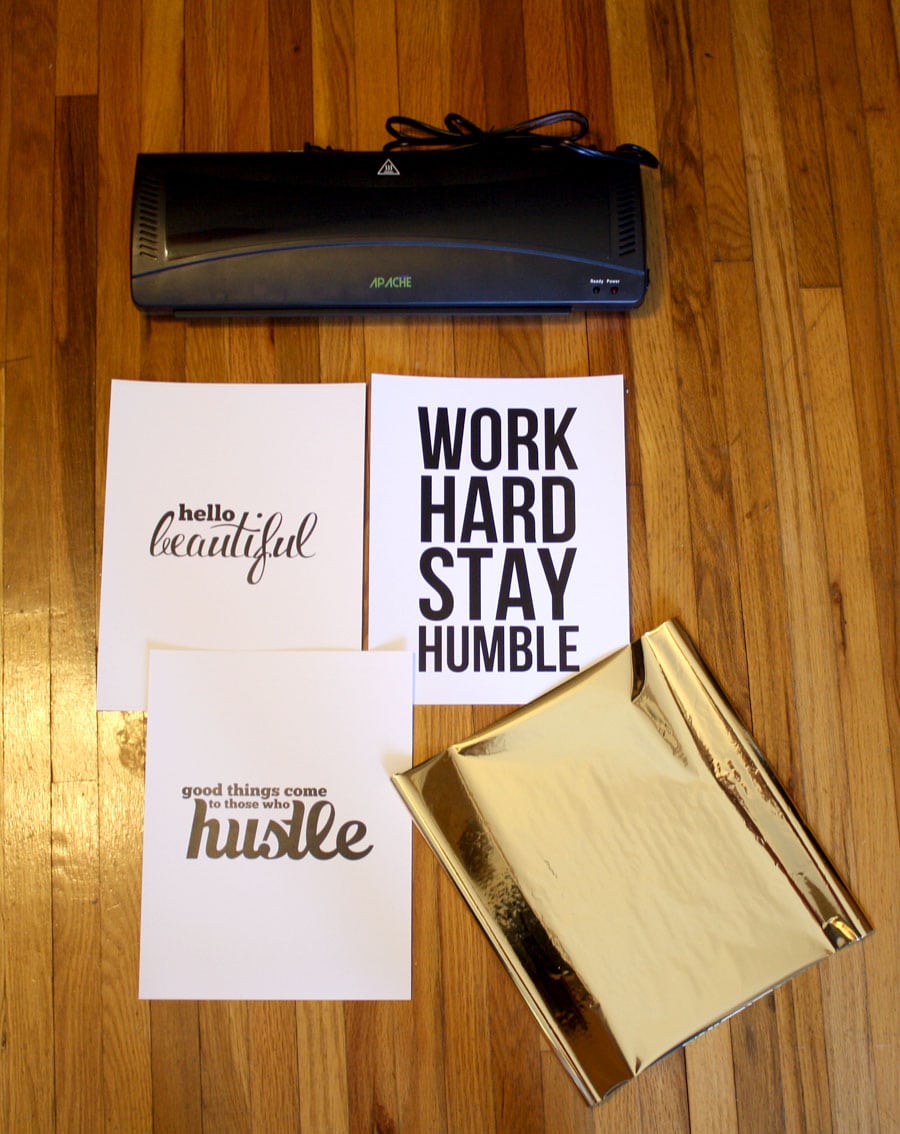
I created these black and white prints in Photoshop and printed them out on a laser printer. You should use a printer that prints with toner because it’s what the foil will react with. You can print your image using a laser printer, or even a photocopier. Just make sure it’s black and white and toner is what’s used (not ink).

Next, I cut a piece of toner-reactive foil large enough to cover the image, gold side up, smoothed out any wrinkles in the foil, then put another sheet of paper on top, to hold everything in place (so that the foil is sandwiched between the two pieces of paper). Then I sent it through the laminator with my fingers crossed!
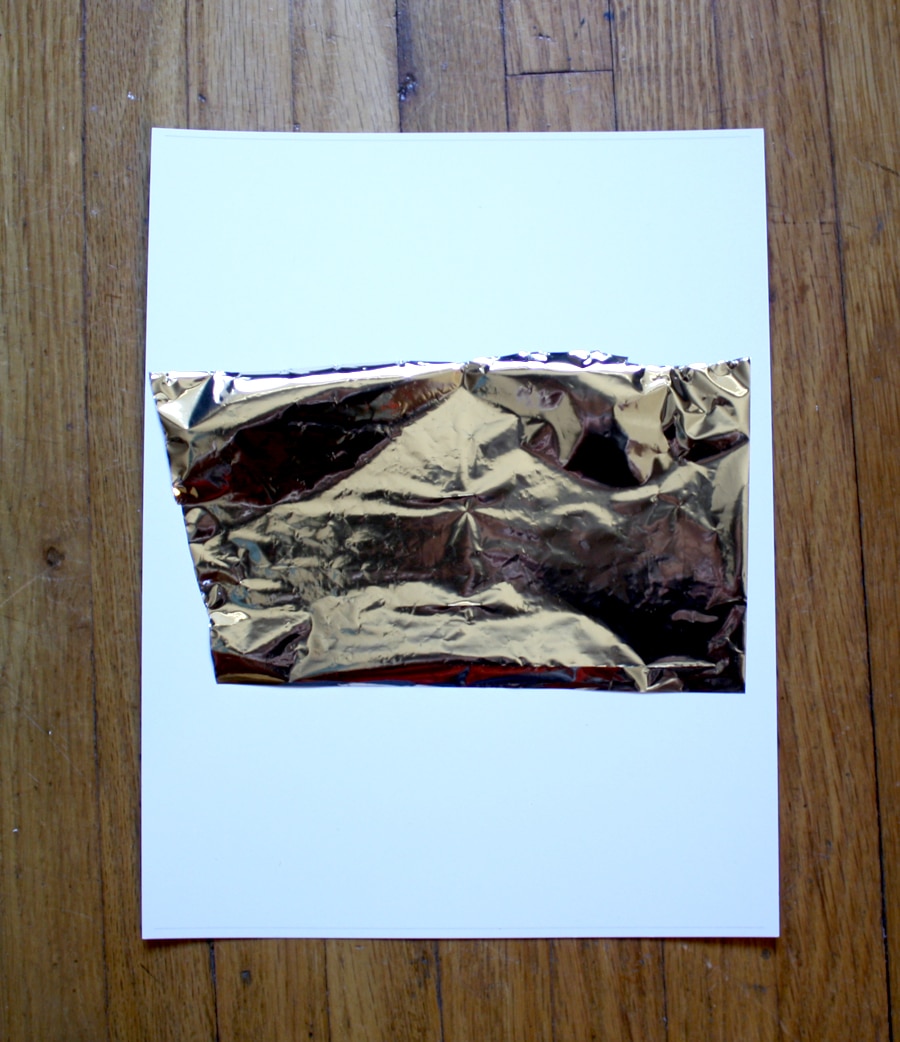
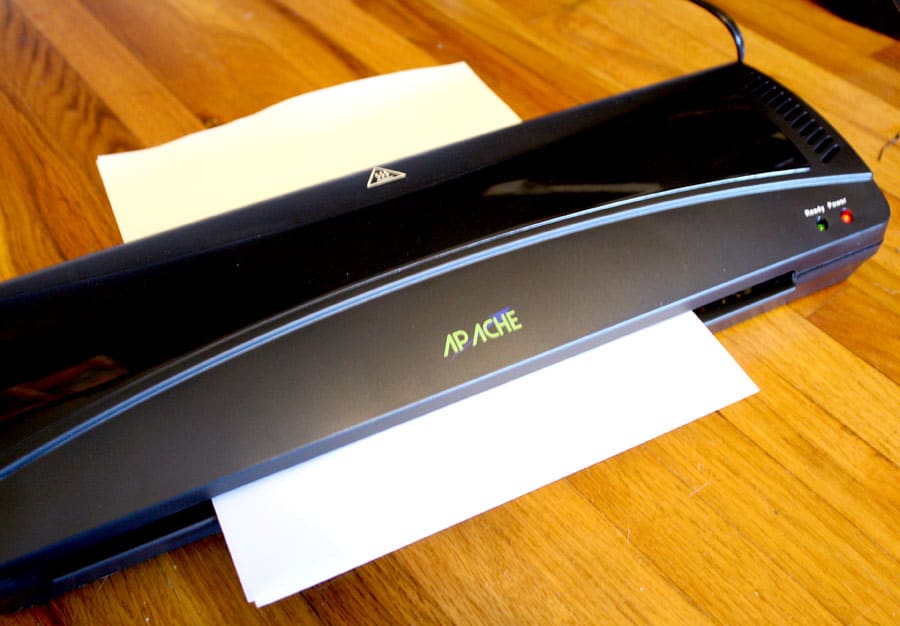
Once it came through the laminator, I peeled back the foil and this is what I found:
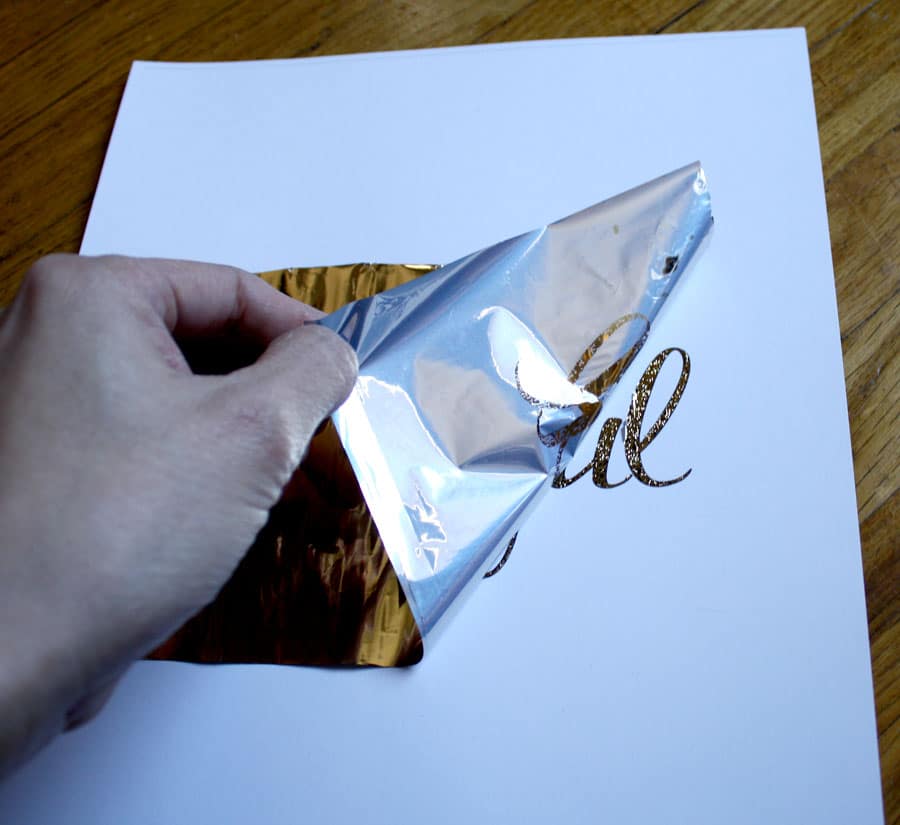

Me, oh, my! My very own DIY! (Gold foil print, that is.) It’s far from perfect, and it certainly won’t buy me a house on the hill if I were to sell them in my Etsy shop, but how neat, right? Here are my 2nd and 3rd attempts:

Ahhh, my preciousssss… so shiiiiiiny… And nothing says “Work Hard Stay Humble” quite like glam gold does, amiright? I mean, you can be hard-working, humble, and glamorous all at the same time. True story.
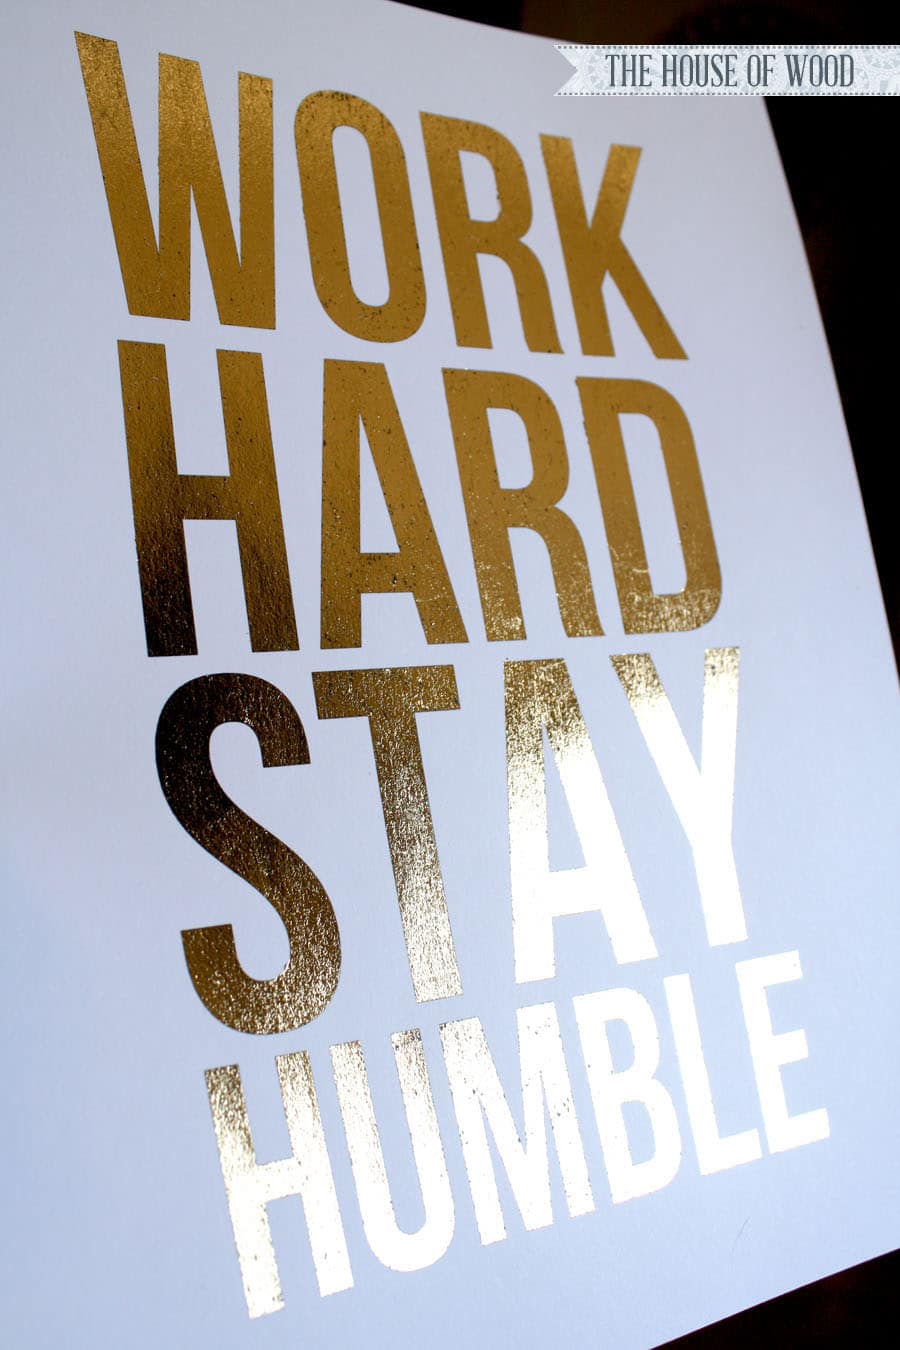
I also learned that lint and dust (or dog hair, in my case) is not good when hot stamping foil to paper. See exhibit A below:
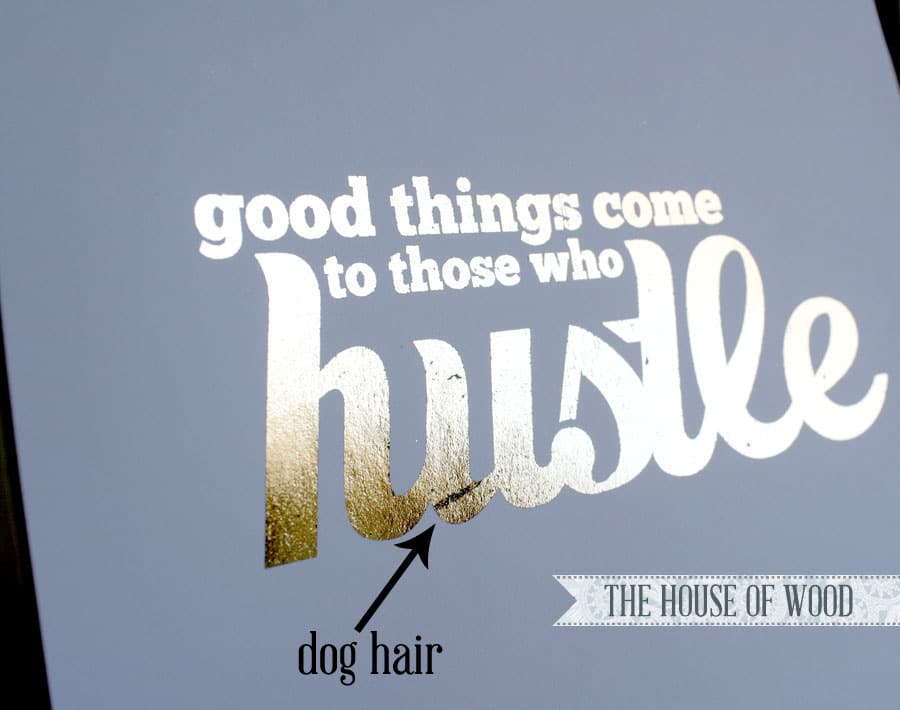
But overall, not a bad little DIY experiment, right? I imagine my DIY gold prints will look even better once they’re framed and hung; you might not even notice the dog hair and other little imperfections (crossing fingers). What do you think? Huzzah for DIY gold foil prints!


I wonder if an iron over the second sheet of paper would have the same effect as the hot laminator?
I bought the gold foil sheets that were linked in the post and was really bummed to see that they don’t work :0/ After having the project belly flop I came back to your website to read the post again and noticed several other people having the same problem. Could you possibly change the link in your original post to the correct product? Thanks!! :0)
Sorry to hear it didn’t work out for you! It could also be an issue with the printer – I’ve heard some folks saying that some printers don’t put out enough toner on the print.
THANK YOU for this tutorial! I tried it and it worked out beautifully!
For commenters who are having trouble: I found that the issue could be the printer. I used Jen’s gold foil tutorial to make my wedding invitations and it worked well, but not after a bit of trial and error. We used 3 different laser printers with brand new toner cartridges and I was getting splotchy results with 2 of the printers. Printer #3 finally yielded beautiful results.
Thank you Jen!
Jess, may I ask what brand and model was printer #3? I purchased a fairly high-end laser printer today for these projects but the results were splotchy no matter what setting I used. I think I need to find a laser printer that applies more toner.
Thanks!
Jen, you are such a lifesaver- These are the best tips, evah! 🙂
Quick question: Have you uncovered a way to create this on a non-papered surface, such as a candle or pillow?
I had this process of gold/laminating bookmark do for 3 months. I finally tried it and made great gifts to put into frames. The perfect idea to show my babies not all gifts come from toys r us! Merry Christmas!
Seriously LOVE this technique. I love anything to do with art and glam so this is the perfect combo of both! One question though, where would I find the toner for a printer. Is it a certin printer you need or can it work with any printer. Also any idea on pricing for the toner?
I’d recommend getting your prints printed at a professional place, like Kinko’s or Staples.
The HP LaserJet P1102w works amazingly well, and the printer is inexpensive. Other laser printers that I tried did not leave enough toner on the paper for a solid foil application.
Thanks so much for the tip!
Love this!
Question: If I wanted to have a black background and then have my text be gold foil how would I go about this? I wasn’t sure if I would have to print on black paper?
Now, to figure out how to do this on canvas (this easily!)
Do you think using an iron would work? I don’t have a laminator. Thanks for the tutorial!
Hello,
I tried your technique, it’s great, but I can not get something perfect, there are some places where the gold foil does not take. Do you have an idea why ? What is the temperature of your laminator ? Or it doesn’t work with tinny texts ?
Help please !!!
It could also be because the toner is not evenly distributed on the print.
Hello. Thanks for the wonderful tutorial. Do you know if this same project would work on black cardstock? Meaning, I want to print text onto black cardstock paper and have the gold foil laminated over it. If so,would the text be visible enough to place the foil over it?
Hope this makes sense. Thanks in advance!
Ooh, that sounds awesome, Dee! The toner-reactive foil will stick to everything that has toner on it, so the color of the card stock shouldn’t matter. I would give it a try and see what happens! Good luck!
Anyone can help me? When I run the paper through the laminator, there are many tiny dots of gold foil that sticks on my paper on the non printed area. Is it my laminator heat setting is wrong or the gold foil is of bad quality.
Hi!
Great post!
I’ve given it a go and am getting some small black dots (I made sure it was totally dust free first),
Just wondering if you’ve tried it on coloured toner?
I’m thinking if i use a colour behind it , it might not be as obvious that the gold hasn’t stuck 100%.
What do you think?
Get idea. I am highly interested in the fonts you use on the word HUSTLE and Beautiful. I heart fonts.
Hi!
Great tutorial. Will the foil only react with solid black toner? I’m asking because I might have other colored text on the page that I don’t want to react with the foil.
Thank you,
Lena
Hi, how high heat should the iron be? Don’t hv a laminator unfortunately…
Hi Ky,
I’m not sure about the iron settings – I’ve only used a laminator. Best of luck!
I watched a tutorial where he said he sets his laminator to 300 to 315 degrees. I’ll be trying it with an iron tonight.
Simple but very detailed. I want to try this and hopefully, mine will turn out as good as yours.
Thanks for posting a great tutorial.
Regards,
Lily
What type of cardstock in terms of “#” did you use? Thank you.