Oh, hello, Alabama in July. Welcome to the burning lake of fire here on Earth. Right at this moment, I’ve got 5 separate box fans running on high in my garage as I work. They don’t really help with the heat, but they do keep the mosquitos from gaining traction on my skin, so there’s that.
Can I just tell you that the sweltering Southern heat is not for the faint of heart? Well, it’s not so much the heat, but the humidity. Seriously, I can’t walk from the front door to the mailbox without an oxygen tank. It sounds like I’m complaining. Well, that’s because I am. Why can’t it be a breezy 72º all the time? You all know how 72 is my favorite degree.
My brother-in-law asked me to build him a pair of nightstands and a matching dresser. “Sure!” I said. “No big deal!” I said. That was before I realized that Alabama is a blazing inferno.
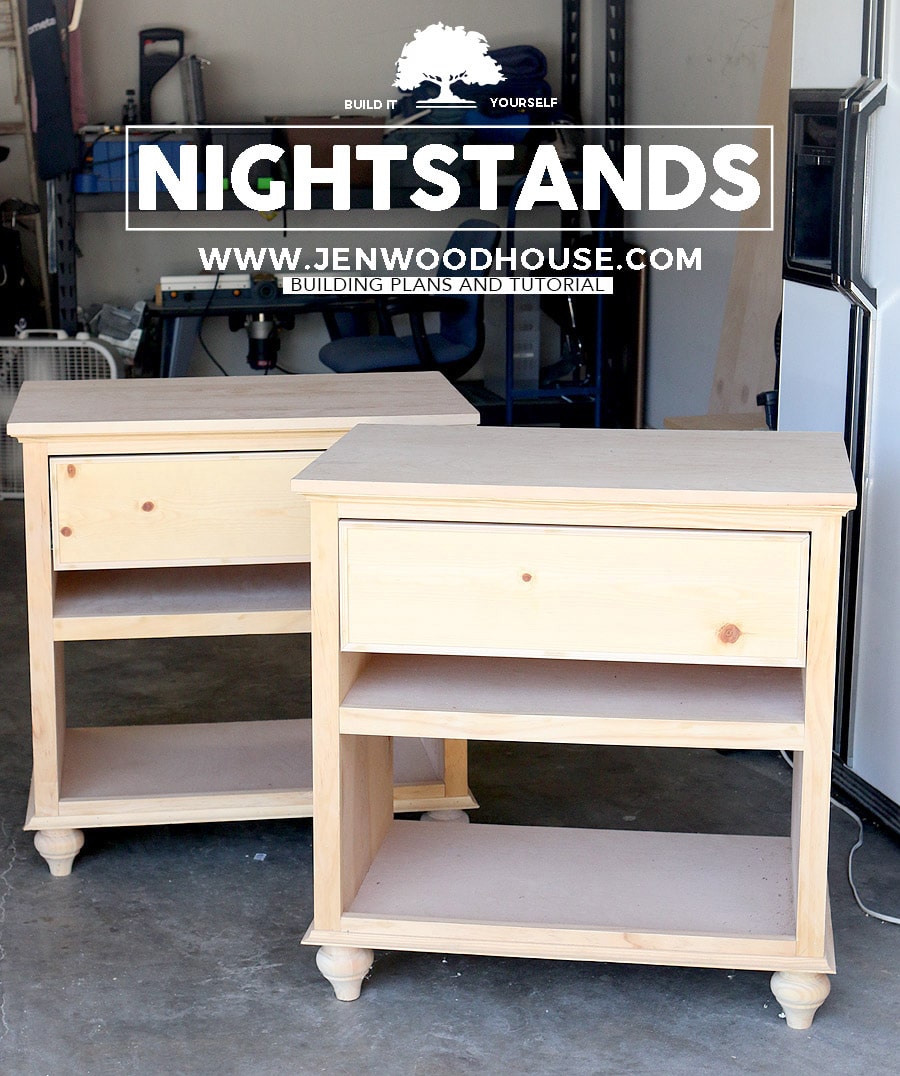
Note to self: build a climate-controlled workshop. Gotta get on that… as soon as we stop moving around, so… in about, say, 10 to 15 years when Adam retires from the Army.
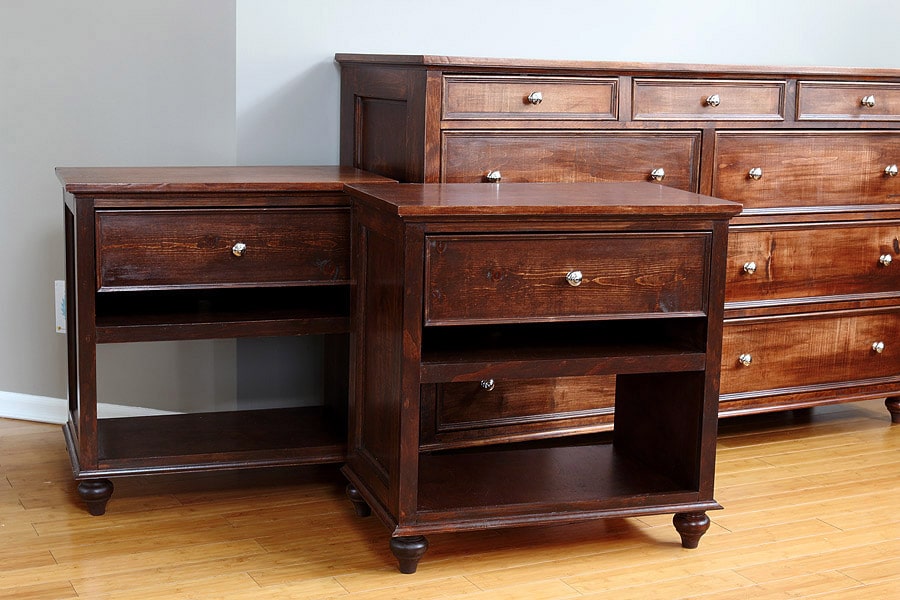
Welp. Despite the heat, I built him these nightstands and drew up the design plans for you. I suffer for my loved ones. It’s my cross to bear. You’re welcome, Brother dear.
*This post contains affiliate links. To read my full disclosure policy, click here.
As usual, I started with my favorite plywood, Purebond Plywood. I chose the 3/4″ maple species.
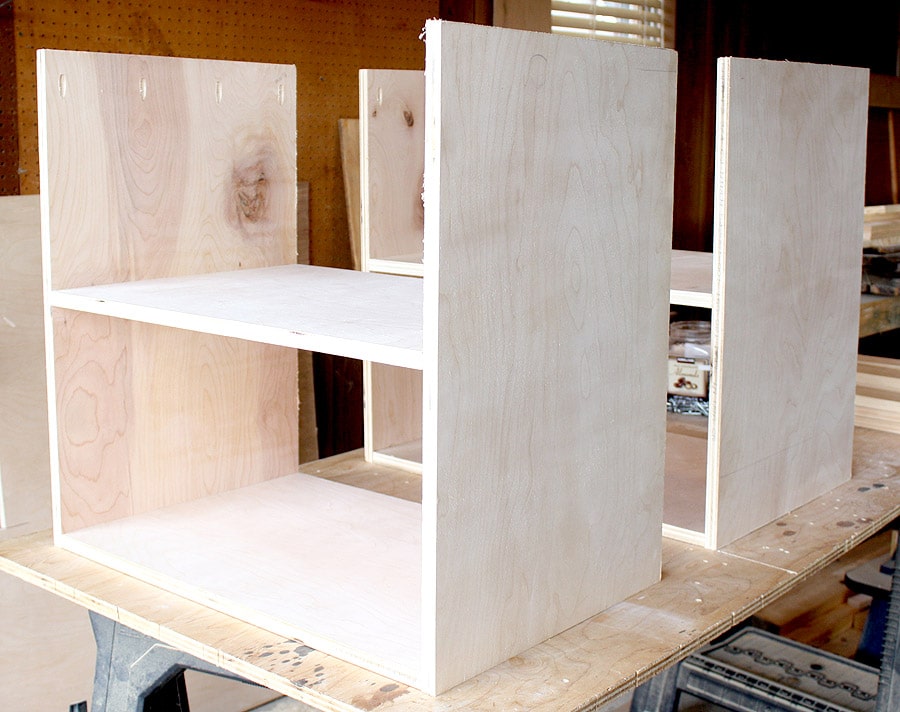
First I built the carcass, using my Kreg Pocket Hole Jig. If you don’t already have one of these thingamajiggys, I highly recommend you get one. I rarely build anything without it. Here’s a great video tutorial on how to use it, from my beautiful and fiercely talented friend, Jenn from Build-Basic.
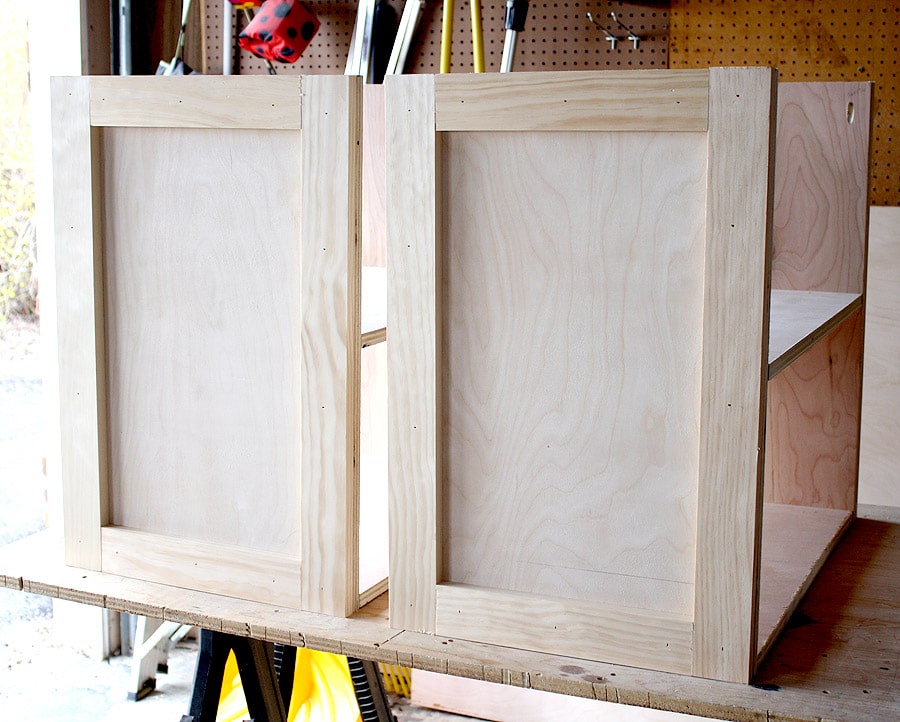
Next, I glued and nailed the trim pieces to the side panels.
Then it was time to build the drawer. Again, I used pocket hole joinery to construct the box. I also drilled 3/4″ pocket holes into the sides of the drawer, facing forward, to attach the drawer face in later steps.
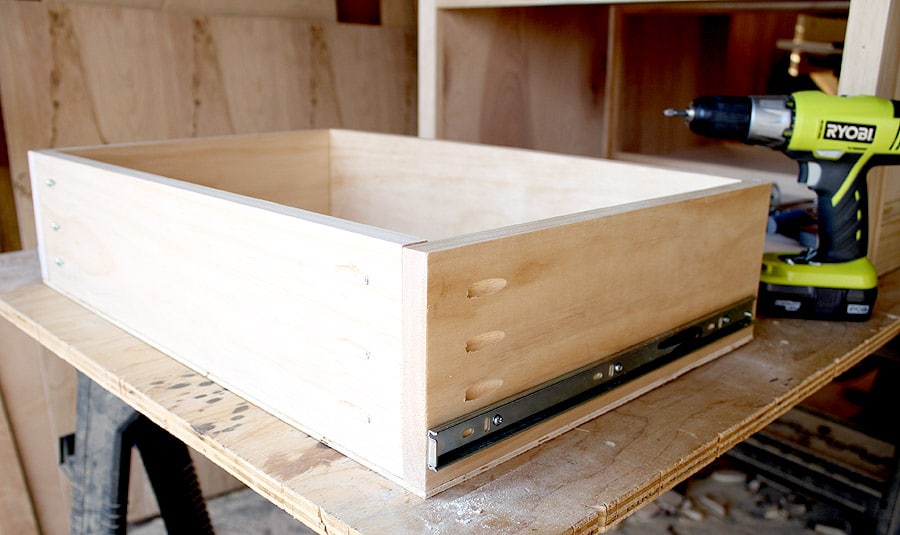
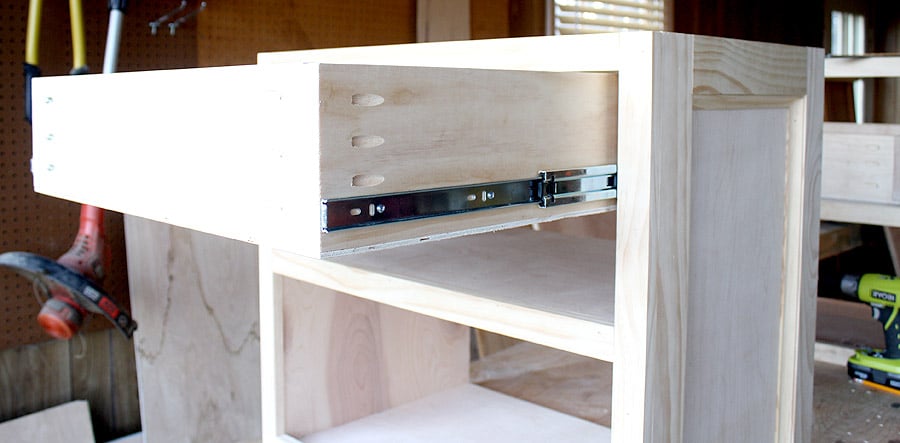
I installed the metal drawer slides according to the manufacturer’s directions, and slid the drawer into place.
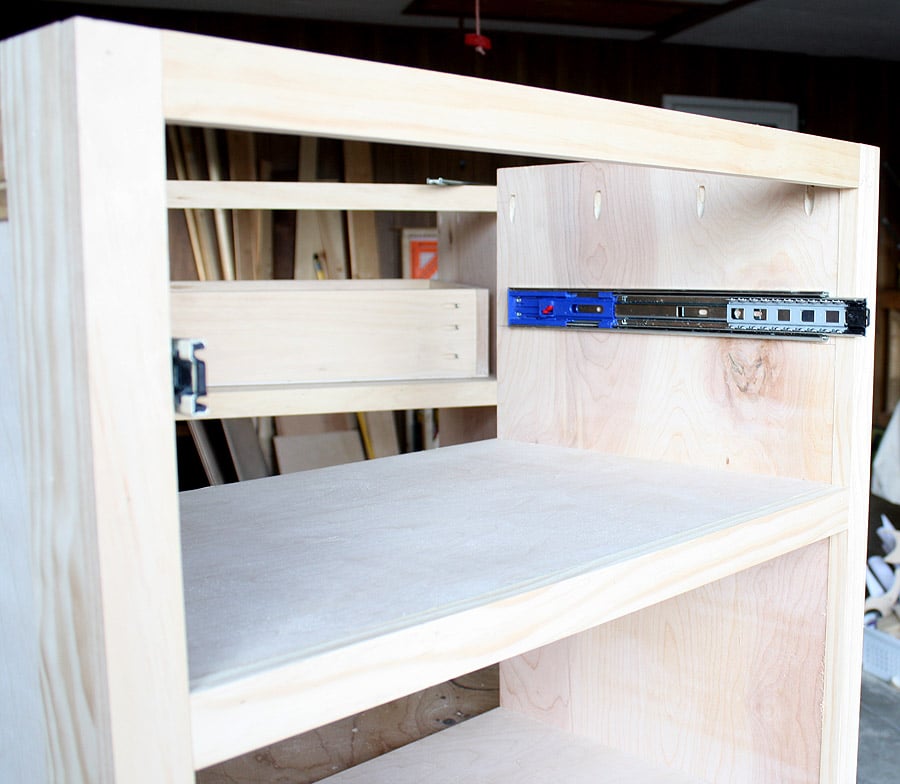
I chose these soft-closing ball bearing drawer slides. I prefer these heavier duty slides to the cheaper, flimsy white ones. They do cost a bit more, but the added strength and durability are worth the cost in my opinion. They’re full extension slides and that soft-closing feature is so fancy!
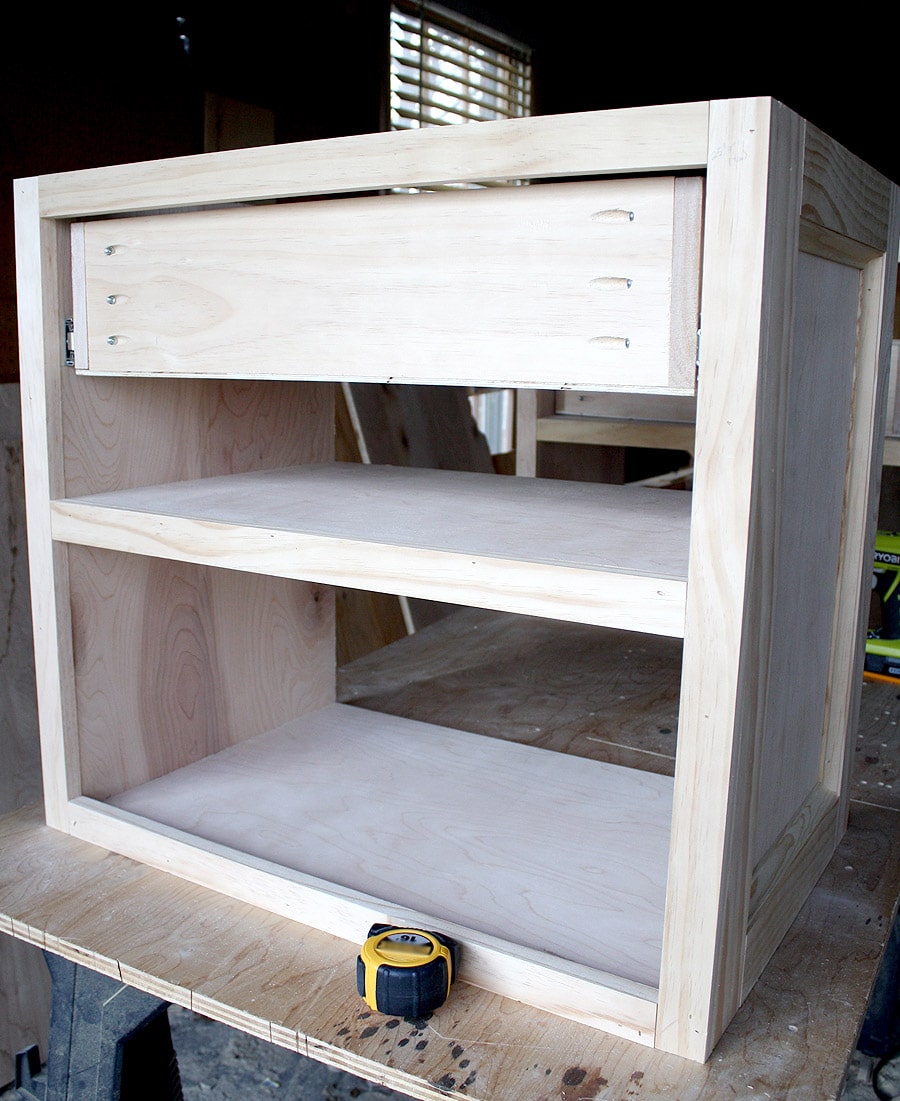
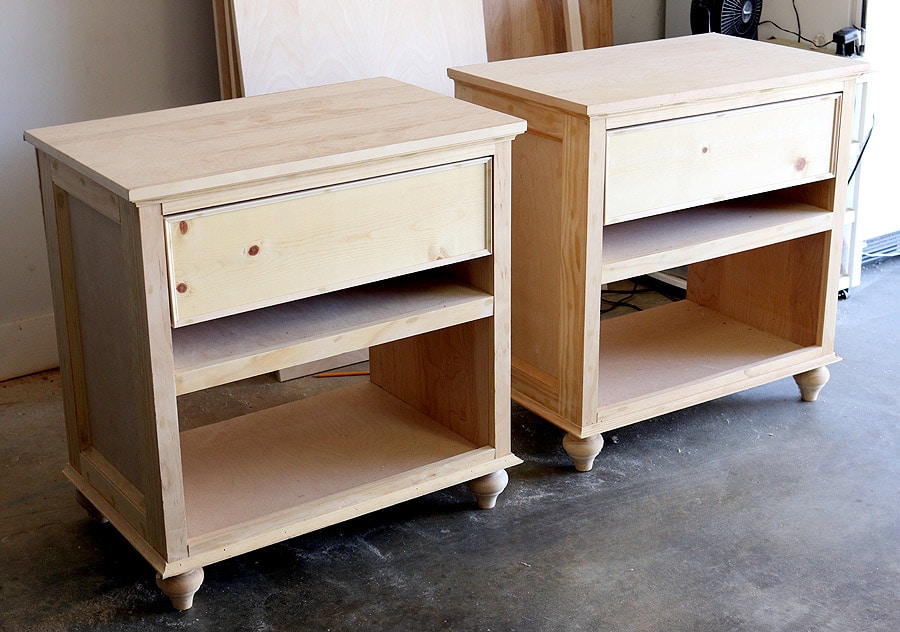
Then I attached the drawer faces, a back panel to the back of the nightstands, and finally, added these bun feet that I got from Osborne Wood. I left the bottom part of the backs open because my brother-in-law has a couple of vents where these nightstands will go.
Here’s how they turned out:
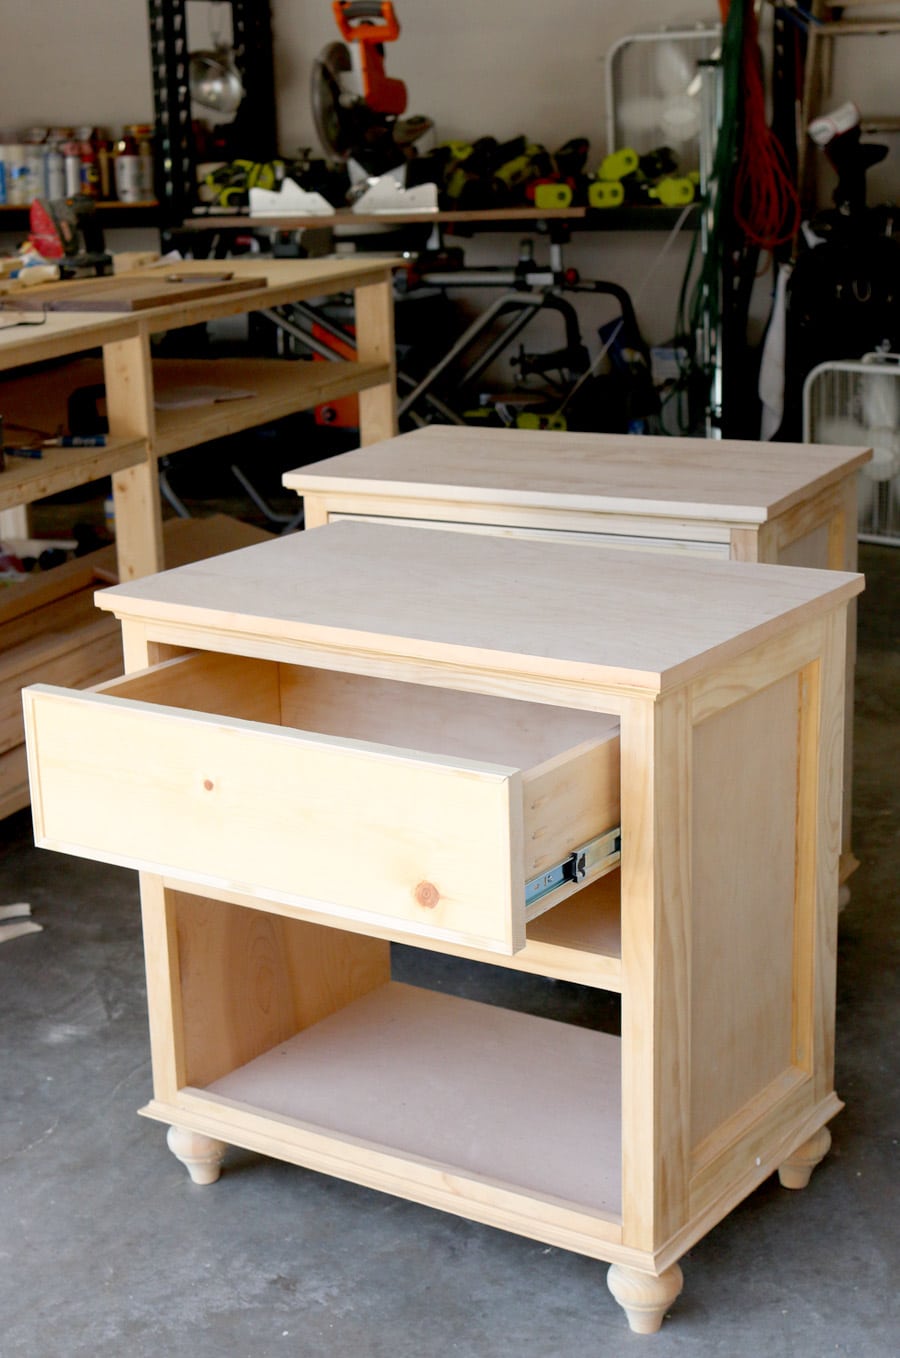
Once I’m done building his matching dresser, I’ll stain and finish all three pieces together. Stay tuned for the matching dresser plans!
*Update: Here’s part one of the matching dresser tutorial. And here’s the complete set:
Thanks for reading, friends. If you’d like to pin and share this project, I will love you forever. Just use the image below and pin to your heart’s desire! Also, join me on Instagram, where I share sneak peeks of upcoming projects.
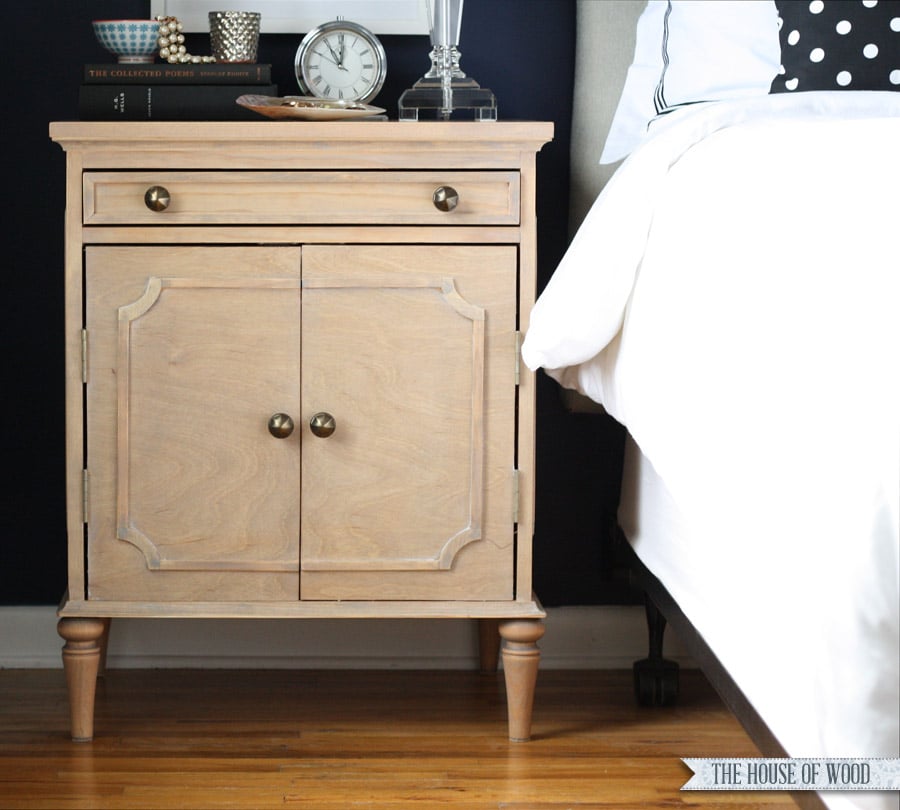
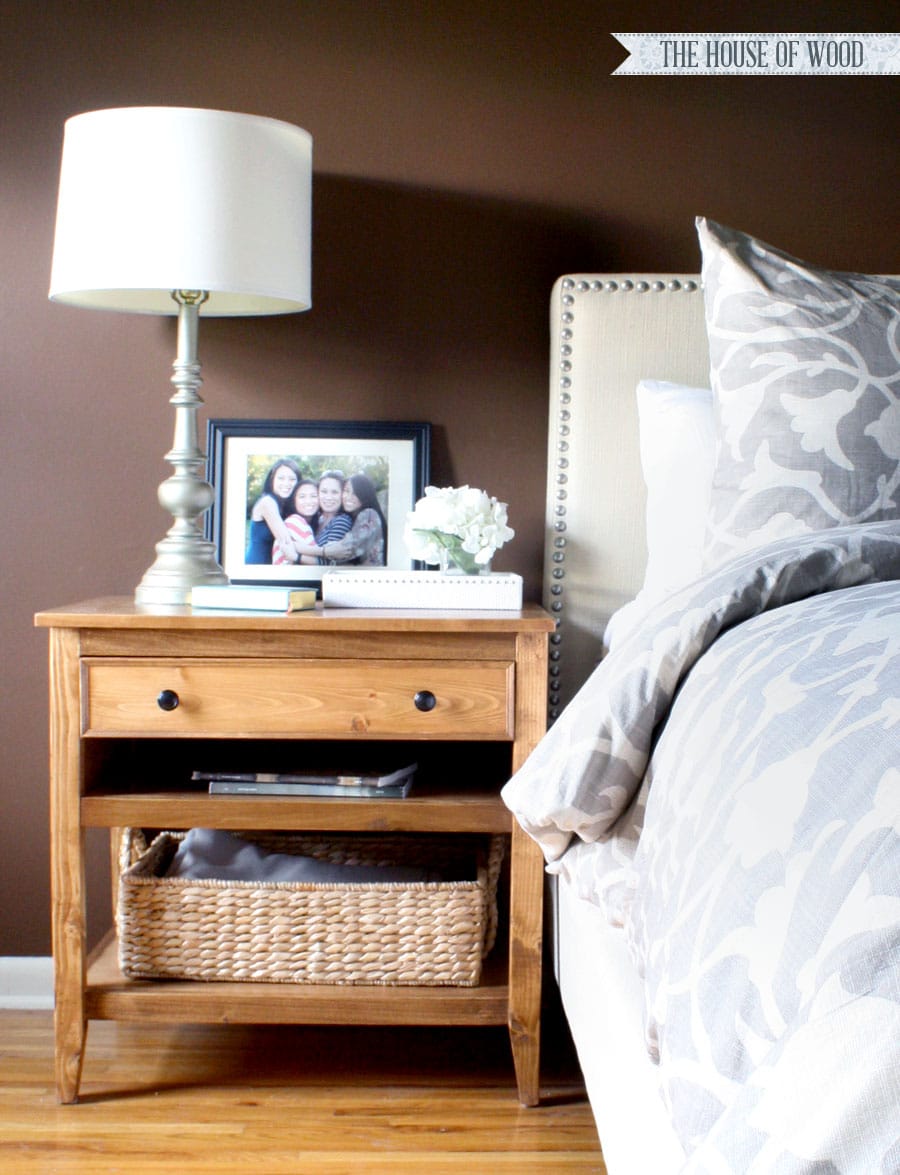
Want to see other DIY nightstand plans?




I have a question… In step one where you..
1.First I built the carcass, using my Kreg Pocket Hole Jig.
Q. I see the pocket holes on the top of the side of the left wall of the carcass but what I don’t seem to see is where are the pocket holes that connect the two sides to the bottom piece? Are the pocket holes on the bottom of the base and then connected to the two sides?
Hope you get this question…. And thanks much.
Yep! I drilled 3/4″ pocket holes in the bottom (underneath) and 1-1/4″ pocket hole screws are connecting the sides to the bottom. Thanks!
Just spotted the link to the Kreg Jig video up top. You’re seriously the sweetest. Thank you for sharing!
Where did you purchase the 1/4″ wood moulding for the drawer face, as I am having trouble locating it.
I bought mine from the Home Depot – in their moulding aisle.
What type of wood did you use for the frame and trim pieces? Thanks!
I believe I used select pine for the frame and trim pieces. On the matching dresser, I used soft maple.
Jen
Do you have the carcass dimensions handy?
Maybe a cut list – this is a great nightstand and you did an amazing job
something simple and easy was what I was looking for
Jim
nevermind Found the cutlist Haha sent this at 5 in the morning maybe I need to wake up before sending in comments
Where is the cut list? I can’t seem to find it or the dimensions.
Hi Bre,
The cut list, along with dimensions, and all the directions are in the plans. There is a gray “Download Plans” button in the post.
How much did all the supplies run you?
Just wanted to say that you’re such an awesome inspiration! That’s all.
Thanks for sharing. I used this plan to build one for my daughter. I modified it by beefing up the back to 3/4″ plywood and cutting it down to just the area under the drawer and up. My daughter has a trundle so I wanted to accommodate access to it by mounting the nightstand to the wall.
I just bought the plans for the Donny nightstand. Can’t wait to get started. In the plans I do not see molding listed for the side panels, but in your finished pictures it looks like you put molding on the inside edges of side panels. Please let em know if I am seeing things? And if you did use molding inside the side panels would you tell me just what you sued and a cut list? Thanks. Donna
Is this plan not free?
No, the plan for this nightstand is $15.99. I do have other nightstand plans that are free at the end of this post.
Putting pocket holes on the exterior sides of the drawers in order to attach the drawer front is a bit odd and certainly not standard practice since the goal is to hide all pocket holes. The common approach is to use regular screws from inside the drawer.
You’re a very talented young lady and very pretty too!!! Thank you for sharing your ideas and building plans.
Wait. Your plans say 1×3 but your post says 1×4. I bought 1×3, is that going to throw off the measurements on the cut list?
Hi Lauren,
Thanks for the heads up! You’ll use the 1x3s for the side trim and the measurements in the plans will be correct, since a 1×3 is what is used in the plan. I used a 1×4 in the real-life build, but wrote a 1×3 in the plans (not sure why!). You should be good to go.