Demolition of a small guest bathroom to transform it from boring and basic to stylish and luxurious. Mixing modern and traditional styles for a classic, timeless design.
Welcome back to our Guest Bathroom Renovation! We’re transforming our guest ensuite bathroom from BASIC to BEAUTIFUL (hopefully! Fingers crossed.) We’re mixing modern and traditional styles for a classic, timeless feel that features marble mosaic tile, warm wood accents and vintage elements. If you missed Part 1 of this series, catch up here.
Now that we’ve zeroed in on a design direction, it’s demolition time! Stay with me, friends. It’s going to get a lot worse before it gets better. As a reminder, here’s where we’re starting:
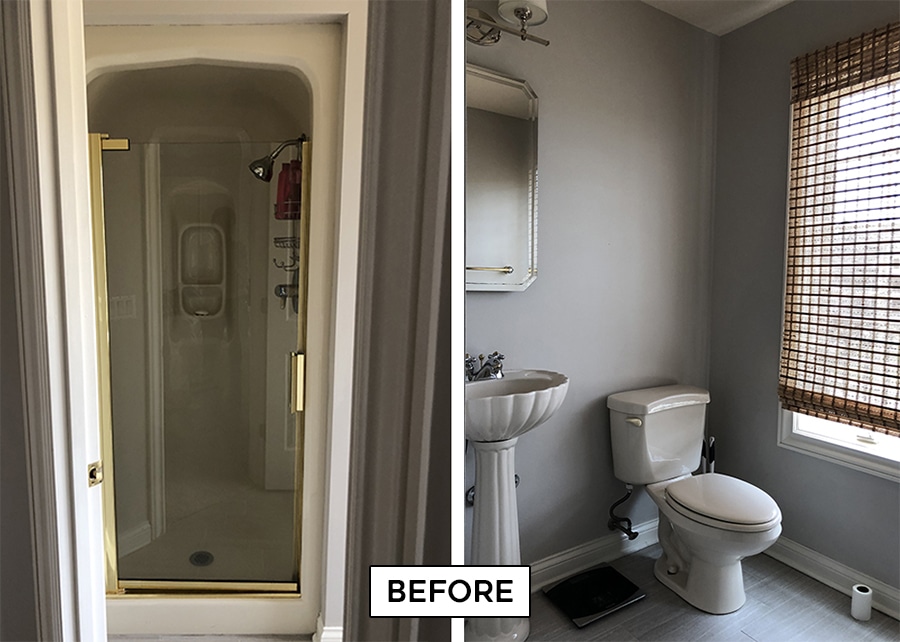
We sold the mirror, vanity light, bathroom hardware, and pedestal sink online so those are all now gone from the room. We also removed the toilet, which is currently sitting on our back porch (sorry neighbors!). Before we removed the sink and toilet, however, we turned off the water to the house and shut off the valves hooked up to the sink and toilet. Then we flushed the toilet and used a plunger to push the remaining water down to empty the tank as much as possible.
Today’s to do list:
- Remove shoe molding and baseboards
- Demo tile and remove cement board
- Demo shower stall and remove
- Remove insulation and get back down to studs
 How to remove tile the easy way
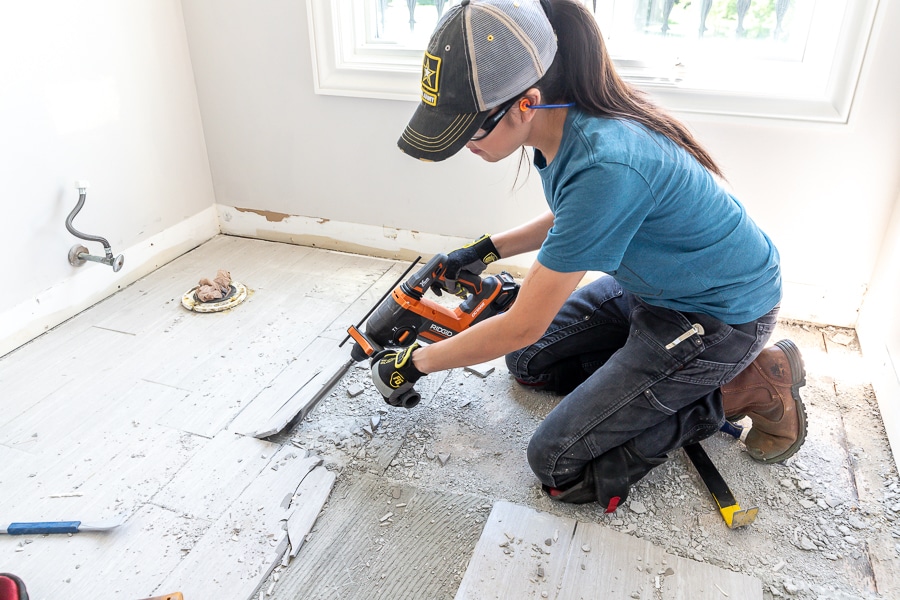
I’ve always heard that removing tile is such a tough, messy job so I was really dreading it. Happy to report, it was actually the easiest part of this demolition! I was really surprised by how easy (and fun!) it was. I’m not sure if this is an exception rather than the rule, but the tiles literally just popped off without much effort at all. I used this new Ridgid rotary hammer with a tile chisel attachment and it worked like a charm! I ran the chisel along the grout lines, then popped off each tile like a puzzle piece. Underneath the tile was a mesh backing and cement board. Then we just peeled that back and removed it in pieces. Super easy – this job went very quickly. In fact, Adam ran to grab lunch for us and in the time he left and came back with delicious chicken sandwiches, I had the entire bathroom floor done!
I noticed some of the tiles had some lippage, so I had the sneaking suspicion that the floor underneath wasn’t level. Sure enough, once the tiles were removed, I discovered the wood subfloor was dipping in sections. The floor will need to be leveled, so I did a little research and found this self-leveling underlayment that I’ll use to bring the floor back up to level, which should make laying the new tile much easier. Here’s to learning new things!
 How To remove a shower stall
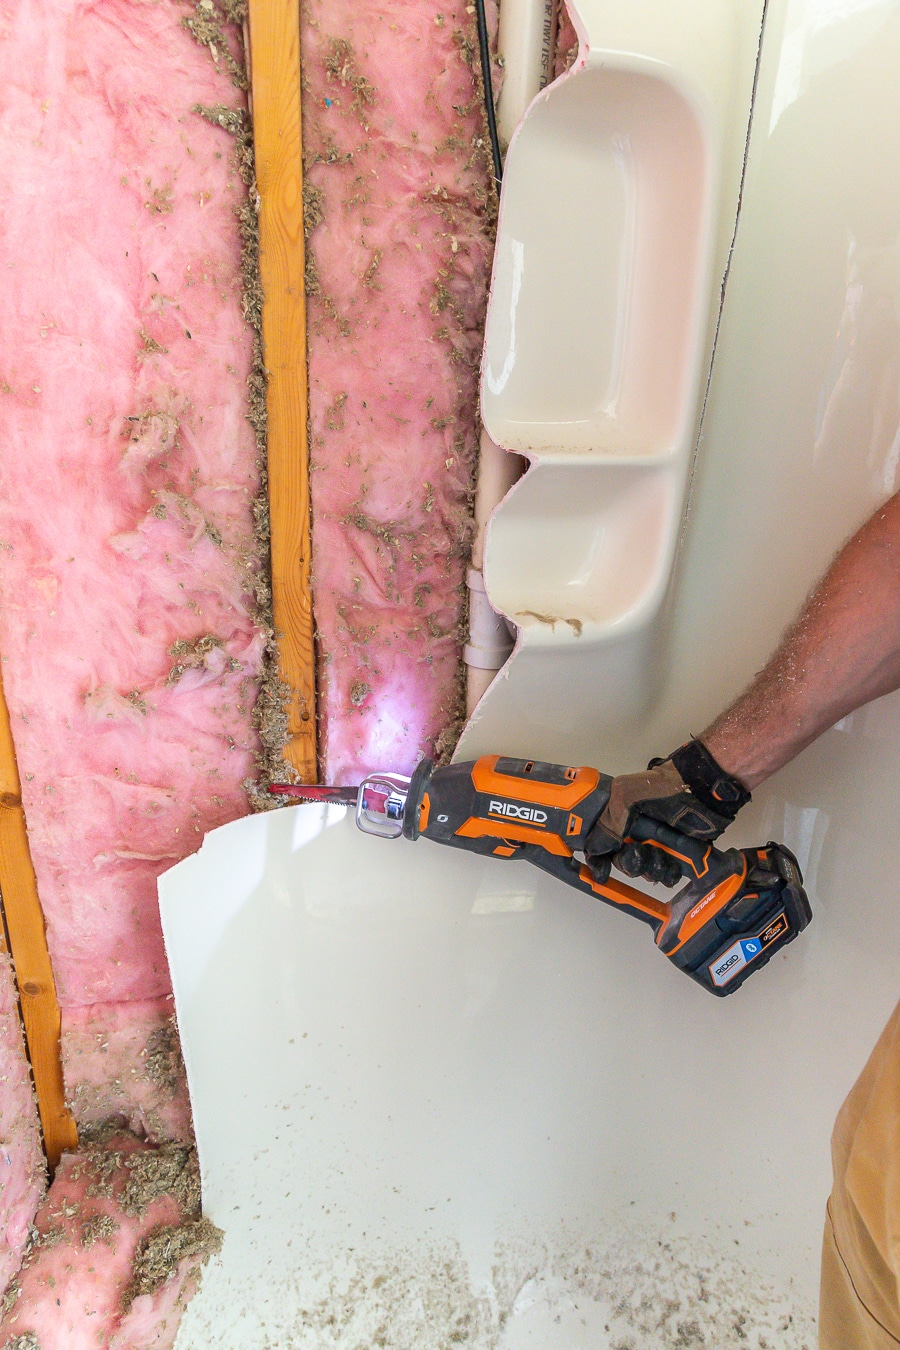
Next, we moved onto demoing the shower stall. Because it’s an all-in-one kit, we thought we could just cut it into 3 or 4 large sections and pull it out. We couldn’t have been more wrong! We discovered that the shower stall must have been installed when the home was built 20+ years ago, because the walls were built around the stall. So we literally had to cut it out of the wall in tiny pieces. Not fun at all. Thankfully, I’ve got some serious muscle on my side so I relegated this job to Adam. He’s a beast – they don’t call him “Wrecker” for nothing. He used a reciprocating saw with a general purpose Diablo blade for this job.
Also, side note: before you begin any demolition, be sure to turn off the power not only to the room you’re working in, but also to any adjacent rooms. Our son’s bedroom is on the other side of this shower wall and we discovered his outlet box was right behind this shower stall. Thank God we turned off the power to his bedroom, because Adam nicked the outlet box with the reciprocating saw! Yikes. That could’ve ended very badly.
Once we had the shower stall out, there was SO. MUCH. INSULATION. to clean up! This house is insulated up the wazoo. There was so much loose insulation in addition to the pink cotton candy stuff. What a messy job! A dust mask was my saving grace. We filled about 8 contractor bags full of insulation. Unbelievable.
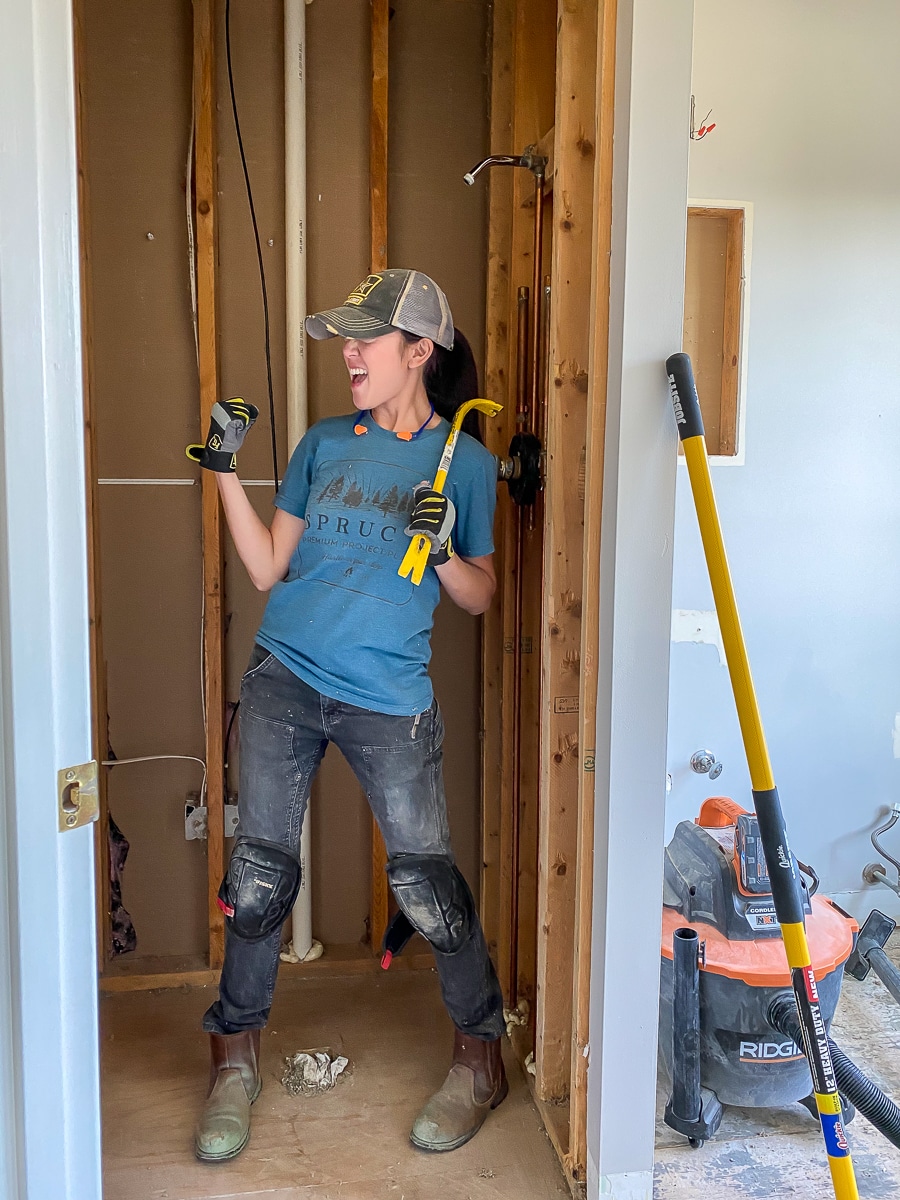
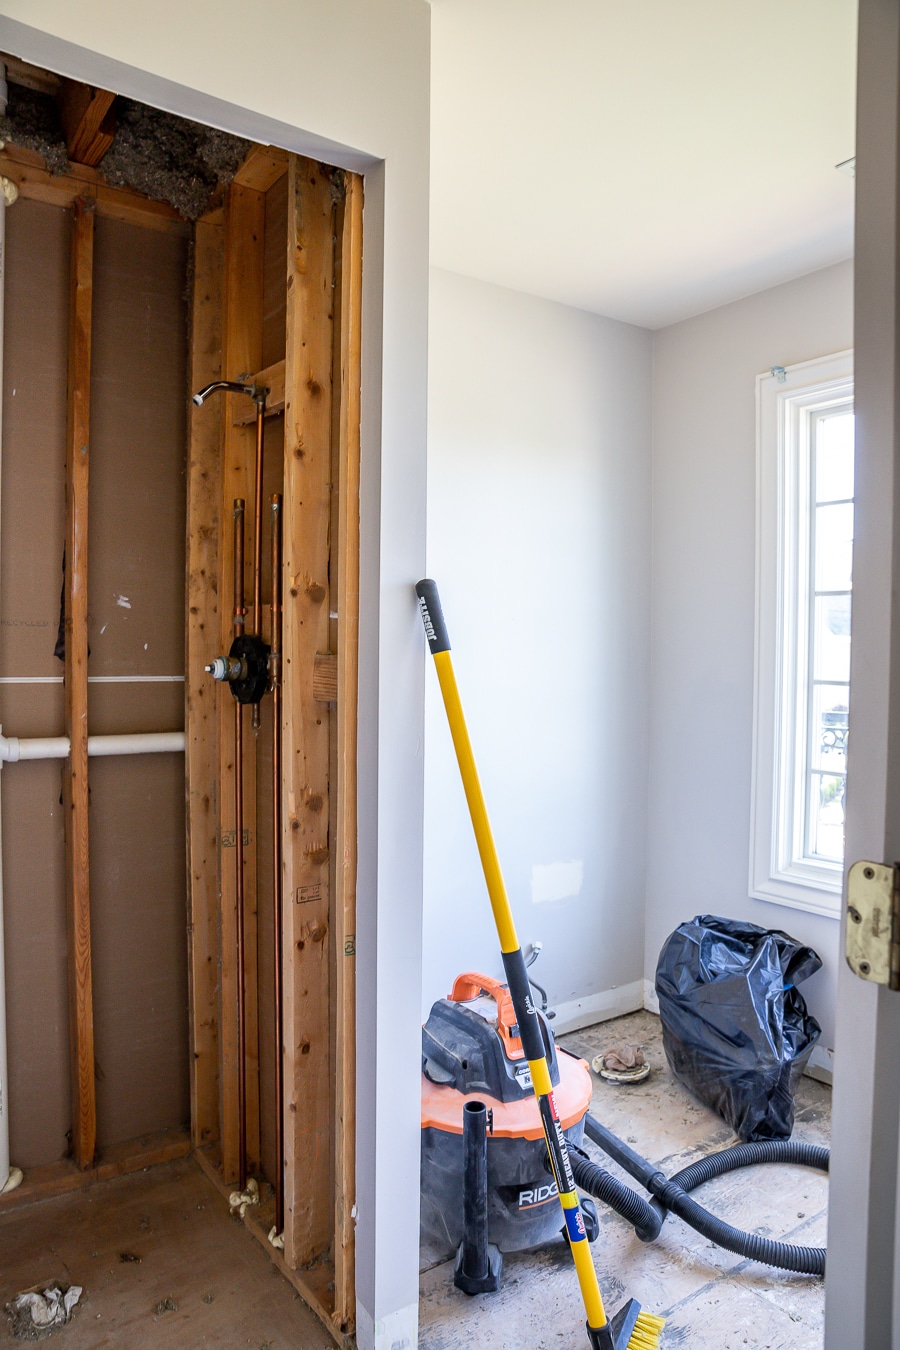
After a full day of working on this guest bathroom renovation, here’s what the space looks like now (feeling very accomplished, btw!):
We’re going to wait until the plumber relocates the shower valve and pipes to the opposite side before taking down the wall. He’s scheduled to come next week, so as soon as he does, we’ll demo the wall. Can’t wait to see how much it opens up the space!
We still have a ton to do, so stay tuned! Can’t wait to get plumbing and electrical moved so we can start putting this room back together!
Guest bathroom renovation MASTER CHECKLIST:
Demolition
Remove bathroom door temporarily to make room for demo?Turn off water and valves, empty pipes and tankRemove pedestal sink and toilet, plug holesRemove medicine cabinet, bathroom hardware, light fixtureRemove shoe molding and baseboardsDemo floor tile and cement boardDemo and remove shower stallRemove insulationClean up site
Plumbing Rough-In
- Move shower valves to opposite walls
- Repair shower drain
- Install shower system
- Install toilet
Electrical Rough-In
- Relocate outlet to adjacent wall
- Replace overhead vanity light with wall sconces?
- Replace vent fan
- Add lighting in shower?
Framing
- Demo shower walls
- Frame pony wall
- Don’t forget to add the toiletry niche (plan around tile size)
Floors
- Prime floors with underlayment primer
- Level floors with self-leveling underlayment
Shower Installation
- Check to ensure studs are plumb and even, shim if necessary
- Add insulation
- Install cement board, seal seams
- Roll on waterproofing membrane
- Install shower tray and curb
- Waterproof floor and curb
Walls
- Repair drywall where medicine cabinet used to be
- Molding?
- Paint
- Install baseboards and shoe molding
Tile
- Tile shower walls
- Tile shower floor
- Tile bathroom floor
- Grout and caulk
Vanity
- Install vanity (will it fit?)
- Install faucet and sink
- Hang mirror
Lighting
- Install wall sconces or overhead vanity light?
Miscellaneous
- Order and install glass shower door
- Install toilet paper holder, towel bar, towel ring, towel hook
- Add artwork and accessories
 How to remove tile the easy way
 How To remove a shower stall


Really great idea. Thank you.