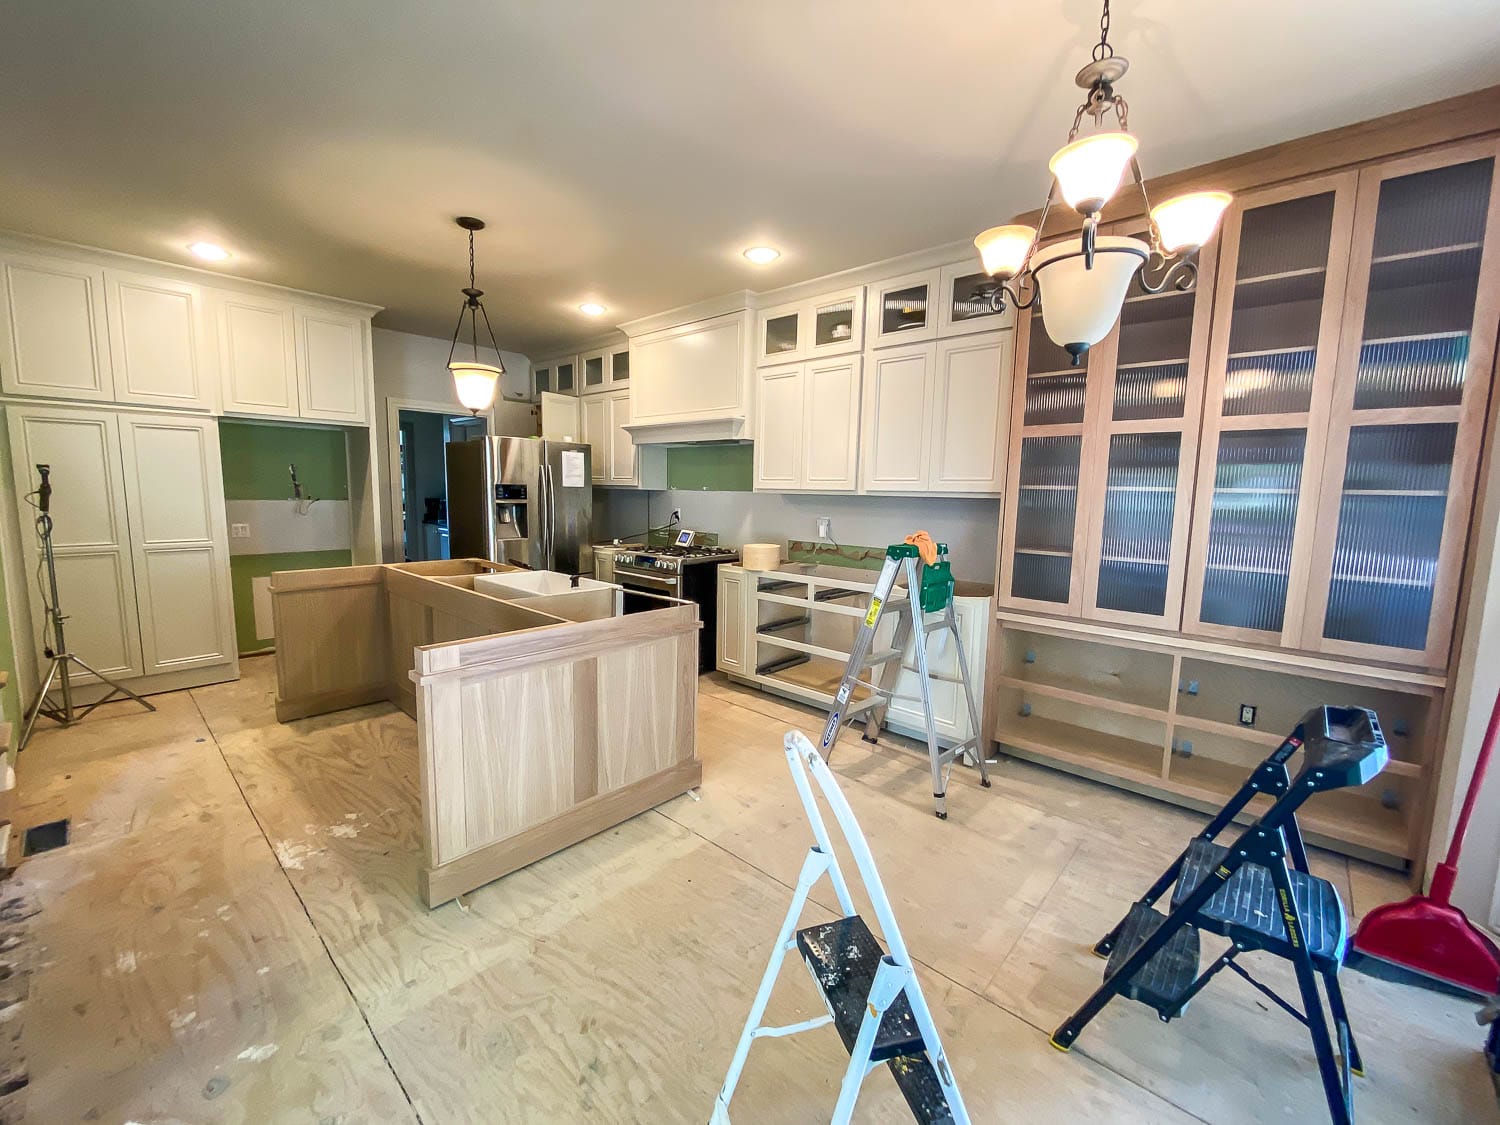
Today is an exciting day! The kitchen cabinets are getting installed! Cabinet install day is quite possibly the most exciting part of a kitchen renovation. It’s when it feels like a huge amount of progress is made and things start getting “real.” If you’re just joining us, we’re in the middle of a kitchen renovation and you can read all the posts leading up to this one below:
- Kitchen Renovation Design Plans
- Choosing Kitchen Island Lighting
- Our Kitchen Cabinet Design
- Shopping For Kitchen Countertops
Tips For Living Through A Kitchen Renovation
We bought several galvanized shelves from The Home Depot and stacked our pots and pans, dishes, utensils, pantry items, small appliances on these shelves. Basically, everything that was in the kitchen were stored on these shelves, which allowed us to stay organized amidst all the chaos that a kitchen renovation can bring. I highly recommend it! Another helpful thing we did as we lived through this kitchen renovation was not touch a thing until the date was set for the cabinet installation. For example, since cabinet install day was scheduled on a Monday, we didn’t demo anything until the previous weekend. We took Friday, Saturday, and Sunday to demo the kitchen, and new cabinets were installed the very next day. By waiting until the last minute to demo our space, we didn’t have to live in a construction zone for very long at all. Out with the old, in with the new. Super efficient!
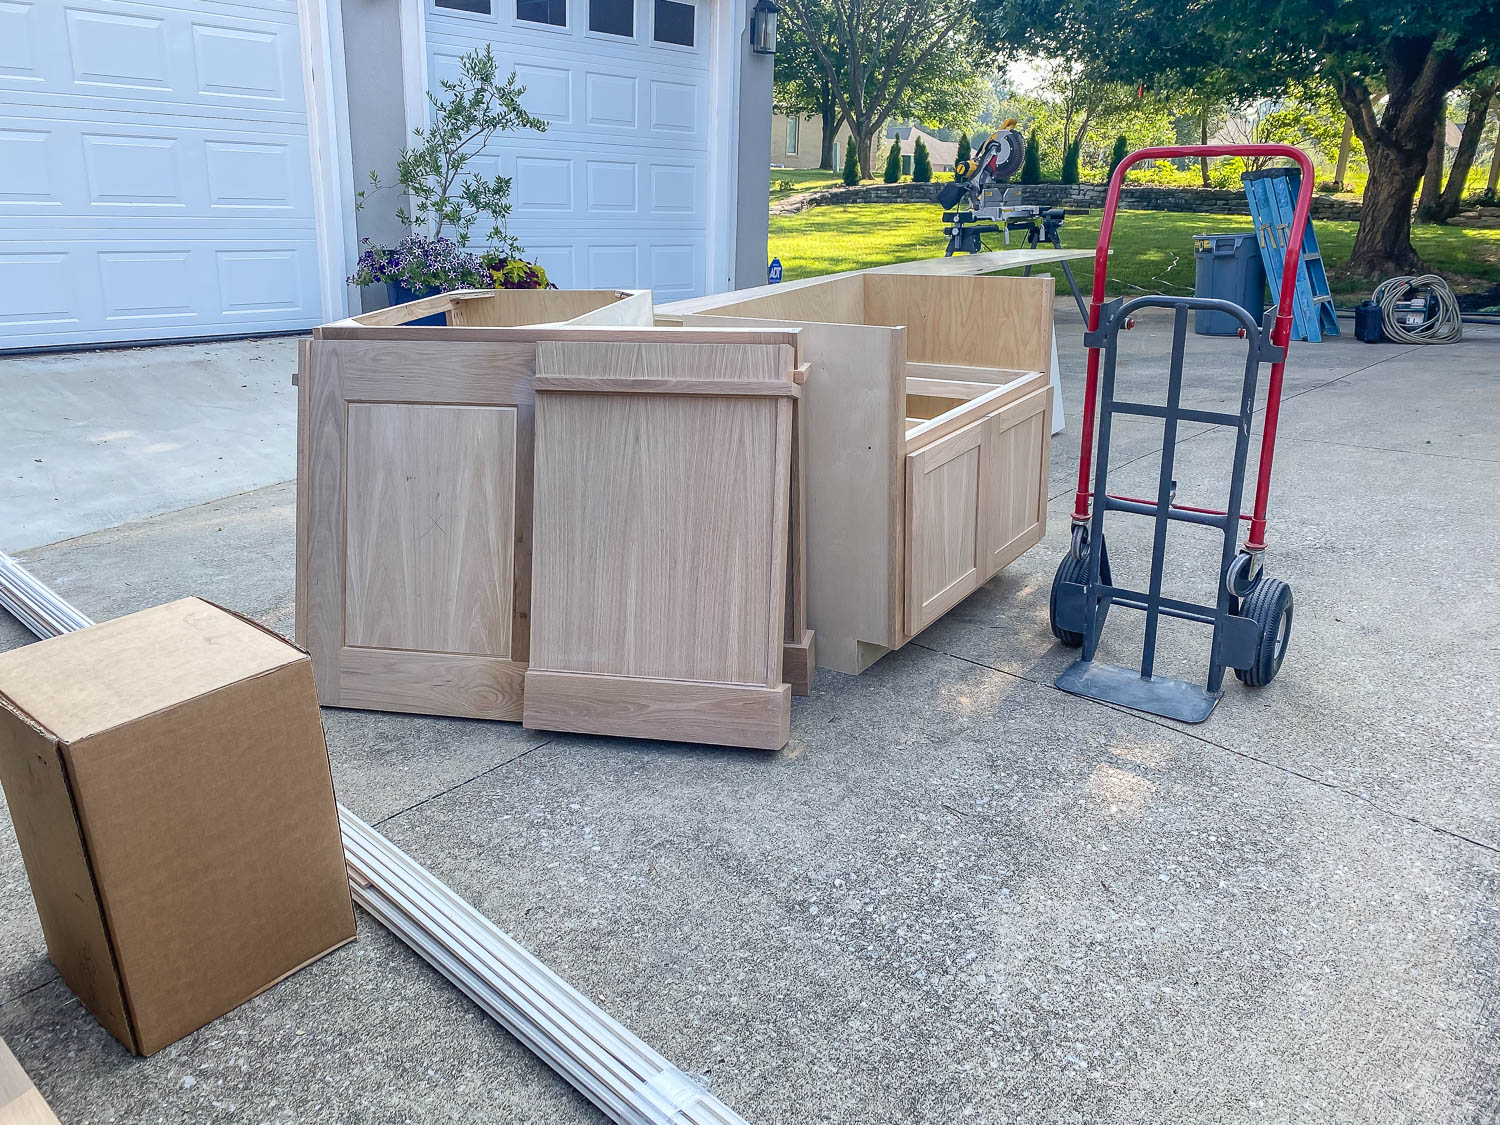
The Custom Kitchen Cabinet Process
Here’s how the cabinet process went for us. After products (appliances, sink, fixtures, etc.) were ordered, I met with a certified cabinet designer at a local cabinet shop. He came to our house and we discussed what we wanted for our future kitchen. He took measurements of our space, then after a couple of weeks, sent me initial drawings of our kitchen design. After a few back and forth tweaks, we landed on a design and moved onto fabrication. Fabrication timelines will vary, but for us, the cabinet fabrication took about 6 to 8 weeks. The cabinets were made in-house, while the drawers and inserts are outsourced.
Once the cabinets are fabricated, a date is set for the install. Cabinet installation can take several days, depending on the scope and size of the kitchen. Our cabinet install took 2 days, the lion share of it being on the first day. The second day was spent on final touches and trim work (crown molding, baseboards, etc.).
Depending on the flooring you choose, cabinets can be installed either before or after flooring. With floating floors, cabinets are installed before the floors. We installed floating hardwood floors on the rest of the main level, which is what we’ll do here in the kitchen as well. Cabinets are installed directly on the subfloor, with shims to account for the thickness of the flooring. The cabinet installers measured the thickness of the flooring we were going to use, and used shims to raise up the cabinets and account for that thickness. Additionally, a floating floor will move slightly and expand/contract with humidity changes and can’t do so with heavy cabinets resting on top of them. Installing the cabinets before flooring also helps save costs on flooring material – you’ll be using less of it!
The cabinet installers hung the uppers first, starting from left to right. Then the lowers went in shortly after. All the cabinets are screwed to the studs in the wall, of course. The drawers were outsourced and unfortunately are delayed, so they weren’t installed at the same time the crew hung the cabinets. It’ll take a few more weeks for the drawers to be delivered, which is also when the pulls and cabinet hardware will be installed.
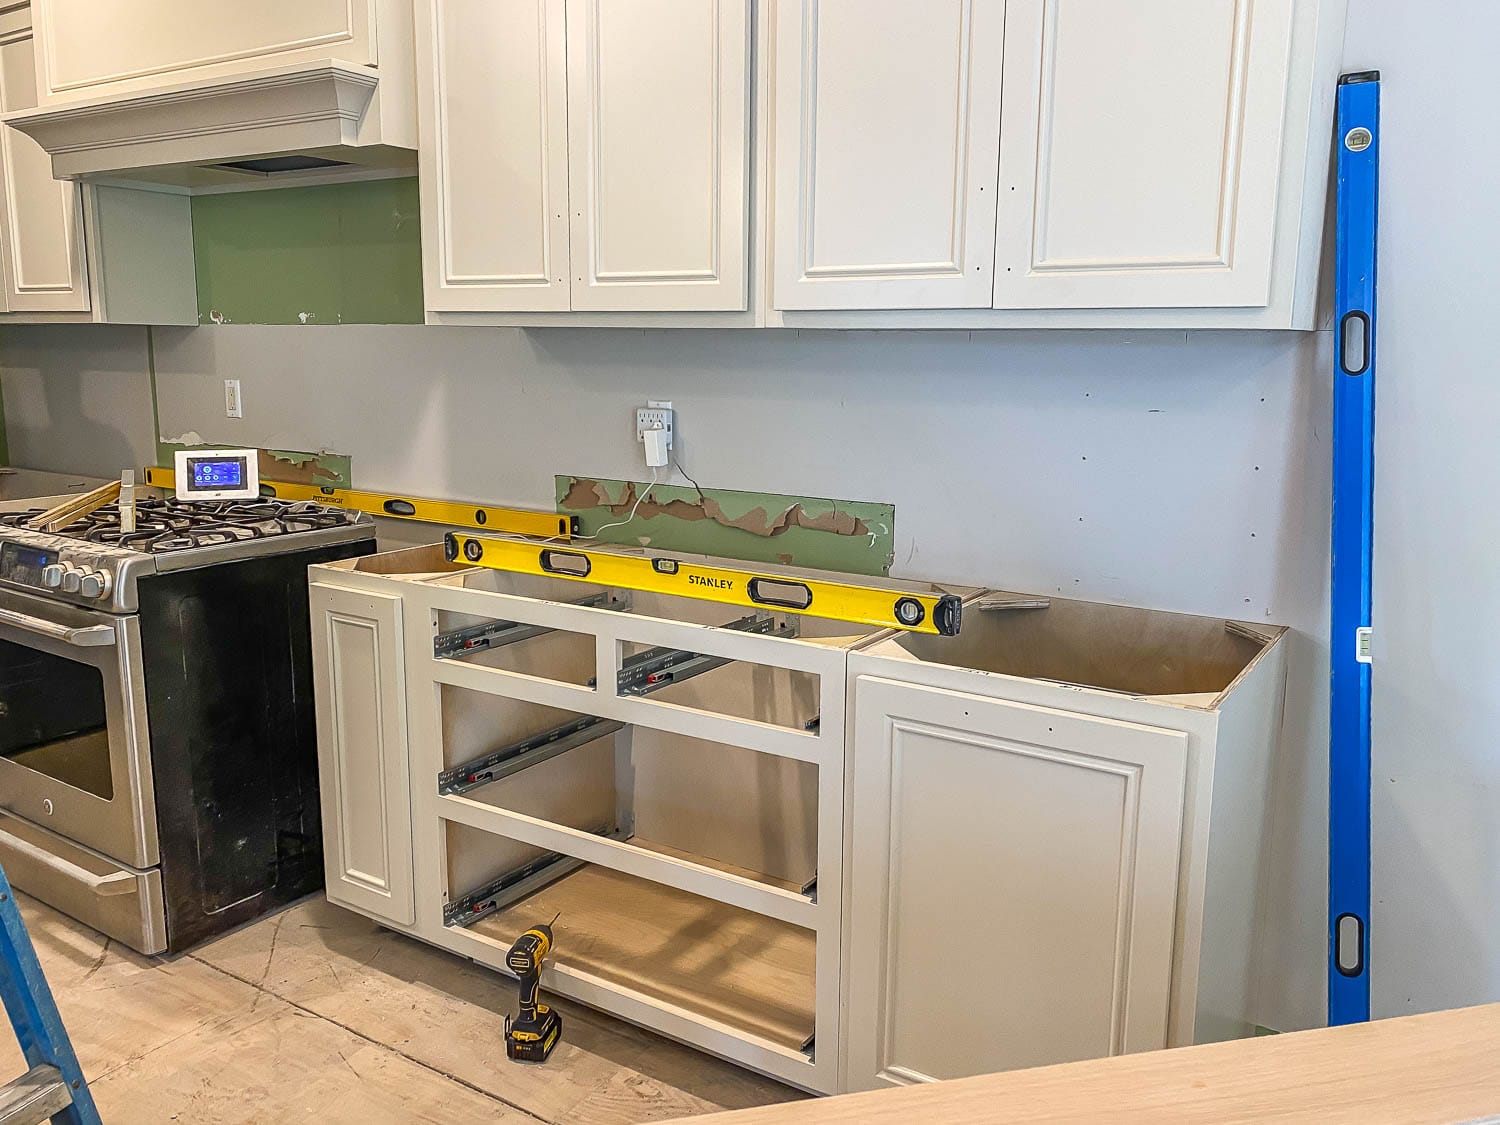
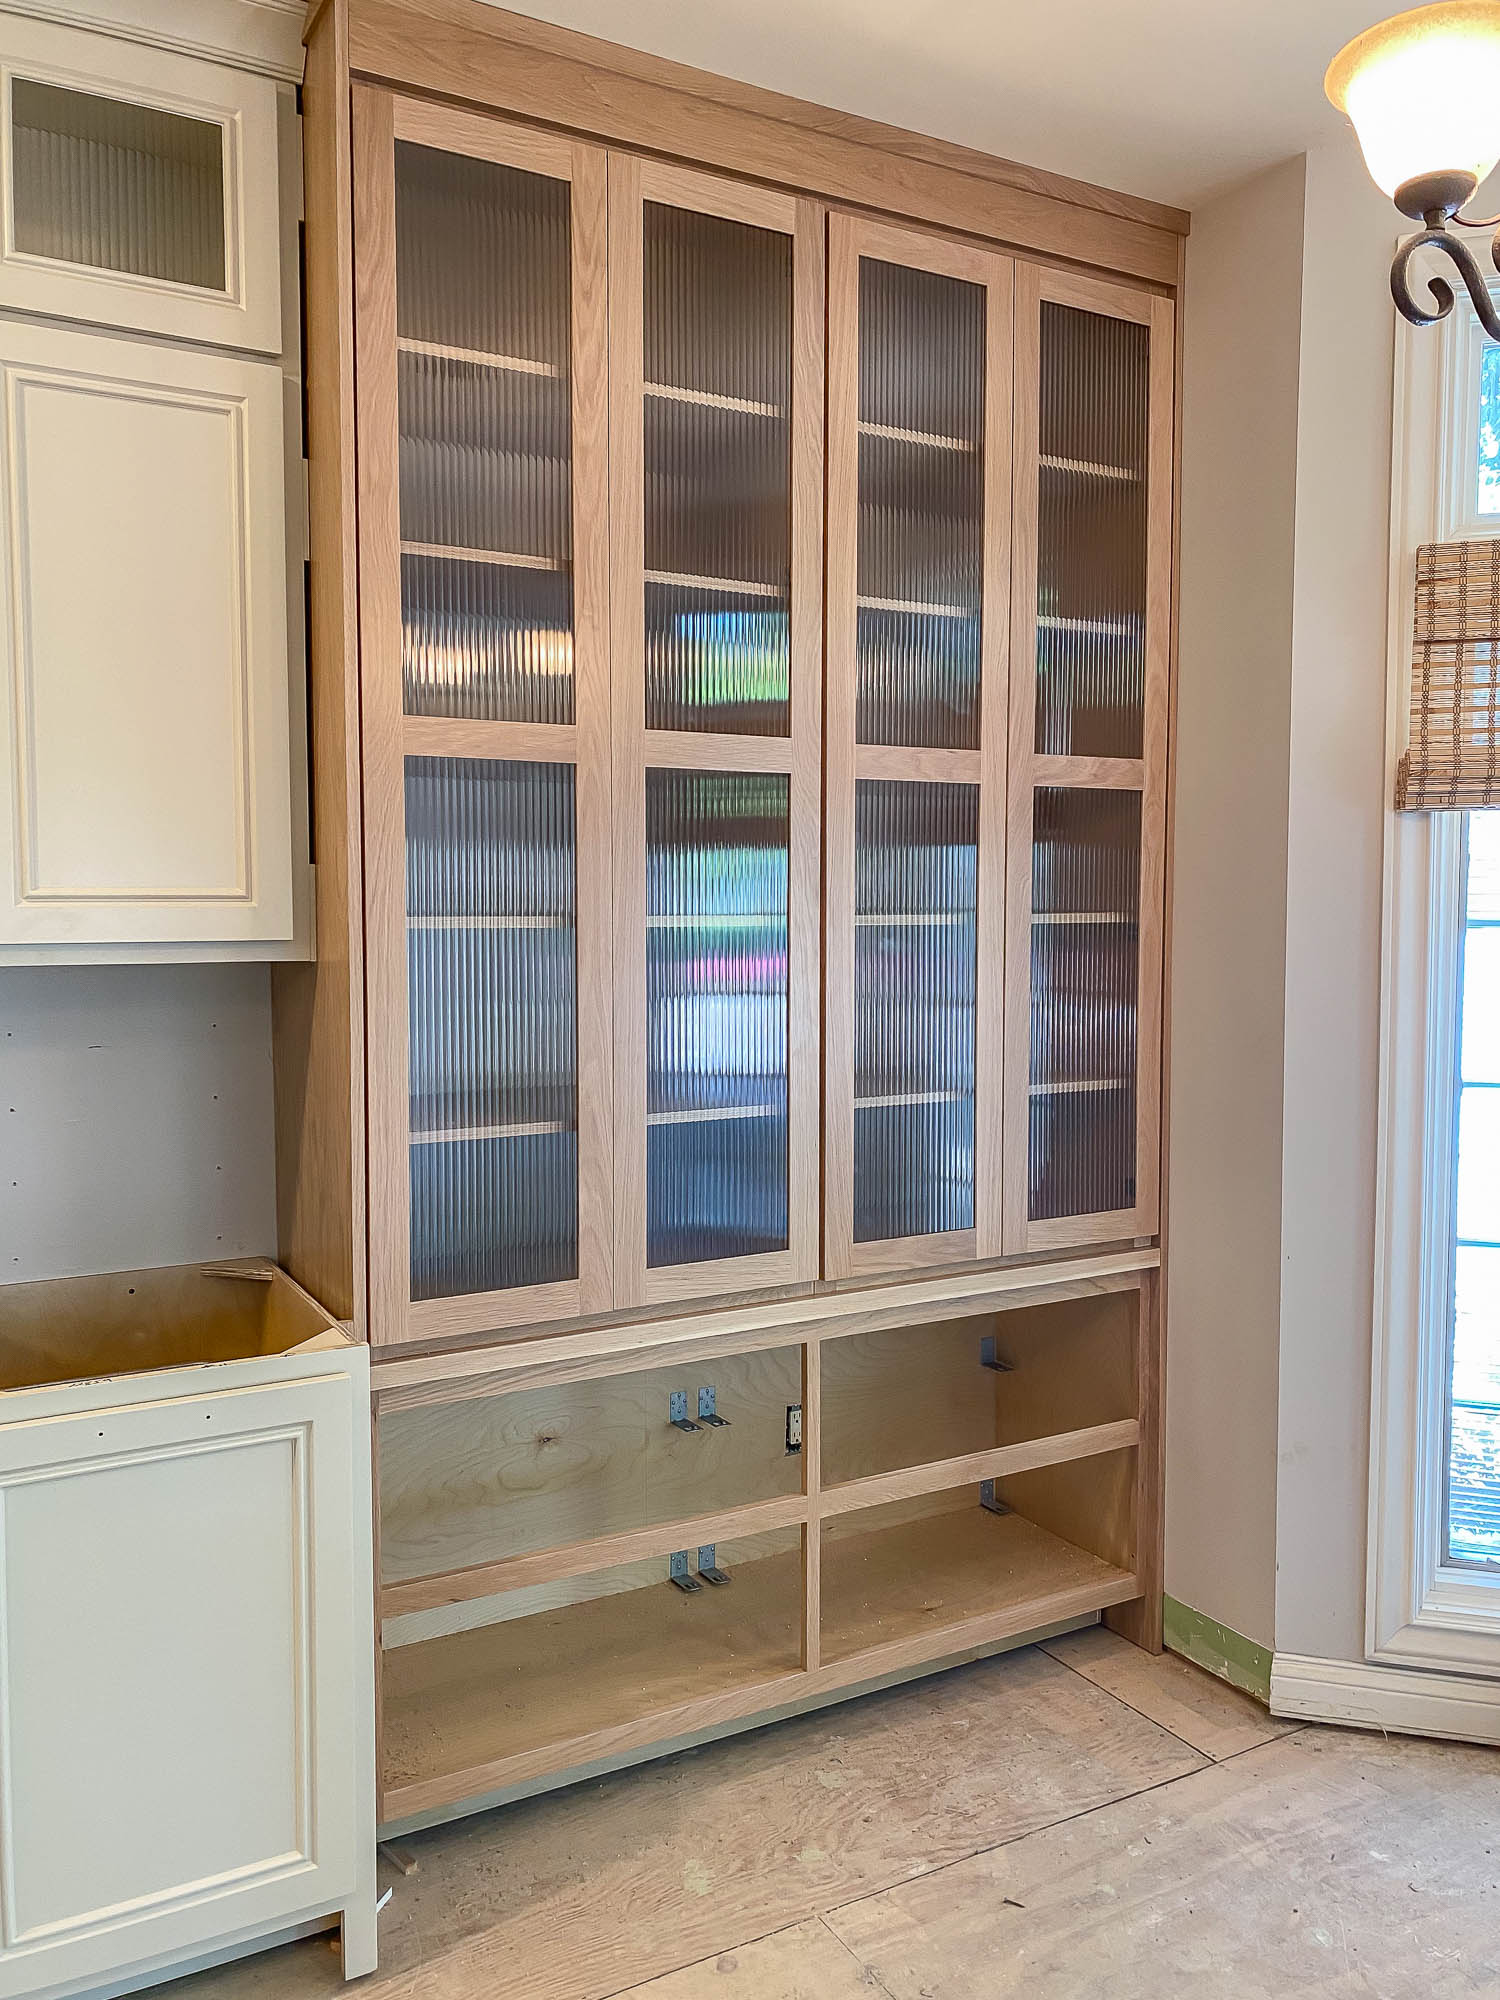
Next, they installed the pièces de résistance! Isn’t this white oak hutch just stunning? Full credit goes to my friend, Shauna at The House of Silver Lining for the incredible hutch inspiration. I’ve drooled over the white oak hutch in her kitchen for years and jumped at the chance to replicate it in our own space.
And you know I had to go with reeded glass, like I did with the DIY built-ins I did a few months ago. I can’t wait to fill this beauty up with all the pretty serving dishes! It’s giving me life right now!
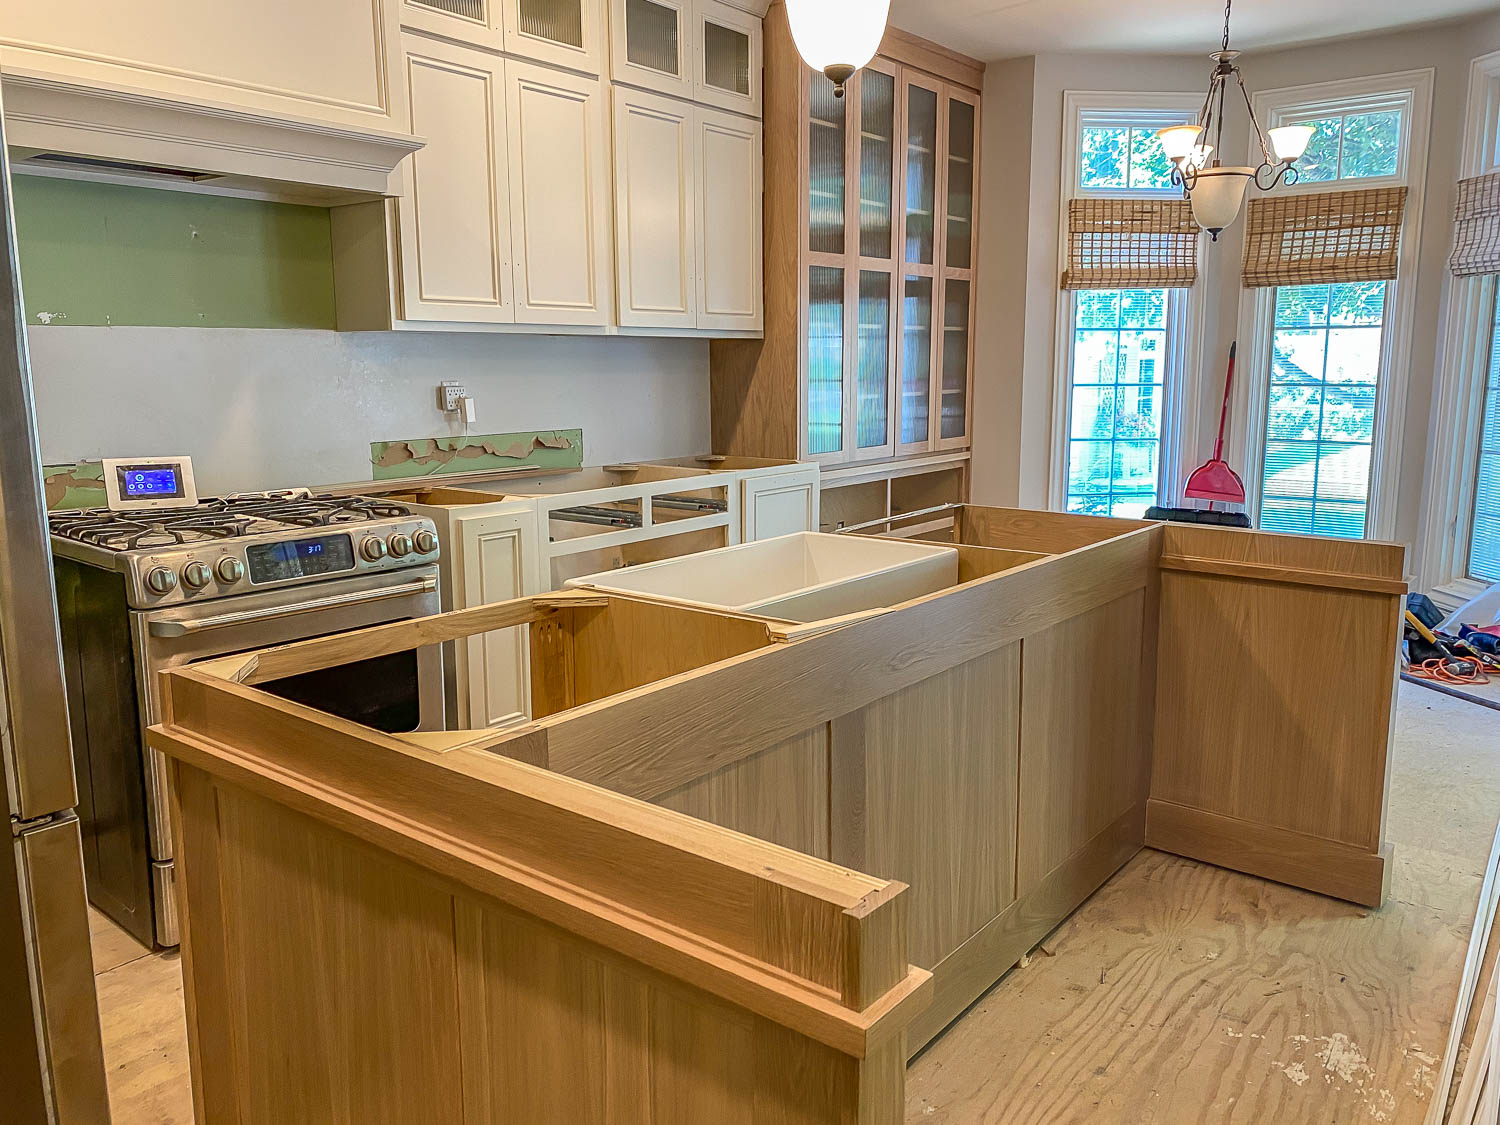
Finally, the last thing they installed was the white oak island. When I shared videos of the cabinet installation on Instagram, I had a few questions as to why I chose to mix white cabinets with the wood. I’ve always wanted a white kitchen, but they can quickly become cold and sterile. The natural white oak island and hutch not only stand out as separate components of our kitchen, but they add warmth and interest to an all-white kitchen. Choosing white oak for the hutch also helps define the space between the kitchen and the breakfast area.
Next Steps
Now that the cabinets are installed, the stone fabricators will come to measure and create a template for the countertops, then they’ll fabricate and install them. We’re moving right along in this kitchen renovation! It’s about to get really good… stay tuned!



Loving this layout – now I am as anxious as you are to see the finished product!
Greta update. I can already see your kitchen to be looking good. Love your idea of getting shelves to temporarily stay organized while the renovation is ongoing. I say that is a helpful tip to those who are planning to remodel or renovate.
The kitchen renovation process shared here is so inspiring! The excitement on cabinet install day is palpable, and the attention to detail is commendable. The mix of white cabinets with natural white oak adds such warmth and character to the space. The practical tips for staying organized during the renovation are super helpful. I can’t wait to see how the countertops turn out—this kitchen is going to be stunning!
What an exciting update! Watching this kitchen come to life must be so rewarding after all the planning and patience. The mix of white cabinets with the white oak island and hutch adds such warmth and character—perfect for creating a cozy, inviting space. And that reeded glass detail is just stunning! Can’t wait to see it all come together with the countertops next.
I liked the pictures of the article and I shared it on Instagram