It’s the season of DOING and we’re super excited to be teaming up with The Home Depot on our Laundry Room Renovation! The Home Depot is our one-stop shop for everything DIY and in honor of Game Day, let’s have a little football fun and hustle like the O-line. We’ll formulate a game plan, execute the play, score some touchdowns, and celebrate the win. Hut, hut, HIKE!

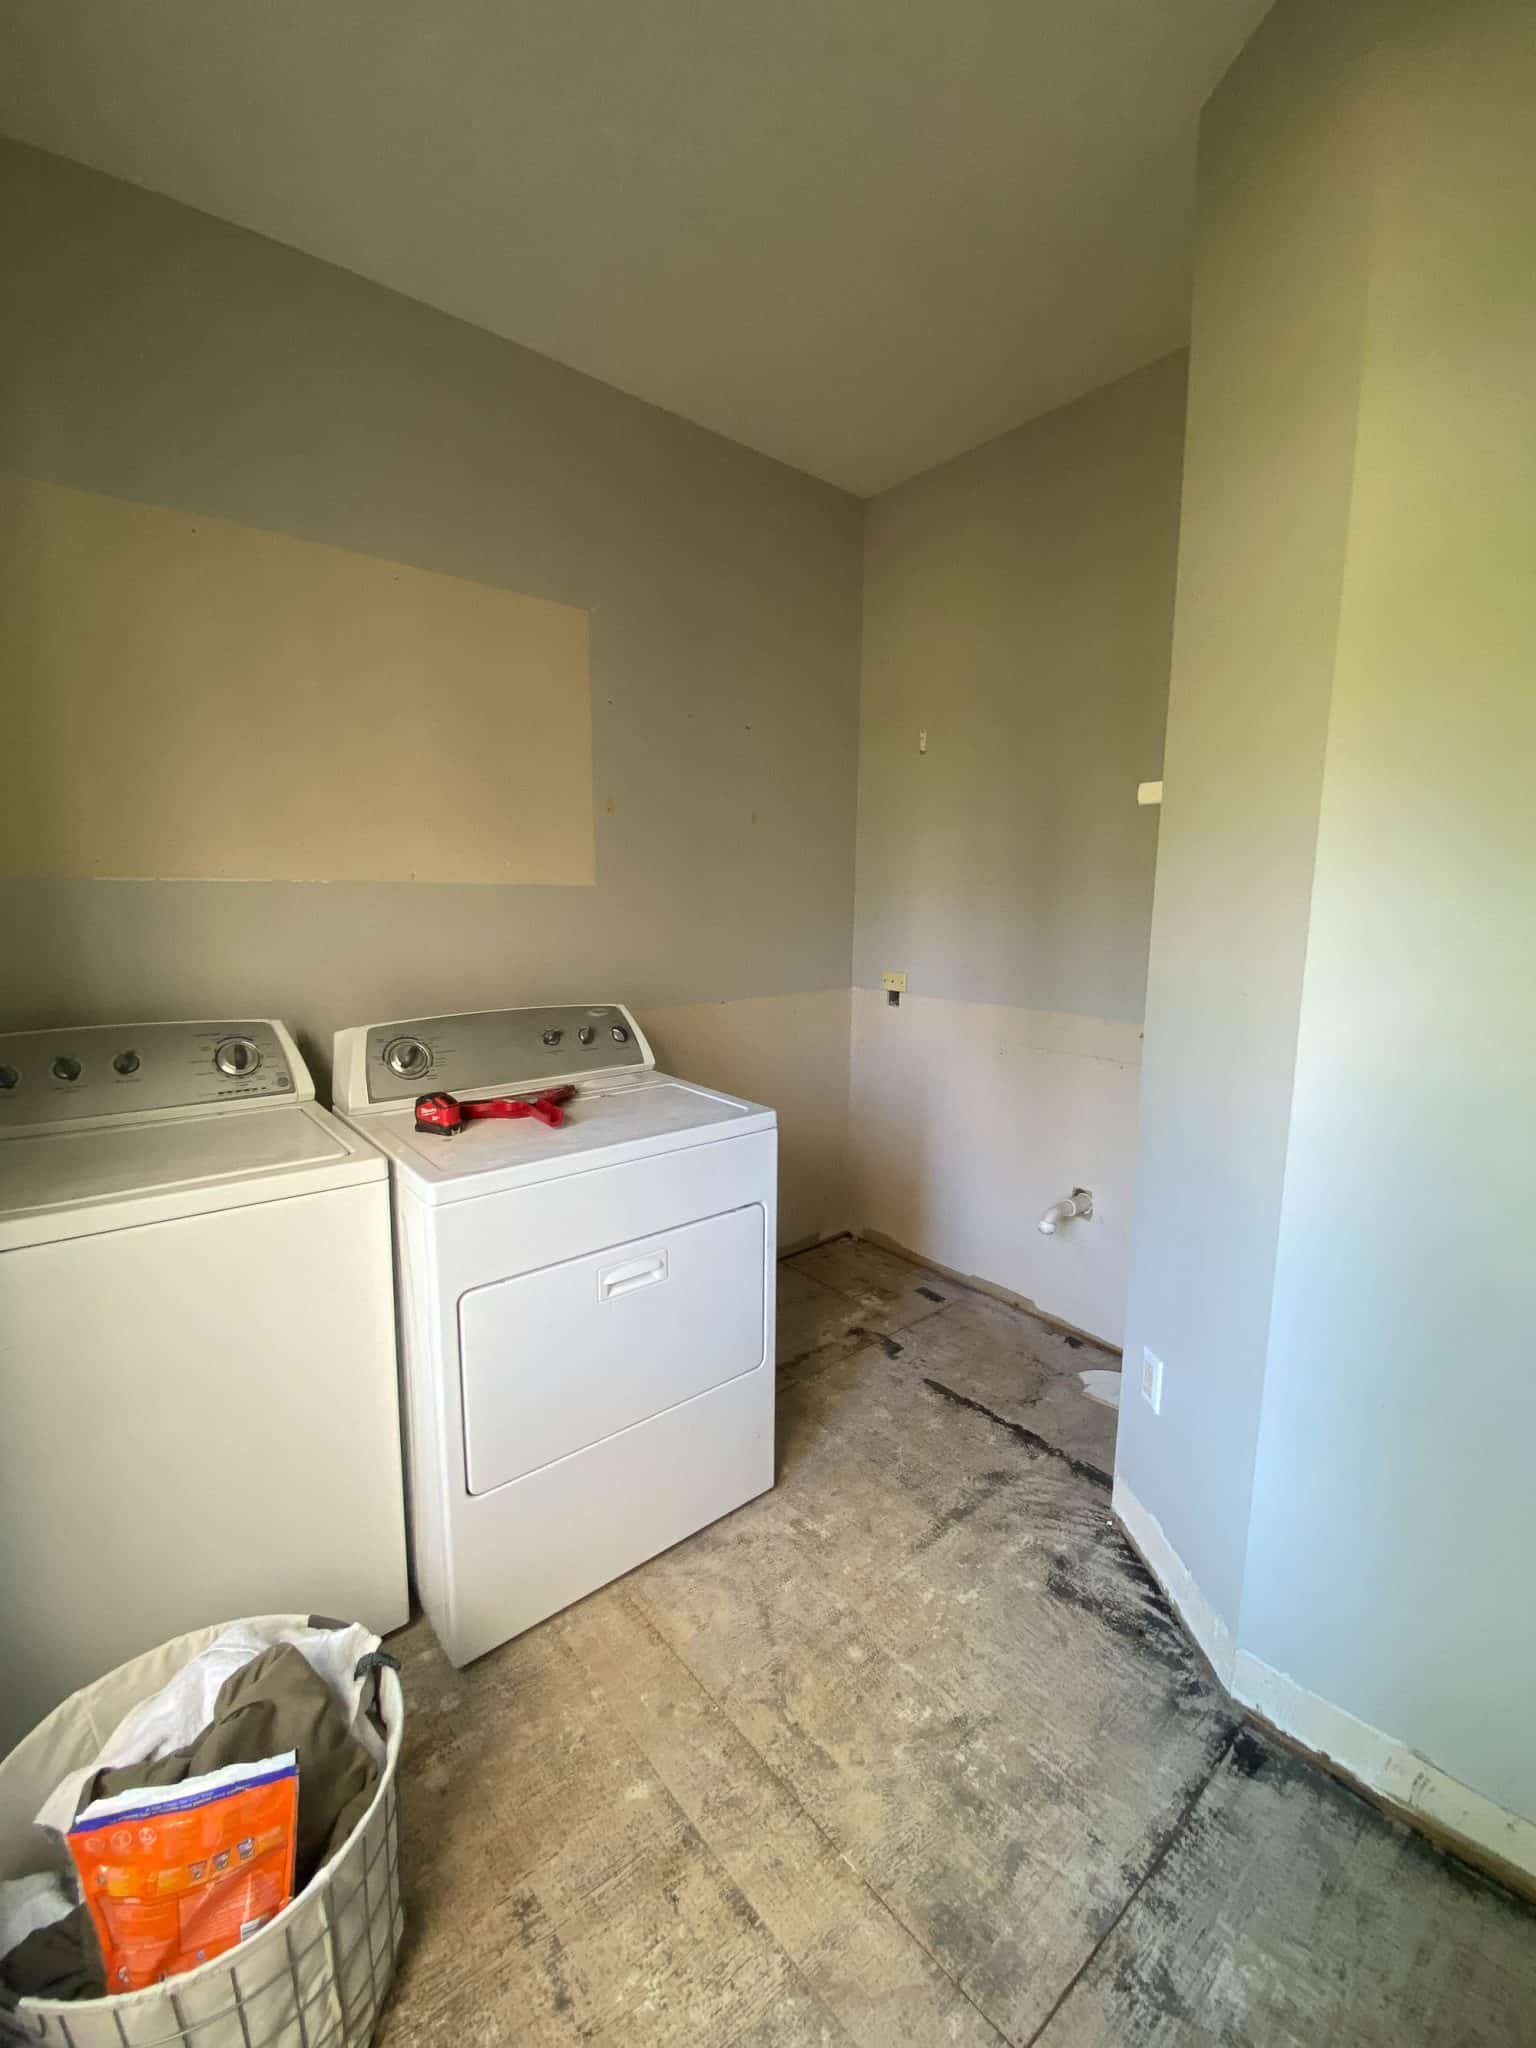
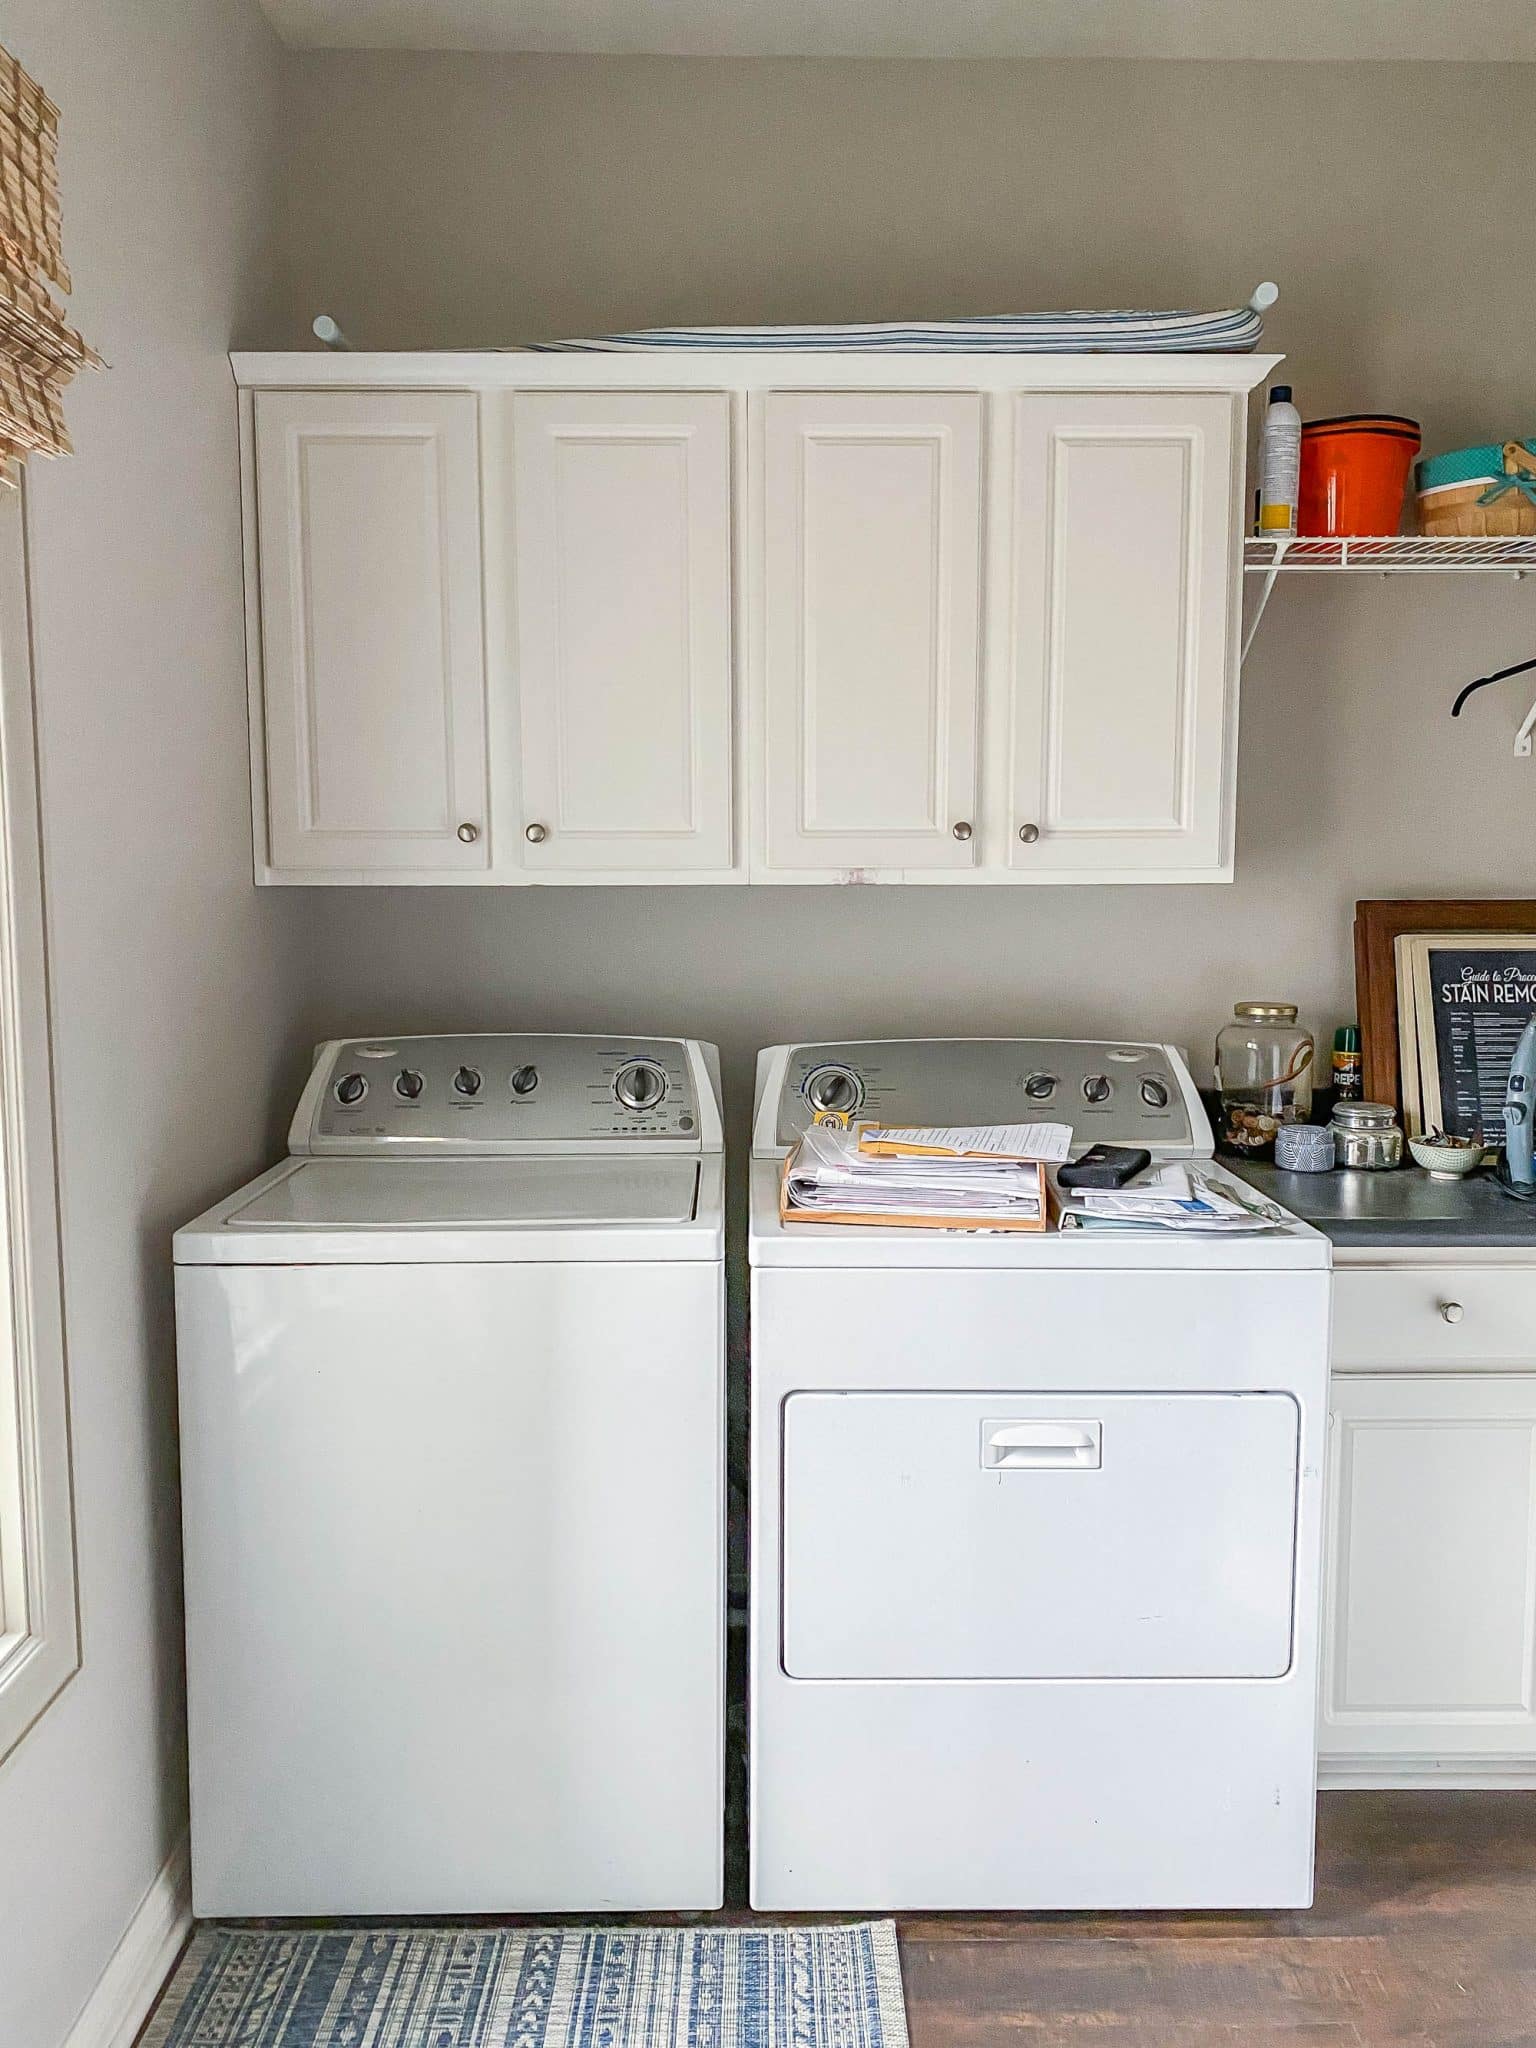
This is what our laundry room looked like before we tackled this renovation:
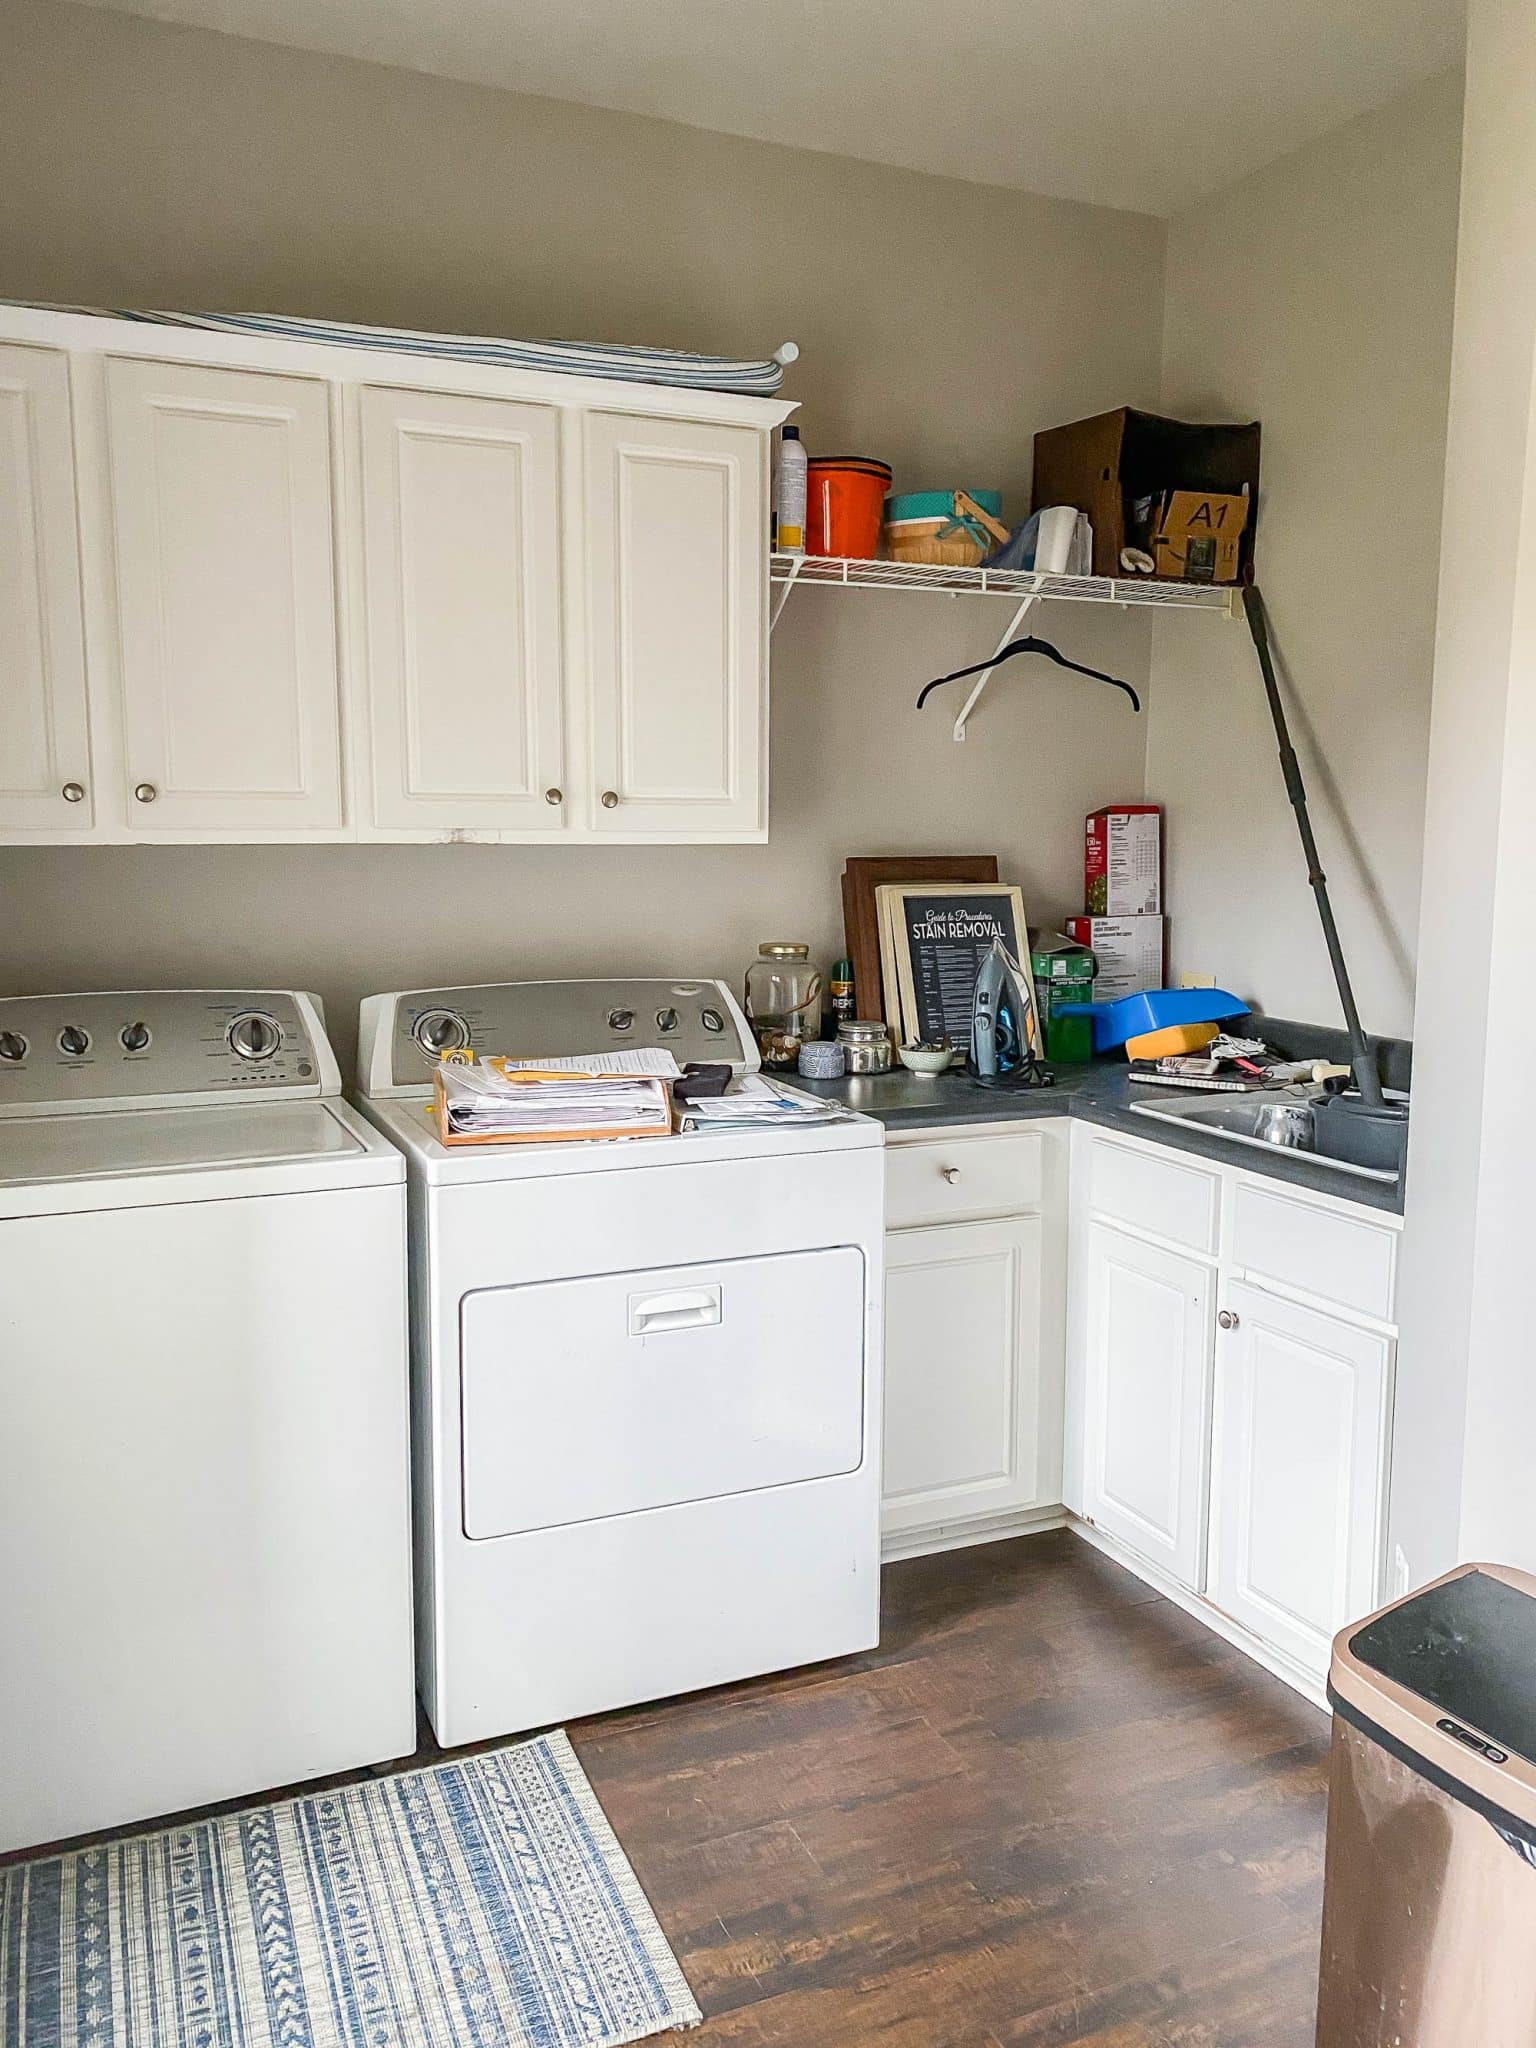
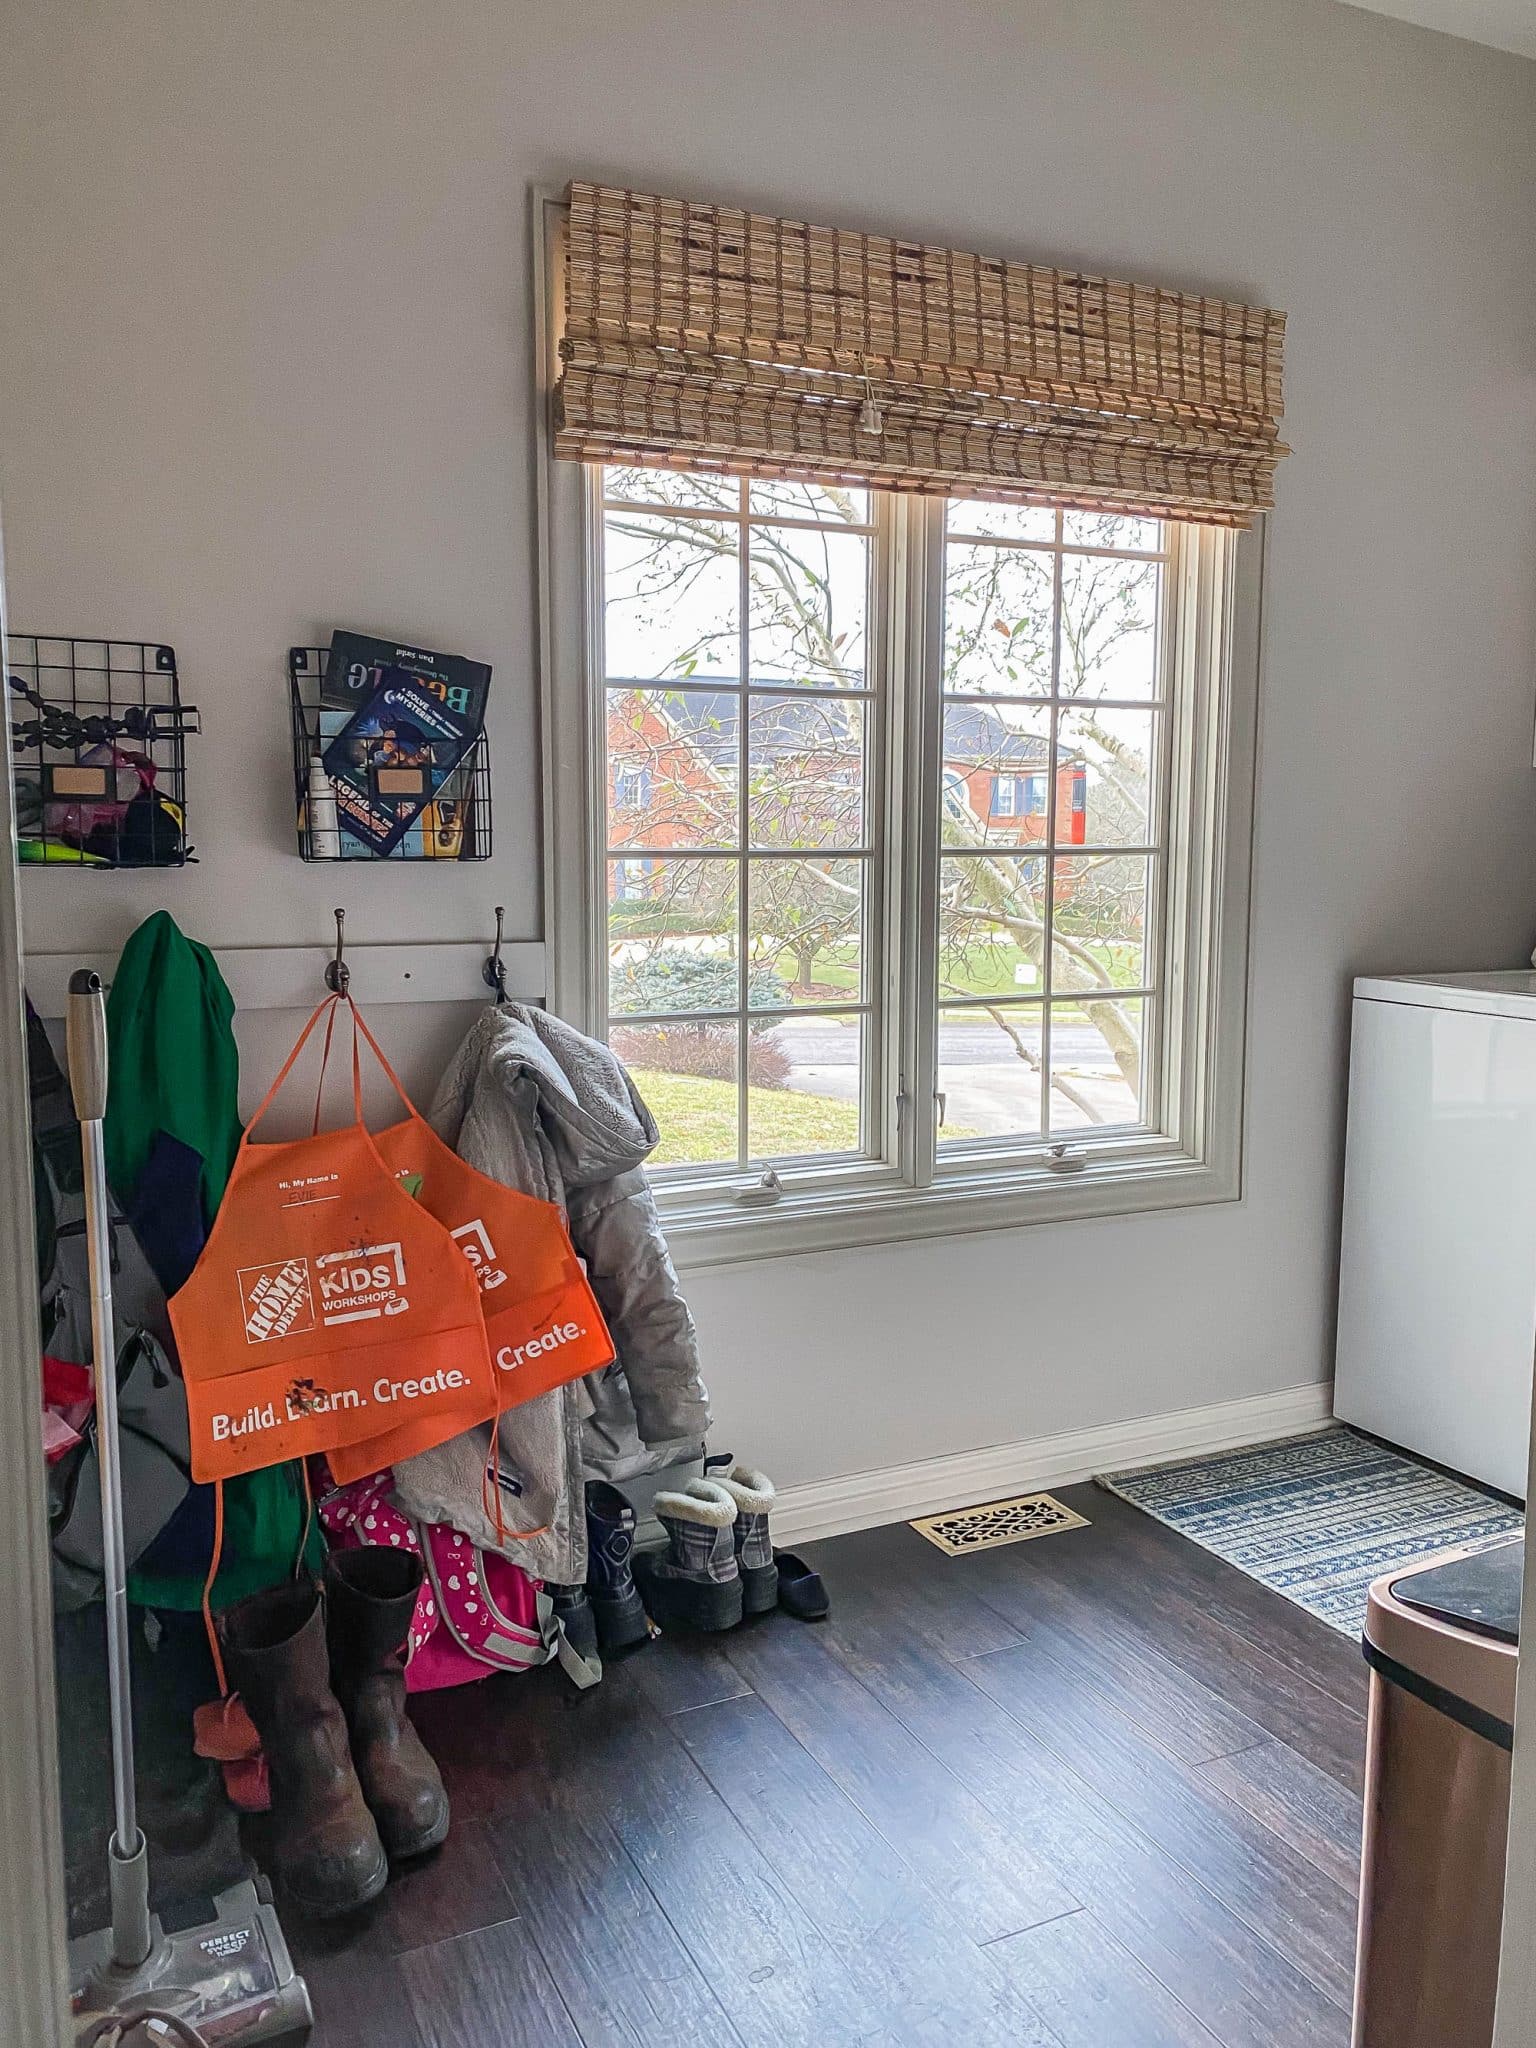
While adequately functional, our laundry room was somewhat lacking in style, organization, and efficiency. We’re so thankful to have a sink in the space (which was a lifesaver when we renovated our kitchen!), but the countertop was tucked into the back corner, which quickly became more of a catch-all for clutter and less of a clean surface on which to fold laundry. In the cabinets below, things were often lost and forgotten, shoved to the very back of the abyss. However, I do love the space and the large, south-facing window poured a ton of beautiful, natural light into the room.
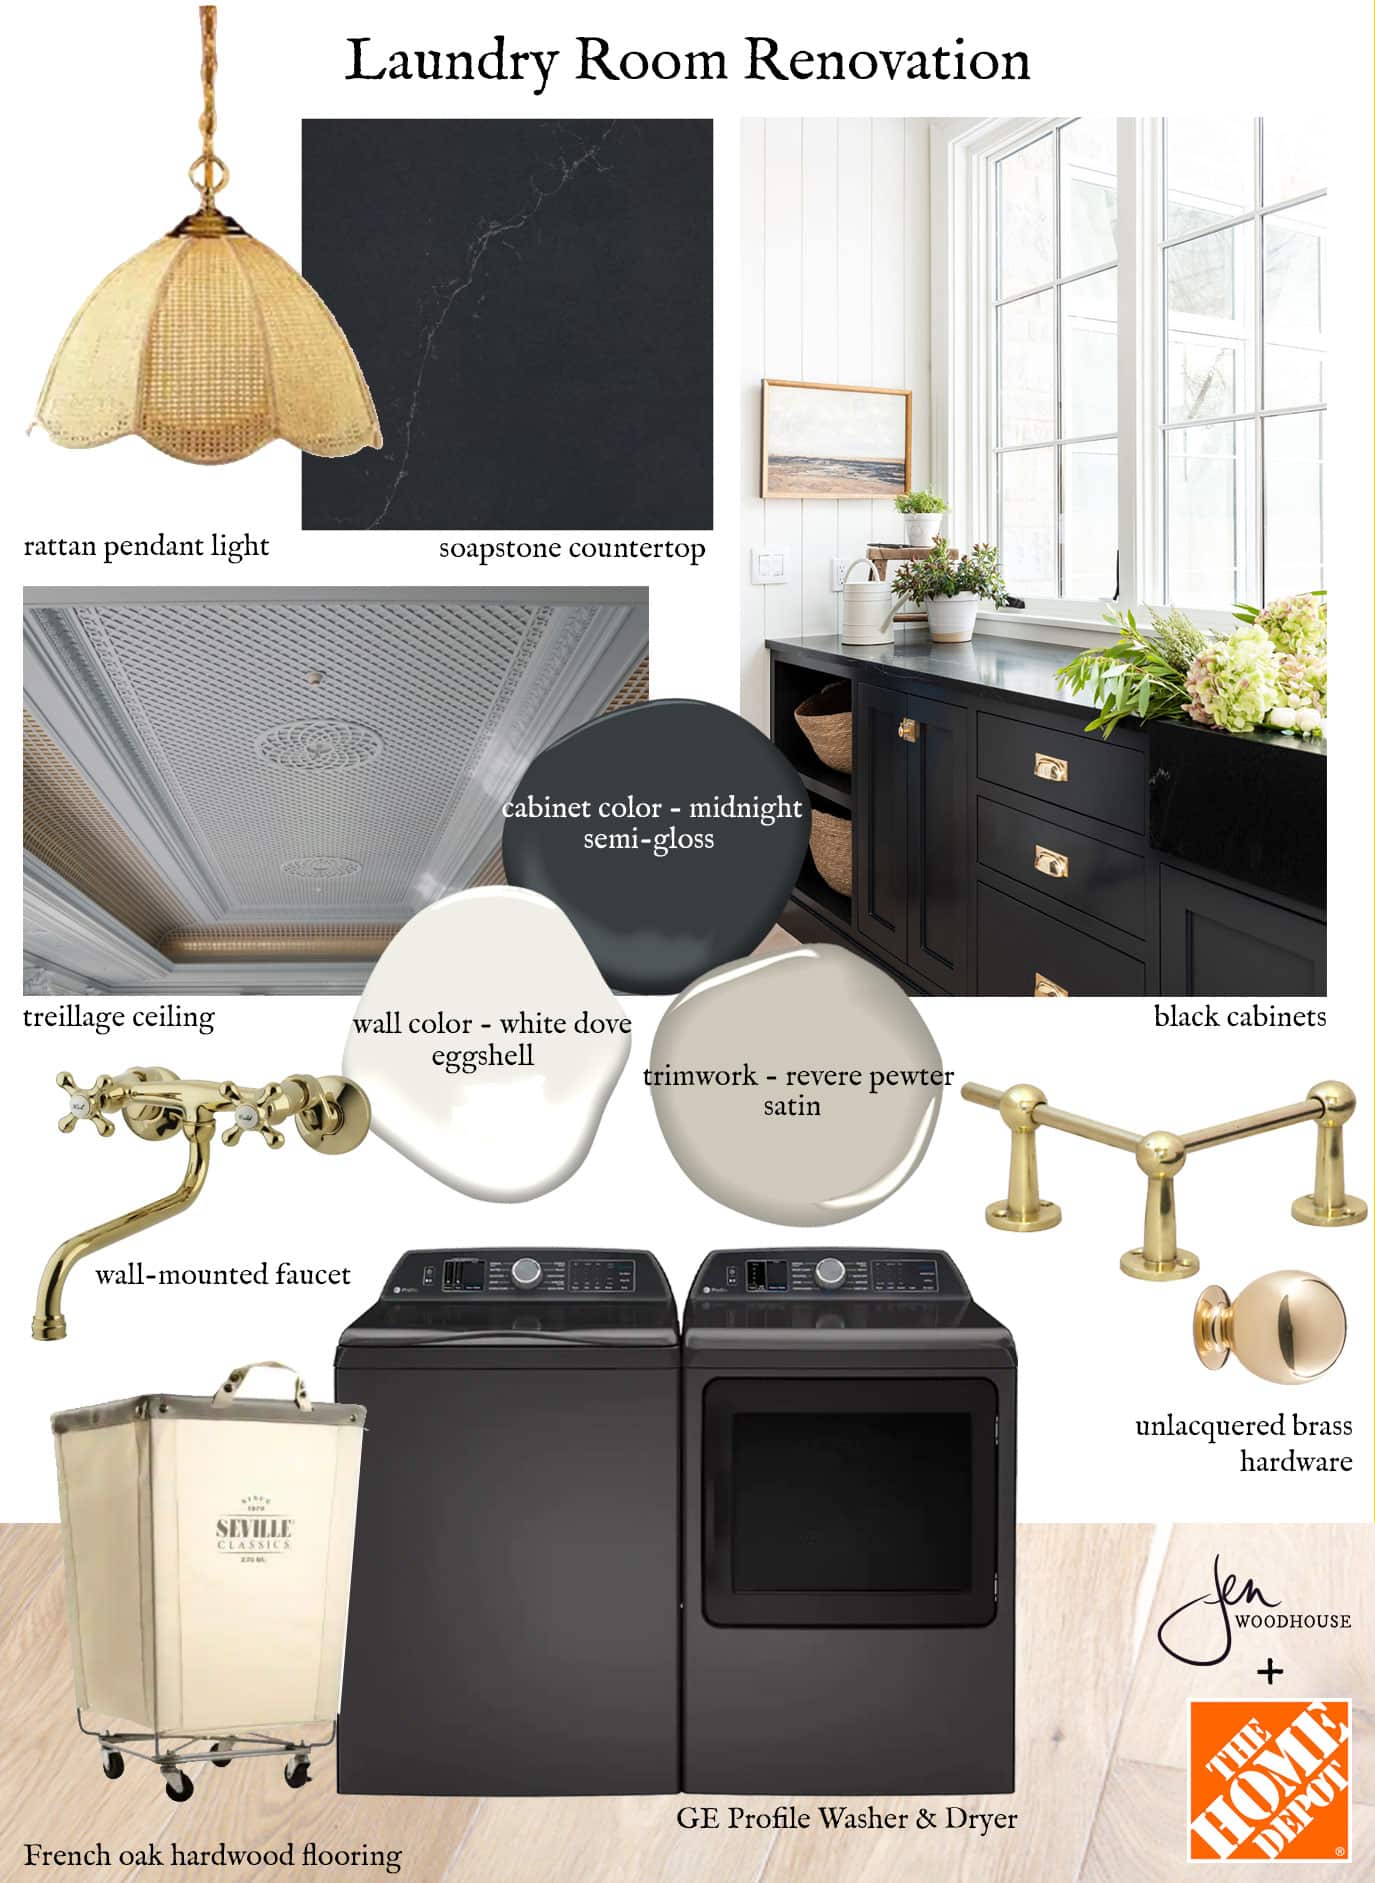
Formulate a Game Plan
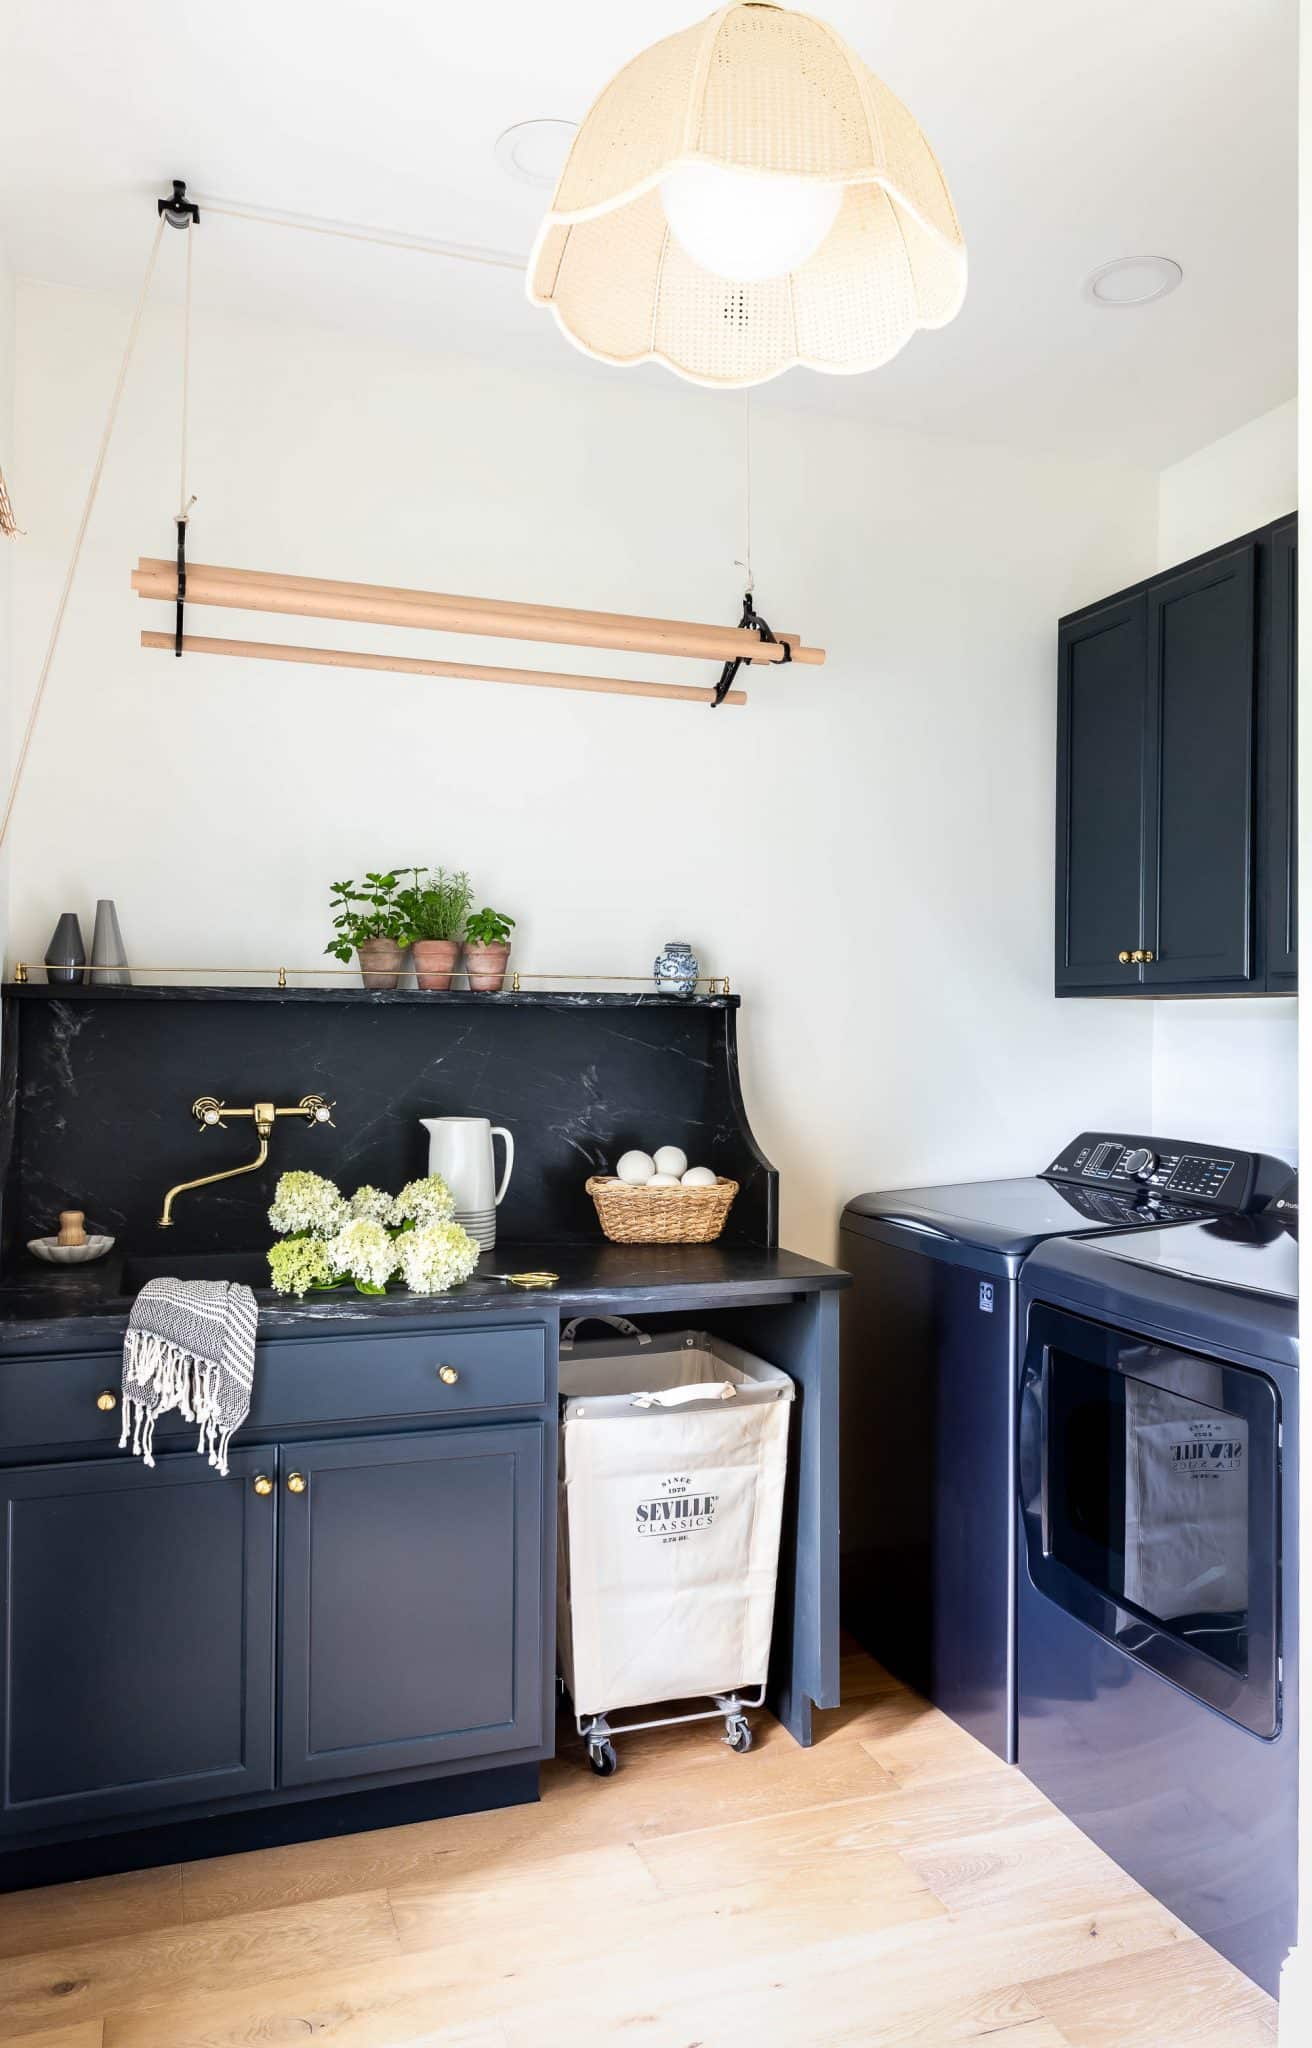
If you recall from our 2022 home renovation goals, I’ve been dying to use soapstone somewhere in this house and I’ve been so inspired by Studio McGee’s mudroom (top right image shown in the Design Board). Of course, I always begin any design with function in mind and so began the hunt for the perfect top-loading washer and dryer. I found this Smart GE Profile Washer and Dryer in the color Diamond Gray from The Home Depot – how amazing will they look paired with soapstone counters?! It’s an absolute match made in heaven! The washer and dryer were the jumping off point for our entire laundry room design. I chose “Midnight” semi-gloss paint color for the cabinetry because it complements the washer and dryer color so beautifully. And you know I love a good wall-mounted faucet (like in our powder room and primary bathroom) and that rattan pendant light is charming the pants right off me! By the way, I’ll include all the product links at the end of this post. (Spoiler alert: pretty much everything is from The Home Depot!)
The Playbook: The Home Depot Mobile App
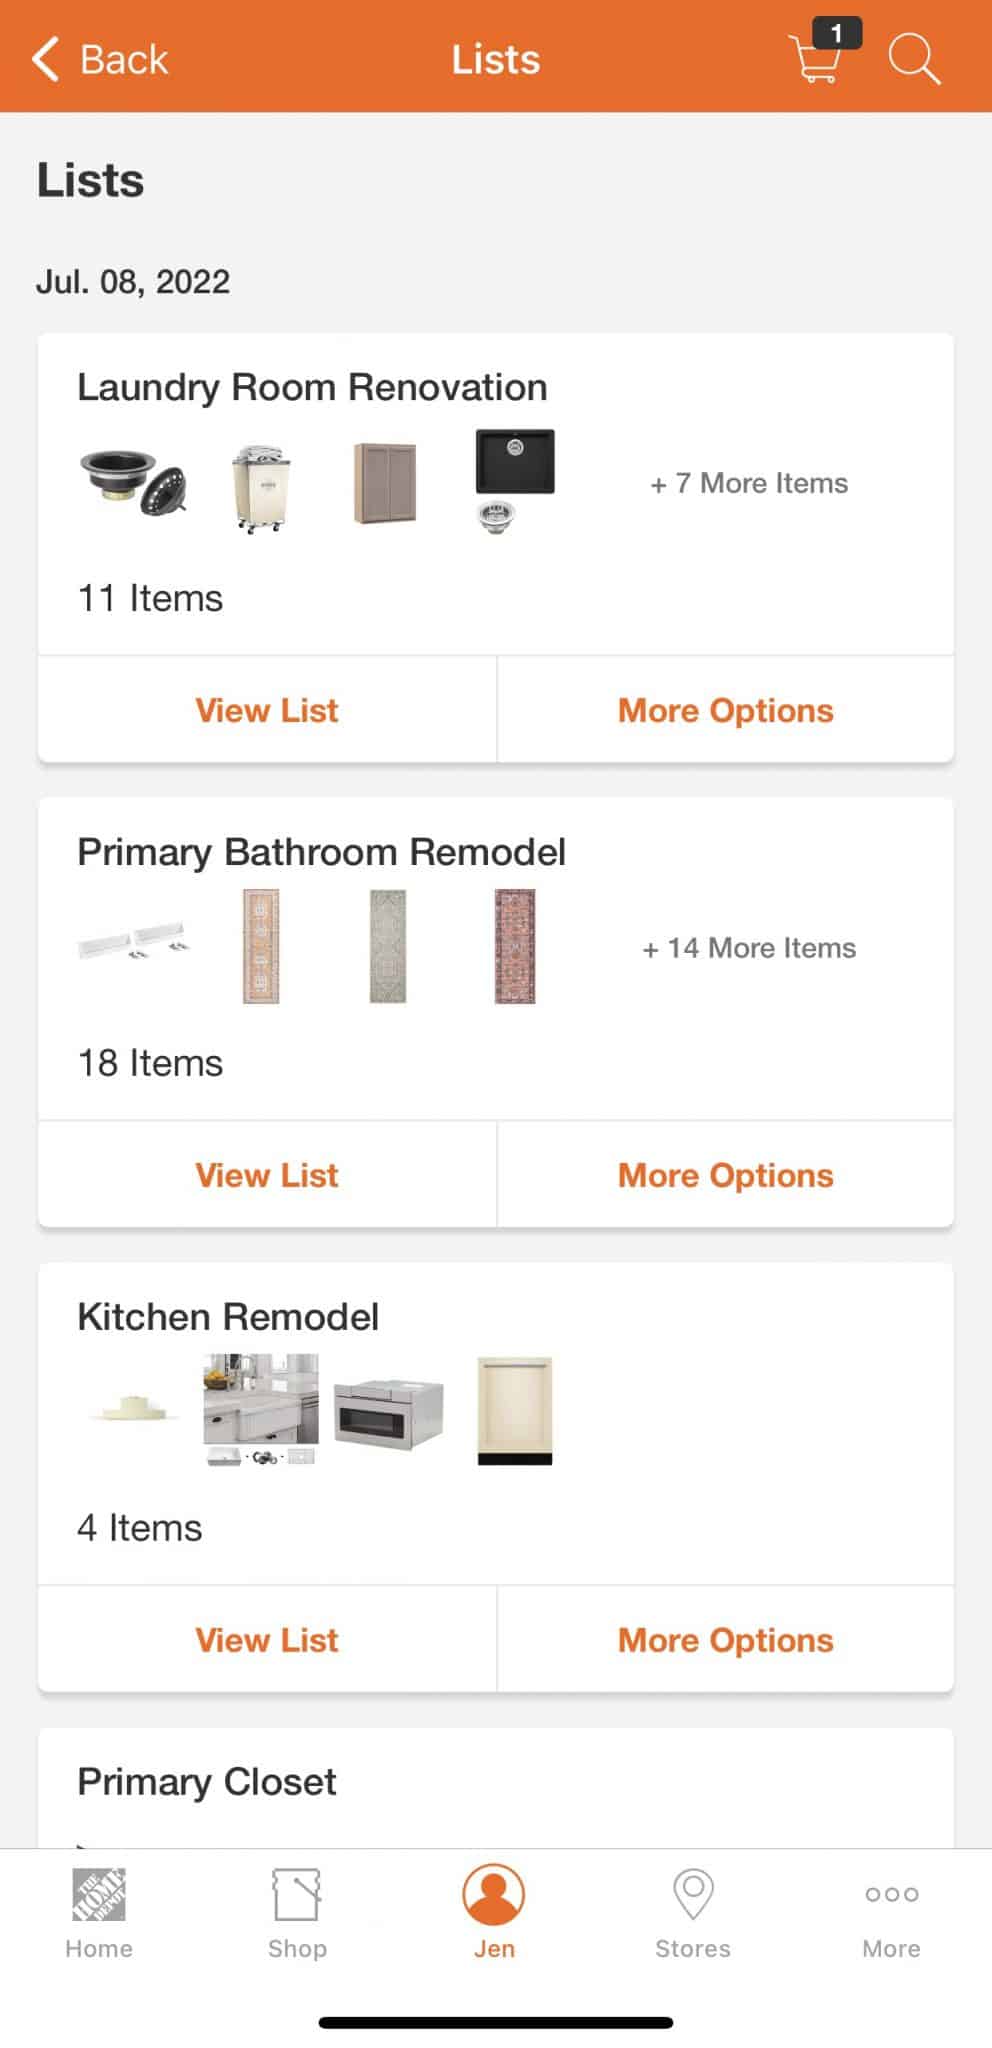
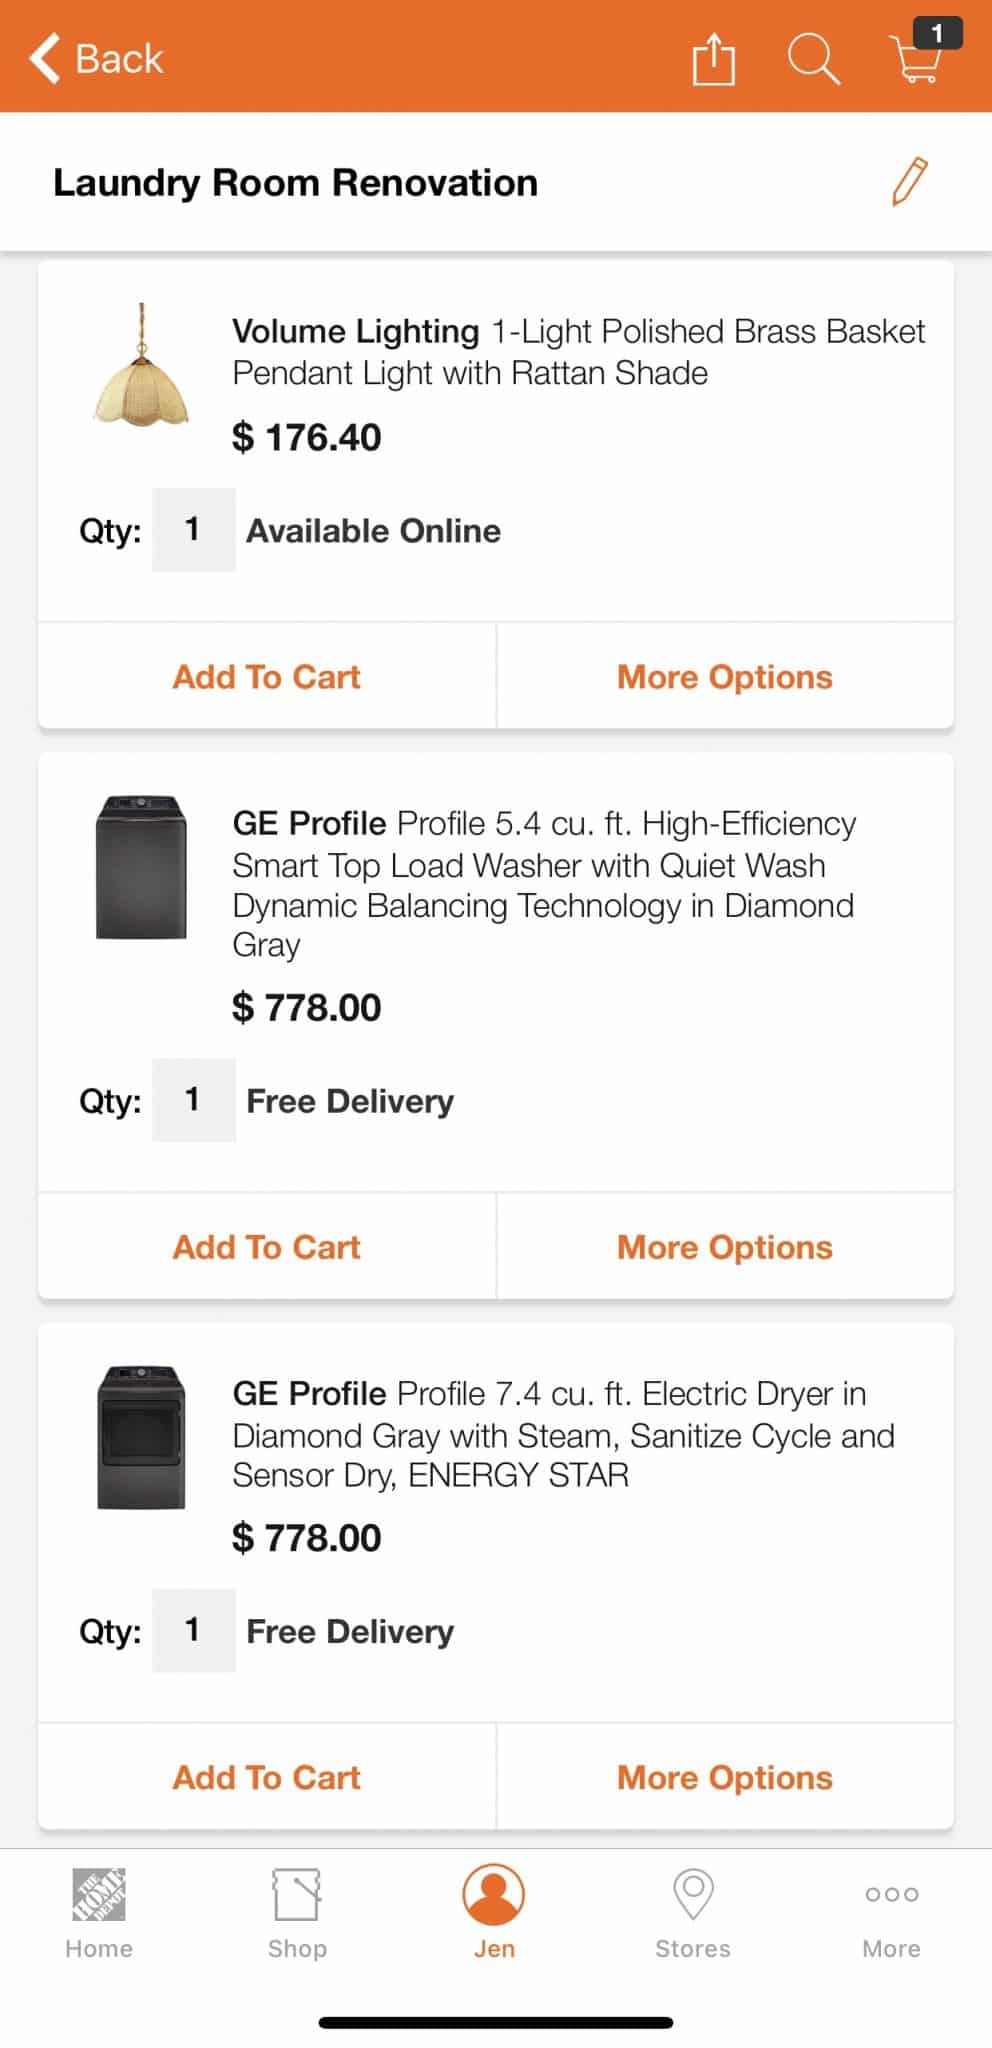
As with the majority of our home projects, I use The Home Depot mobile app to help me plan, design, and execute. I typically browse the inventory and save products to a curated list. As you can see, I have several lists that keep each of my projects organized. Then as I gather product options, I’m able to zero-in on the design direction for the space. I can also purchase products straight from the app and either pick them up in-store or have them delivered. I use this powerful little app almost every day, for nearly every project.
Execute the Play
Now that we have the game plan in place, it’s time to get on the gridiron. It’s DEMO DAY! We took down the upper cabinets, unhooked the faucet and sink, and removed the countertop and base cabinets.
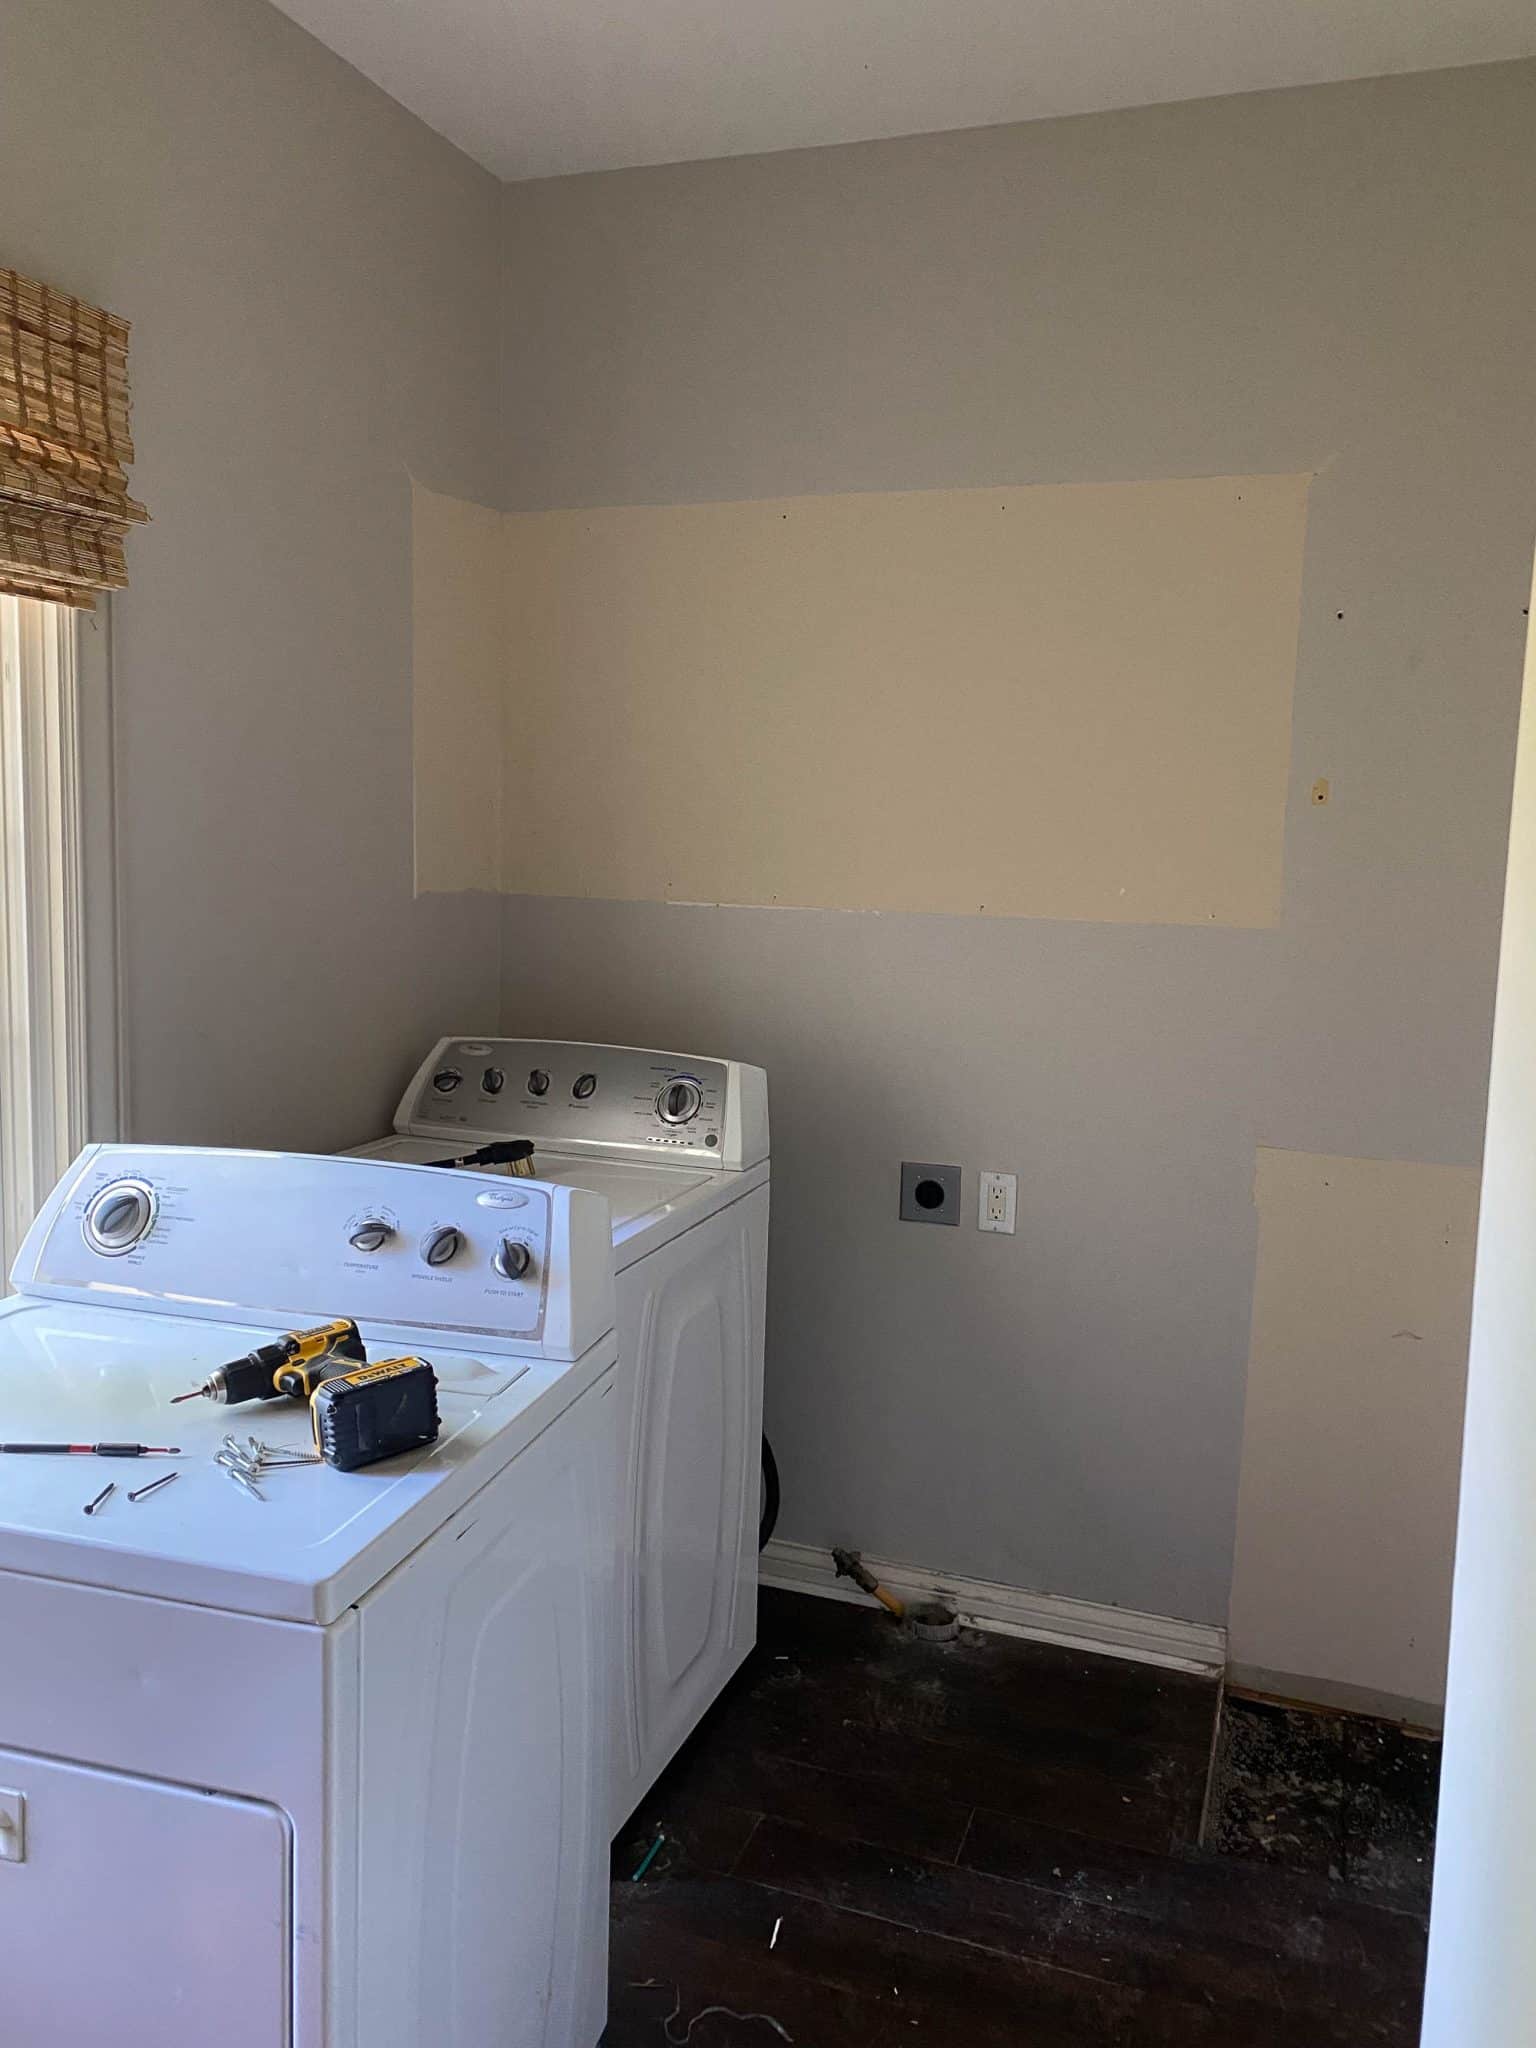
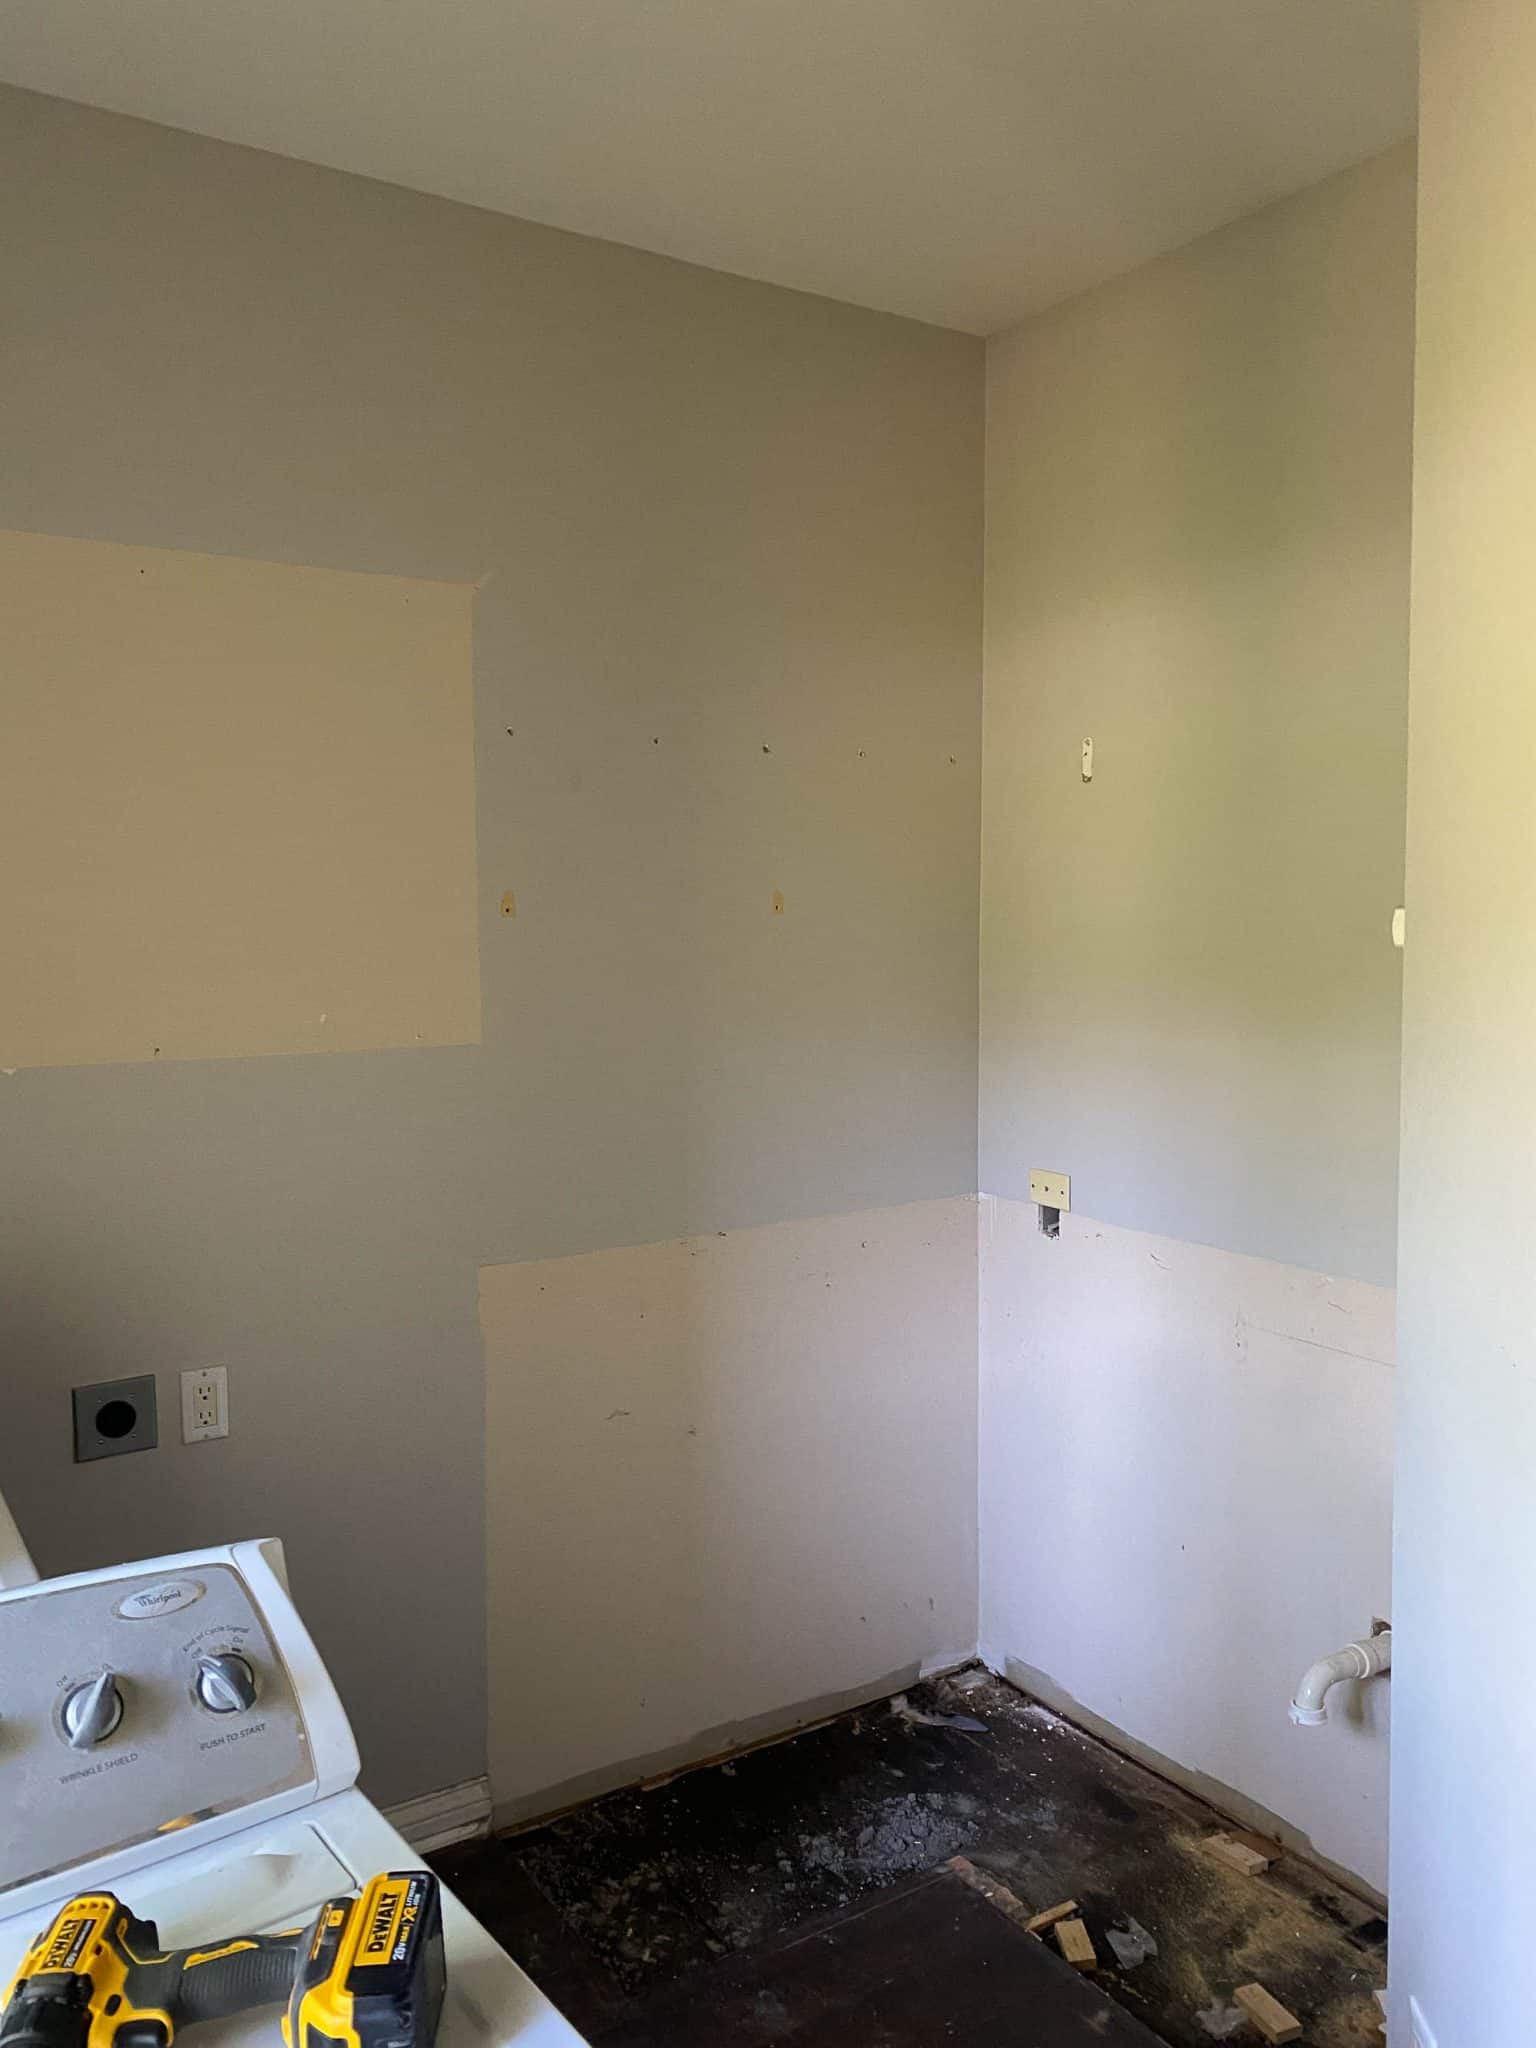
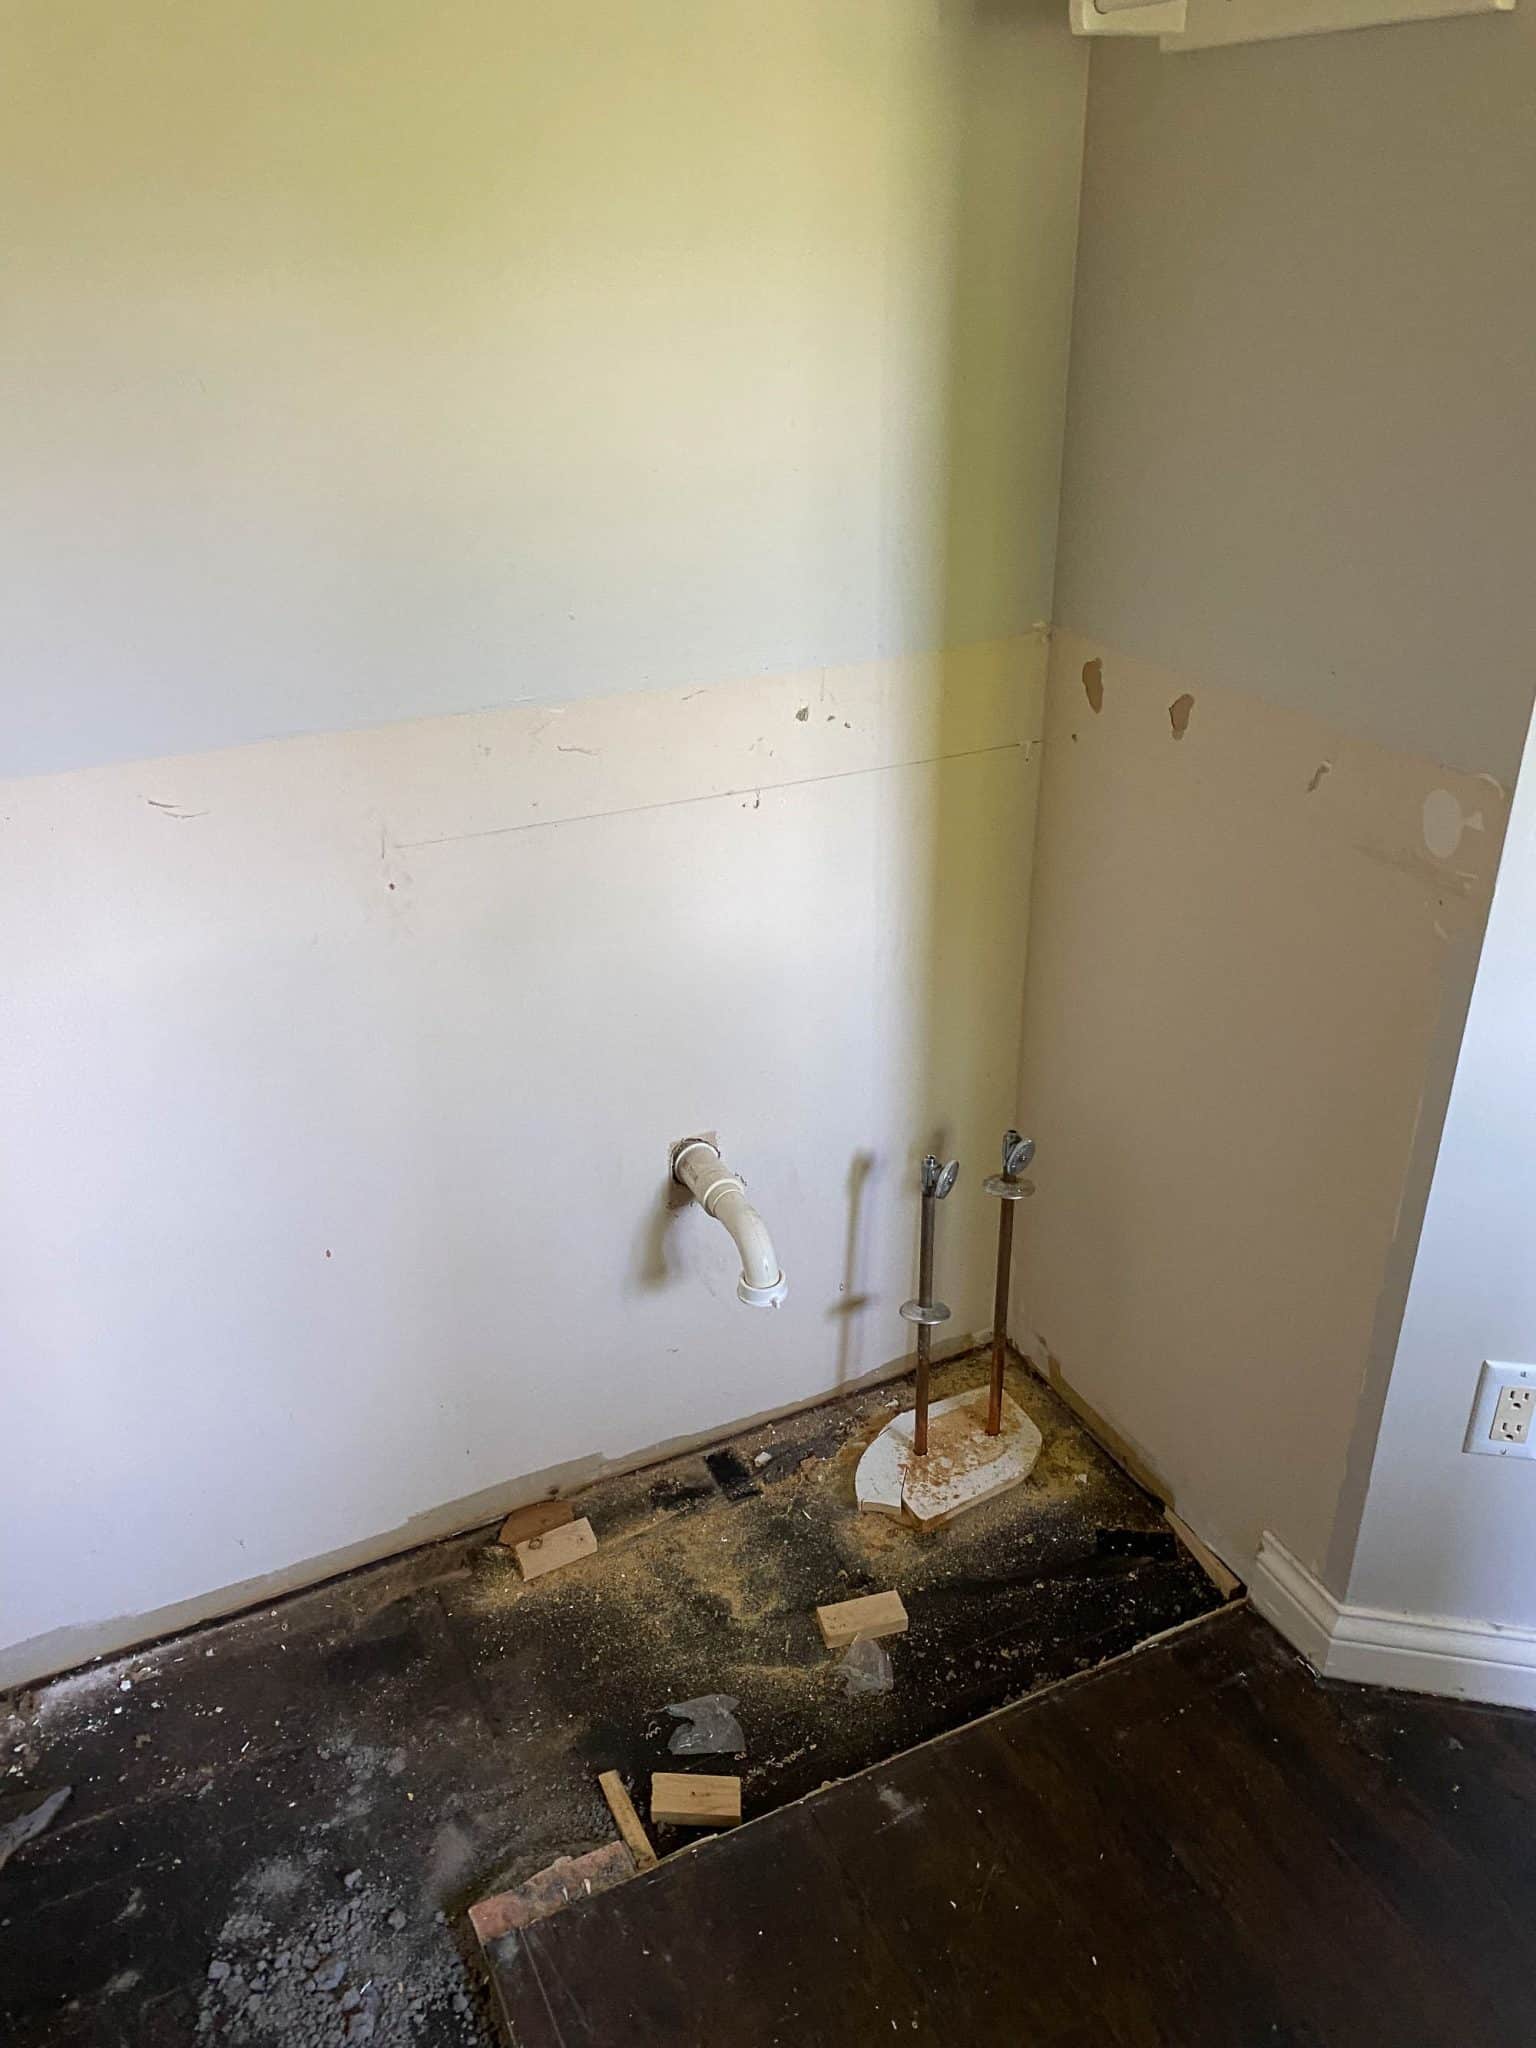
Then we pulled off the baseboards, got rid of the dark laminate flooring, busted up the beige tile underneath, and peeled up the 2-inch concrete slab so we could get back down to the plywood subfloor. With everything cleared out and cleaned up, I could really start to visualize how the space would come together.
Call an Audible
Initially, I was going to keep the same layout, with the washer and dryer on the left side of the room and the sink on the right, mainly because we were working with a very tight timeline. However, when our plumber, Plumbing Doctor, came to assess the project, rather than just run the play, he suggested we throw a hail Mary and flip the layout. This way, we could tuck the washer and dryer into the alcove on the right and allow the sink cabinet to be the first line of vision when entering the room.
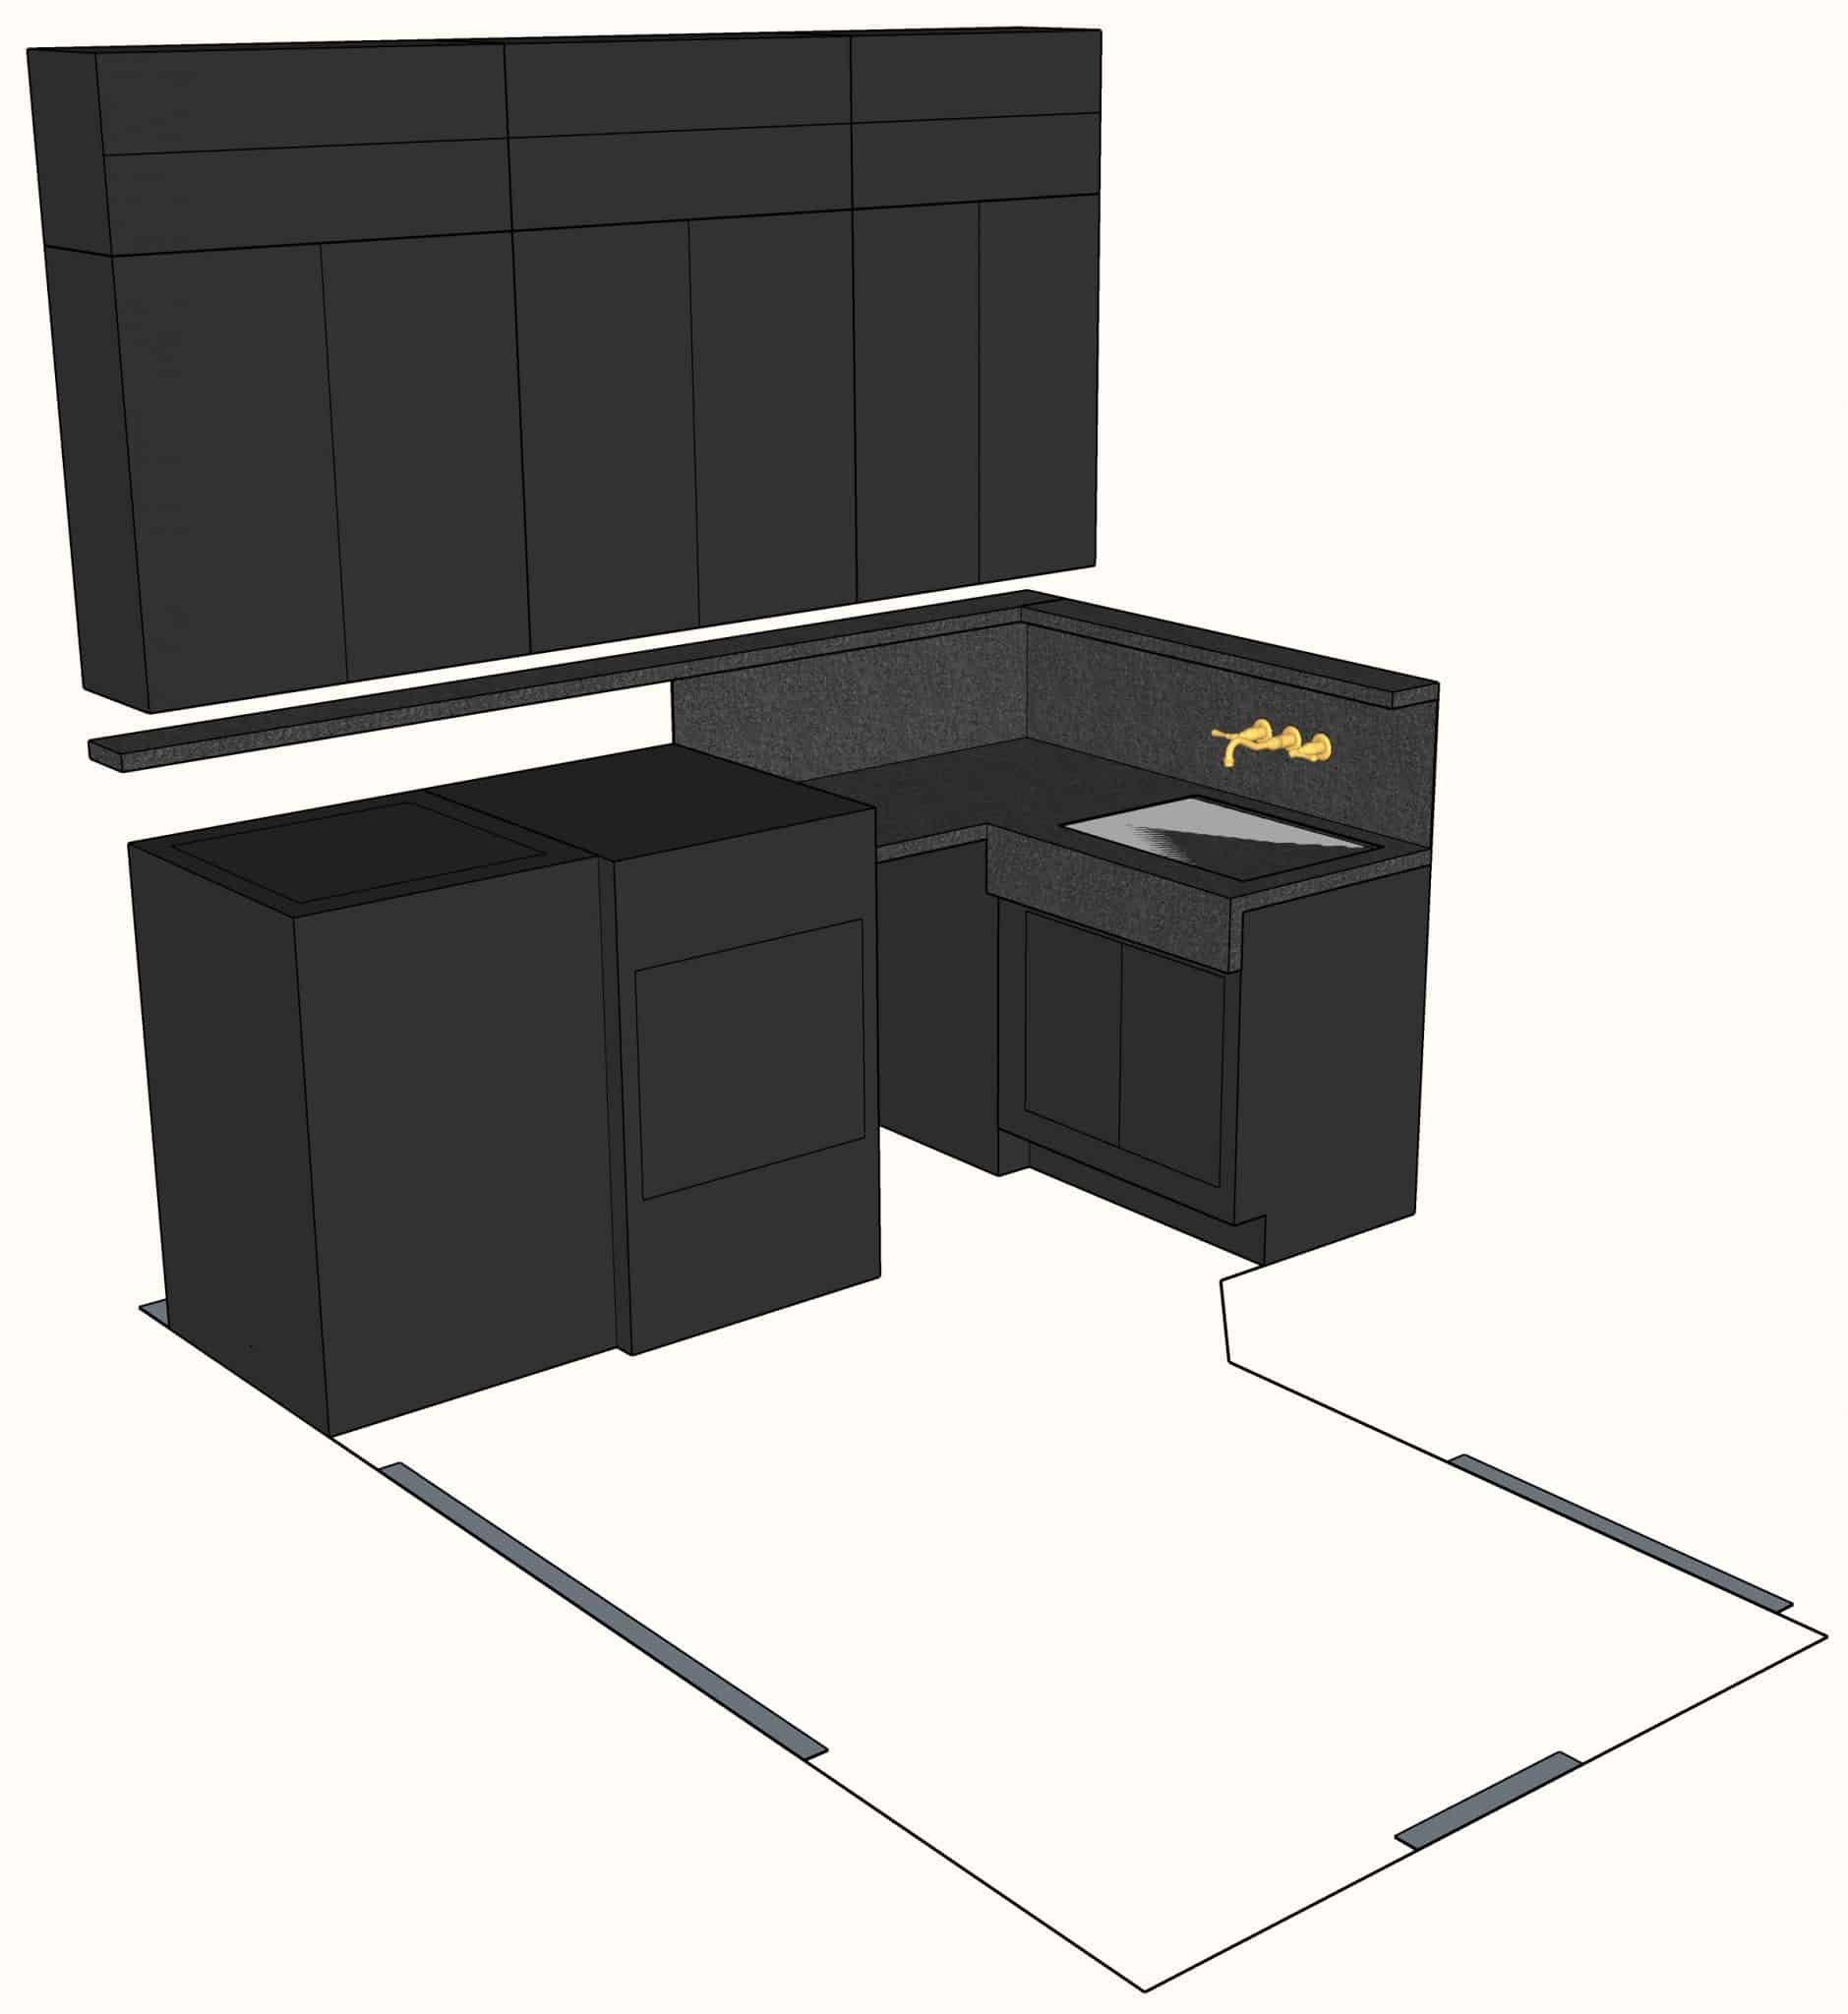
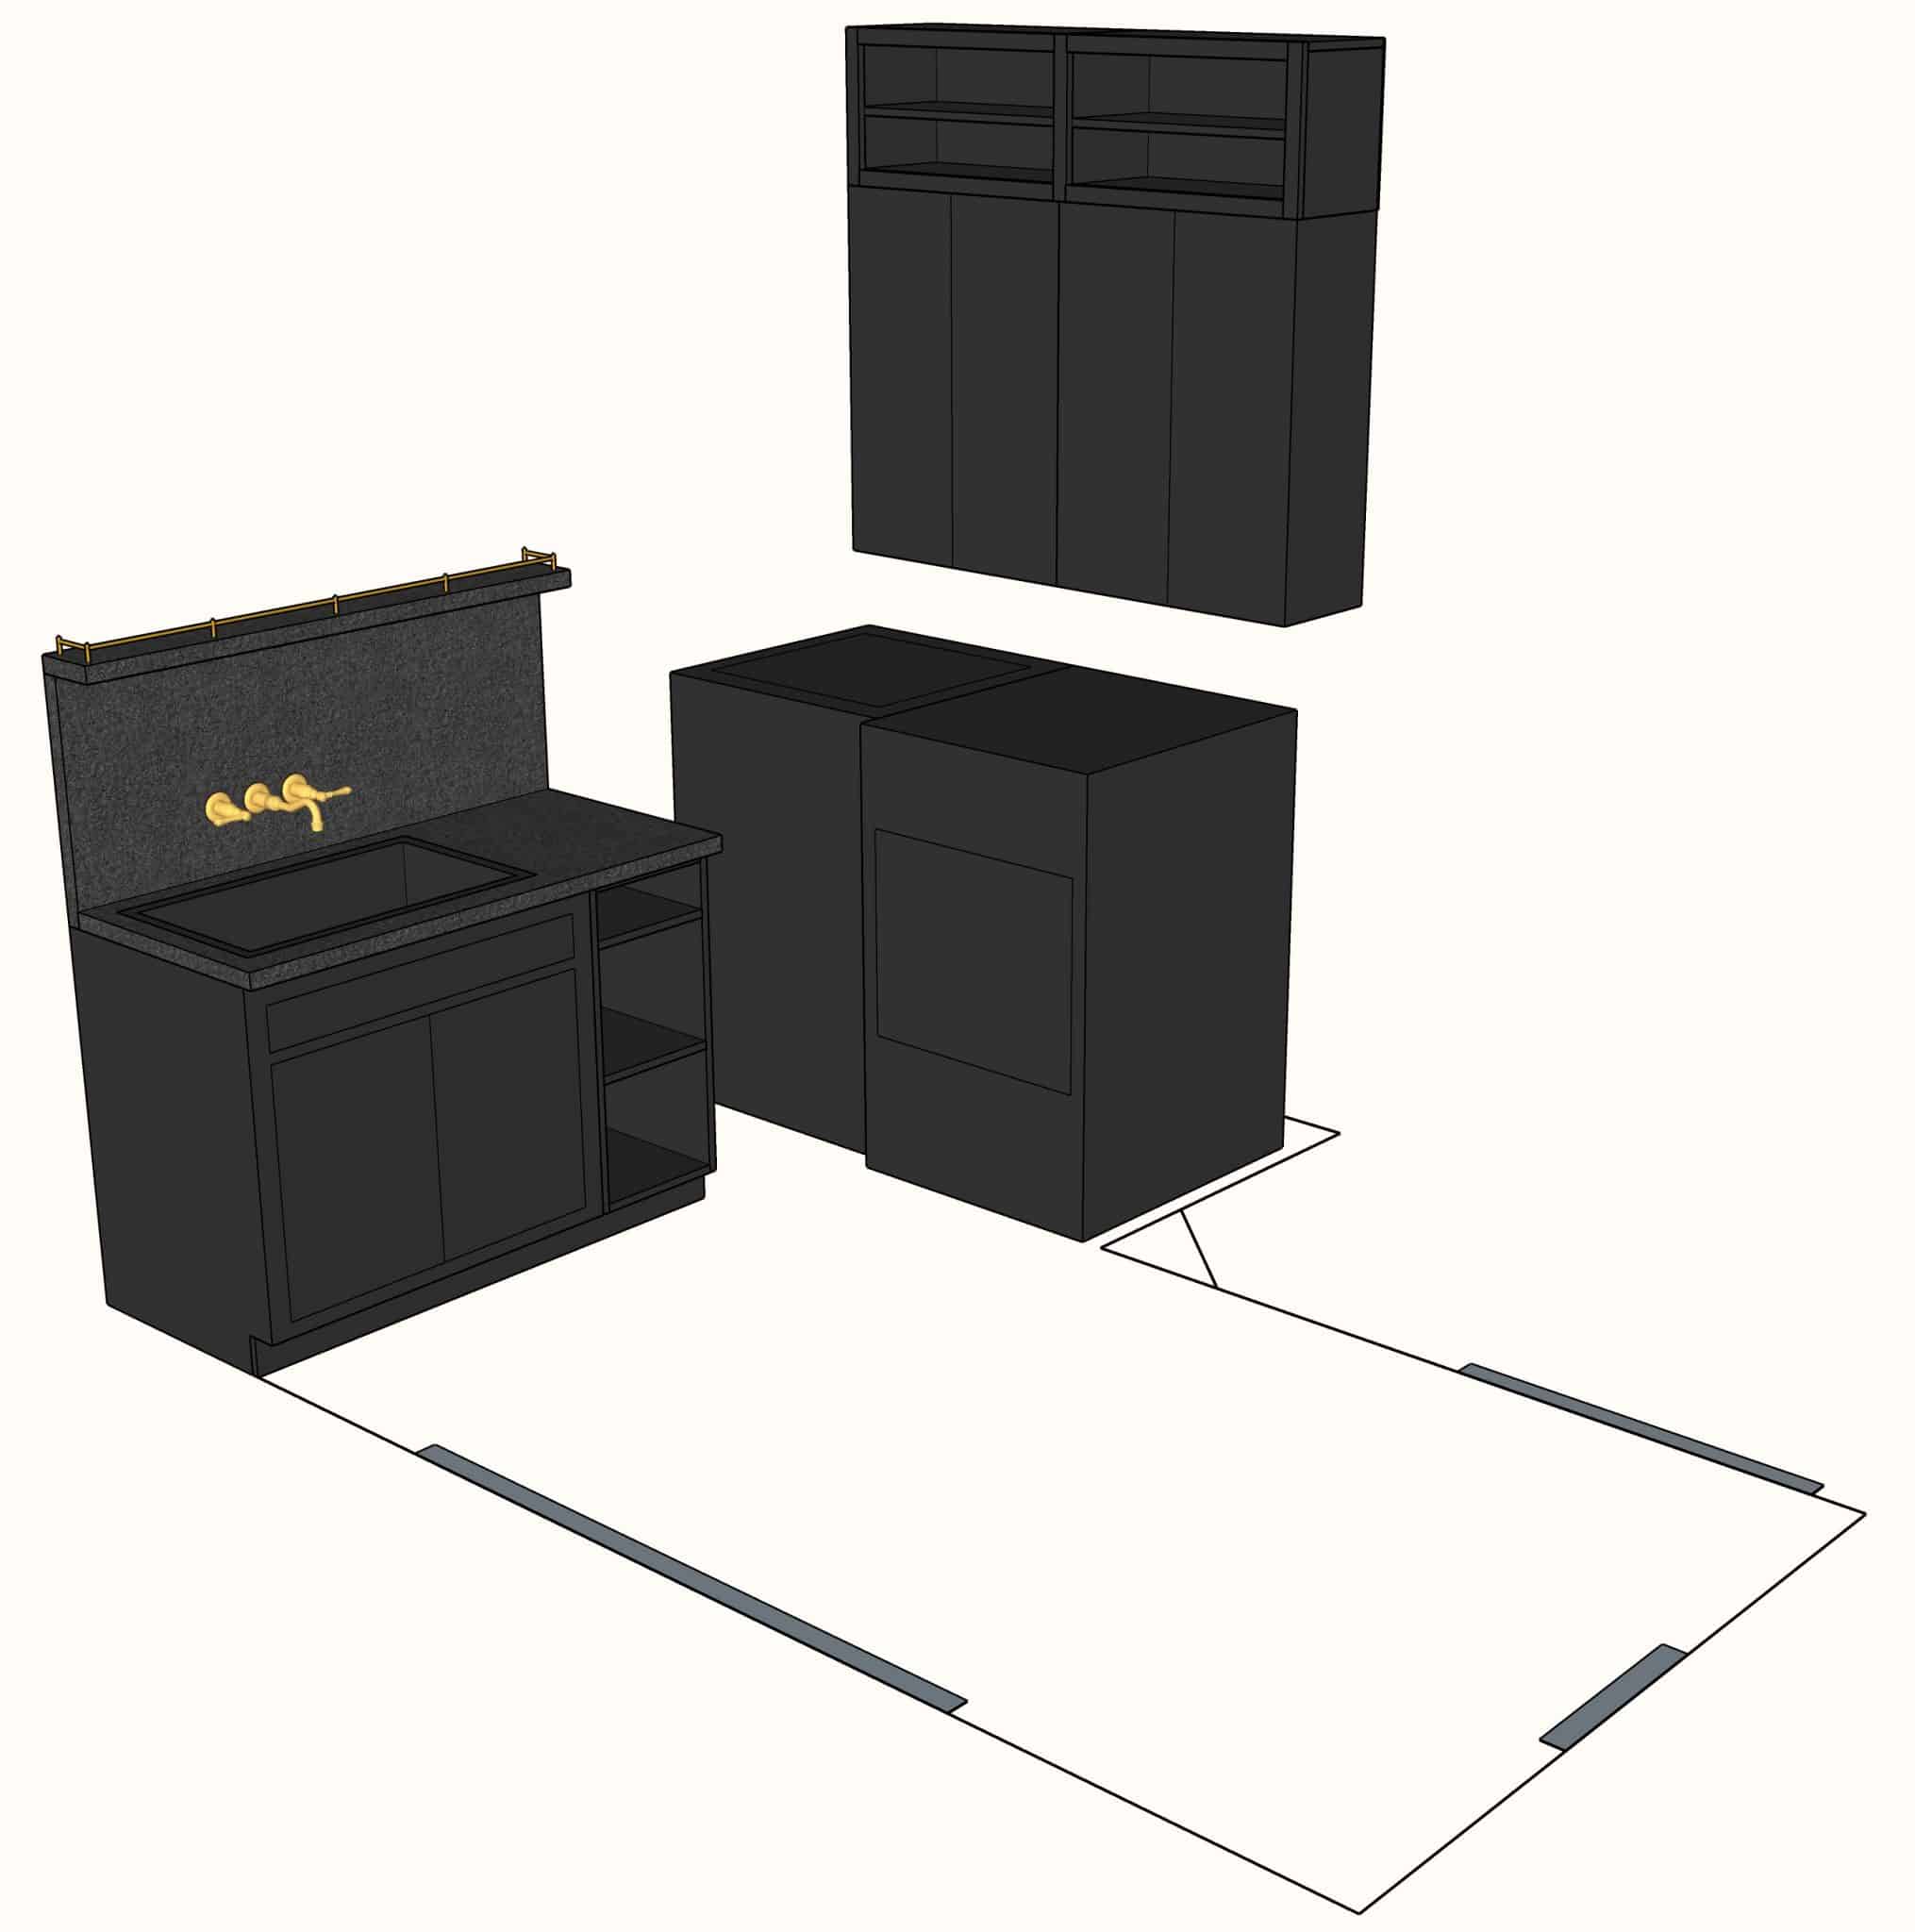
I LOVED this idea, so we called an audible, shifted the offense, and made the play. We brought in another special team – Bud’s Electric – to move the 220 outlet for the dryer and in just a few hours, the plumbing and electrical were rerouted.
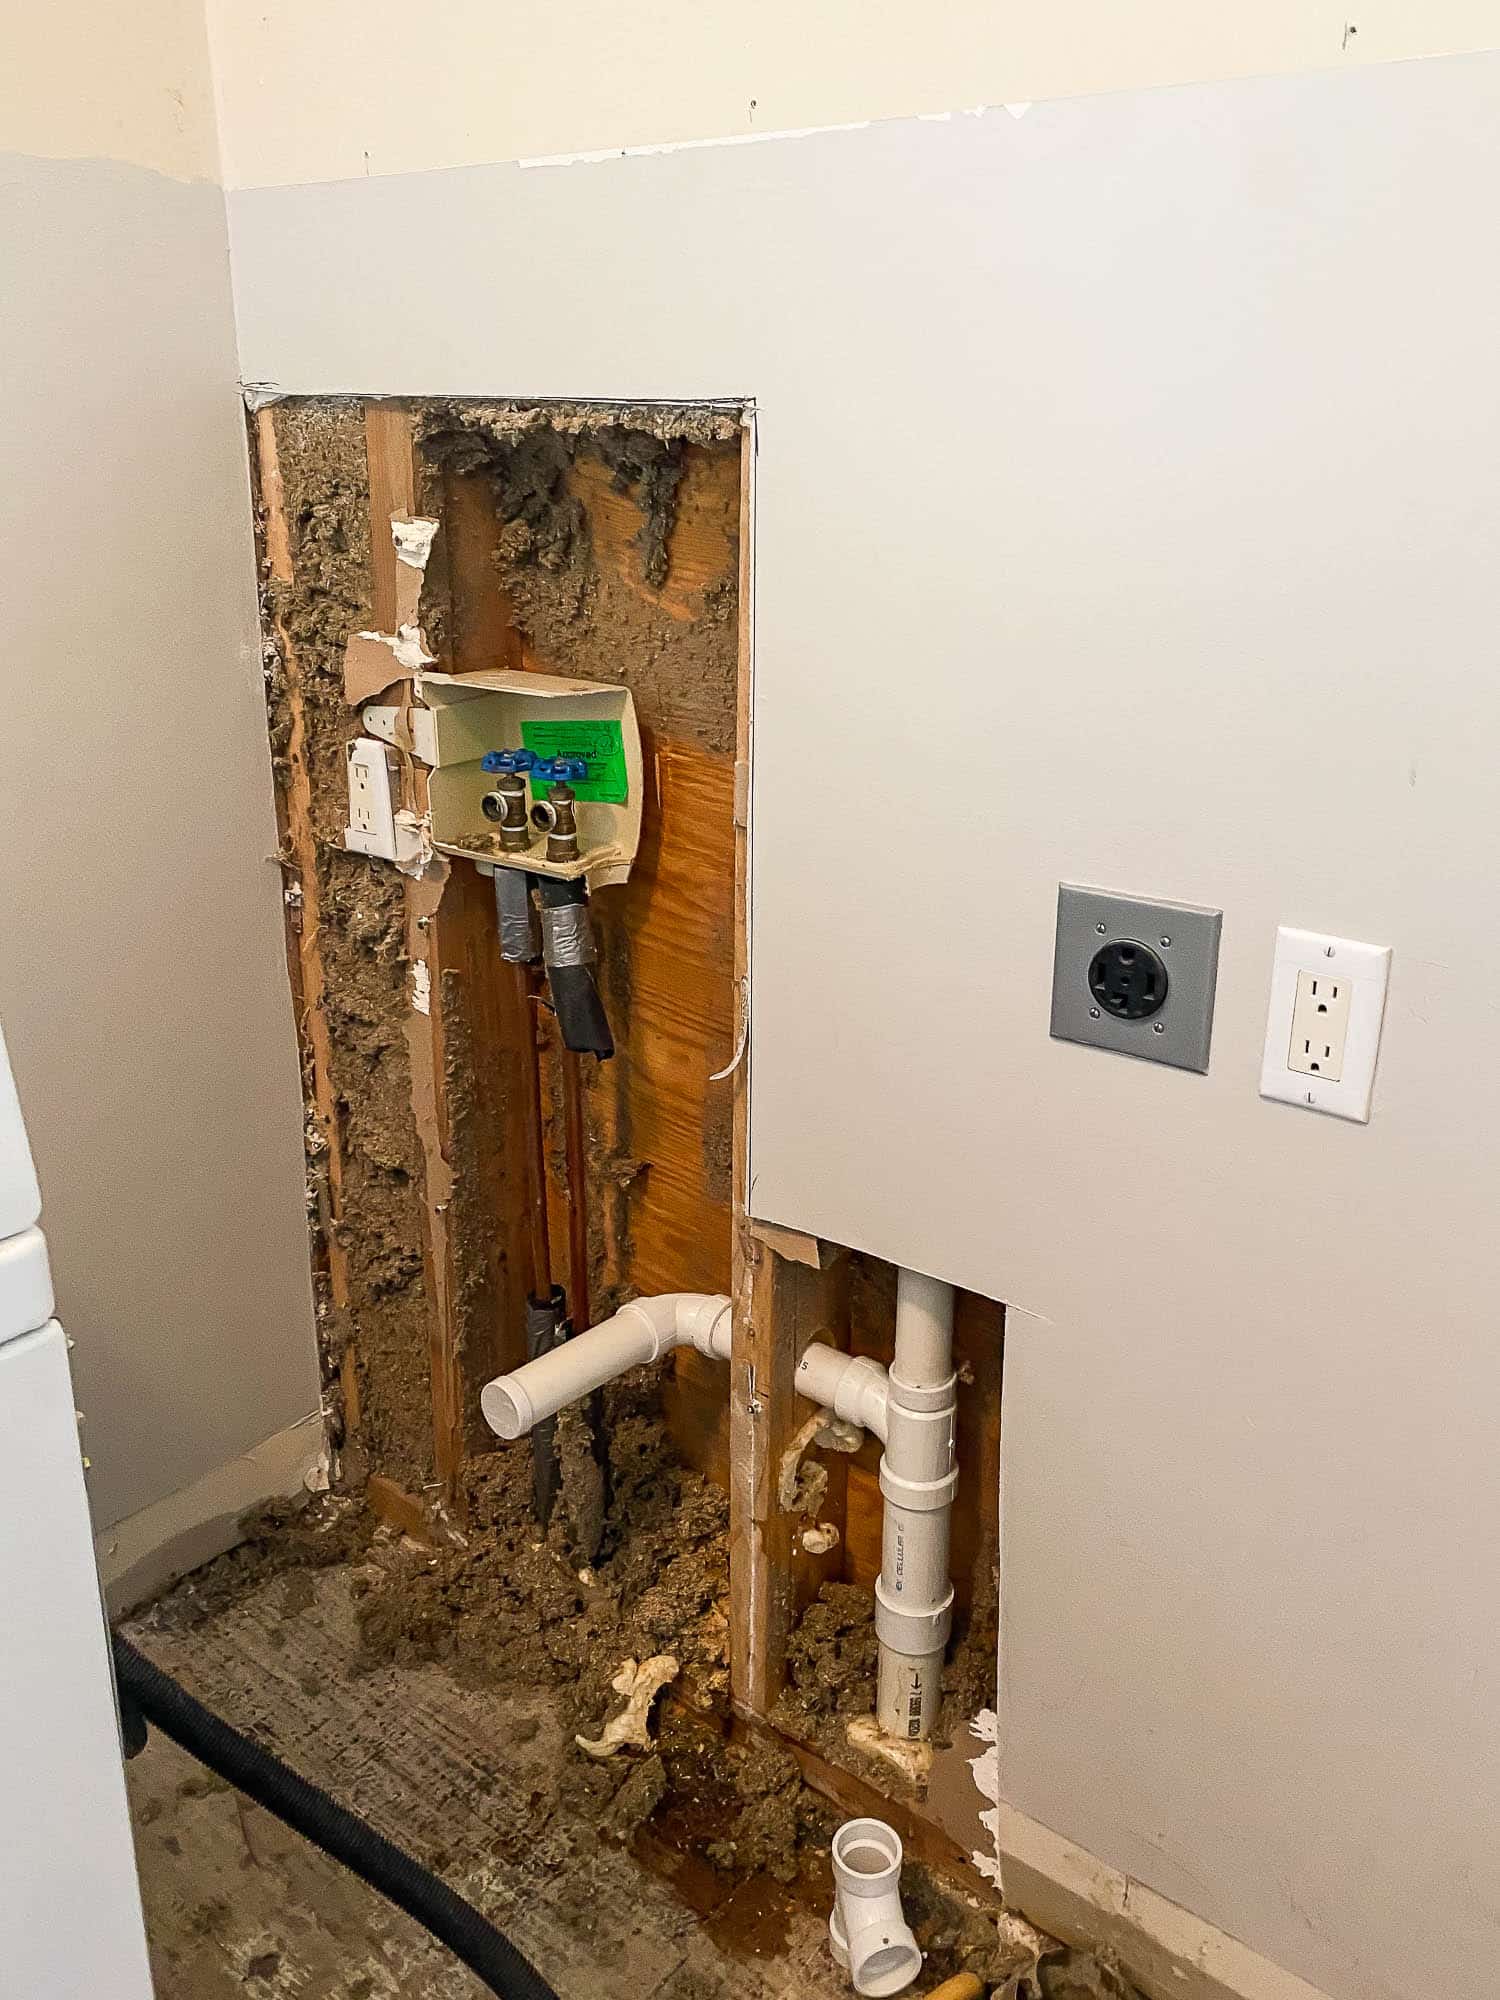
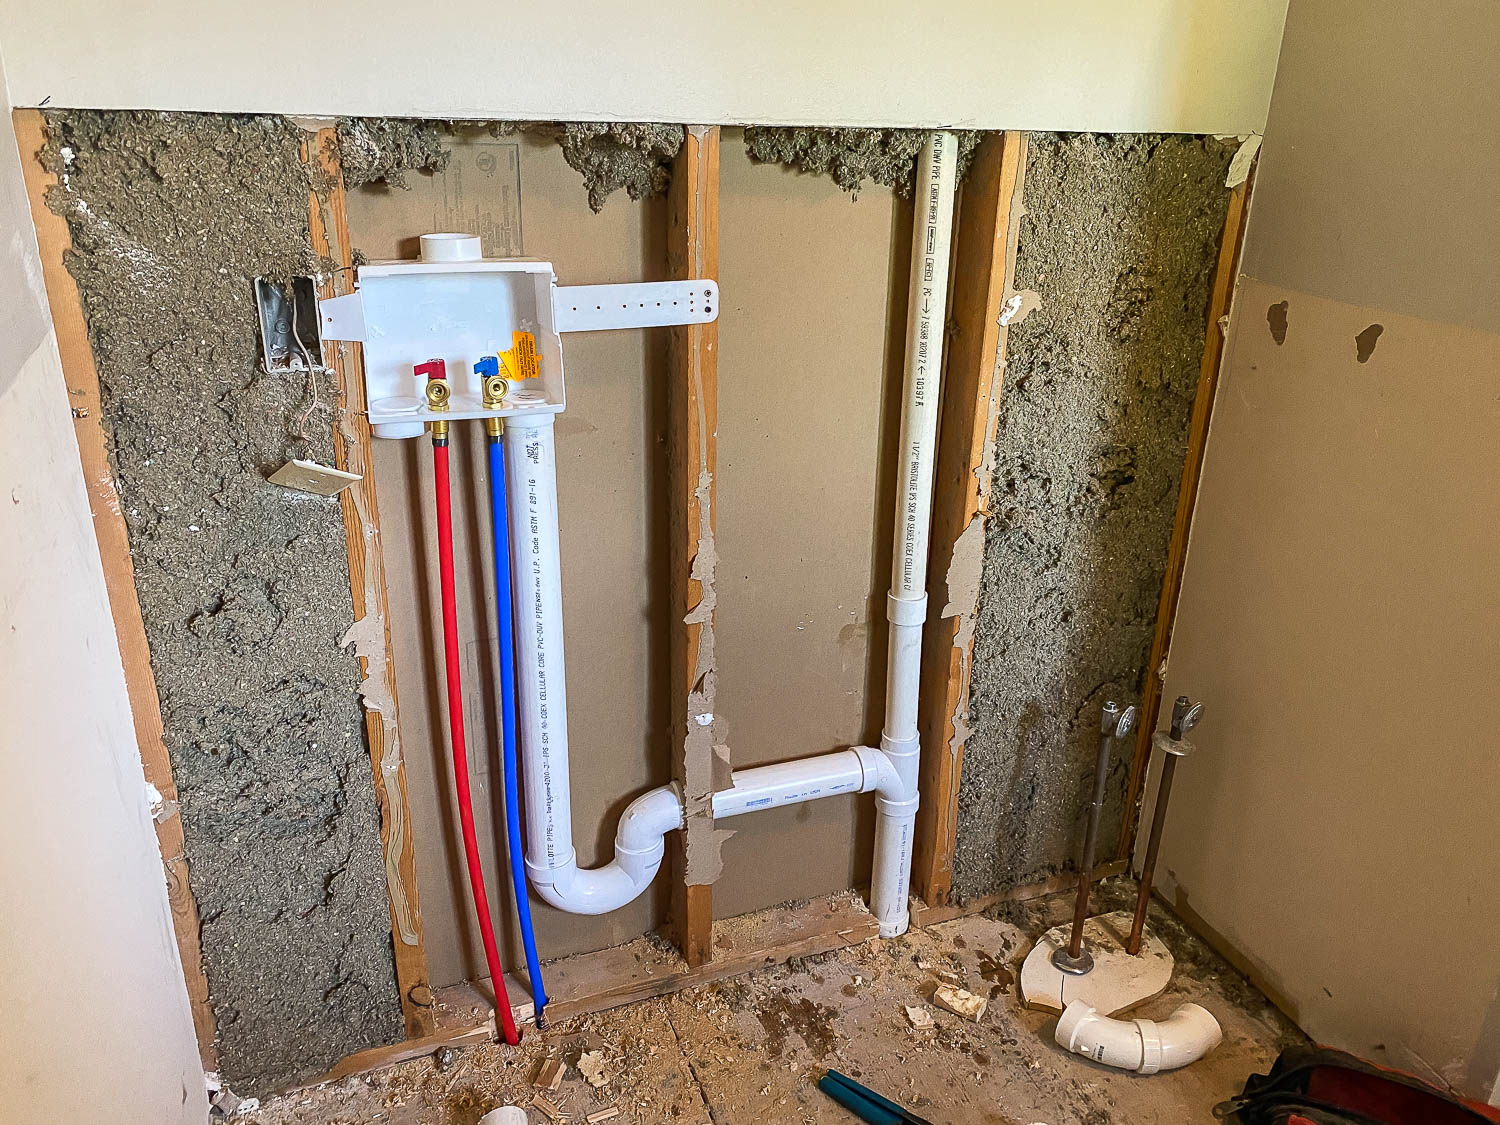
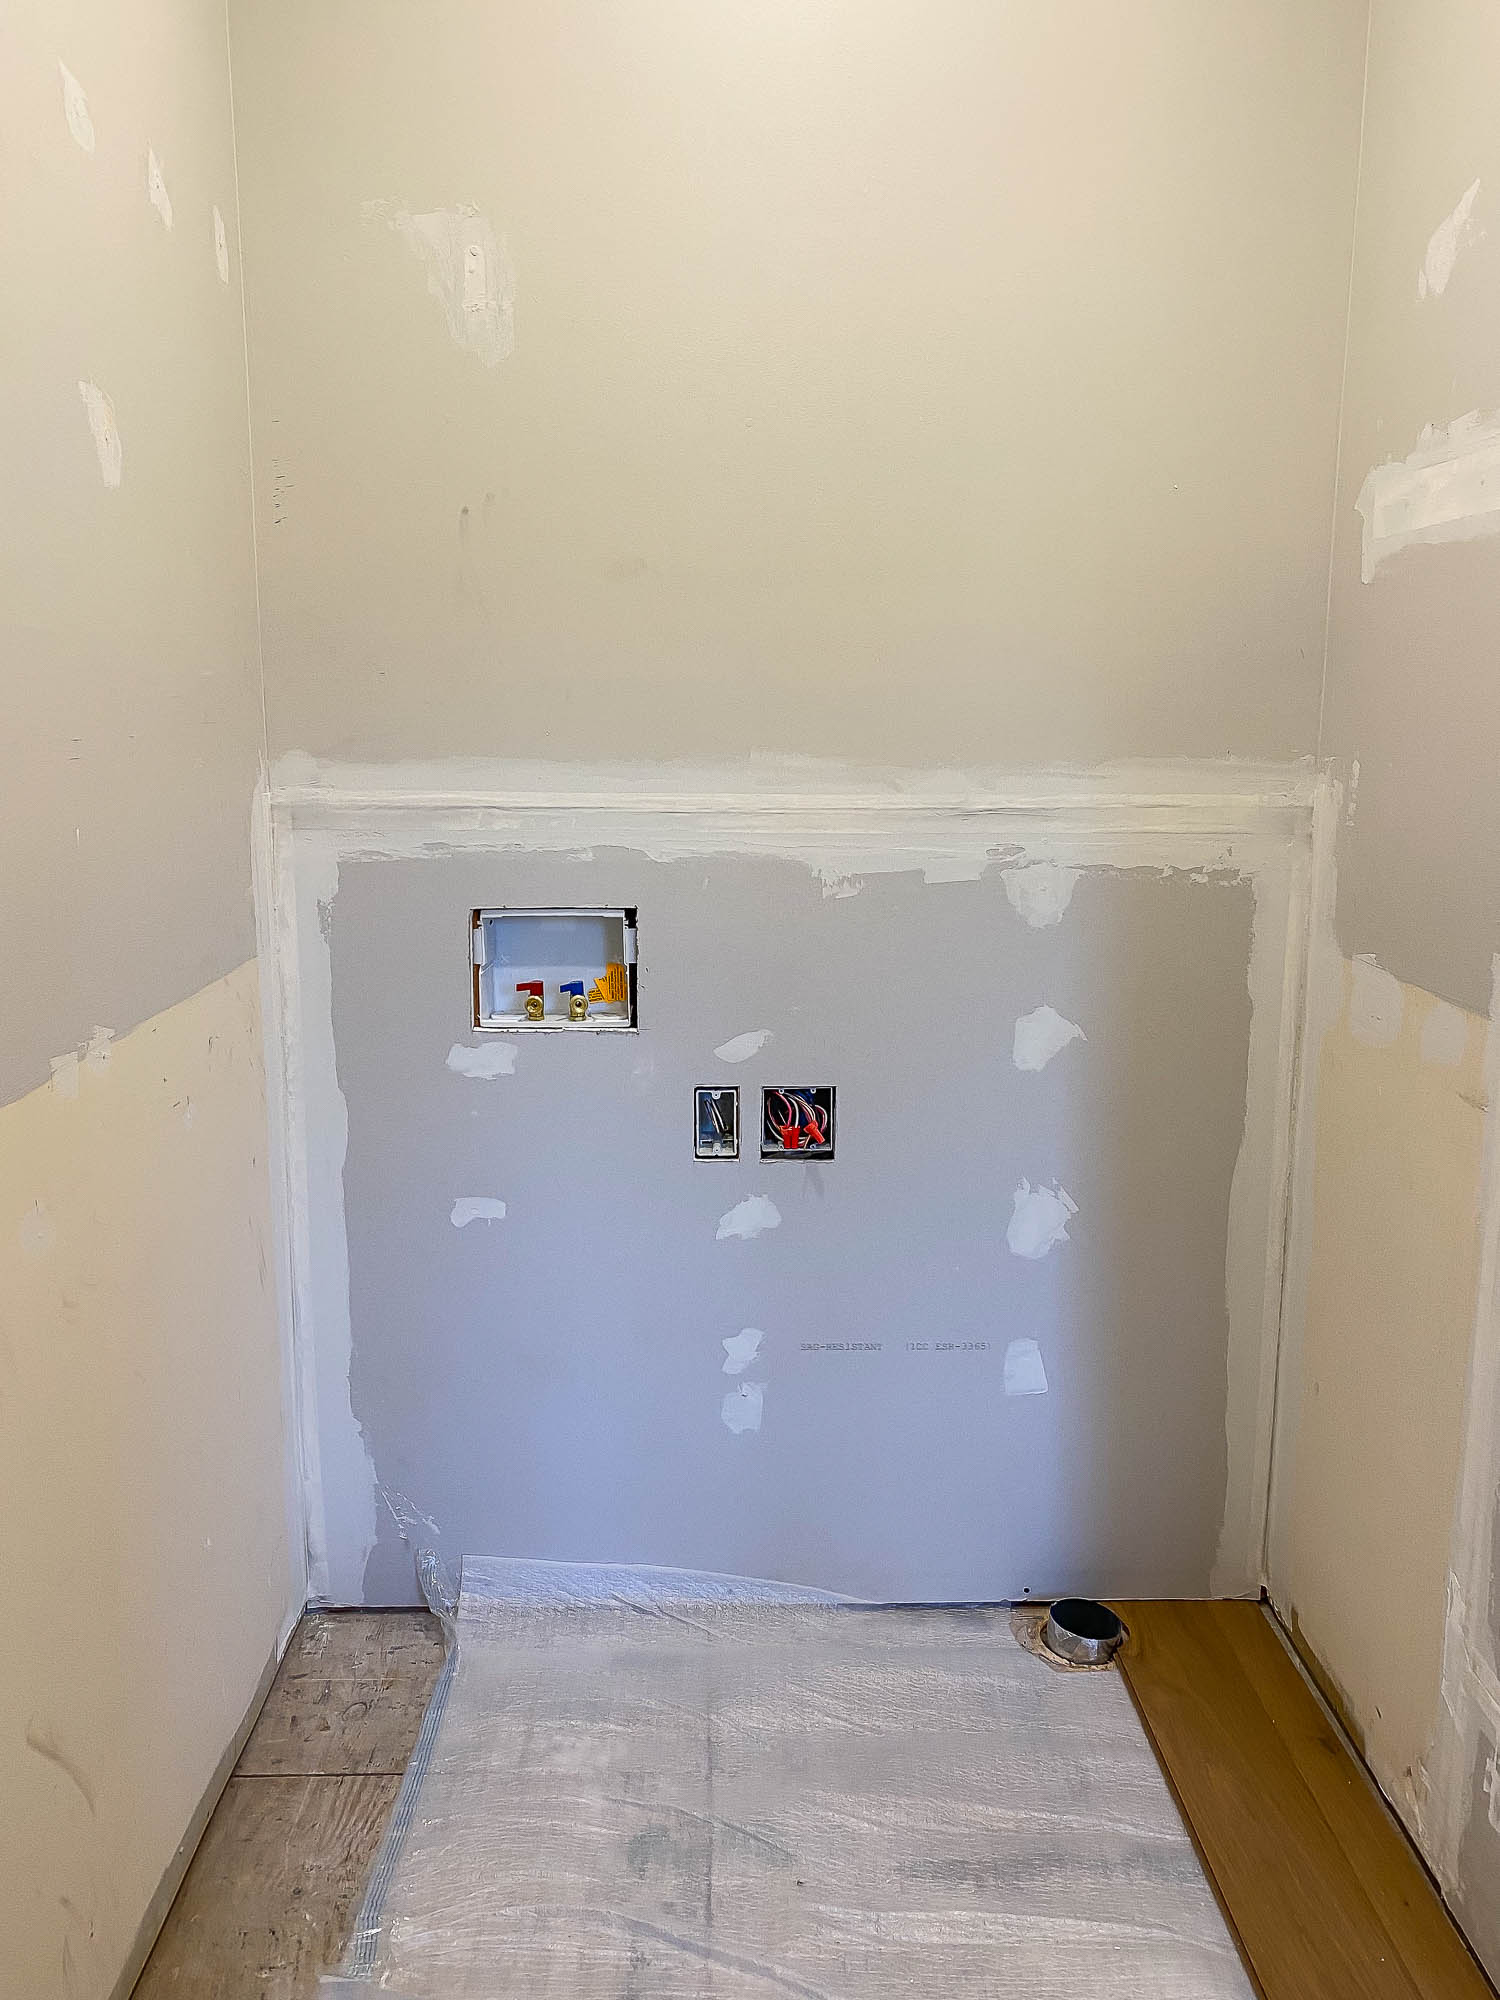
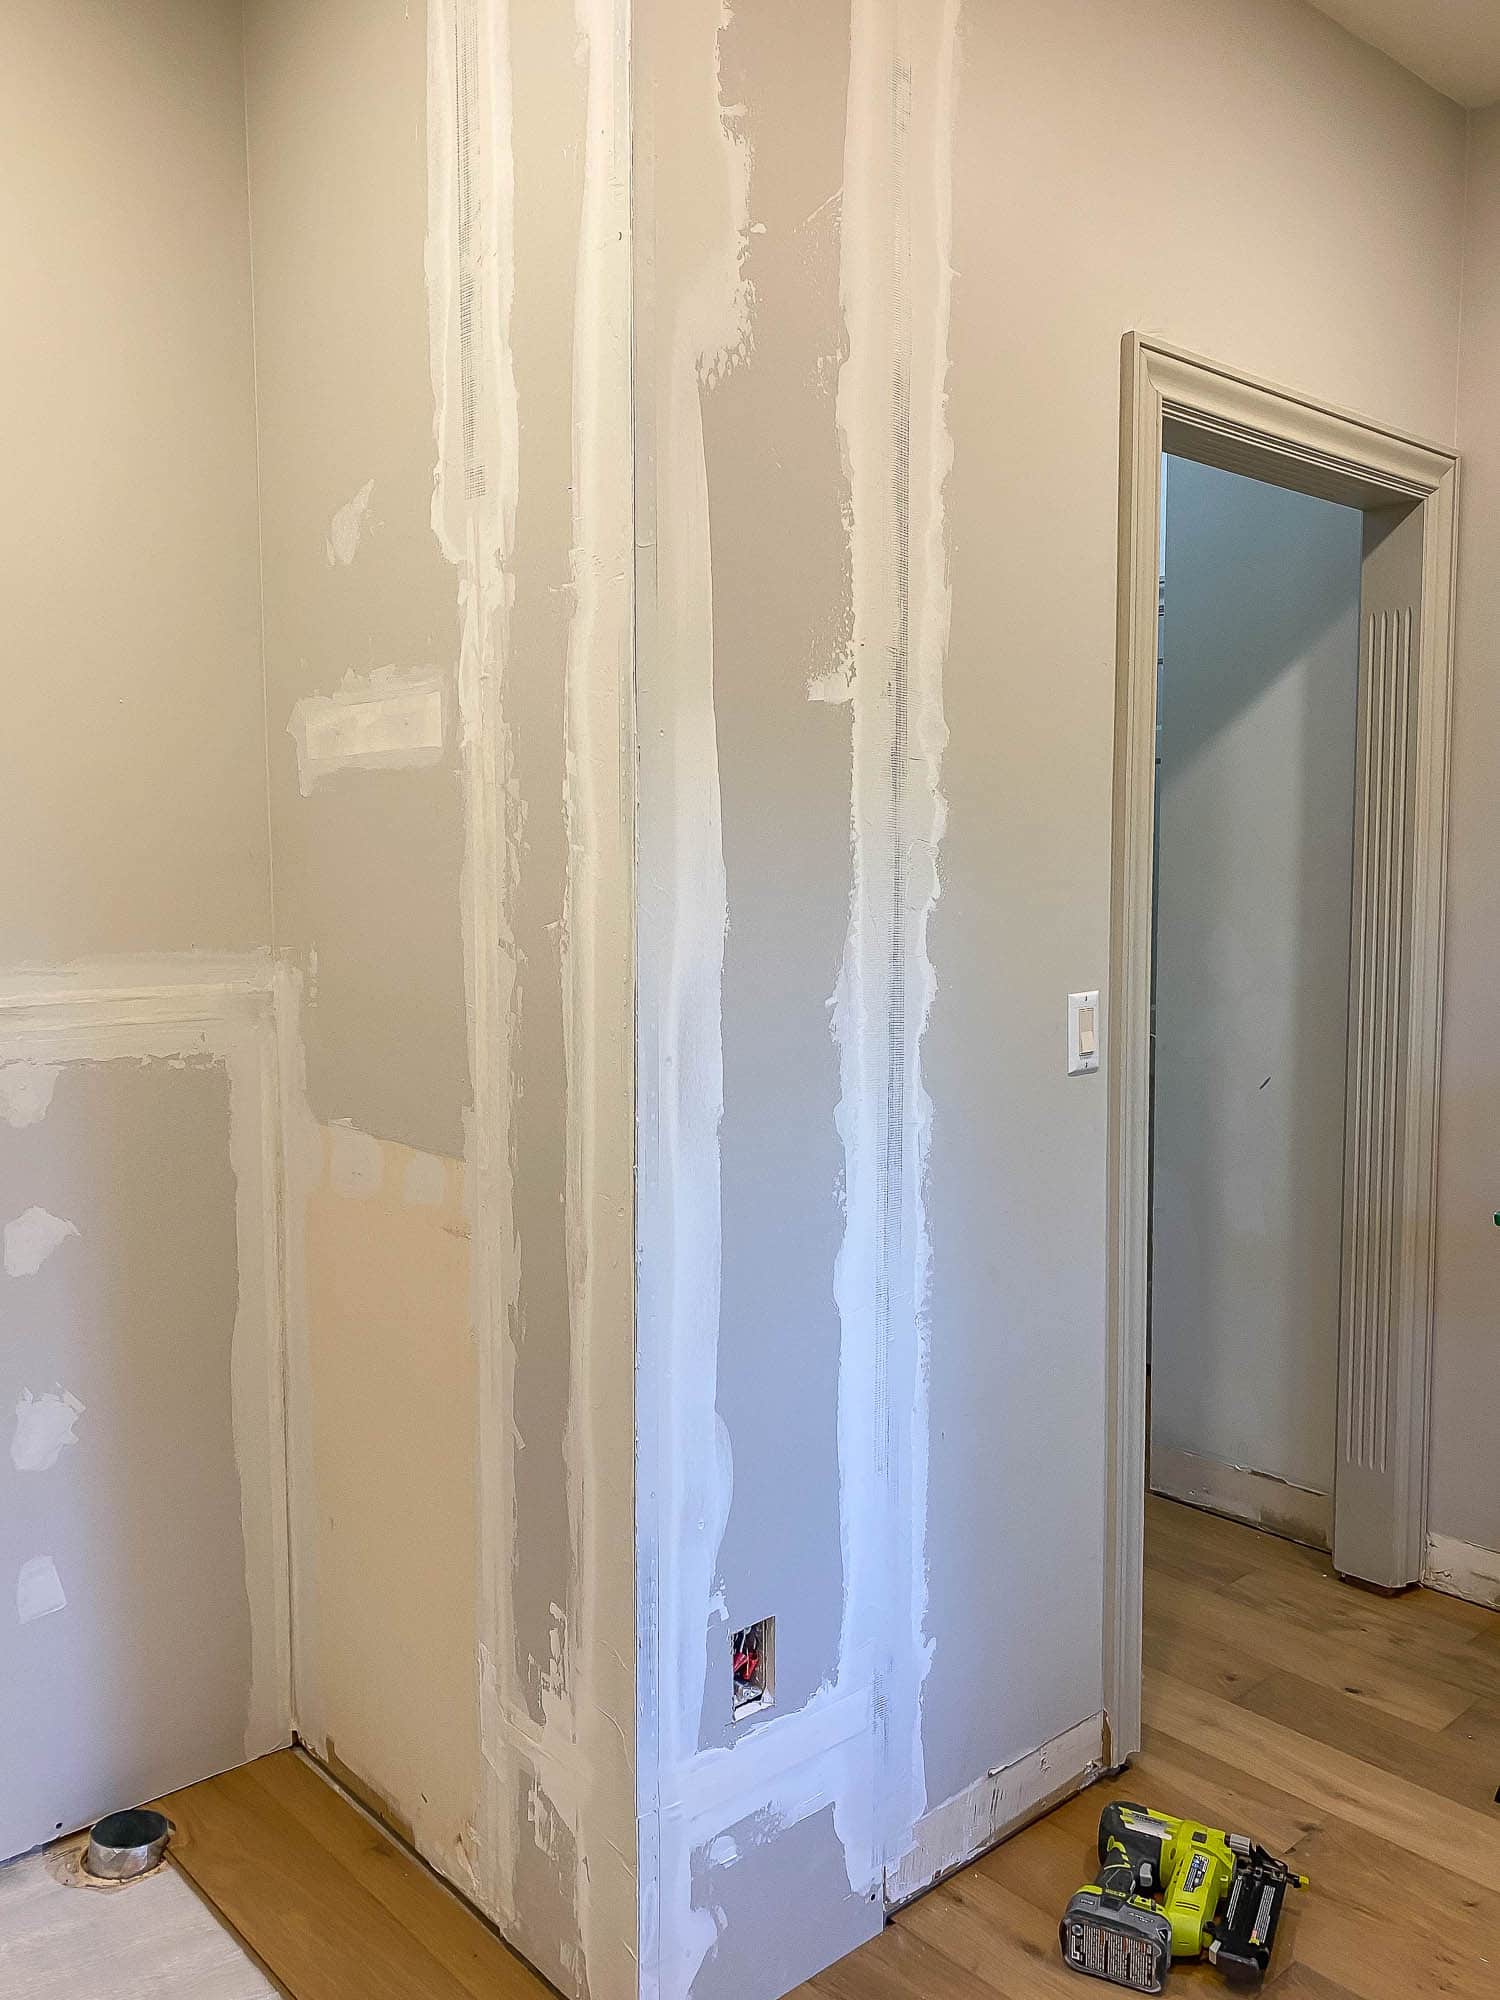
Now that plumbing and electrical are finished, we can start putting this laundry room back together! We repaired and replaced the drywall, primed and painted the unfinished cabinets, then installed the base cabinet onto the subfloor. Because we’re installing a floating floor, it’s best to install lower cabinets directly onto a subfloor, since it’s the most solid substrate. After the base cabinet was secured, we laid the same engineered hardwood flooring that’s on the rest of the main floor.
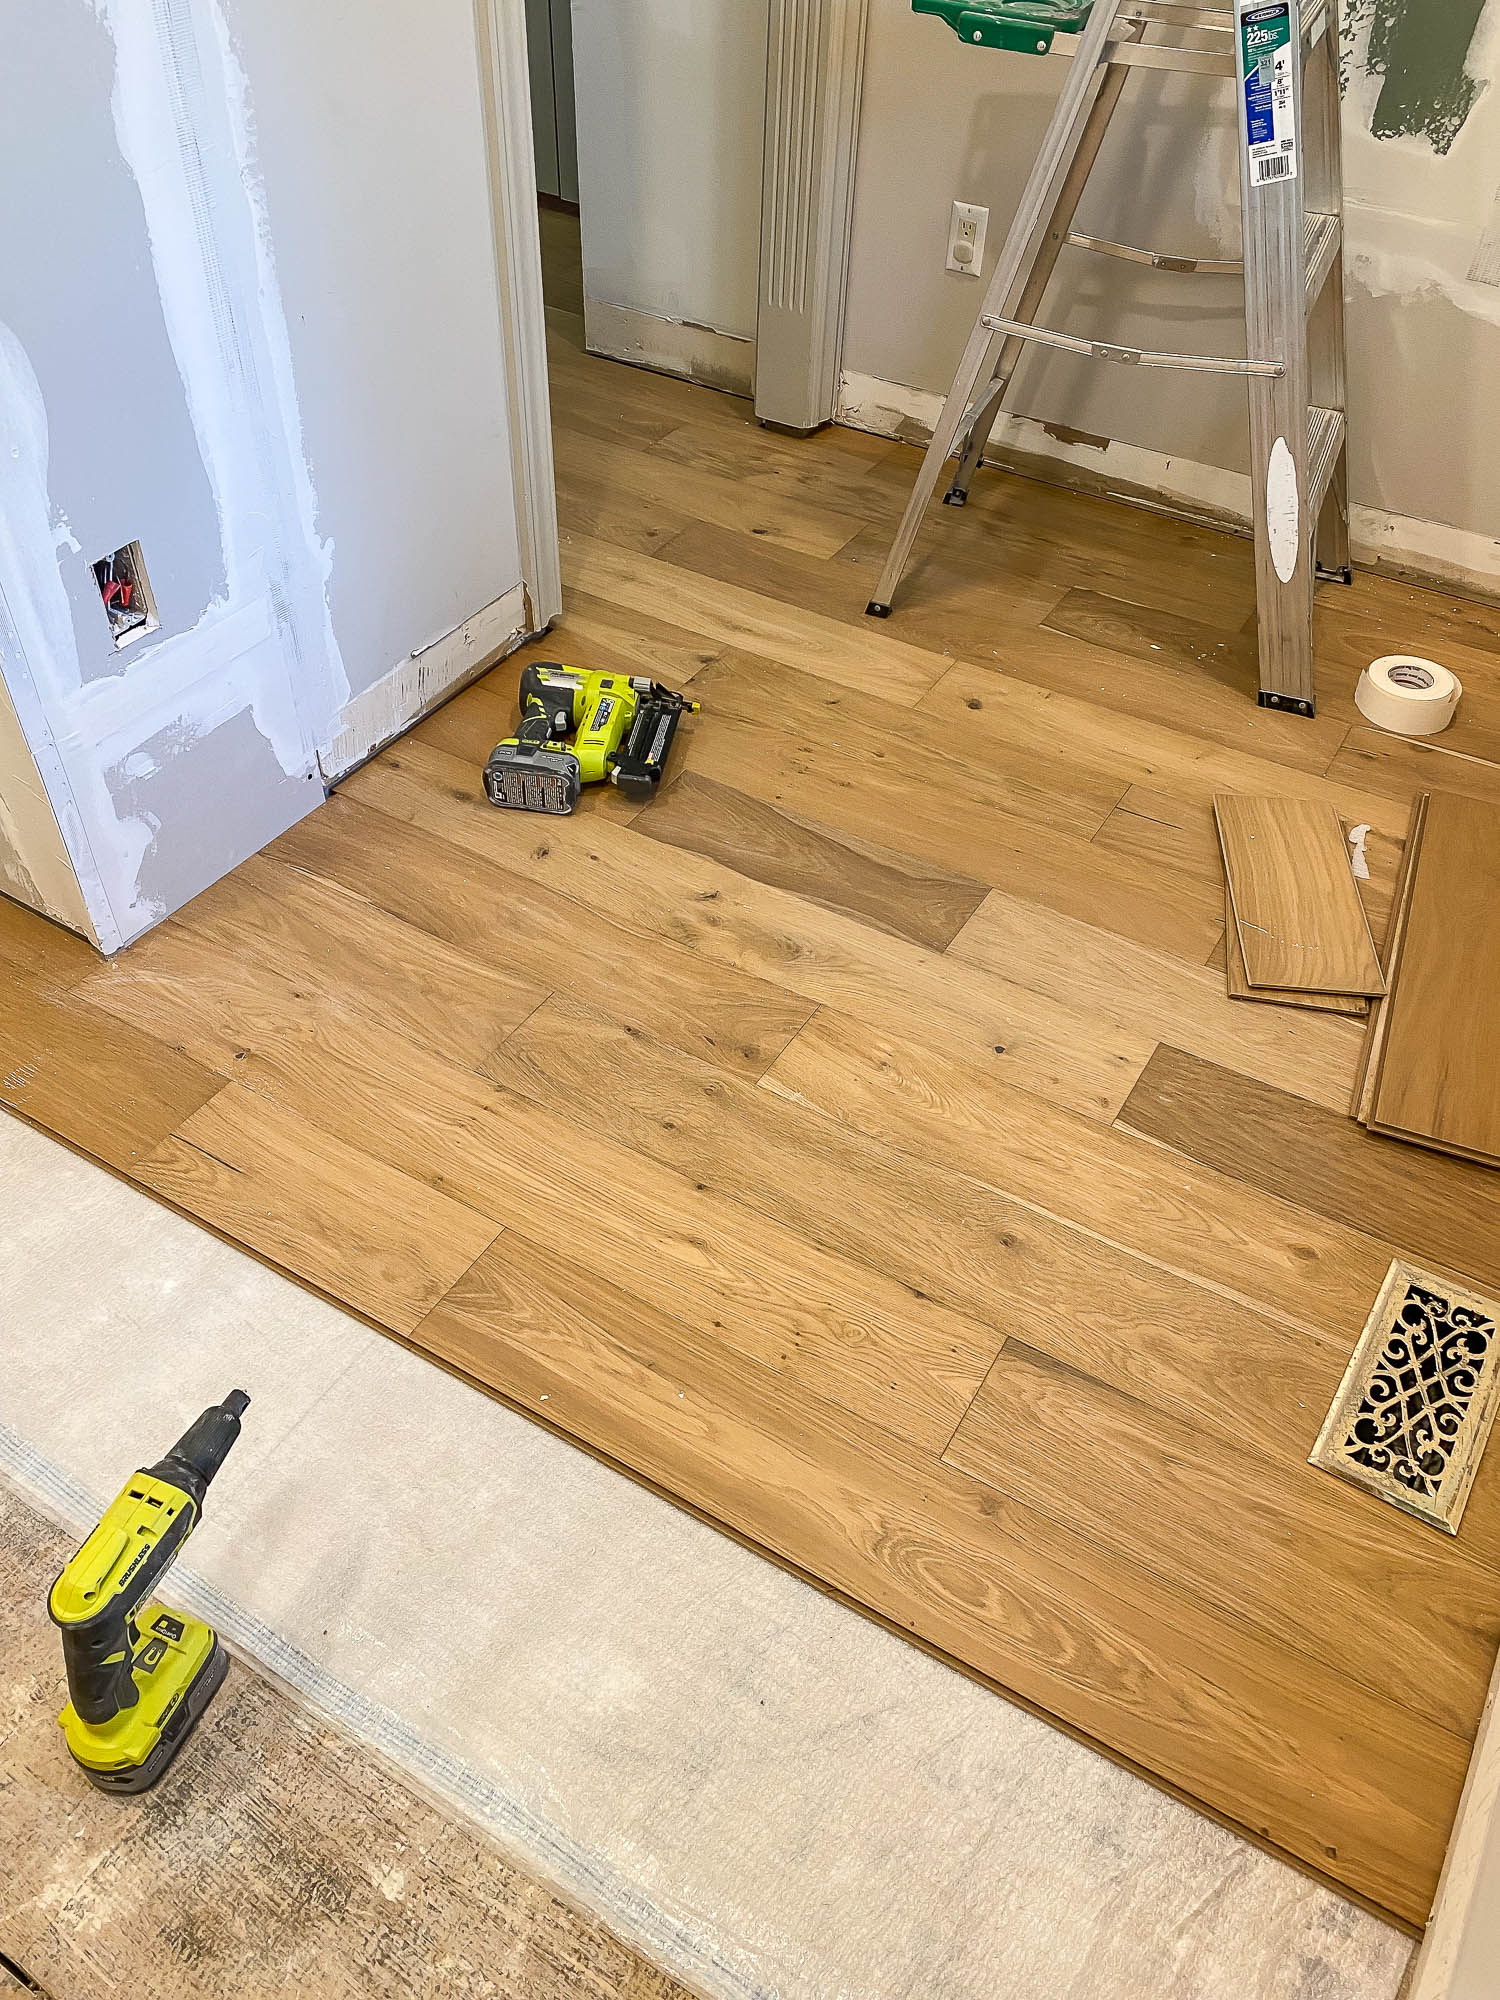
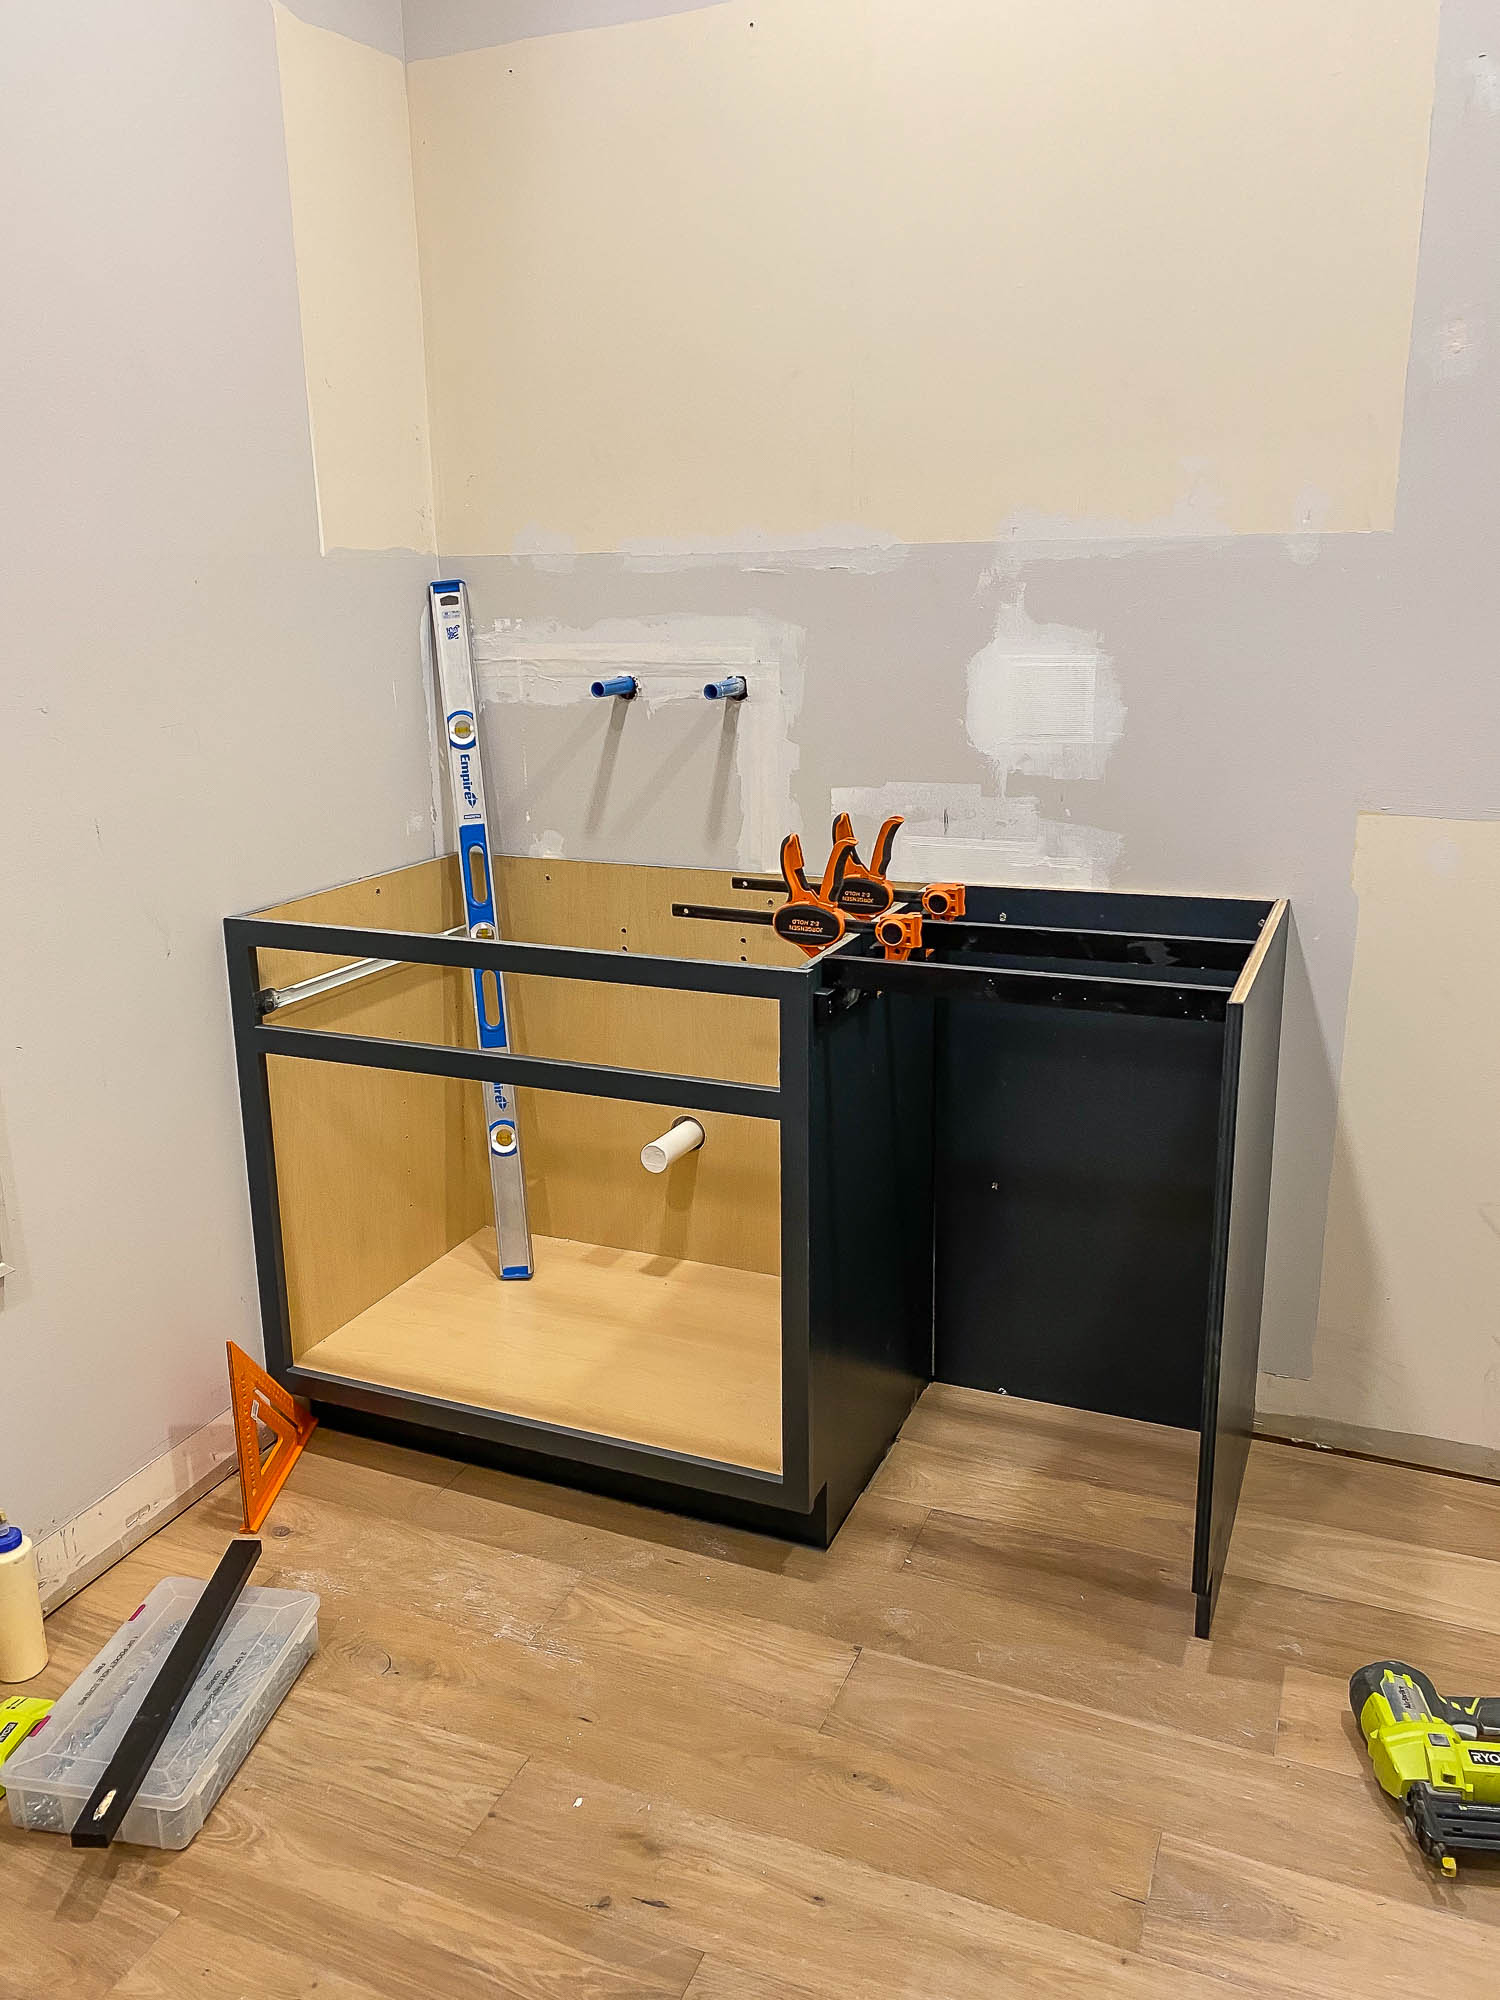
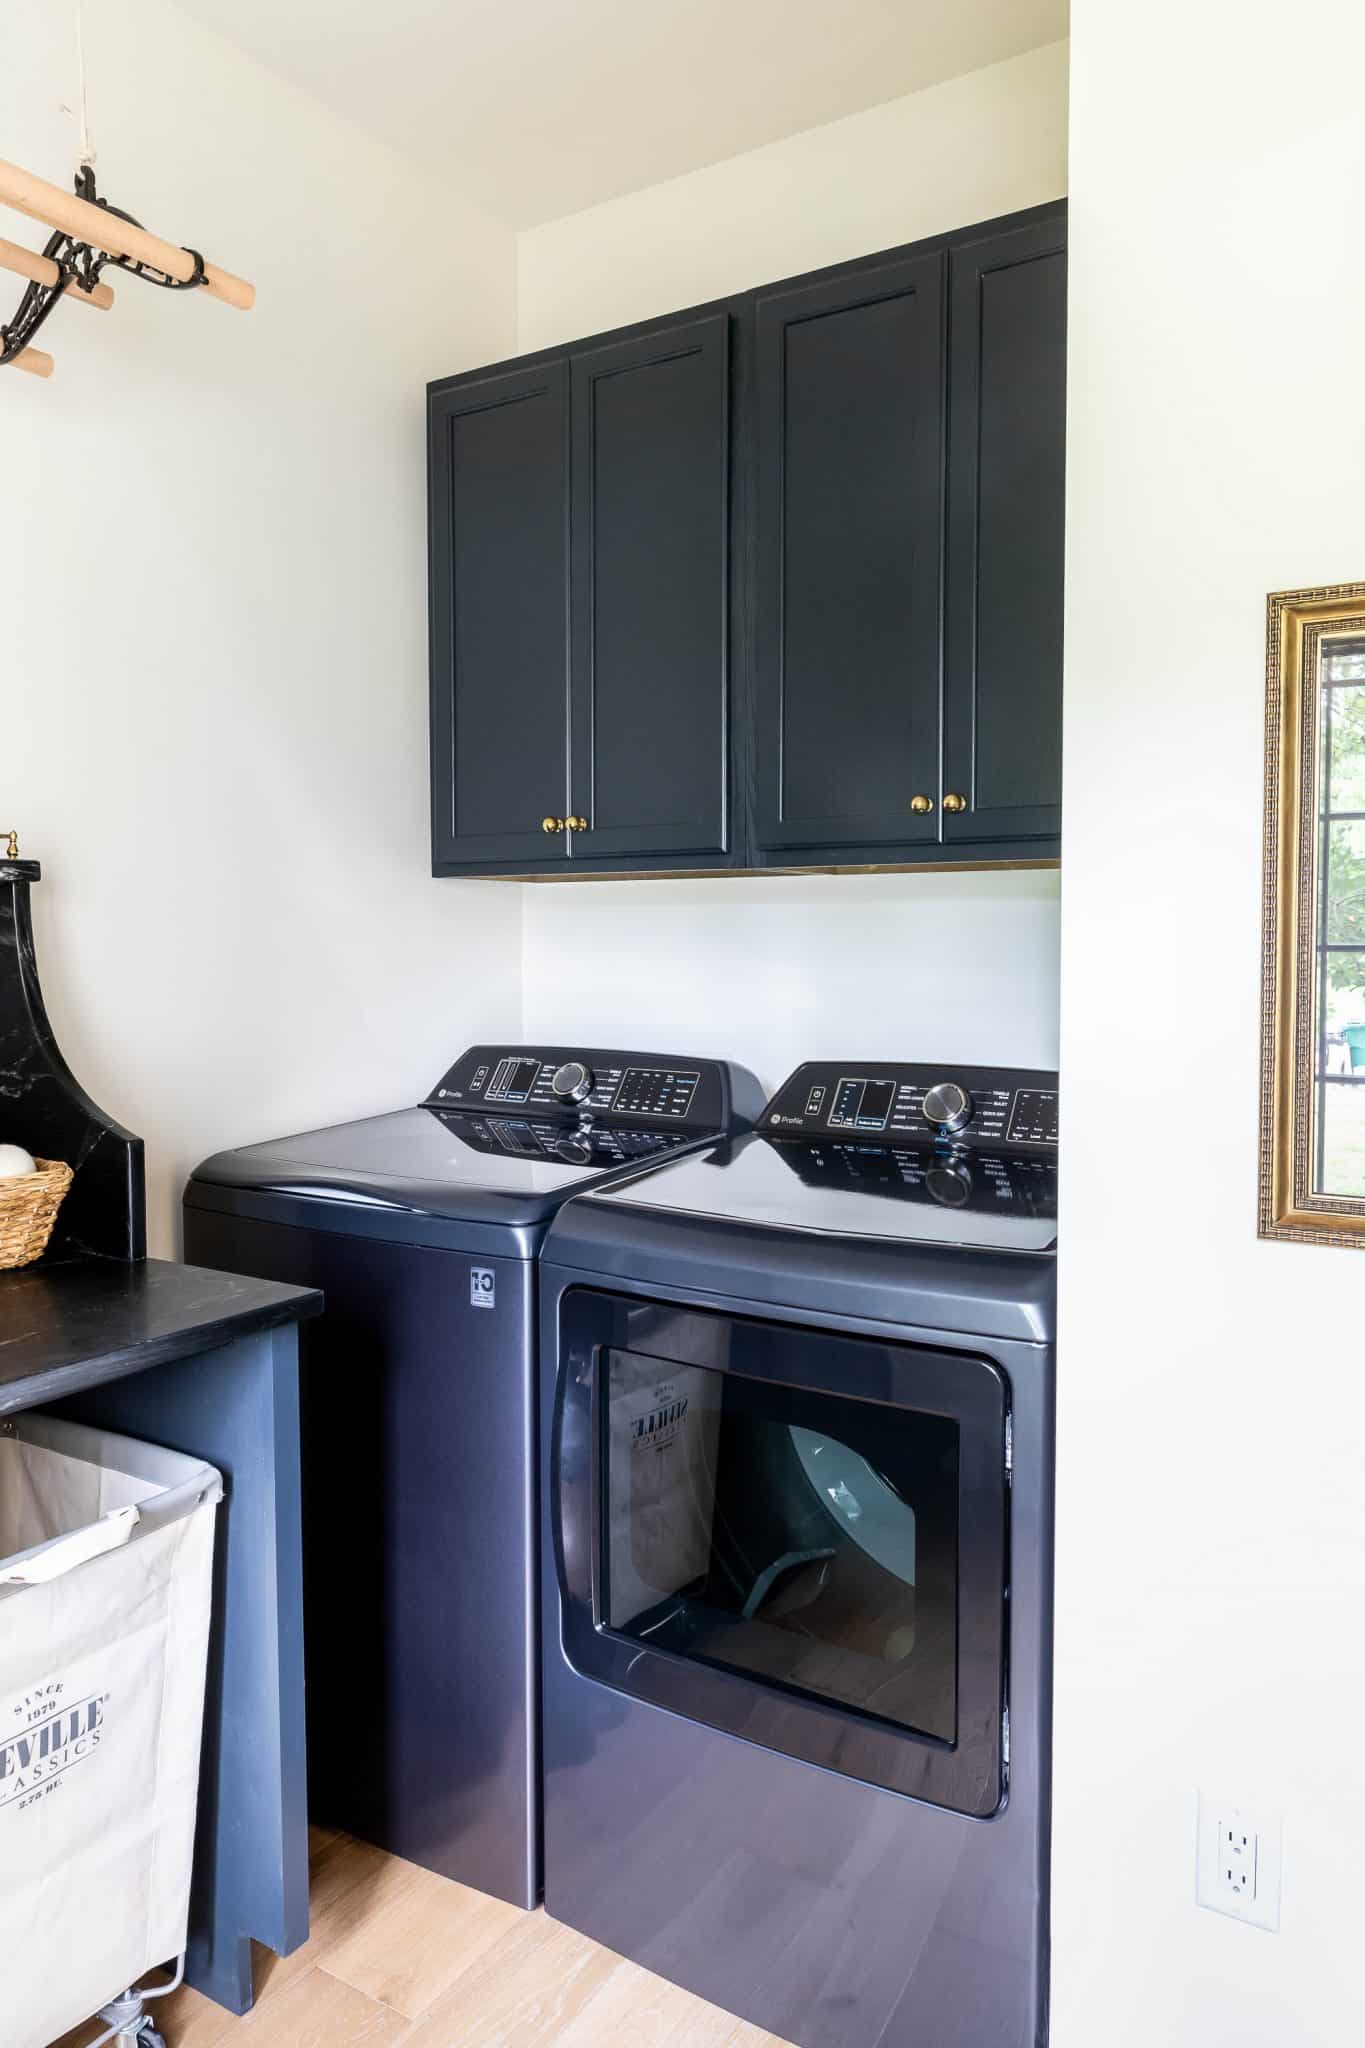
I didn’t want the dryer to stick out past the angled wall, so we squared off the wall with new framing and drywall. Now, the washer and dryer will tuck neatly into this little alcove as if it were meant to be! And if any future homeowners happen to have front-loading machines, it would be fairly simple to remove one of the wall cabinets and stack the units instead.
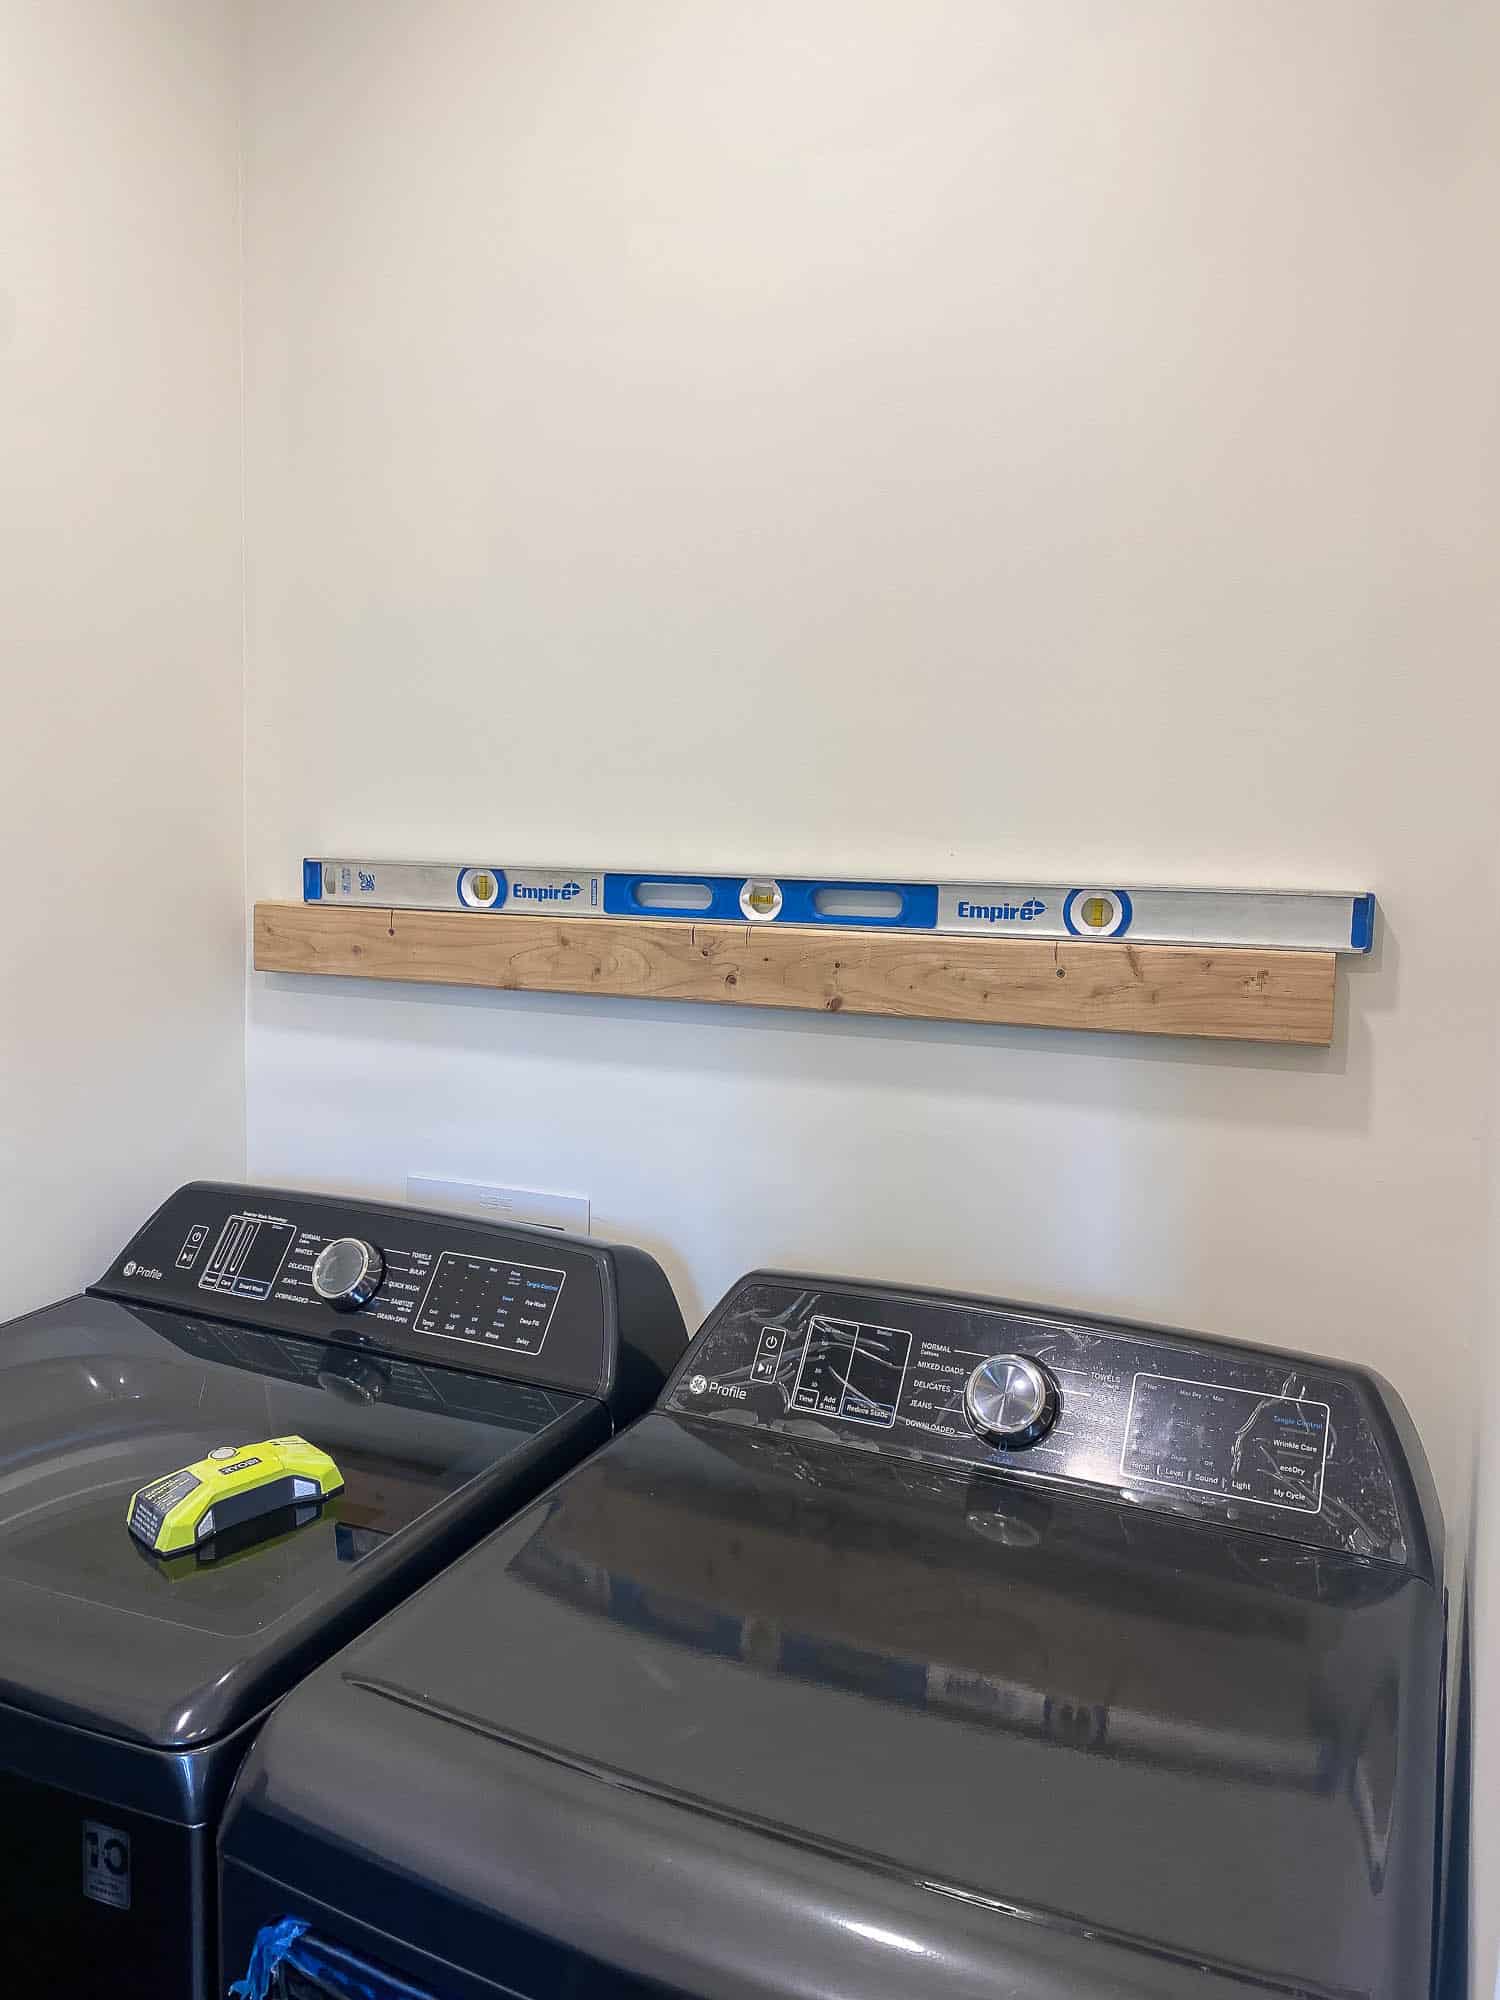
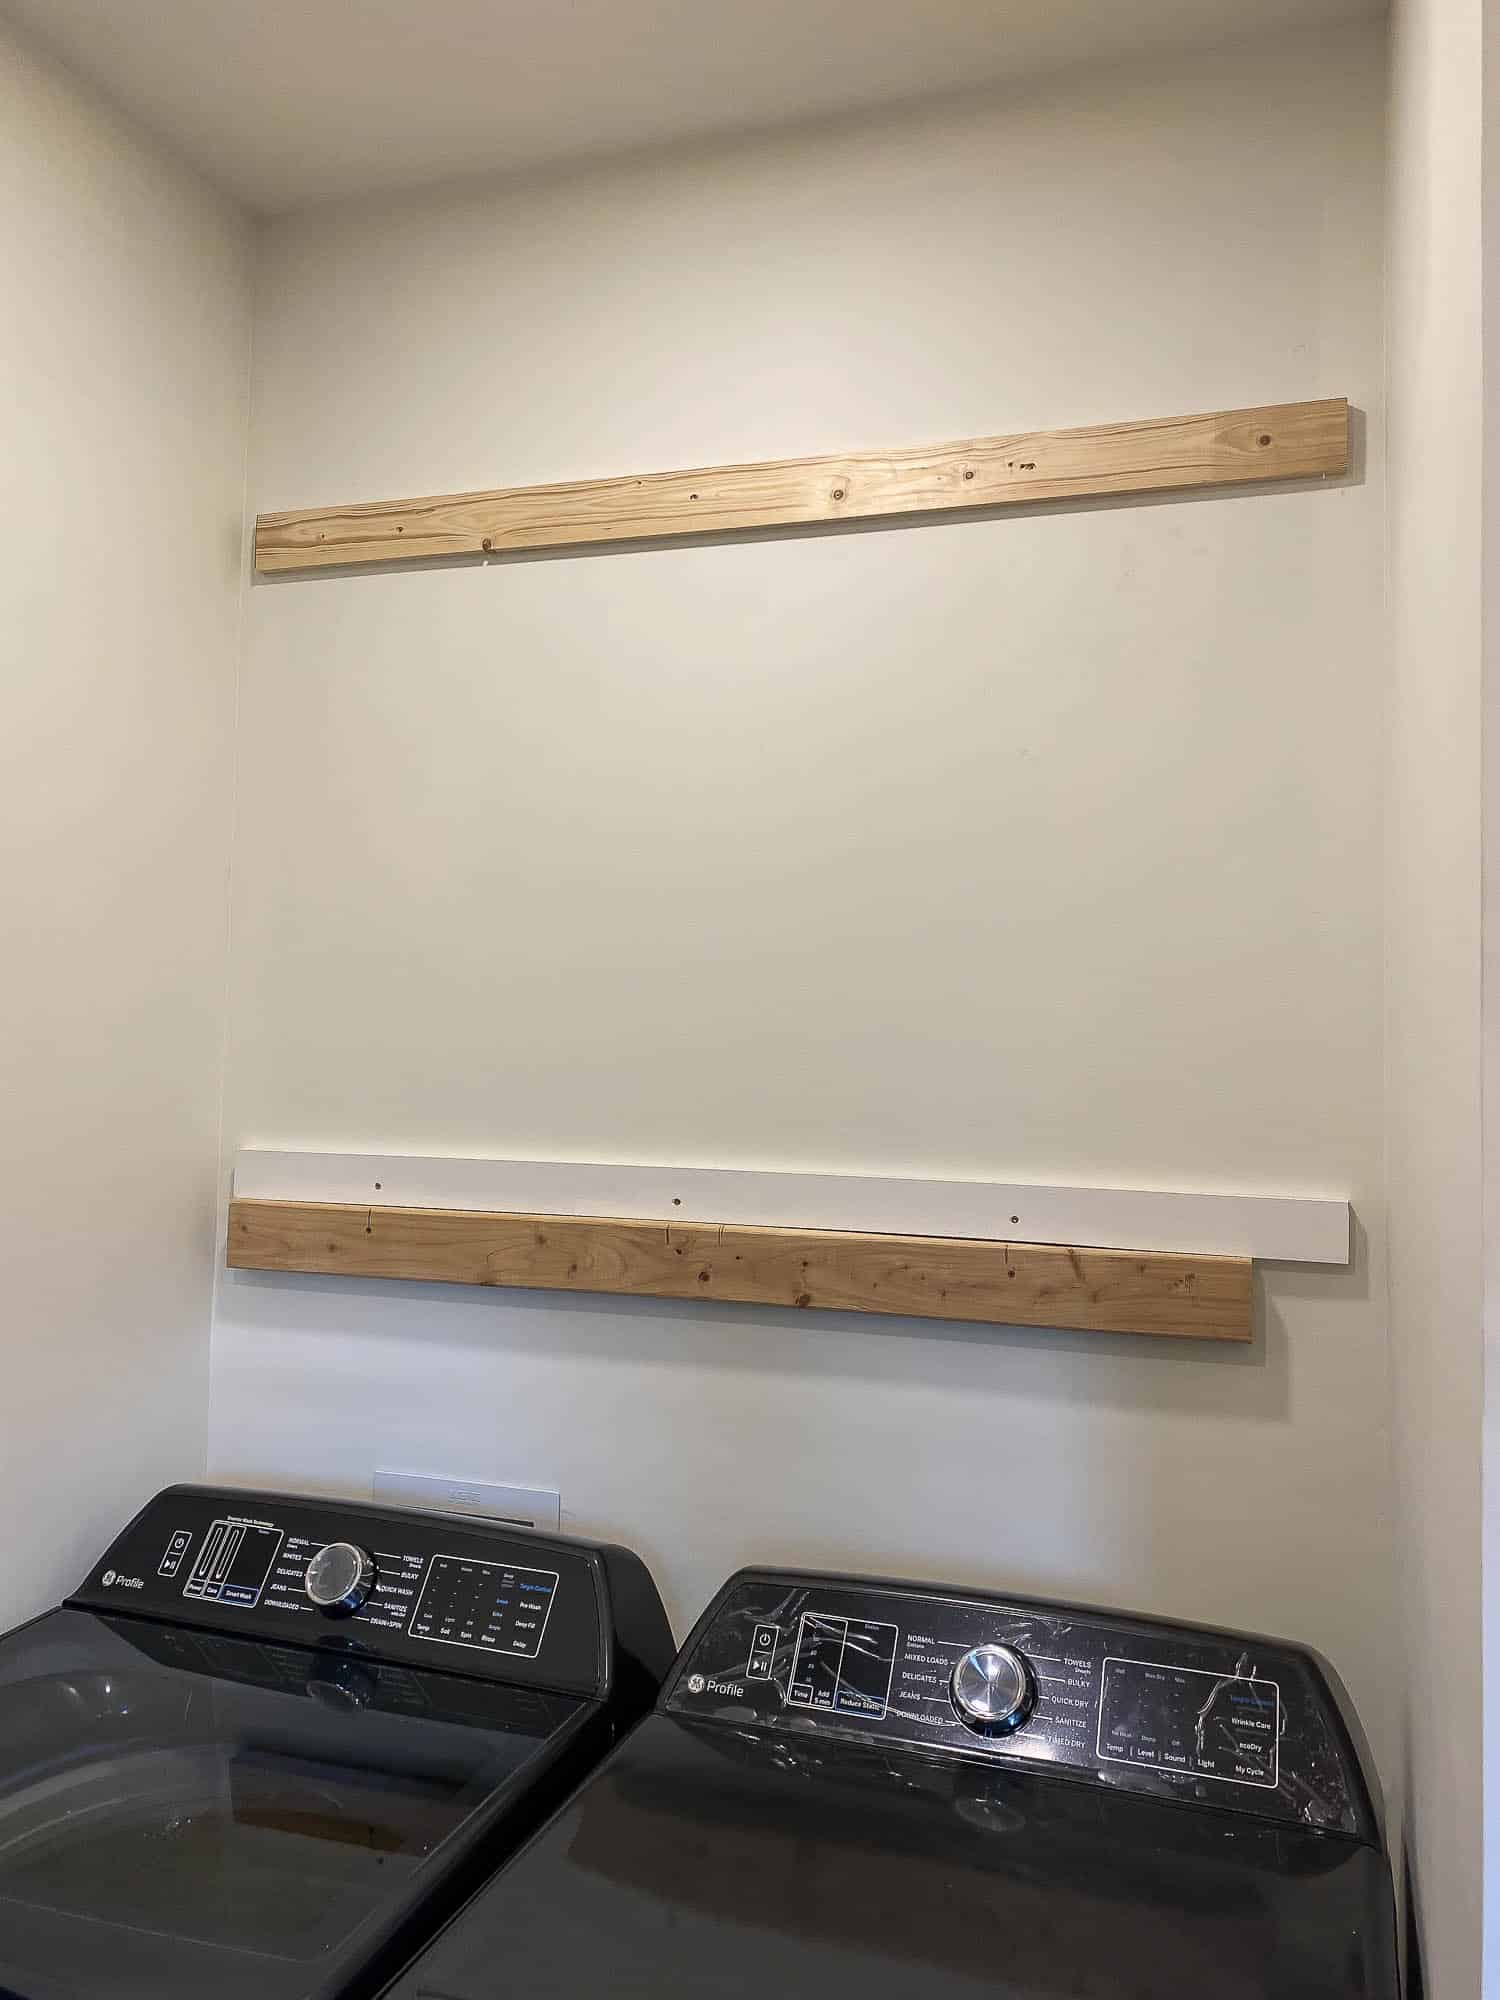
To hang the upper cabinets, we first screwed a scrap 2×4 to the studs in the wall to act as a ledger board. A ledger board helps carry the weight of the cabinets as we’re hanging them and is removed after they’re secured to the wall. We discovered the studs didn’t line up where we needed them – only one cabinet would be supported on two studs while the other only had one stud to screw to. To remedy this, we added two mounting boards. We screwed the mounting boards to the studs in the wall and then screwed the cabinets to these mounting boards. This method will ensure our cabinets are hung securely. The mounting boards did bring the cabinets off the wall by 3/4″ (the thickness of the boards), but once I add trim to the sides and top, you’ll never be the wiser.
Side note: it’s much easier to hang the cabinets before moving any appliances in, but our timing was a little off. The paint on the cabinets wasn’t quite dry when our plumber came to install the washer and dryer, so we went ahead and moved forward with the washer/dryer installation. This certainly made hanging the cabinets more challenging because we had to take extra care not to damage the new washer and dryer below us – we made sure to keep the tape and plastic on the appliances until after the cabinets were completely installed. Lucky for us, everything worked out great in the end!
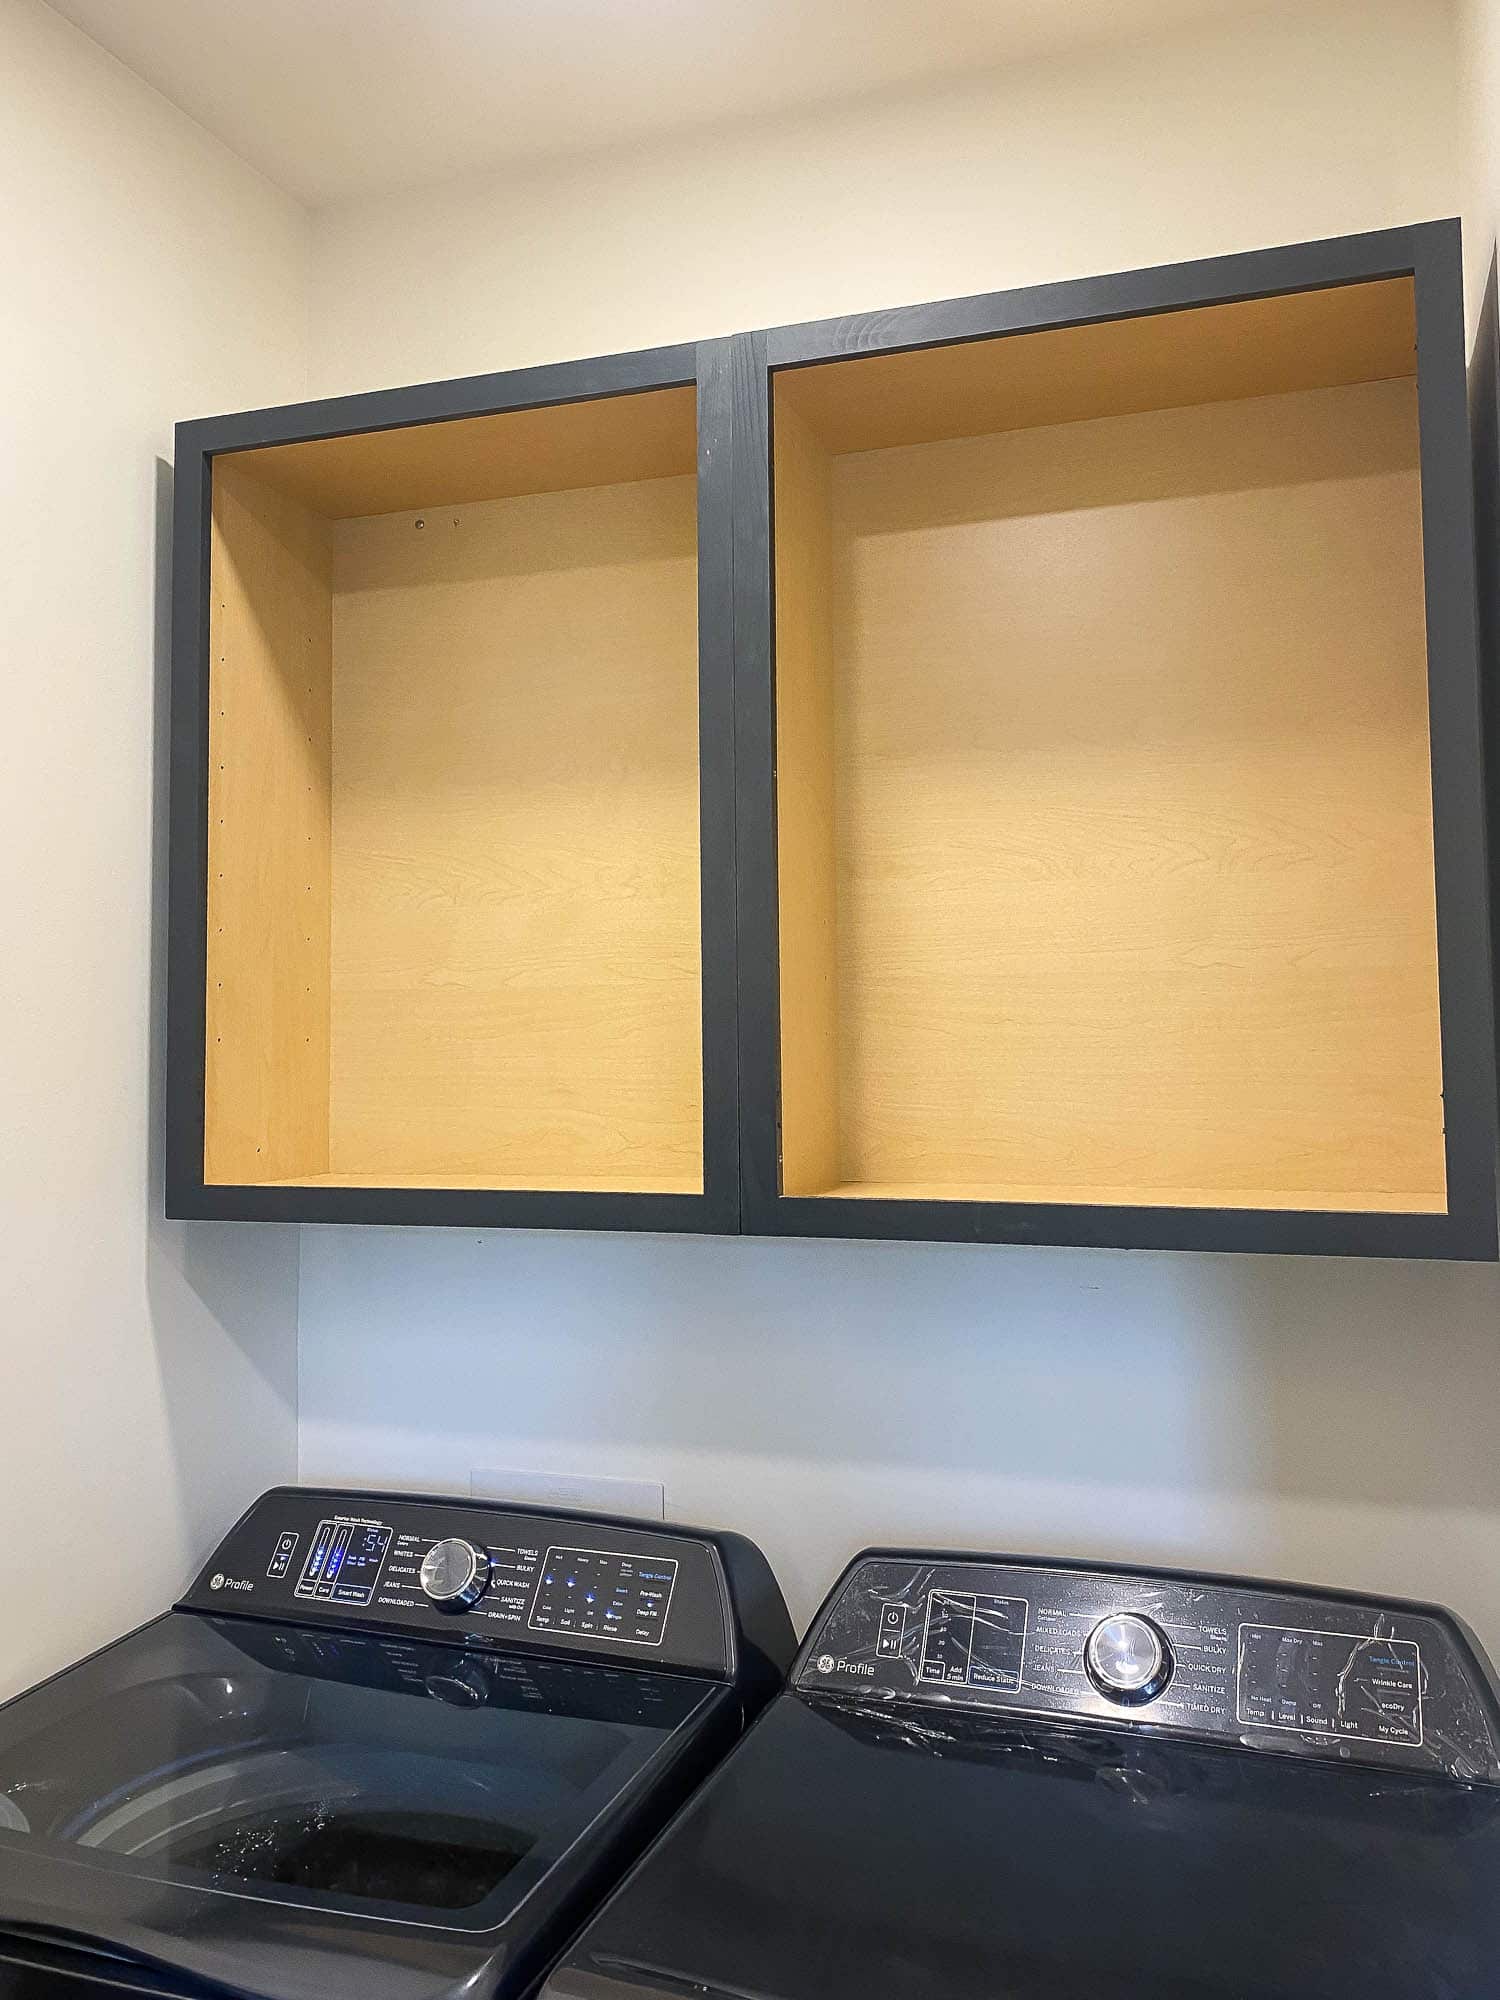
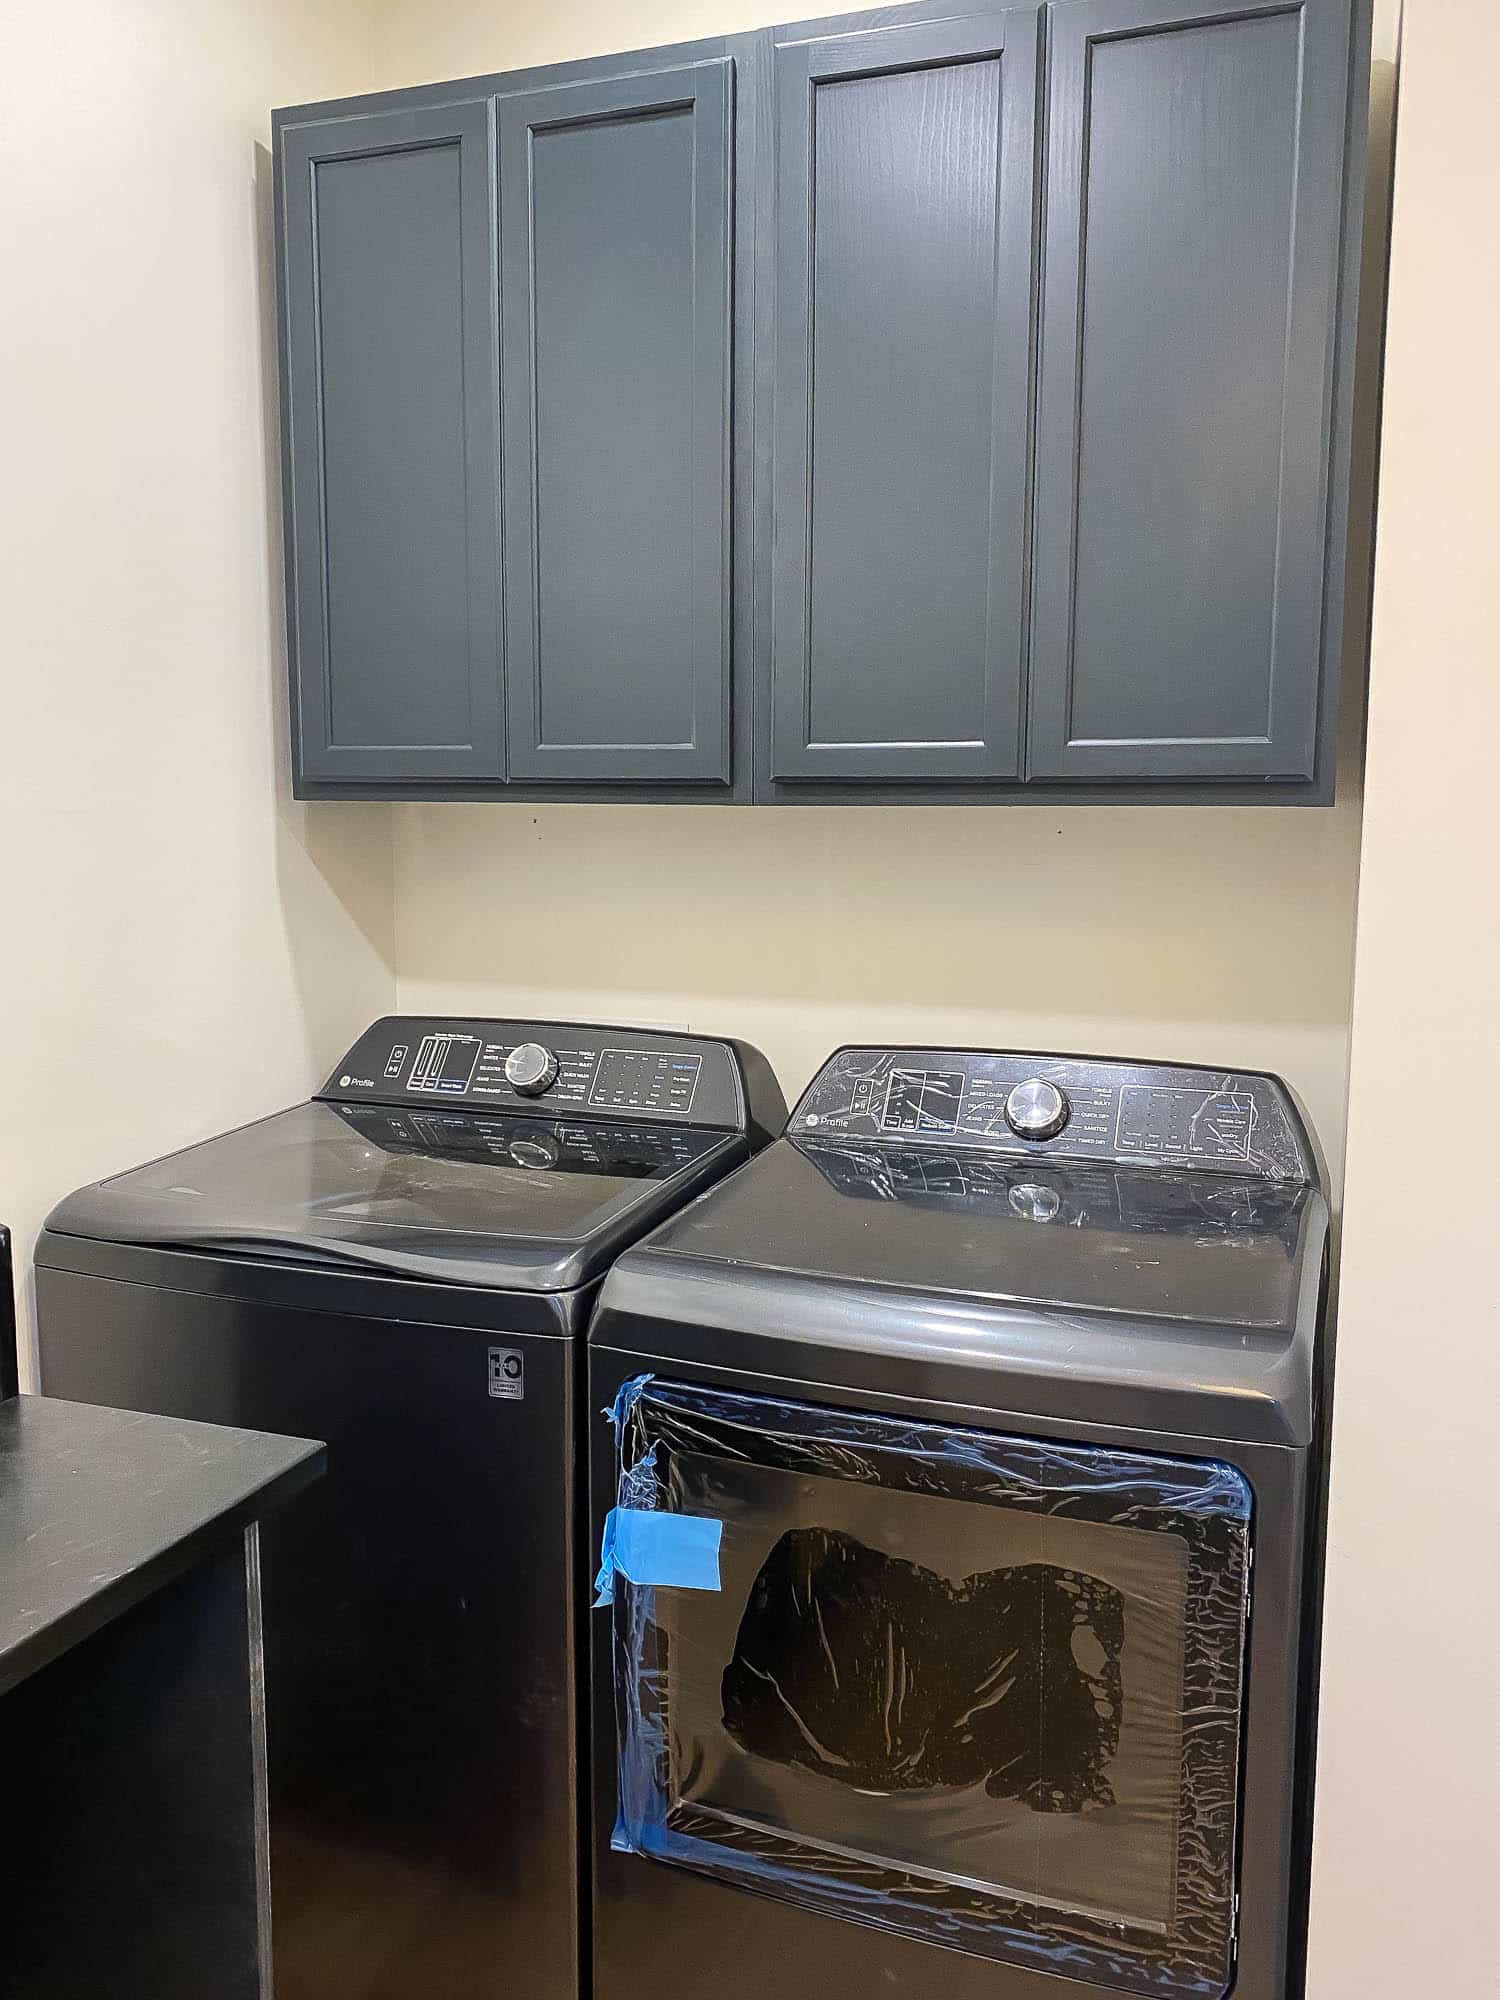
I still have plans to build additional shelves above the cabinets so that they’ll reach all the way to the ceiling, but that’ll have to be phase 2 of this laundry room renovation. Once the top shelves are built, I’ll be able to fill the gaps on the sides with filler pieces and trim, then hang the crown molding in the room. You’ll notice a treillage ceiling included in my design board – I hope this will also be a part of the 2nd phase of renovation. Stay tuned…
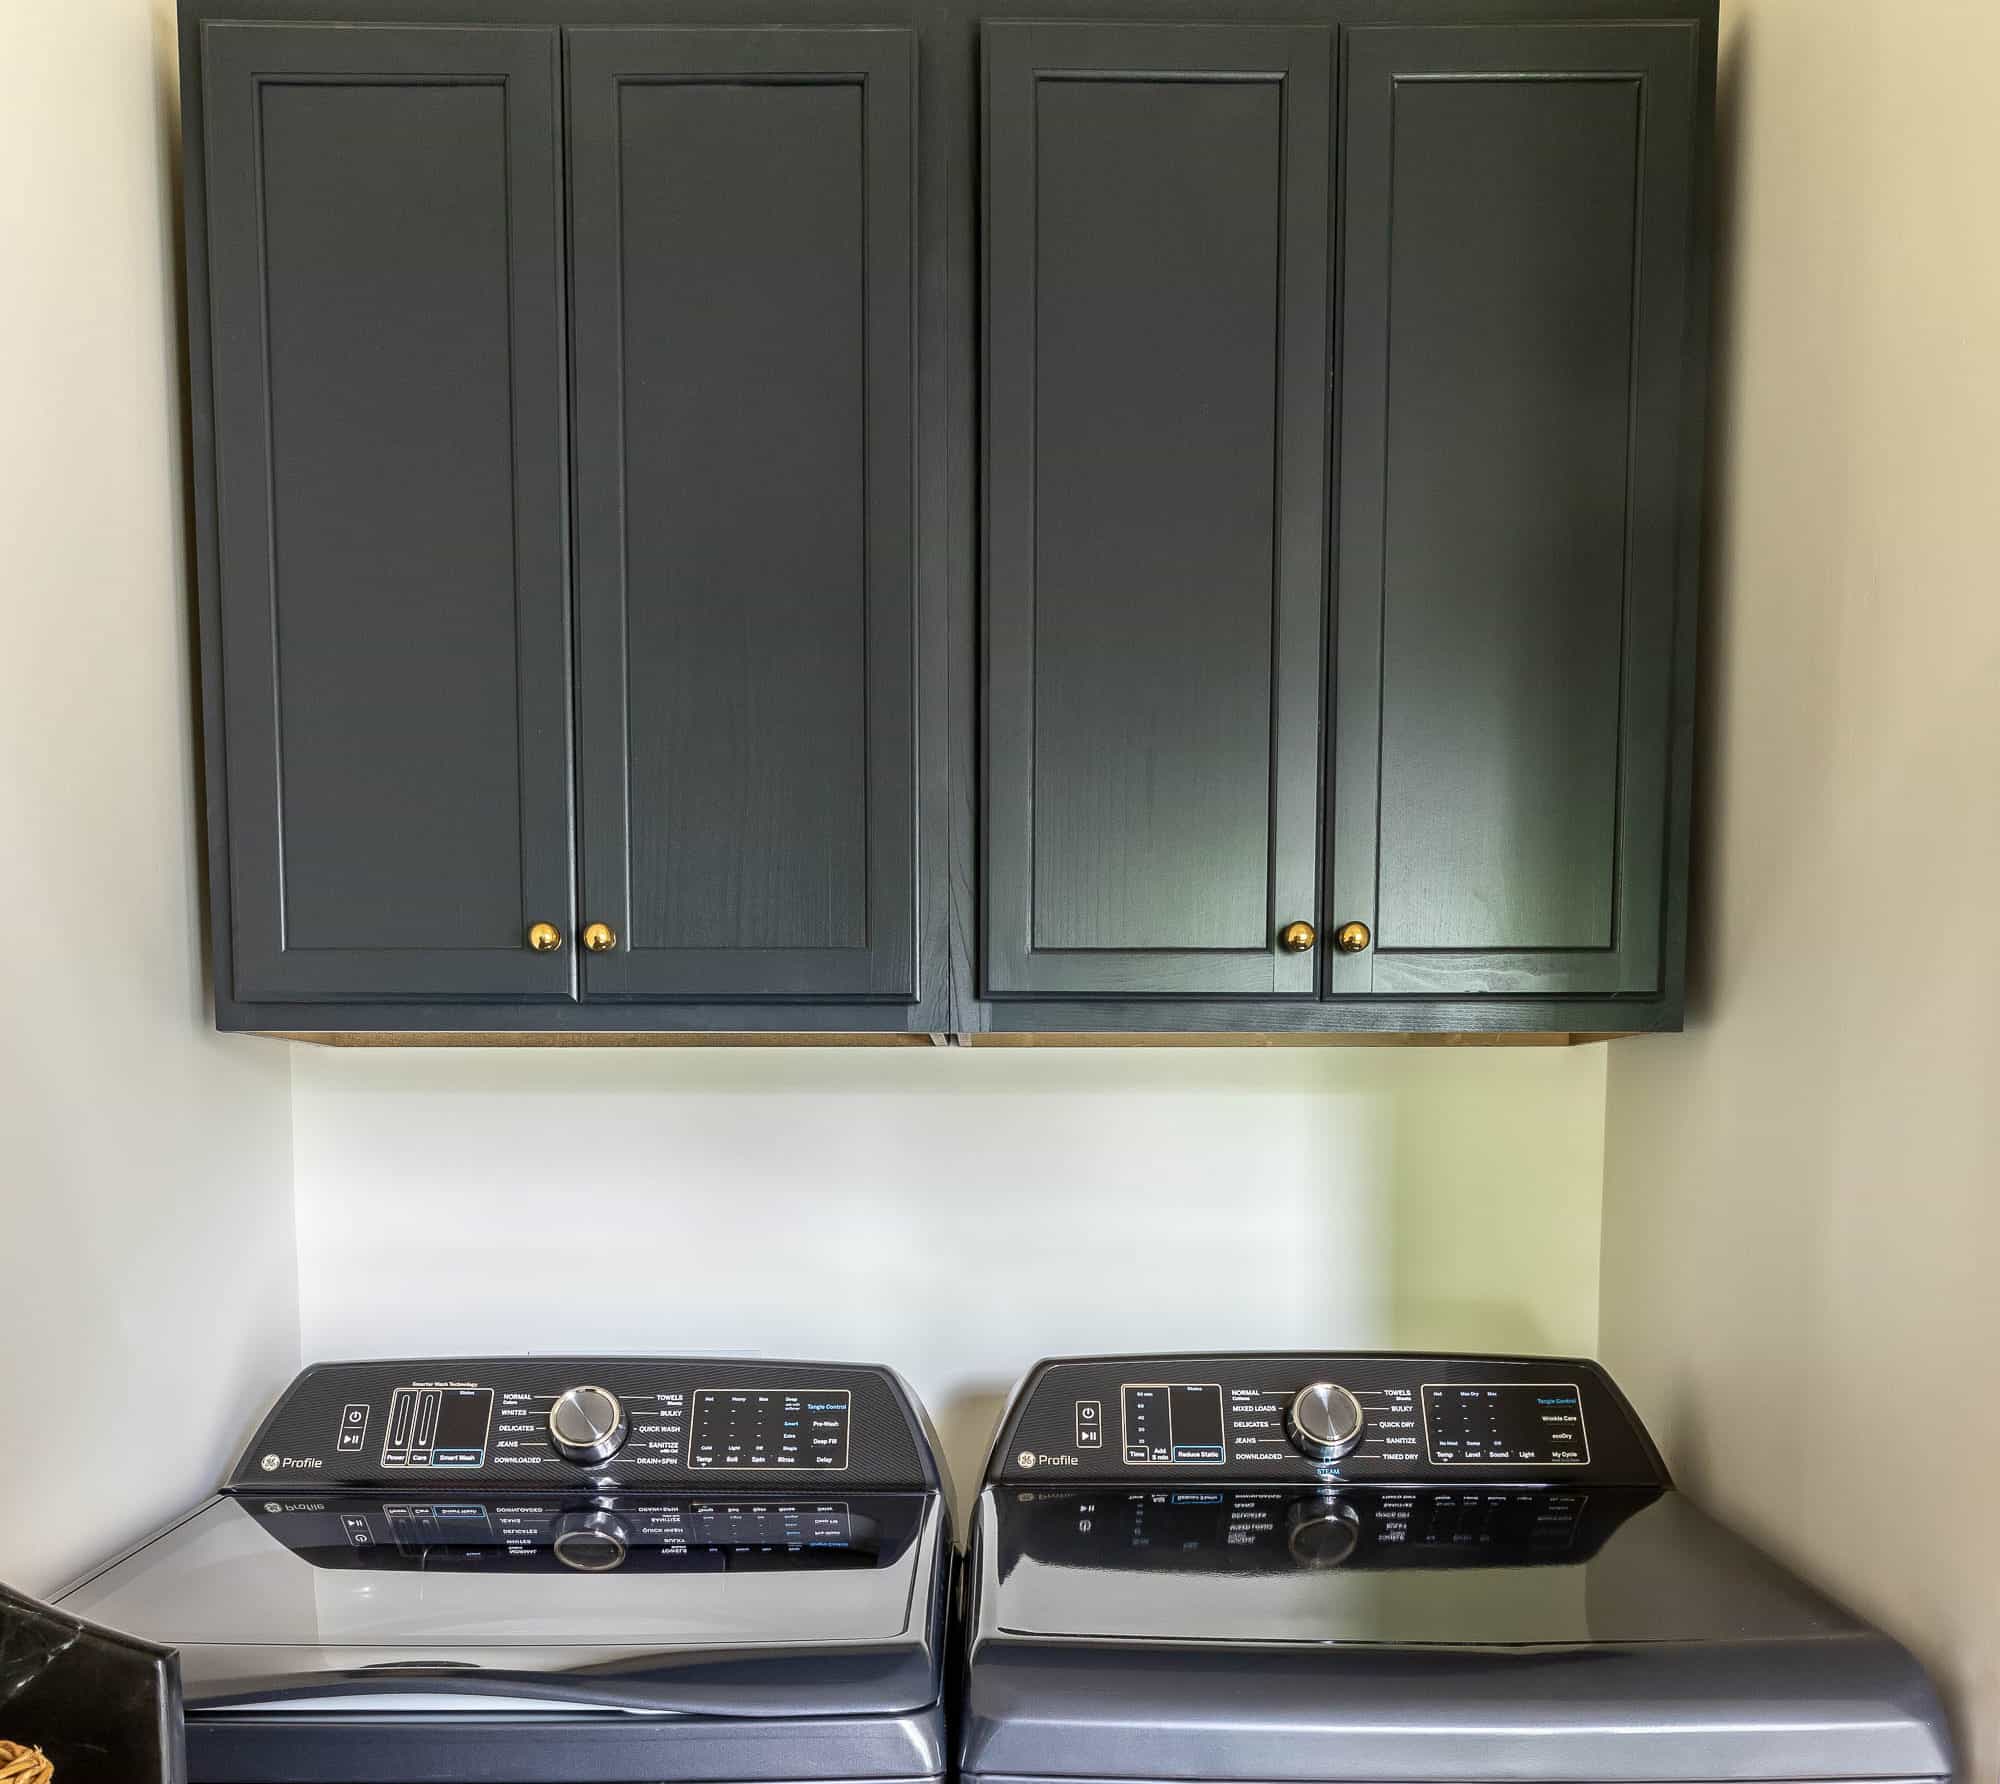
Meet the MVPs: Smart GE Profile Washer and Dryer
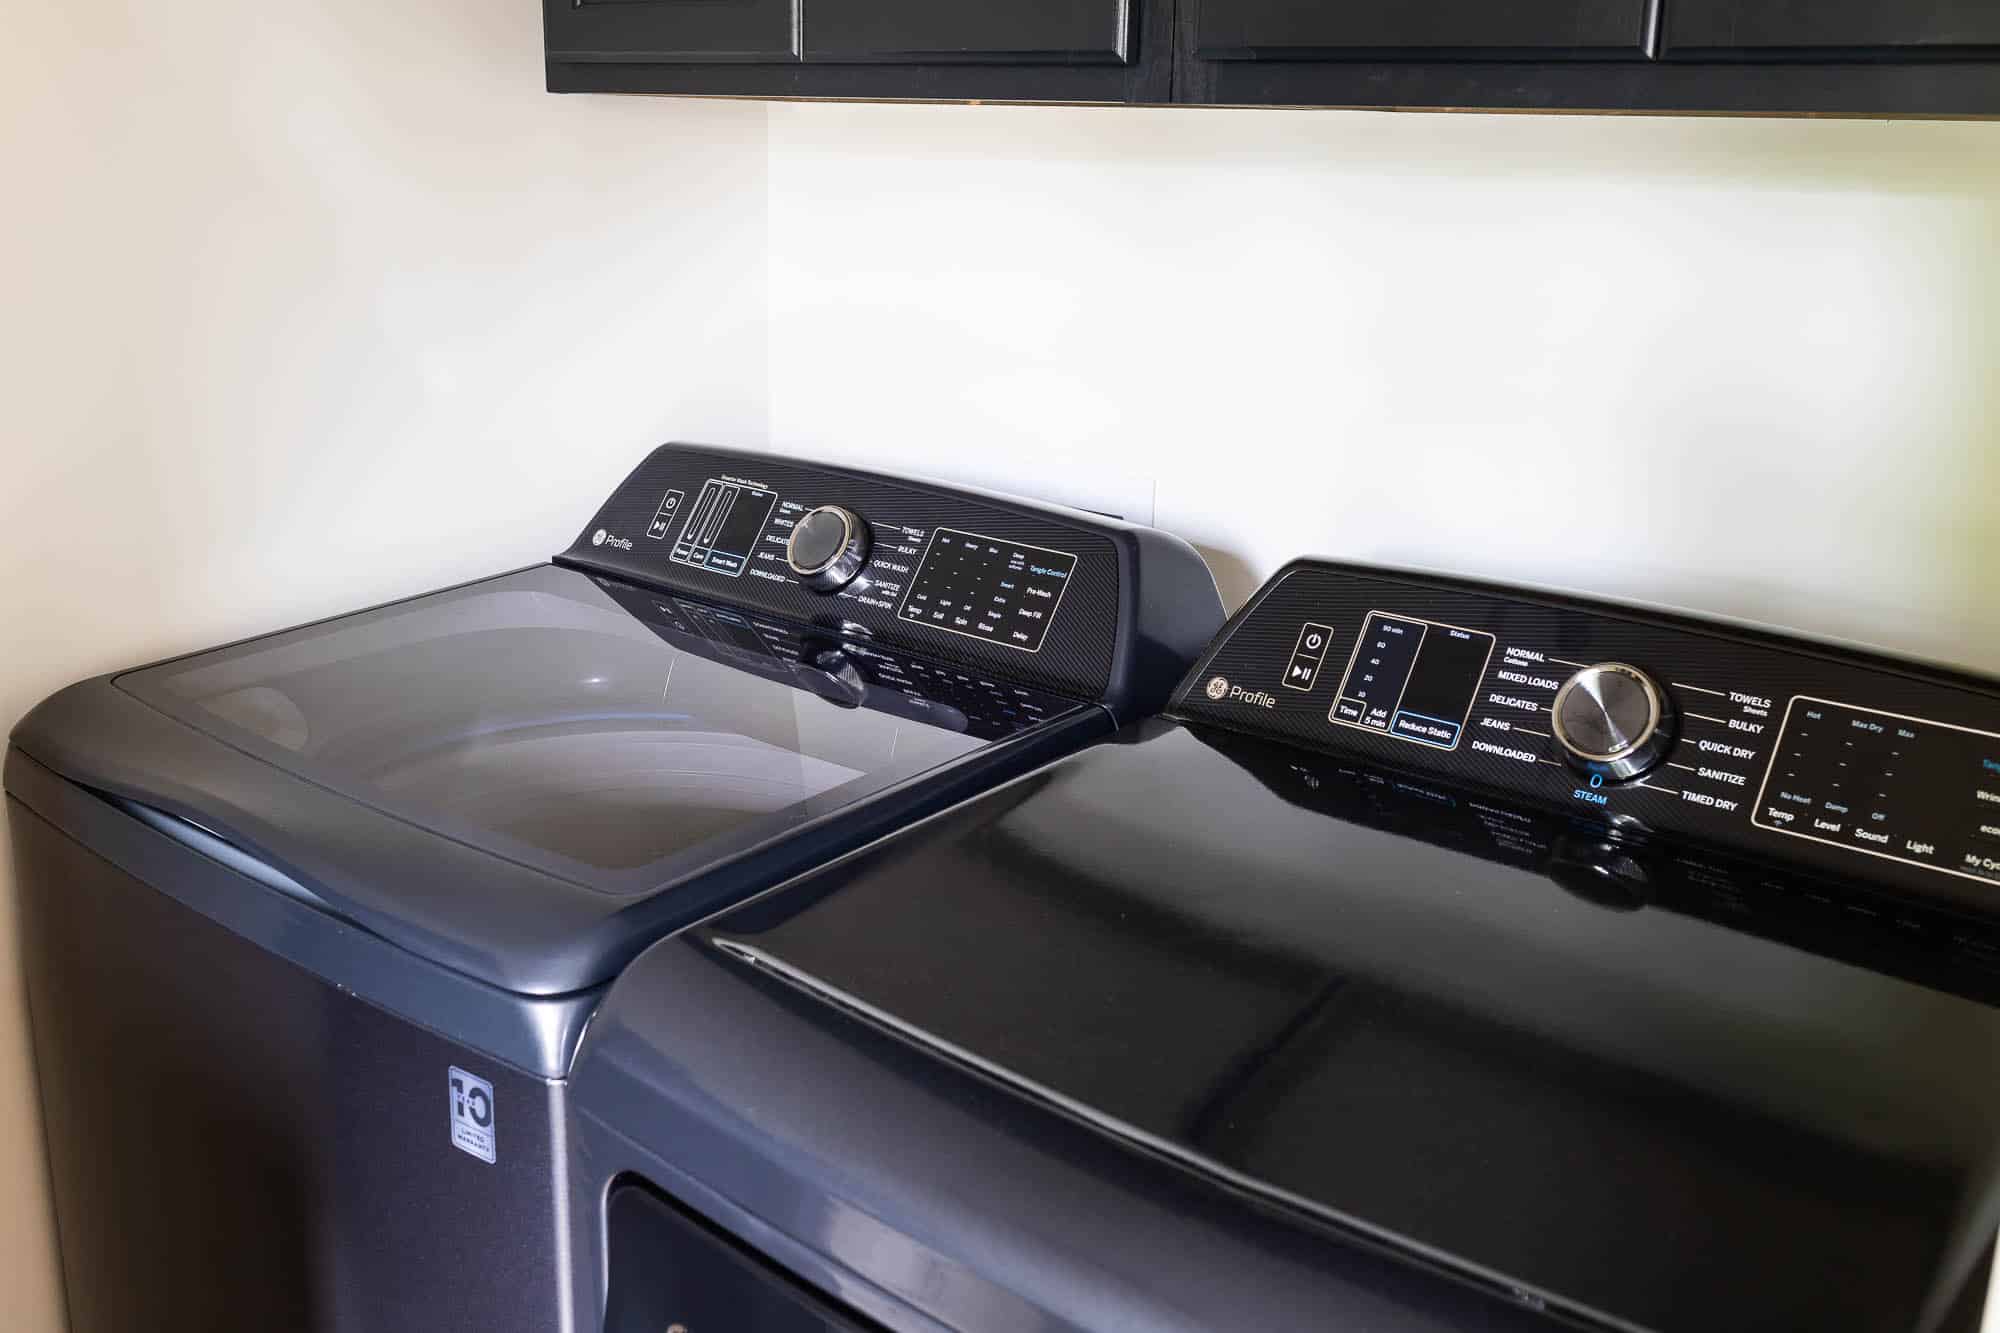
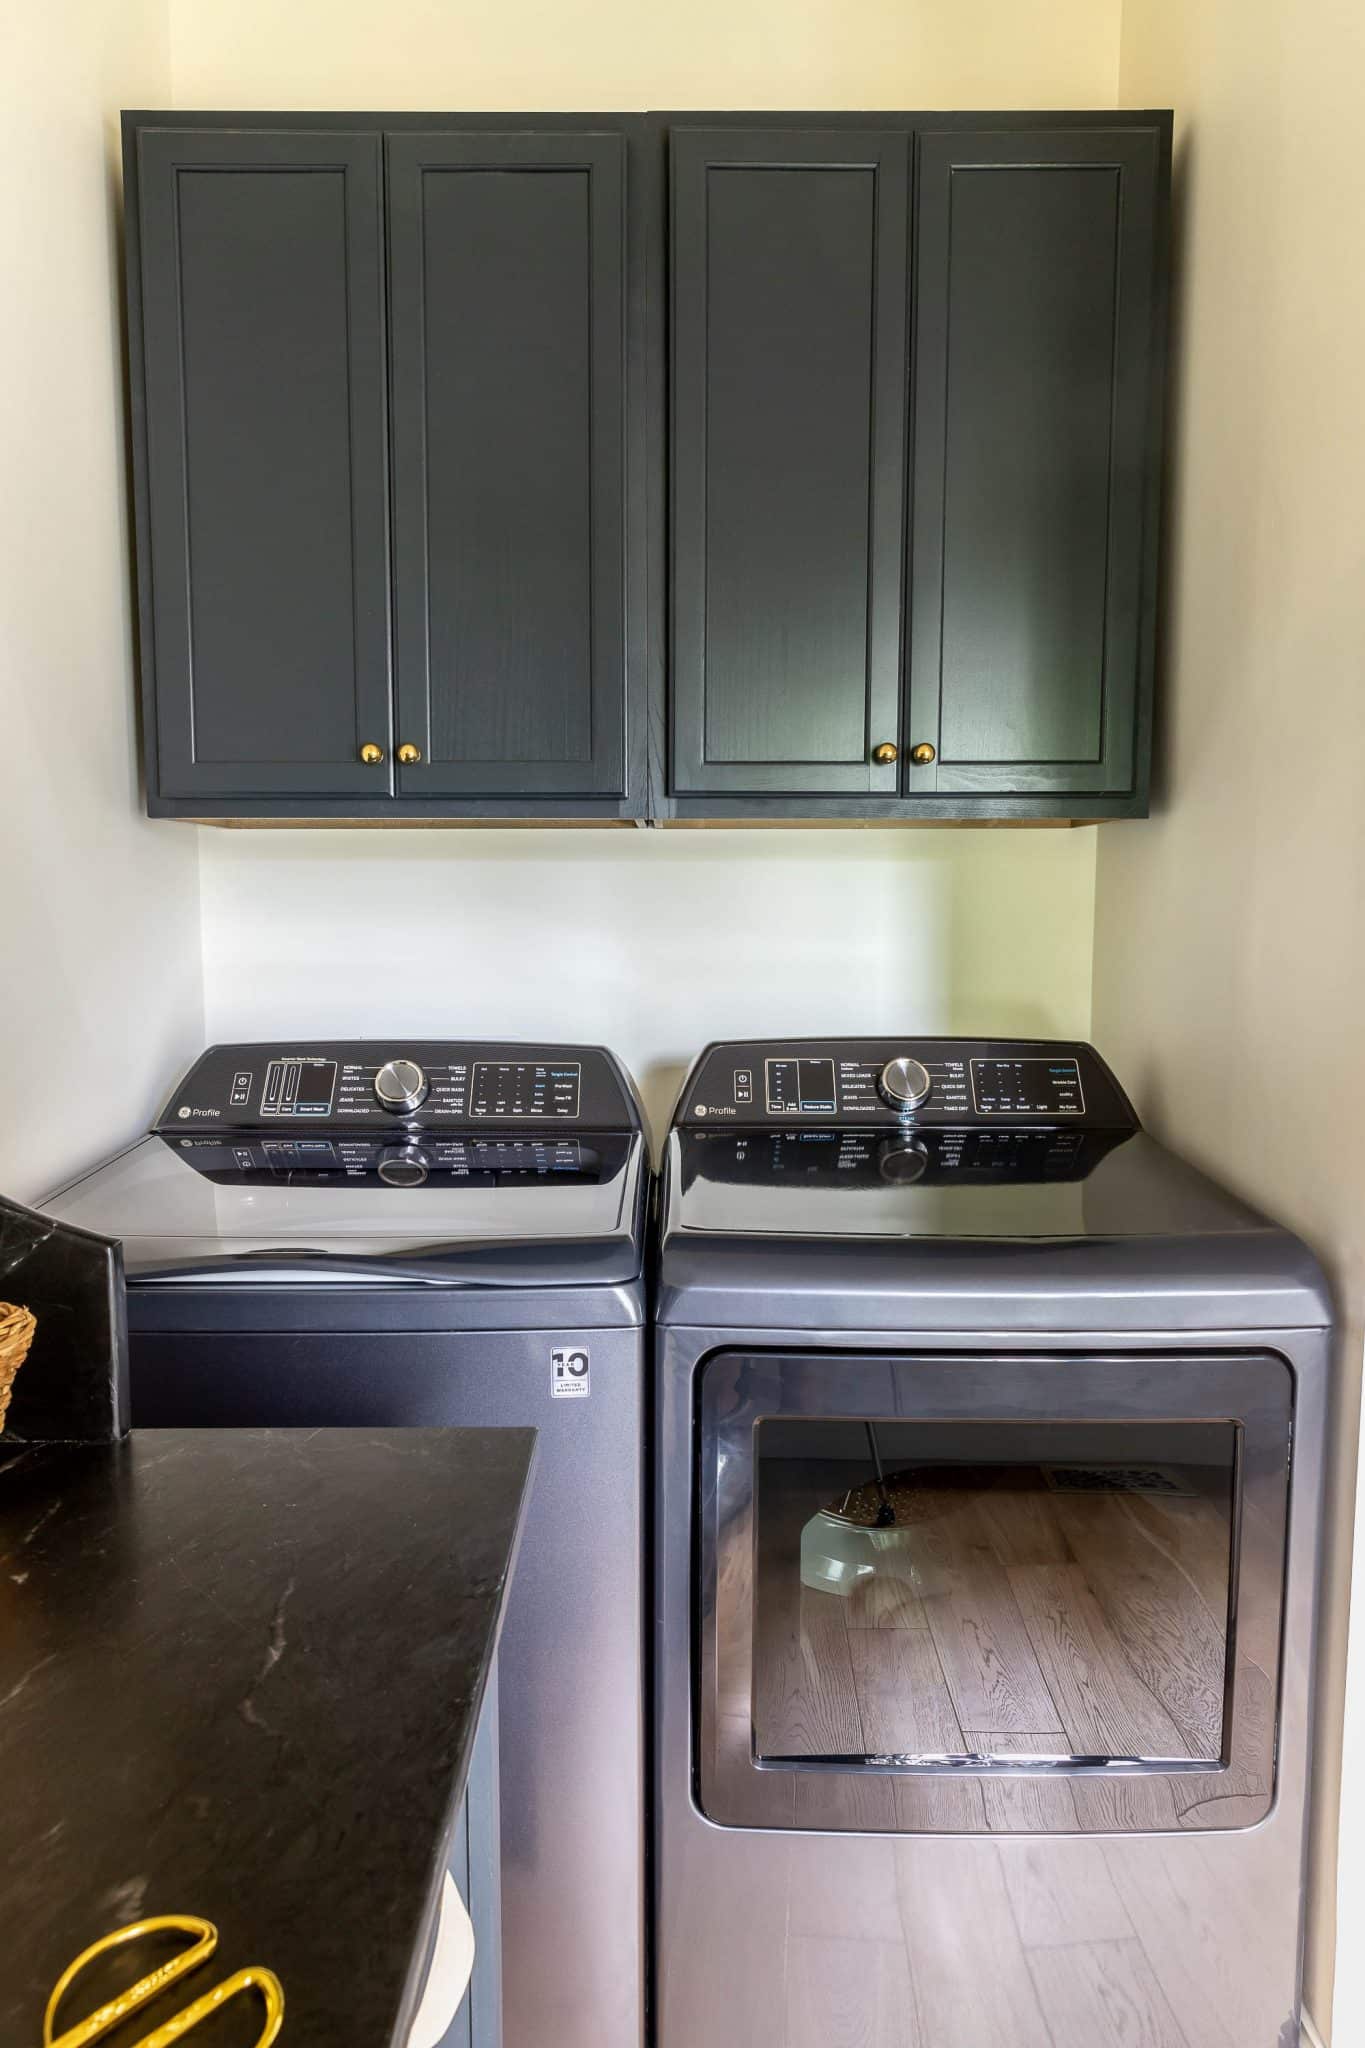
Let’s take a closer look at our beautiful new washer and dryer. We chose the Smart GE Profile Top Load Impeller Washer and Electric Dryer in Diamond Gray. We went with the impeller option but it also comes with an agitator. So incredibly chic and sleek!
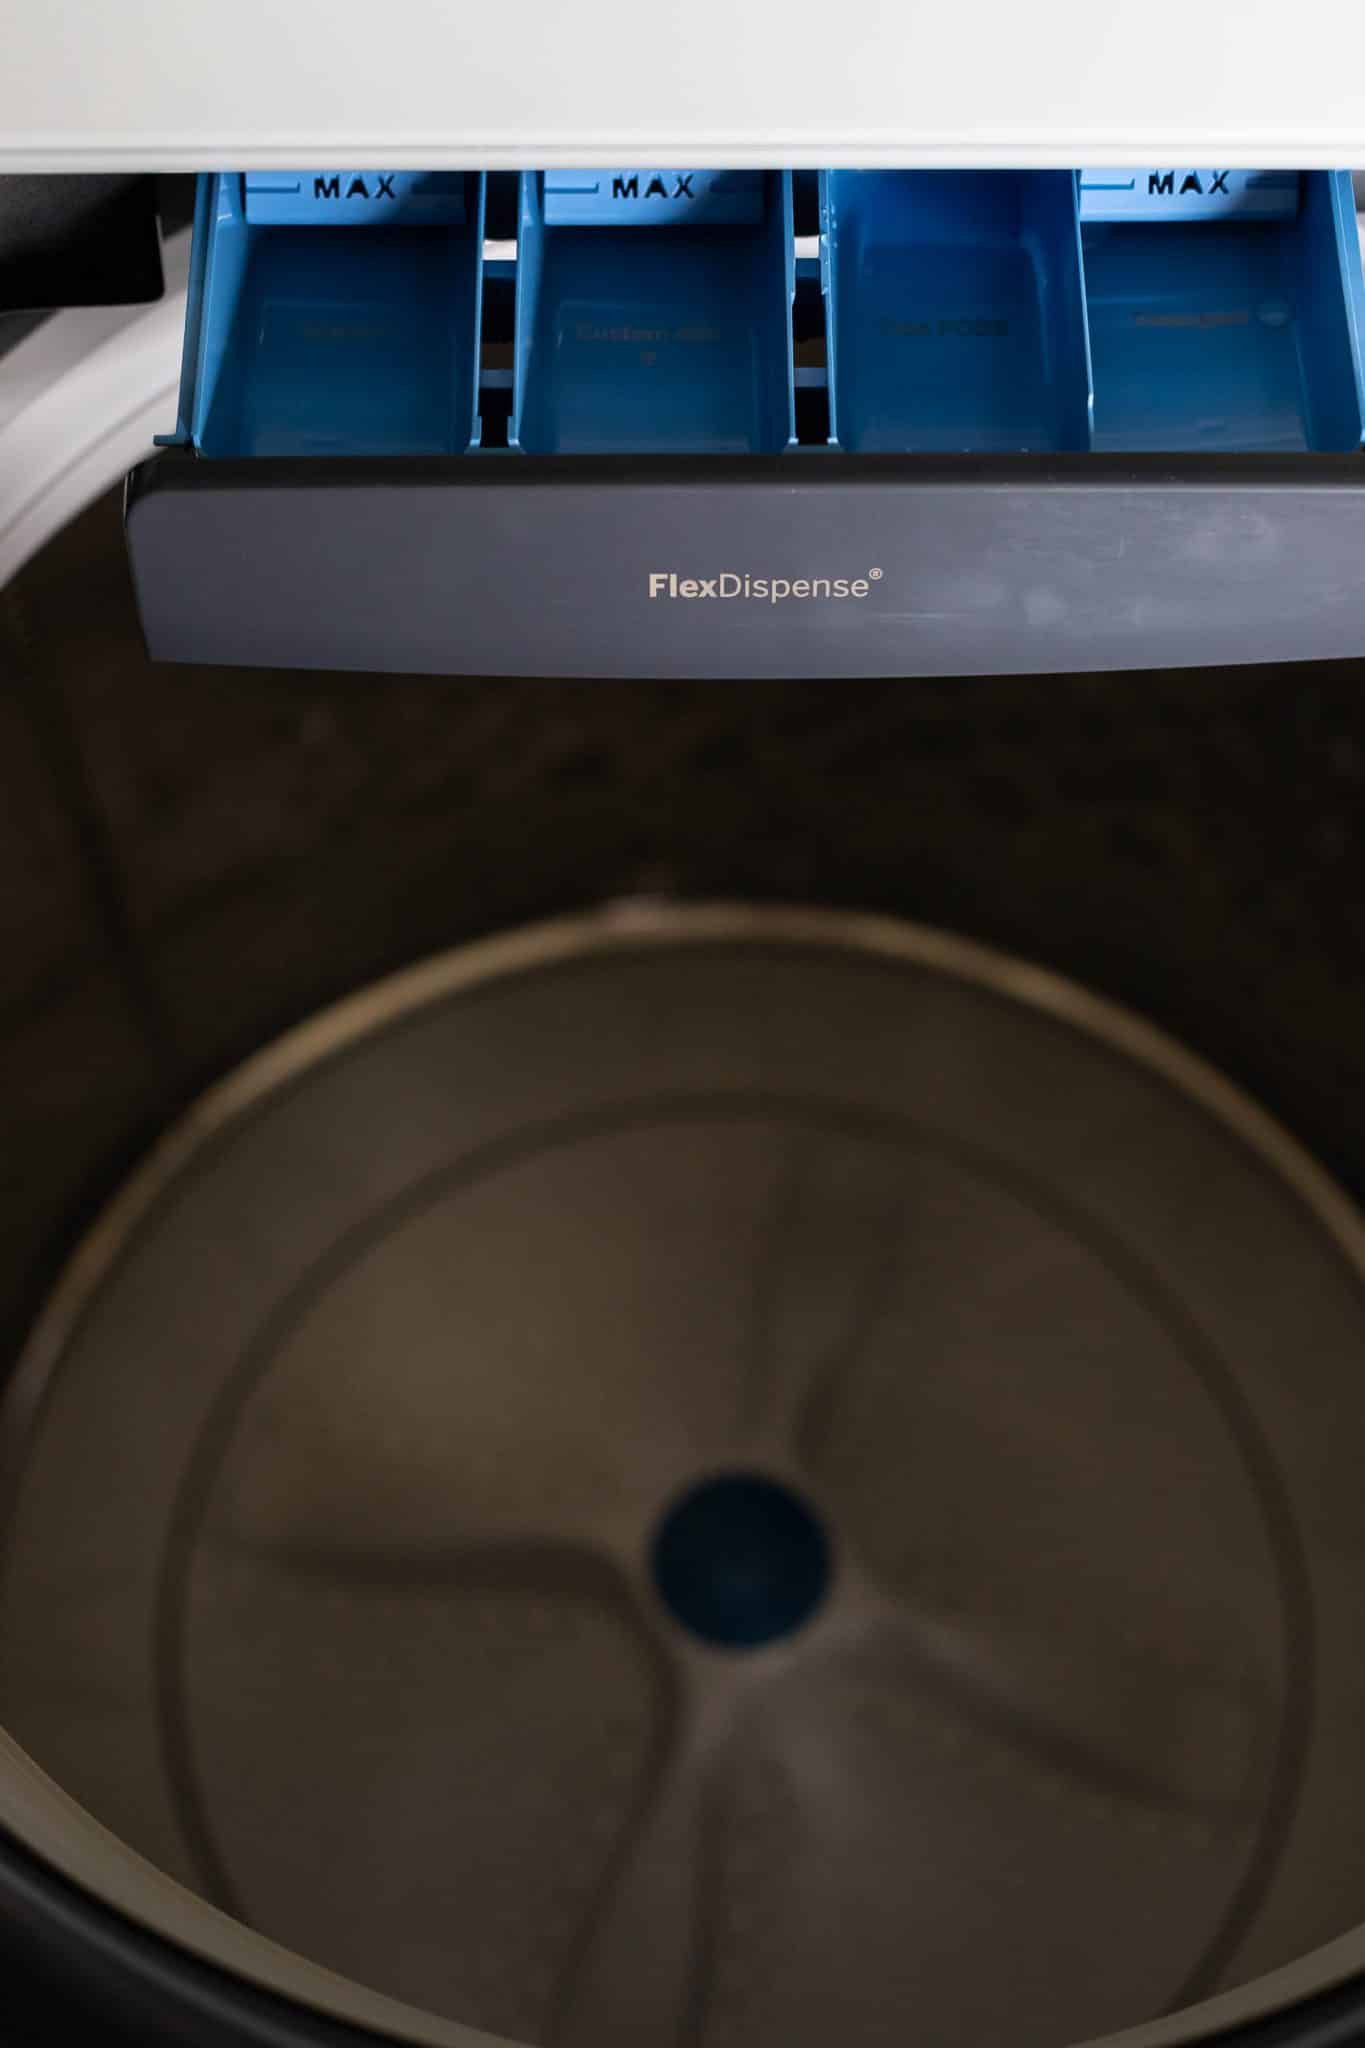
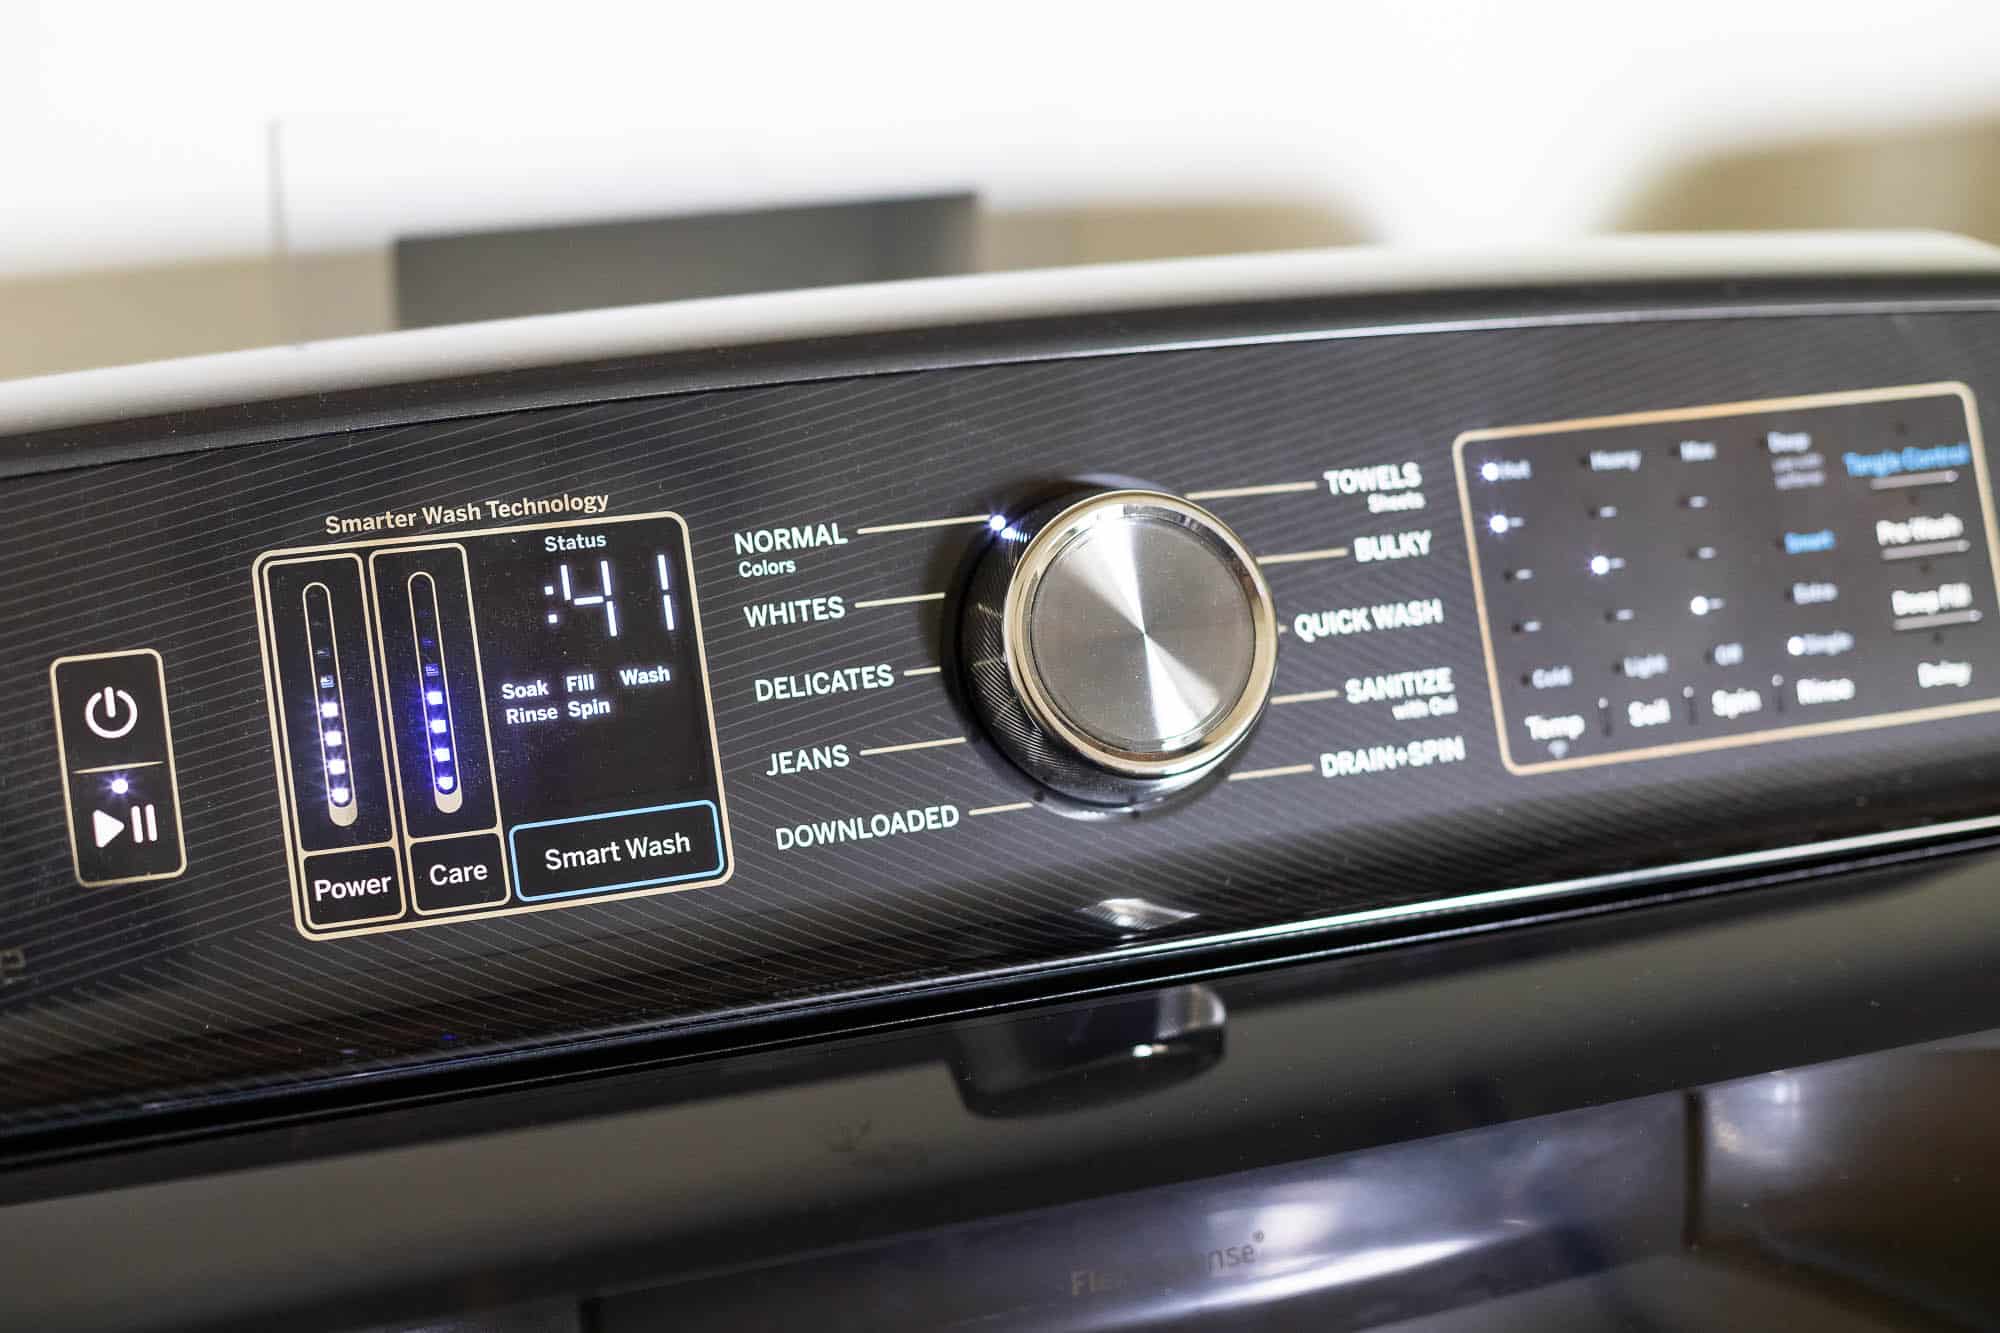
The innovative smart features of the washer and dryer include built-in WiFi, downloadable cycles, and remote start. The smarter wash technology wirelessly connects the washer to the dryer, enabling the dryer to automatically set the optimal settings based on the load that was just washed. Whaaaat?! MIND. BLOWN.
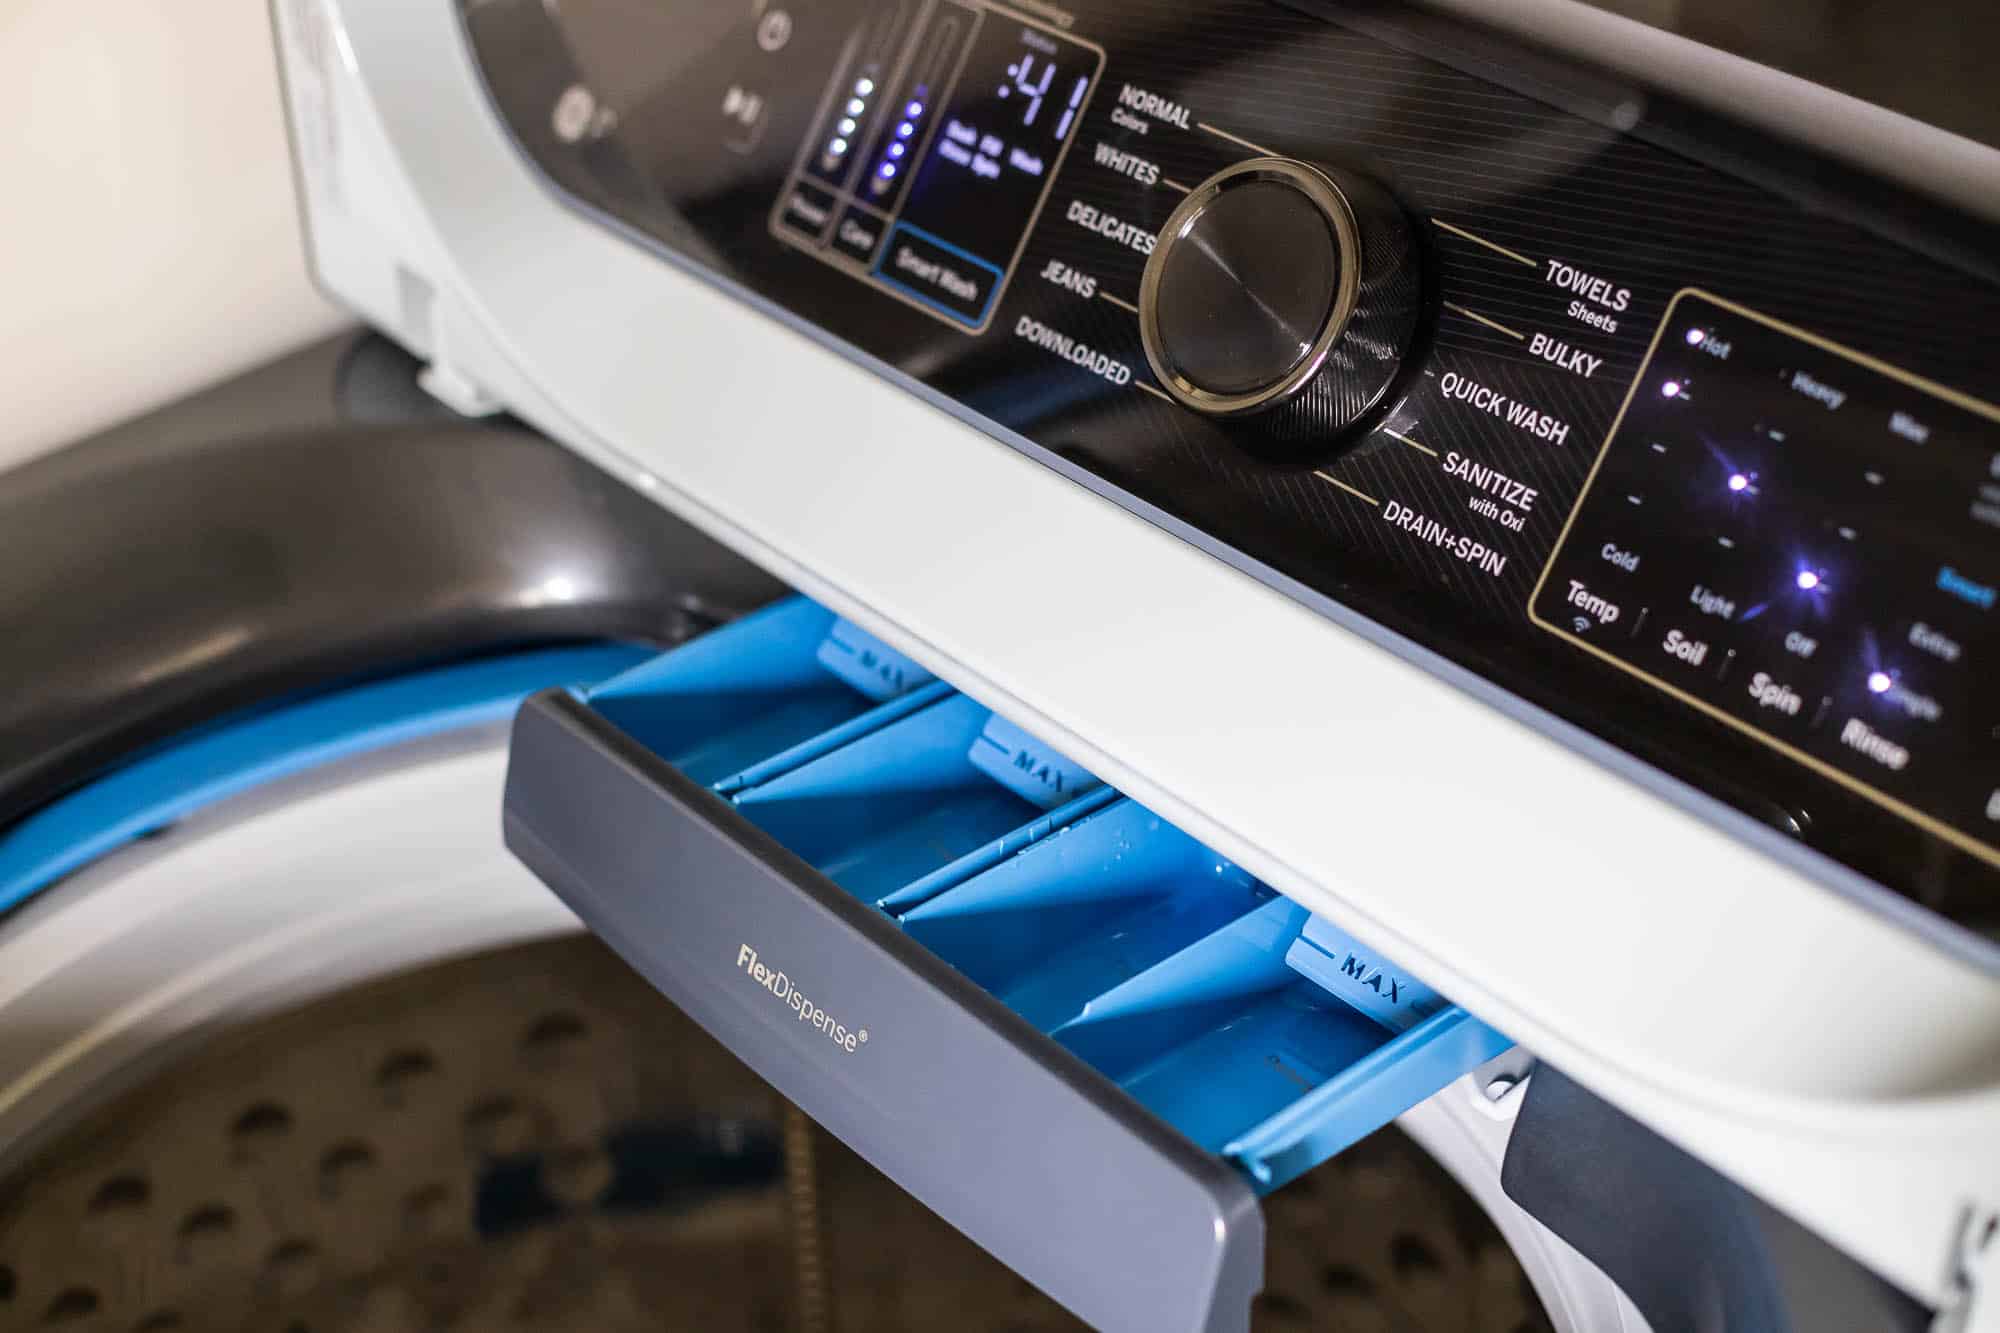
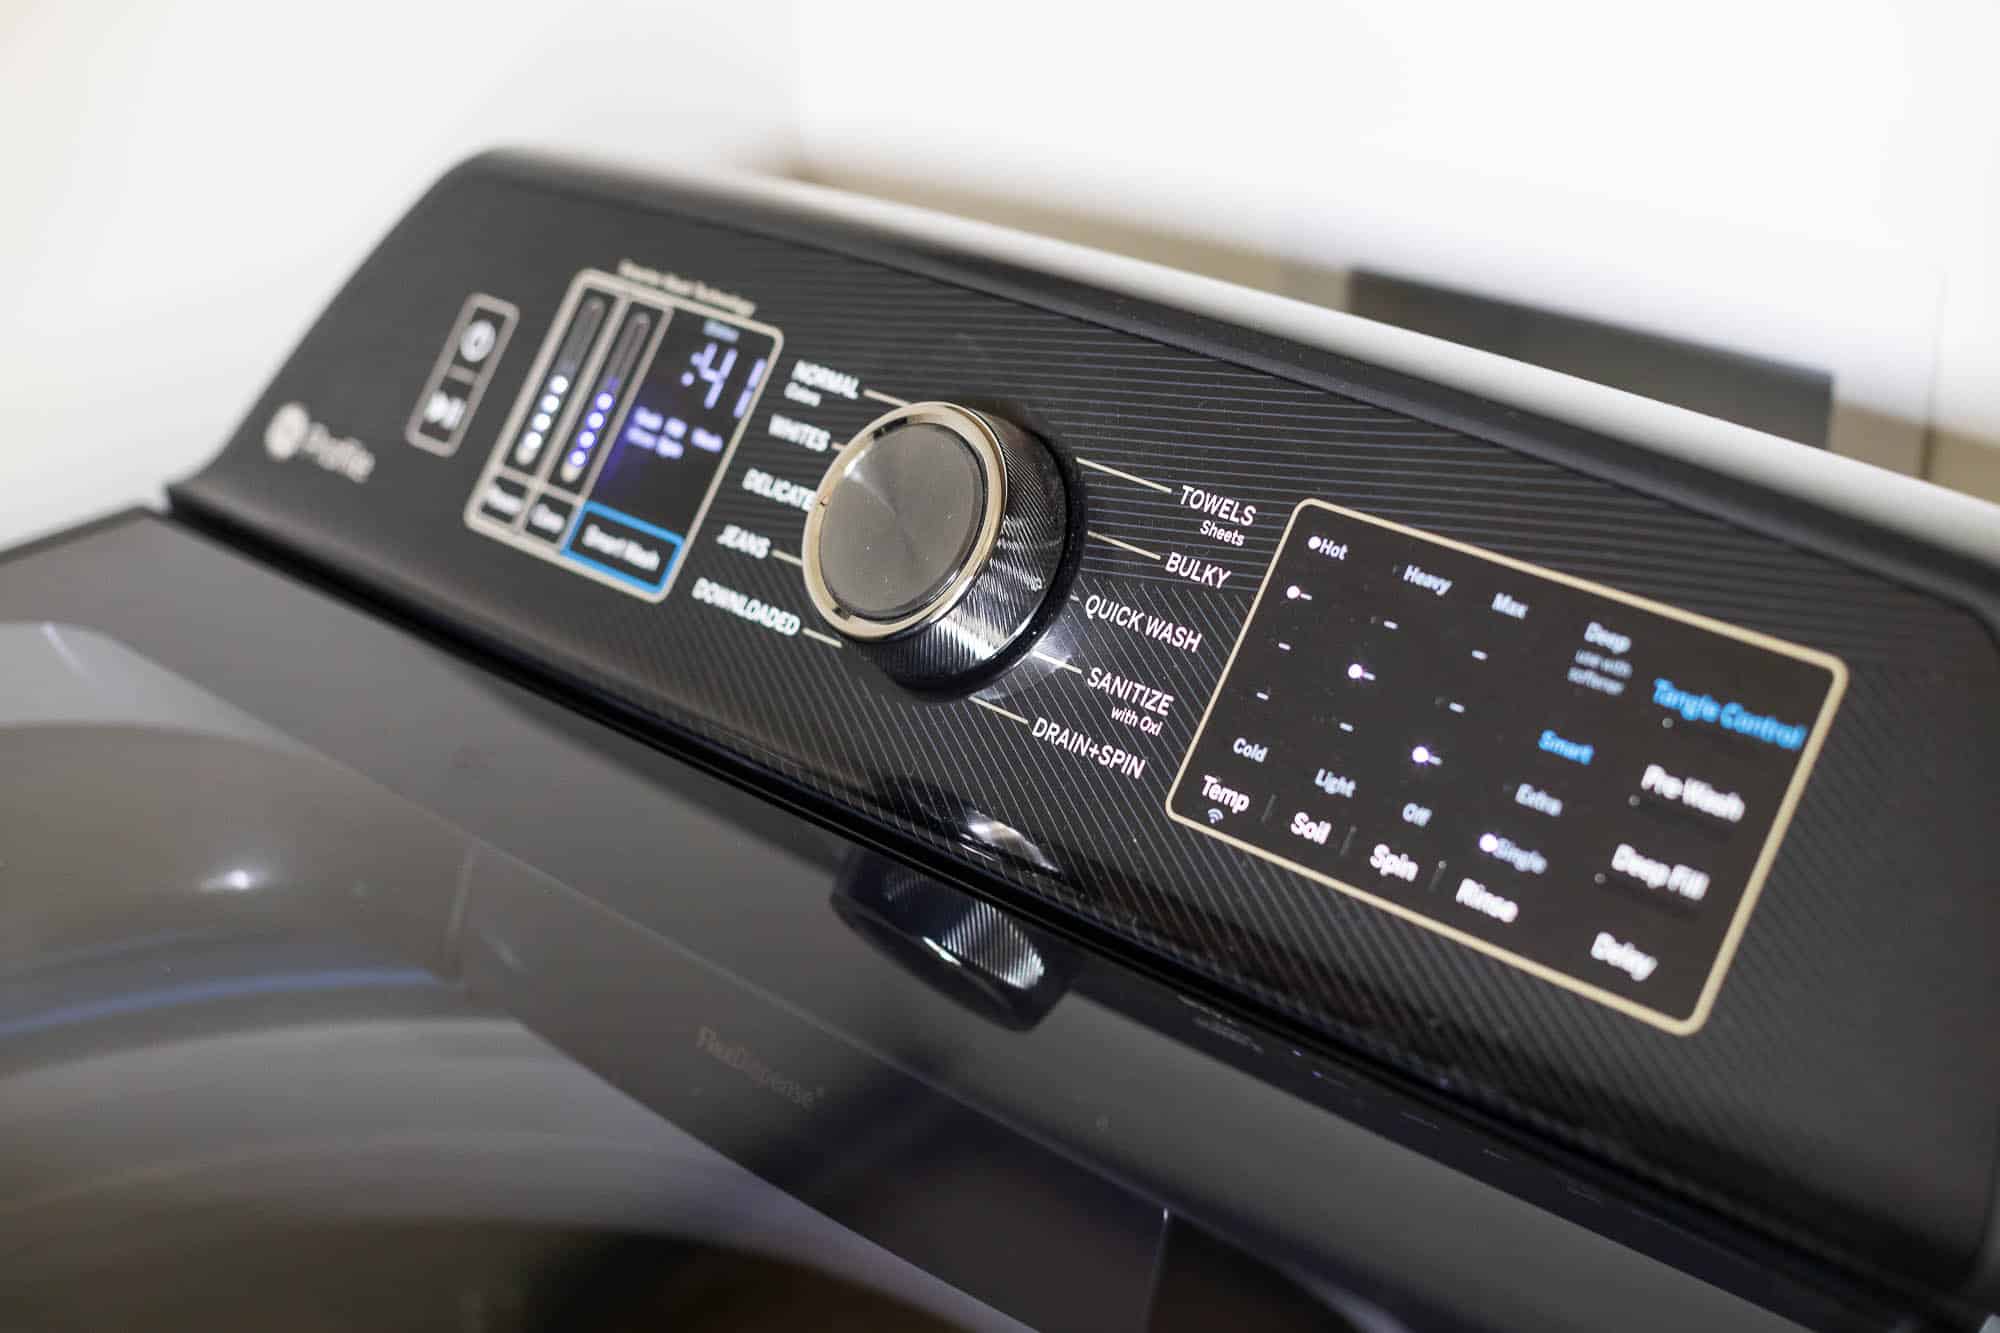
There are several optimal settings included, but we can also adjust the level of care and cleaning power from the control panel for a truly customized experience. The washer also features “FlexDispense,” which are dedicated dispensers for detergent, detergent pods, fabric softener, and other common additives (like vinegar) for the best cleaning performance. For extra dirty loads (like smelly football uniforms), we can engage the “Power Prewash” option which adds a quick wash, soak, and drain cycle to loosen and remove heavy dirt before starting the selected cycle. So fancy!
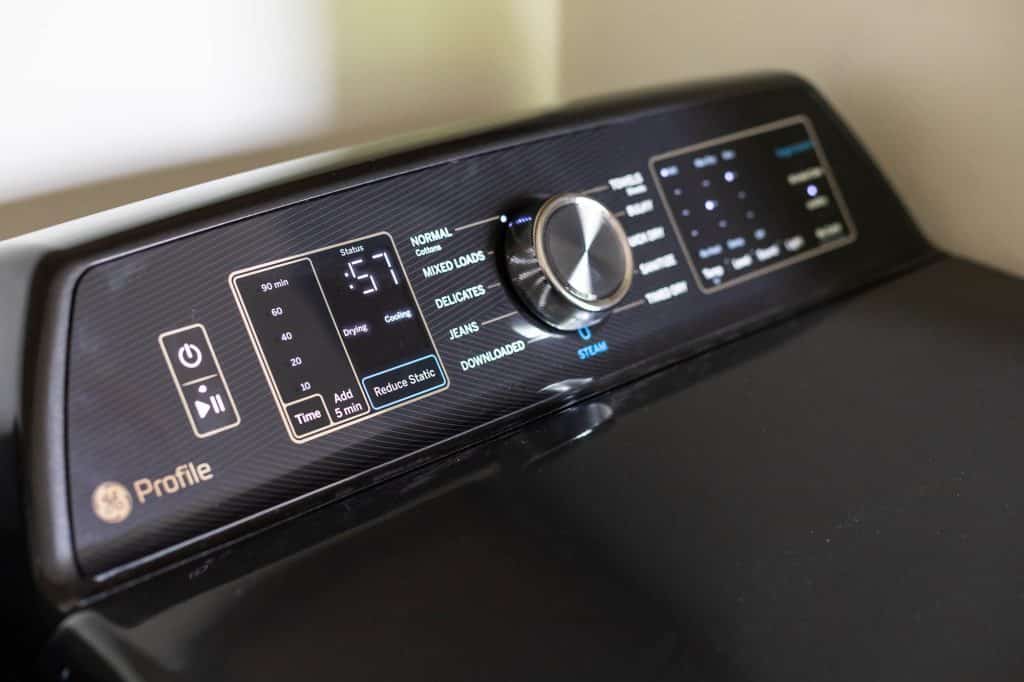
The dryer has several drying settings, as well as steam, sanitize, and static-reducing features. There’s a “Wrinkle Care” option, which prevents wrinkles by extending the tumble without heat. With the app, we can enable this feature from our smart phone, which keeps the laundry tumbling until we’re ready to remove the load. Microban antimicrobial protection is built into the washer components to help prevent the growth of odor-causing bacteria. Love that!
The One Yard Line
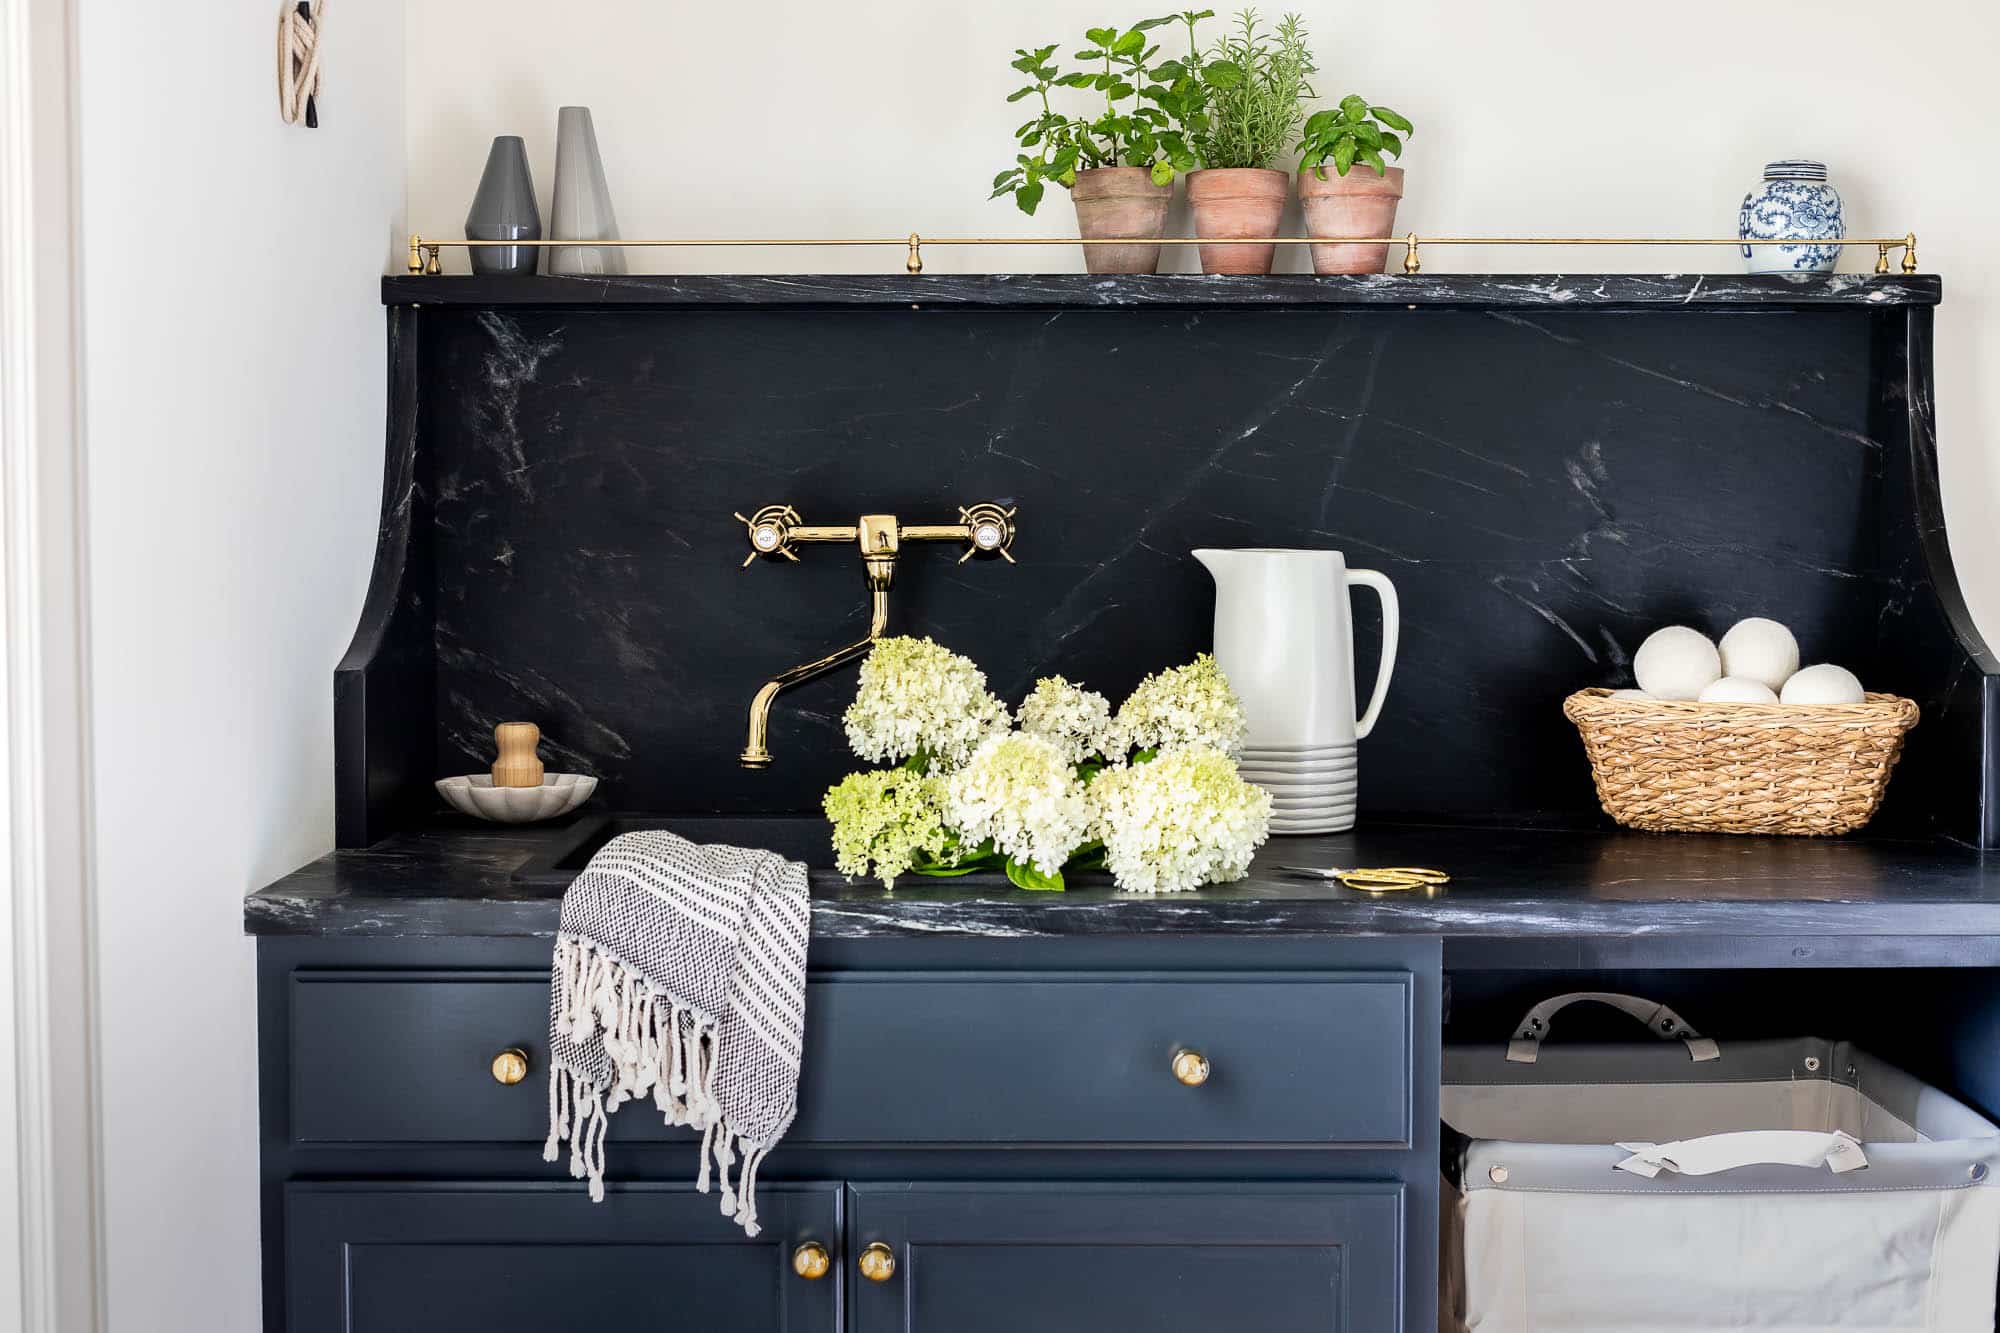
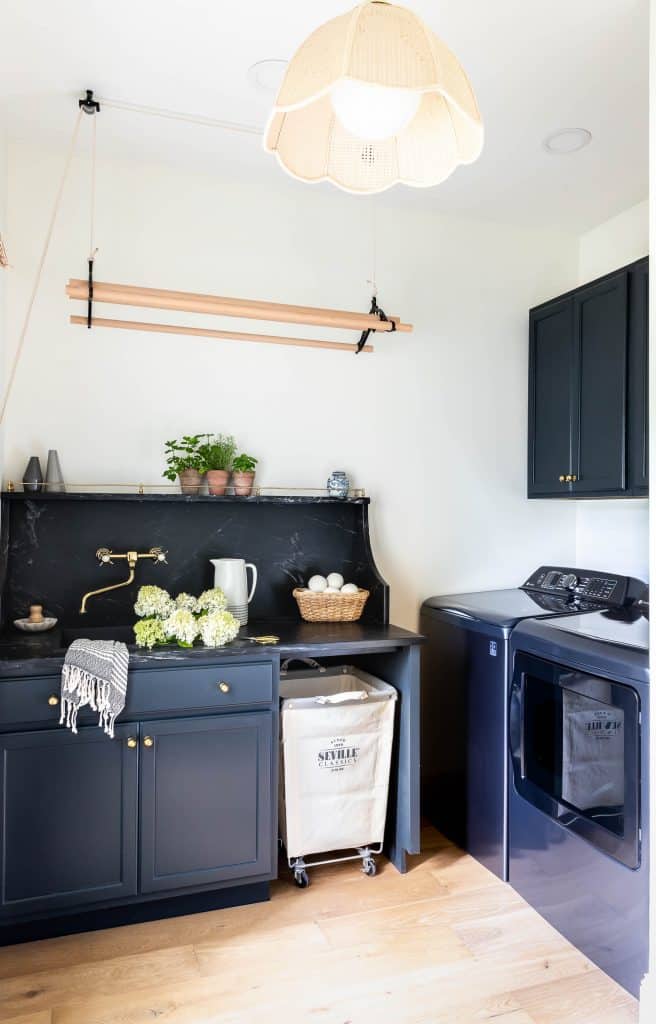
Our local stone fabricator, Stone City, fabricated and installed the soapstone countertop, backsplash, side splashes, and top shelf. I love that they pay such close attention to detail by matching the veining on the countertop and backsplash. Of course, I brought in the same small shelf with the vintage gallery rails here in the laundry room, just like I did in our kitchen.
With all this moving and shaking, the walls were in great need of some TLC. My favorite painter, Roll With It Painting, patched, sanded, and finished the drywall like a miracle worker, leaving the walls super smooth and flat. Then the ceiling, walls, and trim got several coats of paint.
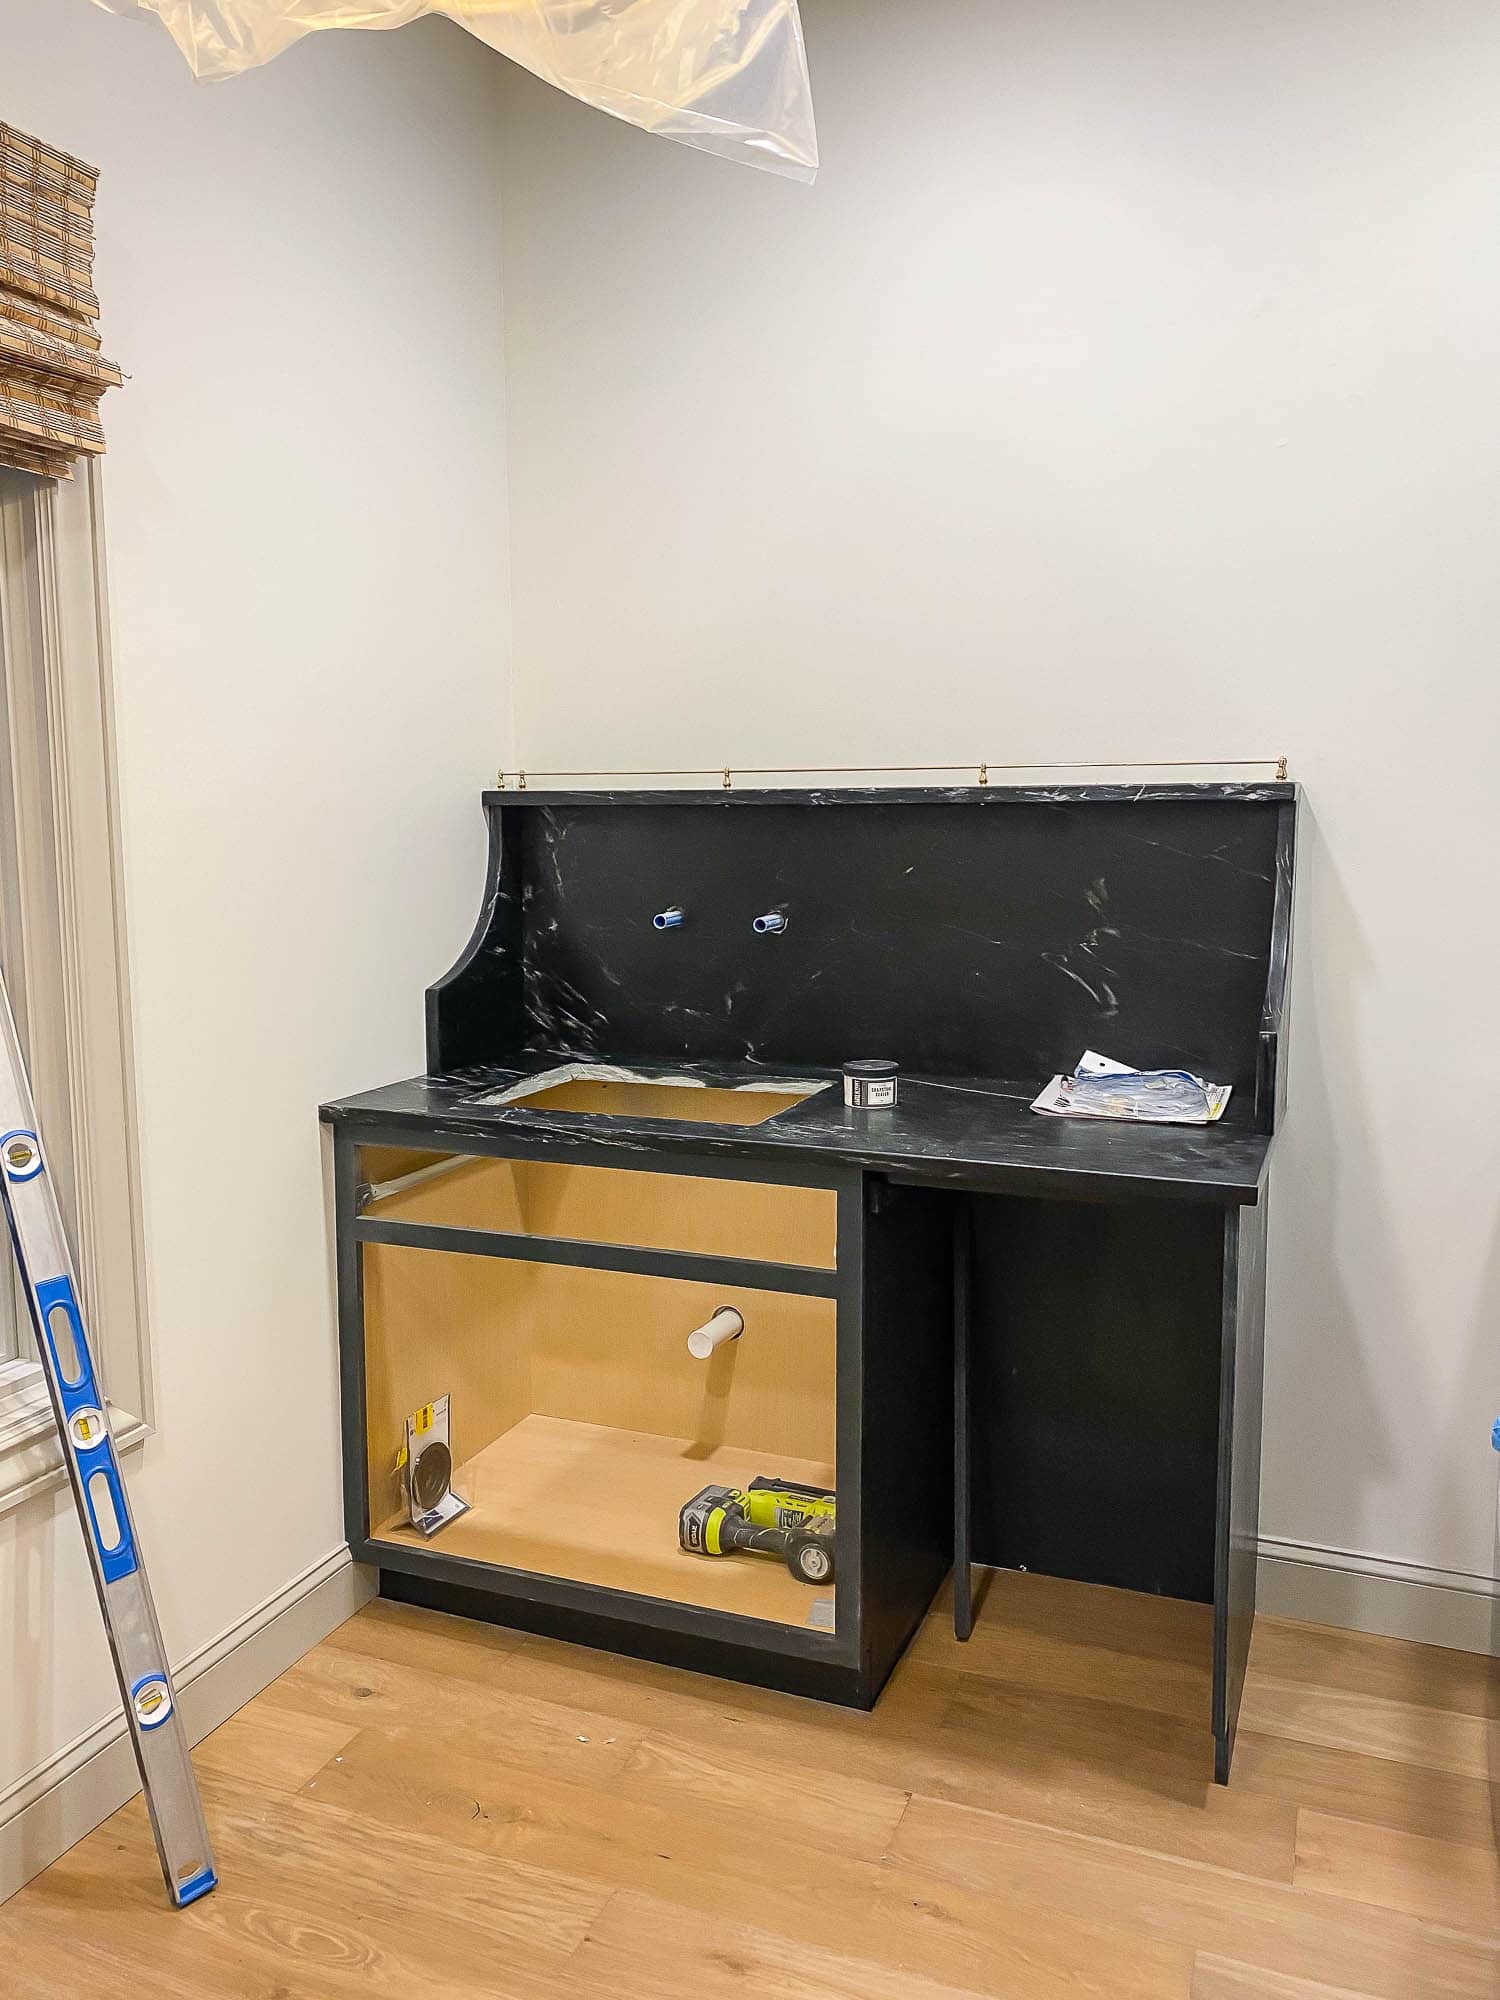
There are still a few items left on the punch list – forever in the 90% club here! I still have to install the quarter round, hang the crown molding, and trim out the cabinets, but for now, we’re happy to have our laundry room back in working order!
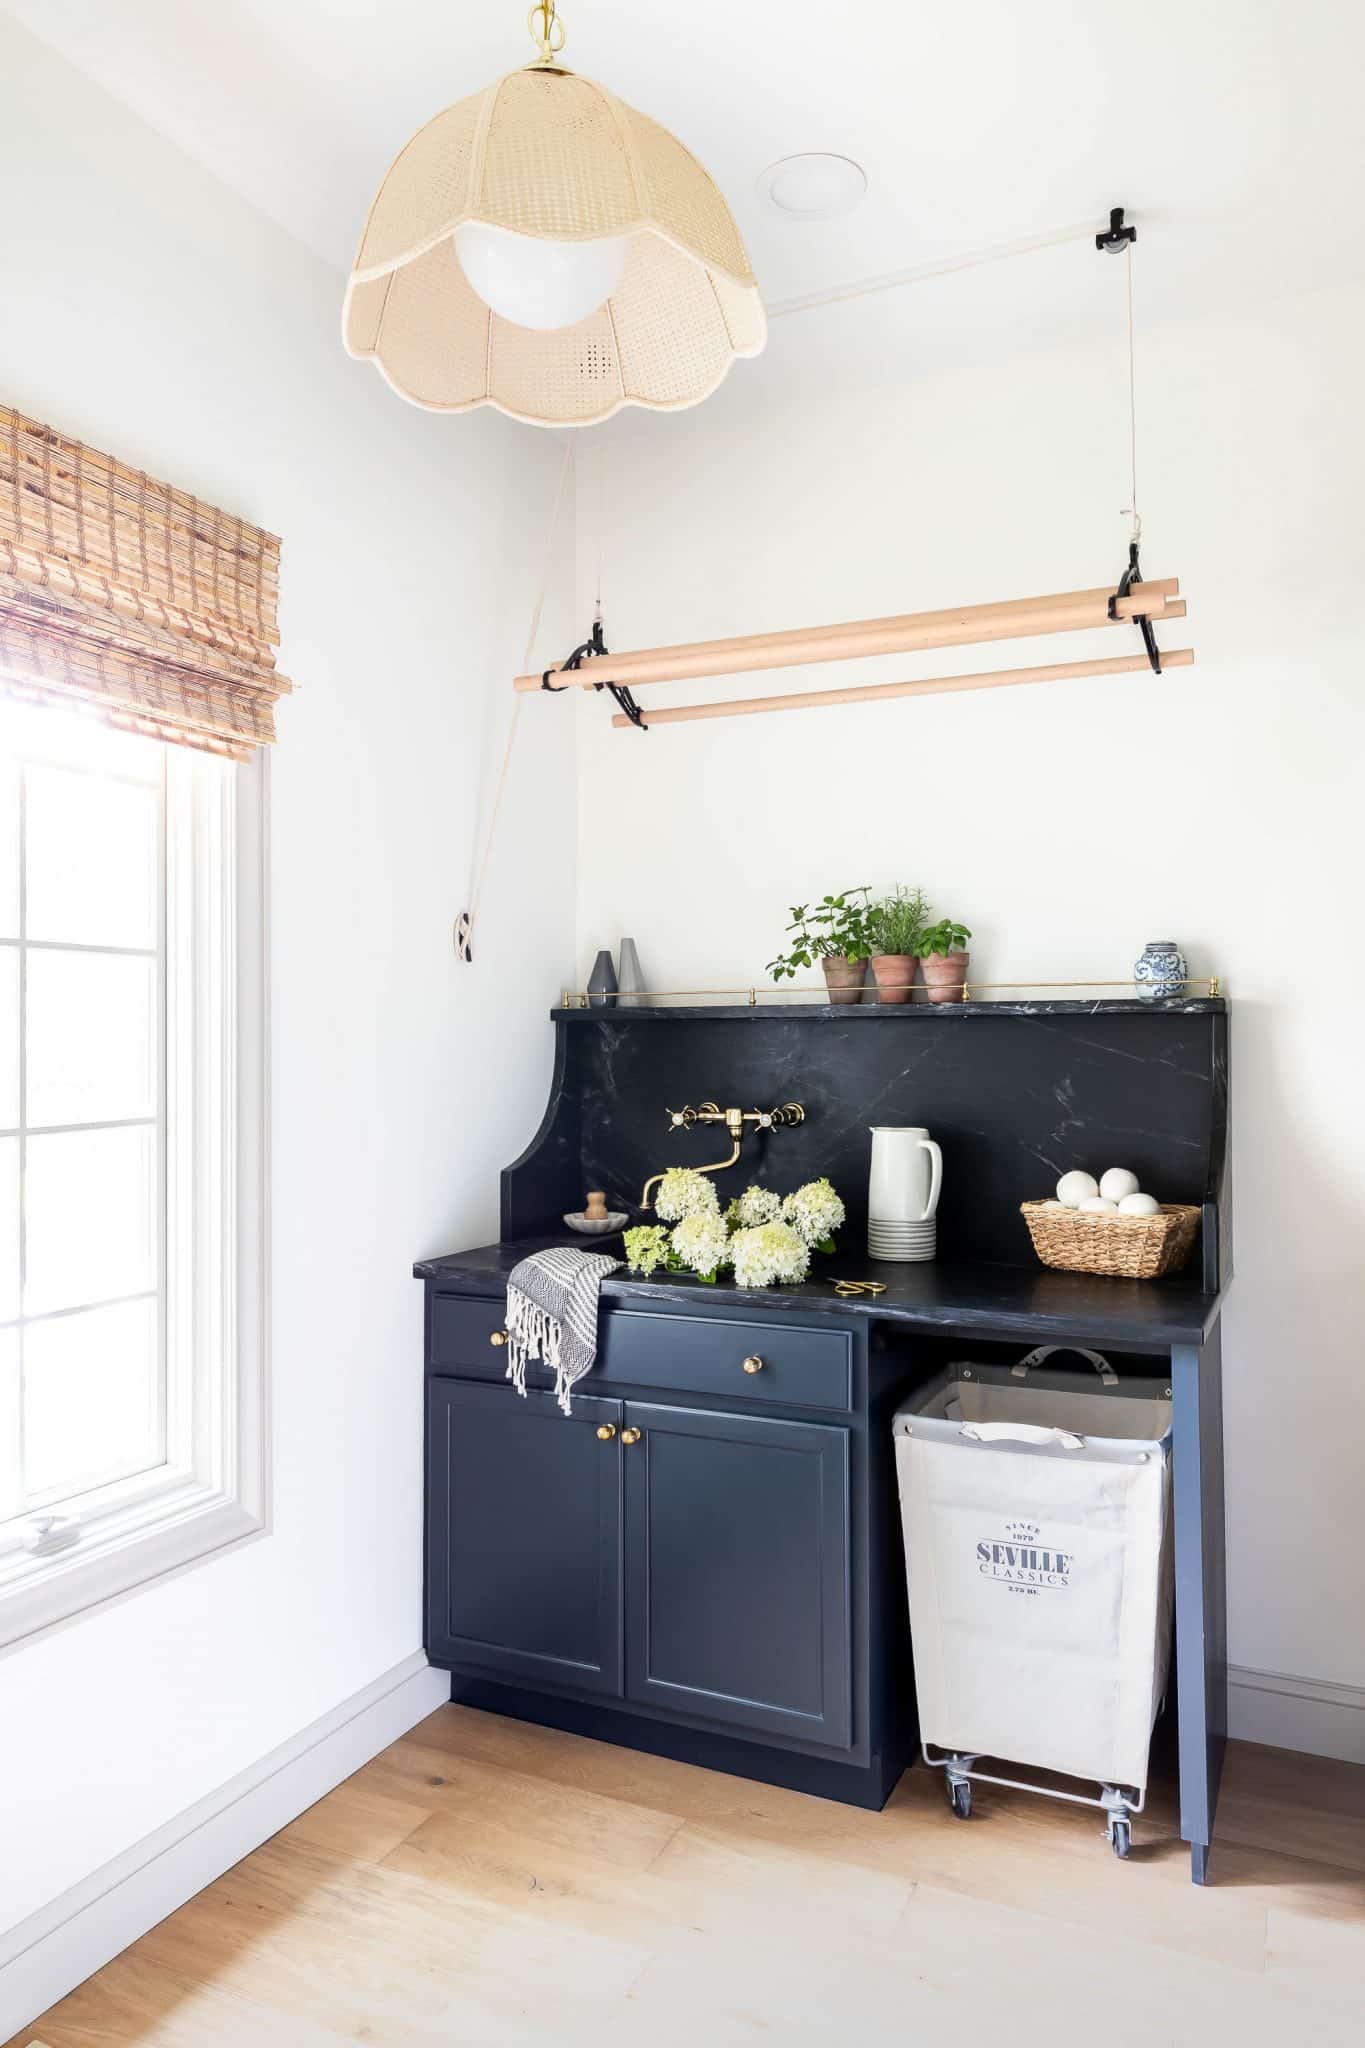
Also worth mentioning, I know it may seem like a tight squeeze in front of the washer, but I wanted a dedicated place to store the laundry cart while also gaining some counter space, so we extended the sink cabinet. So far, I haven’t had any issues standing in front of the washer to transfer the load from the washer to the dryer. Is it ideal? No, but compromises must be made in every renovation.
Touchdown! Let’s Celebrate the Win!
All of our hard work has paid off and we’re celebrating the win. Let’s take a lap around the field and do our victory dance!
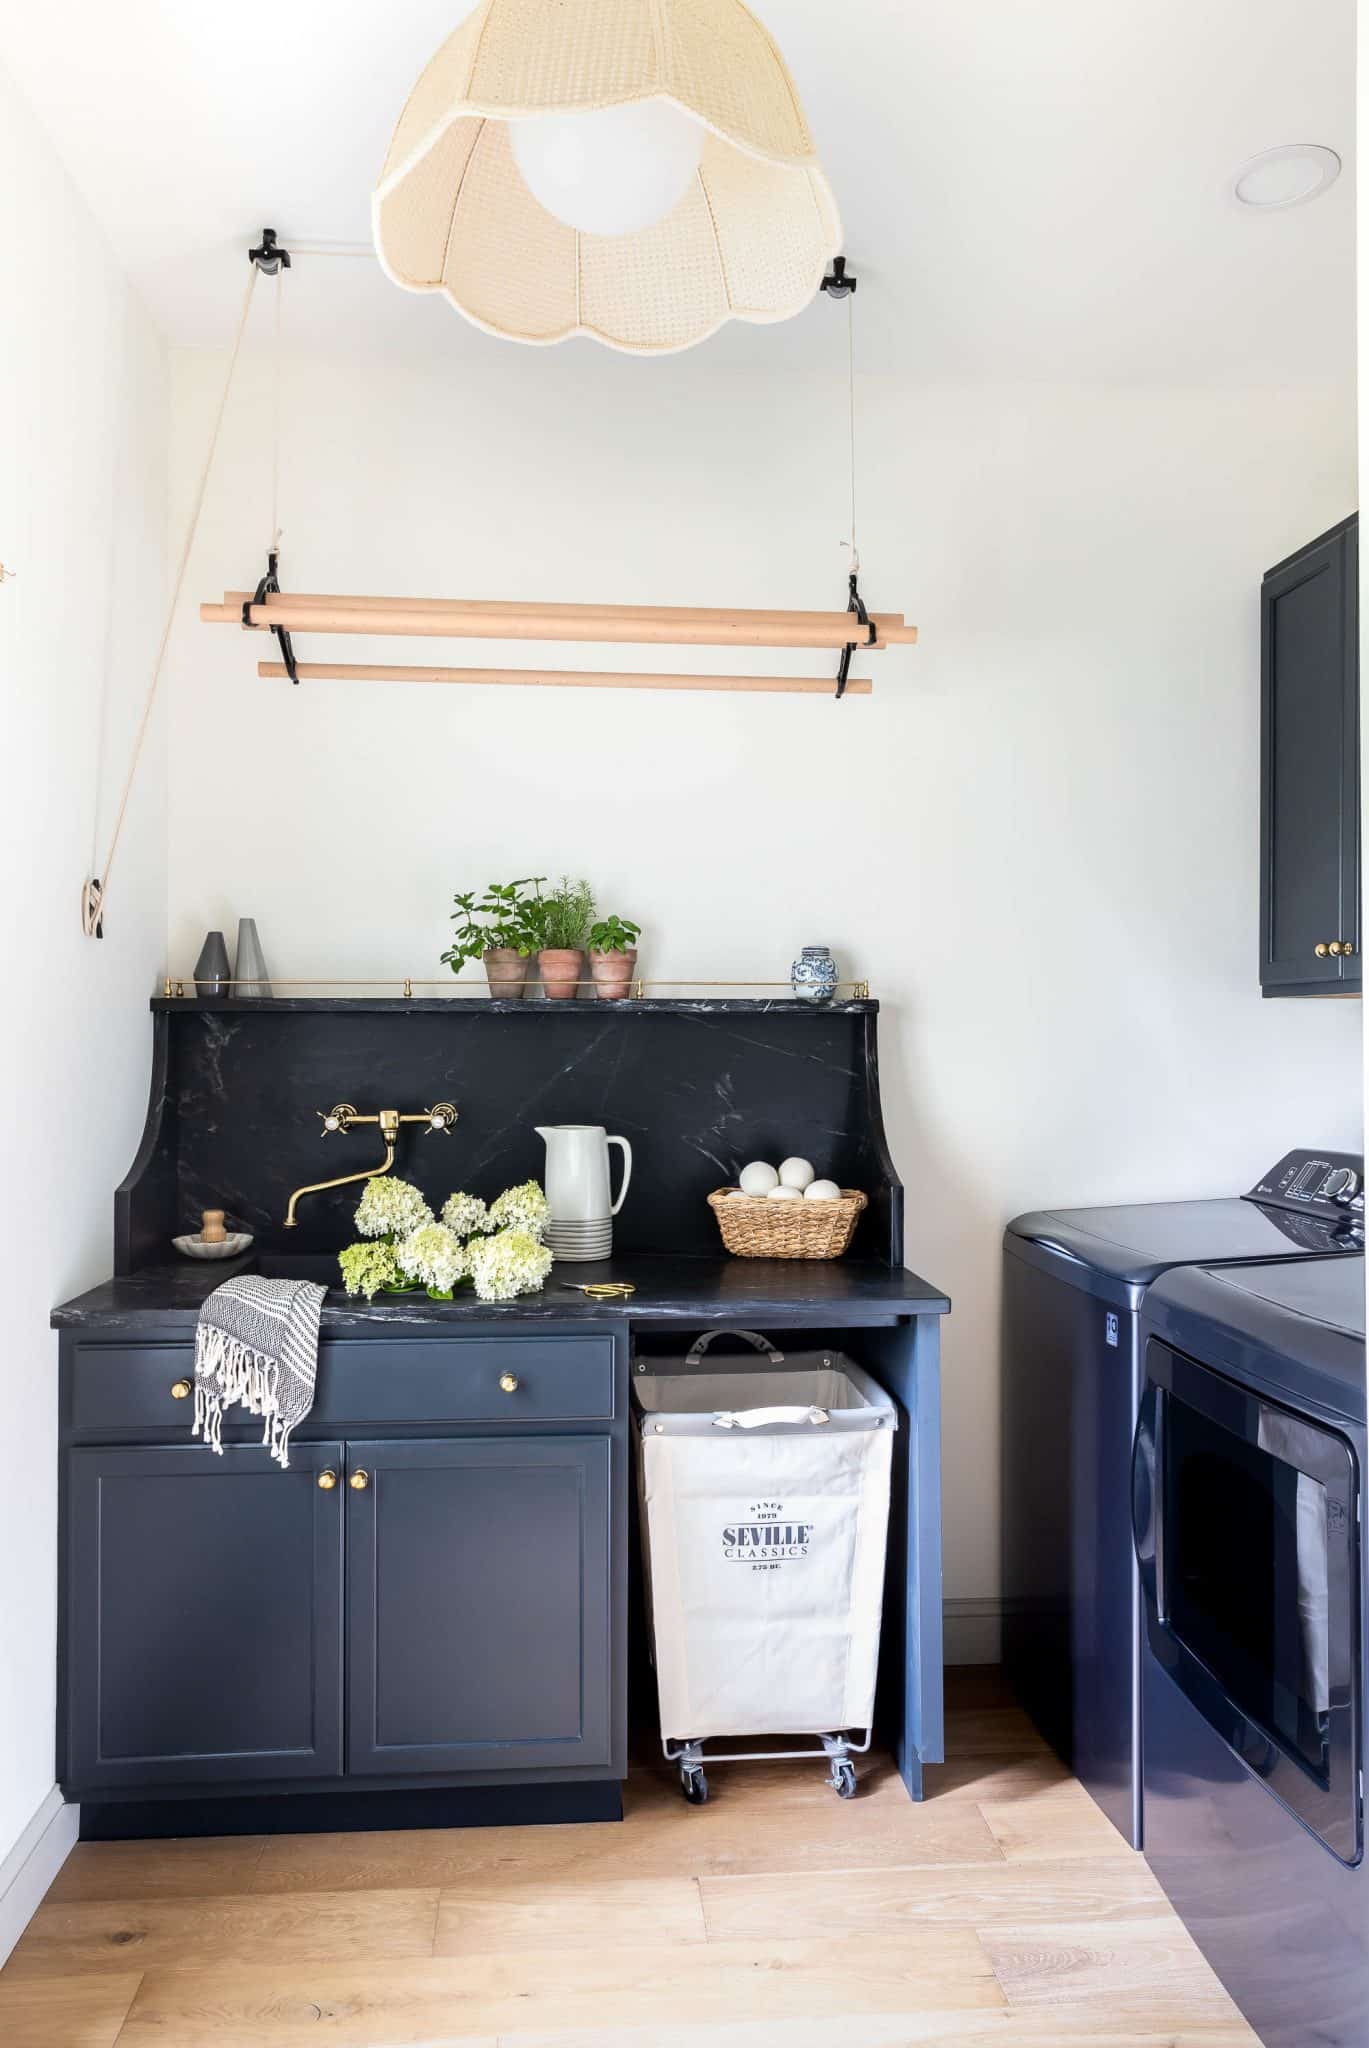
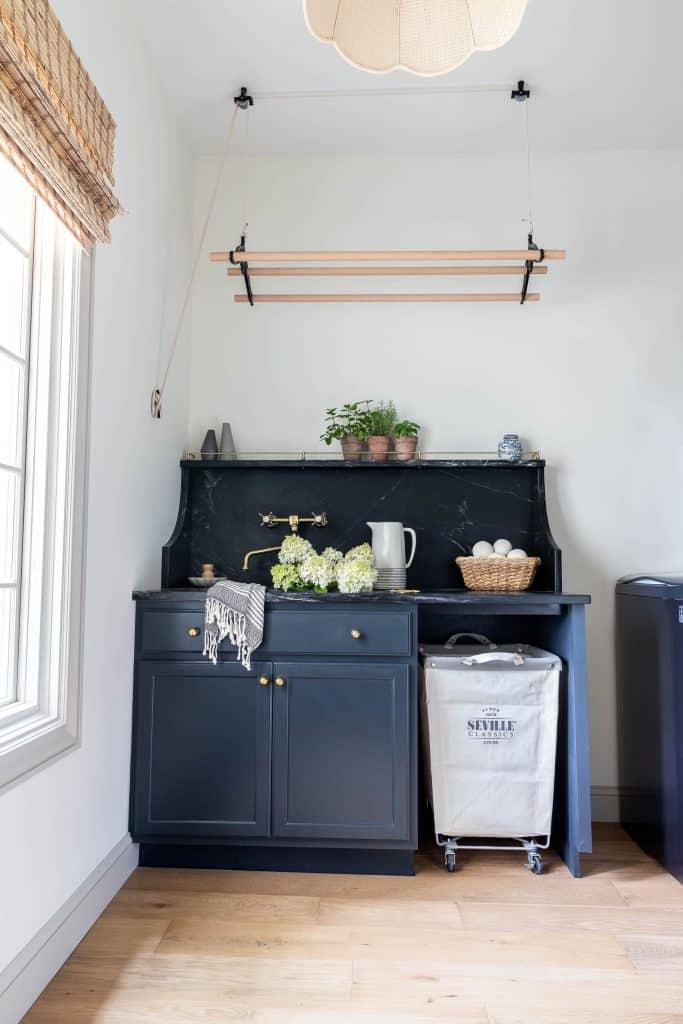
This vintage-style wall-mounted brass faucet against the natural soapstone is giving me life right now. I am in love!
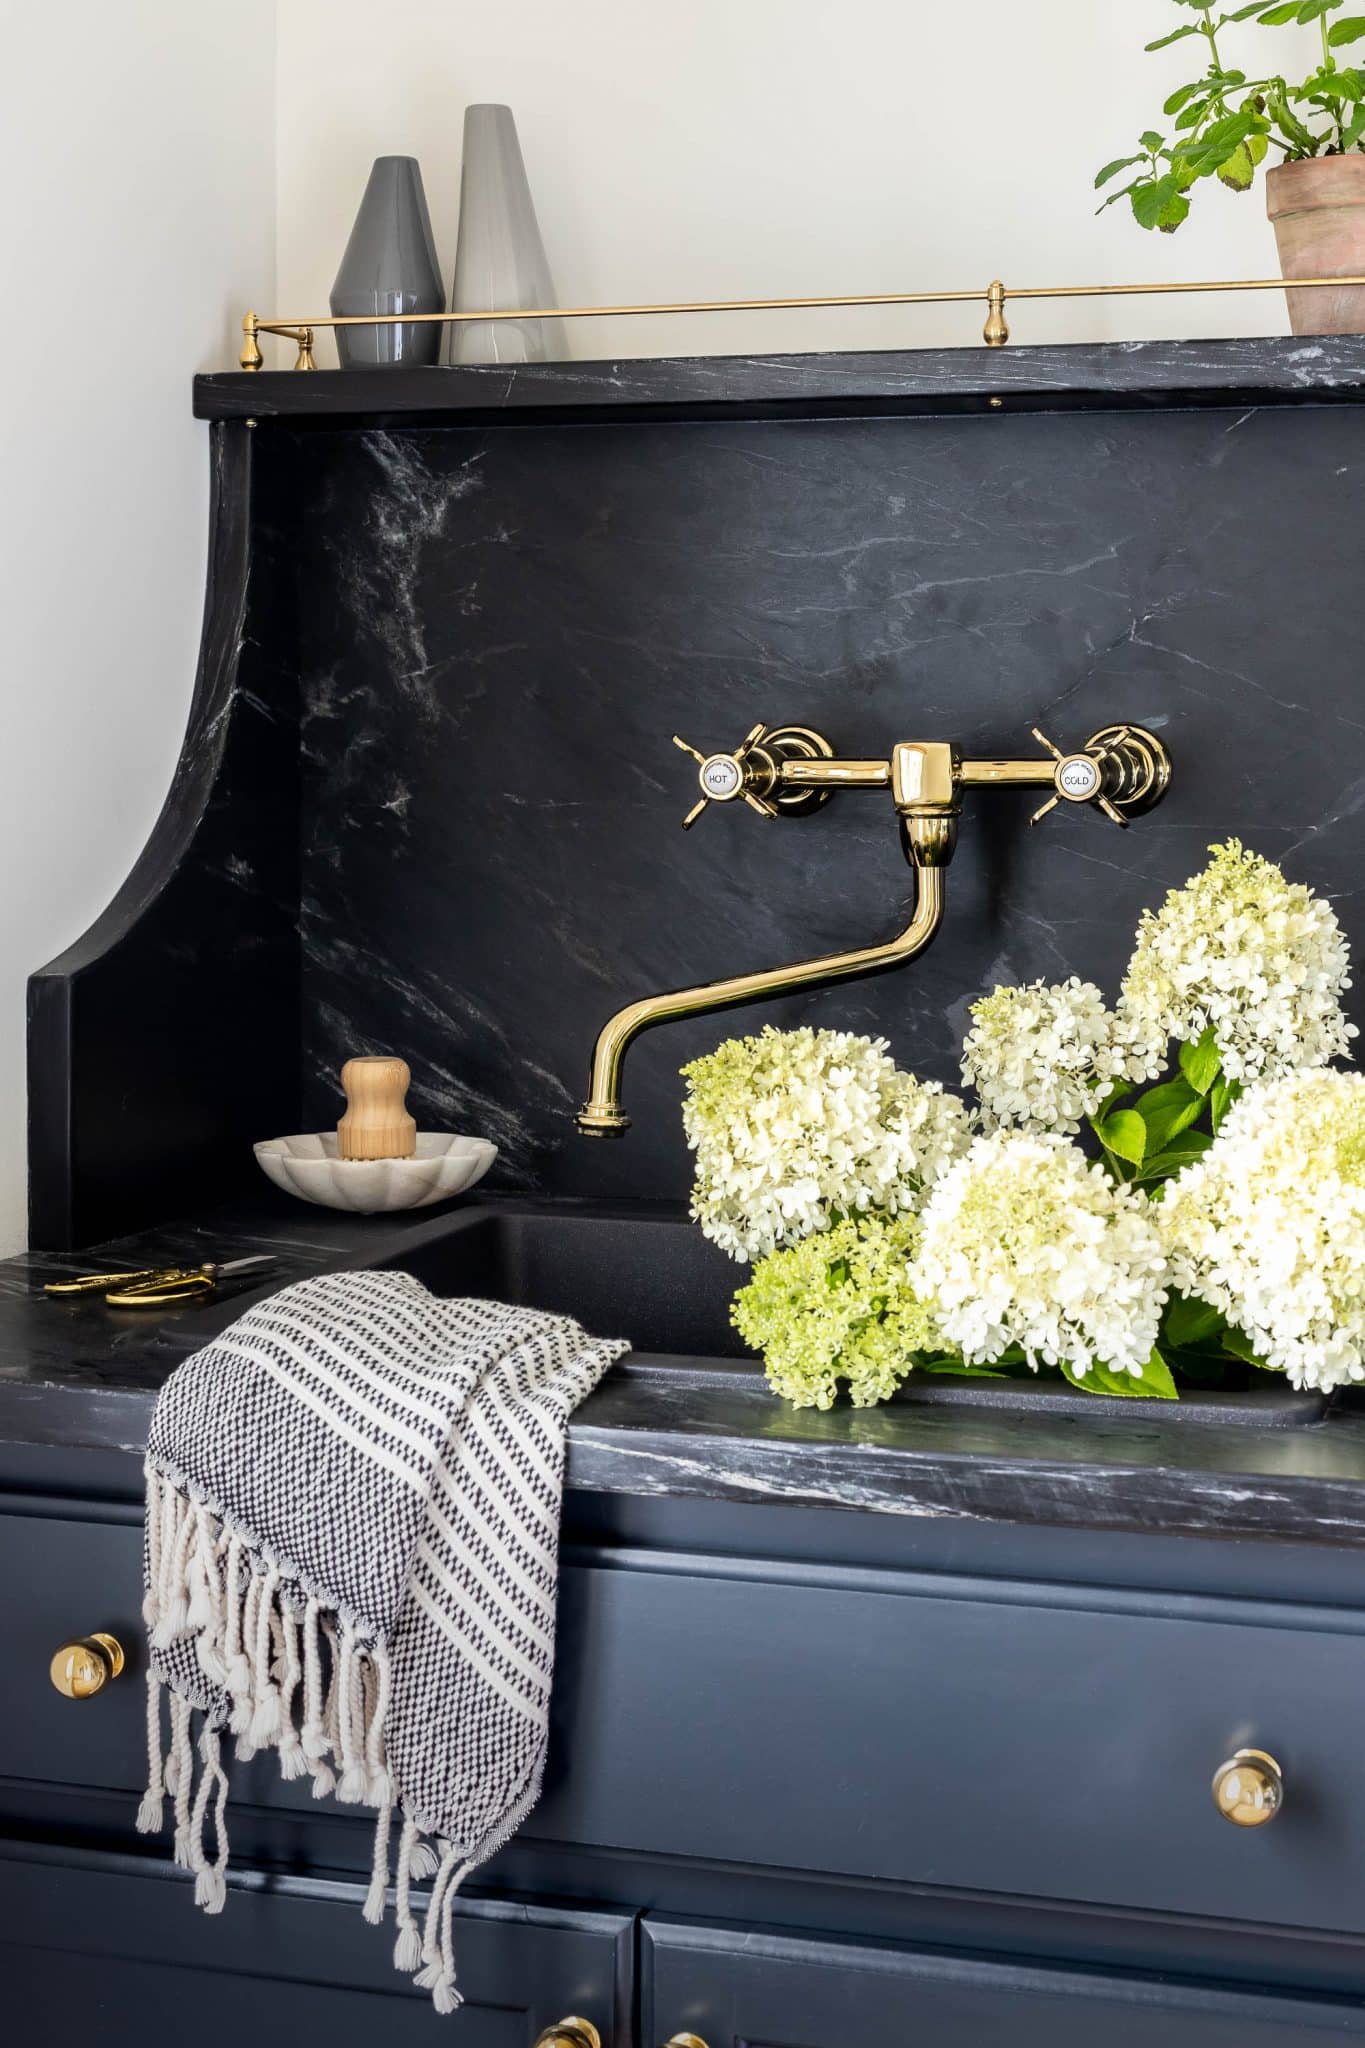
So happy to have finally found a place for soapstone here in our home. As for the backsplash, shelf, and side splashes, I didn’t have a clear idea as to how I wanted it to look, so I sketched up a few iterations. The final design turned out better than I could have ever imagined!
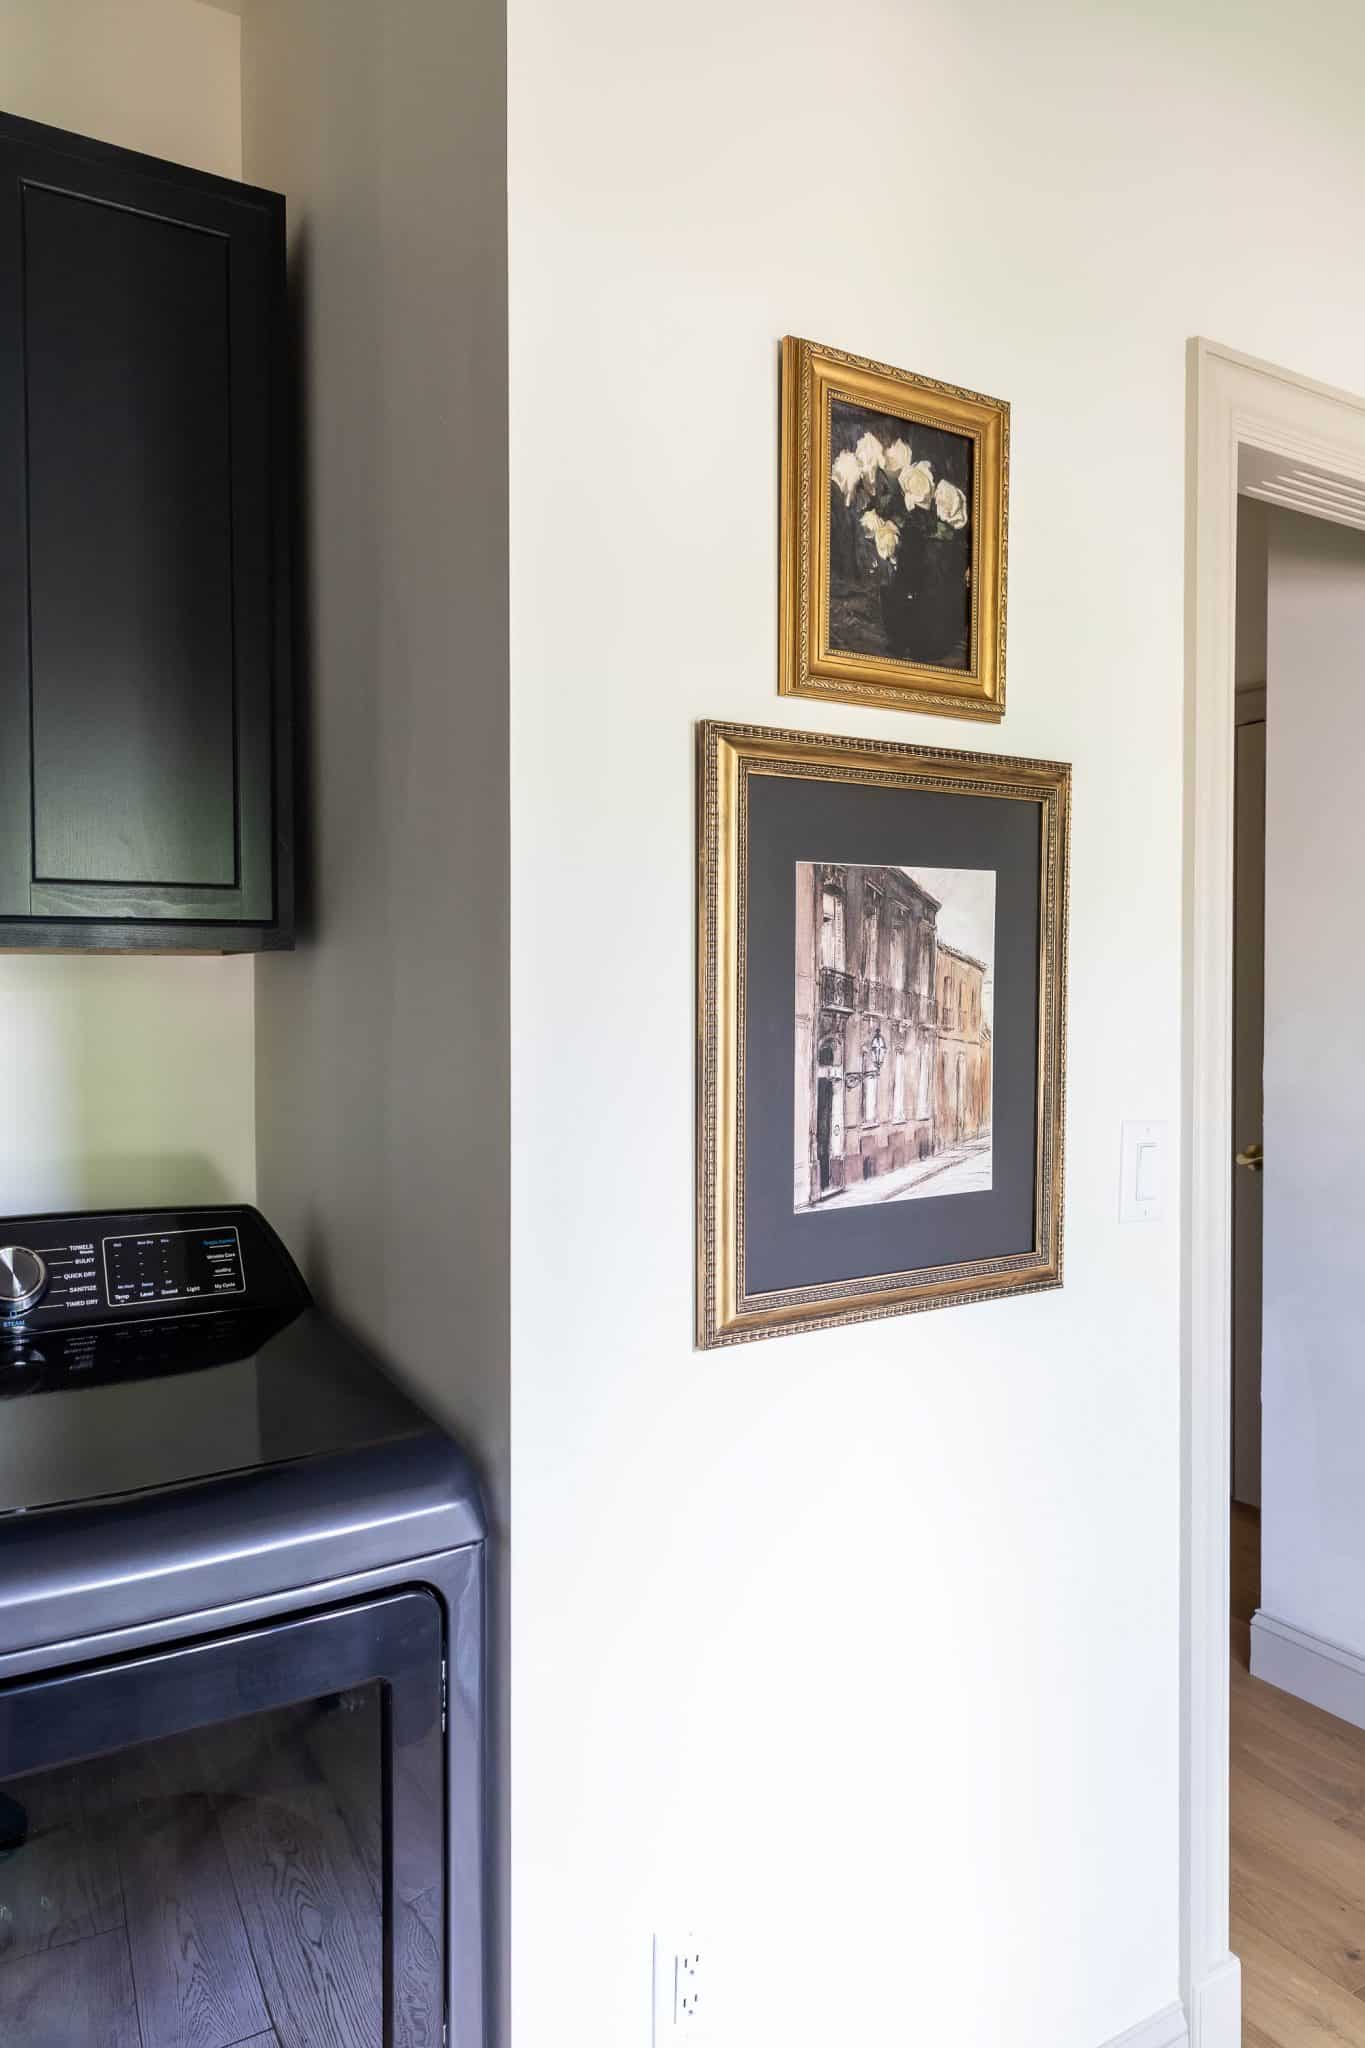
I downloaded the artwork online and had them printed at a local print shop for about $2. The picture frames were from the thrift store and I just applied a little Rub n’ Buff gold leaf paint to make them look antique.
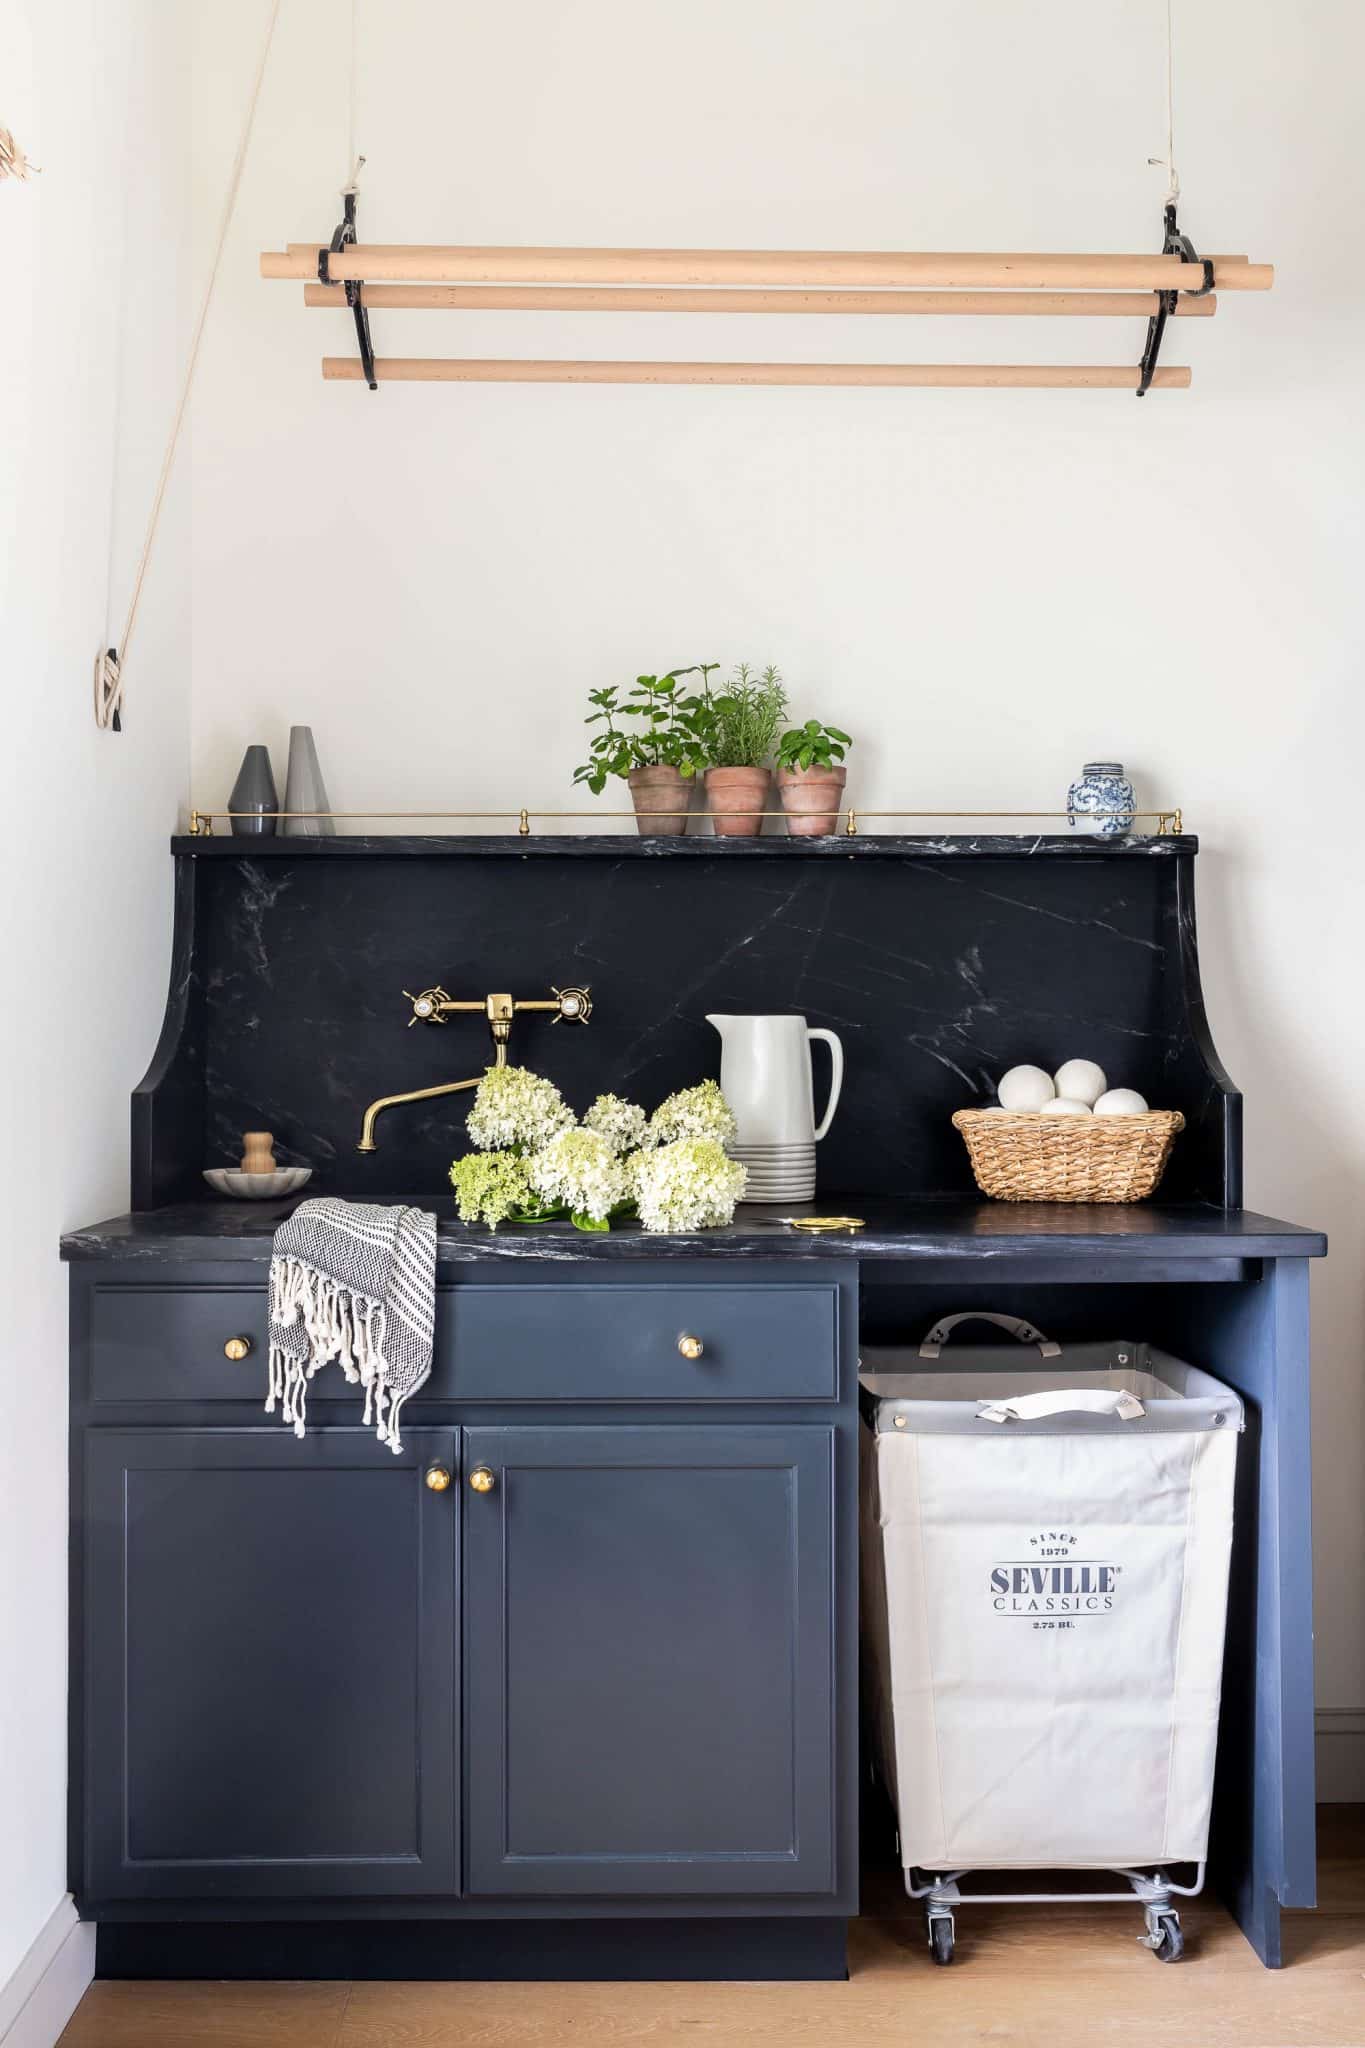
The rack hanging above the sink cabinet is an Edwardian clothes airer, also known as a laundry pulley or Sheila Maid. They were installed in the laundry room of homes in Europe from the late 18th century. The rope and pulley system raises and lowers the rack so that clothes can be loaded on and then hoisted up into warmer air to dry.
Before & After
Now for the replay! We all love a good ‘before and after’ side-by-side comparison, so here you go:

Product Sources:
- Smart GE Profile High-Efficiency Smart Top Load Washer (Diamond Gray)
- Smart GE Profile Electric Dryer (Diamond Gray)
- Lower Cabinet
- Upper Cabinets
- Brass Wall-Mounted Faucet
- Drop-In 22-inch Kitchen Sink (Onyx Black)
- Sink Strainer (Matte Black)
- Rattan Pendant Light
- Canvas Laundry Hamper Cart
- Engineered Hardwood Flooring
- Wall Paint: Benjamin Moore “White Dove” (matte)
- Trim Paint: Benjamin Moore “Revere Pewter” (satin)
- Cabinet Paint: Benjamin Moore “Midnight” (semi-gloss)
- Vintage Paris Street Print
- Dark Moody Roses Print
- Art Frames (thrift store)

We were planning to remodel our laundry room, and I came across this post while looking for tips. Thank you for sharing your ideas. Thank you for sharing! If there is a need for more information about plumbing, HVAC, and construction, let us know.
Beautiful renovation! I love your design choices and the new layout. Stunning!
Thank you for the kind words, Amy!
Gorgeous! Love the soapstone and the cabinet colours you chose.
Hi, Jen Your post is so thoughtful, insightful, and thorough in written and verbal communication, and it has a talent for expressing ideas clearly.
Gorgeous and practical. Love it!
I like how things have changed! looks neat but stunning!