Since we were remodeling our primary bathroom, we decided to go ahead and makeover our closets as well. By the way, the bathroom remodel turned out amazing – you can see it here.
Watch the Video!
Closets Before
This is what our primary closets looked like before. We have his and her closets on opposite sides of our bathroom hallway, with builder-grade wire shelving. For a home our size, these closets are disproportionately small. Even still, they were perfectly adequate, but the layout and shelving configuration weren’t making the best use of the space. By building floor-to-ceiling shelving units, we’ll be able to maximize every inch and increase storage and functionality.
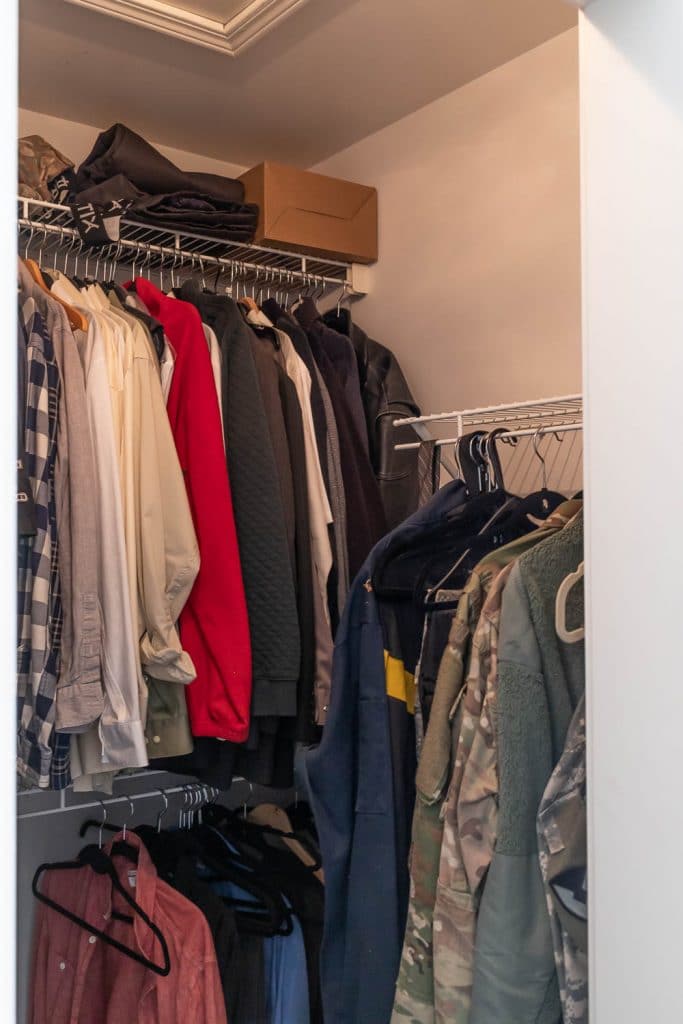
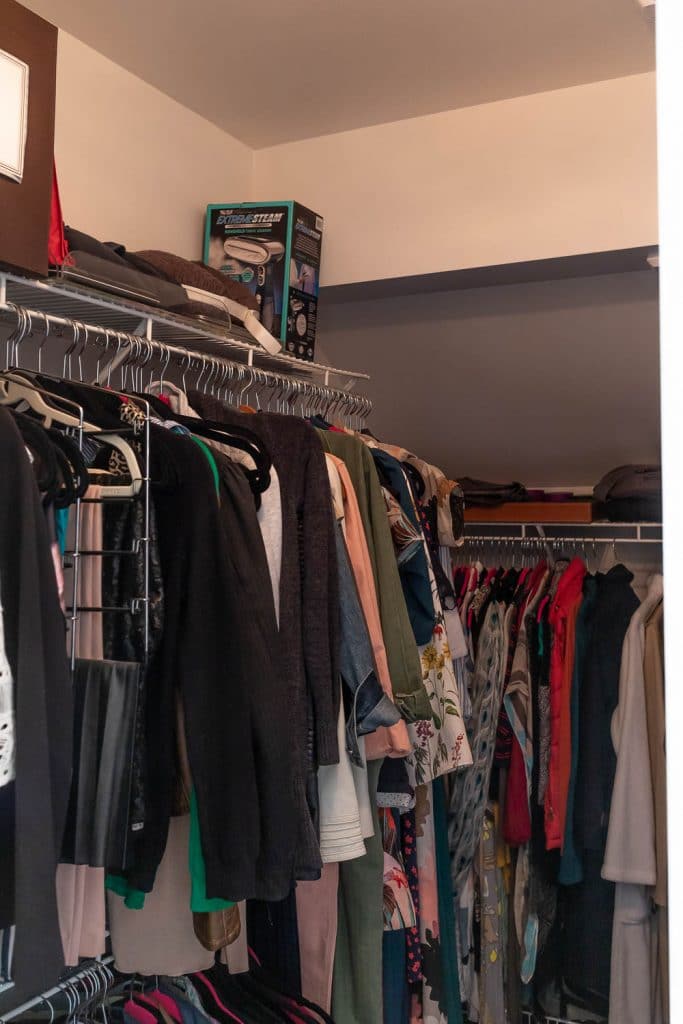
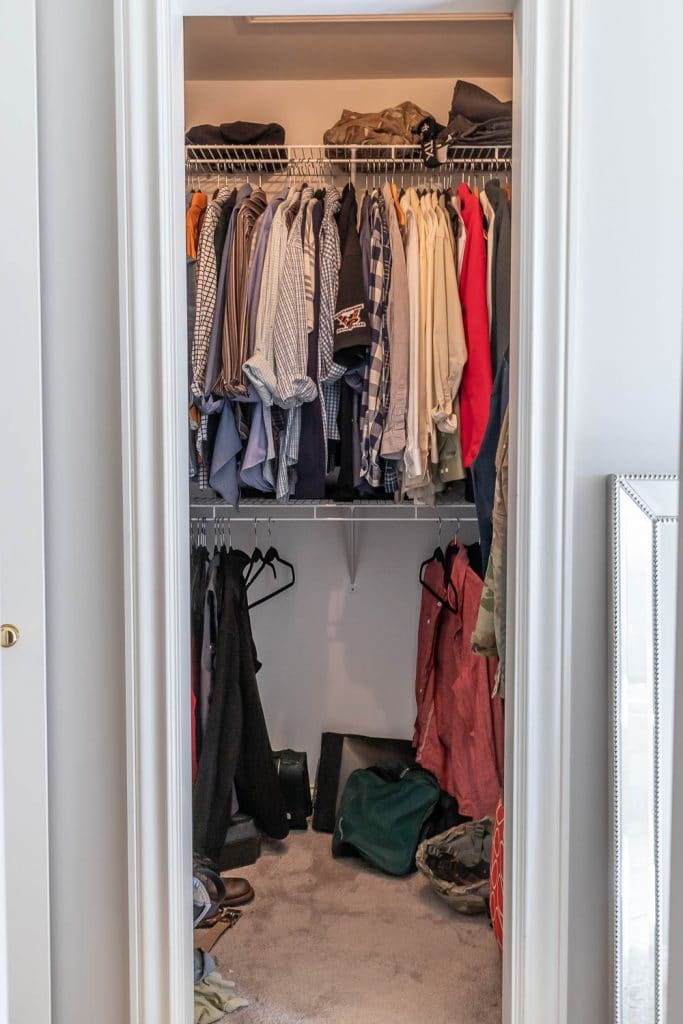
I’ve tackled closet makeovers before (here, here, and here), and I’ve even built my share of dressers to calm the clutter, but this is the first time I’m remodeling a walk-in closet. Want a peek at how everything turned out before we dive into the tutorial? Of course you do!
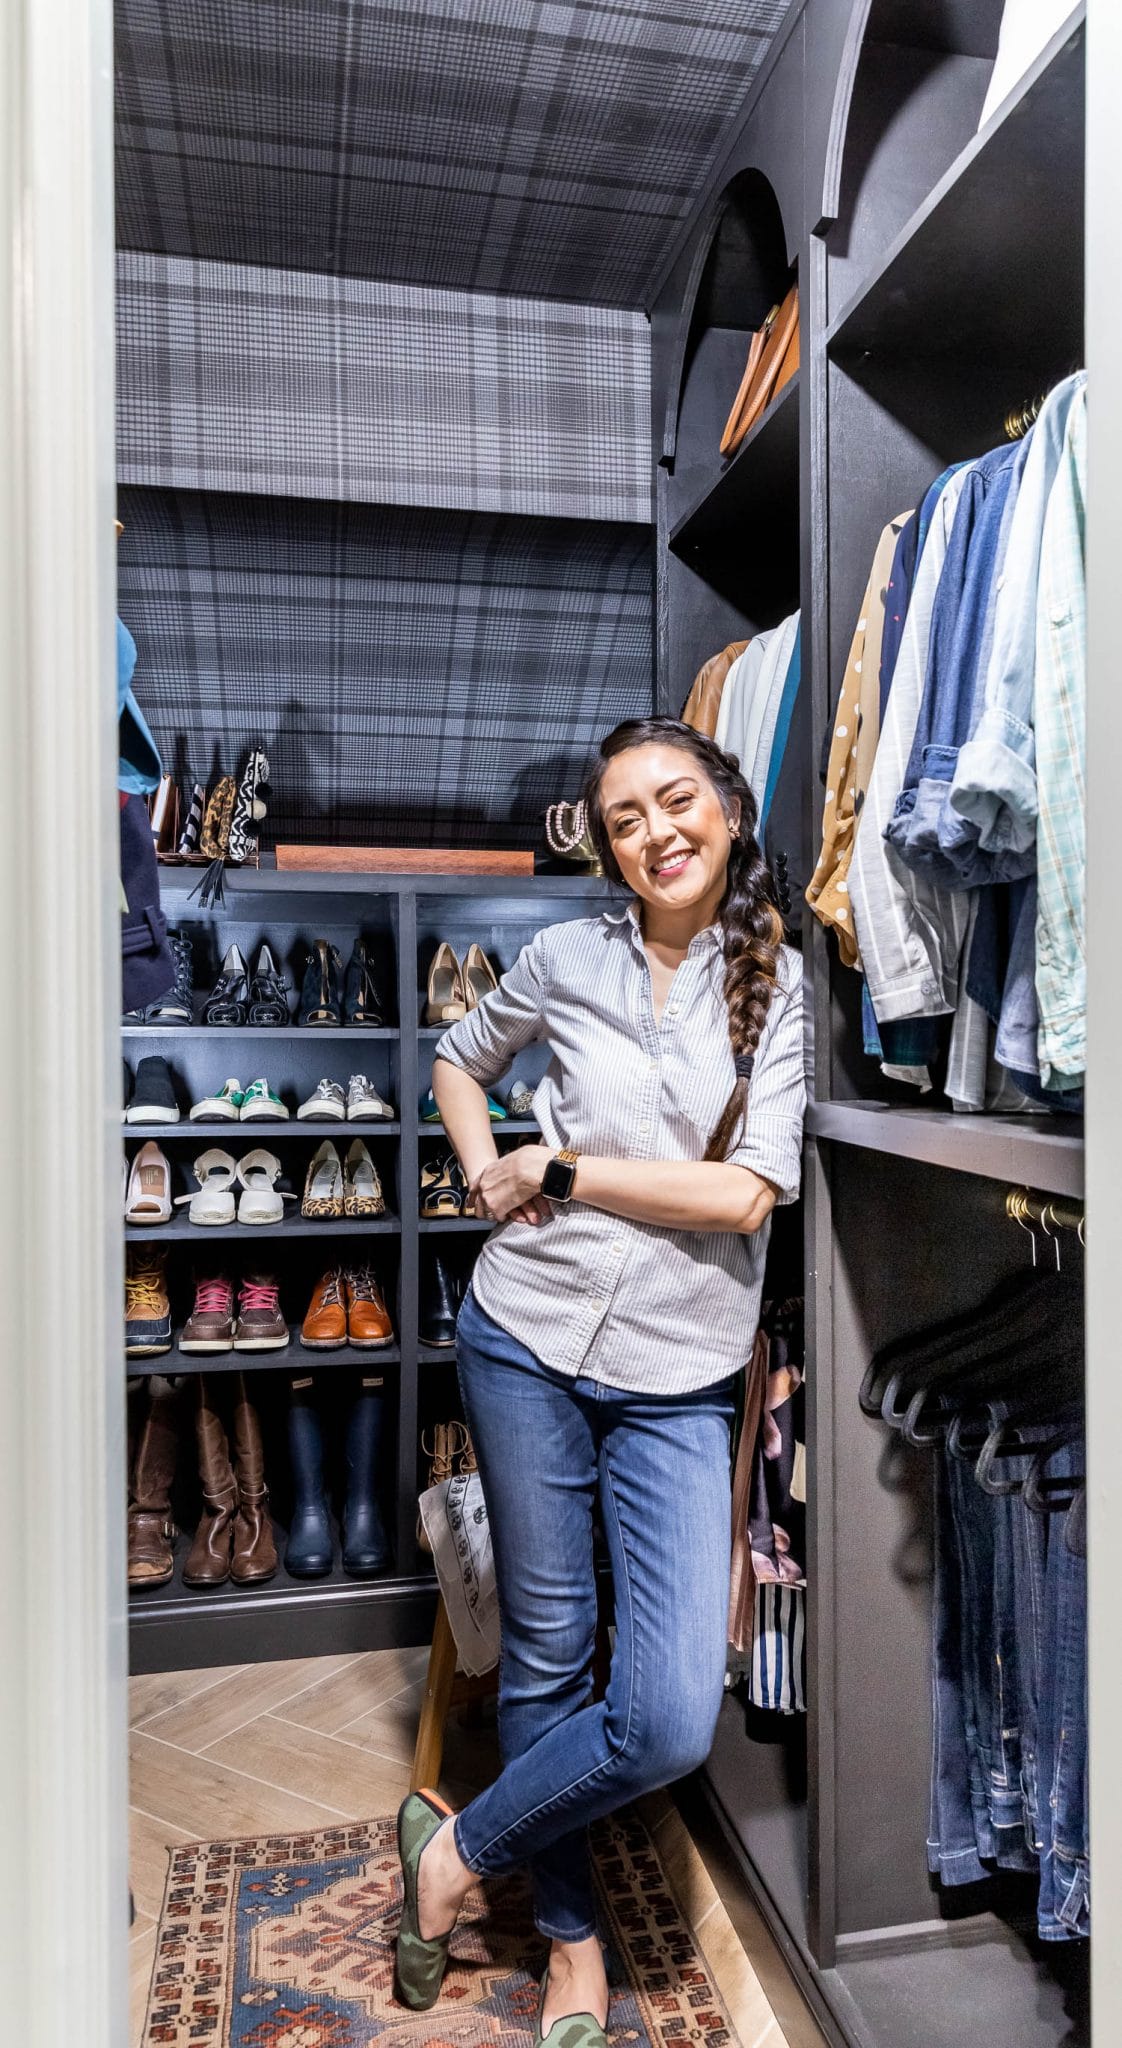
Planning For A Closet Makeover
The first thing I did was measure each closet, then figure out what layout made the best sense for us, taking inventory of all the clothes we had to store in here. I knew I’d need at least one tall unit to hang long dresses and coats, but the rest could be split up into upper and lower units, for shirts and pants. I added a top shelf for baskets and considered adding drawers too. Adam didn’t need a long wardrobe, so we made all his into upper and lower units. We added a shoe shelf for both closets, then took our rough layout to the Shelf Help website so we could start designing the shelving units.
Introducing Shelf Help
Allow me to introduce you to Shelf Help. It’s a brand new, innovative concept created by the OG DIY queen herself, my dear friend, Ana White. Here’s a quick rundown of how Shelf Help works: you design your project using the Shelf Help website, then they cut, package, and ship the parts straight to your doorstep, and you assemble the pieces at home. You can build pretty much anything that has a plywood case using Shelf Help… this includes built-in bookshelves, mudroom benches, entertainment centers, desks, even kitchen cabinets.
Shelf Help Configurator
When you go to ShelfHelpNow.com, click on the Configurator at the top. This is a free design program available on the website. You don’t need to have any experience with CAD or any other 3D drawing programs – the Configurator is very intuitive. From here, you can start designing your project. You can adjust the dimensions, how tall, short, how far apart the shelves are, so your shelving unit is completely custom to your space. You can choose how many bays you want, slide the parts where you need them, and add or remove shelves using the 3D diagram. It’s so easy to navigate! There are 4 depths available, and these are standard to the cabinet-making industry… most cabinets and shelving units are one of these four standard depths.
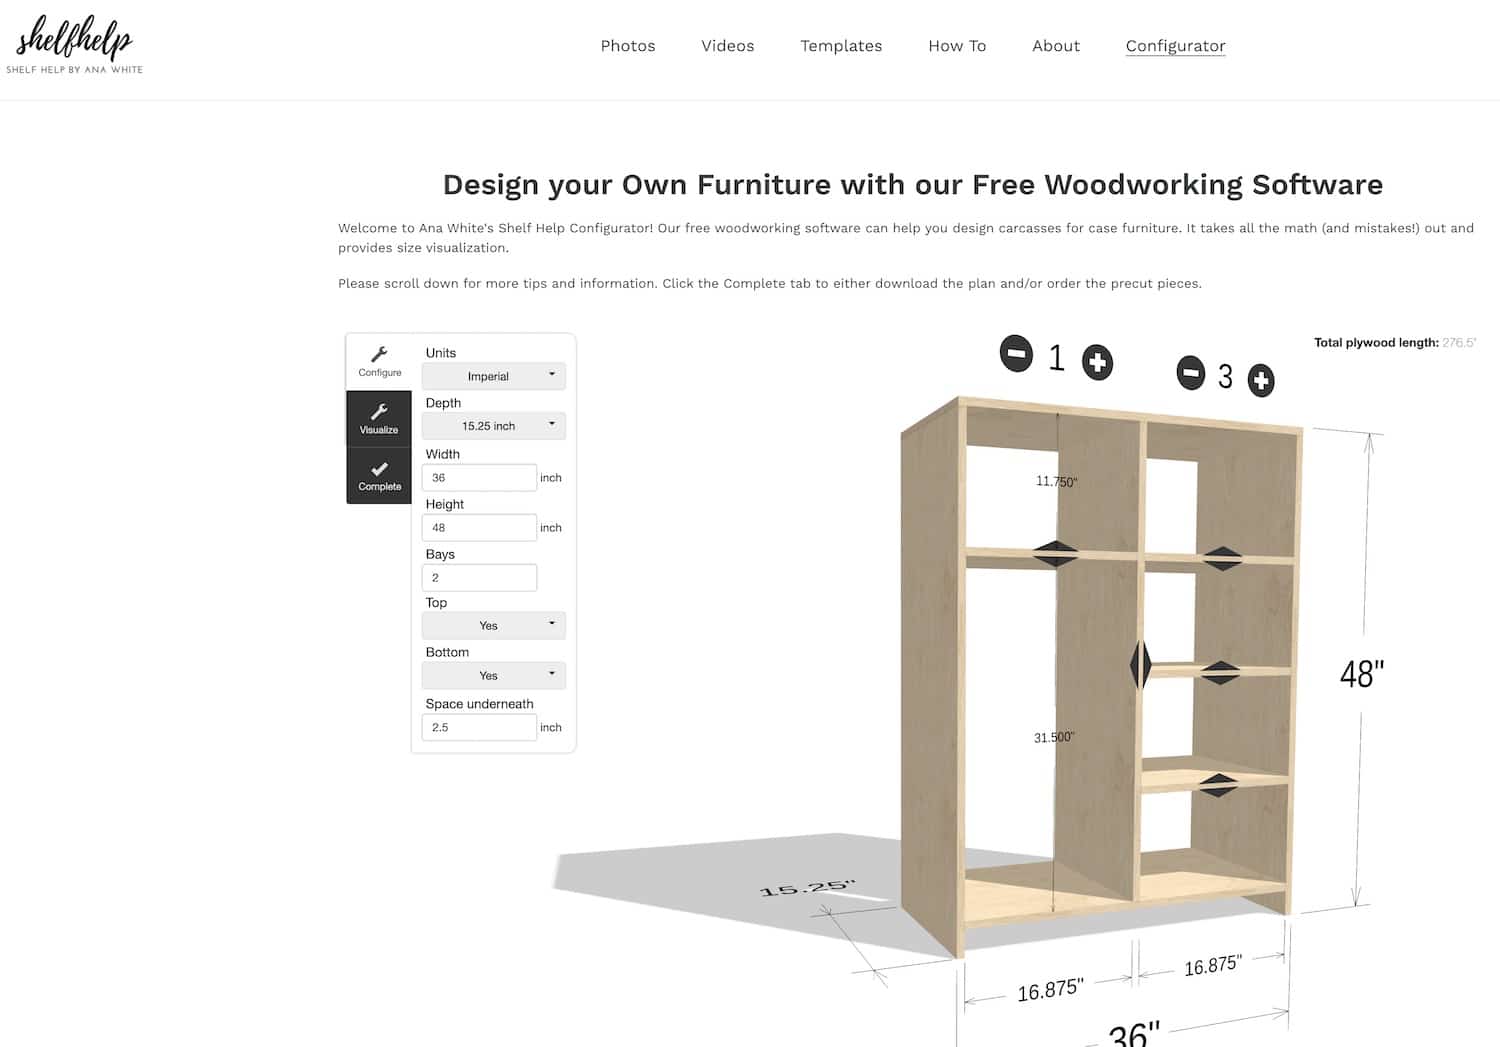
For our closet, I chose both the 15- and 20-inch depths so we have some variation. I’ll put a 20-inch cabinet on one side and a 15-inch on the other, so we’re able to maximize the space we have, but still have ample walking room between the built-ins.
And here’s a really great tip – if you’re doing floor to ceiling shelving units, say, for an 8-foot-tall ceiling, don’t make the units 8 feet tall. Instead, break them up into upper and lower units. By making your shelving units modular, they’ll not only be easier to pack and ship, but once you build them, they’ll be much easier to manage and bring into your space. Luckily, I did this with most of the units in our closets, but I didn’t have the foresight when I placed my order so there were a couple of full-size units that we built in my shop, toted upstairs to the room, only to discover they didn’t fit through the narrow hallway and doors. So we ended up having to take them apart and reassemble them inside the closet. Not fun! Especially since we glued the pieces together! So, don’t make the same mistake. If you can build your pieces smaller and then stack them, do that. It’ll save you a ton of headache! And be sure to consider how they’ll fit, fully constructed, through doorways, hallways, staircases, or any other obstructions.
The ceilings in our closet are 8 feet tall, so instead of making the shelving unit 96 inches, we made the bottom to be 44 inches tall and the top will be 50 inches tall. This will allow for our shirts to hang freely and still have room for pants at the bottom.
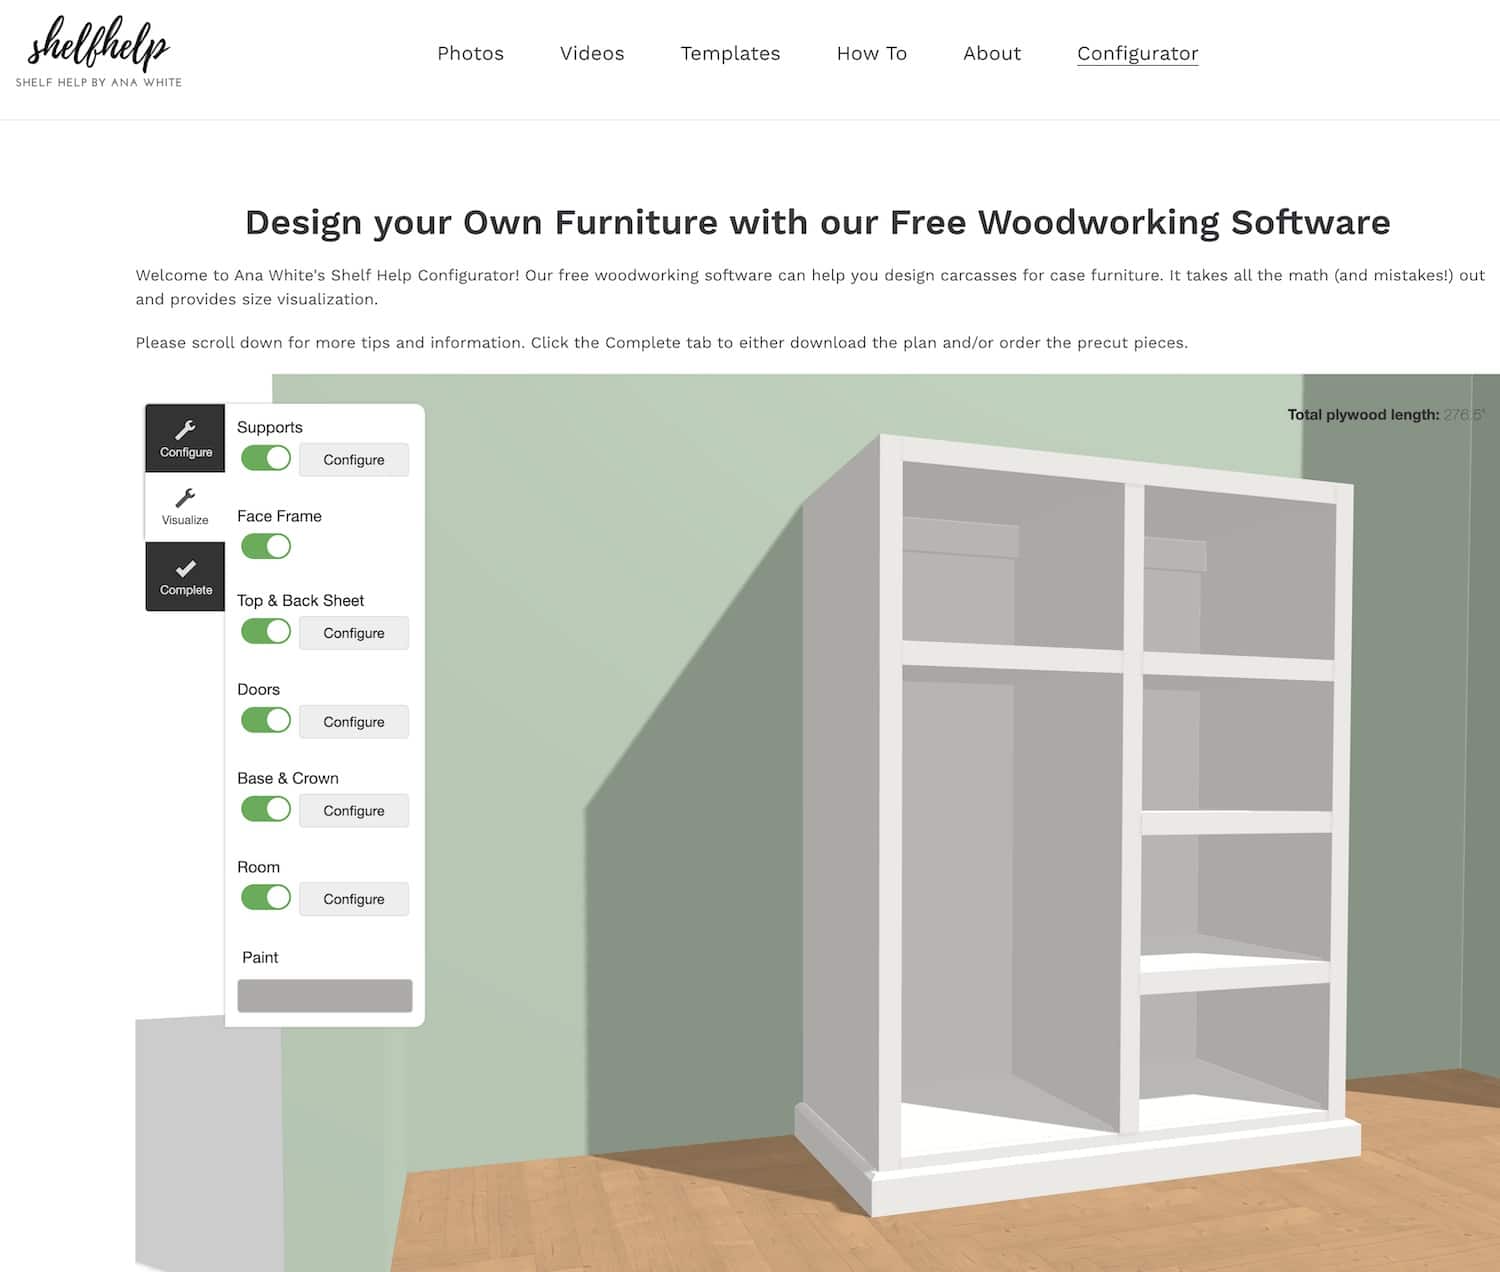
Once you finish designing your project, the site also has a visualization feature, which will give you an idea as to how everything will look in your space, with trim and face frames. You can even choose the color of your wall and floor, which is fun. And then if you click on “complete,” you can add all the parts to your cart, directly from there. Or, if you’re not ready to place your order, you can email the plan to yourself and pick up where you left off.
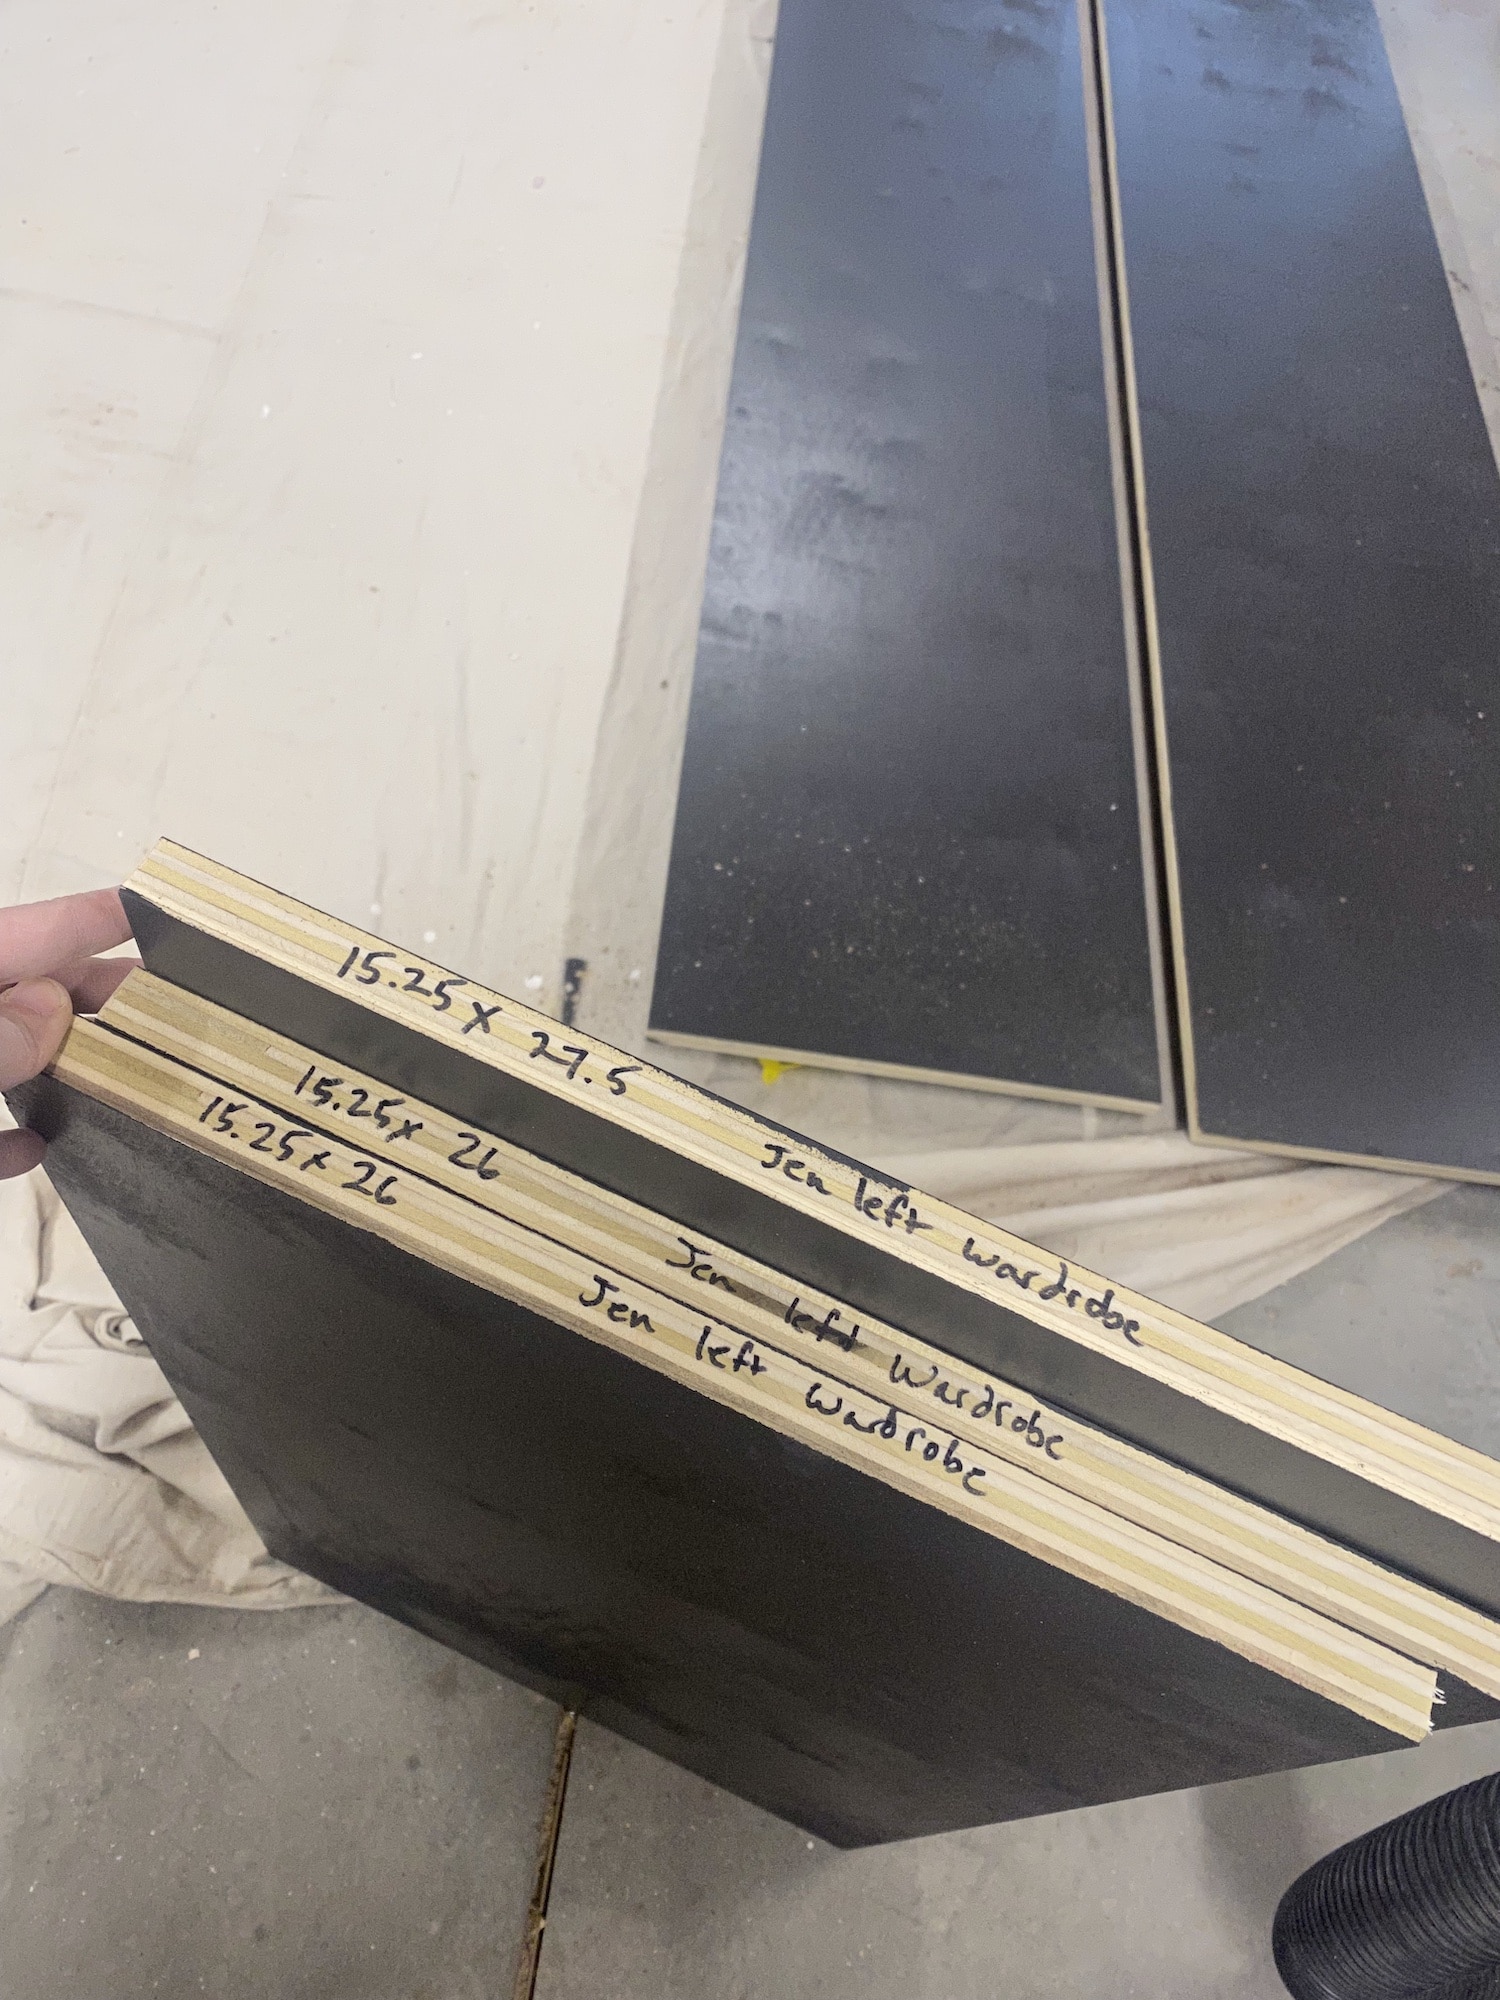
Also, when you add to cart, you can organize your project by name, which is really helpful, especially if you’re doing multiple units like we are. I was able to name each of my units like “Adam’s left upper unit” or “Jen’s shoe shelf” or whatever. And when the plywood was delivered, Shelf Help includes the diagrams and list of the panels so it’s easy to stay organized and see just how to assemble each unit. We unboxed everything, measured, and labeled each panel, then divided them into groups according to the project names we gave them.
PureBond Plywood
Shelf Help is made from ¾” PureBond plywood with a finished front edge and it’s precisely cut and packaged in North Carolina. PureBond is a hardwood plywood that’s formaldehyde-free, soy-based, sustainably harvested and manufactured here in North America. This is furniture-grade hardwood plywood, so it’s not flimsy particle board or MDF – it’s real wood and it’s so beautiful. I’ve been using PureBond plywood in my projects for almost a decade now!
Paint and Wallpaper
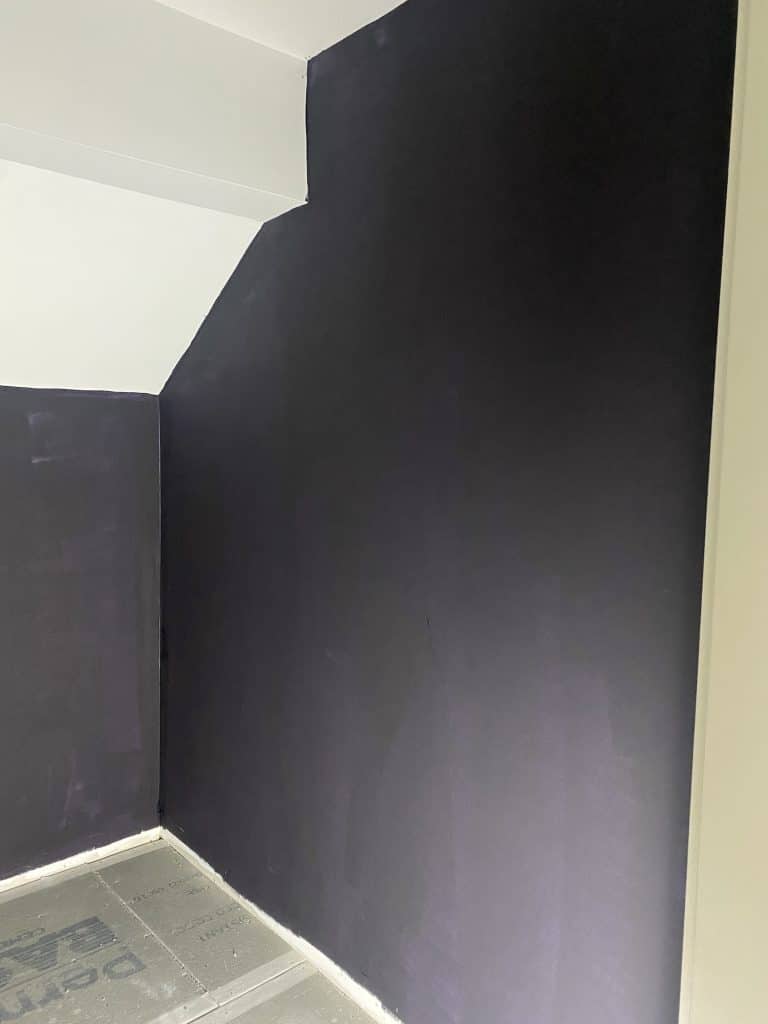
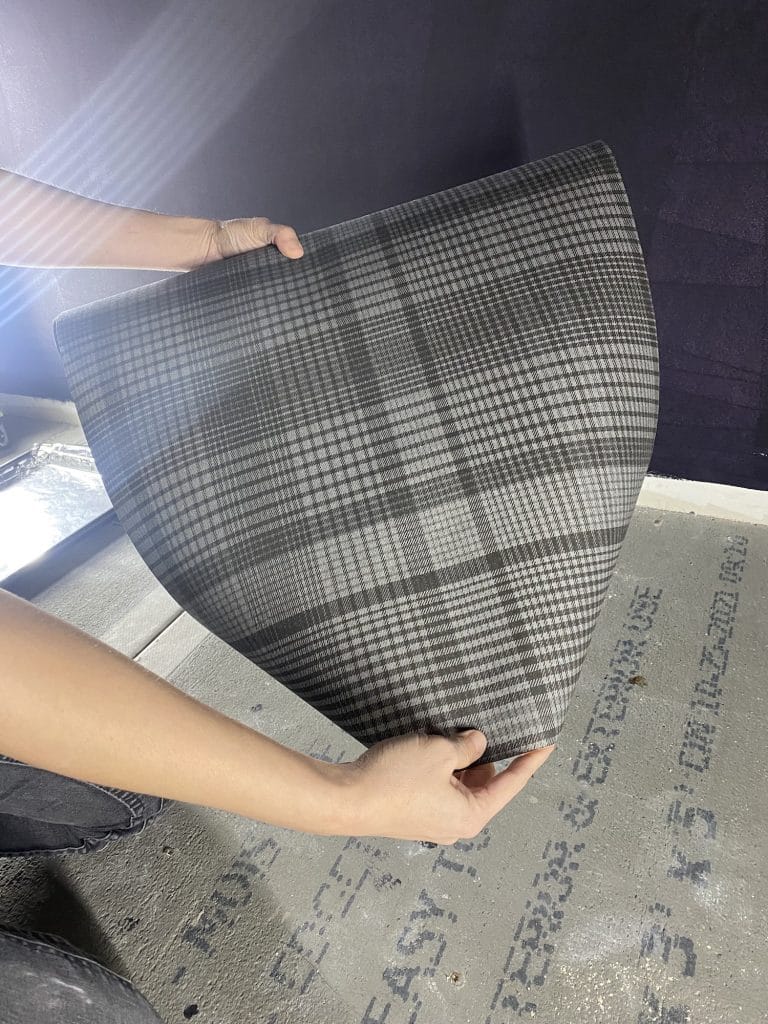
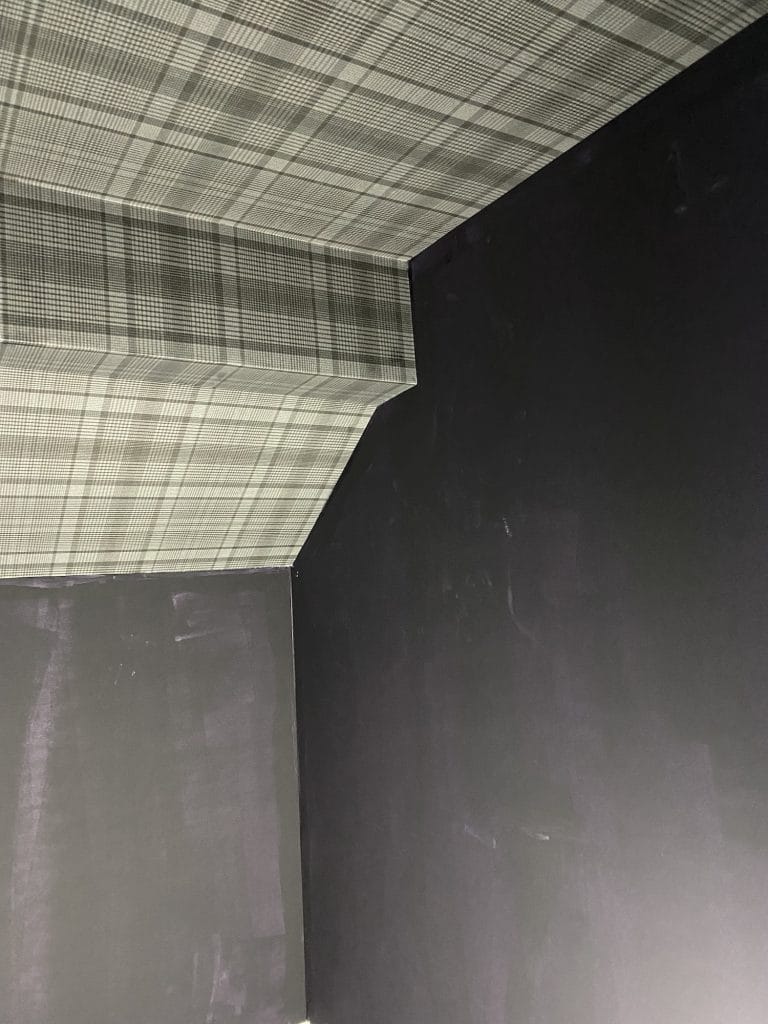
Before we get to assembling all the parts, I wanted to spruce up the closet space by painting the walls and wallpapering the ceiling. What can I say? I’m a glutton for punishment. I rolled on a base coat of paint on the walls but didn’t really care that the coverage wasn’t perfect because most of this is going to be behind the shelving units, so you won’t even see it, but I did want to get a base coat on the walls. Then, we wallpapered the ceiling, which was challenging. The wallpaper and its application weren’t hard, the fact that it was on the ceiling is what made it hard. It’s a fierce arm and shoulder workout! But I do love the look of wallpaper on the ceiling, so I’m glad we did it. And I’m glad to never do it again.
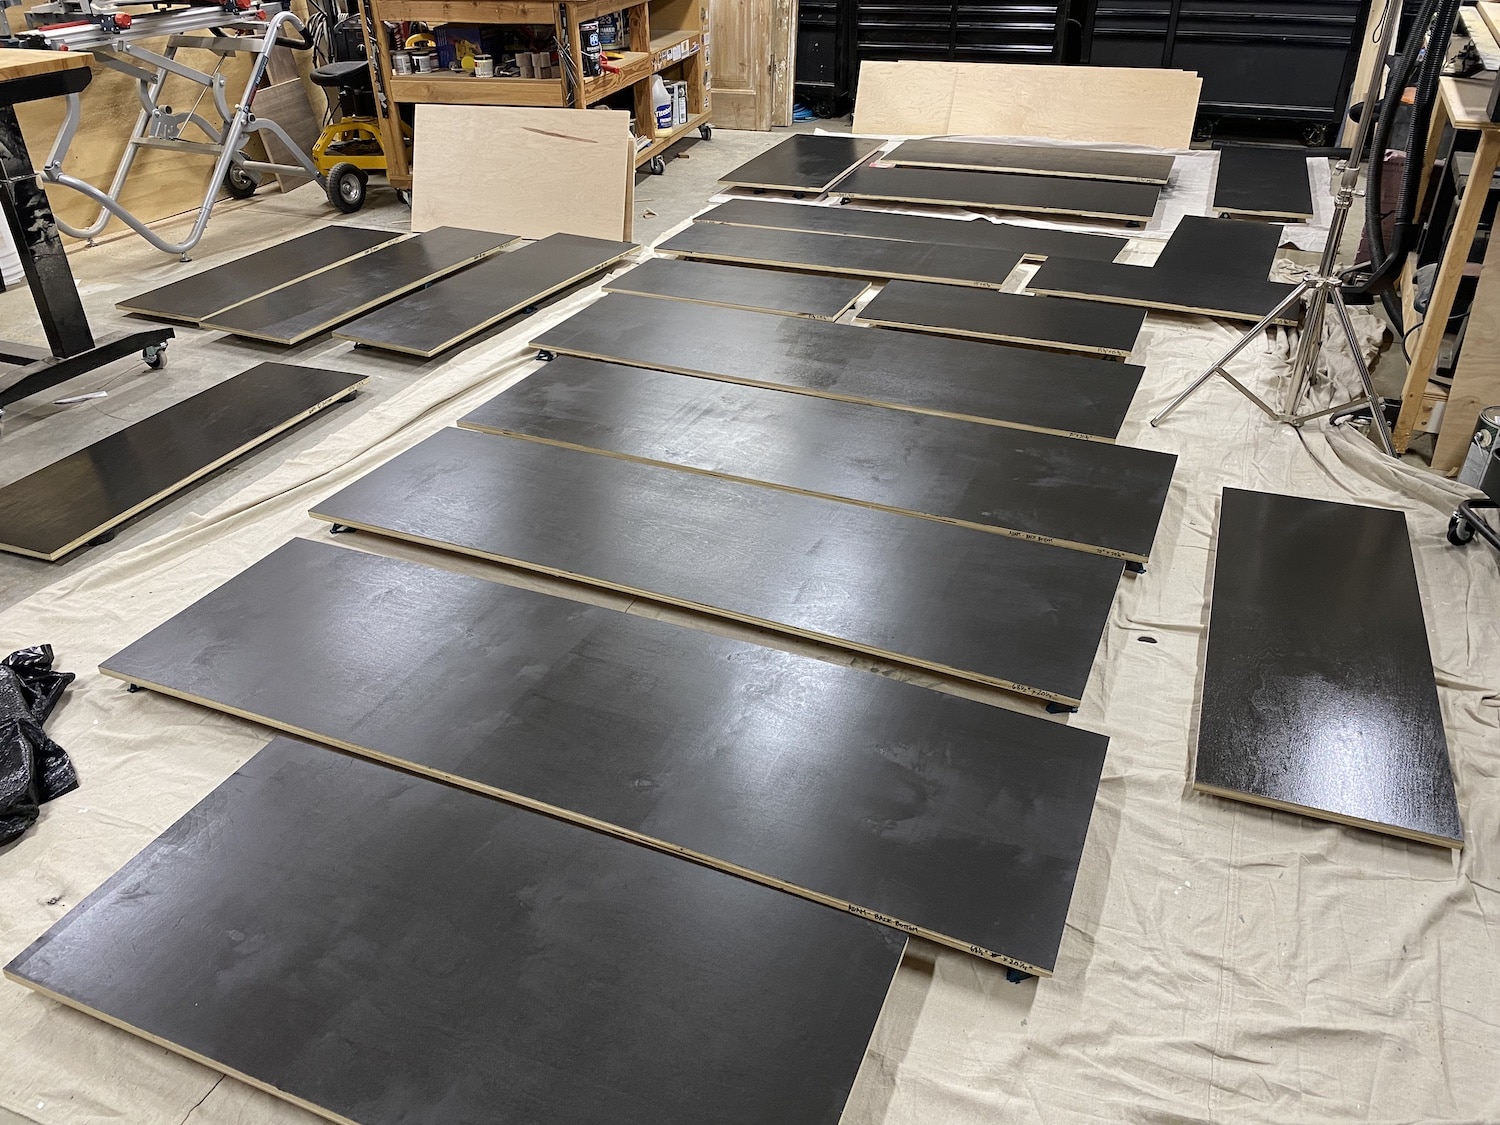
We also painted all the plywood panels before assembling everything. The smooth plywood was a dream to paint. I didn’t have to sand or prep anything beforehand. We just laid everything out on the shop floor and rolled on one coat of paint. I typically use a primer when I’m painting bare wood but check out the coverage on this Graham & Brown paint – it’s pretty impressive. It looked so good after just one coat!
After the paint dried, I drilled shelf pin holes into the panels for adjustable shelves. This shelf pin jig makes drilling holes for adjustable shelves easy, precise, and efficient.
What Makes Shelf Help Different?
Okay, so you’re probably wondering… can’t I just cut my own plywood? Yes, absolutely, if you have the capability, time, and tools. Carrying and cutting down giant sheets of plywood can be challenging especially if you don’t have a table saw or a track saw or even the space to do it, so here’s where Shelf Help really shines. They do a lot of the heavy lifting for you – they use high-end factory panel saws, so each piece is cut precisely and accurately, so all you have to do is focus on the assembly and finishing.
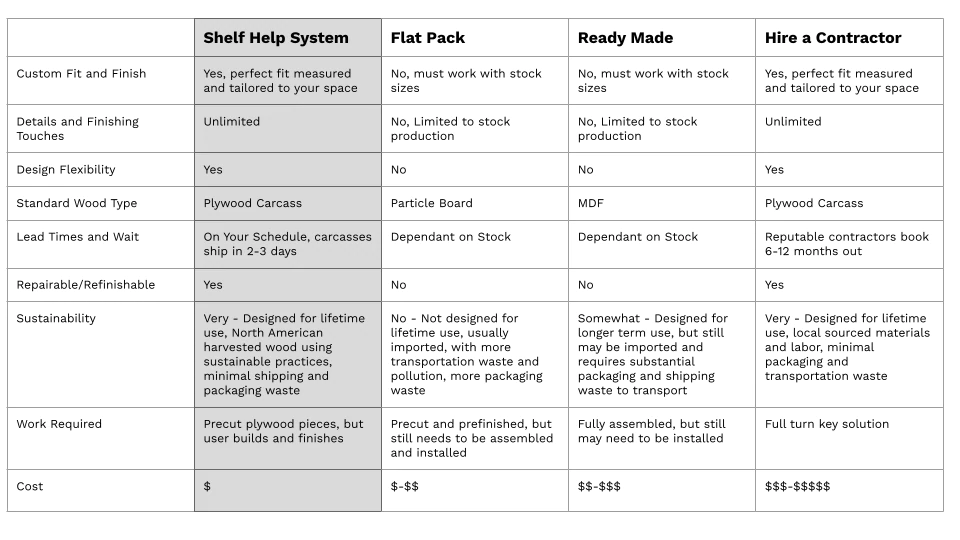
There’s also a cost comparison on the website, where they show you the pros and cons between flat-pack options (like the IKEA Pax system) versus a ready-made closet system versus getting a contractor quote. A contractor in our area would have charged us anywhere from $10,000 to $12,000 for our custom closets, and that’s not even using real wood. Most of the pros here are also booked 6-8 weeks out, so hiring a contractor was definitely NOT in our budget or schedule. Going the semi-DIY route with Shelf Help saved me a lot of time, money, and effort.
Assembling the Shelving Units
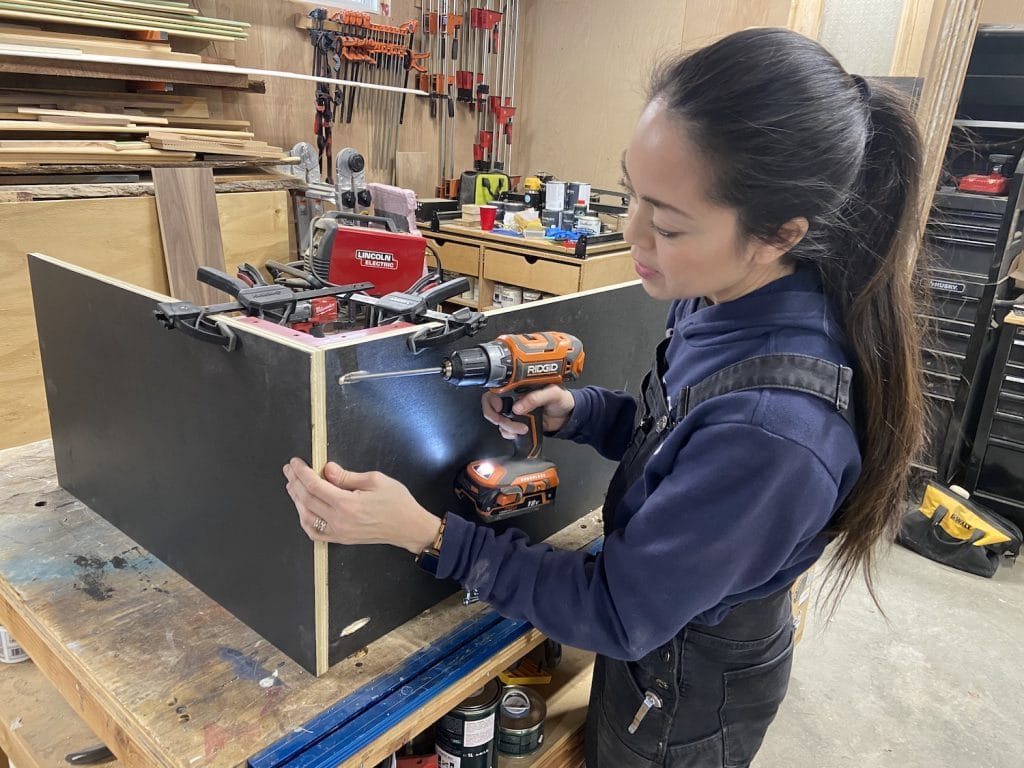
Okay, the paint is dry, the shelf pin holes are drilled, so now it’s time for assembly! We drilled pocket holes into the plywood panels and constructed the boxes with 1 ¼-inch pocket screws and wood glue. We made sure to place the pocket holes about 8 inches apart, on the outsides of the panels, which will be against the walls, so they’ll be hidden. Also, these metal clamping squares were really helpful in keeping the box square while we worked. Assembly will go quickly, it’s just a lot of repetitive motions. Lather, rinse, repeat until you have all the units built. We will be screwing these units to the studs in the walls, so we added a nail strip to the back of each unit. We picked up some 1×3 pine boards from Home Depot for this, but you can also use scrap plywood if you have it. This also helps strengthen the whole structure.

Installing the Shelving Units
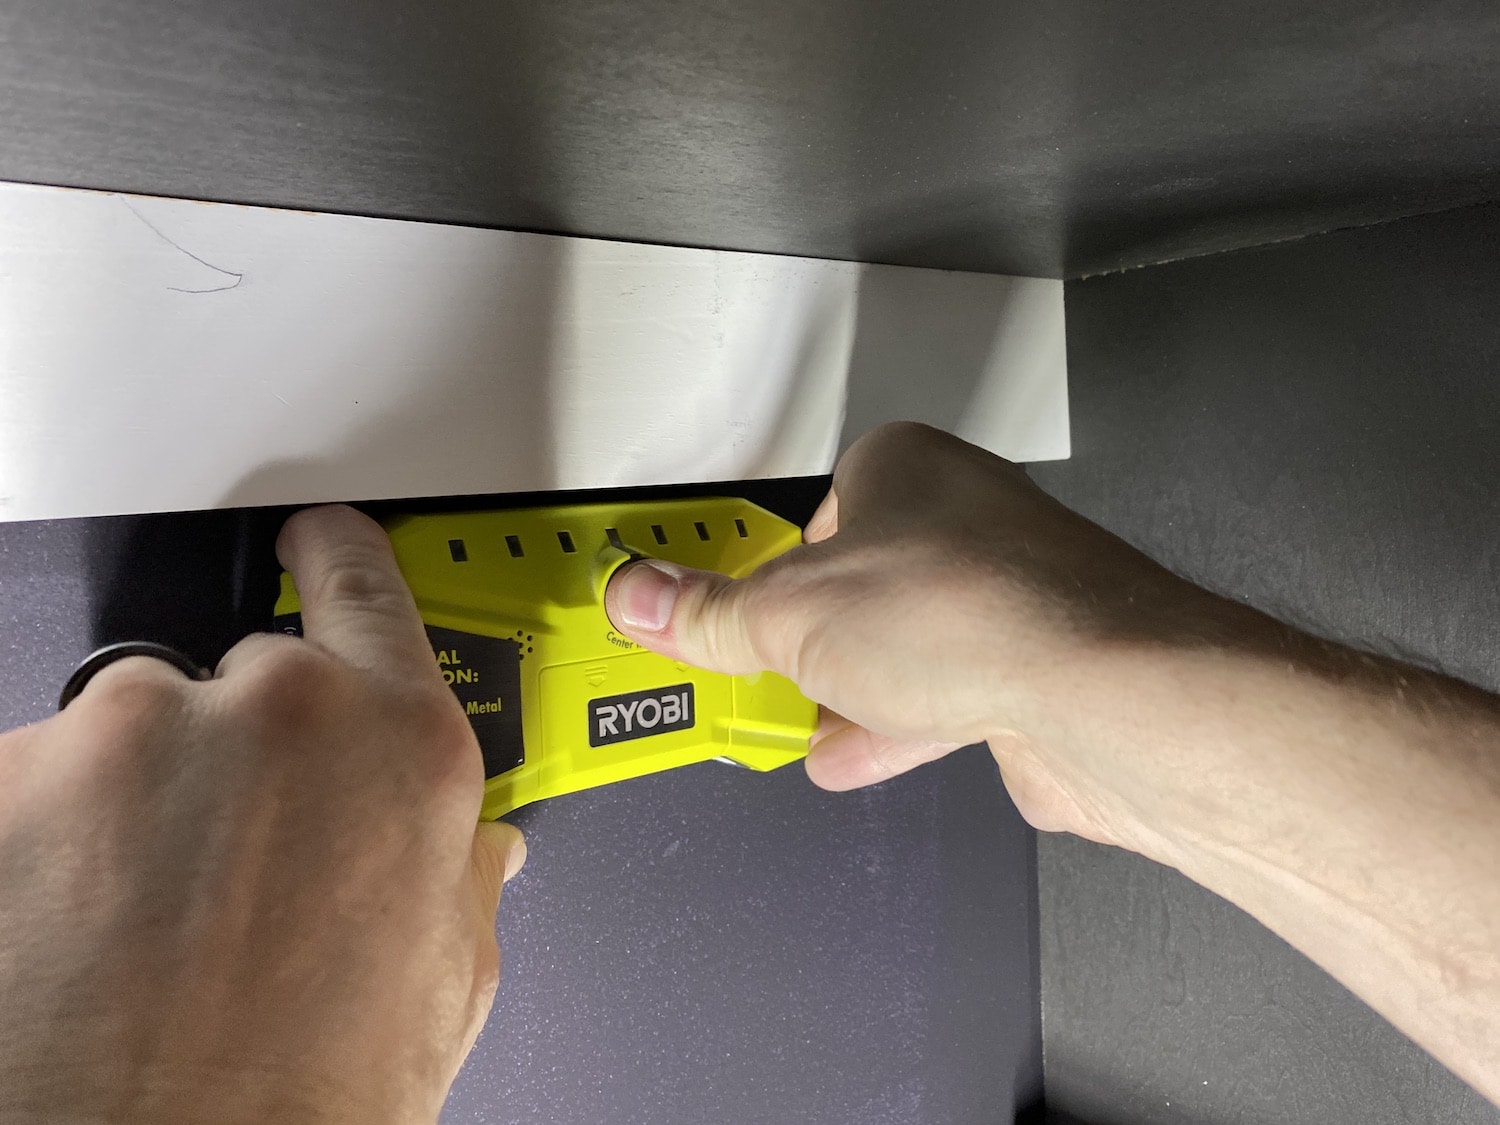
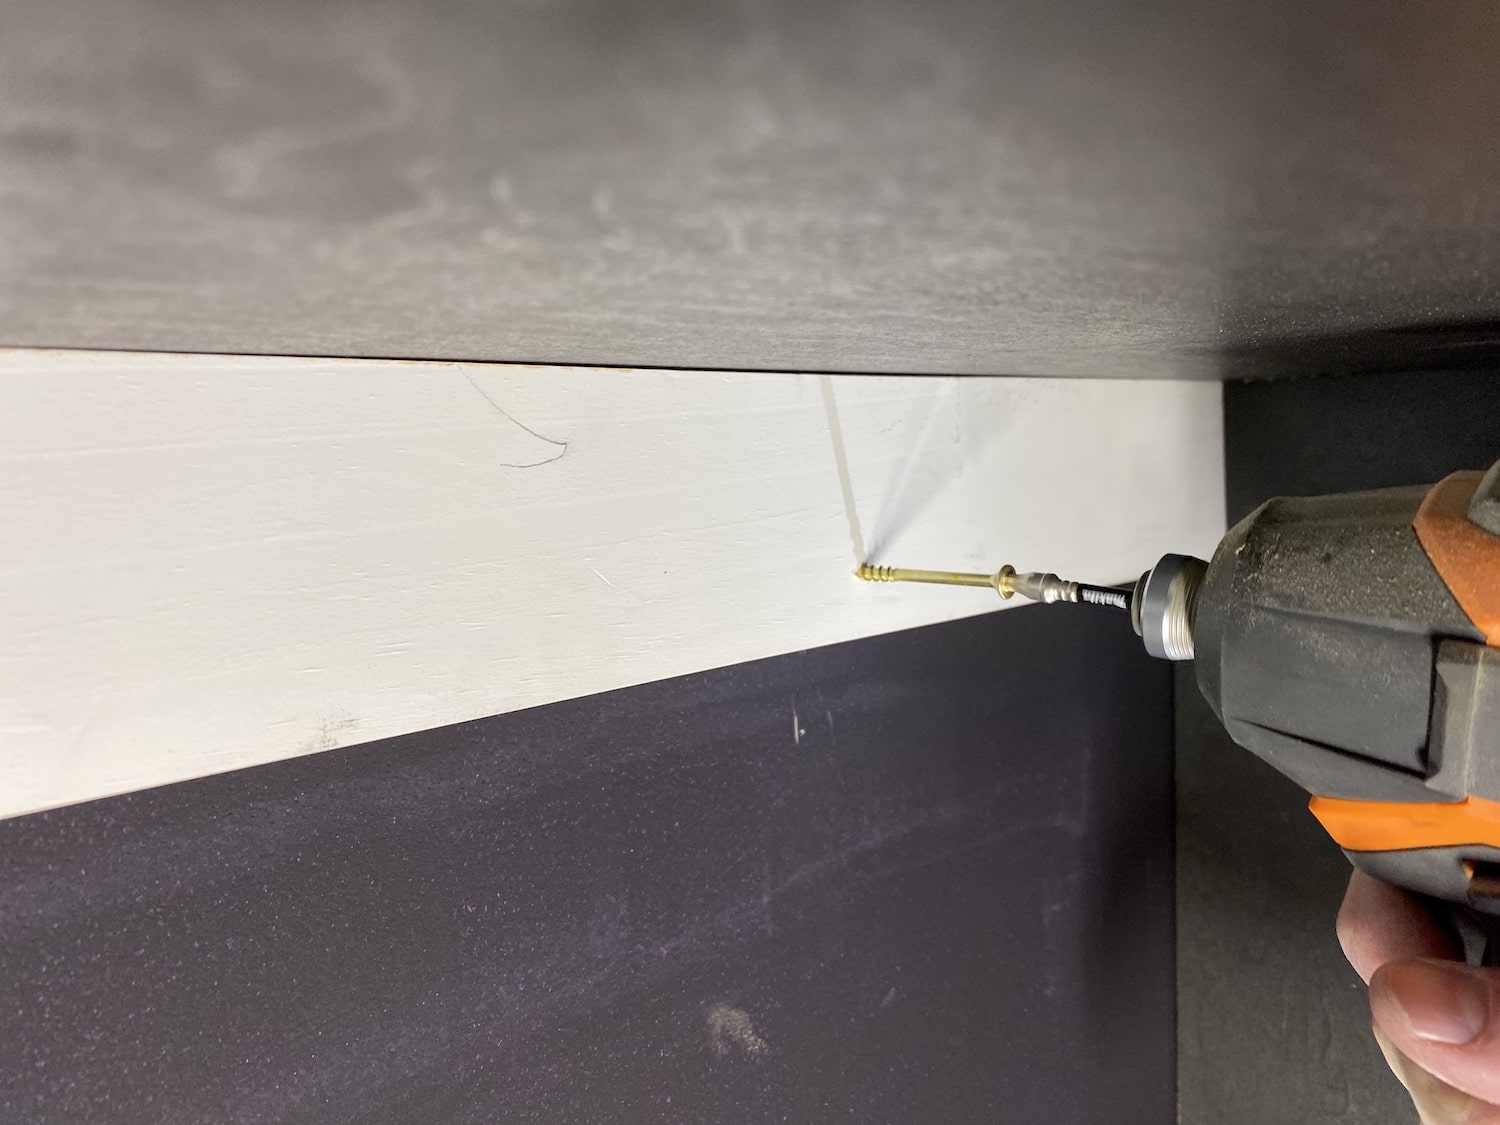
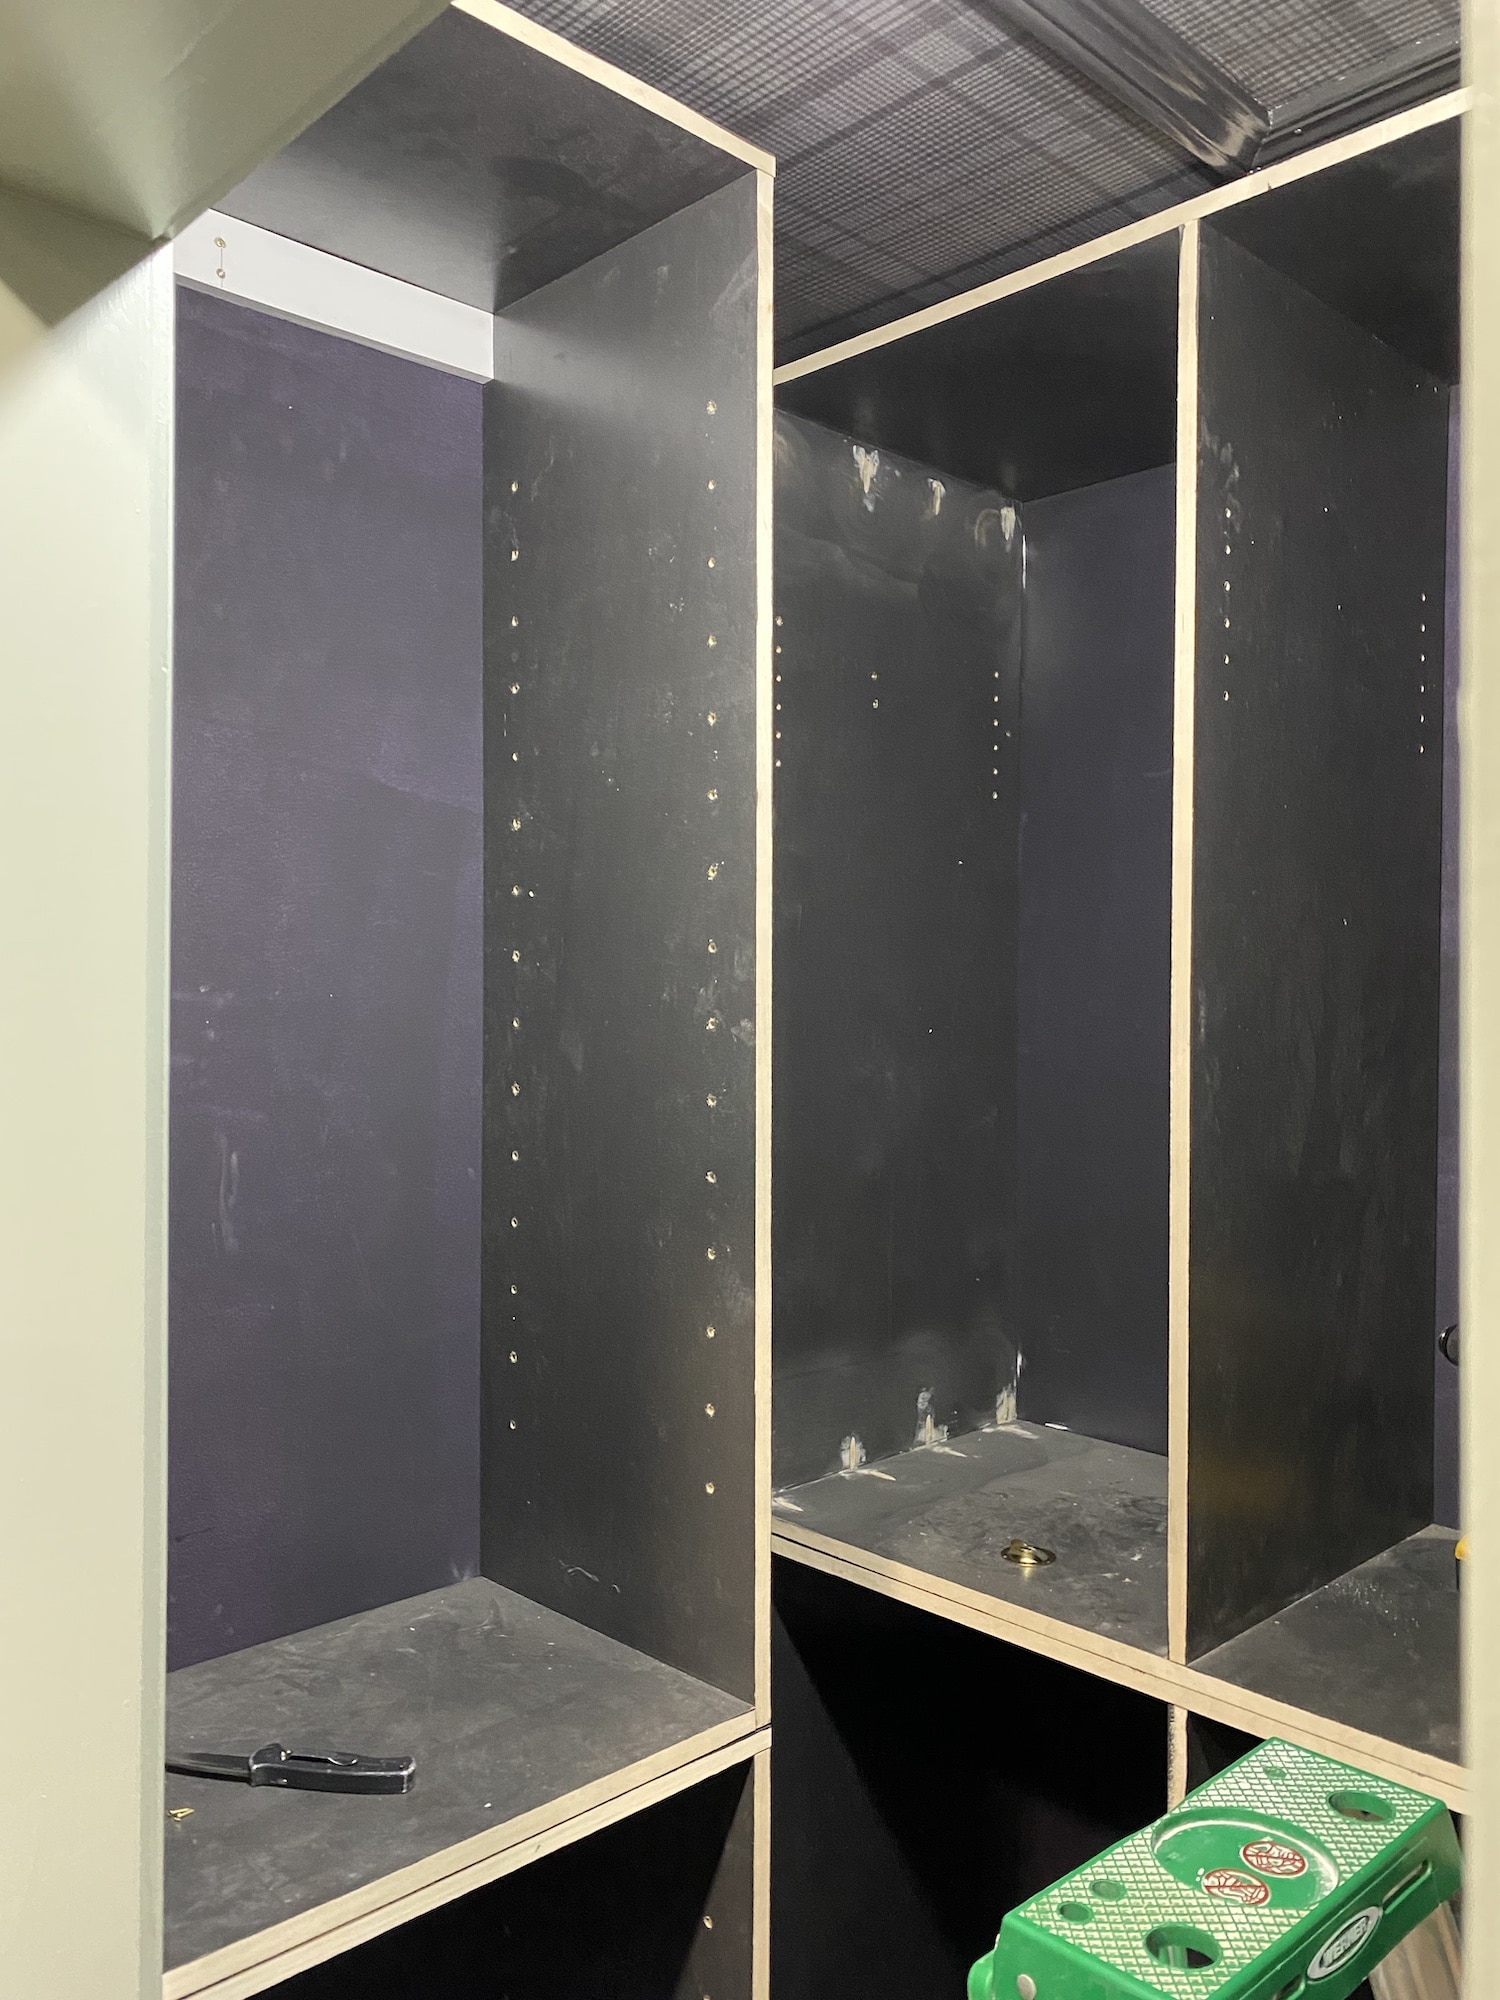
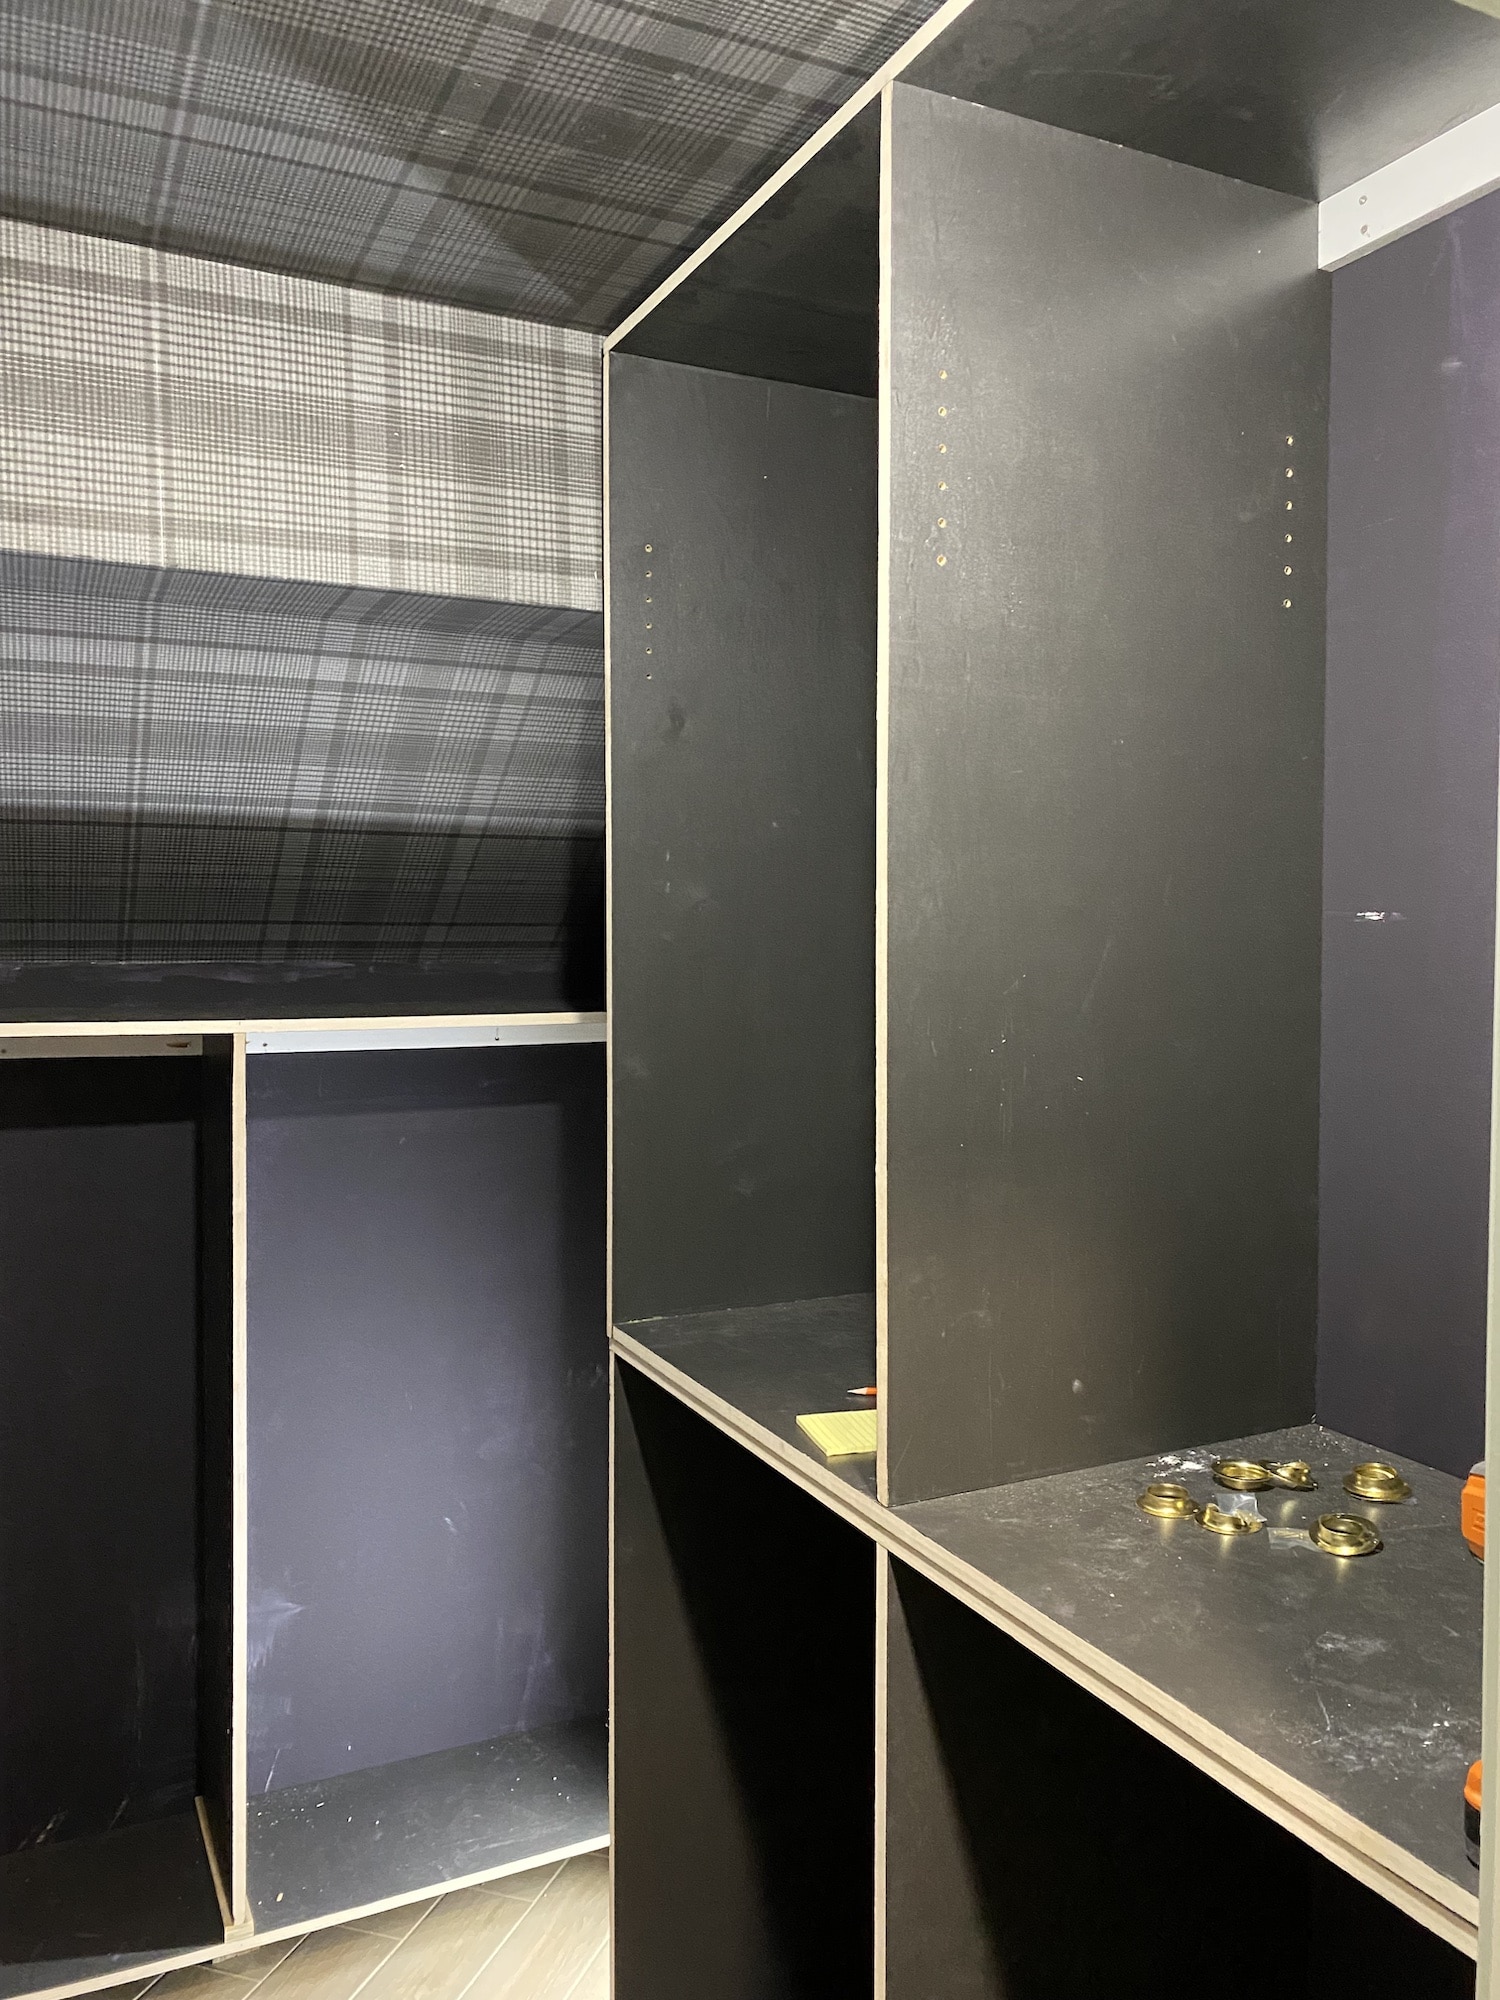
Then, we brought the units into the room and placed them into the closets, checking to make sure the shelves were level and plumb. We wedged a shim at the base of a few cabinets to correct any small discrepancies. Then we used a stud finder to mark the studs in the wall and used an impact driver to drill 2 1/2-inch wood screws through the nail strips. Wow, it already feels so much bigger in here, with a ton more storage space!
Closet Rods
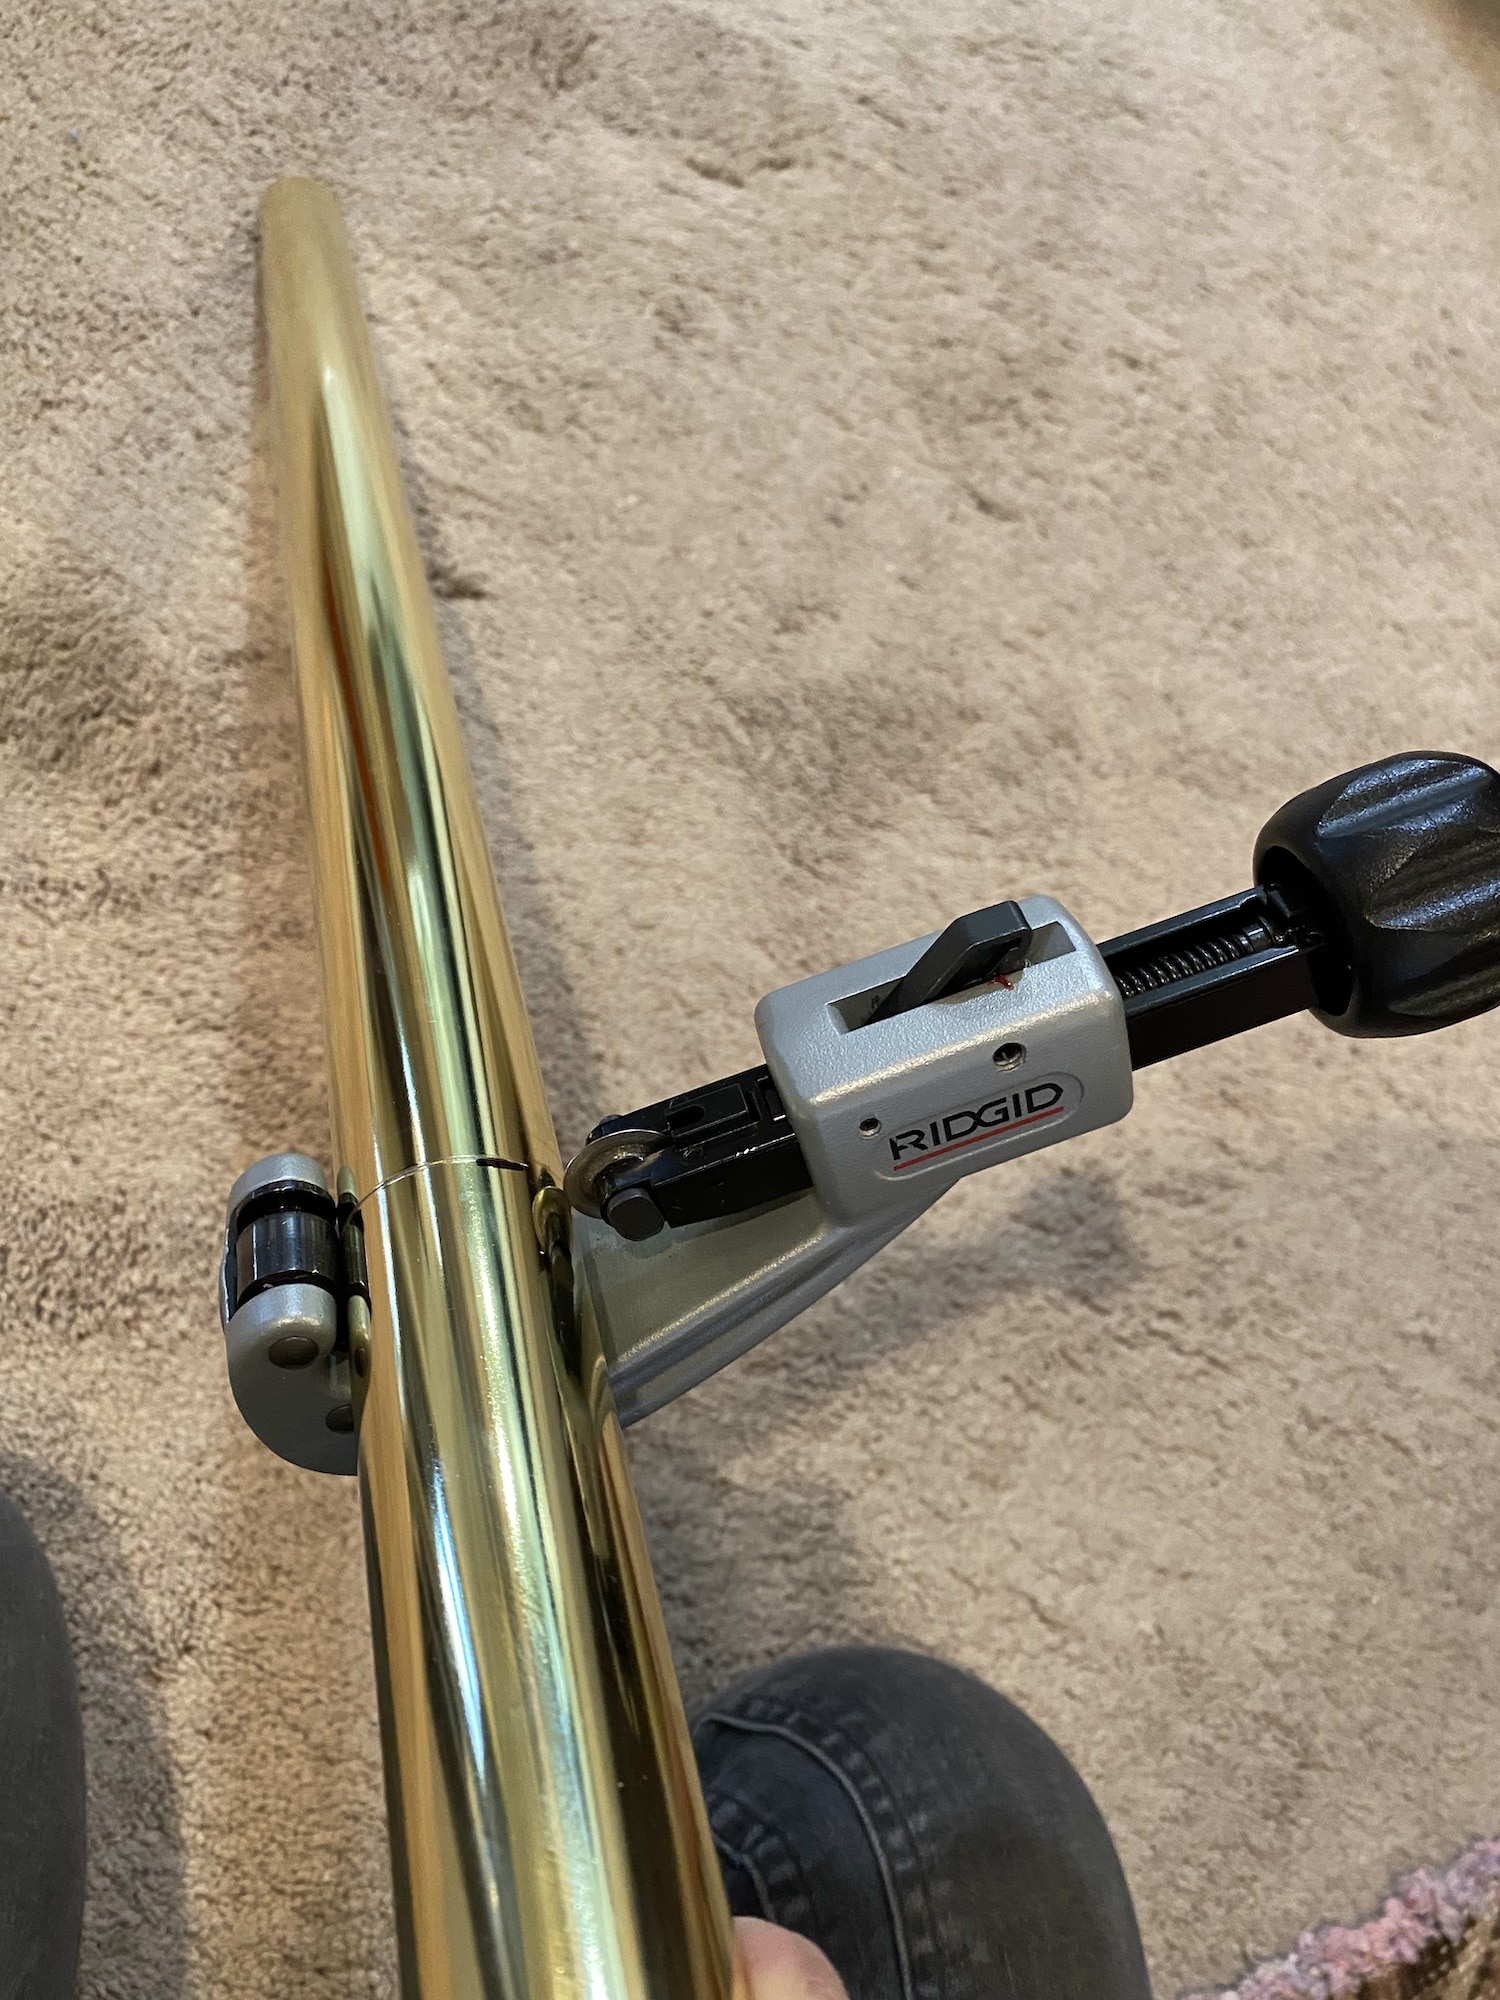
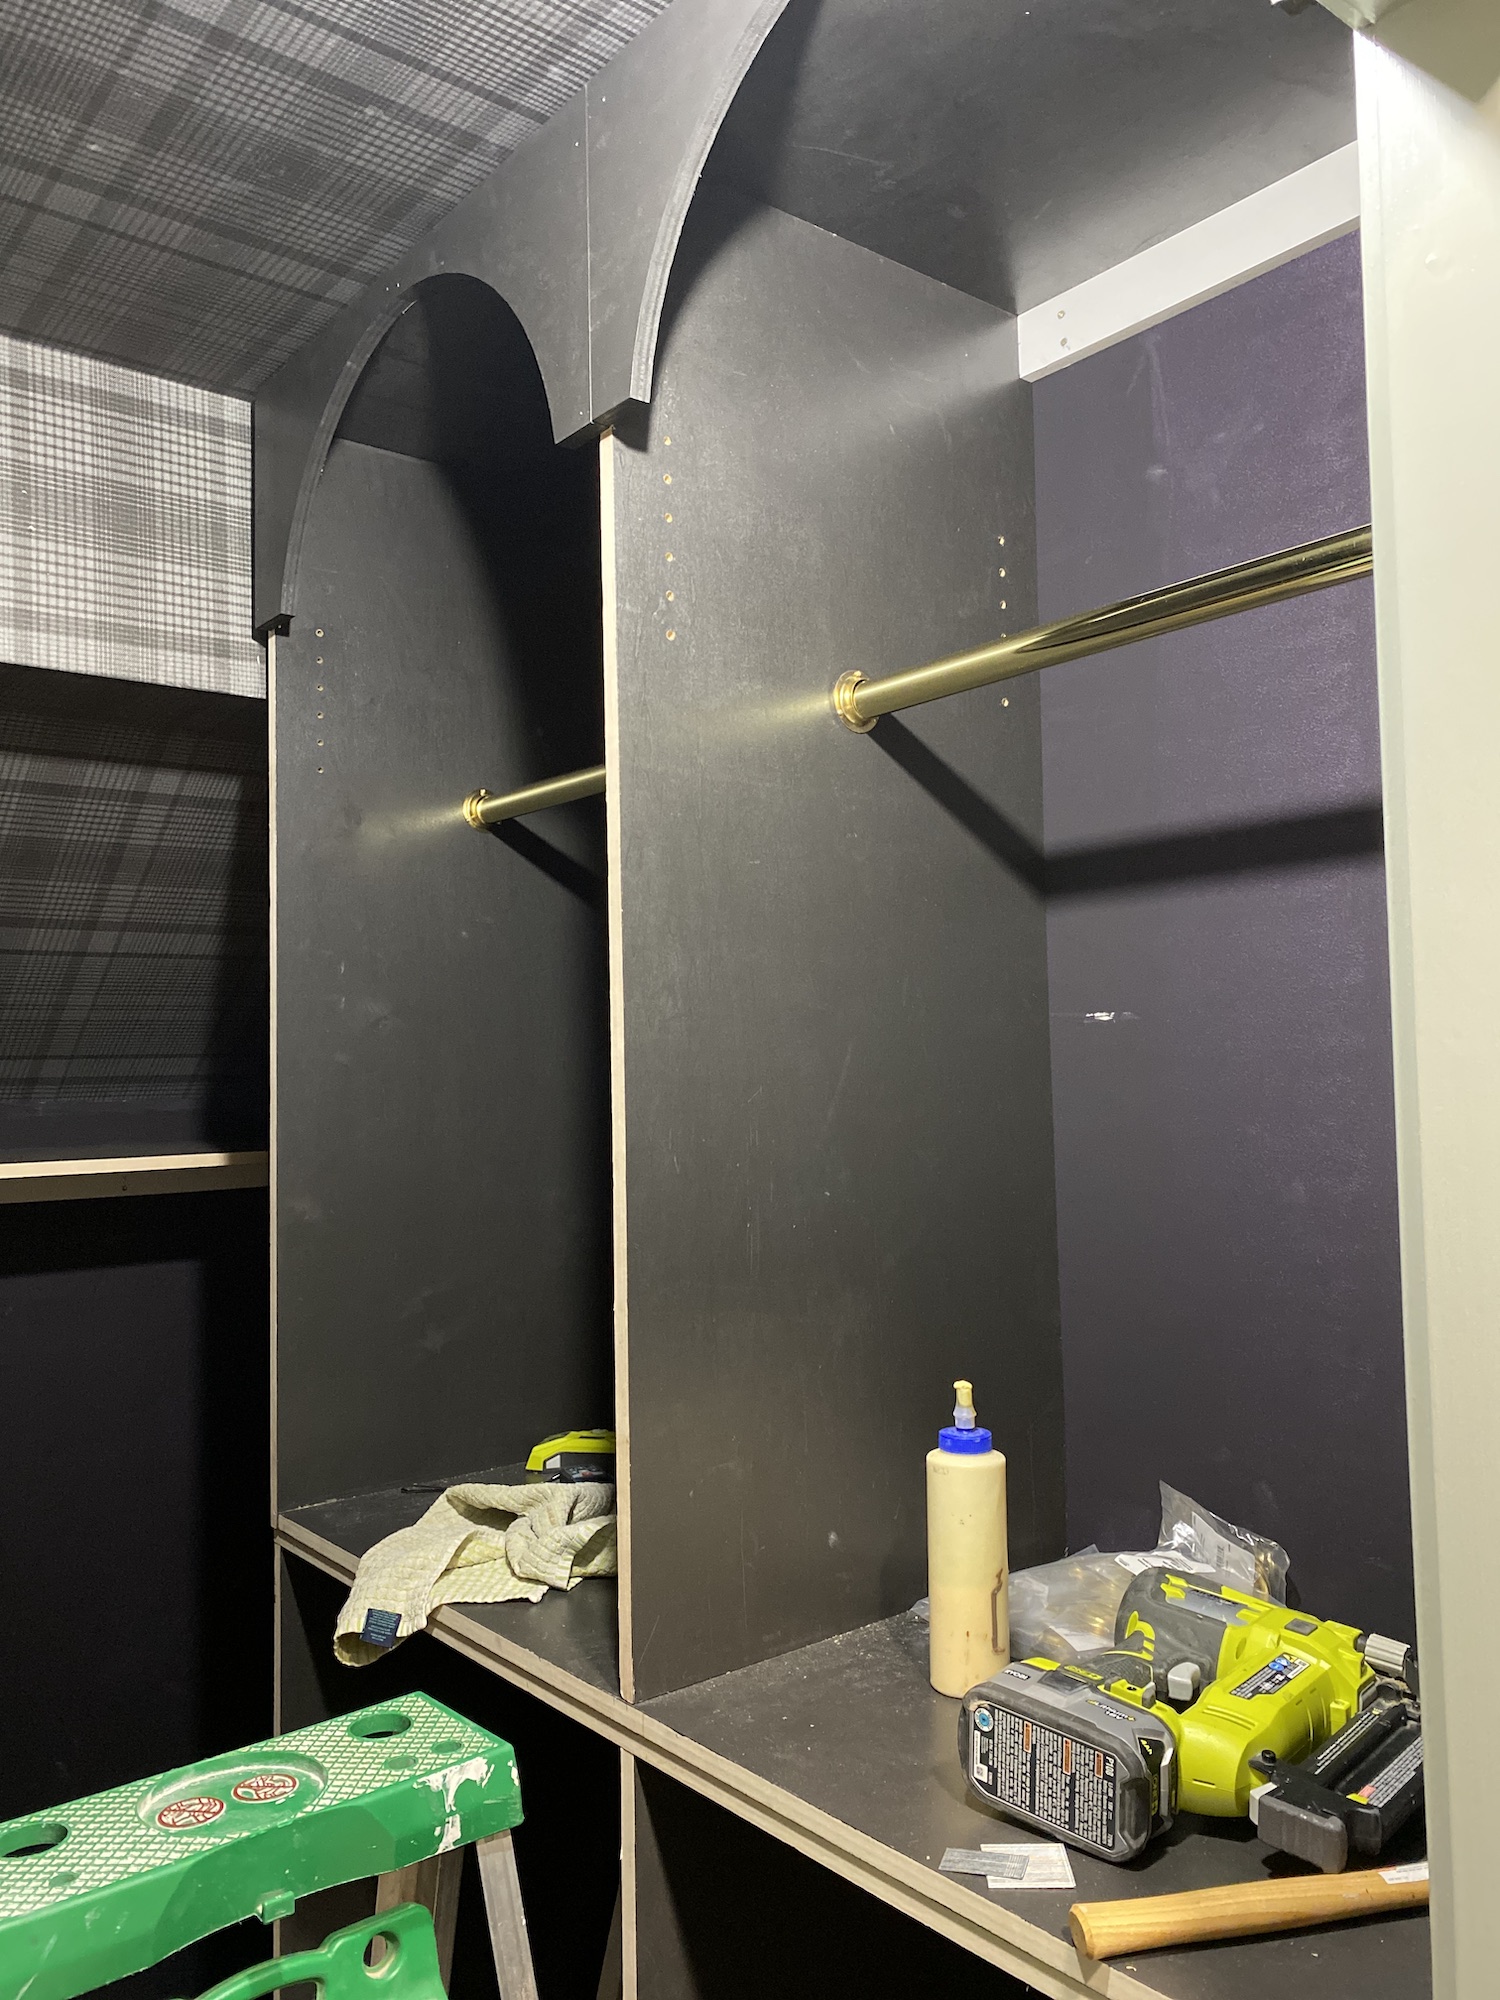
Next, we installed the closet rods. I chose these pretty brass clothes rods and pole sockets. To figure out where to place the pole sockets, I just held a hanger in place and made sure to allow enough space for the hanger to clear the top easily. This also helped me visualize how far back I could place the hanger without bumping into the wall behind it. Then I made my mark, pre-drilled pilot holes, and drove the screws in to attach the pole sockets to the unit. The brass rods came in 96-inch lengths, so Adam used a pipe cutter to cut them to length, then dropped them into the pole sockets.
Finishing Touches
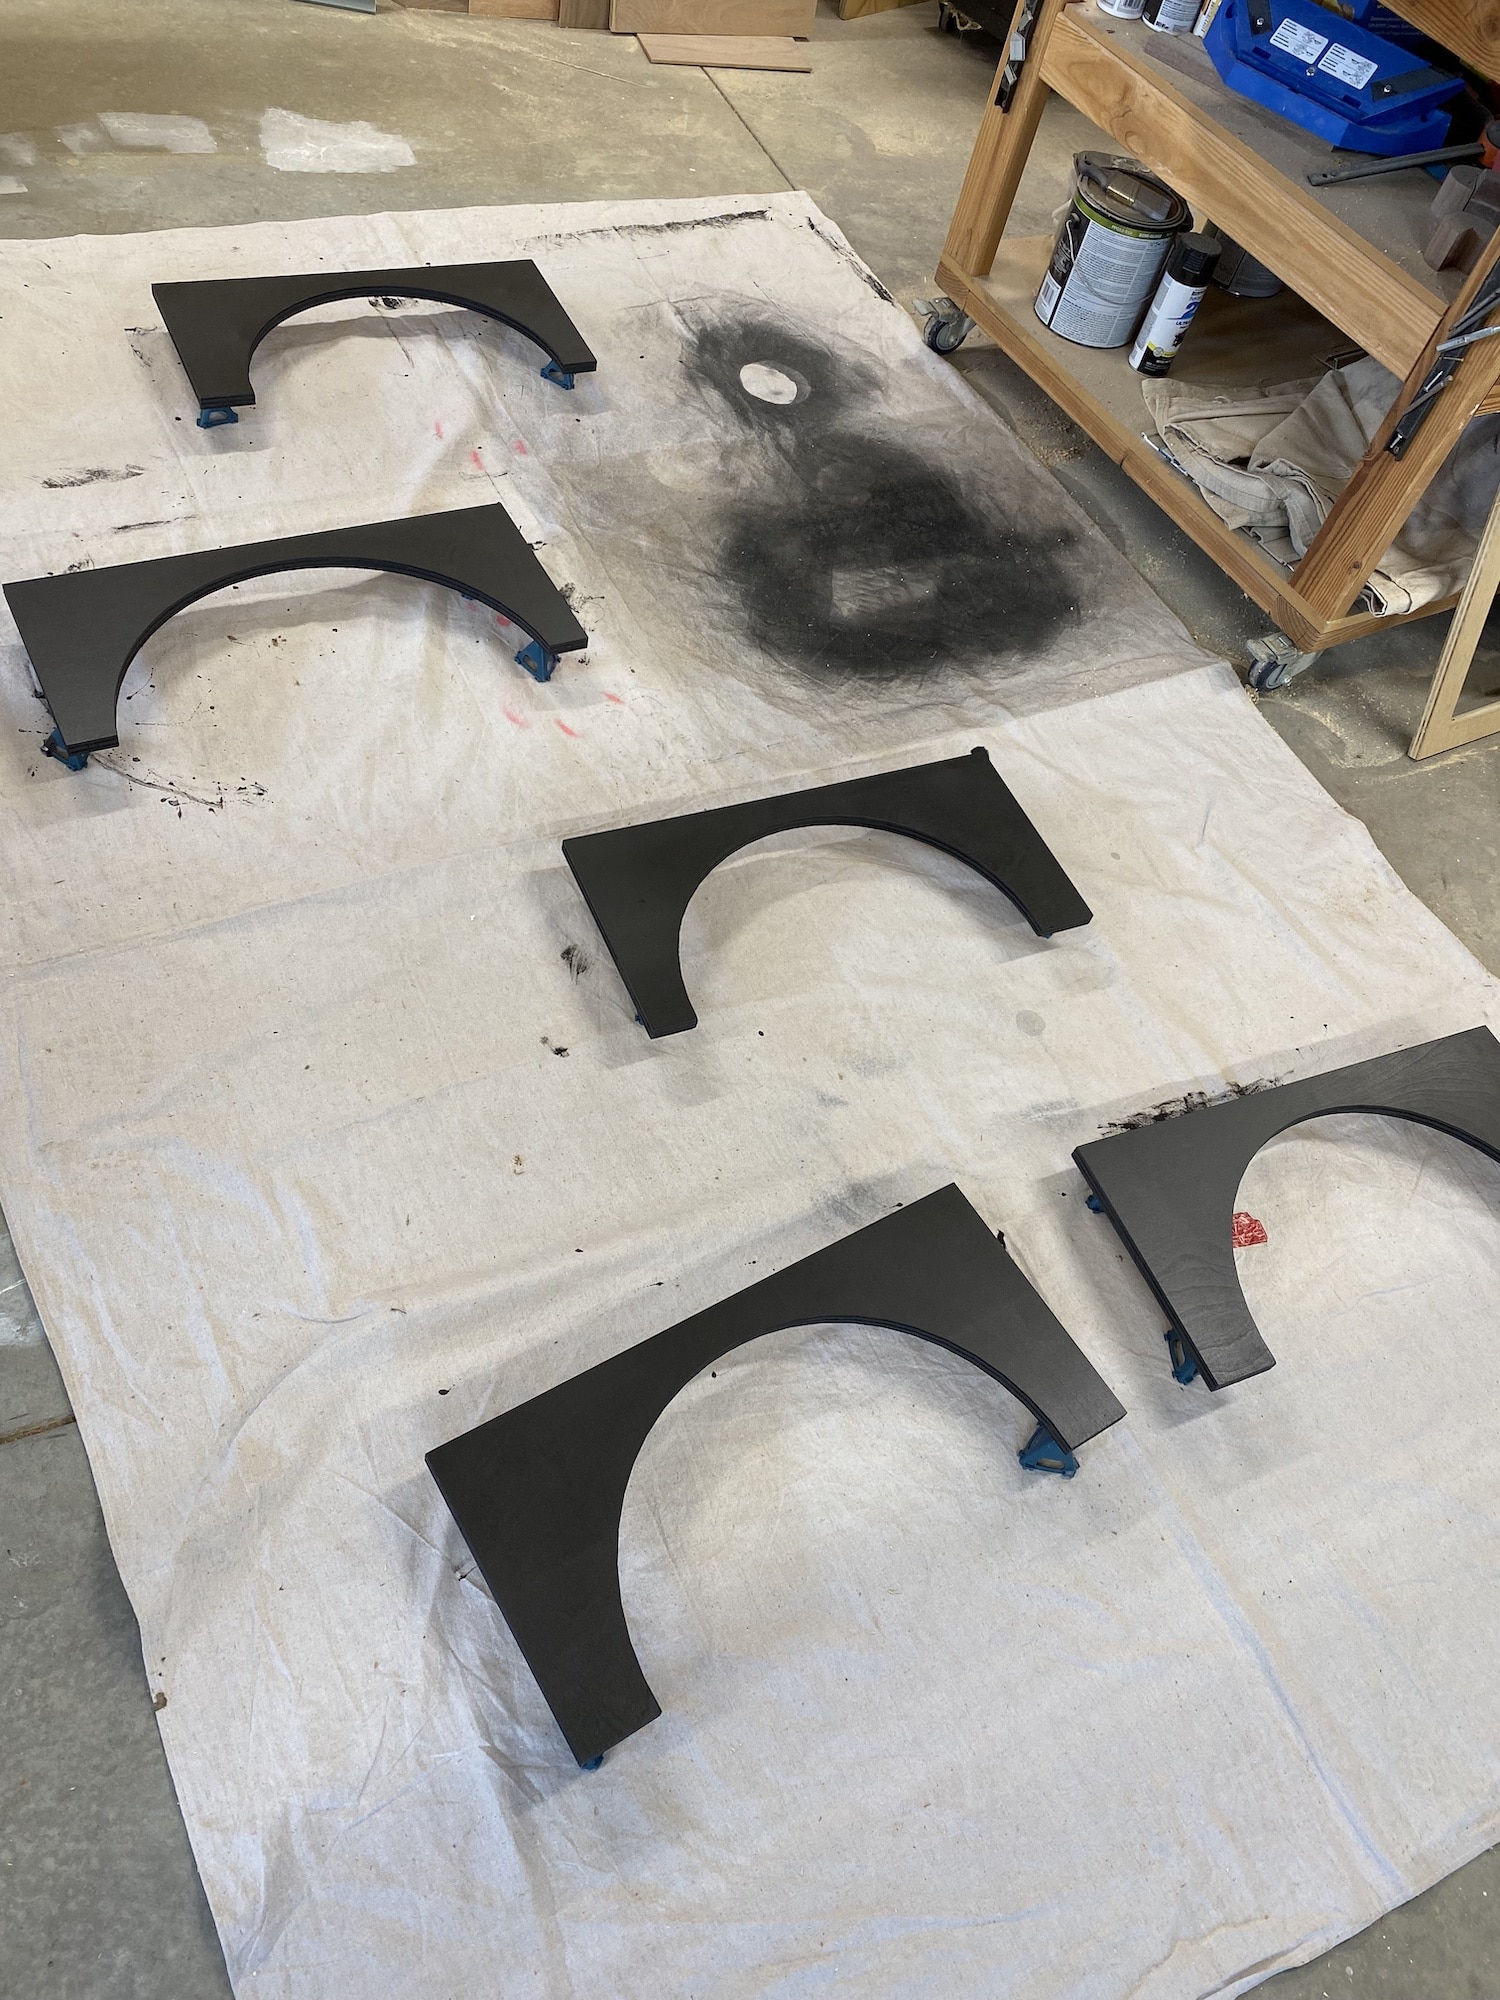
I had some scrap plywood laying around the shop, so I decided to cut out some arches for the built-ins. Because some units are different widths, each arch was cut specifically for each unit, so I numbered them to keep everything straight. I attached the arches to the tops of the shelving units with 1 ¼-inch brad nails and wood glue. The face frames are made from 1×2 primed pine boards. I simply measured and cut them to length, then attached them to the fronts of the shelving units with 1 ¼-inch brad nails and wood glue. Now, as I mentioned before, the front edges of the plywood panels do come finished, but because I was adding this arch detail, I had to add a face frame to make everything line up. I also plan on adding some hooks and hardware to the walls for bags, belts, scarves, and other accessories.
Once all the trim was done, I could install the baseboards. I have a few videos on how to install baseboards on my Instagram account, if you’re interested. To finish off the top edges, I used a small cove molding to cover any gaps at the ceiling.
Finally, I filled all the nail holes with painter’s putty, caulked all the seams, and touched up the paint. Then came the fun part – moving in and organizing everything! I’m a sucker for an efficient closet organization system – give me all the storage bins! Can you believe how much storage space we gained?! We have a much more organized system now!
Jen’s Closet
Check out that shoe shelf back there – and I still have room to spare! Which means I can go shoe-shopping. Right???
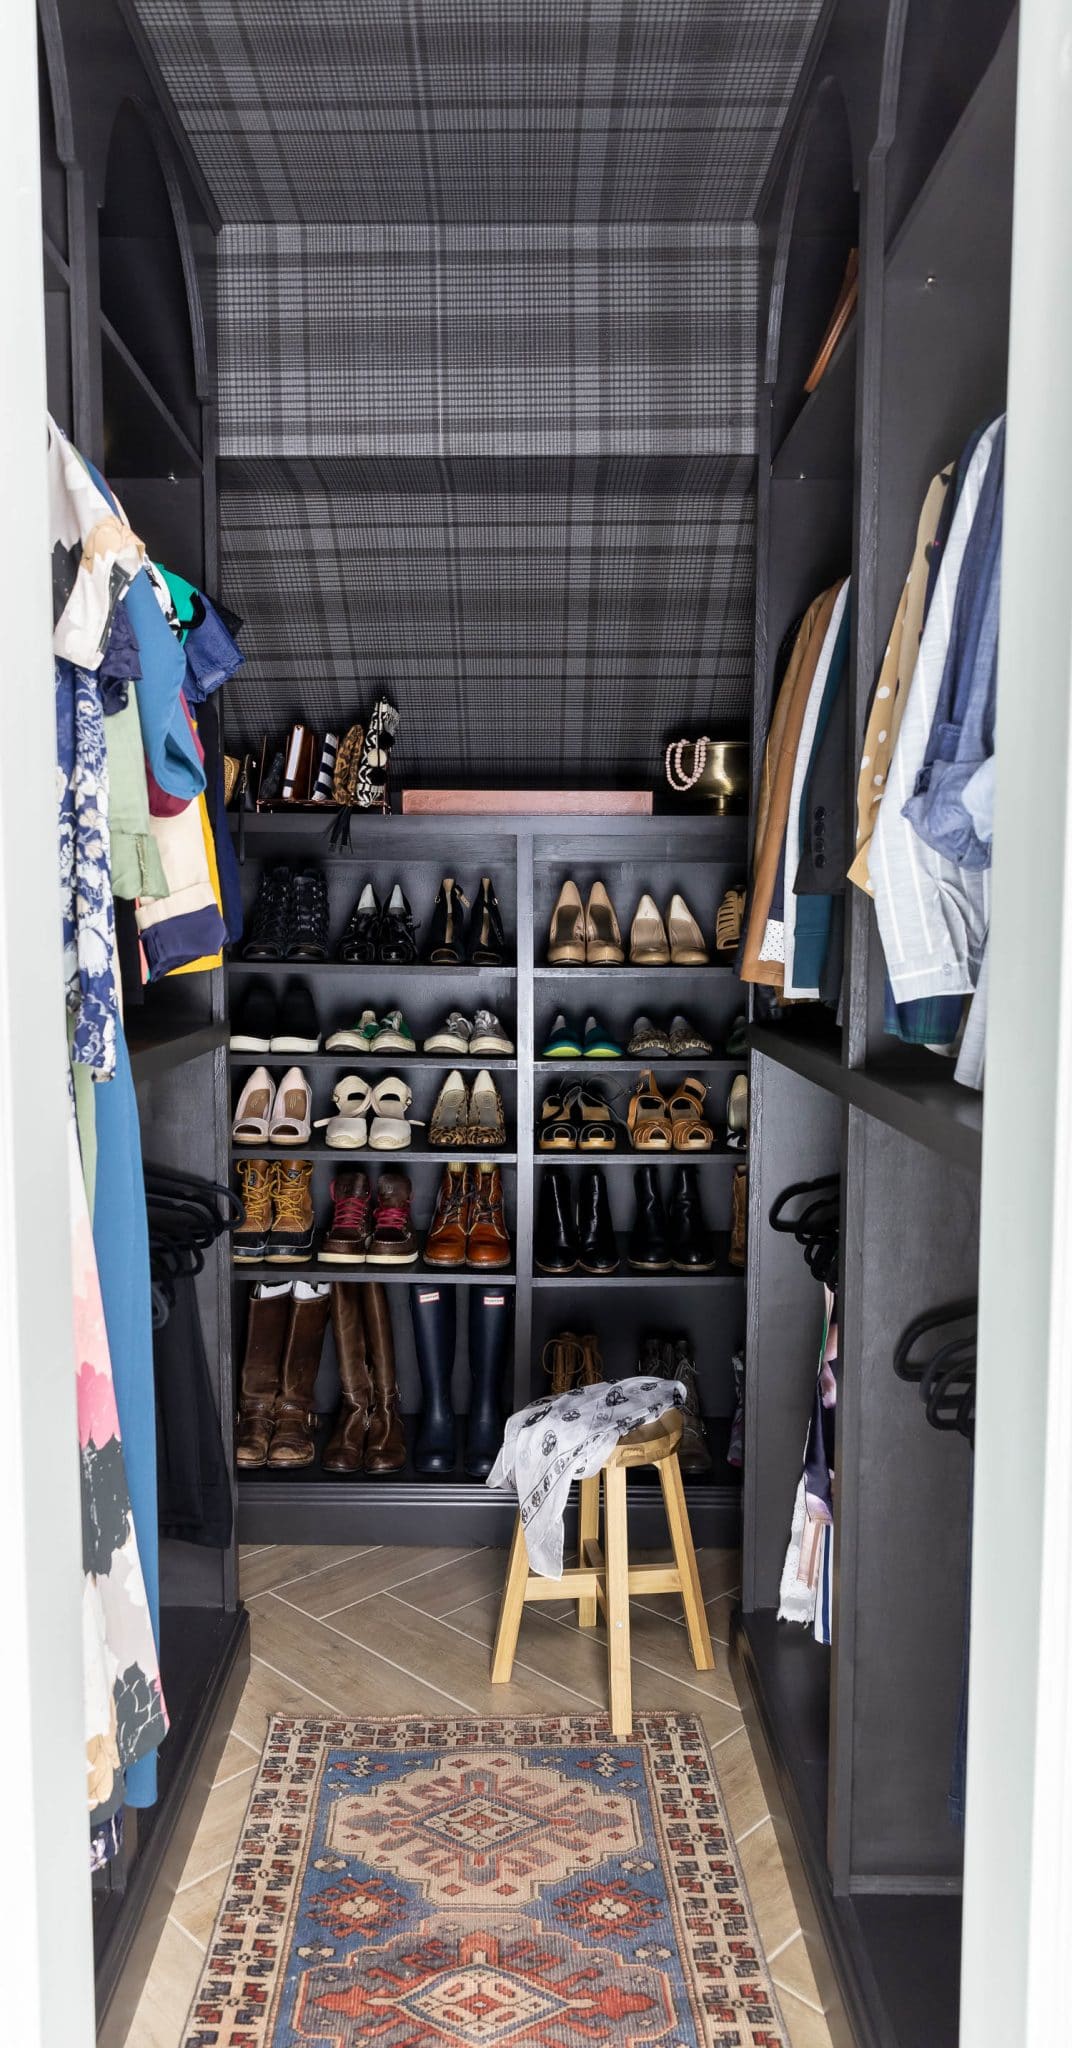
Jen’s Closet Before & After
Here’s a before and after side-by-side shot because those are always fun to see… SO. MUCH. BETTER!

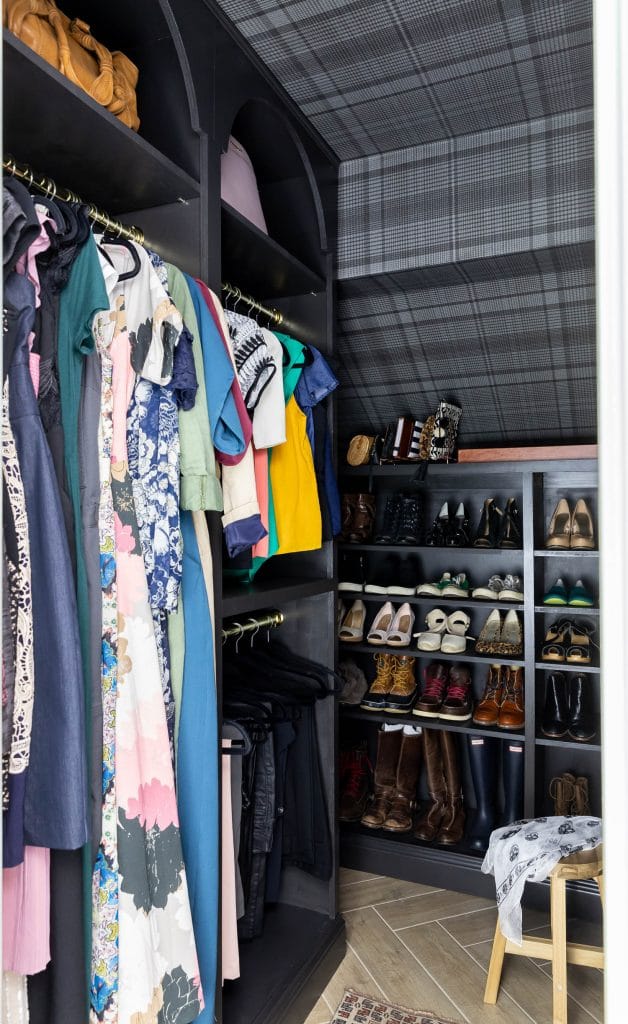
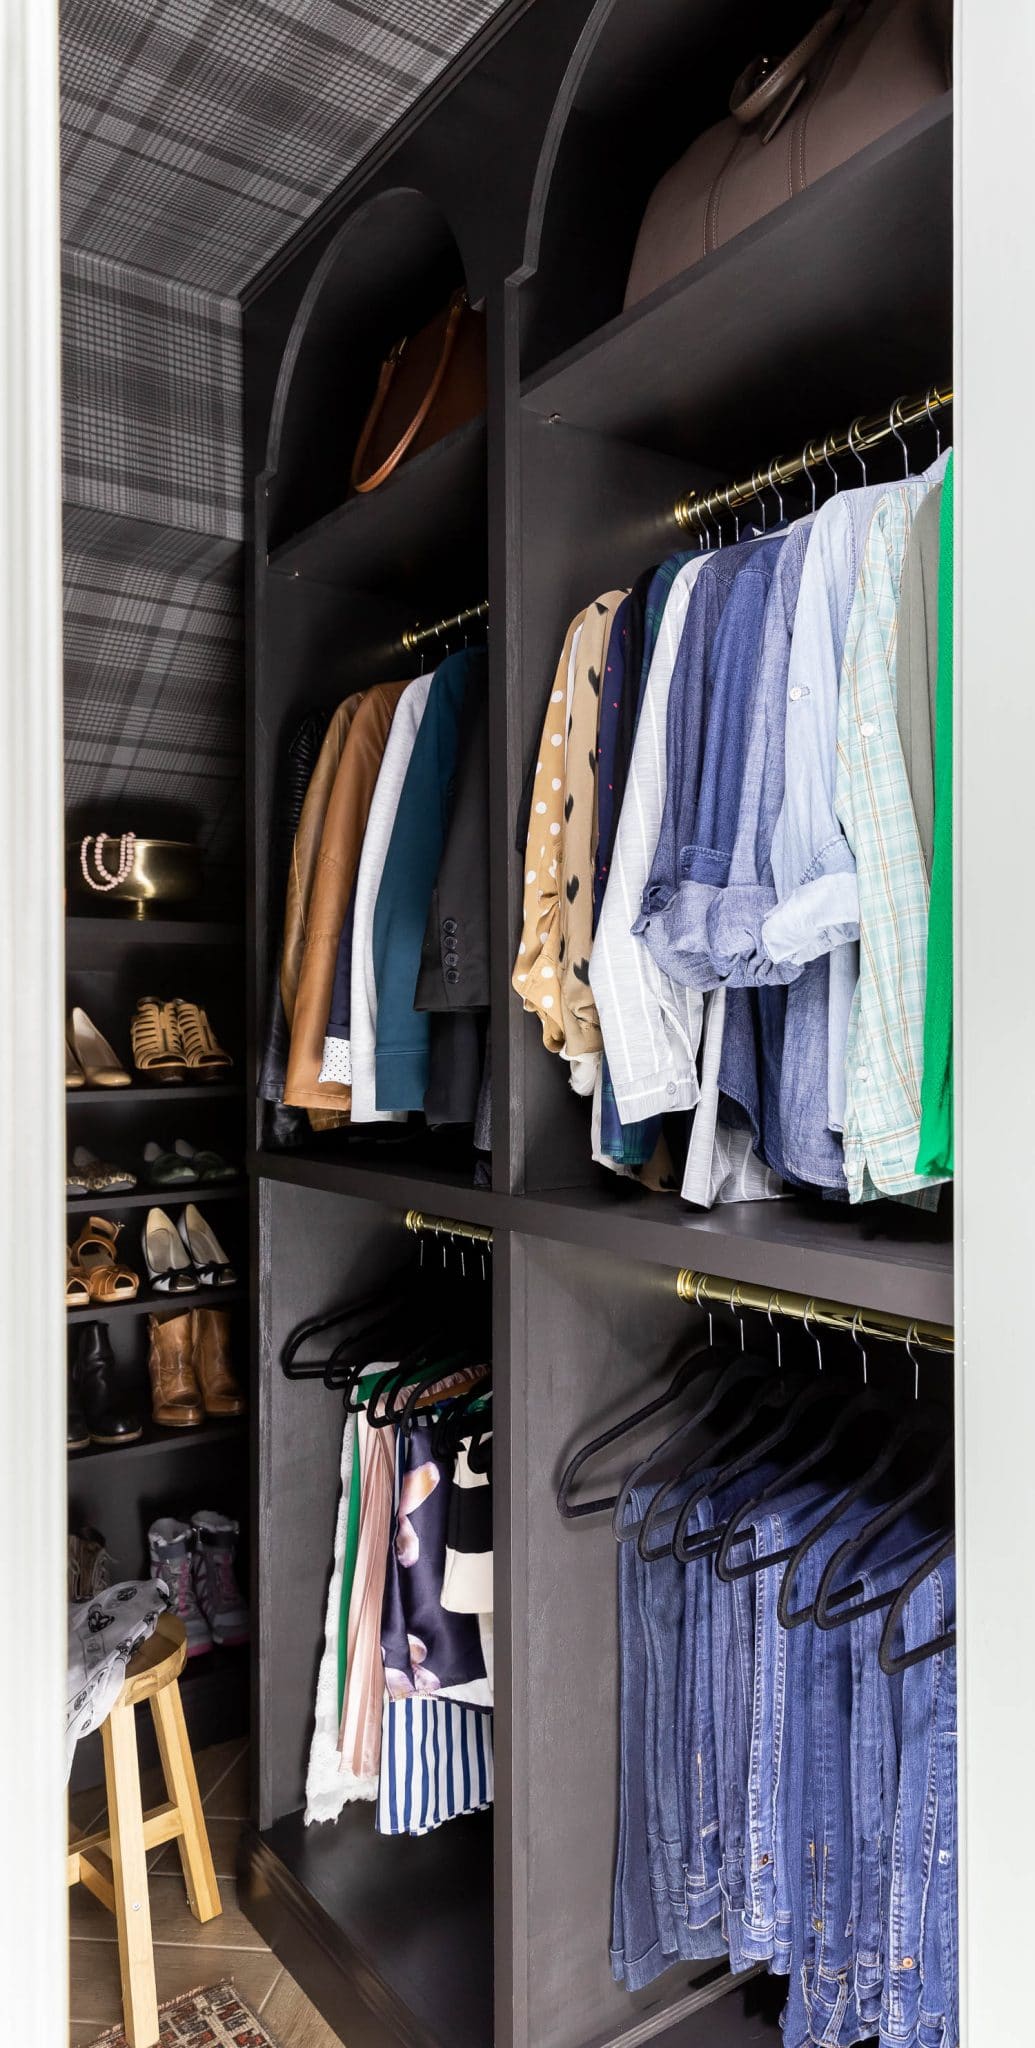
Adam’s Closet
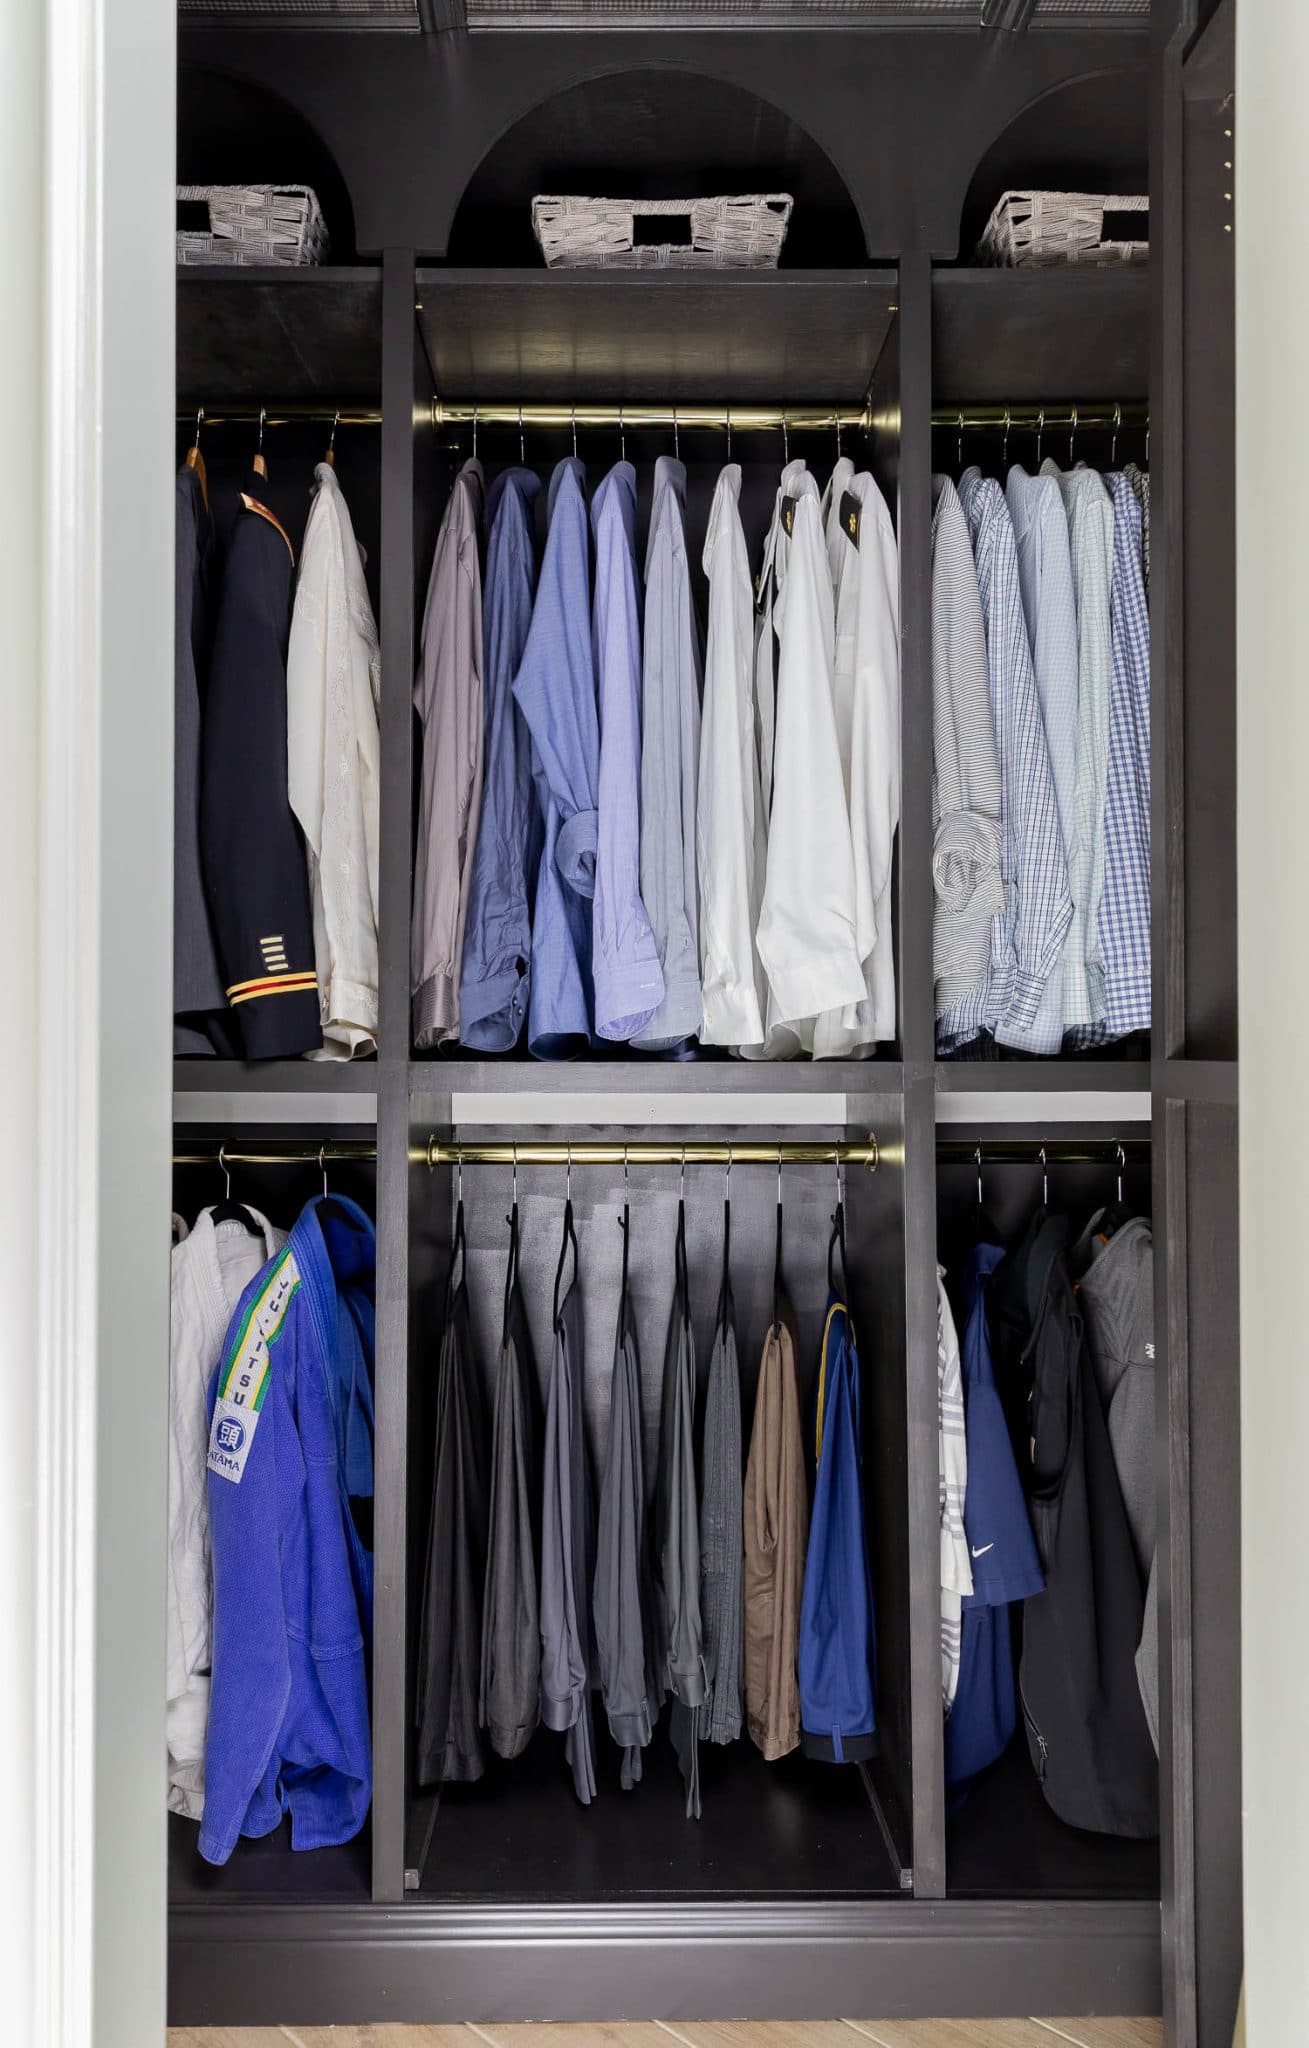
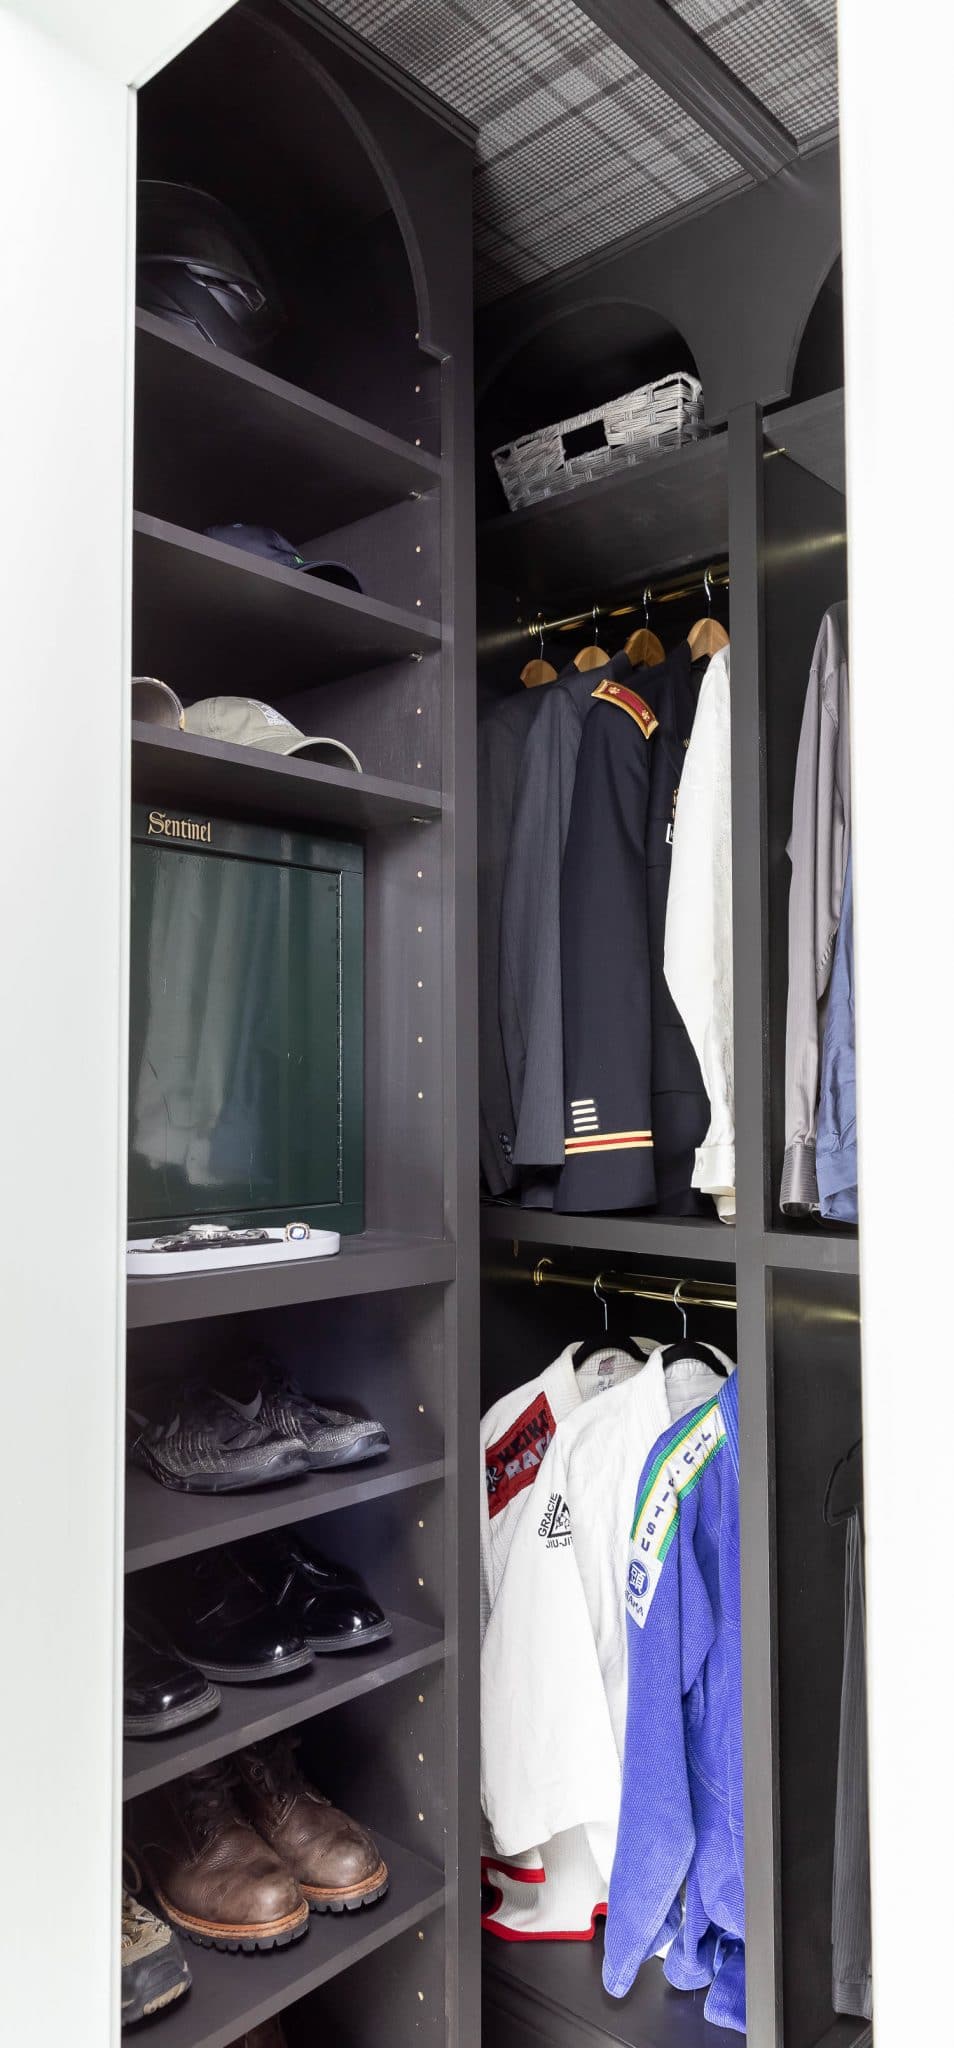
Adam’s Closet Before & After

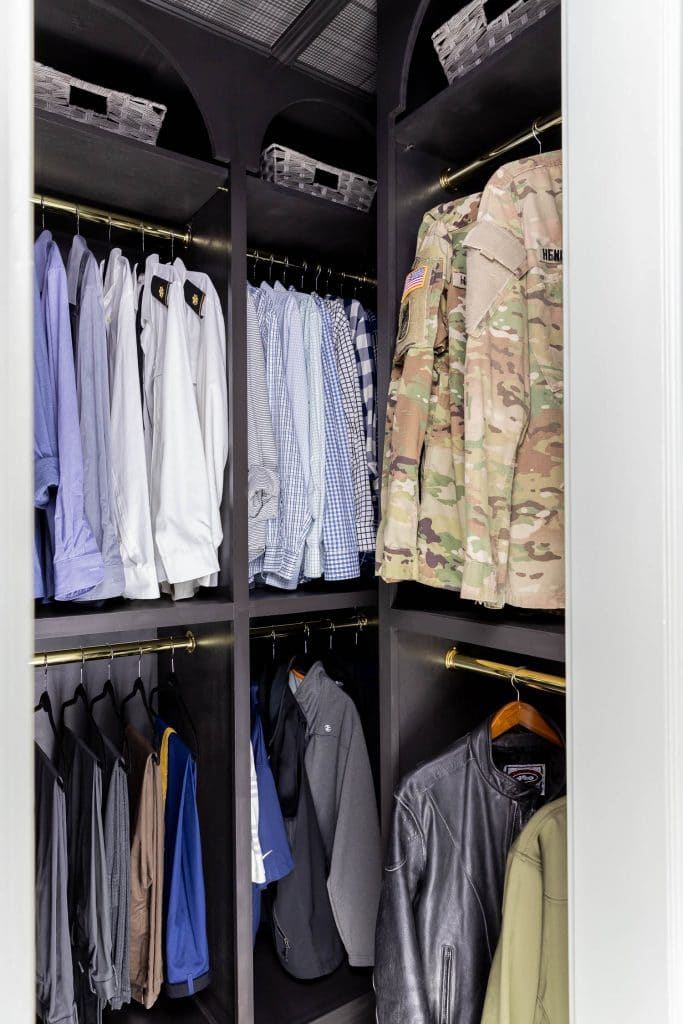

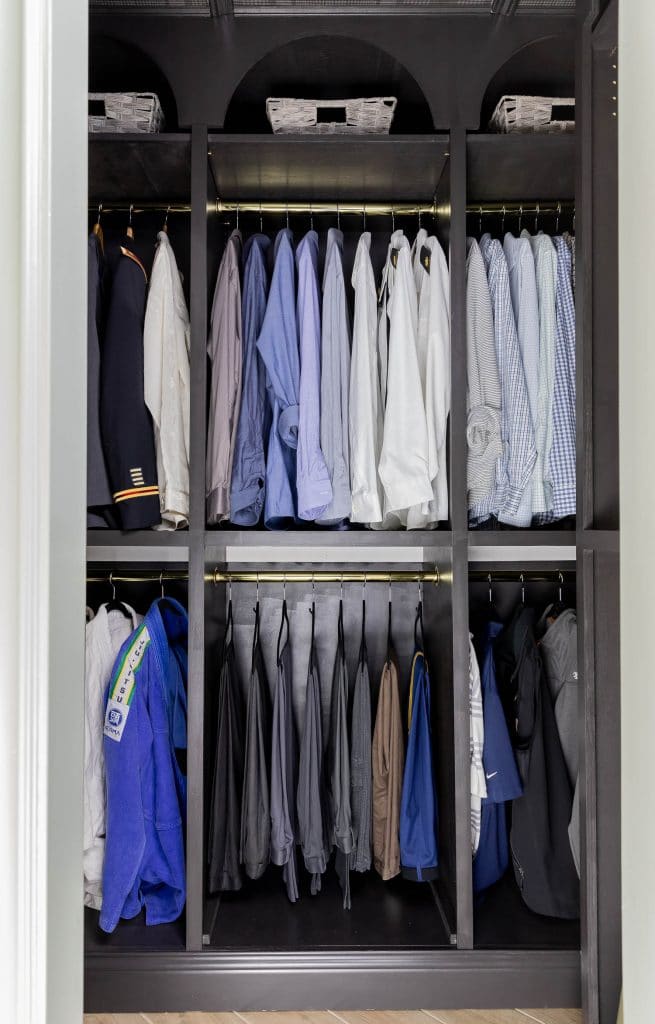
I seriously can’t believe how much more storage and functionality we gained in our closets! Shelf Help took a lot of the work off my plate and saved me money, time, and effort in the process. Can’t beat that! What do you think? Start designing your dream closet with Shelf Help!
Materials:
- Shelf Help PureBond Plywood
- 96-inch Brass Closet Rod
- Brass Rod Socket
- Wall and Trim Paint: Graham & Brown’s Tattoo in Eggshell
- Wallpaper: Graham & Brown’s Heritage Plaid in Charcoal
- Wood-Look Porcelain Floor Tile
- Khaki Grout for Floor Tile
- Antique Rug


Looks amazing and I’m totally going to check out shelf help. Would you mind sharing the dimensions of your walk in closet. We are looking to add a walk in closet by taking some of the length off our long rectangular bedroom, but wondering how much I need (don’t want to shrink it too much).