Oh, hello, Alabama in July. Welcome to the burning lake of fire here on Earth. Right at this moment, I’ve got 5 separate box fans running on high in my garage as I work. They don’t really help with the heat, but they do keep the mosquitos from gaining traction on my skin, so there’s that.
Can I just tell you that the sweltering Southern heat is not for the faint of heart? Well, it’s not so much the heat, but the humidity. Seriously, I can’t walk from the front door to the mailbox without an oxygen tank. It sounds like I’m complaining. Well, that’s because I am. Why can’t it be a breezy 72º all the time? You all know how 72 is my favorite degree.
My brother-in-law asked me to build him a pair of nightstands and a matching dresser. “Sure!” I said. “No big deal!” I said. That was before I realized that Alabama is a blazing inferno.
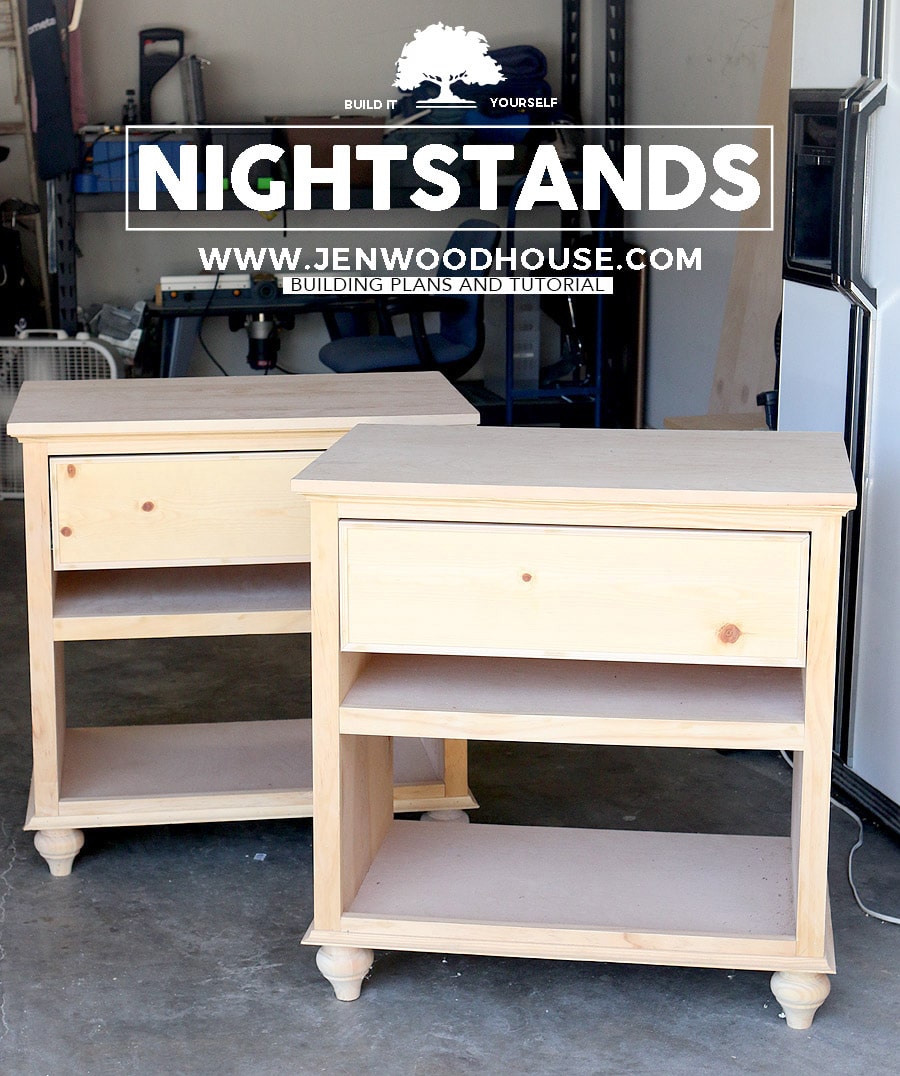
Note to self: build a climate-controlled workshop. Gotta get on that… as soon as we stop moving around, so… in about, say, 10 to 15 years when Adam retires from the Army.
Welp. Despite the heat, I built him these nightstands and drew up the design plans for you. I suffer for my loved ones. It’s my cross to bear. You’re welcome, Brother dear.
*This post contains affiliate links. To read my full disclosure policy, click here.
As usual, I started with my favorite plywood, Purebond Plywood. I chose the 3/4″ maple species.
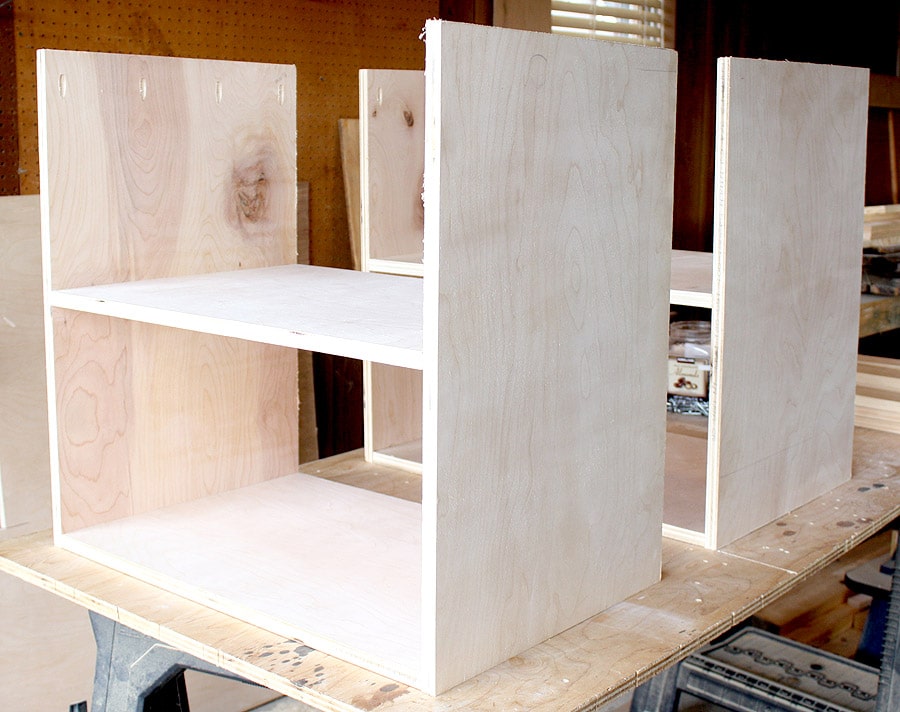
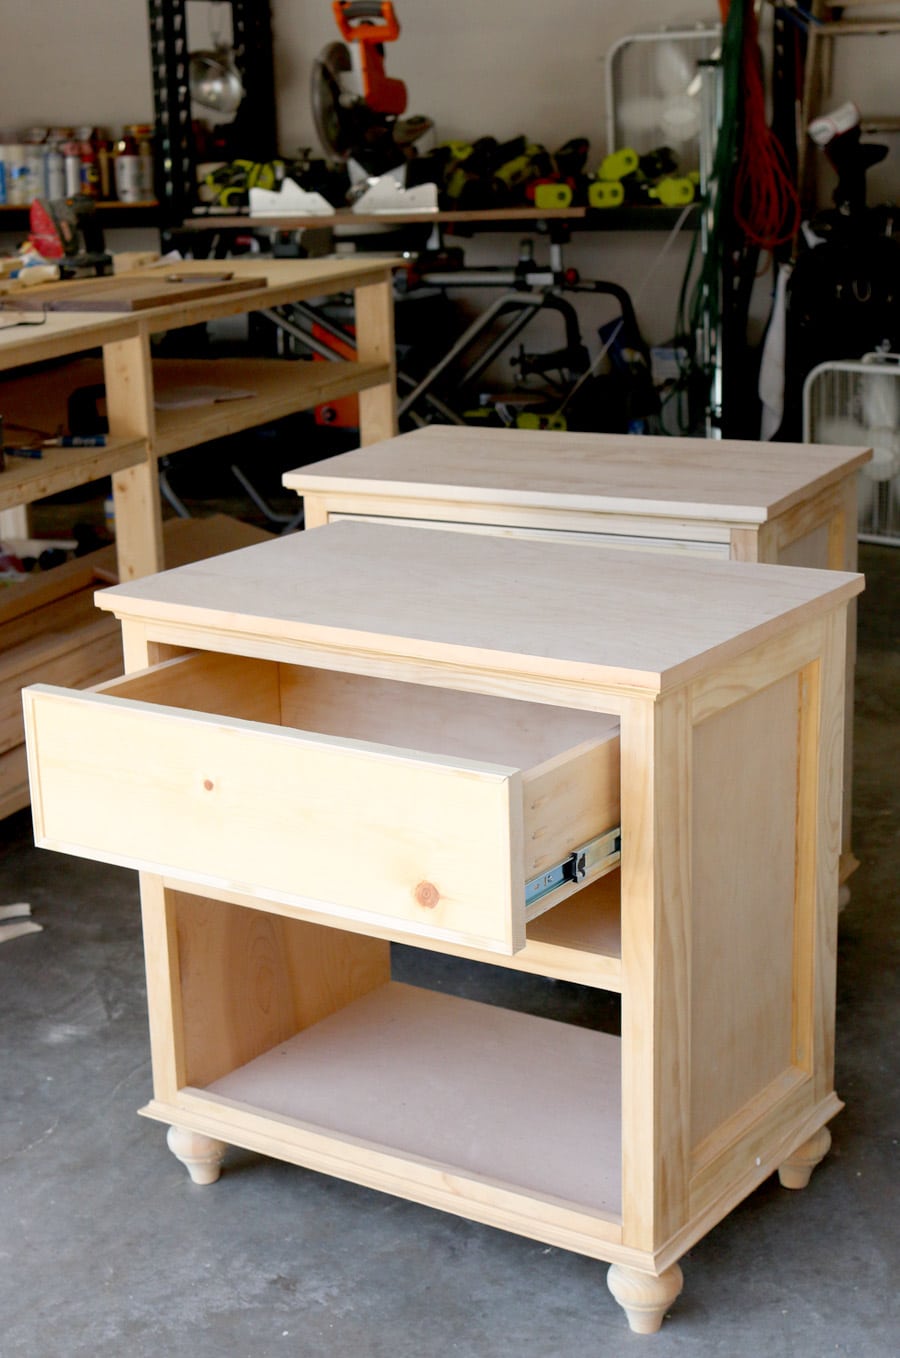
First I built the carcass, using my Kreg Pocket Hole Jig. If you don’t already have one of these thingamajiggys, I highly recommend you get one. I rarely build anything without it. Here’s a great video tutorial on how to use it, from my beautiful and fiercely talented friend, Jenn from Build-Basic.
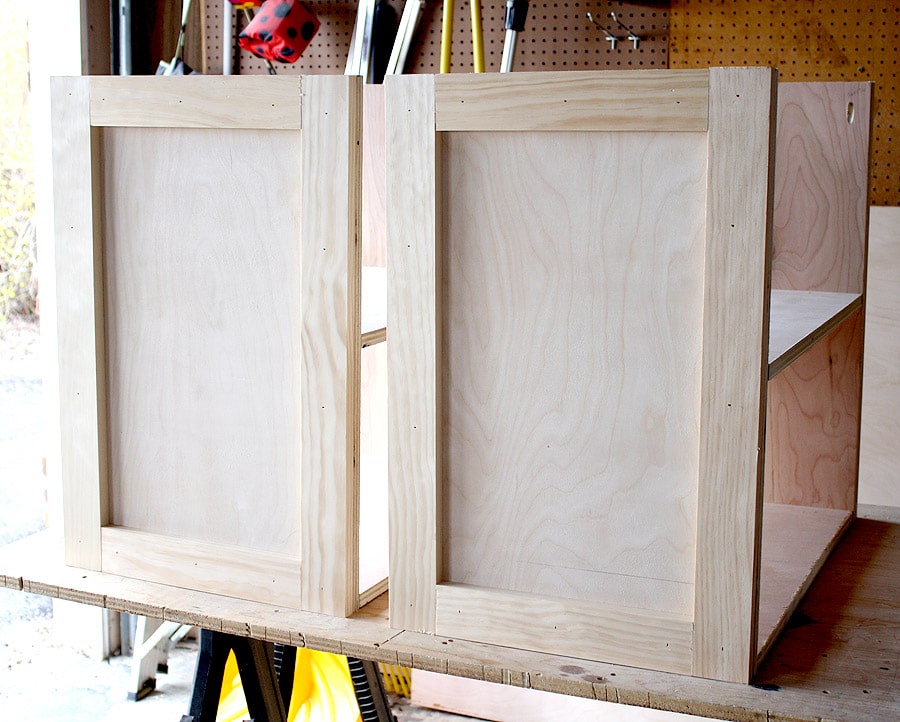
Next, I glued and nailed the trim pieces to the side panels.
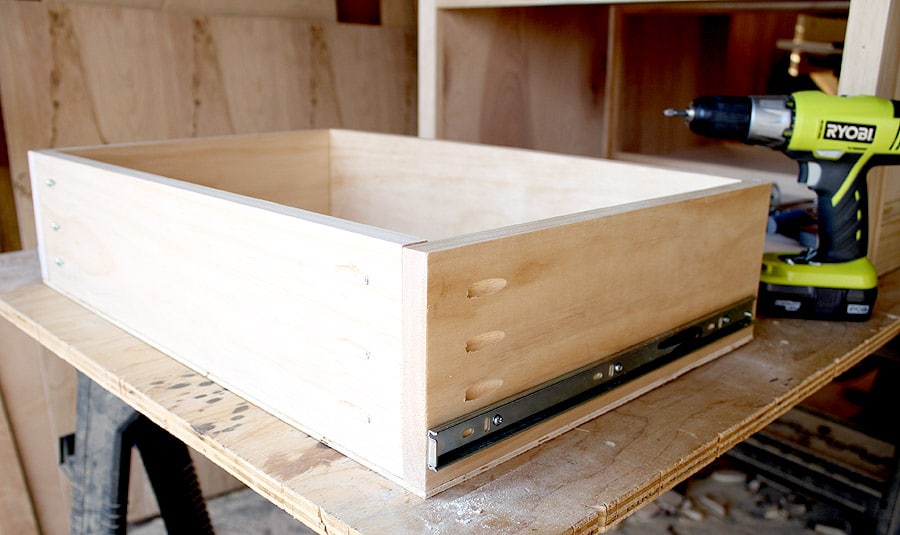
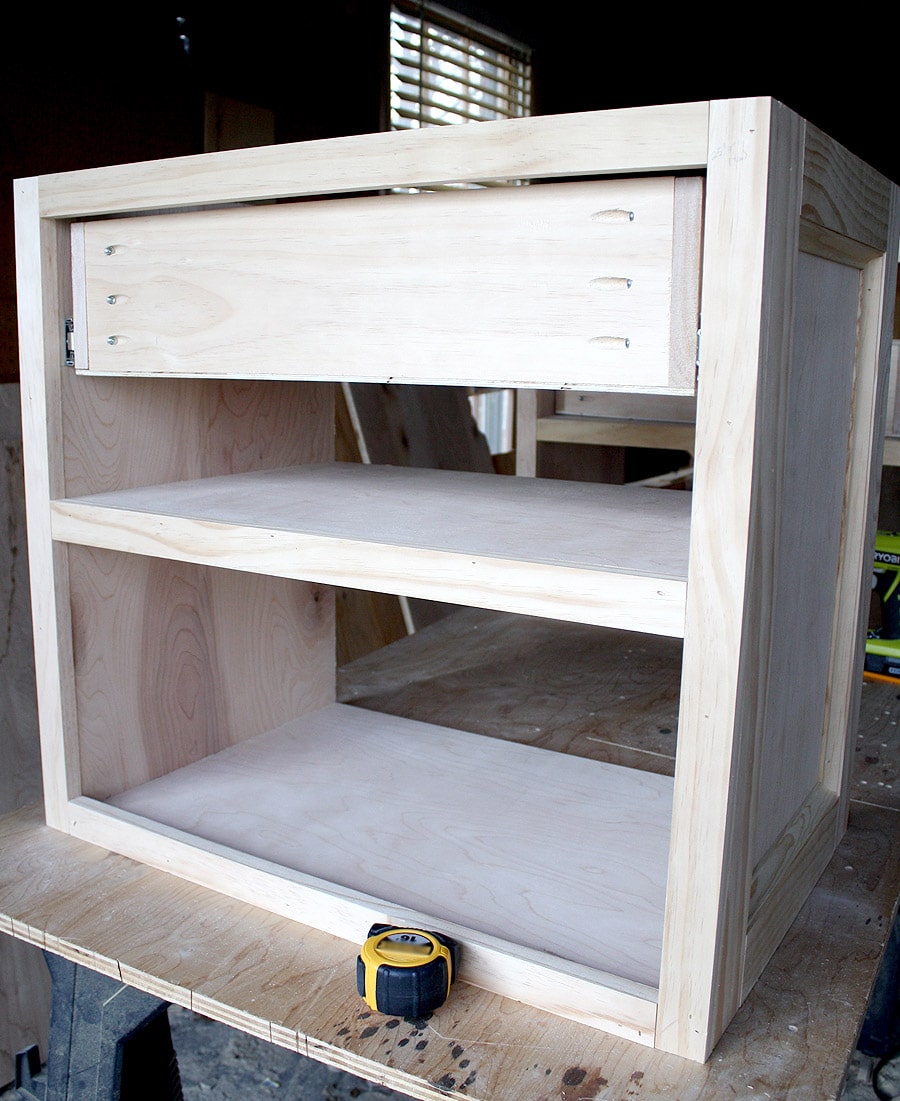
Then it was time to build the drawer. Again, I used pocket hole joinery to construct the box. I also drilled 3/4″ pocket holes into the sides of the drawer, facing forward, to attach the drawer face in later steps.
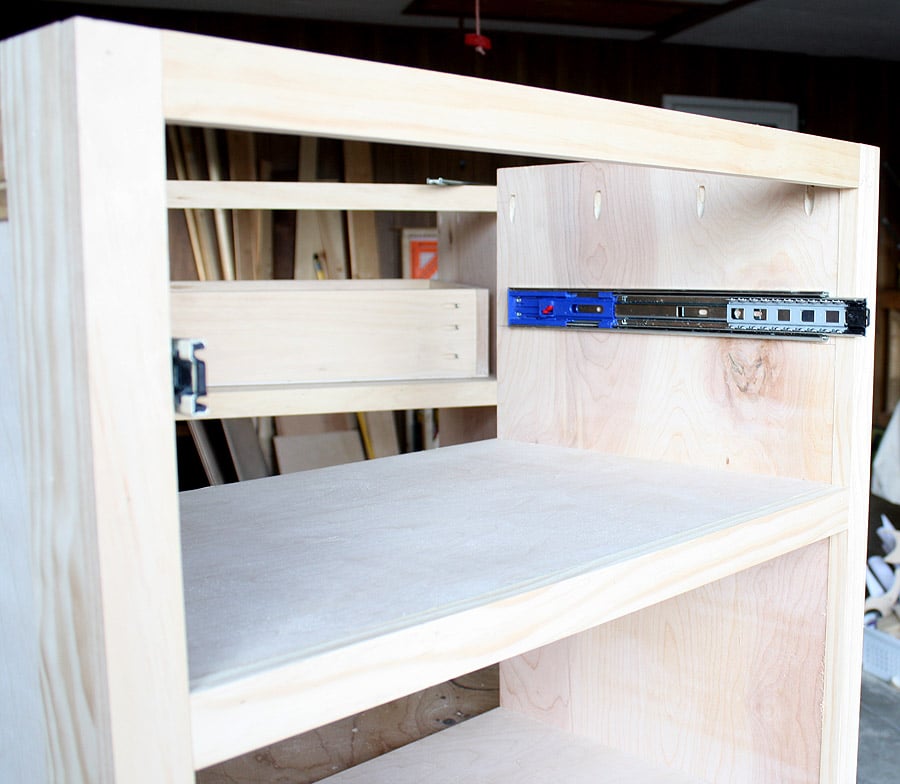
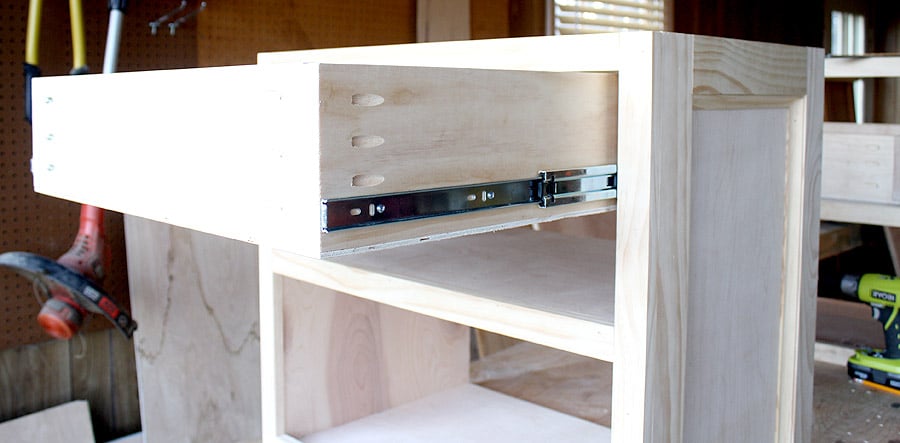
I installed the metal drawer slides according to the manufacturer’s directions, and slid the drawer into place.
I chose these soft-closing ball bearing drawer slides. I prefer these heavier duty slides to the cheaper, flimsy white ones. They do cost a bit more, but the added strength and durability are worth the cost in my opinion. They’re full extension slides and that soft-closing feature is so fancy!
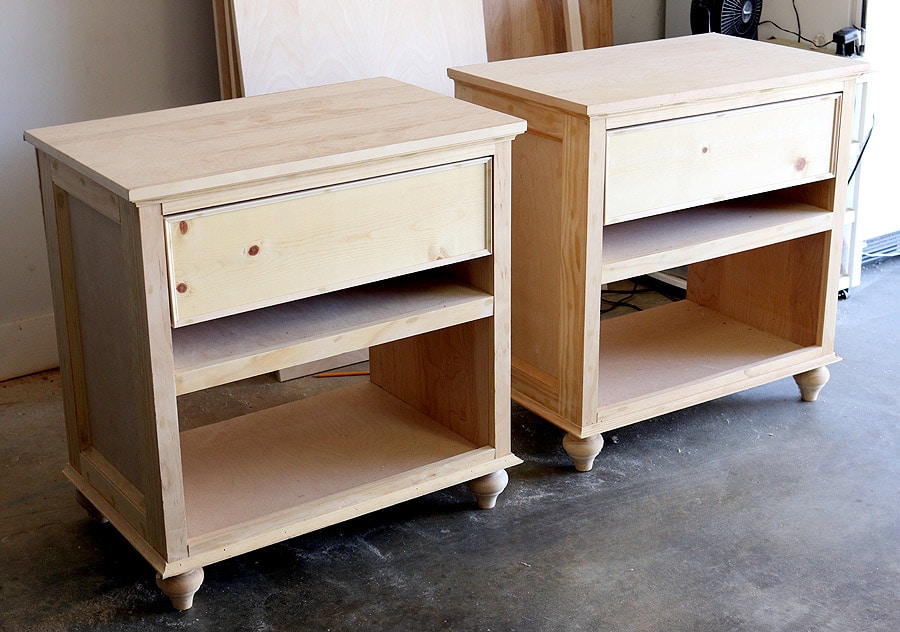
Then I attached the drawer faces, a back panel to the back of the nightstands, and finally, added these bun feet that I got from Osborne Wood. I left the bottom part of the backs open because my brother-in-law has a couple of vents where these nightstands will go.
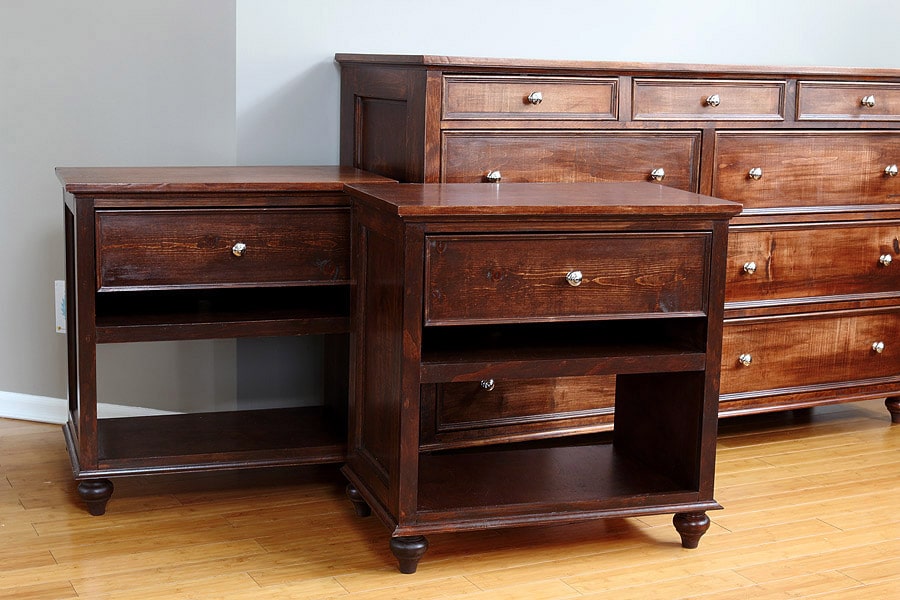
Here’s how they turned out:
Once I’m done building his matching dresser, I’ll stain and finish all three pieces together. Stay tuned for the matching dresser plans!
*Update: Here’s part one of the matching dresser tutorial. And here’s the complete set:
Thanks for reading, friends. If you’d like to pin and share this project, I will love you forever. Just use the image below and pin to your heart’s desire! Also, join me on Instagram, where I share sneak peeks of upcoming projects.
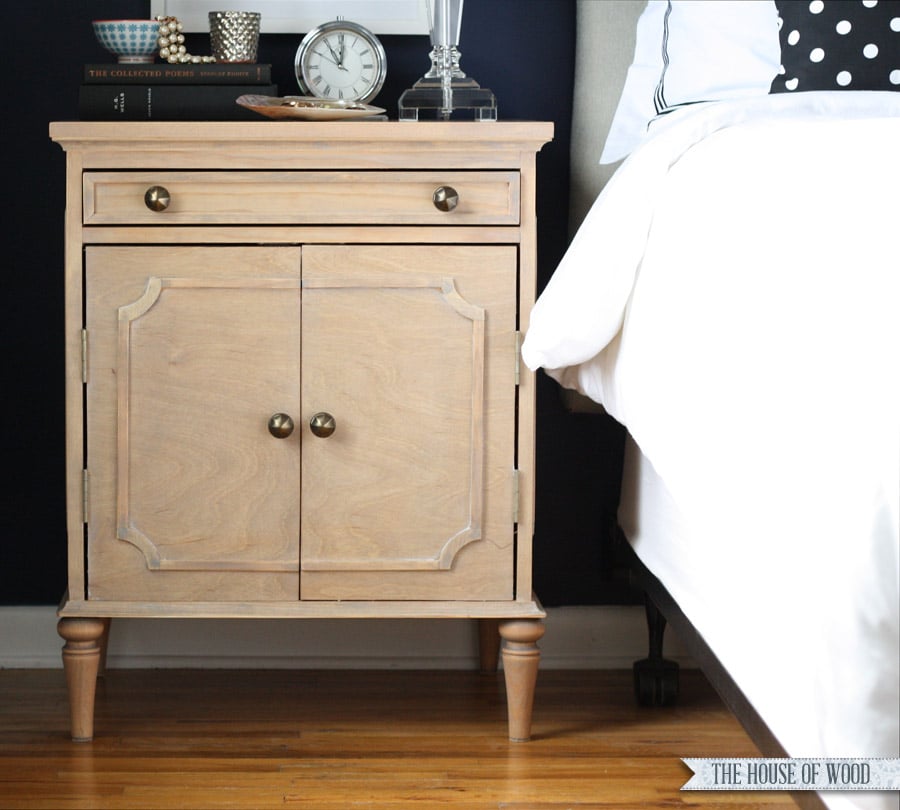
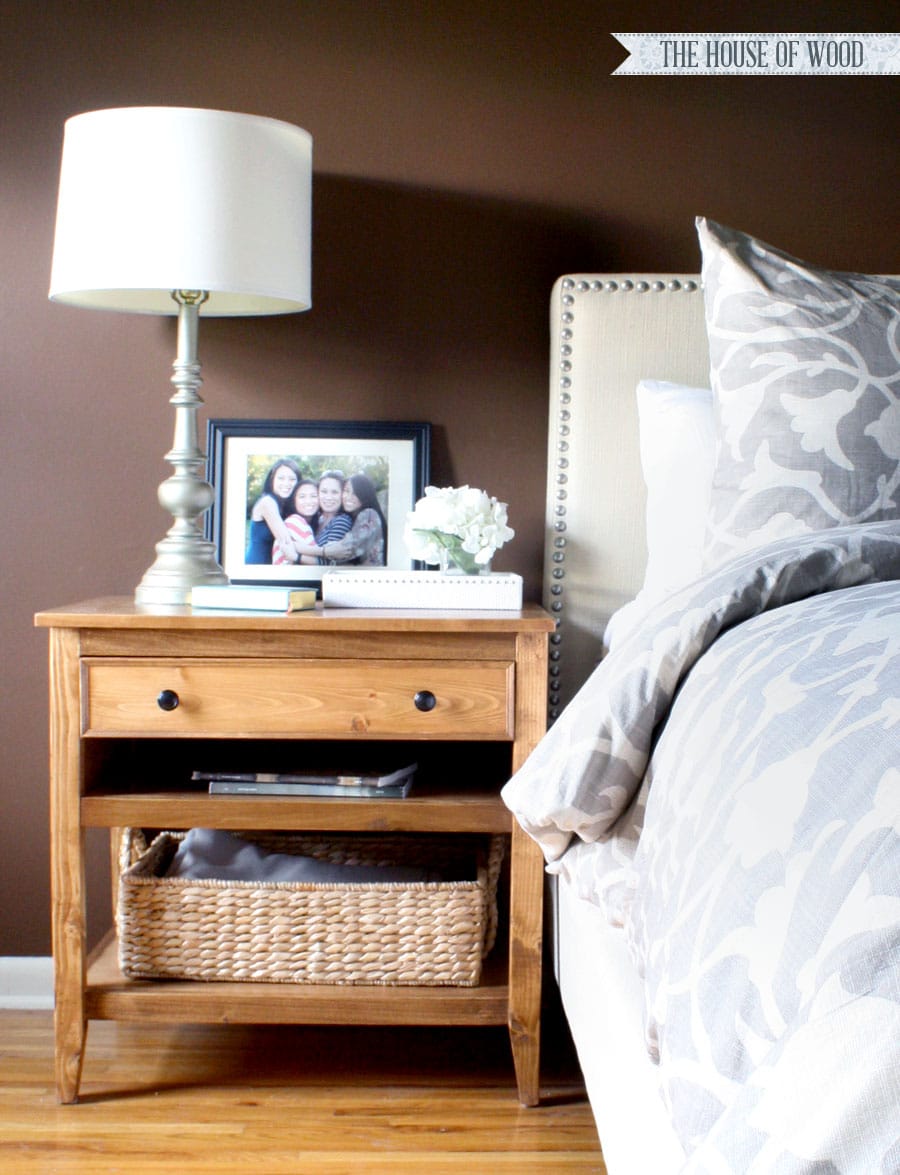
Want to see other DIY nightstand plans?




Really disappointed in these plans, online you boasted that you write plans like recipes. No where does it instruct when and where to add the pocket holes on the sides of the stand,you completely left our of instructions and diagrams that pocket holes need to be added in order to attach the top, and some photos are in really strange angles that are not helpful. Steps are very much lacking detail. This is not my first DIY so I am not a complete newbie here, but the way you said your plans were written was misleading.
Hi Stephanie,
Thanks for your message! I’m happy to answer any questions you may have on this project – please email me. Generally speaking, pocket holes should be placed 6-8 inches apart, so the exact location isn’t noted. As long as the screws are 6-8 inches apart, the joints will be strong. I will take a look at this plan and see if I can add more details. Thanks again!
Would it be possible to provide instruction on how to cut the 3/4″ cove moulding accurately? I cannot get my corners to line up right!
Excellent job Jen! You made it look easy! And, thanks for sharing these useful ideas!
Where did you get the legs for the nightstand? What are the legs design called?