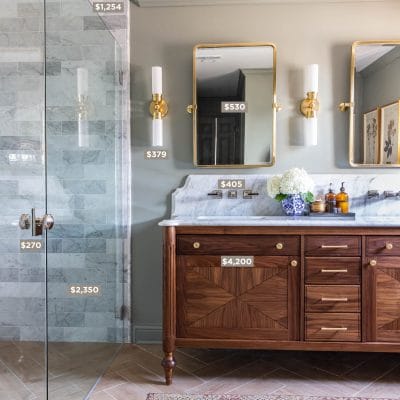
“You built that bathroom vanity?!” my mom asked.
“Don’t sound so surprised…” I replied.
“Well, it just looks like something you’d buy in a store.”
“That’s funny, because I couldn’t find anything like this in any store, which is why I had to build it.”
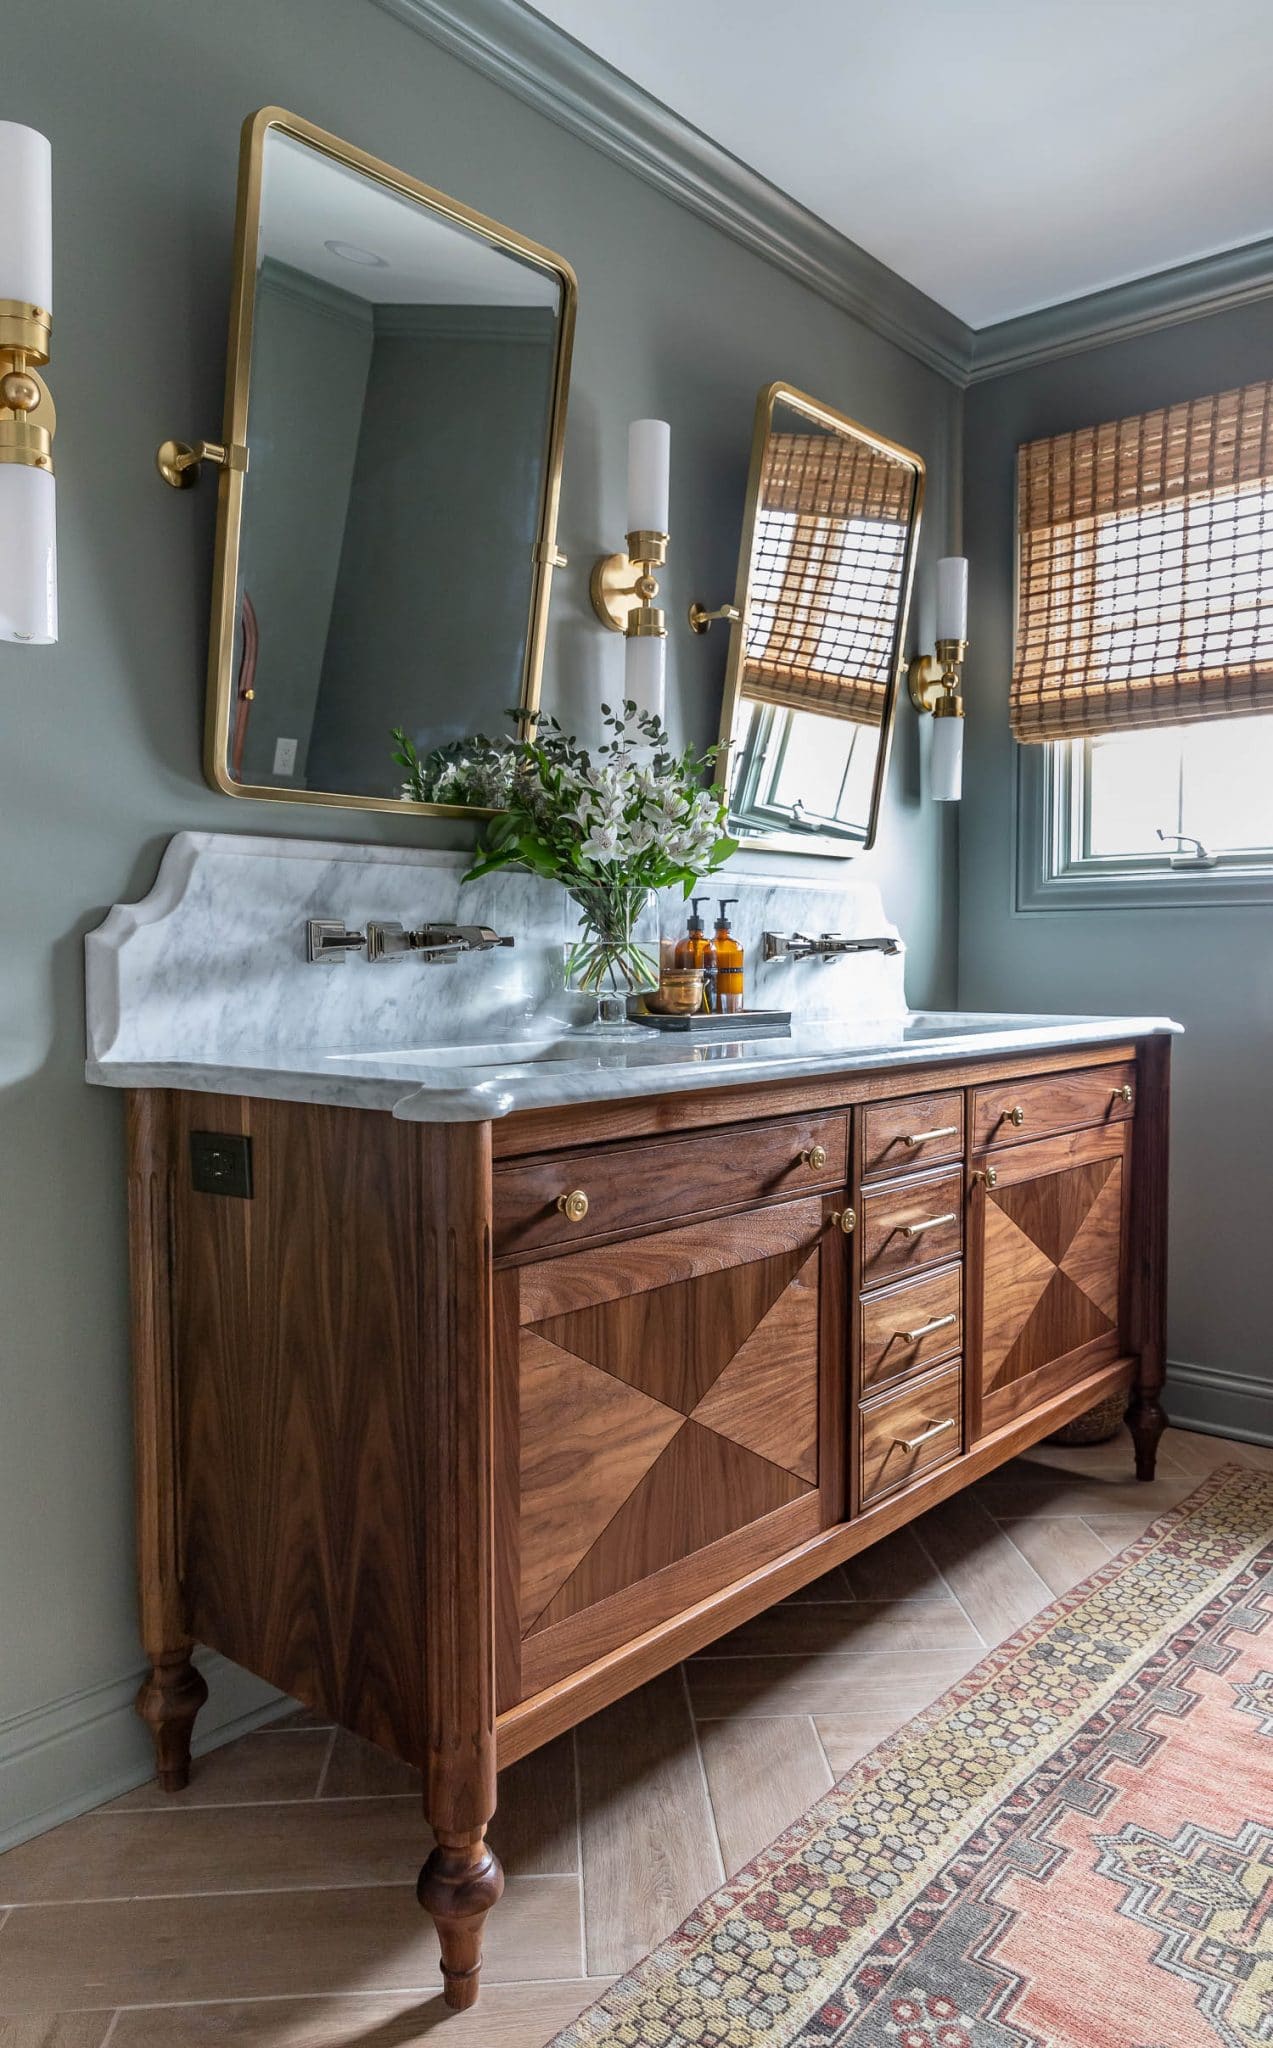
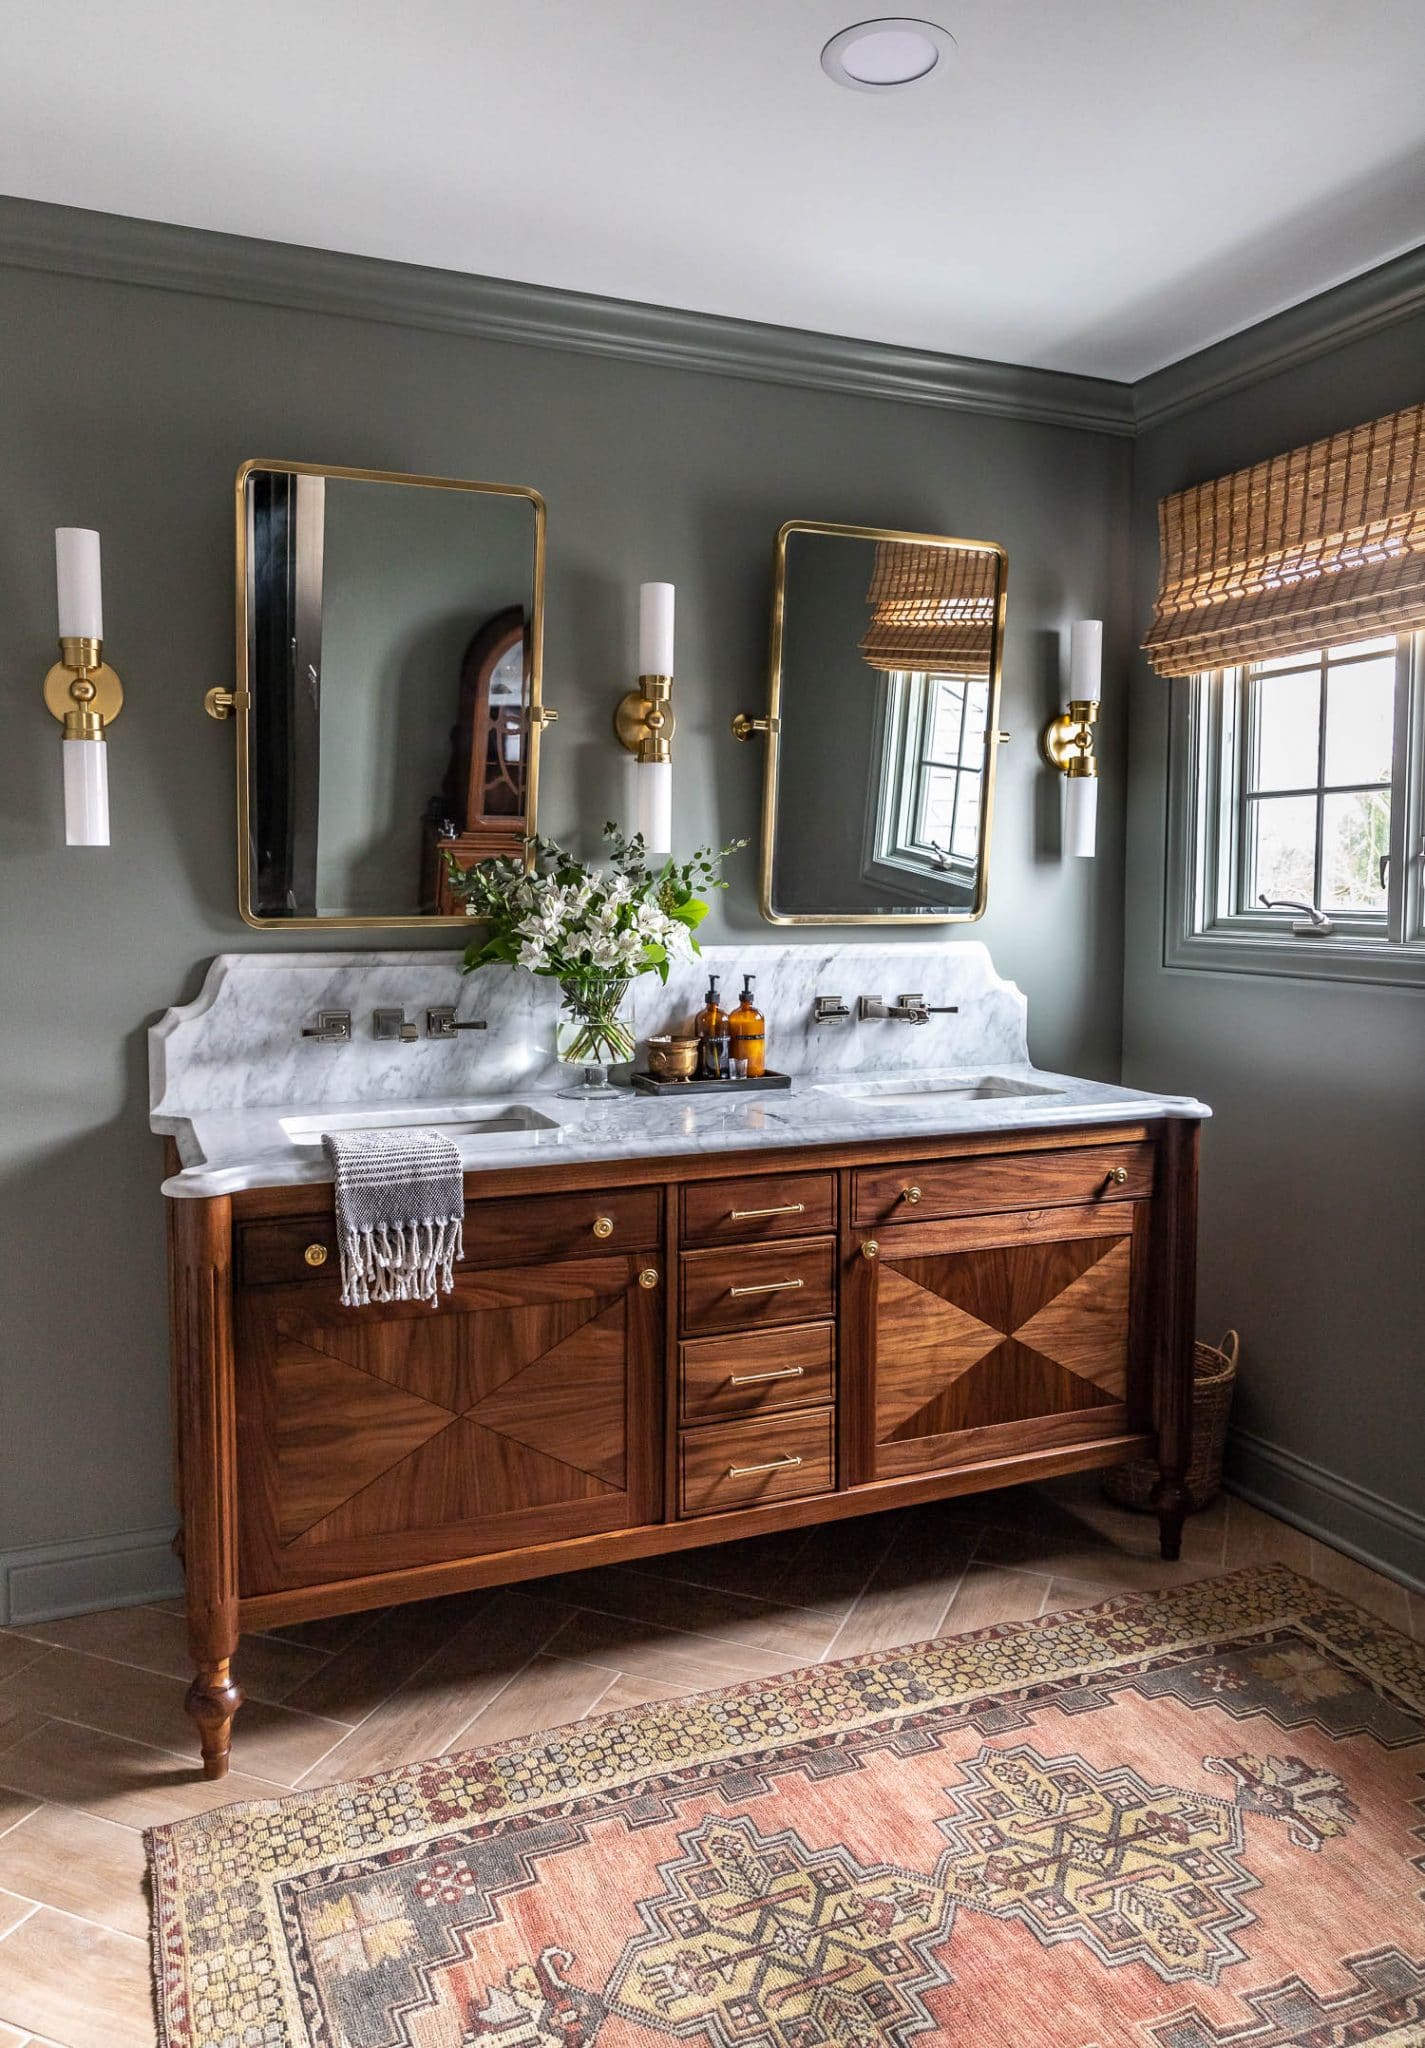
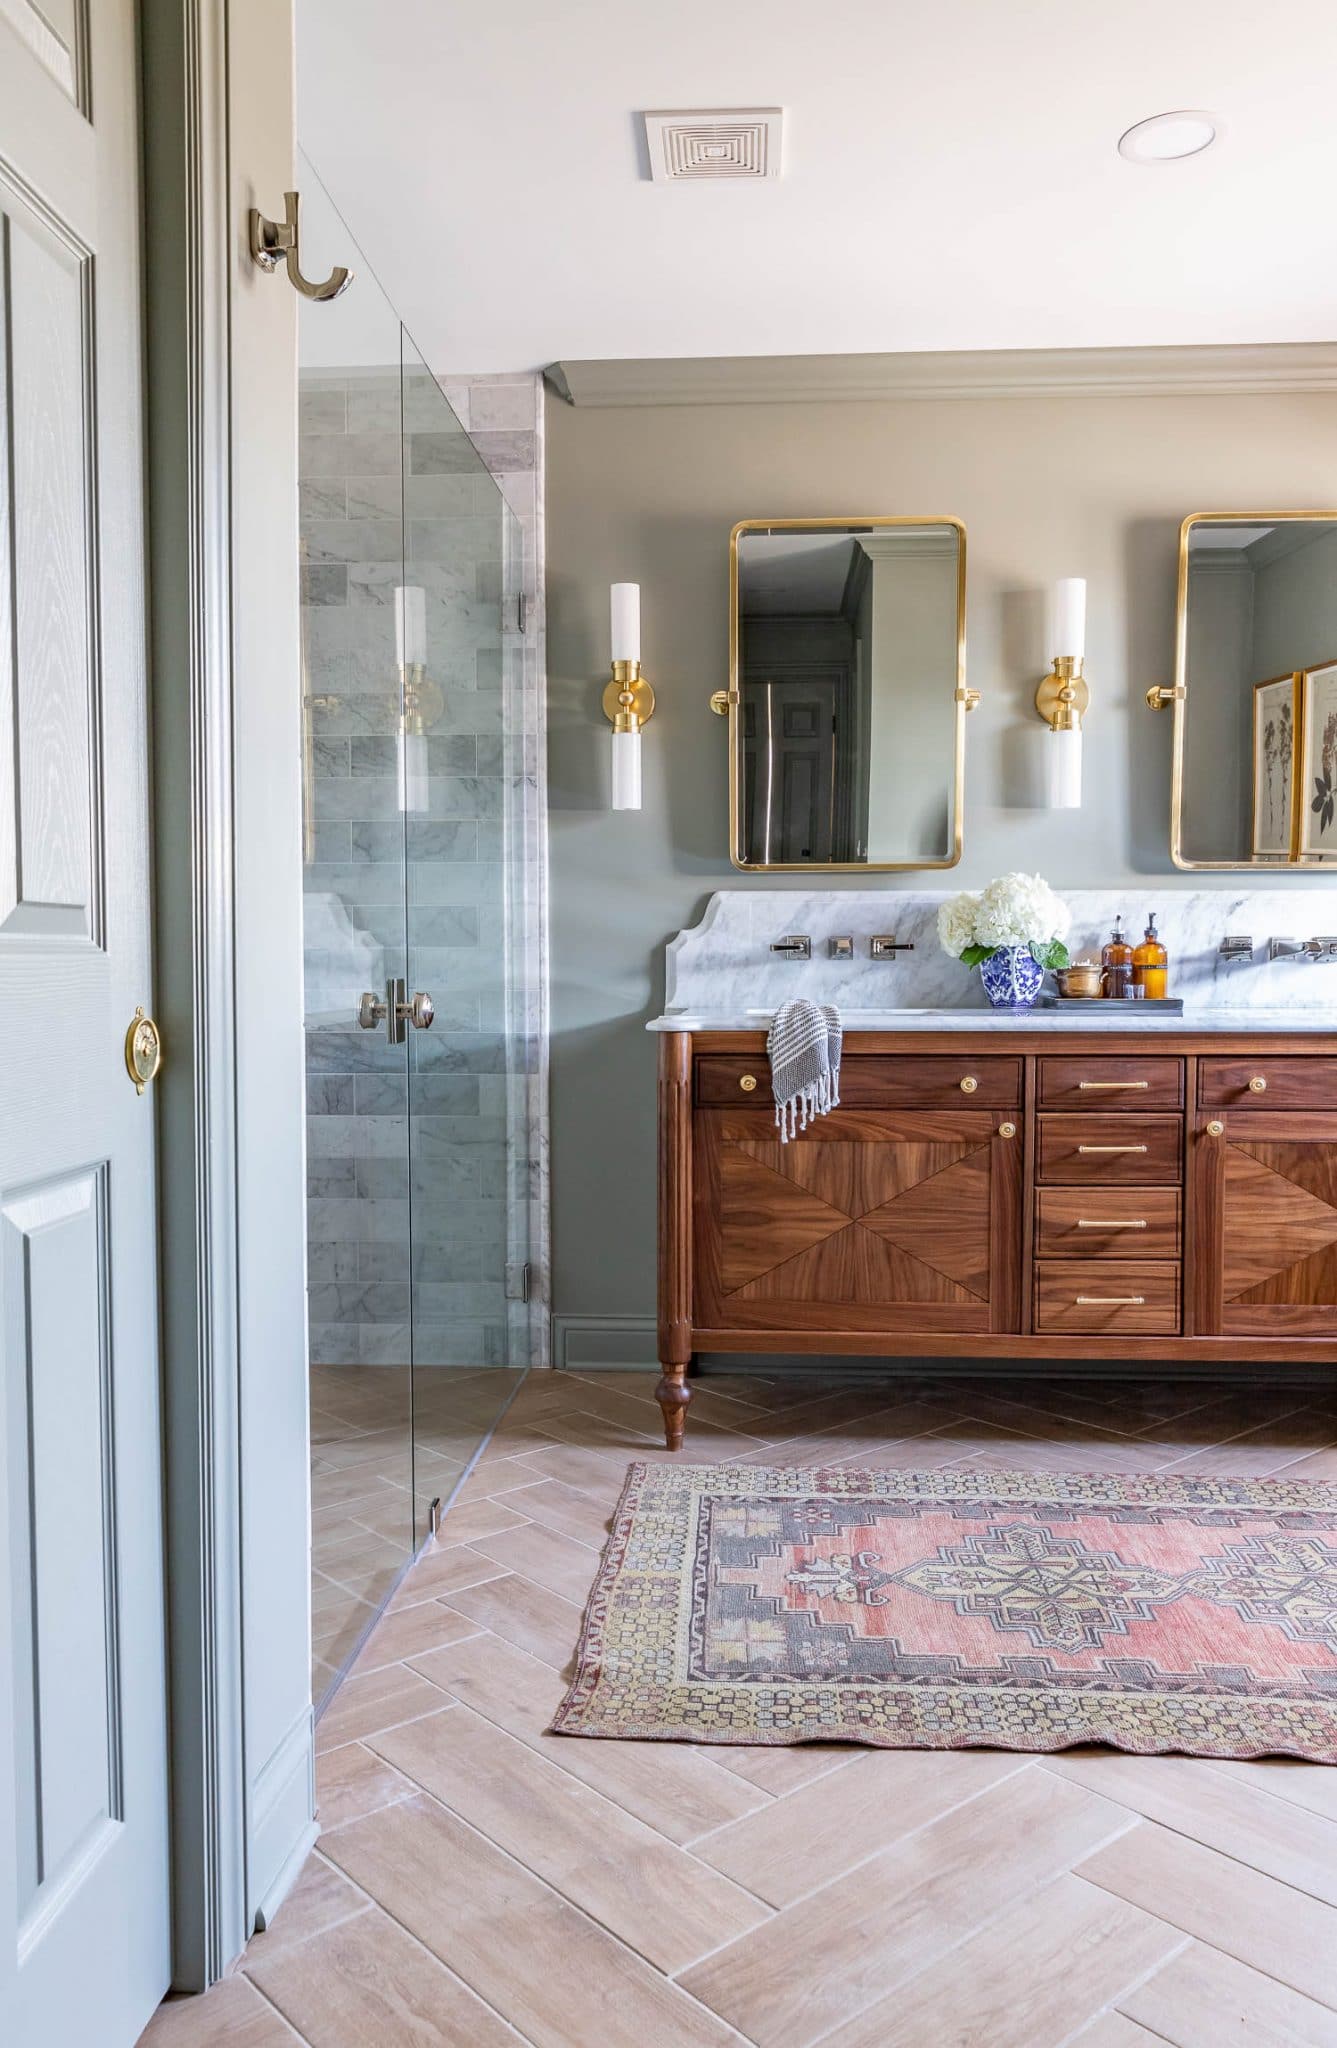
To say this DIY bathroom vanity project was a labor of love would be quite an understatement. Creating it was such a glorious and gratifying experience. I was able to challenge myself with new woodworking techniques, hone familiar ones, and learn so much in the process. I am SO pleased with how it turned out. I mean, it’s like a whole vibe, right?
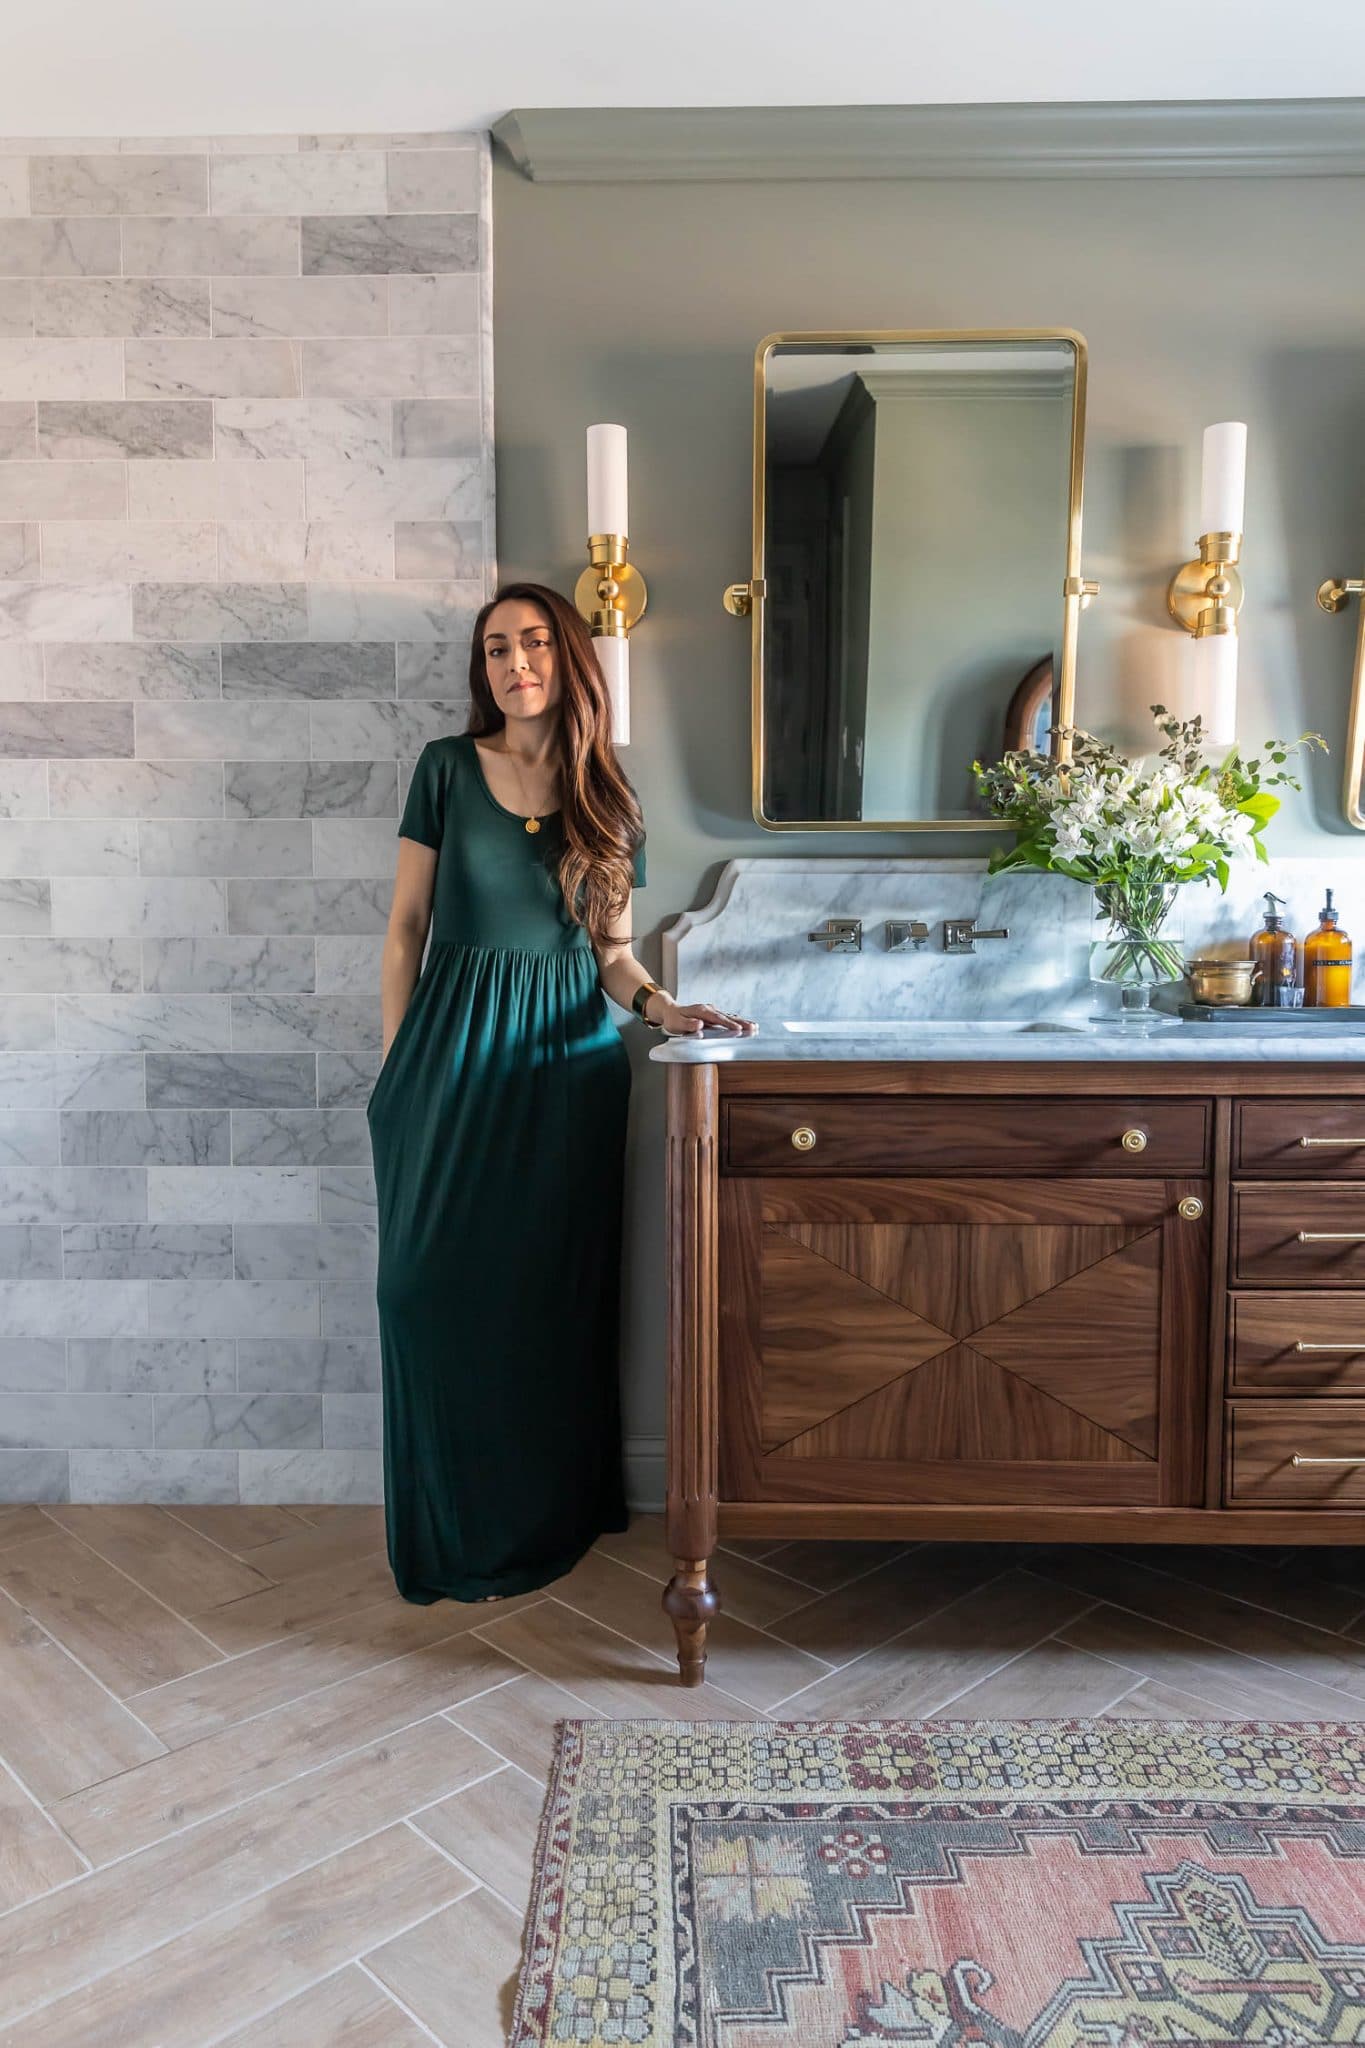
Black walnut is my favorite wood species. It’s absolutely stunning and easy to work with – strong and hard, but not so rigid and unforgiving the way white oak can be (remember the white oak nightstands I built? Ughhh… even though they turned out beautifully in the end, the white oak was incredibly frustrating to work with). I can’t believe how much this DIY bathroom vanity increased the storage, functionality, and beauty in our primary bathroom!
Check out these posts on our bathroom remodel if you’d like to catch up:
Bathroom Remodel Progress
- Bathroom Remodel Design Plans
- Demo, Framing, Rough-In Plumbing and Electrical
- Insulation, Drywall, and Priming
- Tiling!
- How To Install A Toilet and Bidet Seat
- Vanity Countertop Install
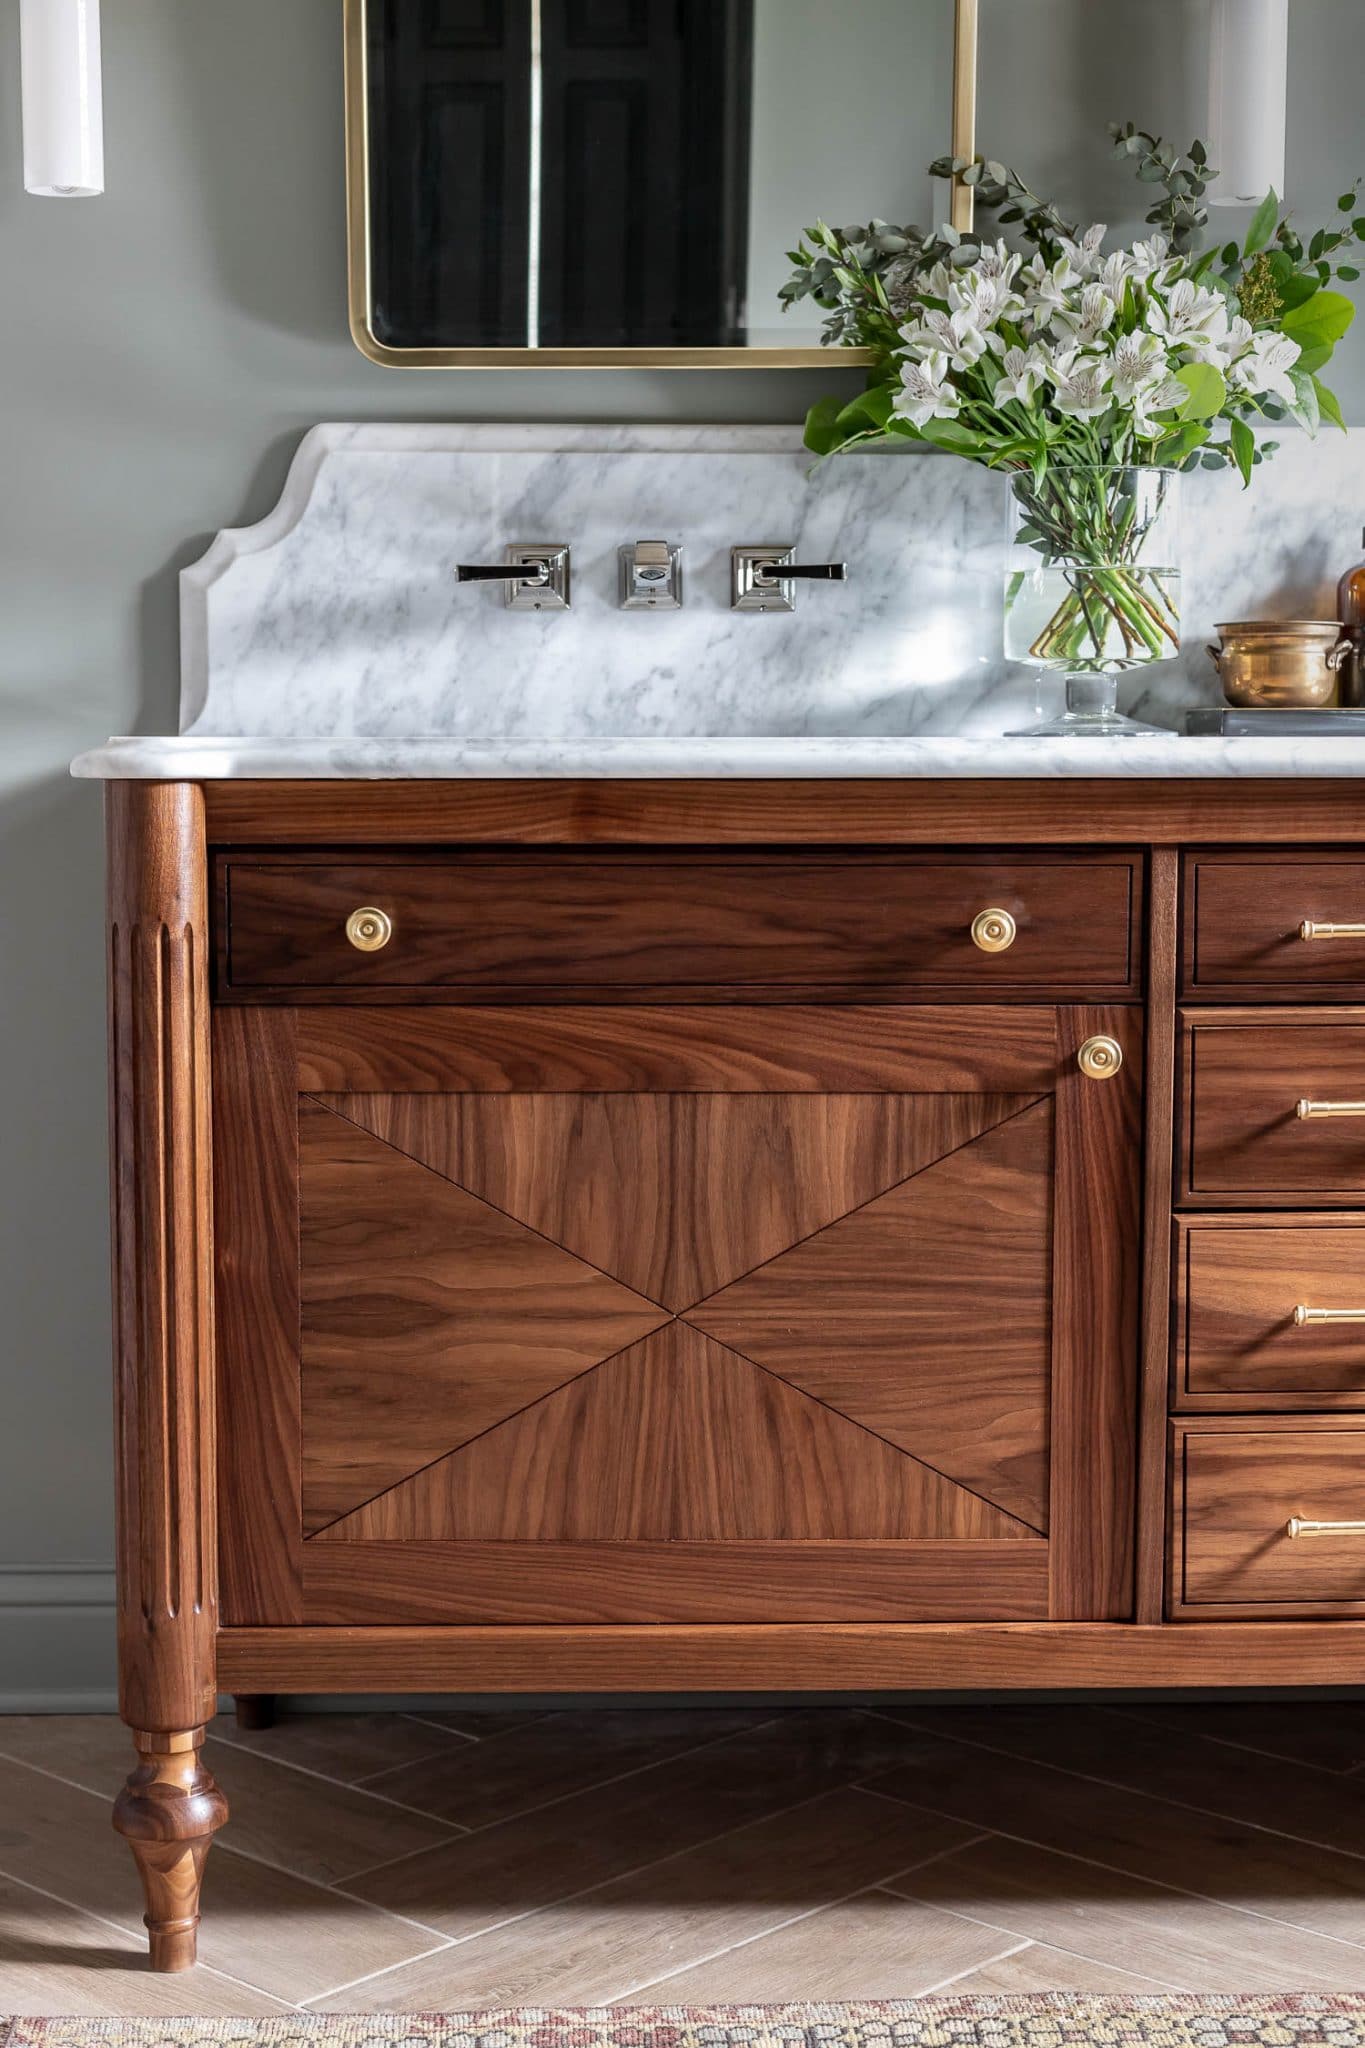
Are you ready to build this double vanity for yourself? As always, I’ve got you covered with the step-by-step how-to guide, but there still may be some trial and error on your part. While I try my very best to include the most comprehensive information that will set you up for success, building this vanity is a culmination of more than a decade of my DIY journey and there are so many nuances that I’ve learned over the years that isn’t included in the plan. So buckle up, Buttercup. The training wheels are coming off. YES. You can totally do this, just take your time, pay attention to detail, build square, be safe, and have fun. Oh, and show me your handiwork when you’re done!
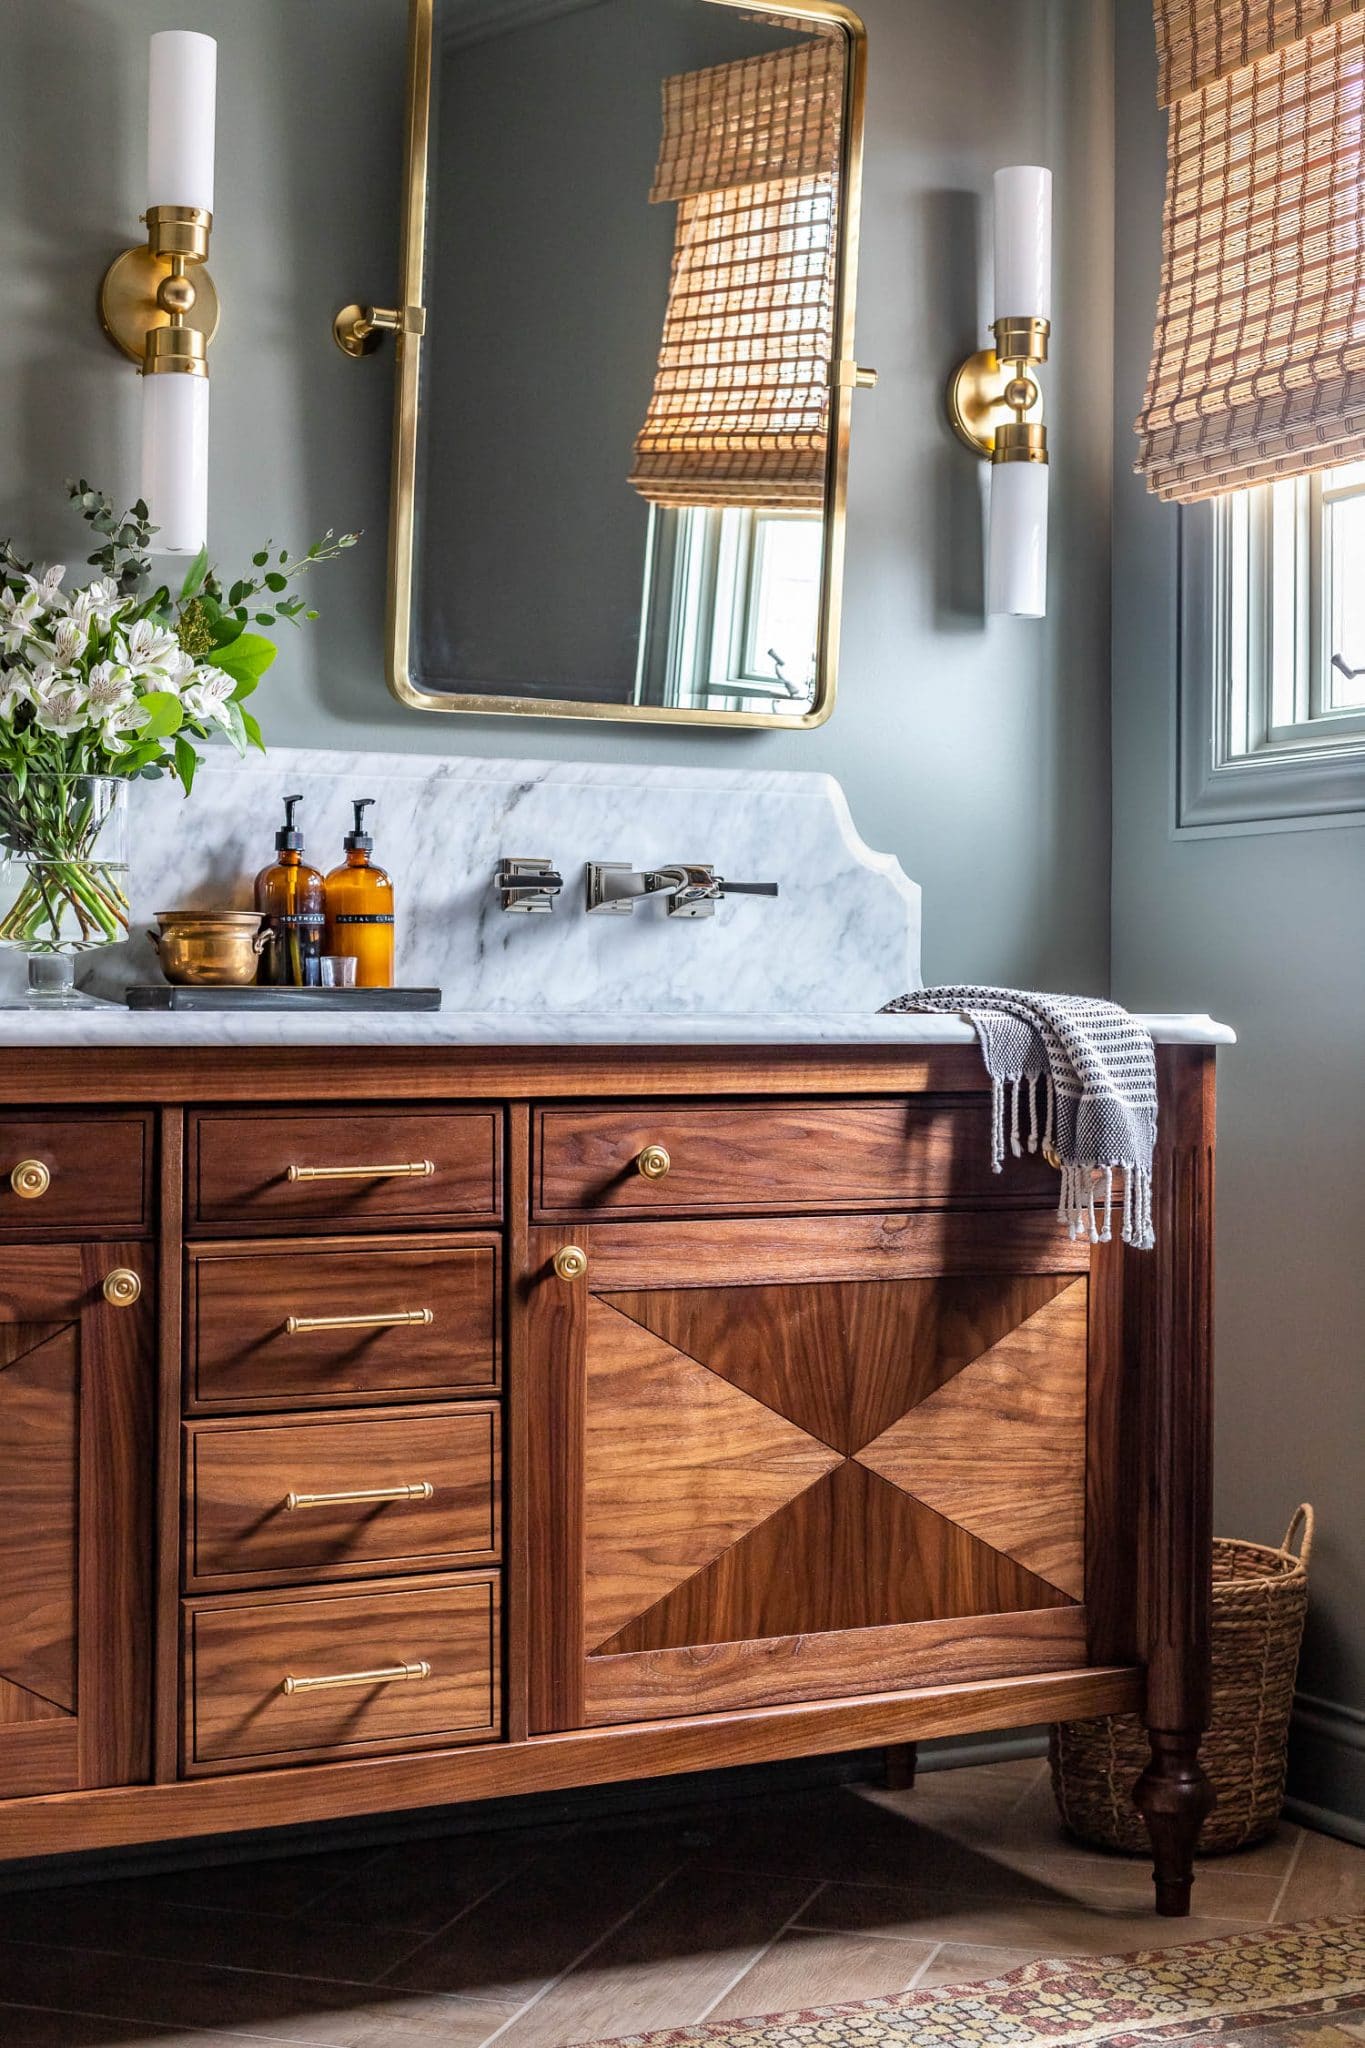
How To Build A DIY Bathroom Vanity
Materials:
- 3/4-inch 4 ft. x 8 ft. Sheet of Hardwood Plywood
- 1/4-inch 4 ft. x 8 ft. Sheet of Hardwood Plywood
- Dimensional Lumber: 2×2, 1×3, 1×6, 1×8
- Woodhouse Vanity Legs
- 90º Corner Metal Brackets
- Tilt-out Trays with Soft-close Hinges
- Full-extension, Soft-closing Under-mount Drawer Slides
- Self-closing Frameless Cabinet Hinges
- Cabinet Knobs
- Drawer Pulls
- Magnetic Catches
- Pre-finished Custom Dovetail Drawers
- Pocket screws, brad nails, staples, pin nails
- Wood Glue
Tools:
- Tape Measure
- Pencil
- Carpenter’s Square
- Cordless Drill/Driver
- Table Saw or Track Saw
- Compound Miter Saw
- Palm Router with Rabbeting Bit
- Pocket Hole Jig
- Pneumatic Brad Nailer
- Pneumatic Pin Nailer
- Narrow Crown Stapler
- Wood Chisel and Mallet
- Clamps
- Safety Glasses, Dust Mask, and Hearing Protection
Download the Plans

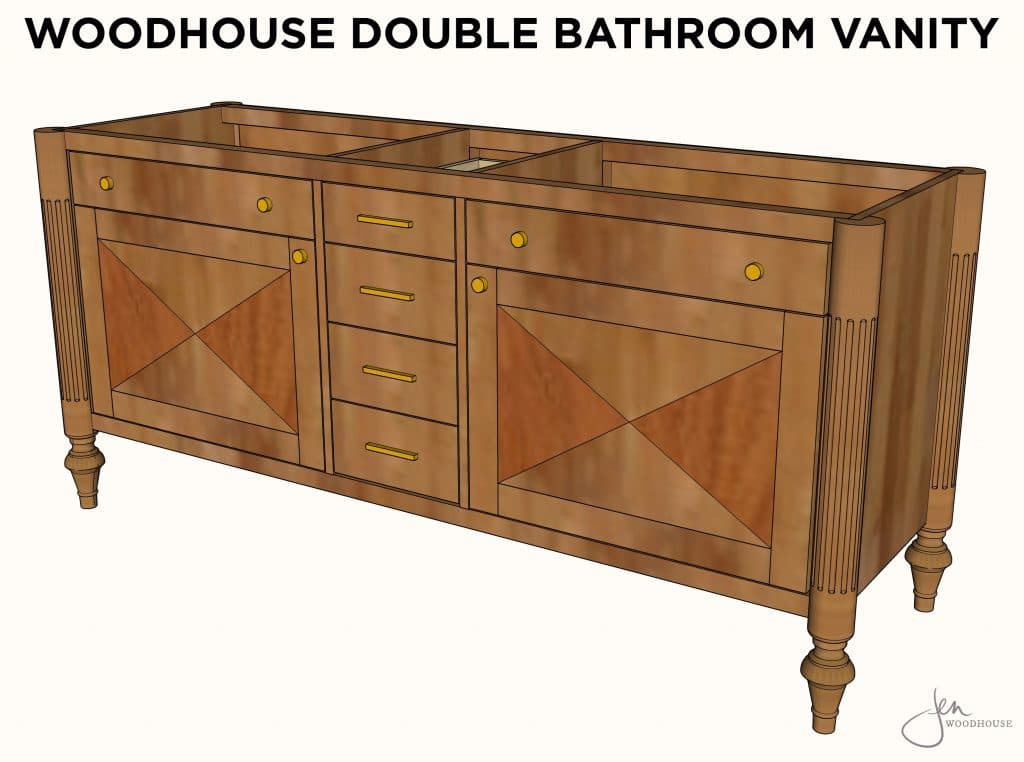
Designing the Vanity Legs
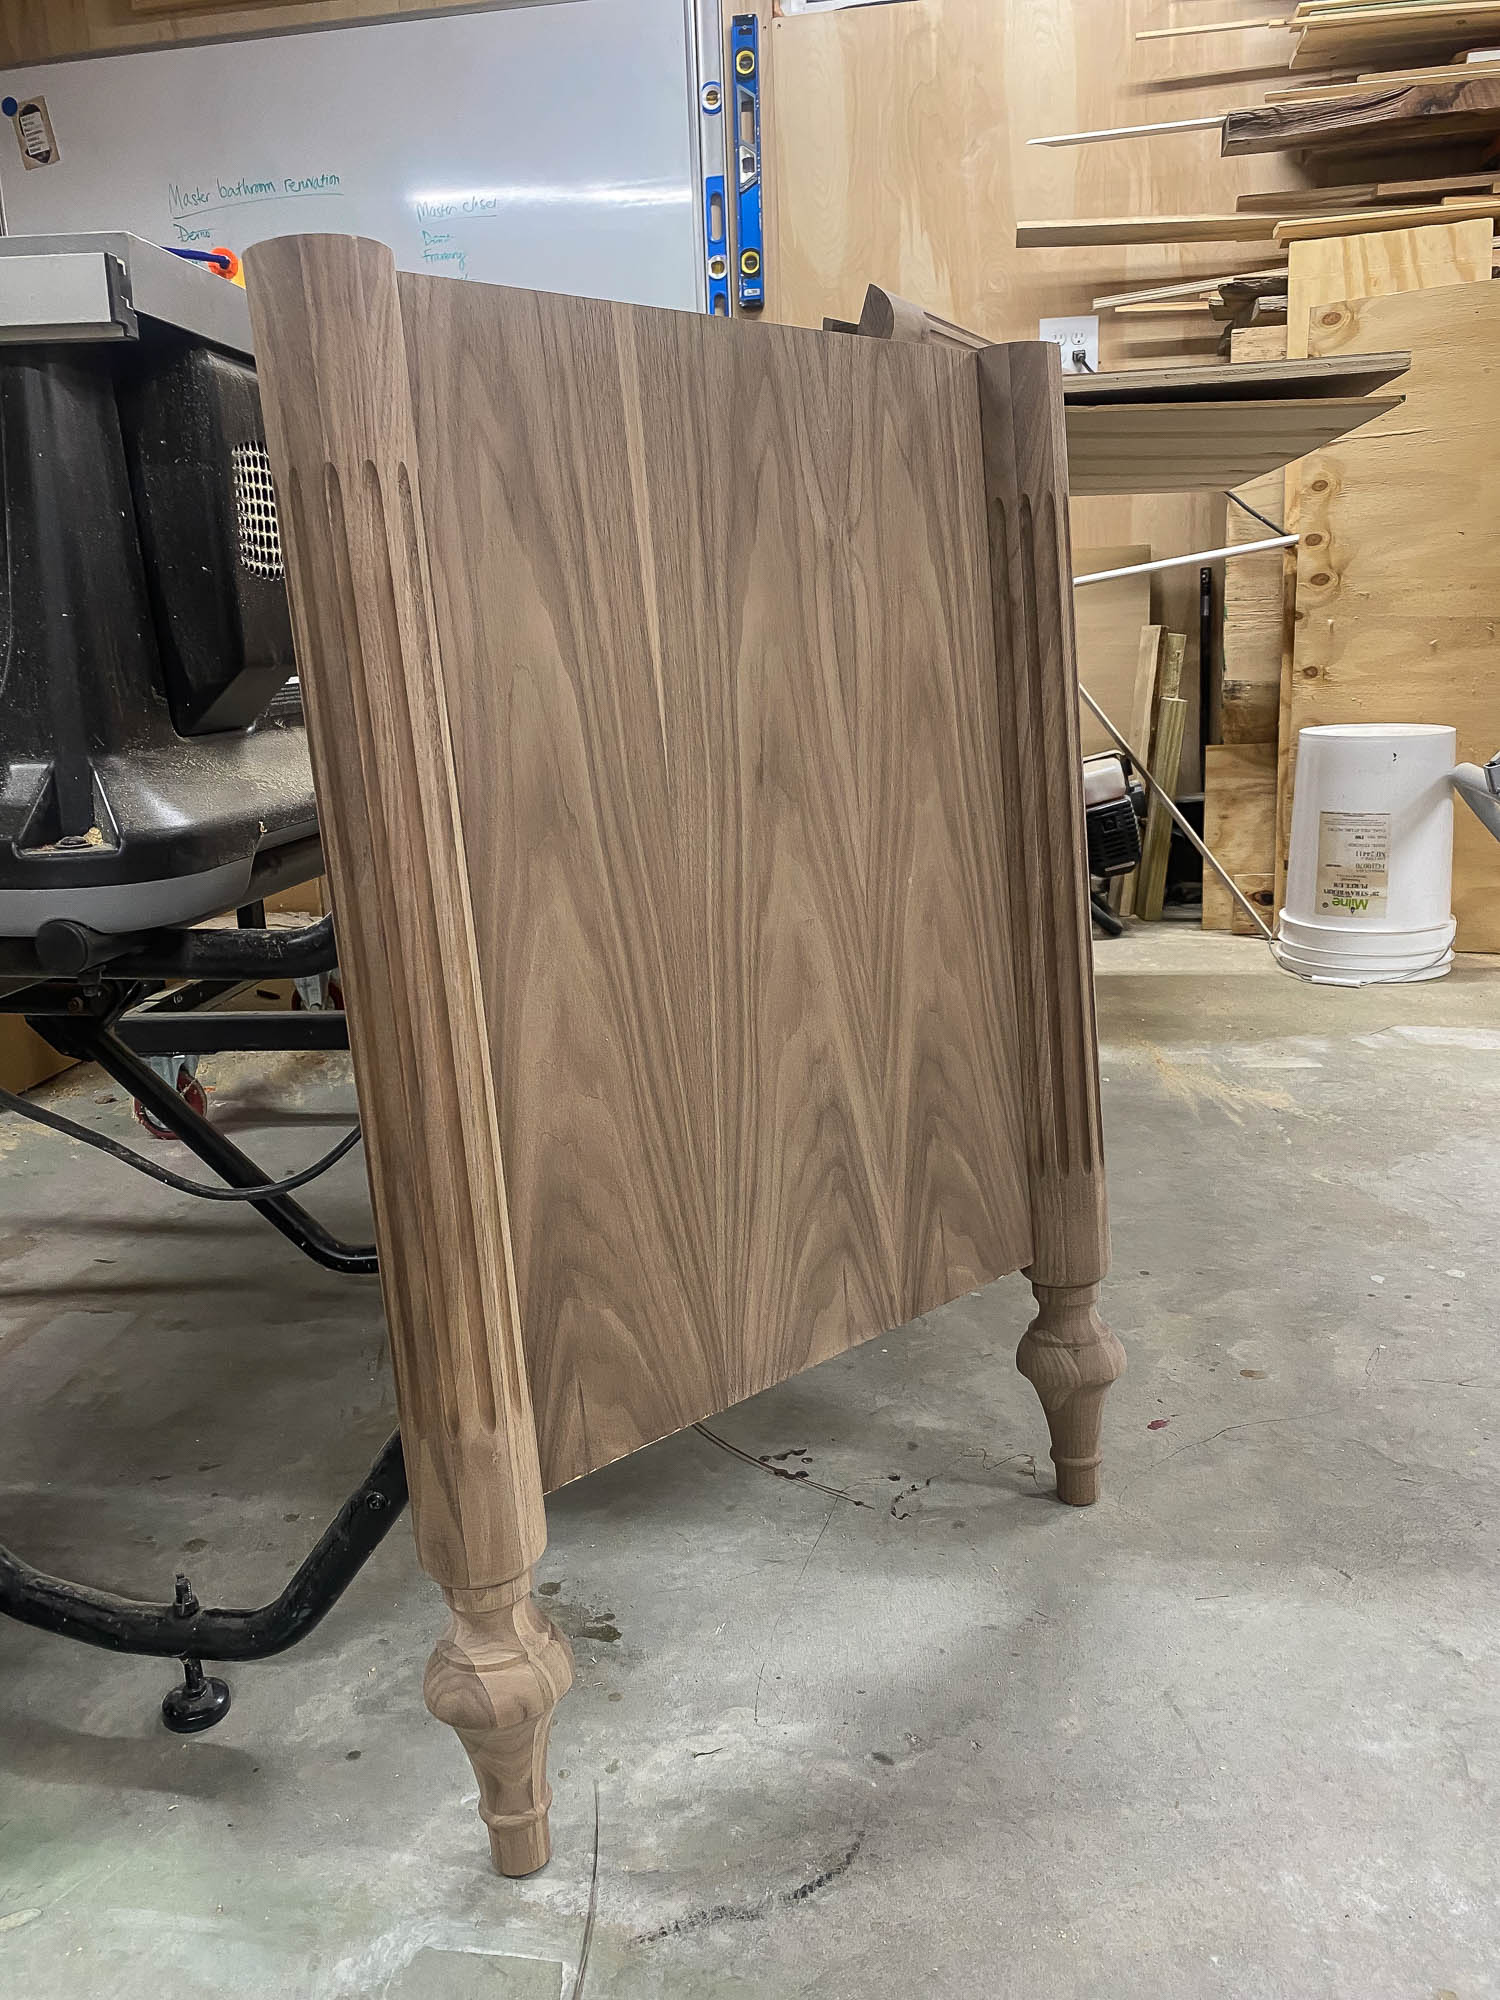
The first thing I did was build the two side panels. I worked with Osborne Wood Products to design and fabricate the vanity legs. Inspired by classic Louis XVI furniture, I incorporated elements like the fluted detail and delicate turned foot into my design. Kudos to Osborne Wood – I was so impressed that the whole process took less than a week to go from an idea in my head to the physical product arriving on my doorstep. And great news: the Woodhouse Vanity Leg is now for sale on their website!
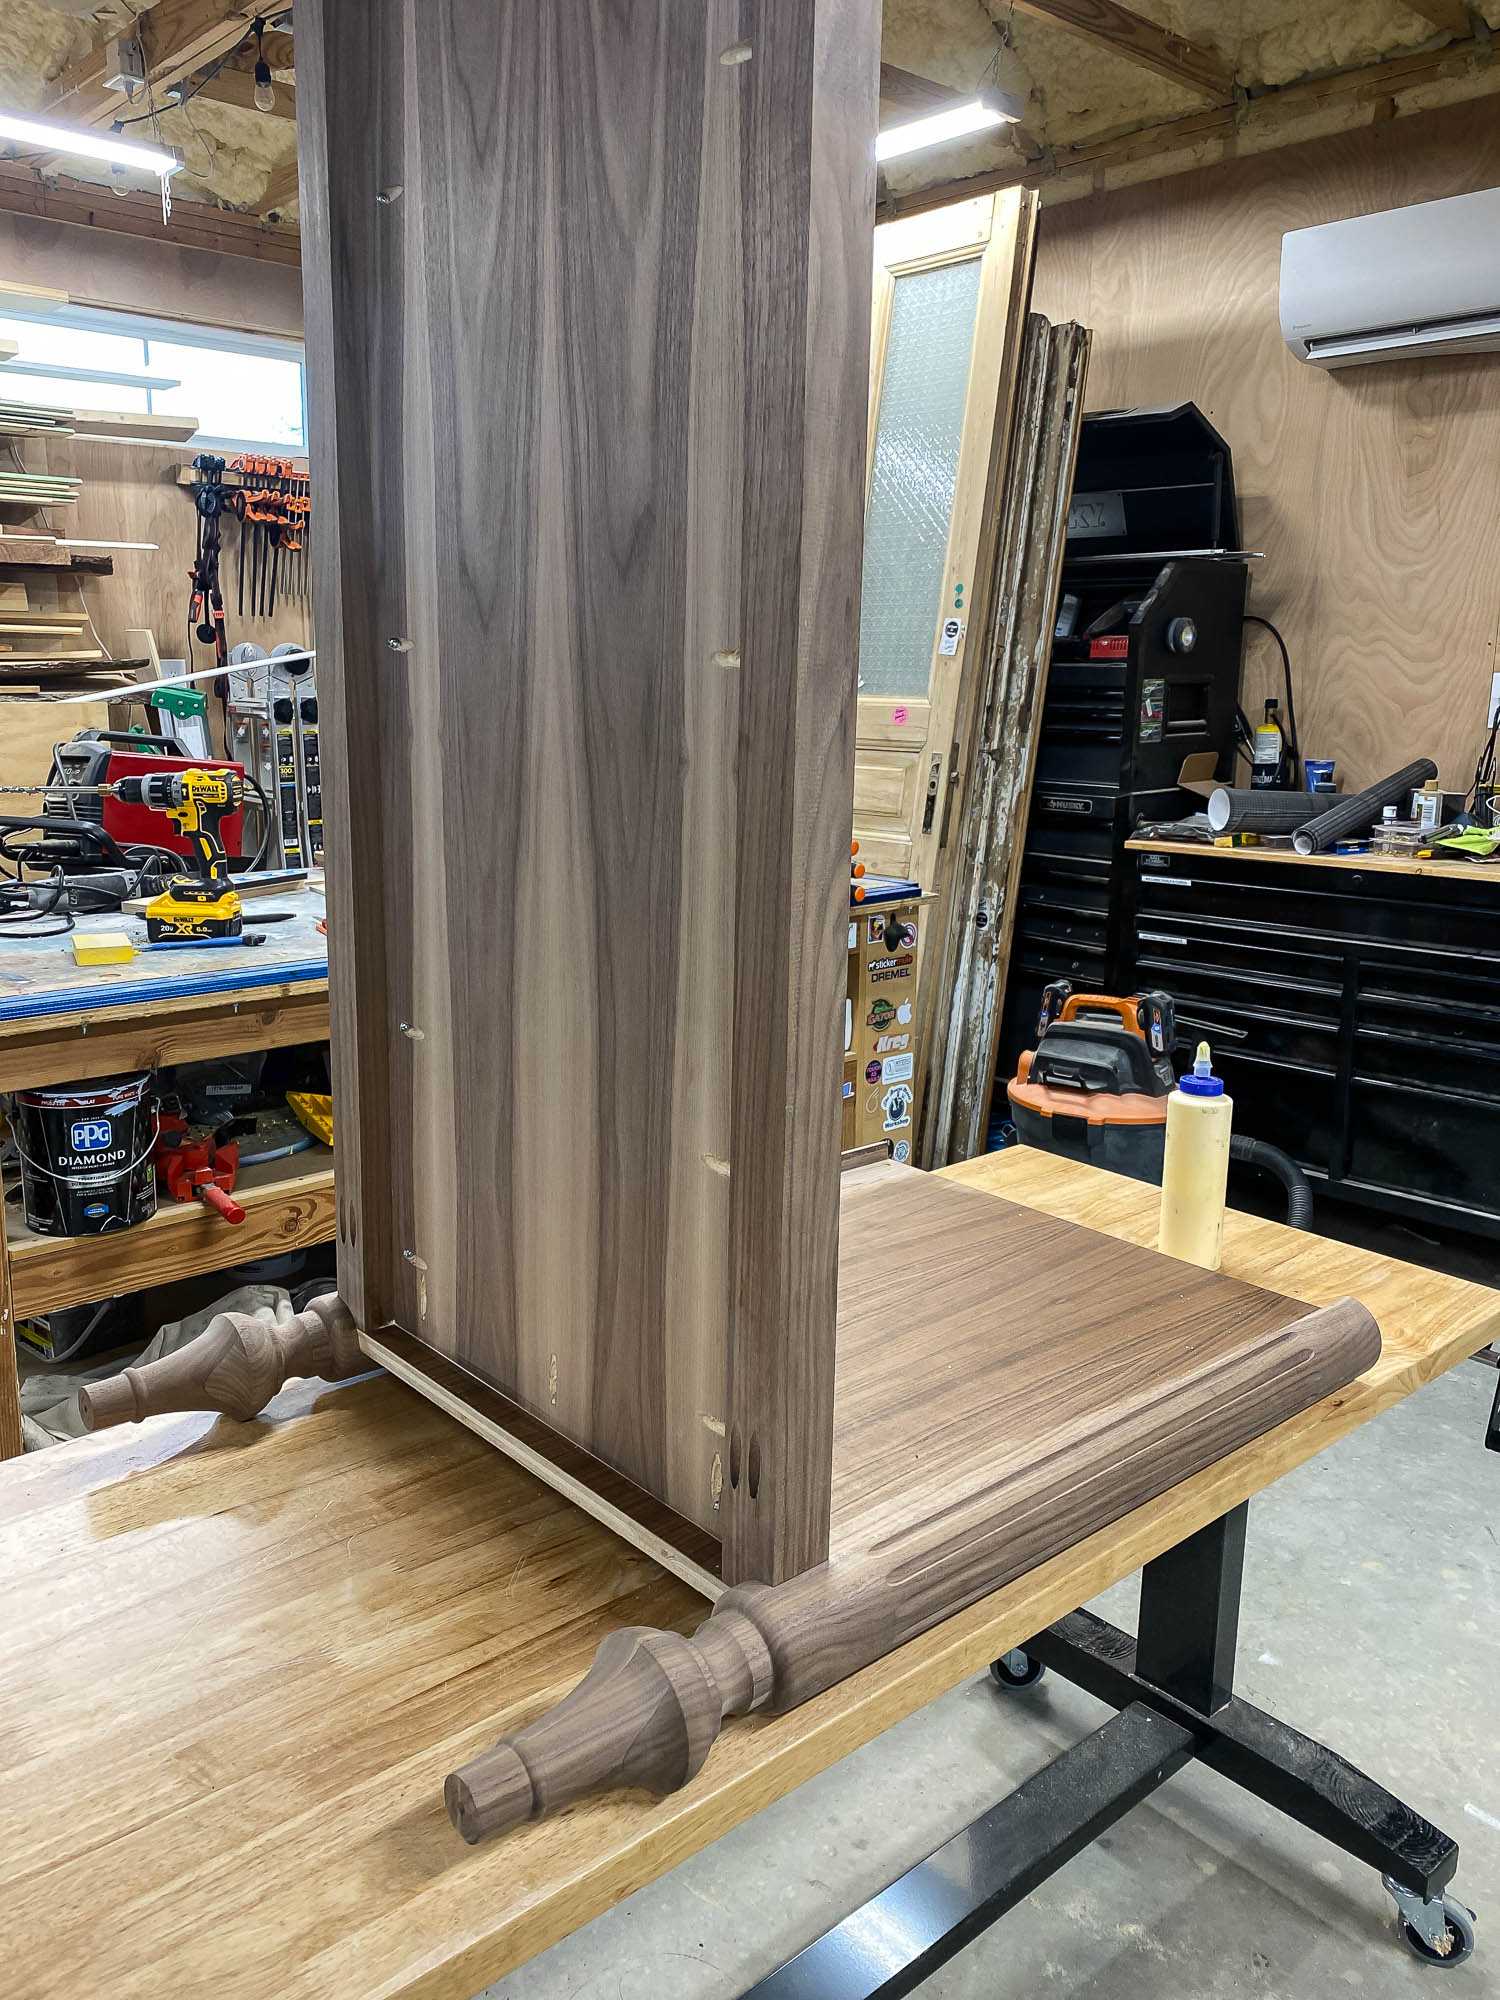
Once the two side panels were built, I built the bottom panel by joining 2×2 rails to the plywood with pocket screws. Then I attached the bottom panel to the side panels. Here’s a view of the underside of the bottom panel.
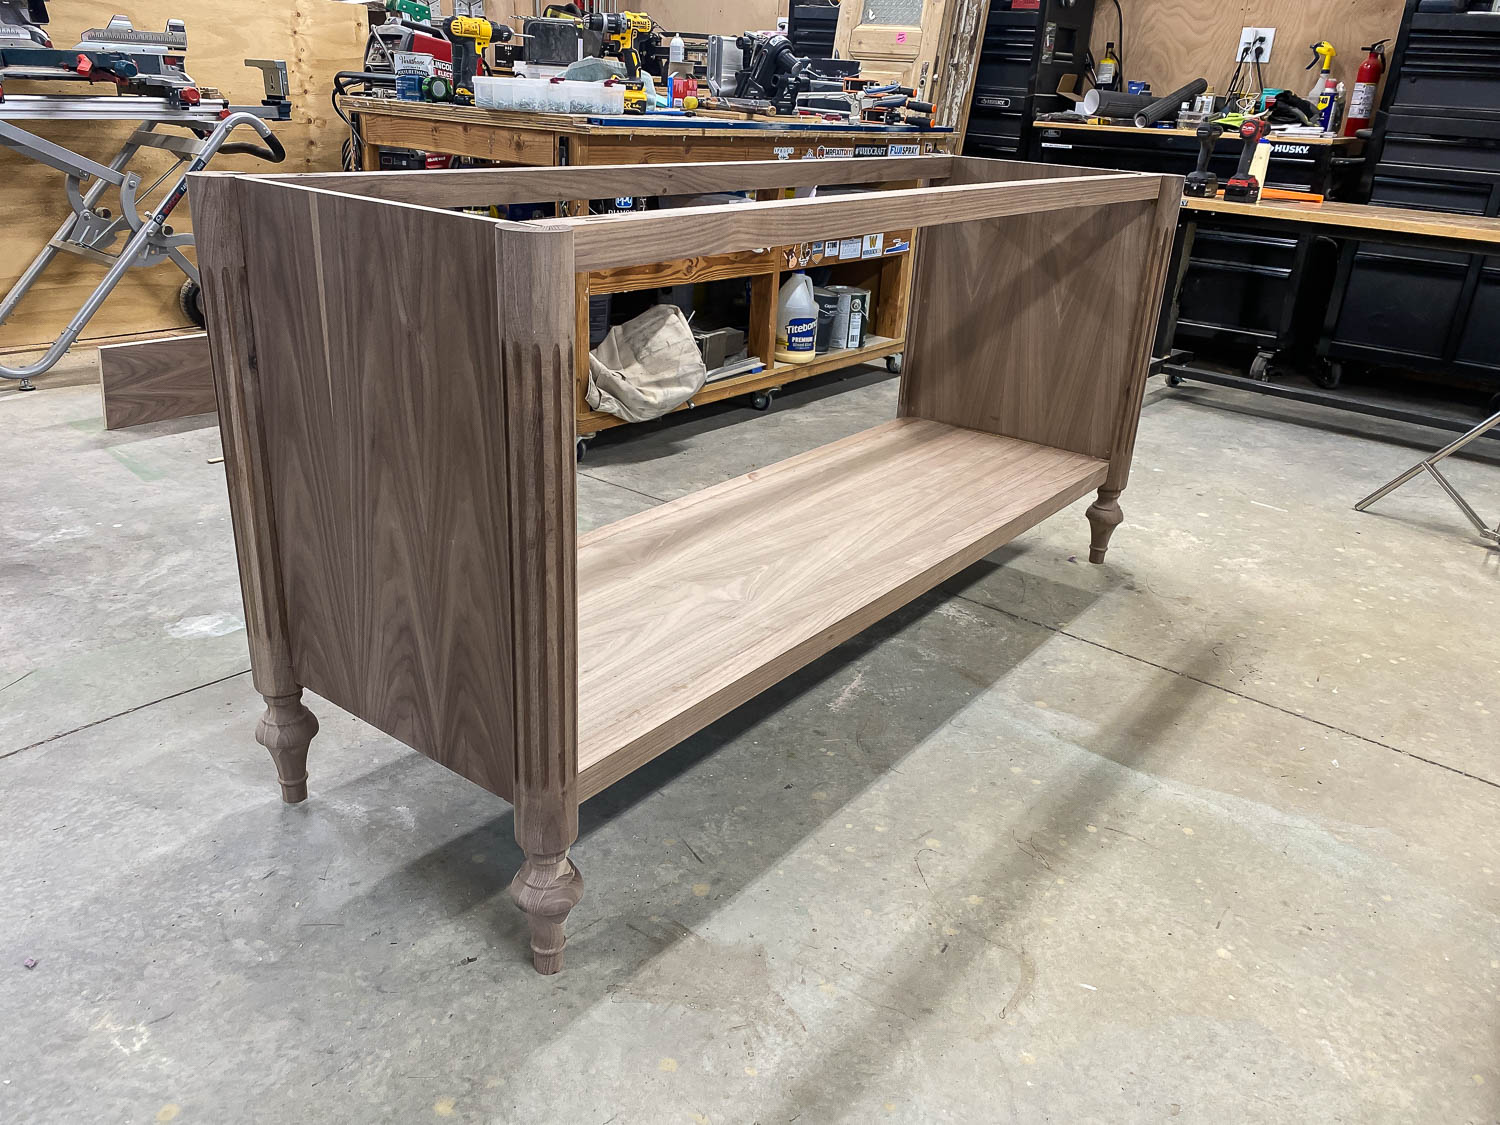
The top rails were added next to form the cabinet carcass. So far, so good… we’re on easy street. Gosh, that black walnut is so pretty, even without any finish on it.
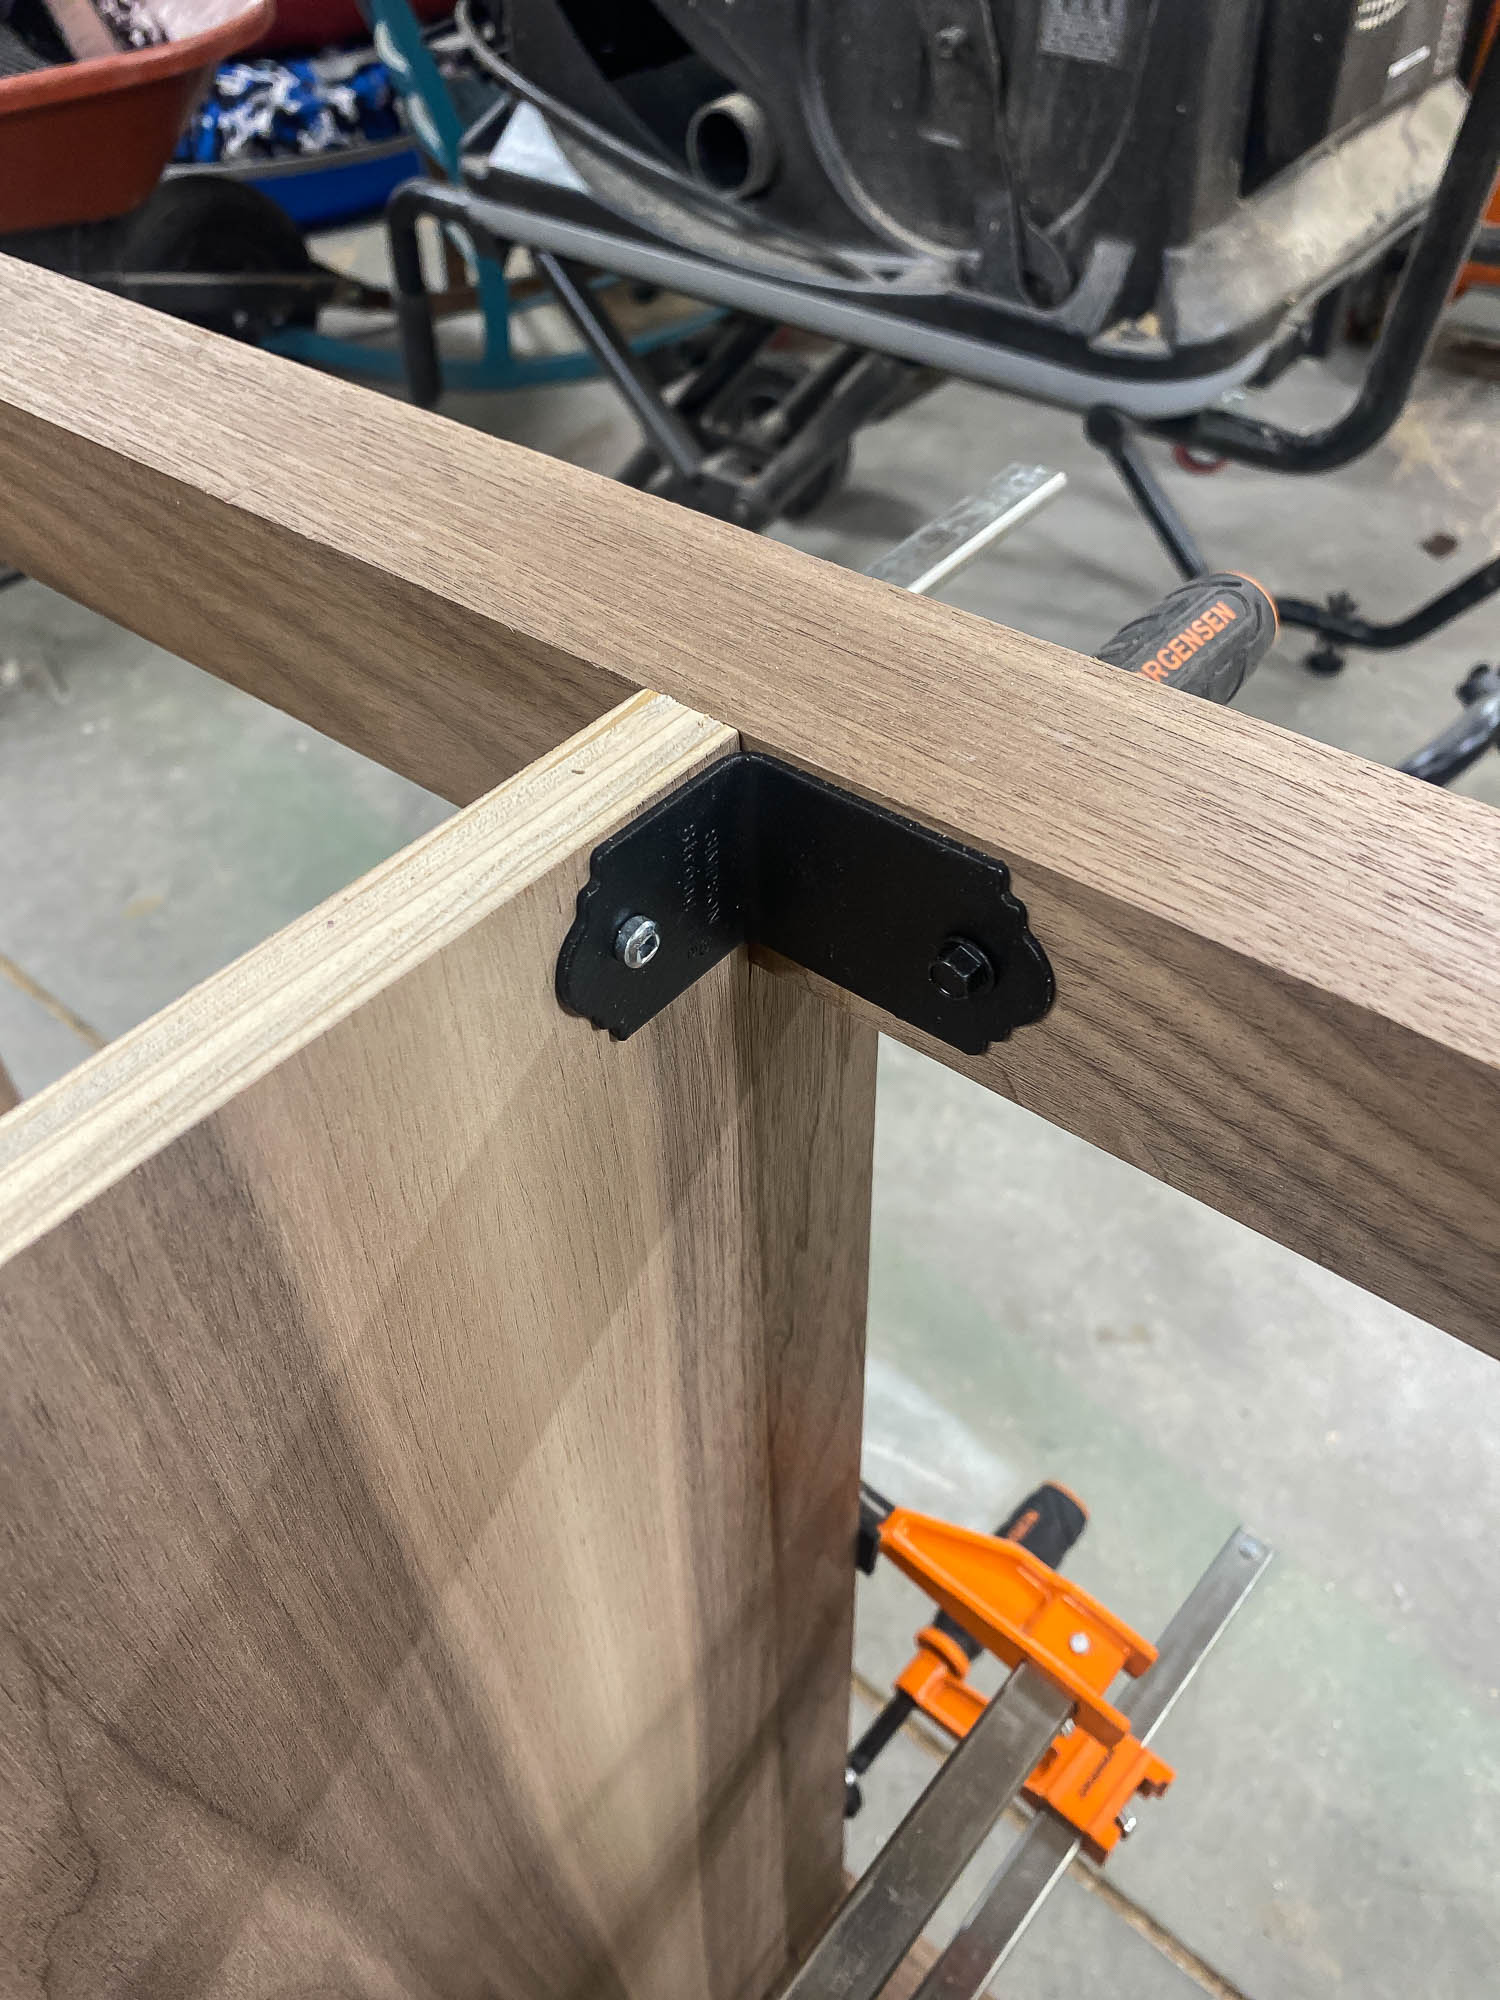
Next, it’s time to add the center panels for the drawer stack. I used pocket holes to attach the panels to the bottom, but at the top, I opted to use these 90º metal brackets instead. You could use pocket holes here as well, but I felt that the metal brackets might offer more support and structural integrity. You just don’t want the center panels to be flopping about.
Drawers: Build or Buy?
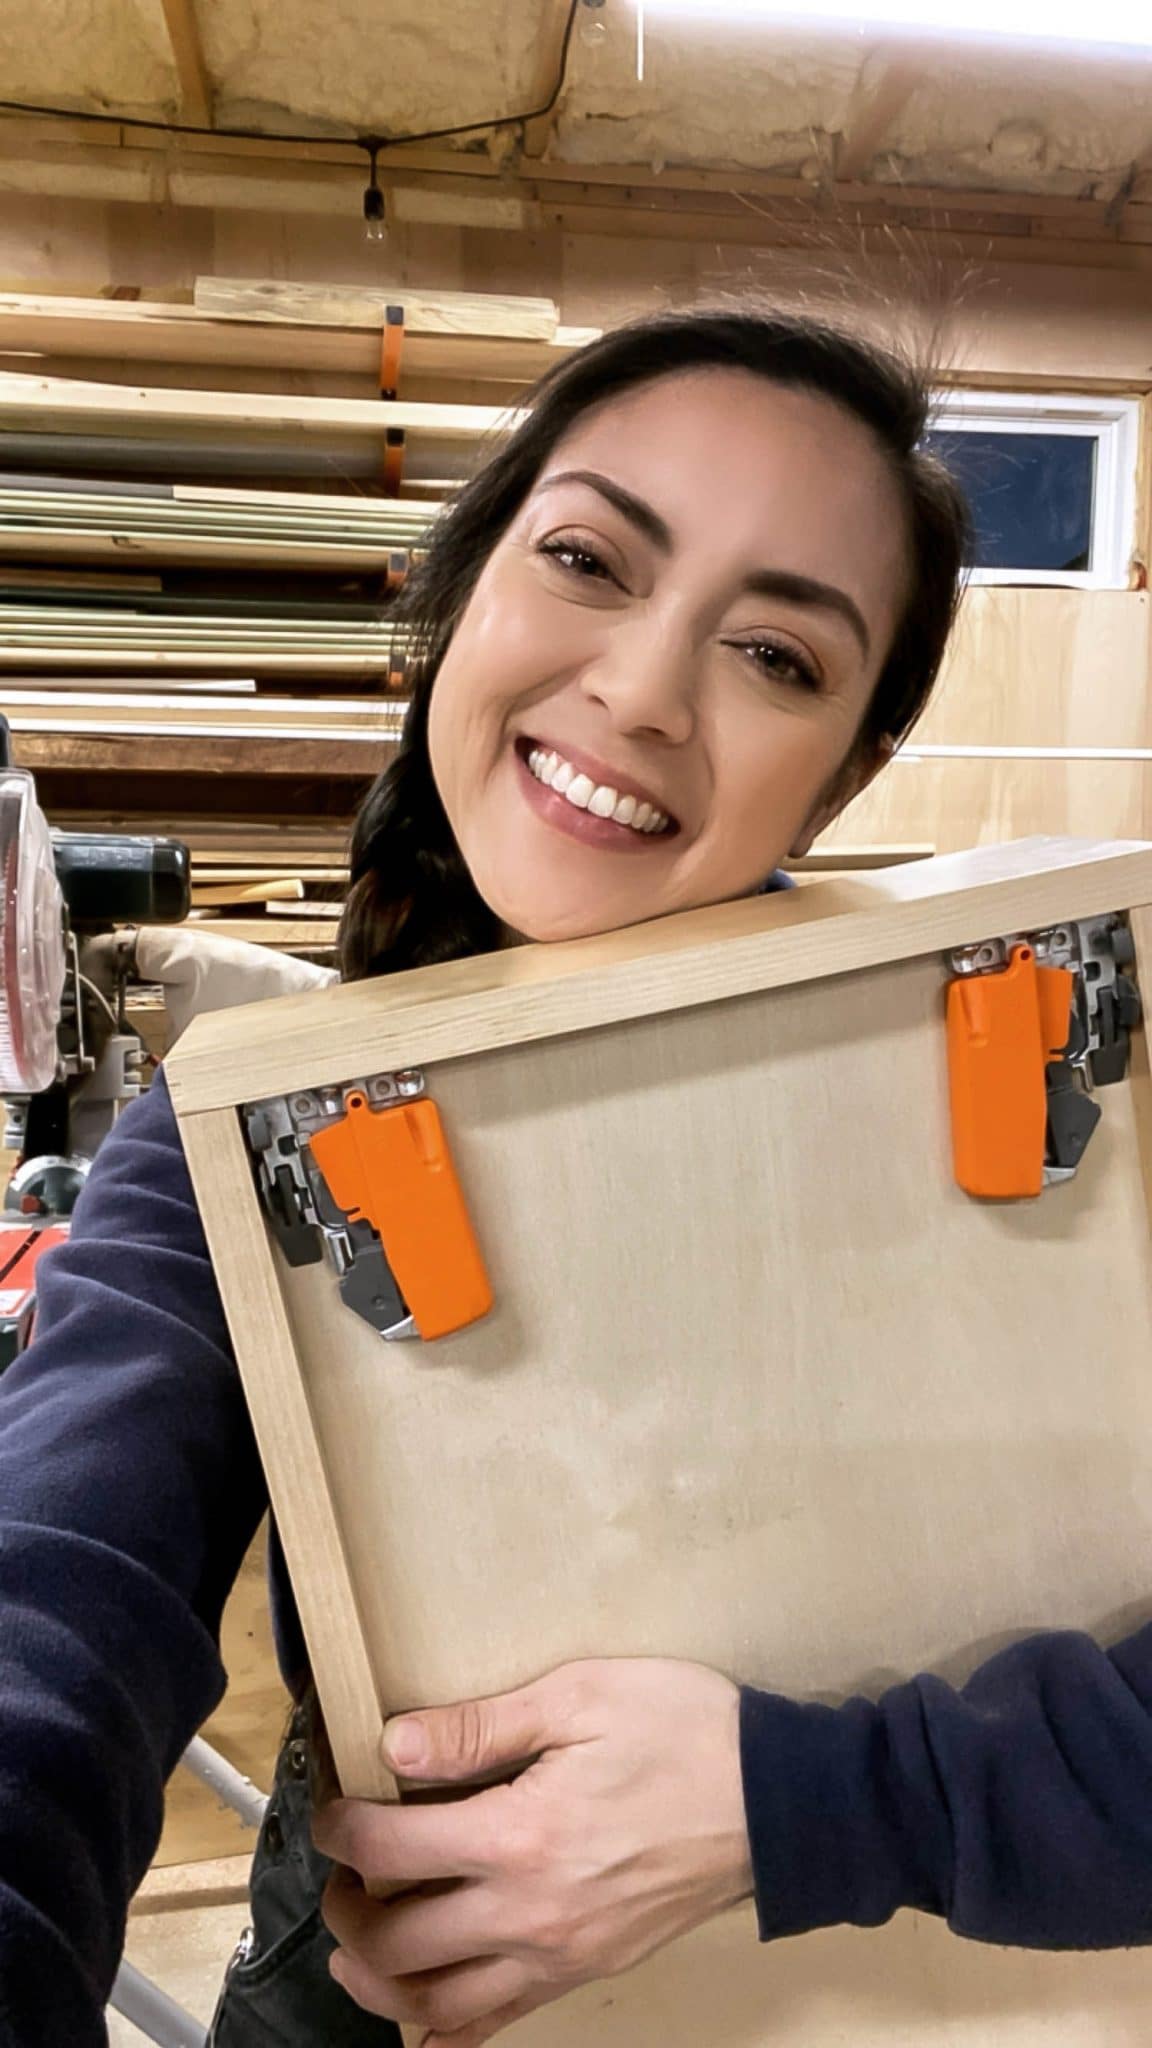
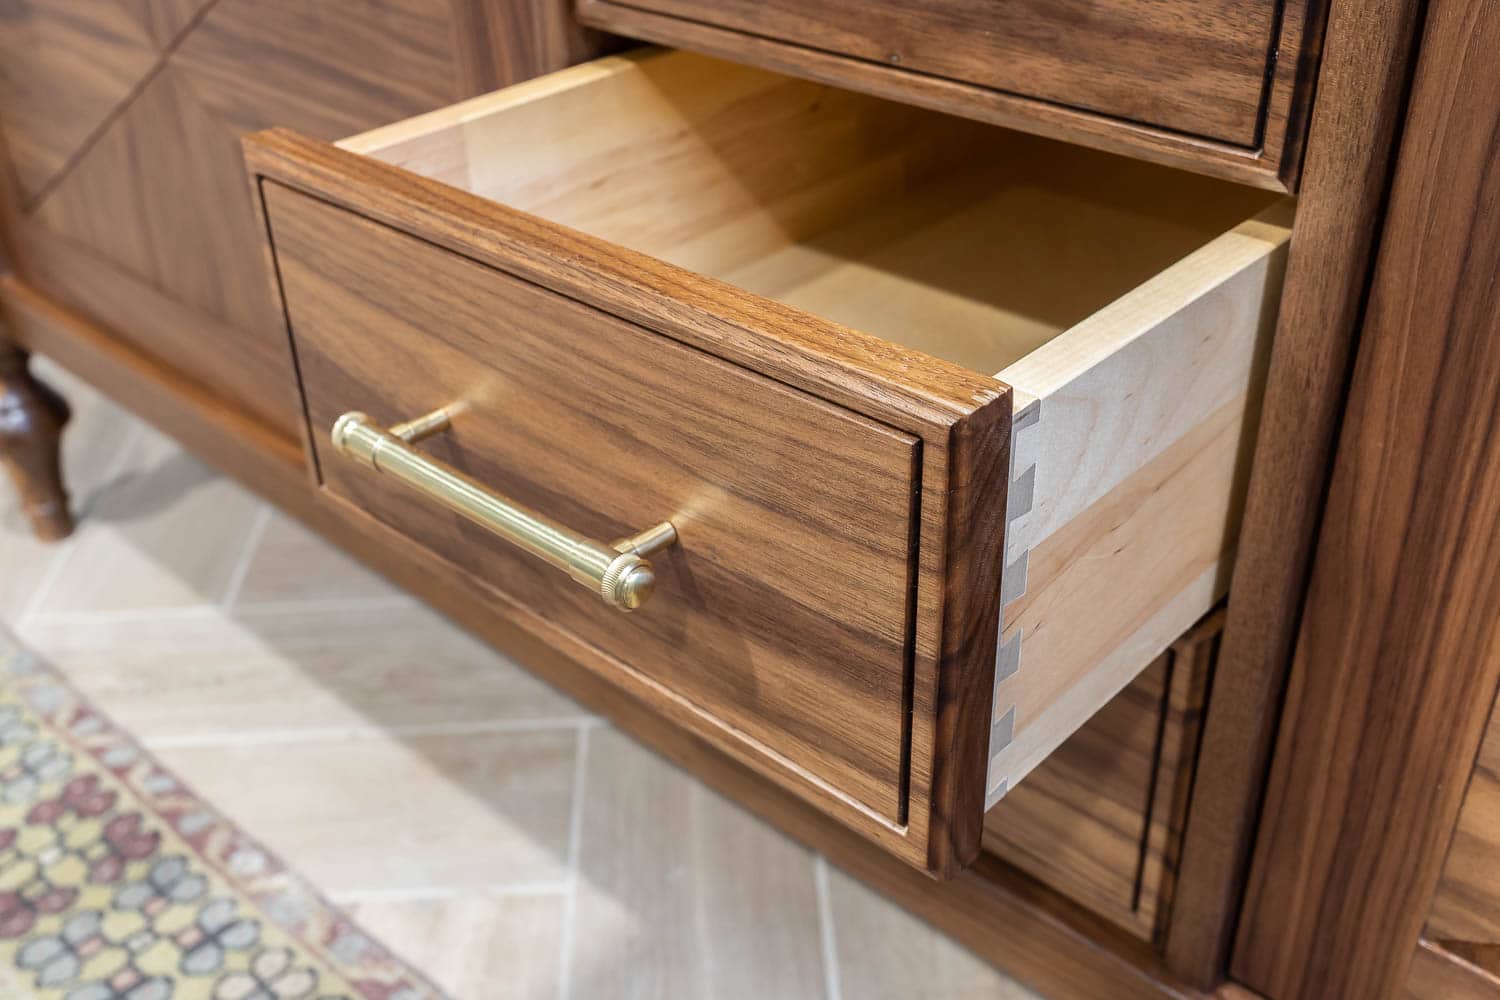
When we renovated our kitchen, our professional cabinet makers fabricated the cabinet carcasses, but out-sourced the drawers, so I took a cue from the pros and did the same! I found this source online and was able to order custom drawers that were dovetailed and pre-finished with a protective clear coat! Hands down, the best decision ever! The drawers also came prepped to accept the Blum drawer slides I was using, which leads us to another new discovery…
Installing the Under Mount Drawer Slides
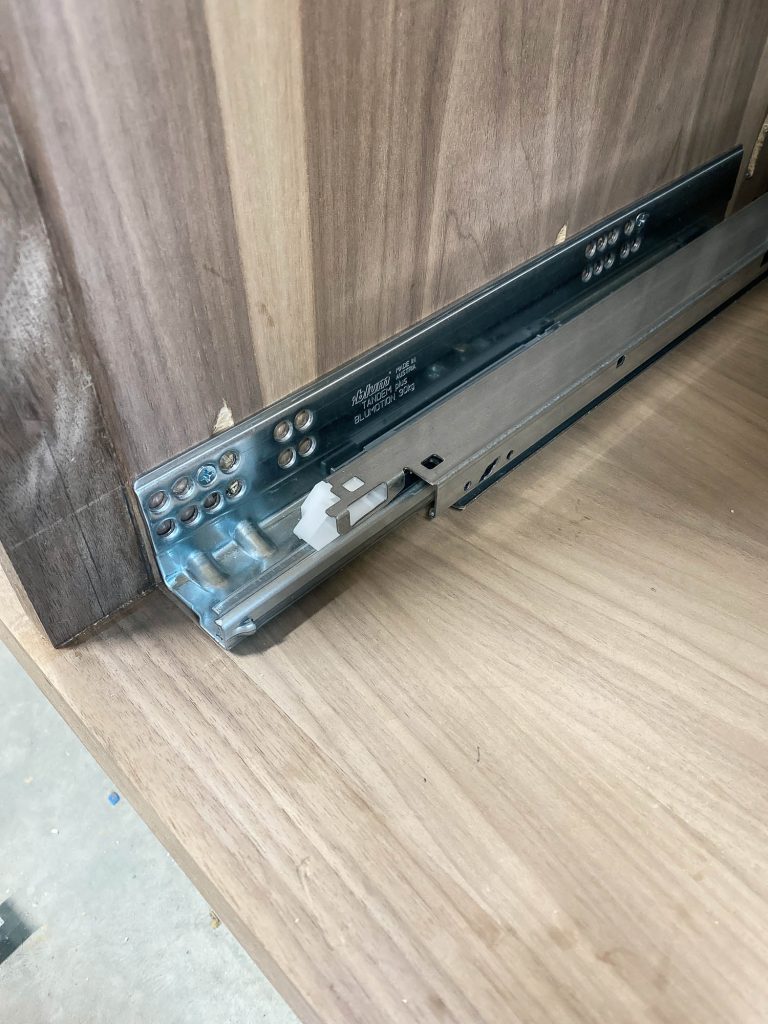
If you follow me on Instagram, then you’ll know all about the love that I proclaimed over these Blum Tandem BluMotion under-mount drawer slides. I’ve been meaning to use them for the longest time because I’ve heard such wonderful things about them, but I’ve been so intimidated by the convoluted instructions that come with them. Thank goodness for my friend Jason Bent’s YouTube tutorial. He shed so much light on these drawer slides. Now that I’ve successfully installed them and realize how easy it was, I’ll never go back to using inferior drawer slides – in fact, I’m kicking myself for not using these drawer slides sooner. They’re full-extension and soft-closing… so fancy!
Making the Drawer Faces
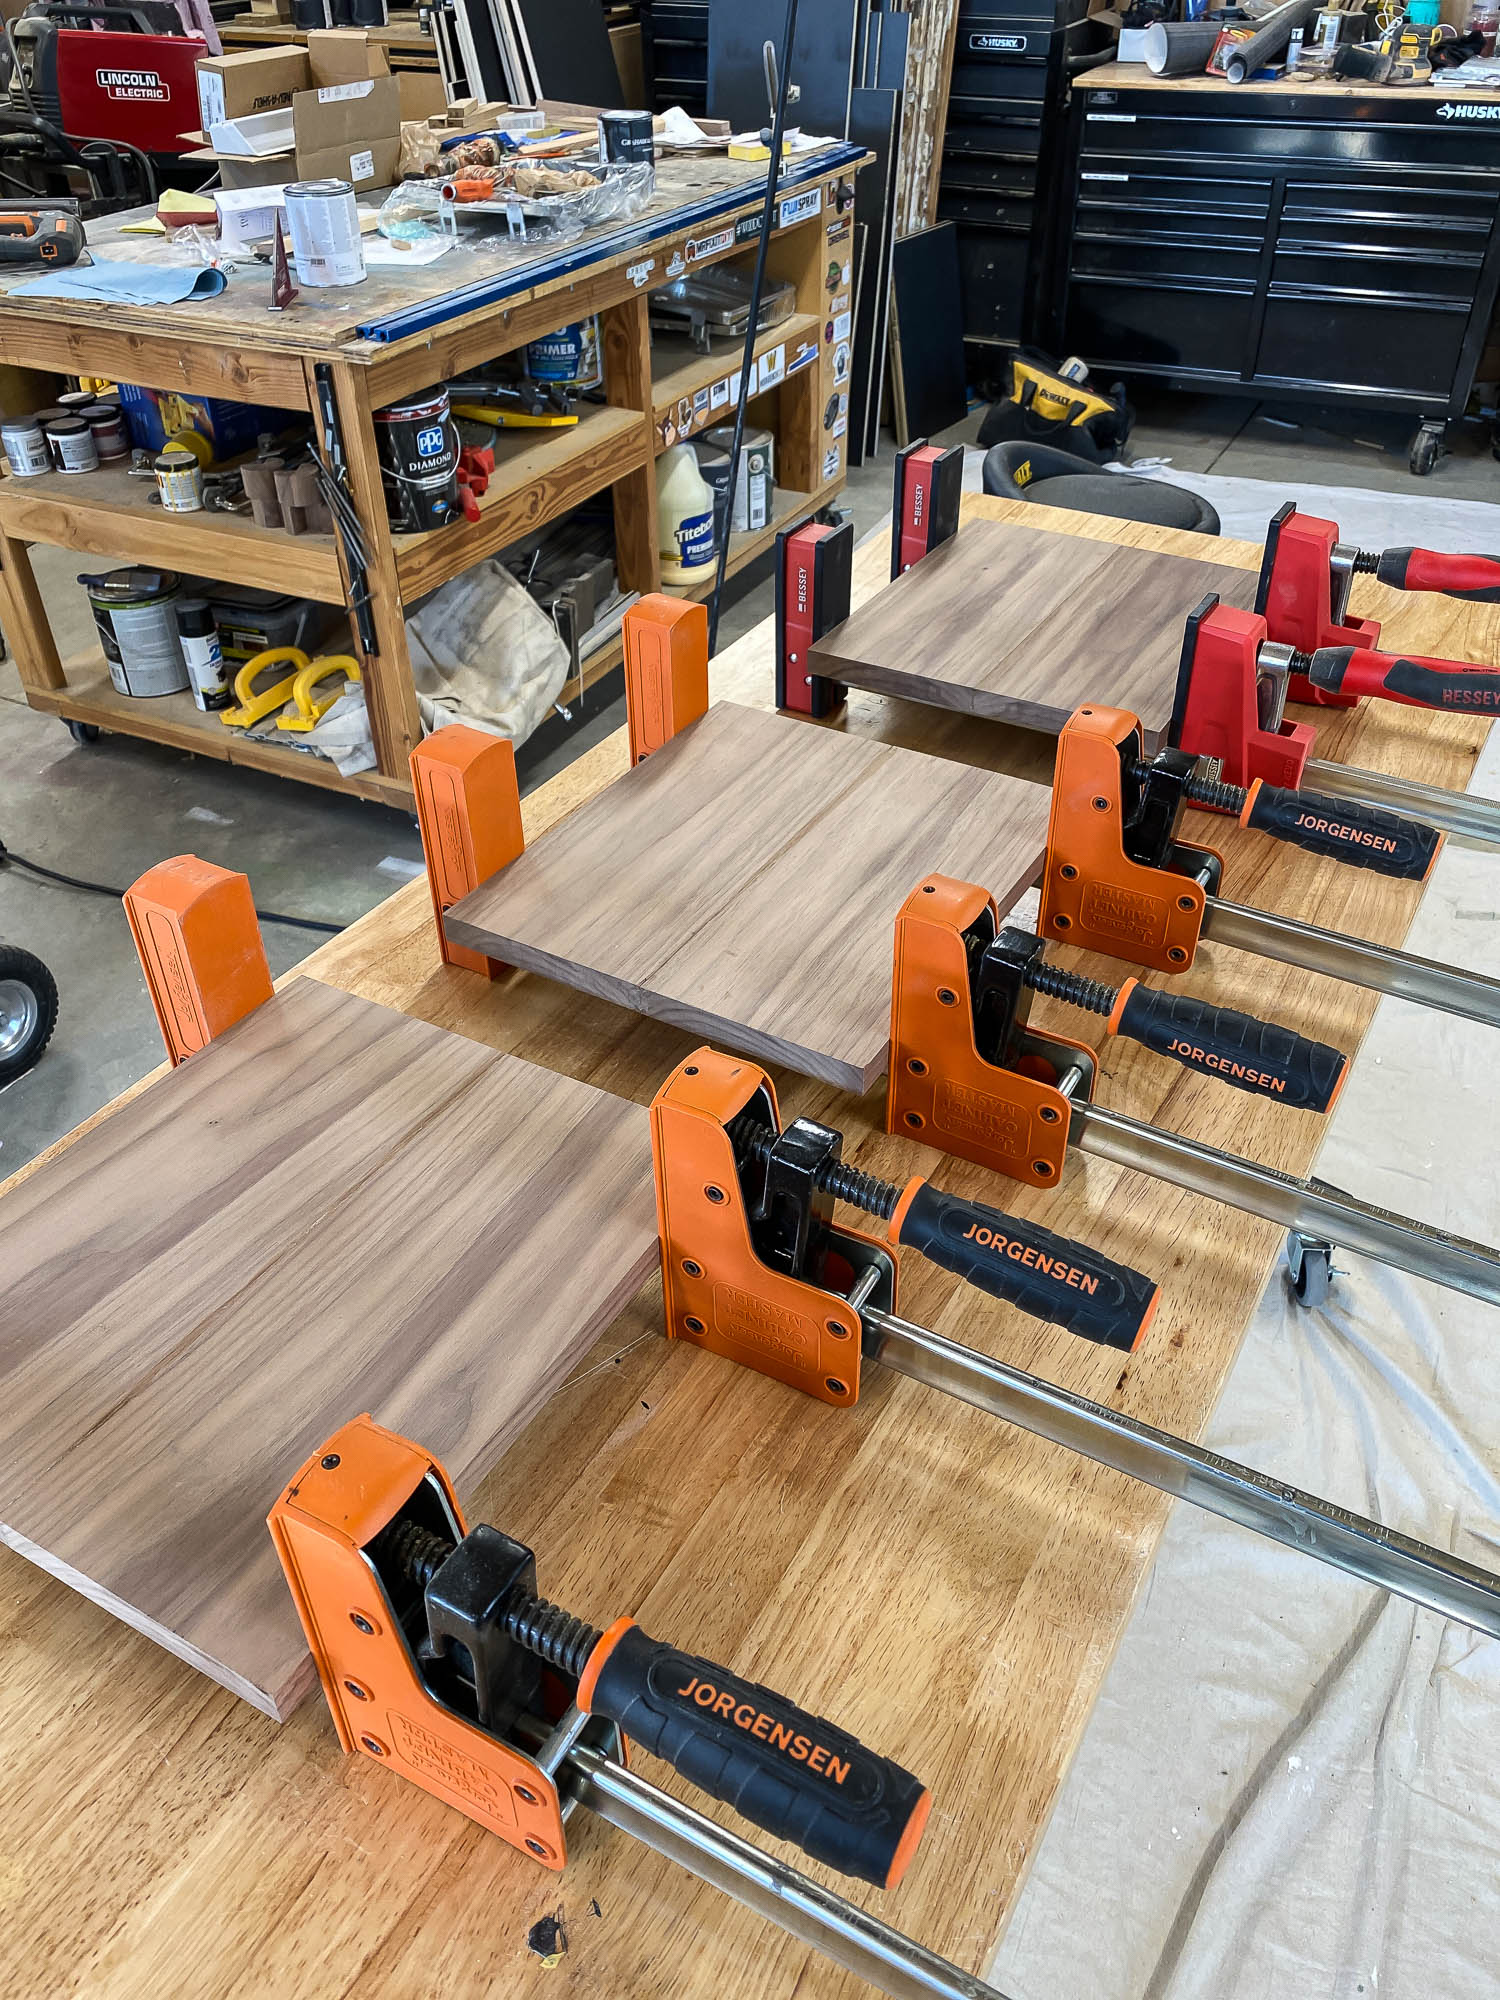
The widest boards I had were 1x6s (which are actually 5 1/2 inches wide), so I had to glue up the boards for the bottom three drawer faces (which are 6 inches wide). Seems like a lot of extra effort for just a half inch more of material, doesn’t it? Ahhh… it is what it is. The plans call for a 1×8 board so you can rip it down, rather than glue up a 1×6 to make it wider. Also, clamps are my best friends.
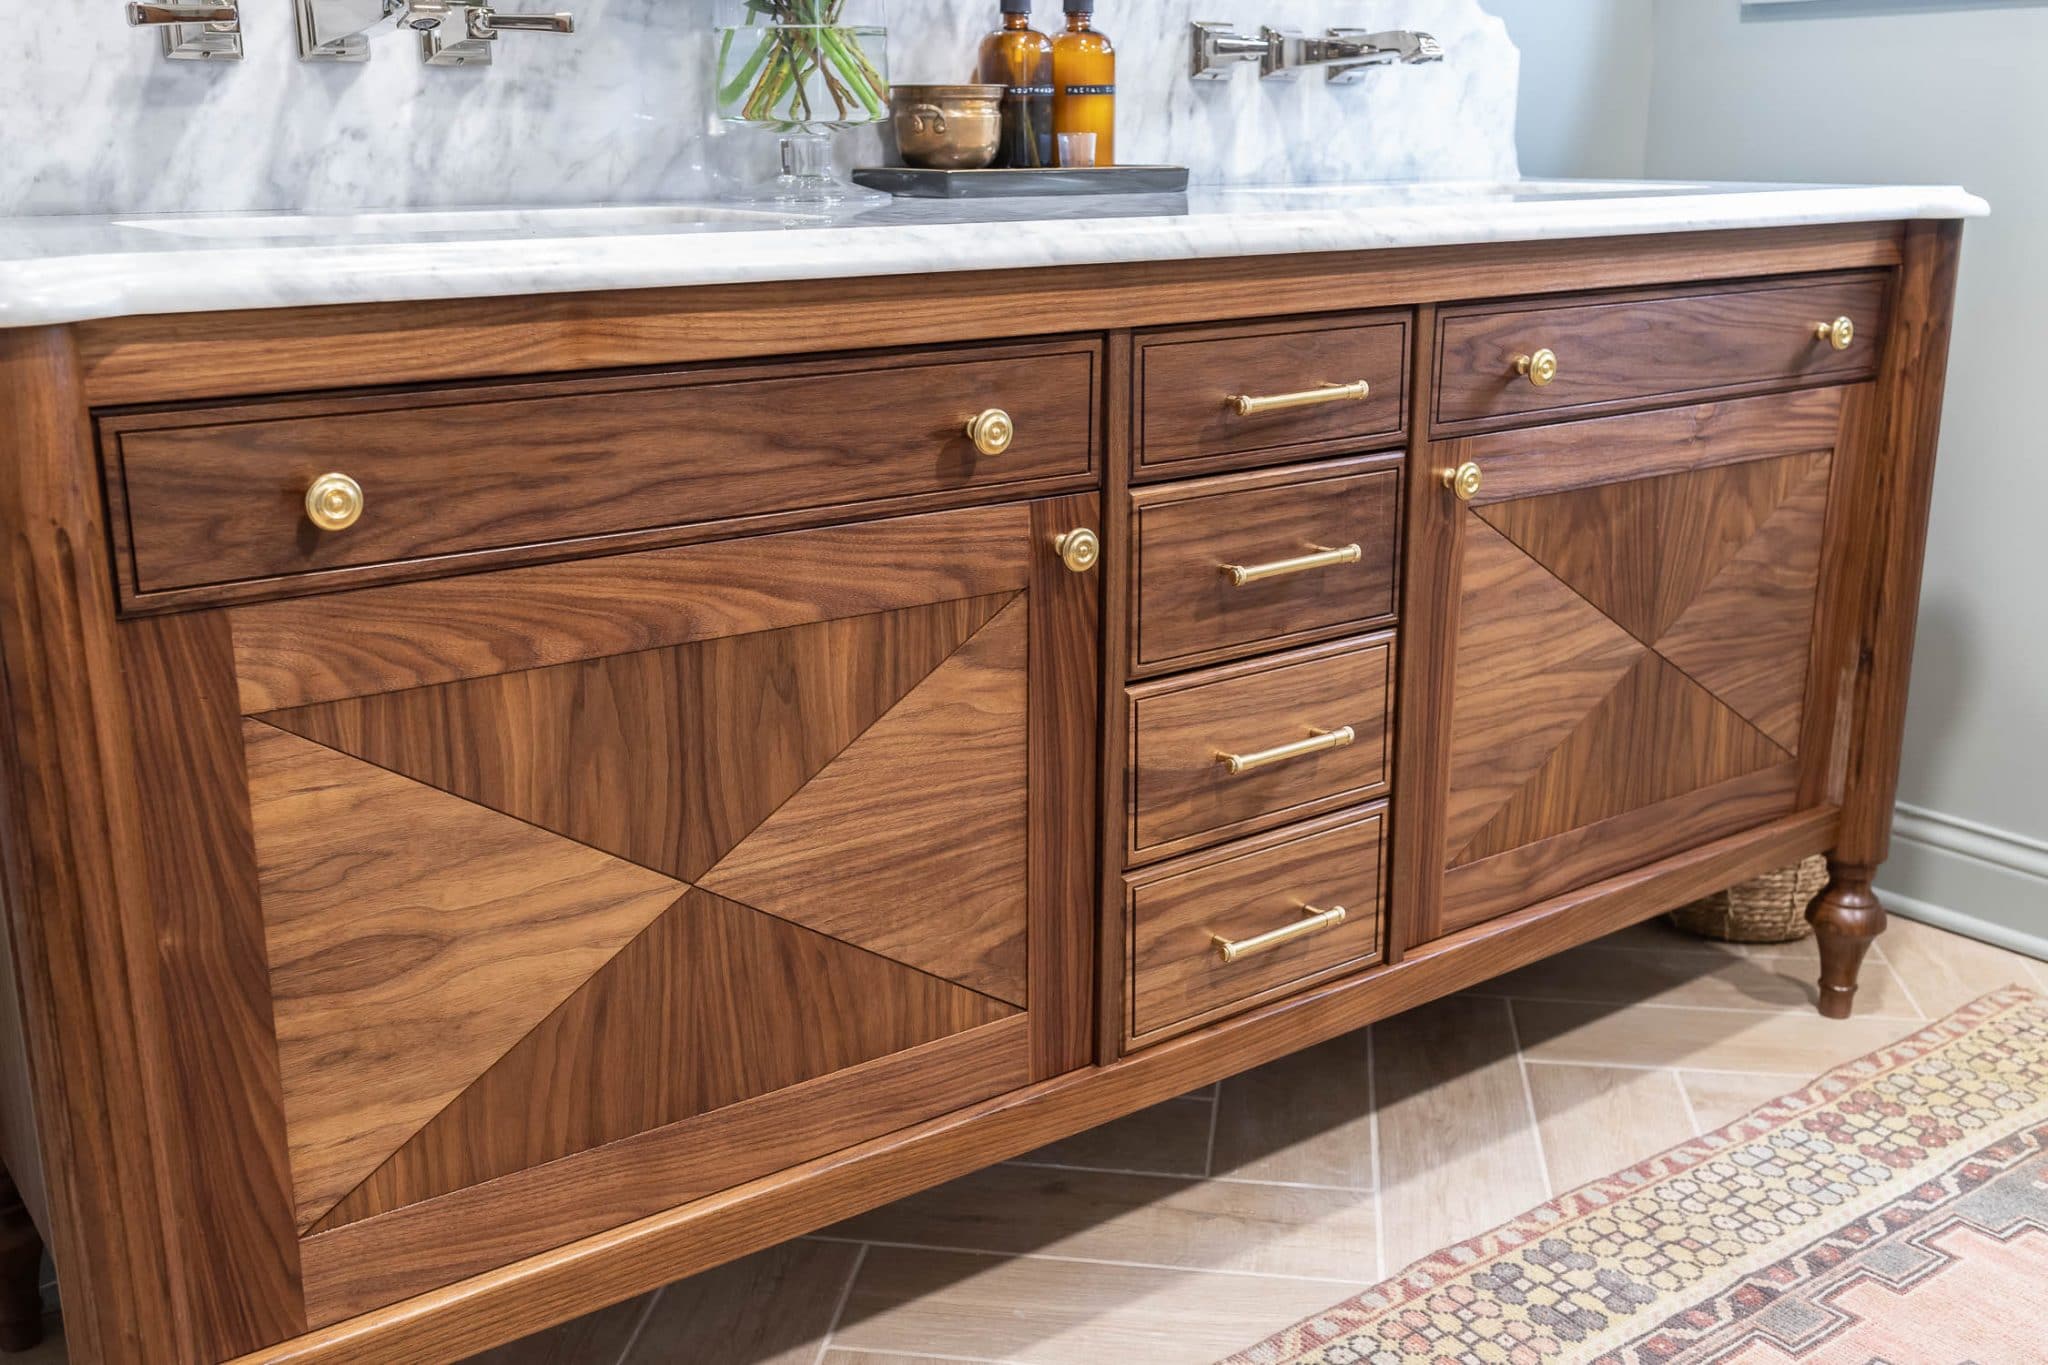
After the panels were glued up, I cut the drawer faces to size. Here’s where things get a little more complicated. I used my router to route a channel 1 inch from the edge of the drawer face, and a cove profile along the edge. However, none of this router work is necessary – it was just a design choice I made because I like to be “extra,” so if you want to skip this part, you totally can.
Also, the photo below shows my second attempt at the top three drawer faces. On my first try, the top three drawer faces were all considerably different wood tones and grains, so I remade them, this time cutting them from the same board. As a result, the wood grain is continuous and the wood tone is consistent across the top three drawers. I really enjoy hyper-focusing on these small details.
Building the Doors
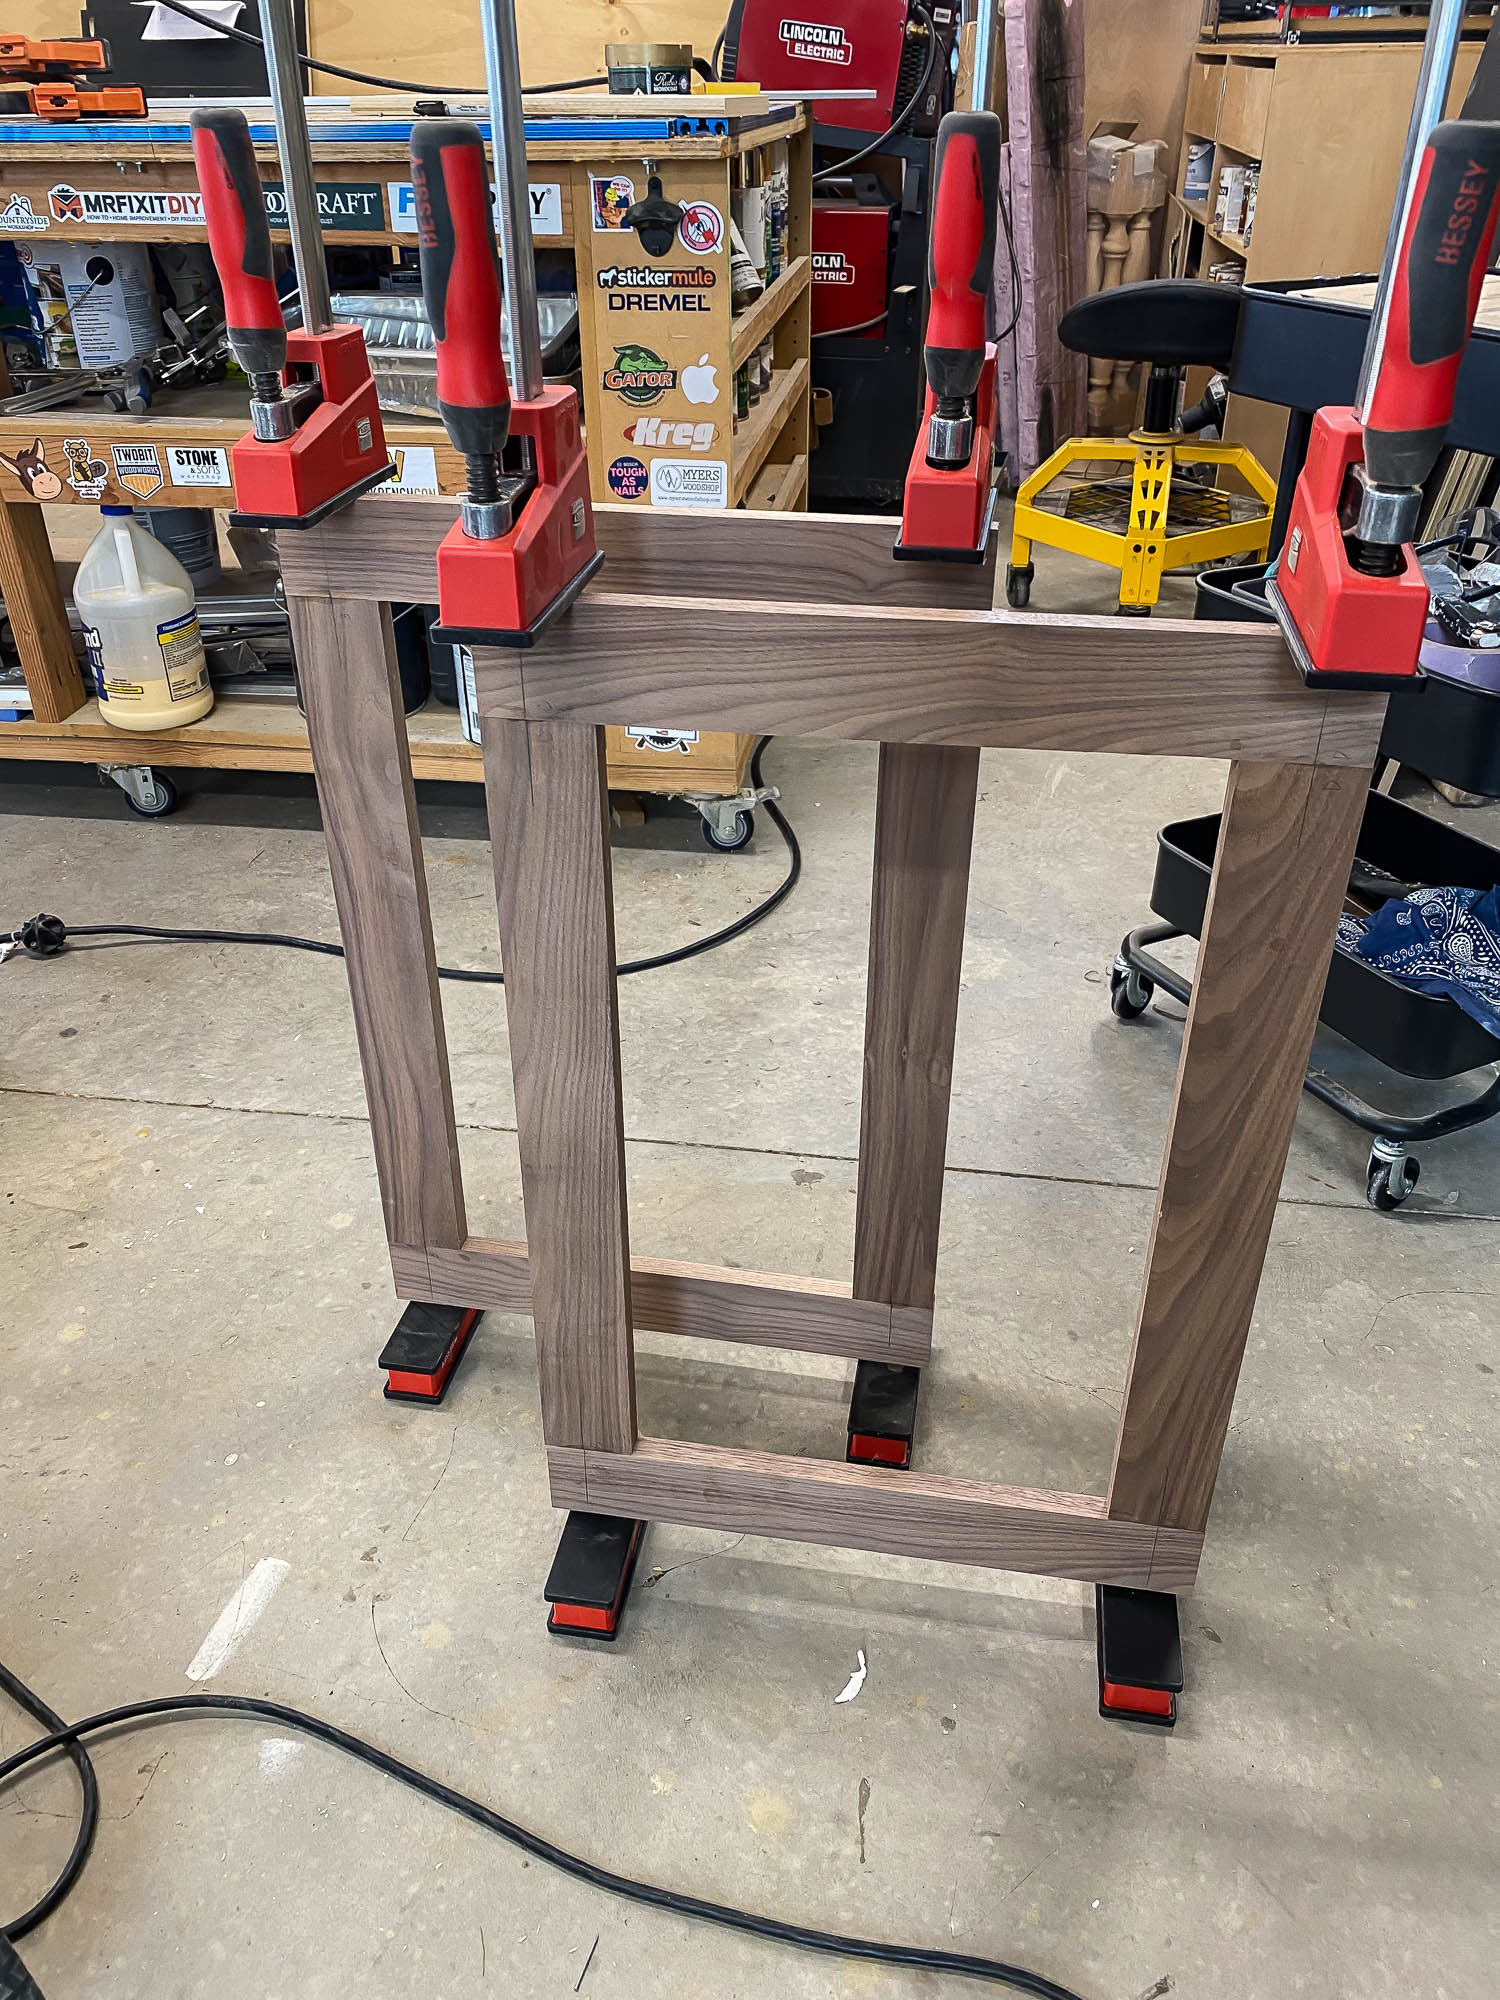
To build the door frames, I used the same method I used when I built the glass-front bookcases in my hallway. I used a Festool Domino to cut the mortises for the rails and stiles and constructed the frame with Dominos and wood glue. If you don’t have a Festool Domino (it’s a pricey tool!), you can construct the door frames with whichever joinery method you prefer: pocket holes, biscuits, tongue and groove, or dowels. Once the frame is built, I checked for square and put them in the clamps so the glue could dry.
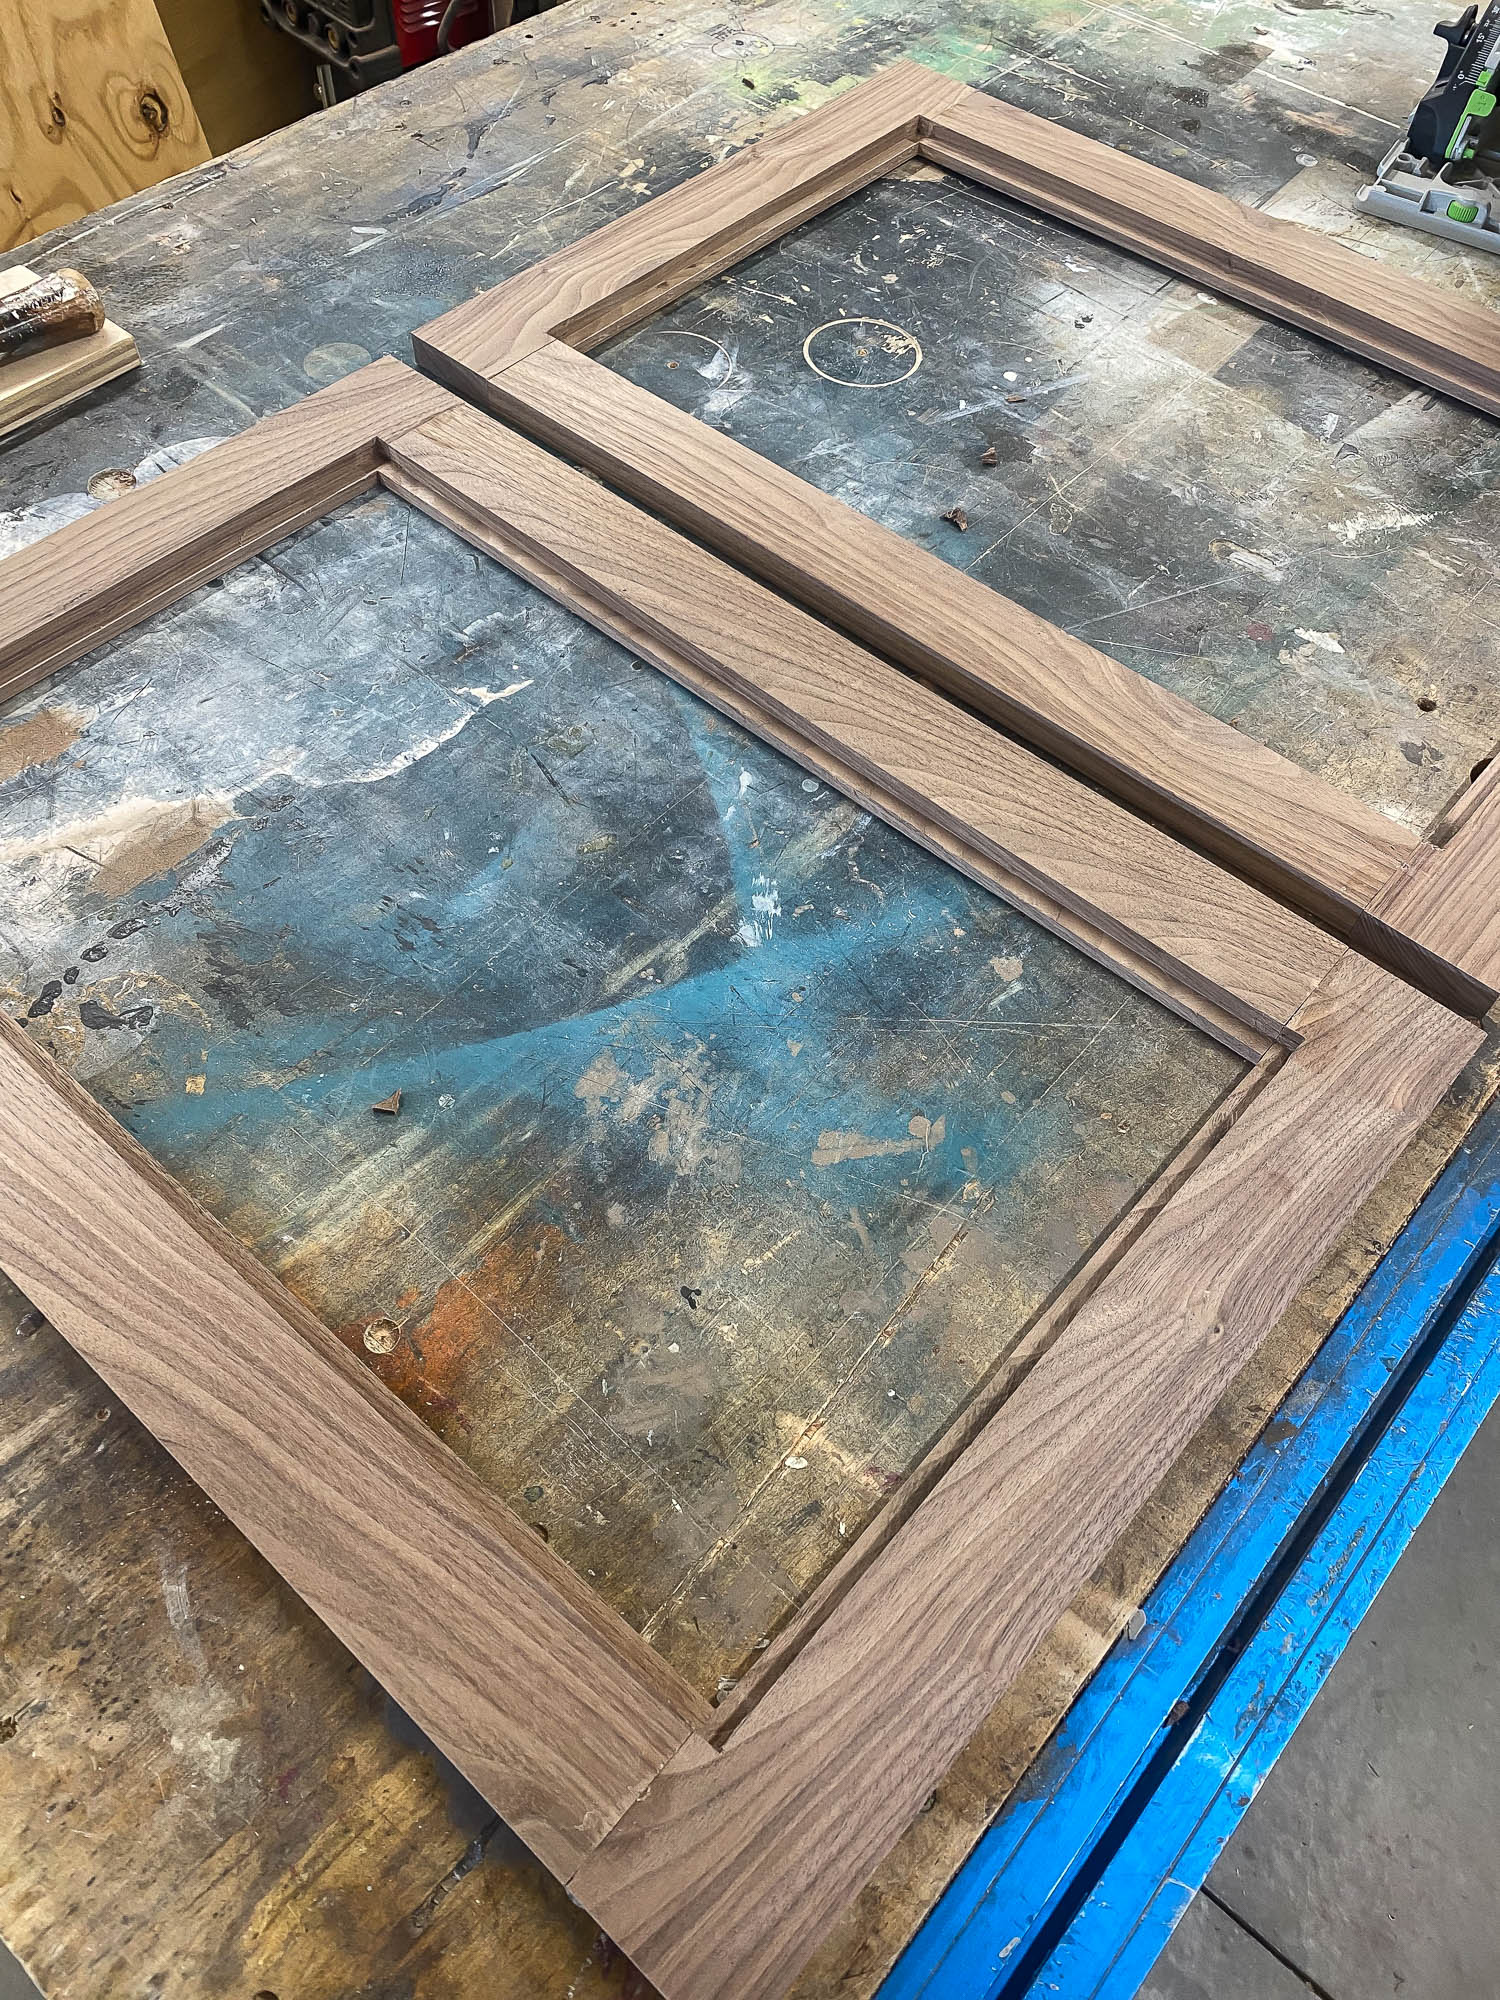
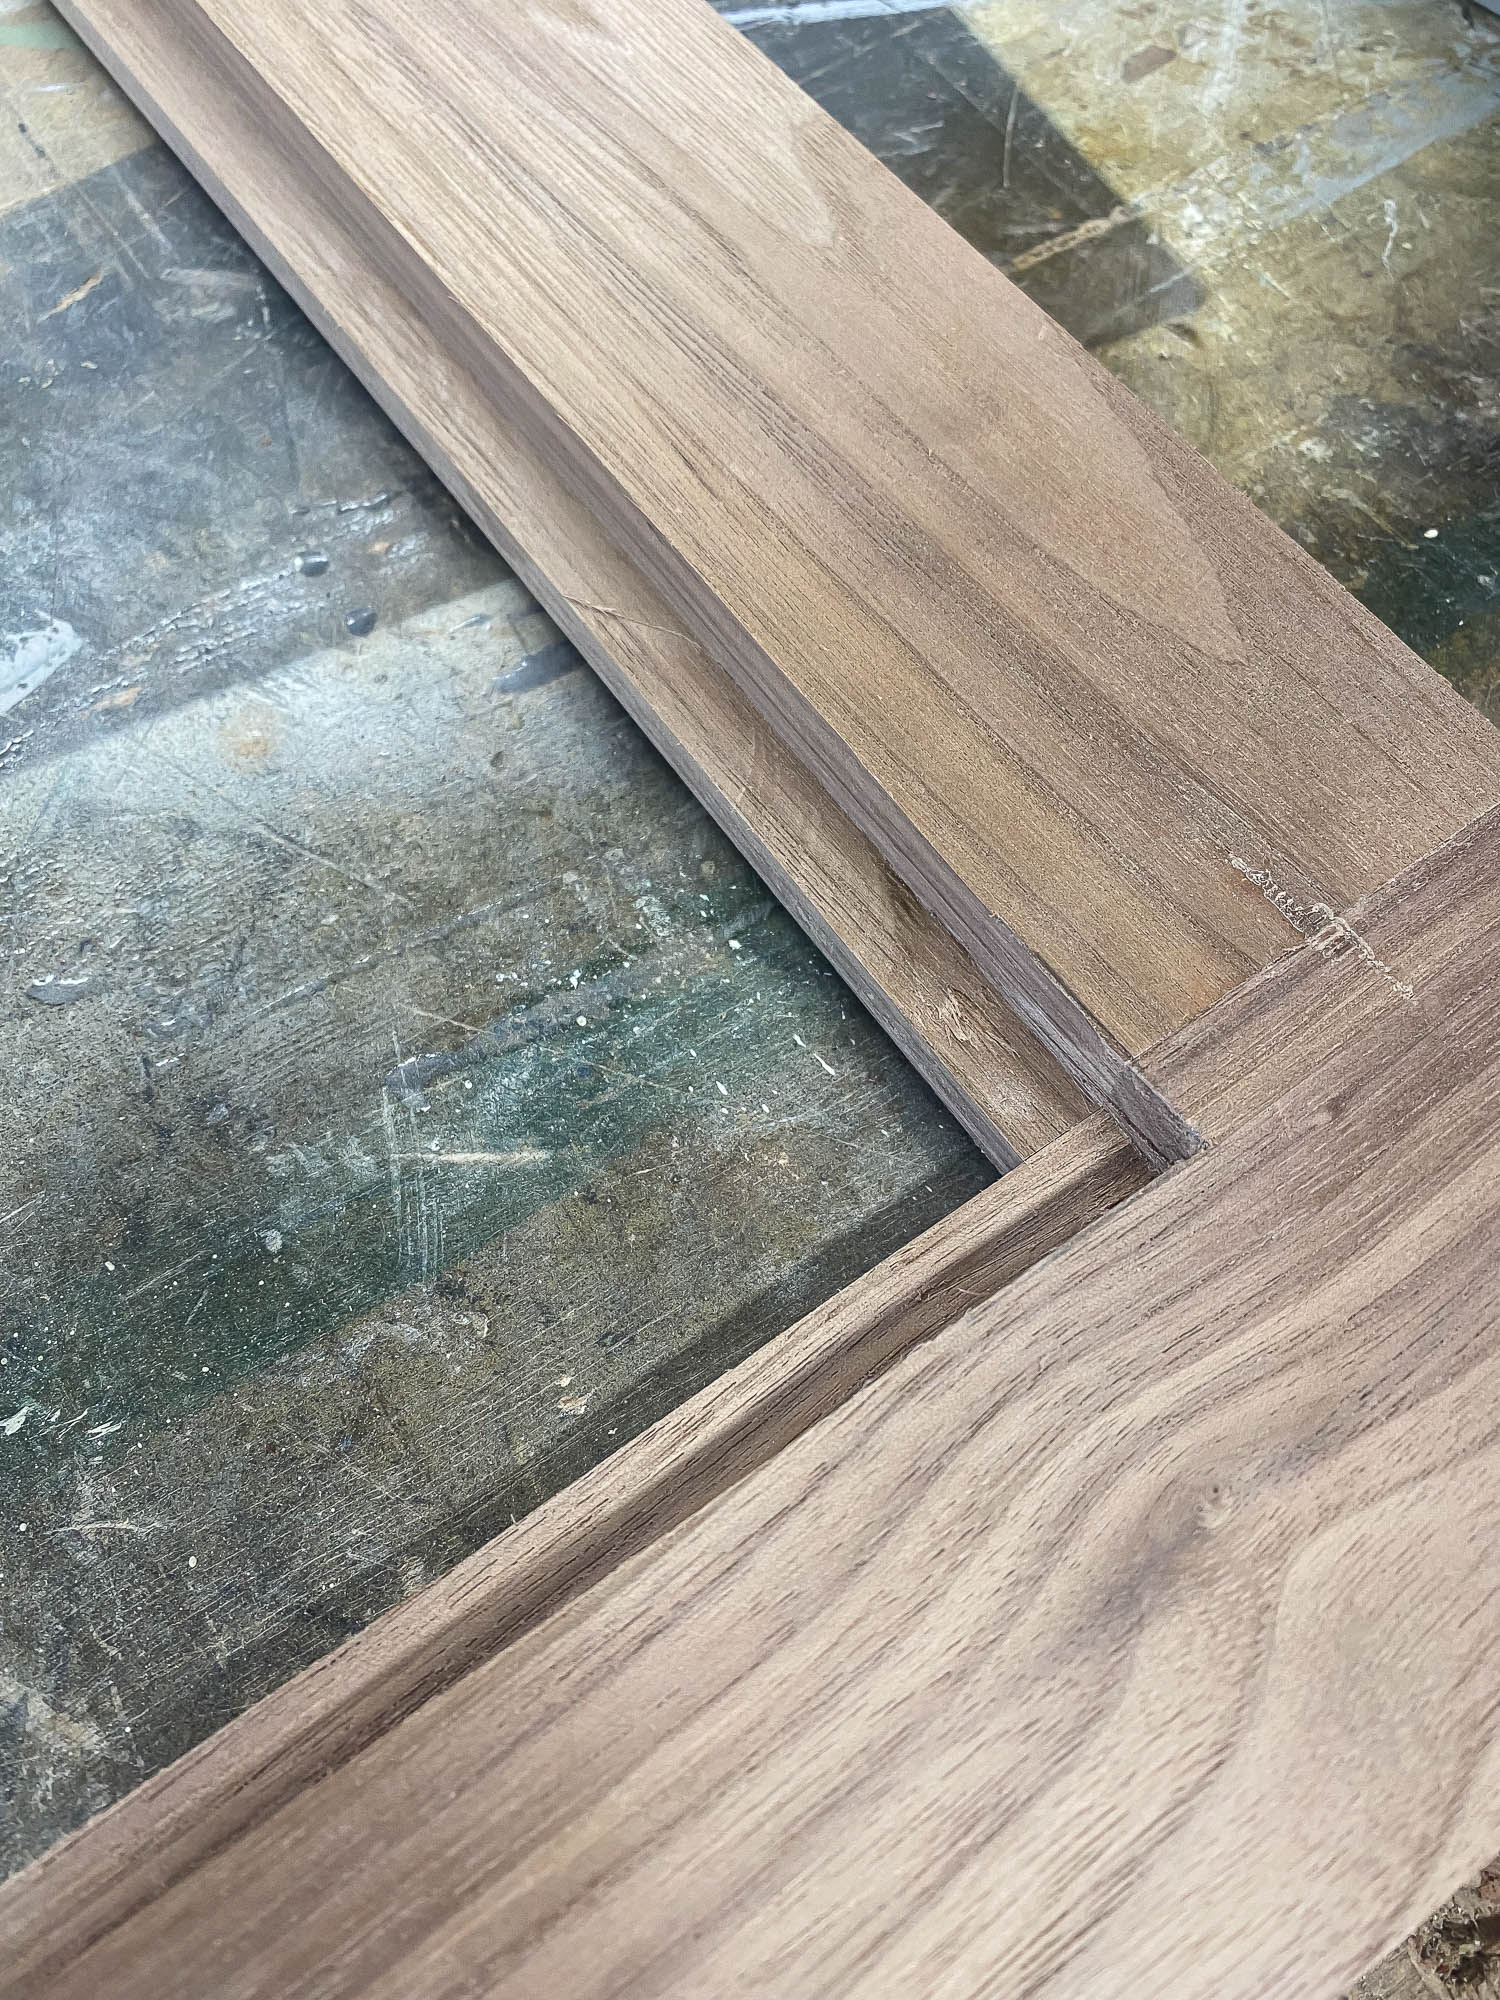
Just like I did with my hallway built-in bookcases, I routed a rabbet for the door panel to sit in. It’s important to take it slow and make multiple shallow cuts with the router, rather than try to cut the full depth in one pass. I was probably a lot more conservative than I needed to be, but I set the router bit to 1/16-inch depth and lowered it by about 1/16″ each time. The total depth of the rabbet ended up being 1/2-inch deep. This was because I knew I would have to place 2 quarter-inch plywood panels in the door. And because the router bit is round, the rabbet was rounded at the corners, so I used a chisel and mallet to square off the corners. Then I ran a bead of glue in the rabbets, dropped the 1/4-inch plywood panels into place, and secured them with pin nails.
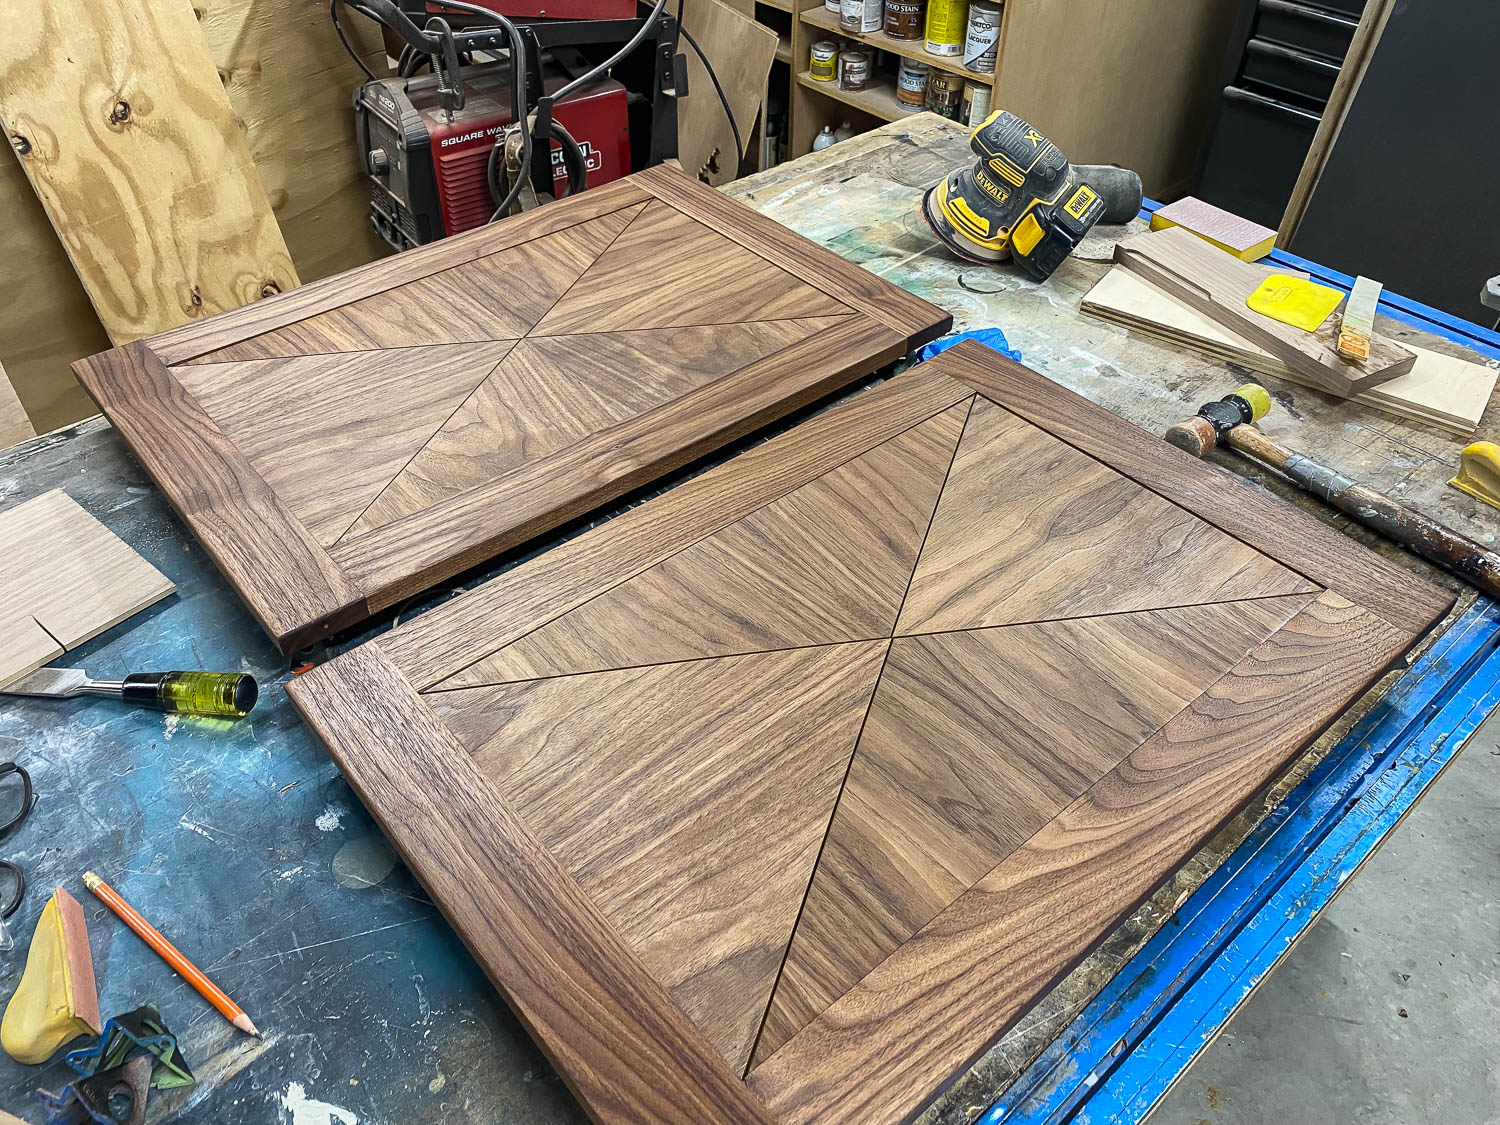
While the glue dried, I worked on cutting the triangles for the door face. This part is just another design choice and is totally optional. I wanted a “book-matched” look for the door faces, so I cut out triangles, being mindful of the different wood grain directions. For the top and bottom triangles, the wood grain is running vertically, while the left and right triangles have the wood grain running horizontally. I also took time to map out the patterns so that it was centered on the triangles and the wood grains were mirror-images of each other (known as book-matching). I attached the triangle pieces to the door with 1-inch pin nails and wood glue.
Vanity Countertop
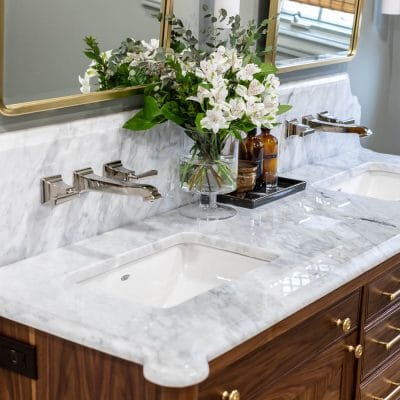
Once all of the components were built, we brought the vanity into the bathroom and set it in place. And by “we,” I mean “Adam and our friend, Matt” toted this behemoth up the stairs and into the bathroom. Matt is also our local stone fabricator (Stone City) who made the countertop. First, he took careful measurements of the vanity and the location of the faucet valves and sinks and created a template so that the marble countertop can be cut precisely to fit.
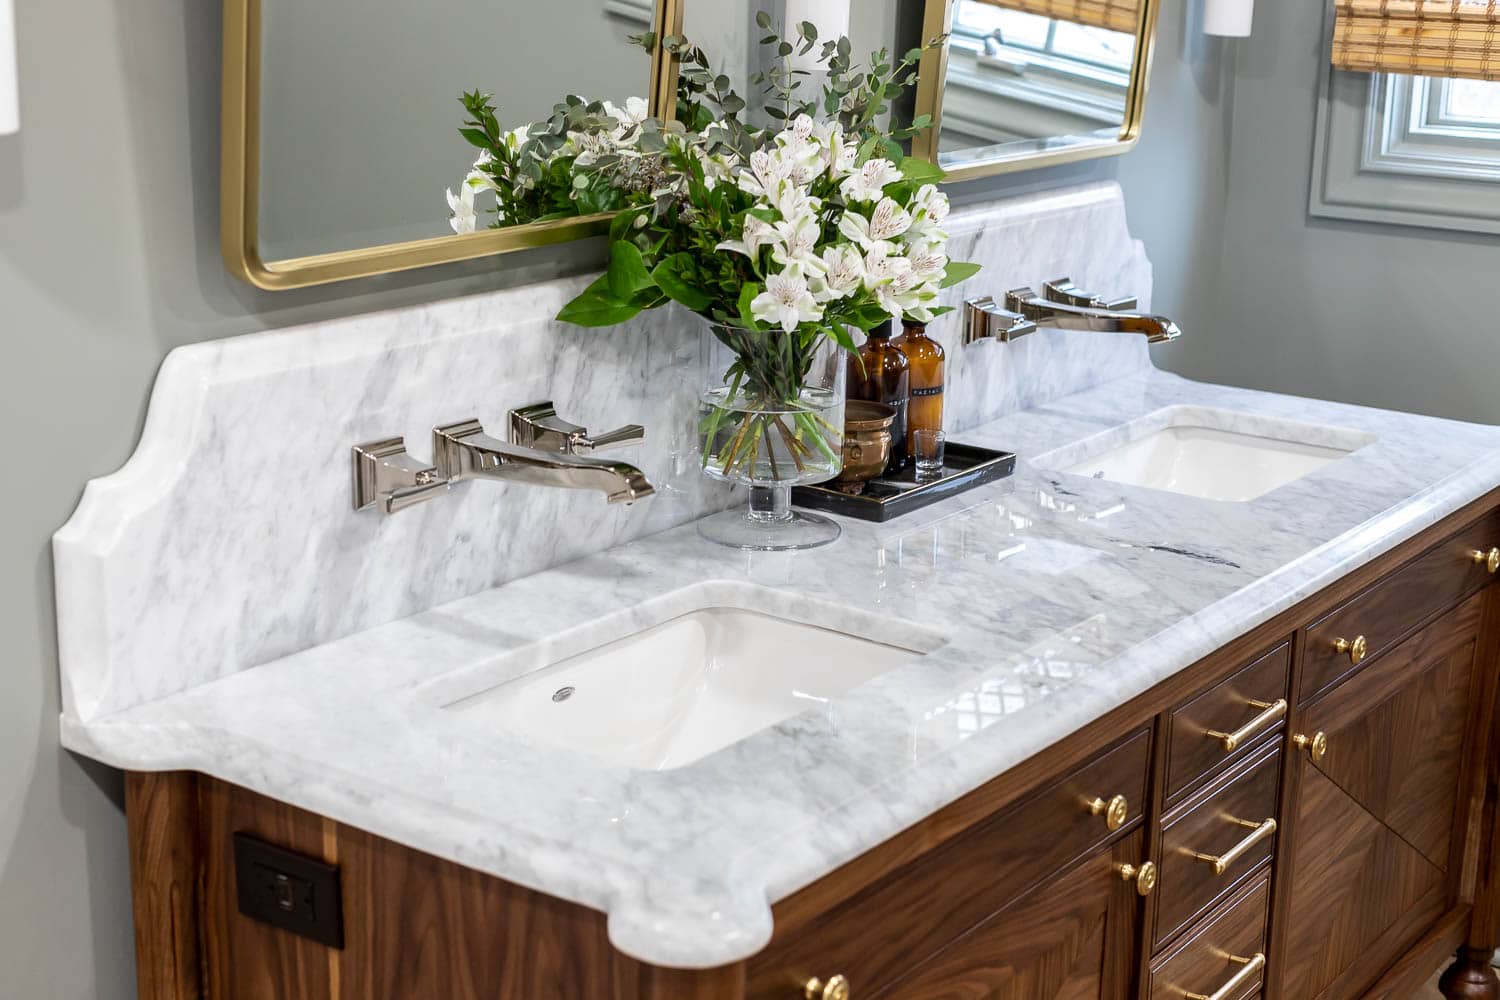
When we renovated our kitchen, we ran into a snafu – our cabinet maker miscalculated the opening for our range, so we ended up having to replace one of the countertops because it was too short. But good news: we were able to reuse the old piece of marble for this vanity! Super happy that this marble didn’t go to waste. It took about a week for the countertop to be fabricated since I also opted for a curved backsplash with an ogee edge. Vince and Matt at Stone City did an amazing job on the countertop and backsplash!

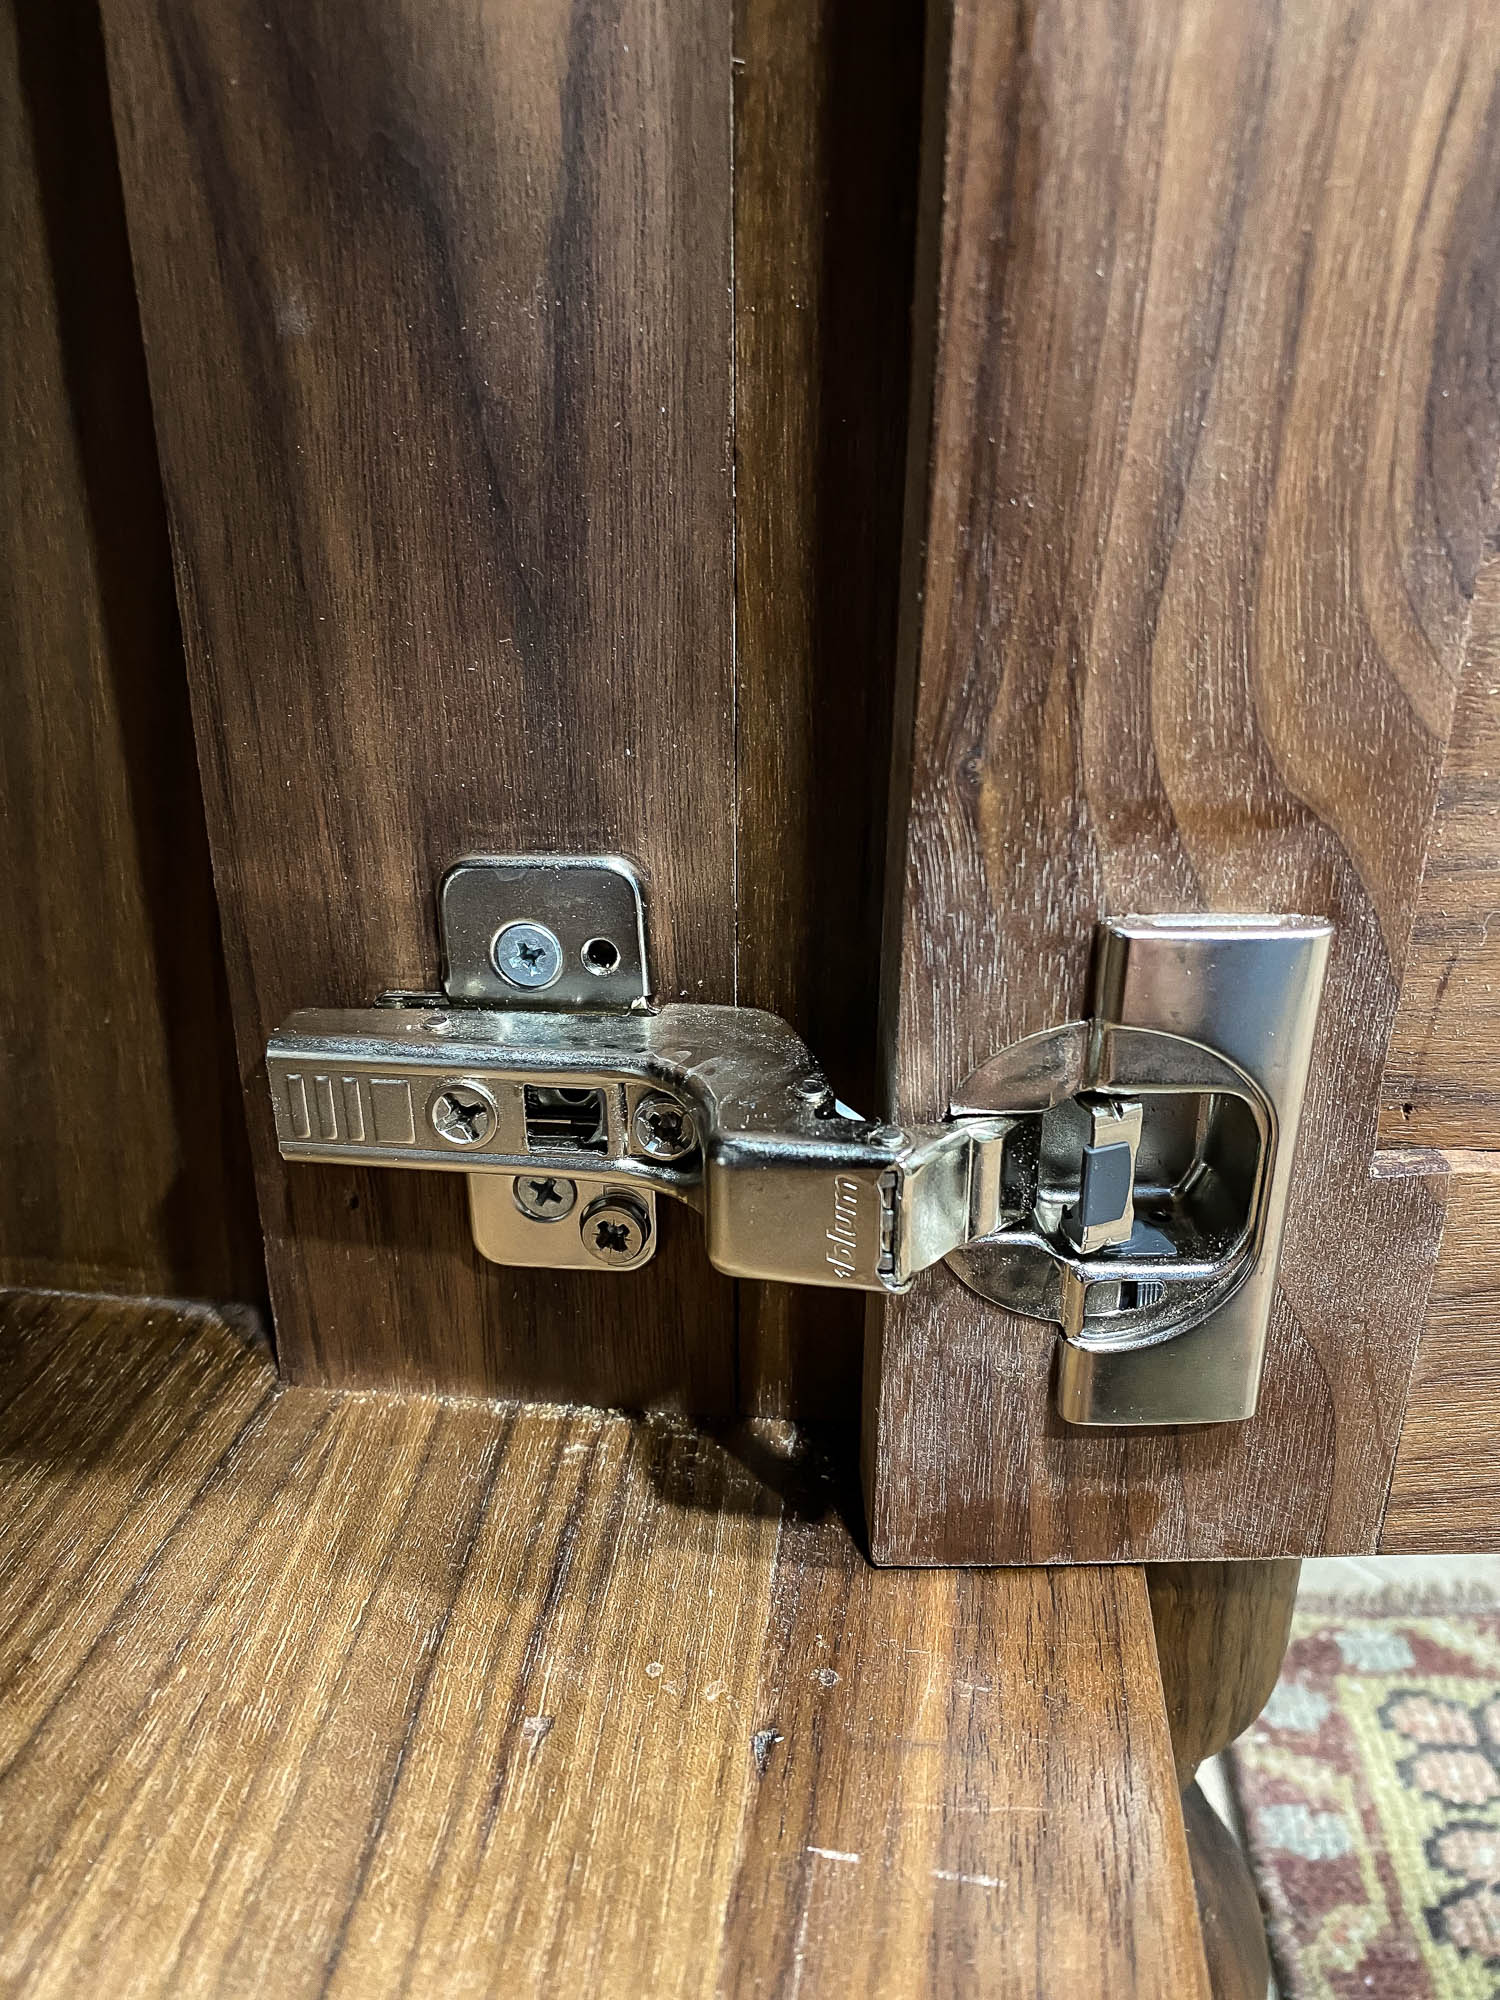
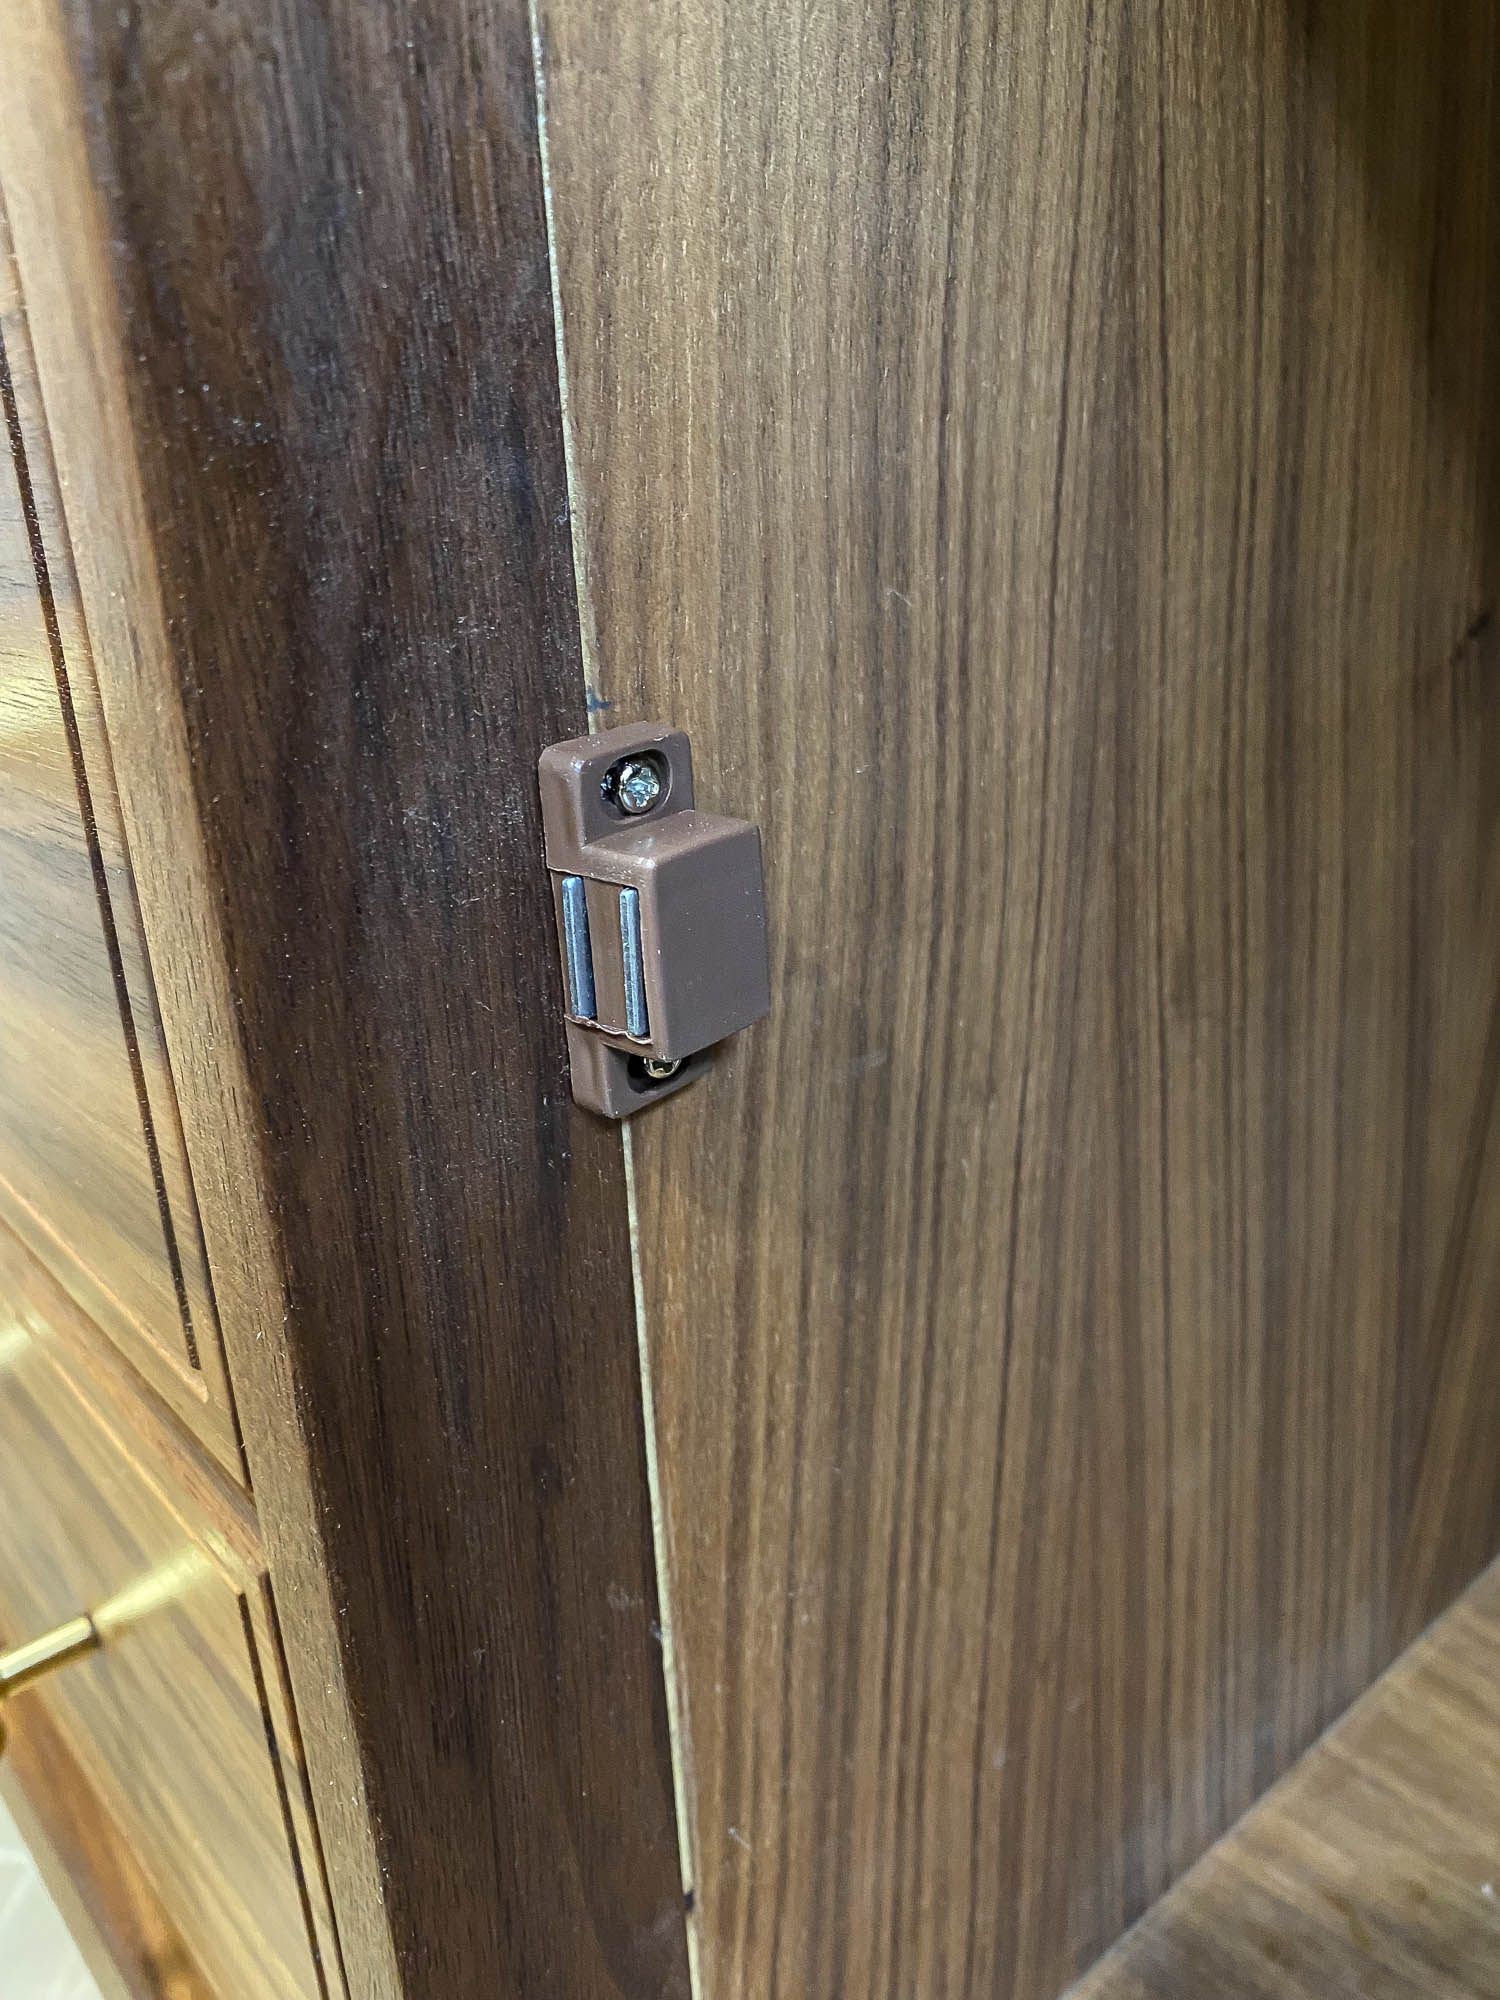
While the countertop was being fabricated, we installed the drawer faces and doors. It’s a good idea to do this before the countertop is on because it’s easier to gain access for the hinges. I used self-closing frameless cabinet hinges for the doors and added a magnetic door catch to keep the door from swinging too far inward. These hinges are great because they allow for a lot of adjustability. There are 3 screws that you can adjust and they shift the door left and right, up and down, and forward and backward, so if you don’t get the doors positioned precisely right, you have some wiggle room.
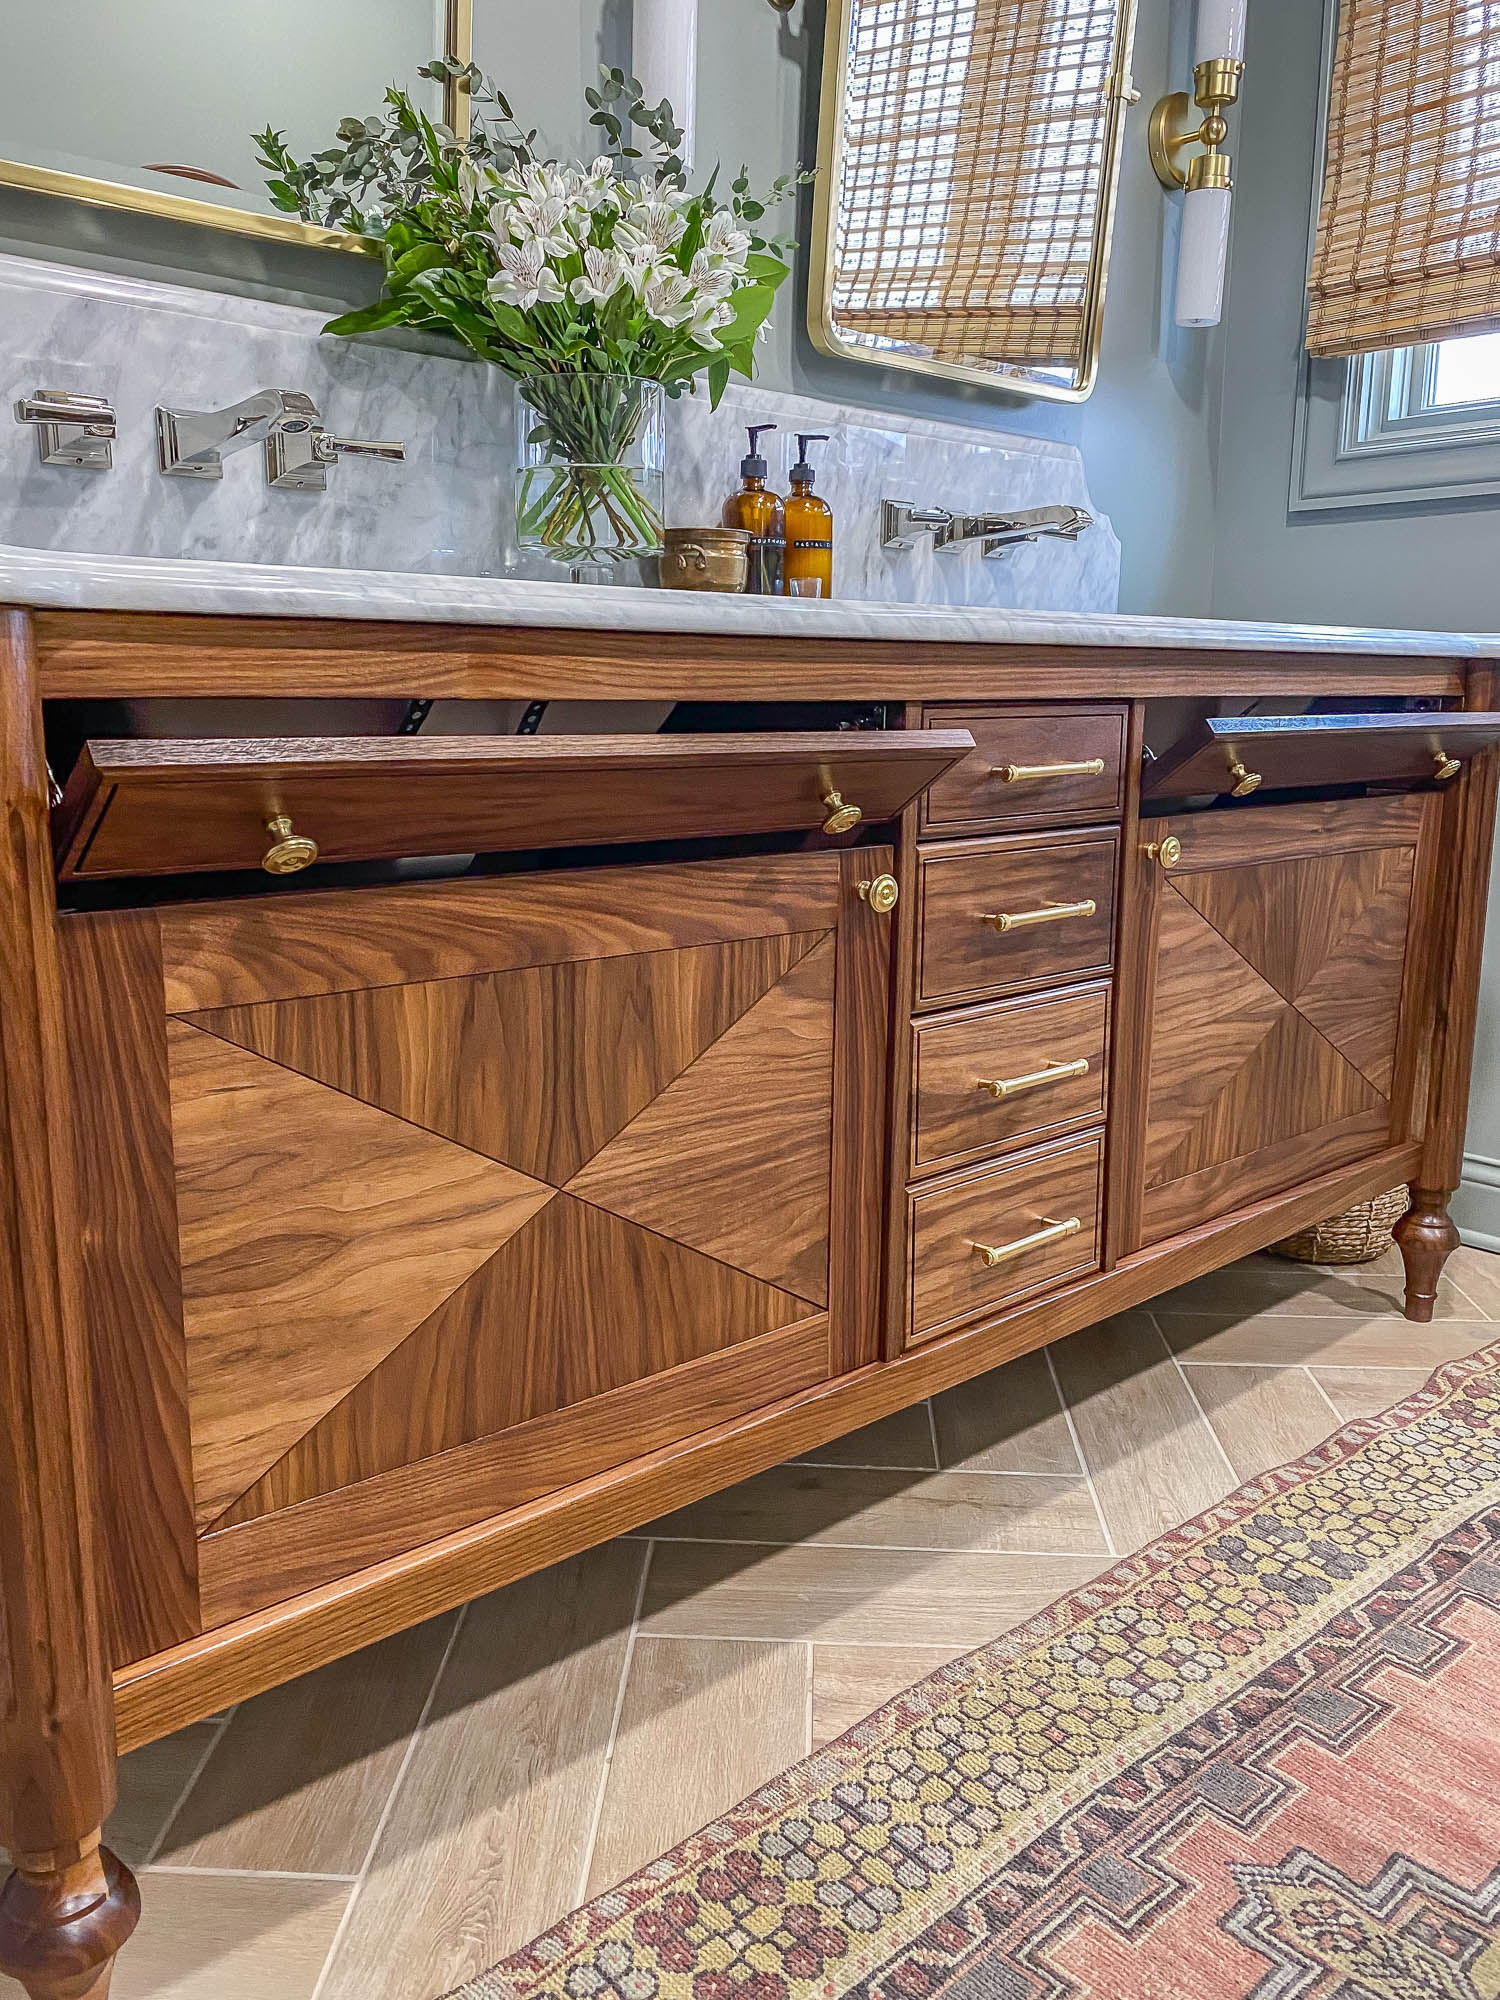
The two long drawers on each side of the bathroom vanity are tilt-out drawers with soft-close hinges. Instead of using the white plastic trays that came with the tilt-out drawer kit, I’m building my own trays from leftover walnut scraps (because why not?).
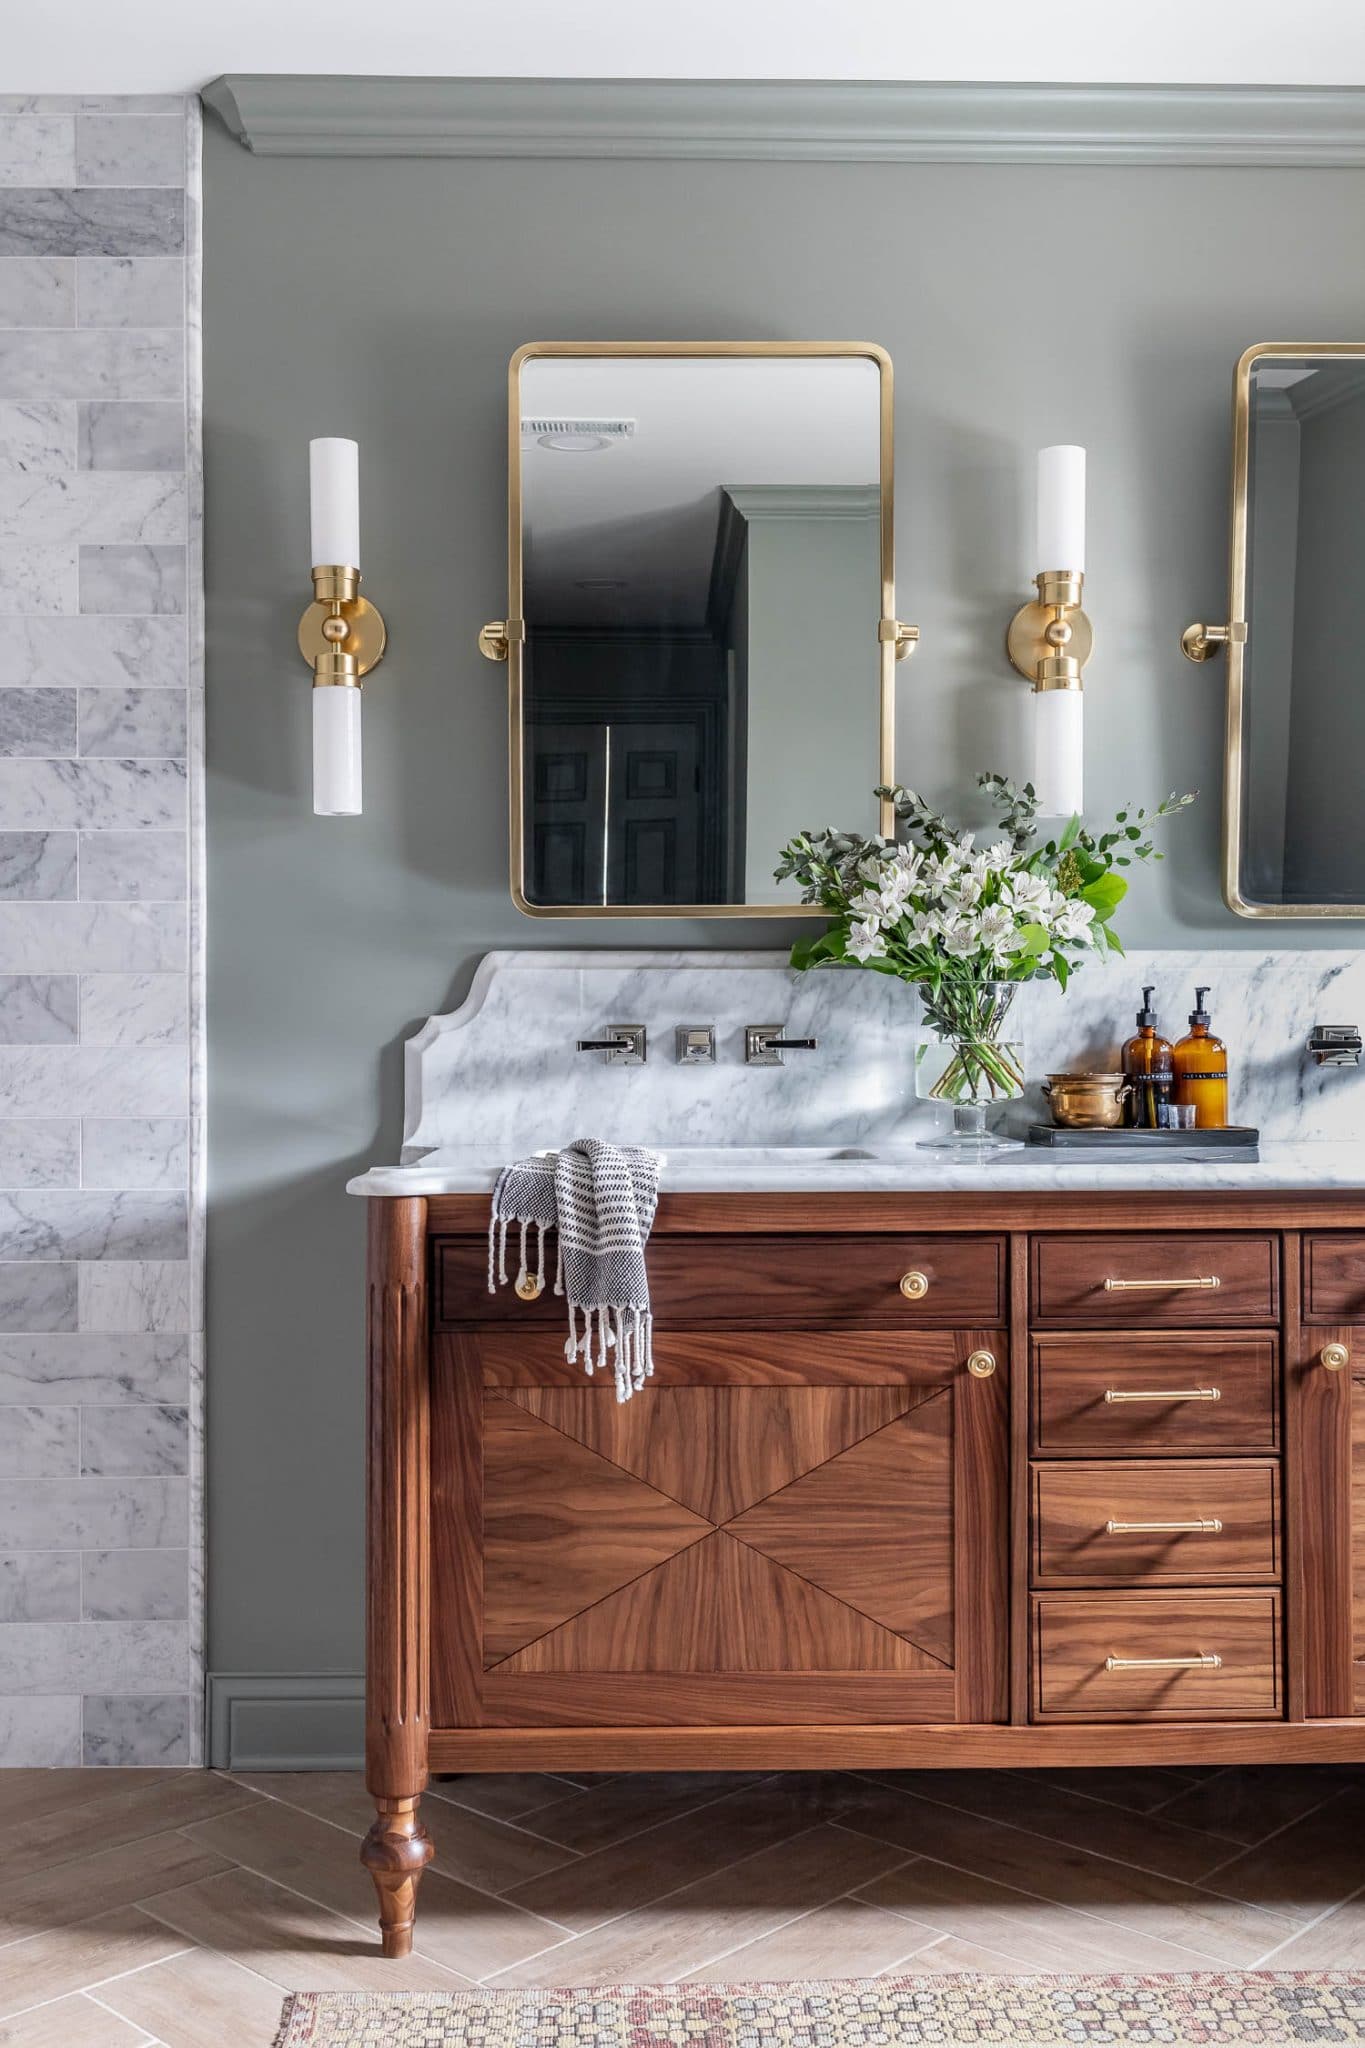
Finishing Touches
I sanded the wood with 120-grit sandpaper and then applied the oil finish, Rubio Monocoat in Pure. This beautiful black walnut doesn’t really need much to shine. I can’t get over that striking wood grain! So delicious.
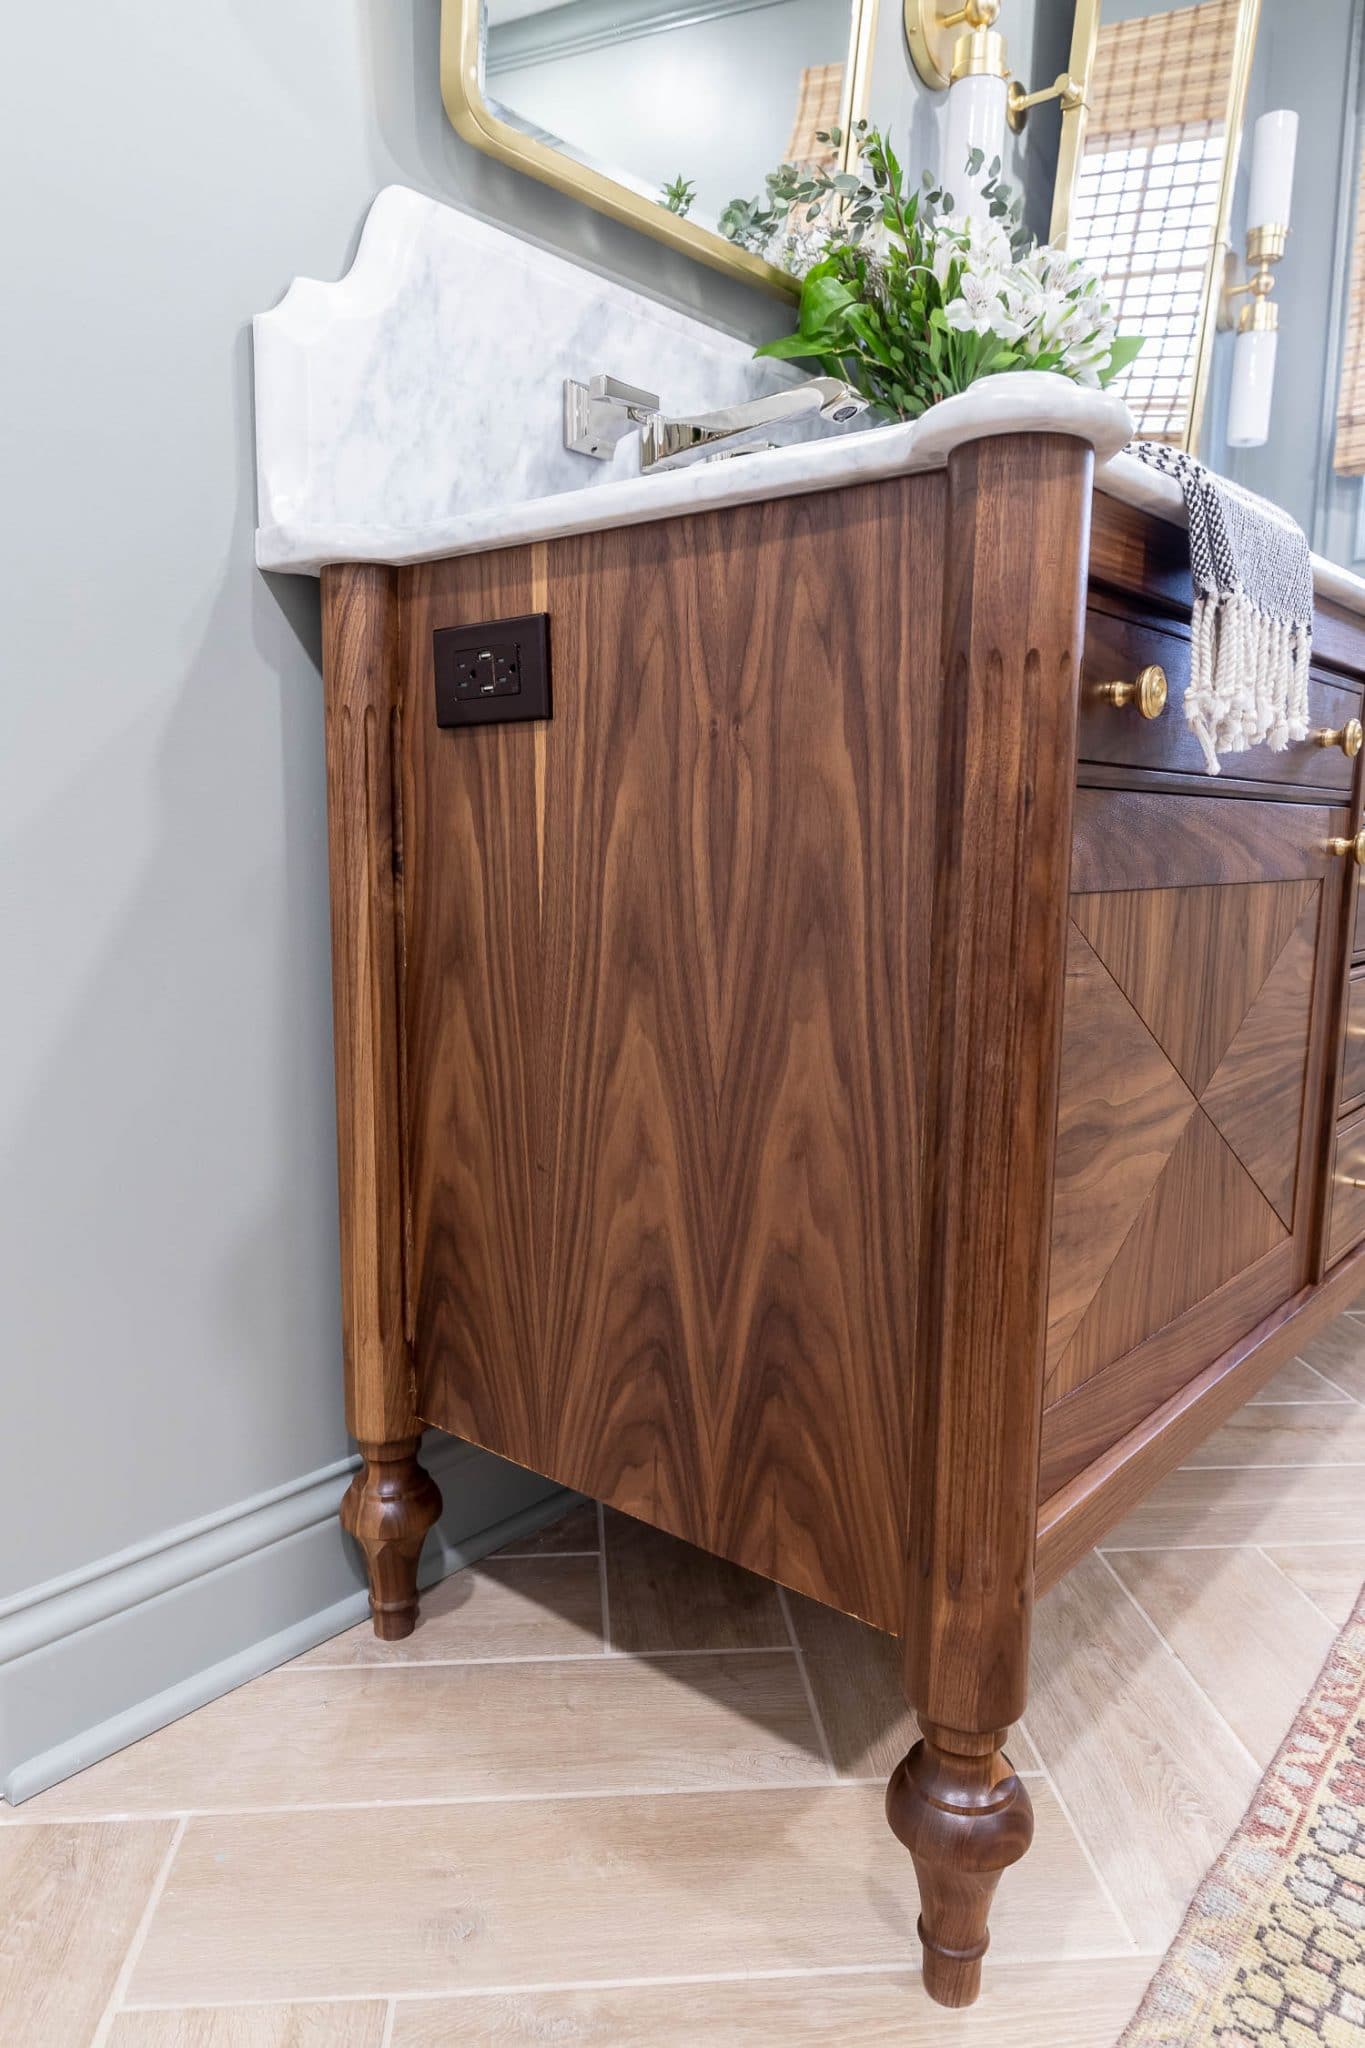
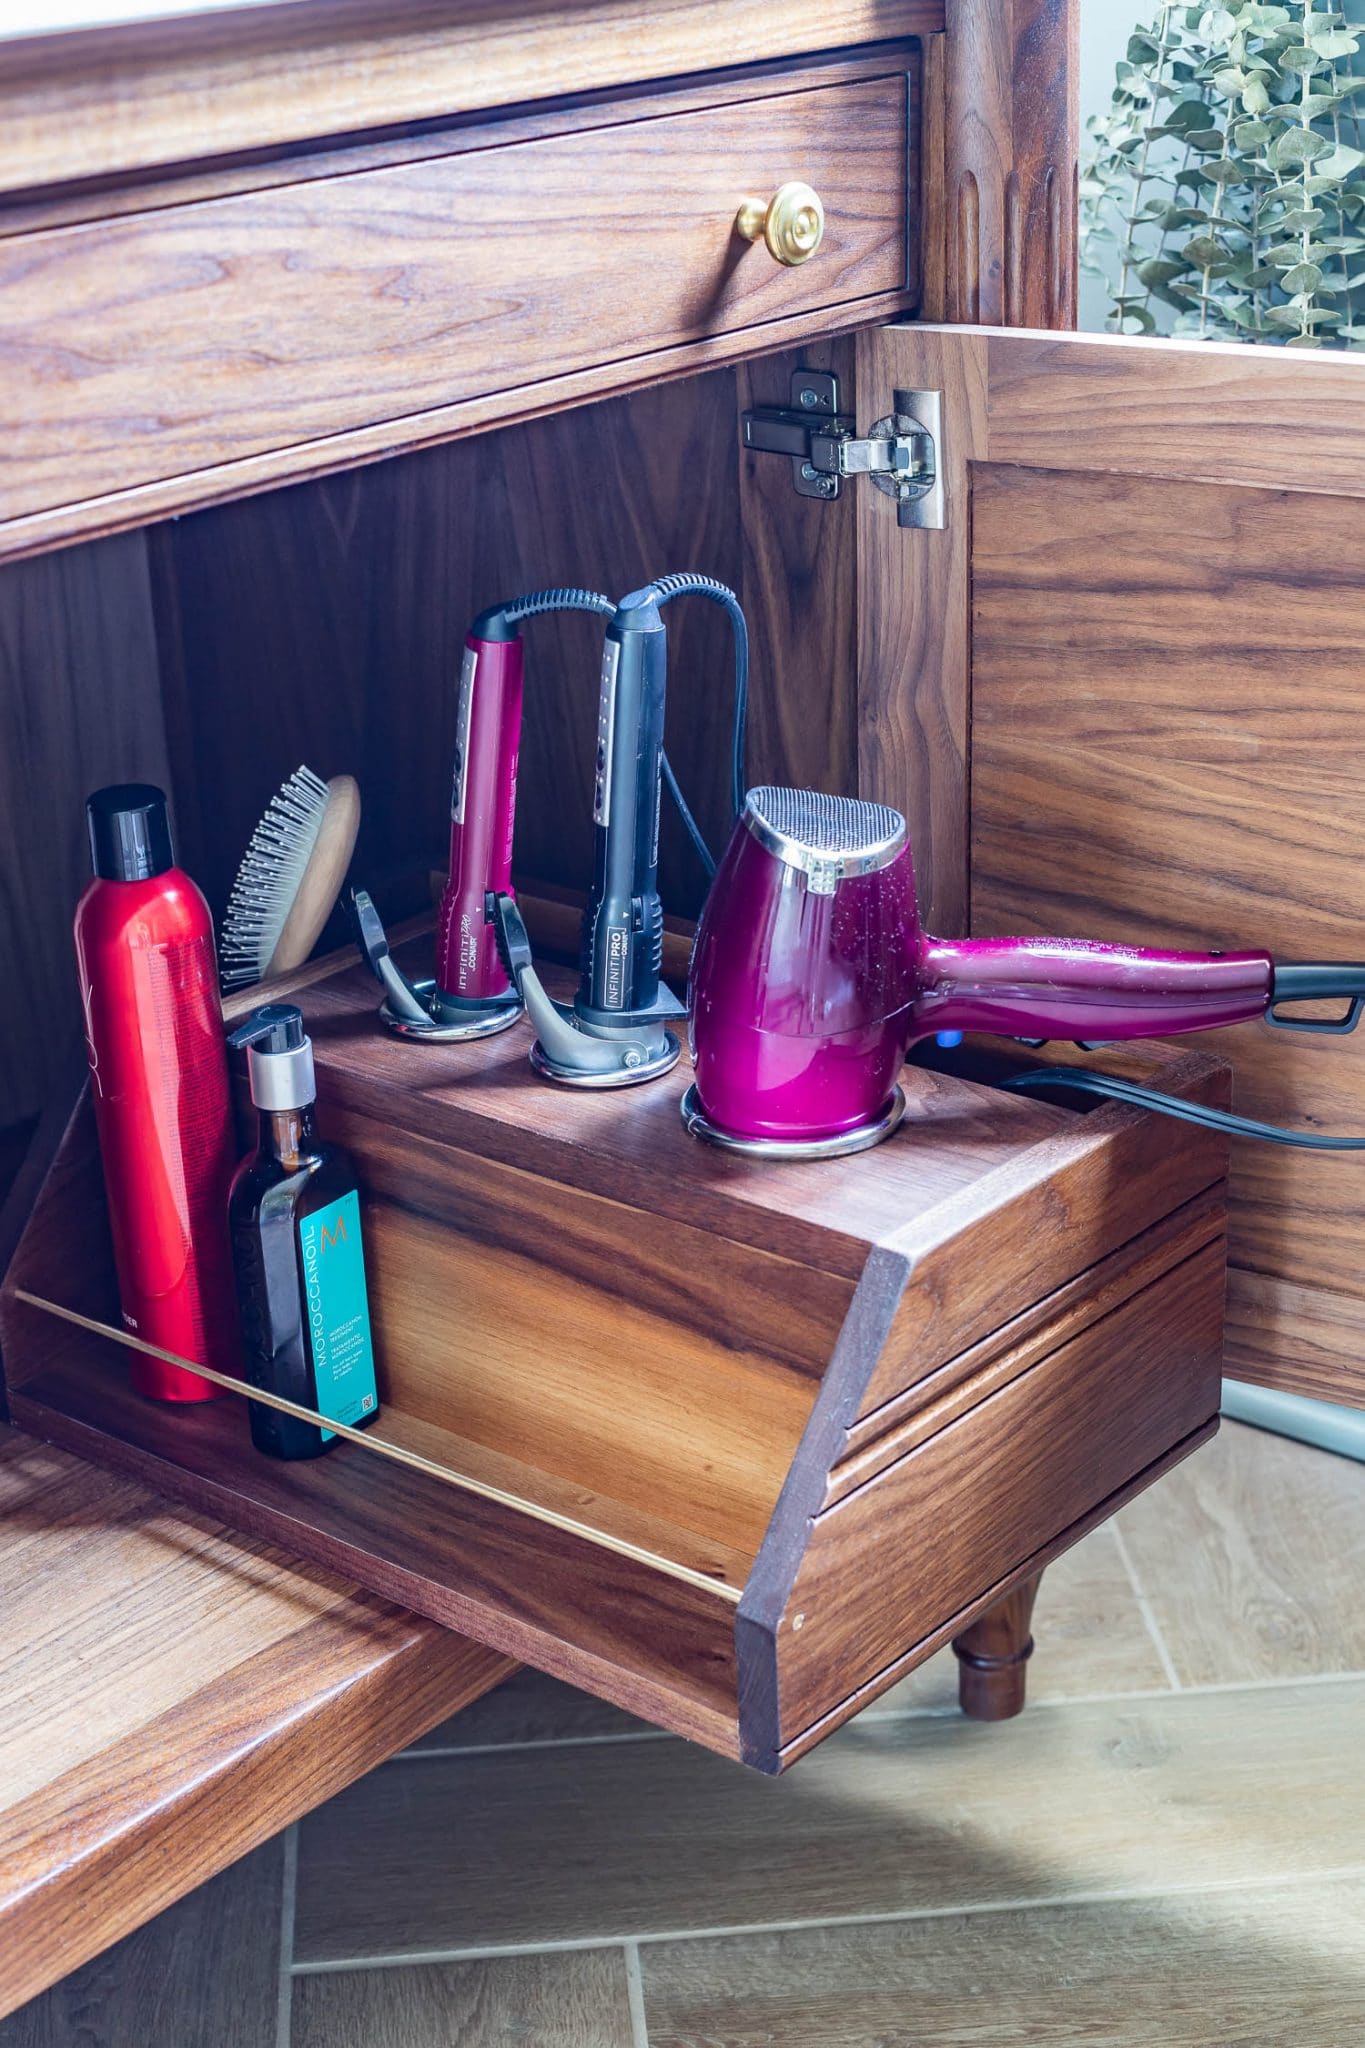
We had our electricians place an outlet on each side of the vanity because I didn’t want to see any unsightly outlets on the wall, interrupting the view of the beautiful curved backsplash, mirrors, and sconces. I love that we still have the functionality of having plugs near the mirrors, yet they’re hidden from plain sight. I plan on building a hot hair tools organizer for my side of the vanity, so keep an eye out for that project! And stay tuned for the full reveal of our primary bathroom remodel… coming soon!
*Edit: The primary bathroom remodel reveal is live here! Click here to take the full tour!
*Edit: The hot hair tools organizer tutorial is here! DIY Hot Hair Tools Organizer

Your detailed DIY guide is informative, engaging, and well-illustrated, making it a valuable resource for readers interested in undertaking a similar project.
What color is the green on the walls?
What is that wall color? It’ compliments everything so beautifully!
Beautiful! Could you please tell me where you sourced the black walnut?
Thanks Jill! The black walnut is from 84 Lumber. 🙂
Hi there. Can you tell me which router bit you used for the channel that is 1″ from the drawer face perimeter? And how about the cove profile? I’m trying to emulate your style and was curious what to buy. Thanks. Cheers from Michigan.
Hi Michael,
I can’t recall, but I believe all details are in the plans.
Hi. I was hoping to make something similar to this for my wife. I am curious about the drawer detail and was wondering if you’d be so kind as to help me out with the details? Specifically, with the cove profile and the channel that is 1″ from the edge. Thank you kindly. Happy Holidays. Cheers.