A step-by-step tutorial on how to install picture frame molding on the wall. This is an easy and affordable way to elevate your home!
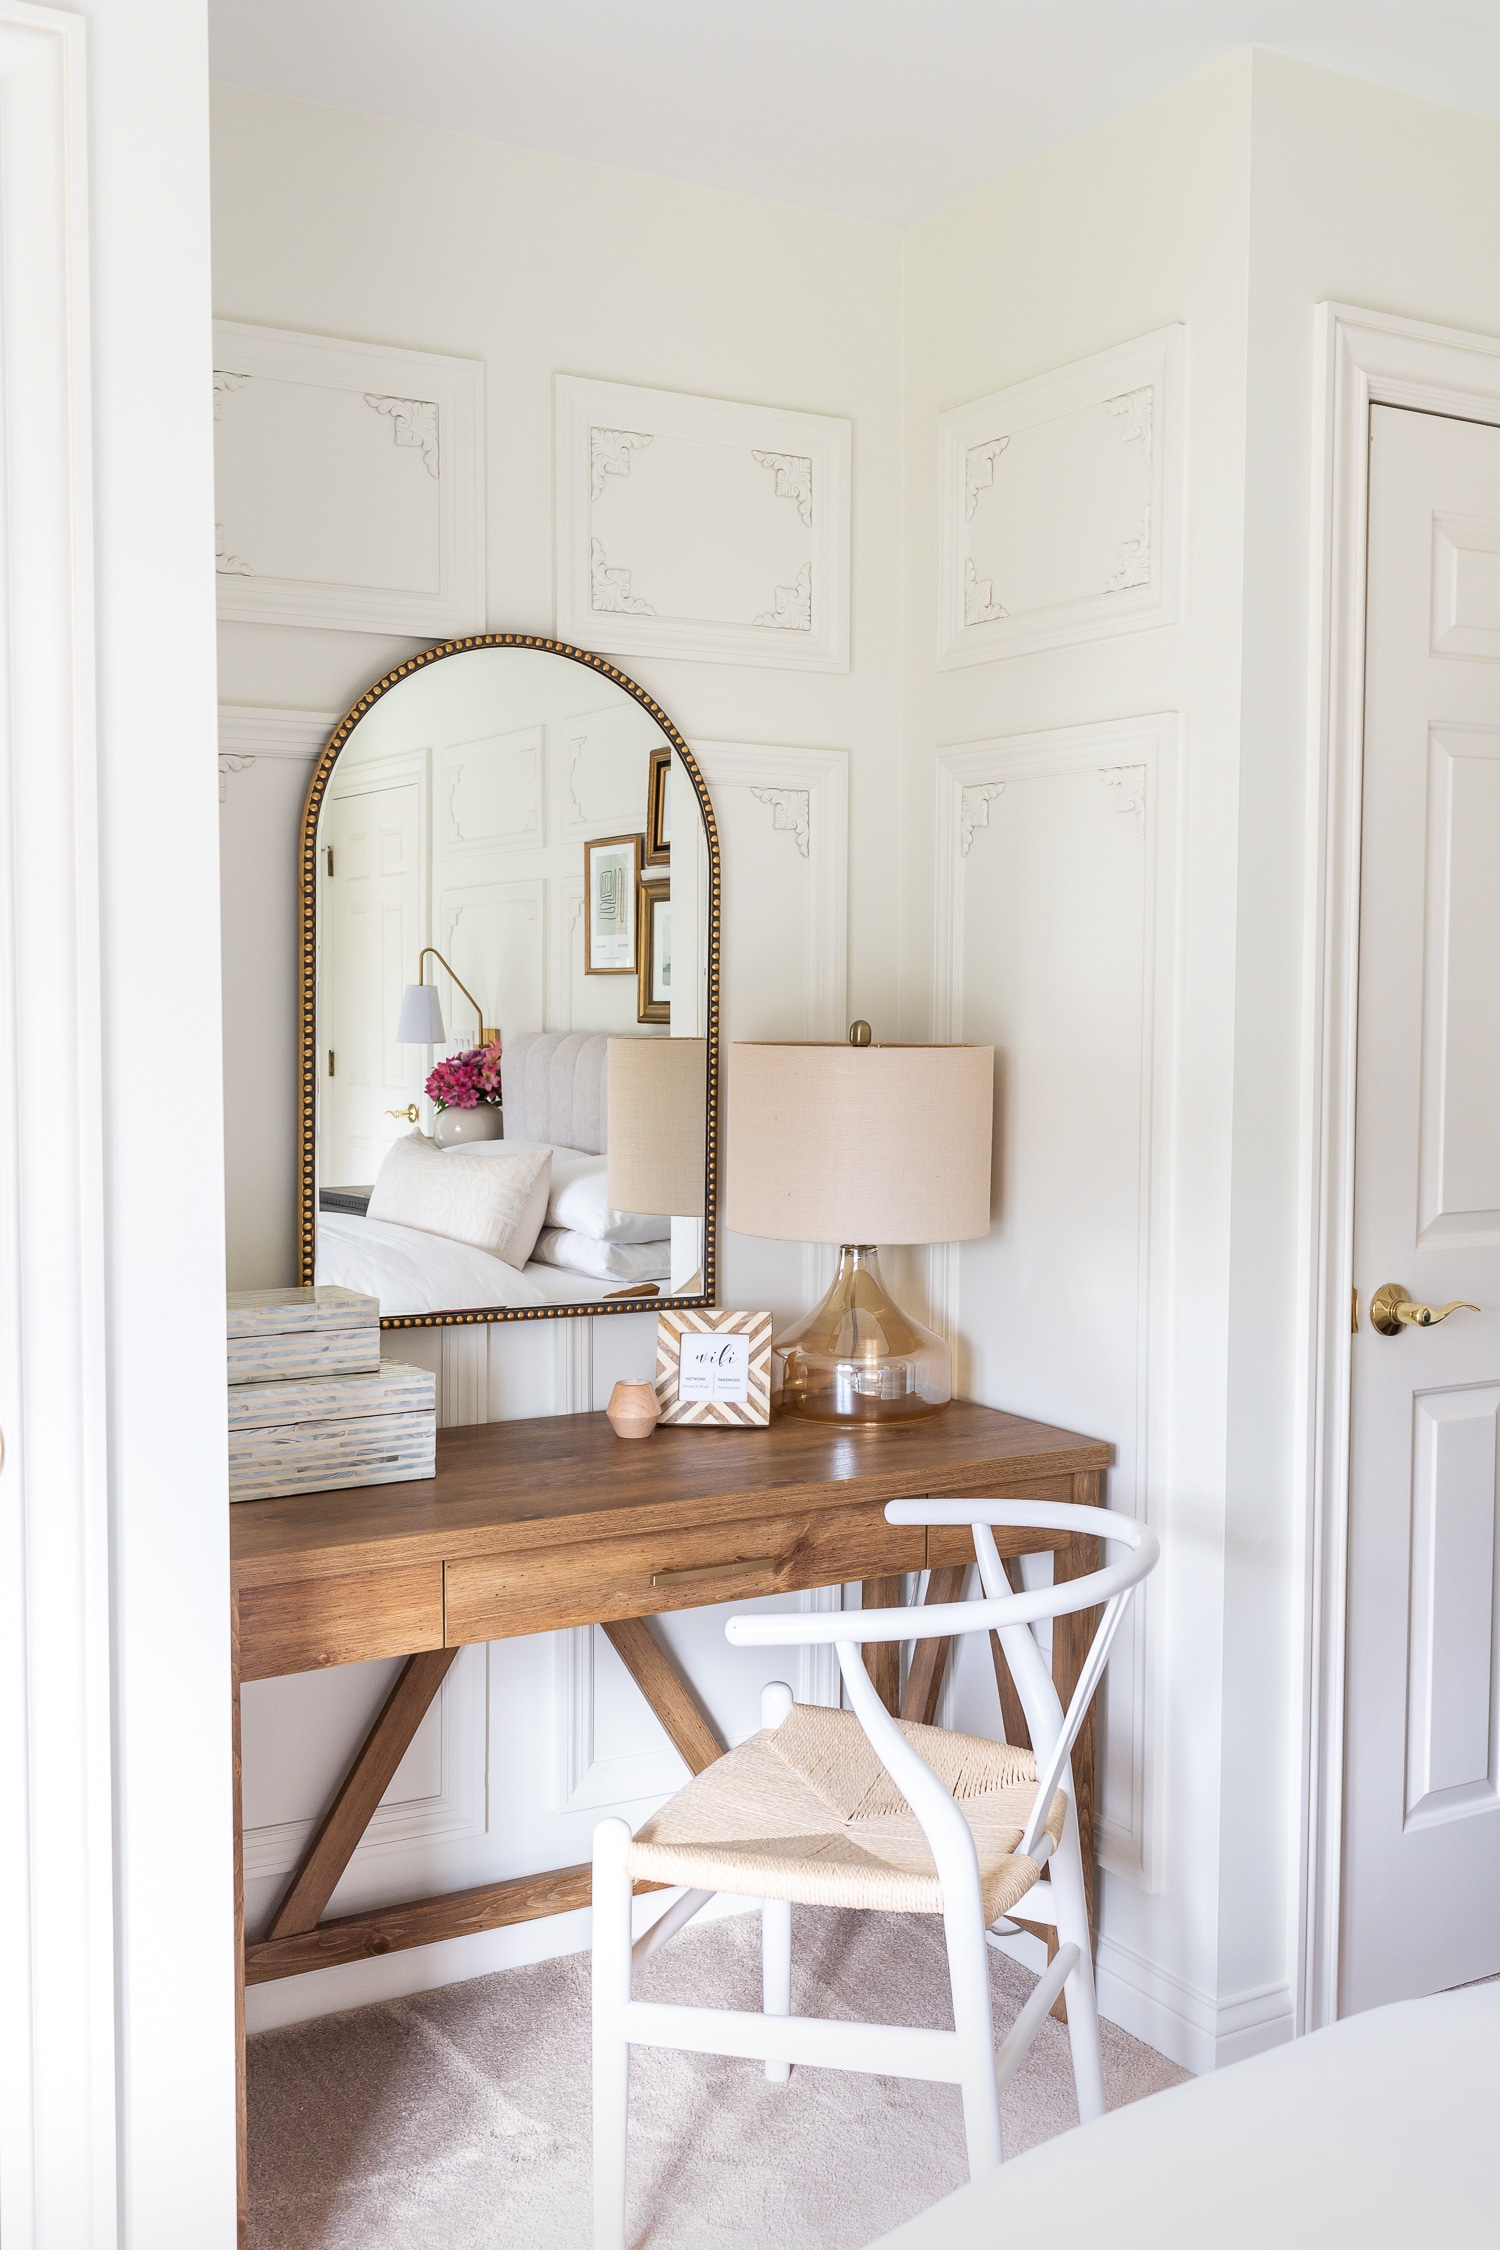
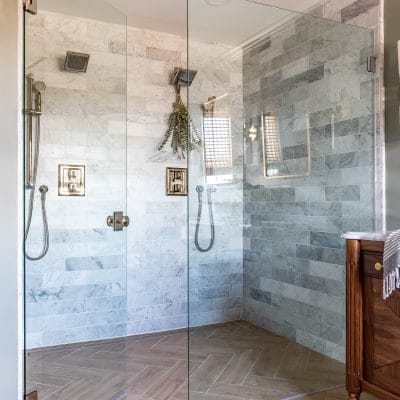
Ever since we bought our French colonial home last year, I’ve been inspired by Parisian architecture and design and have been slowly infusing a casual, European elegance throughout this home. Most recently, we added an incredible outdoor fireplace that looks like it’s been sitting in the middle of a French countryside for a hundred years (watch the video here!). We also recently renovated our guest bathroom so that it’s modern yet timeless (and certainly more functional). Now that the bathroom is done, we turned our attention to refreshing the guest bedroom.
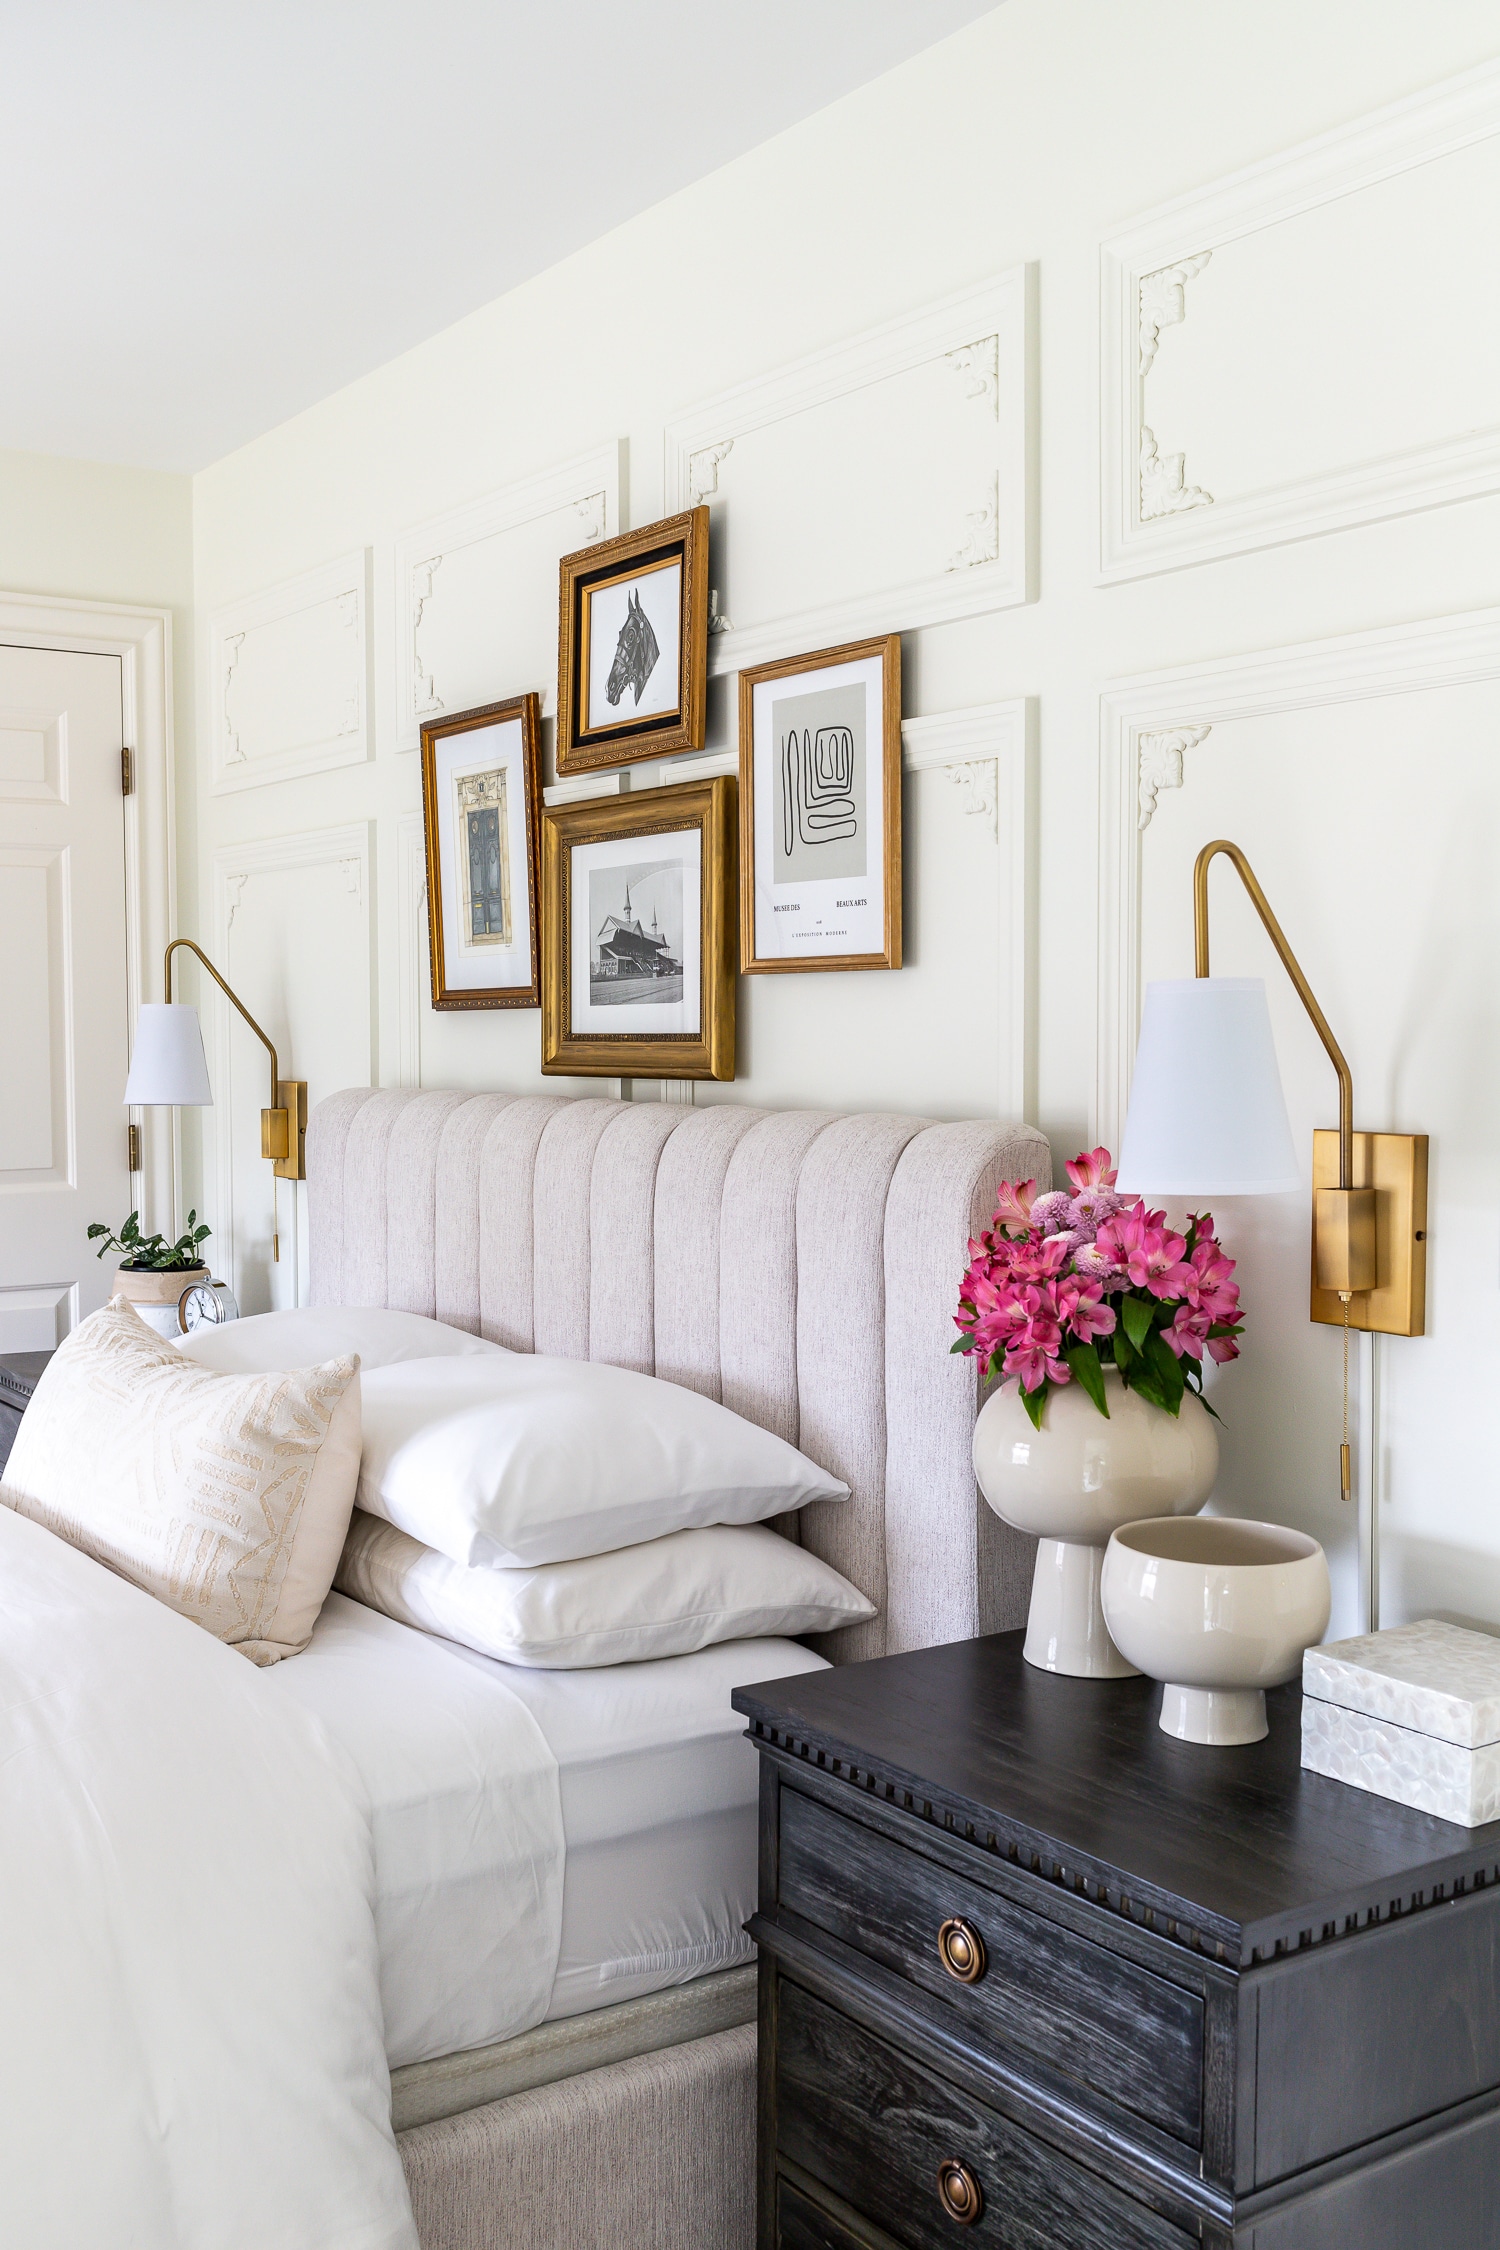
Installing picture frame molding on the walls completely transformed this space and I’m so excited to show you how I did it. It’s a super easy and affordable DIY project that you can tackle in a weekend! I’m thrilled to partner with Arrow Fastener on this wainscoting project. Did you catch our previous projects: my DIY pin board, insulation tutorial, and raised planter boxes? I’ve had so much fun teaming up with them to bring you a variety of projects this year.

How to install picture frame molding
TOOLS:
- Pneumatic Brad Nailer + brad nails
- Tape Measure
- Pencil
- 48-inch Level
- Laser Level
- Compound Miter Saw
- Caulk Gun
- Safety Glasses
- Hearing Protection
- Dust Mask
SUPPLIES:
- Primed Pine Casing
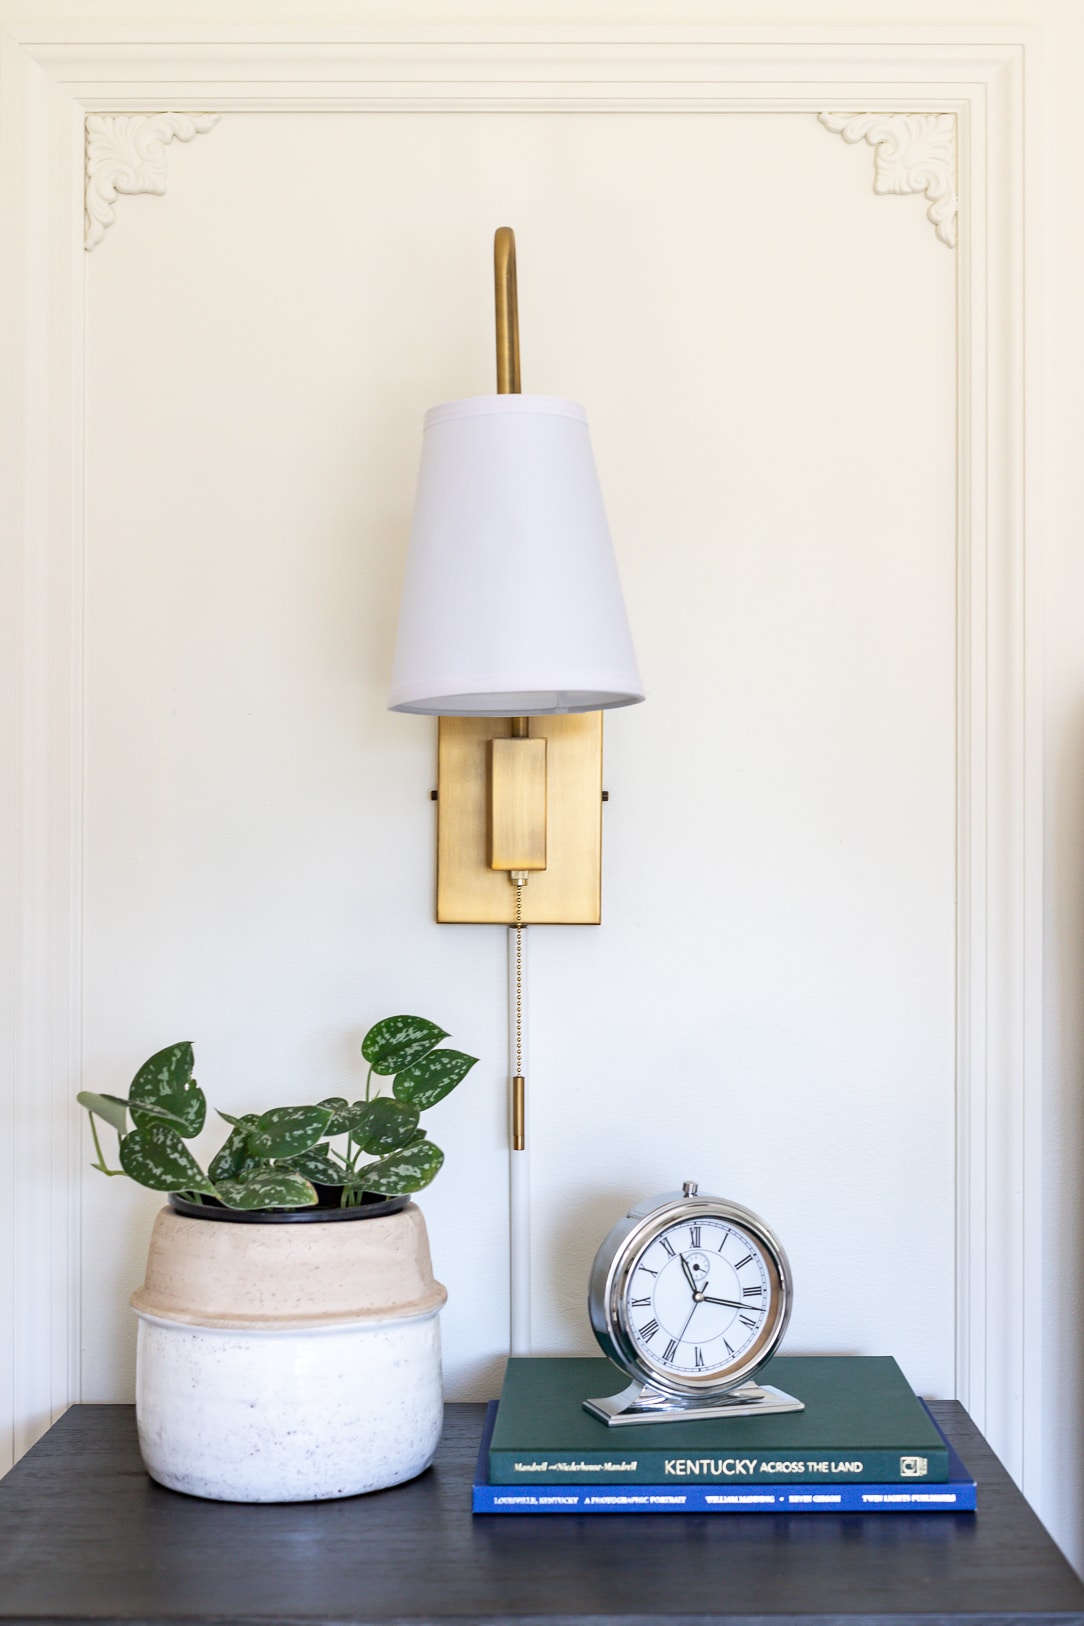
- Ornamental Corner Moldings (optional)
- Construction Adhesive
- Silicone Trim Sealant
- Painter’s Putty
Plan Your Layout
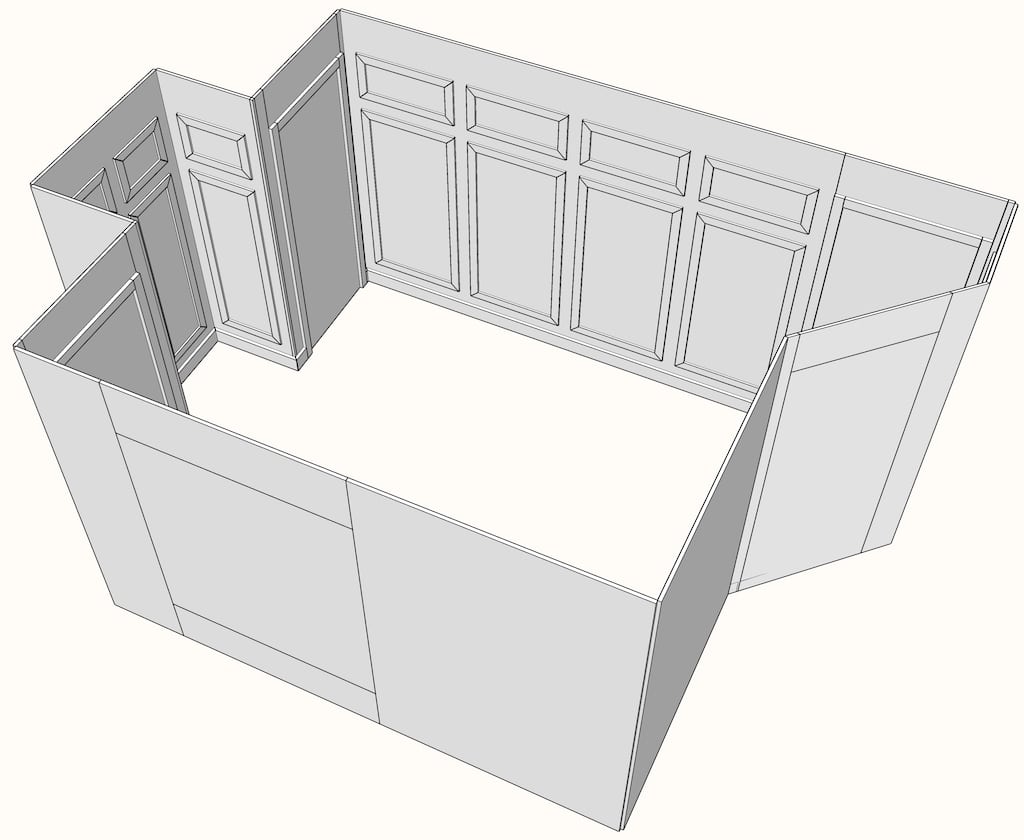
Because I am a giant nerd who wants to control everything, I took measurements of the room and created a 3D diagram. Then I played around with the layout of the molding in the program: how many boxes I wanted, the spacing between them, etc. Also, I found this handy Inch Calculator where you can input your own measurements and it spits out a formula for you! Neat. I started with the wall across the windows, since that was the main focal point in the room and where the headboard would go. I decided on 4 large picture frame boxes centered on the wall, with smaller boxes at the top. I finally landed on a 4-inch spacing everywhere – 4 inches from the baseboard, 4 inches from the door casing, and 4 inches between the picture frames.
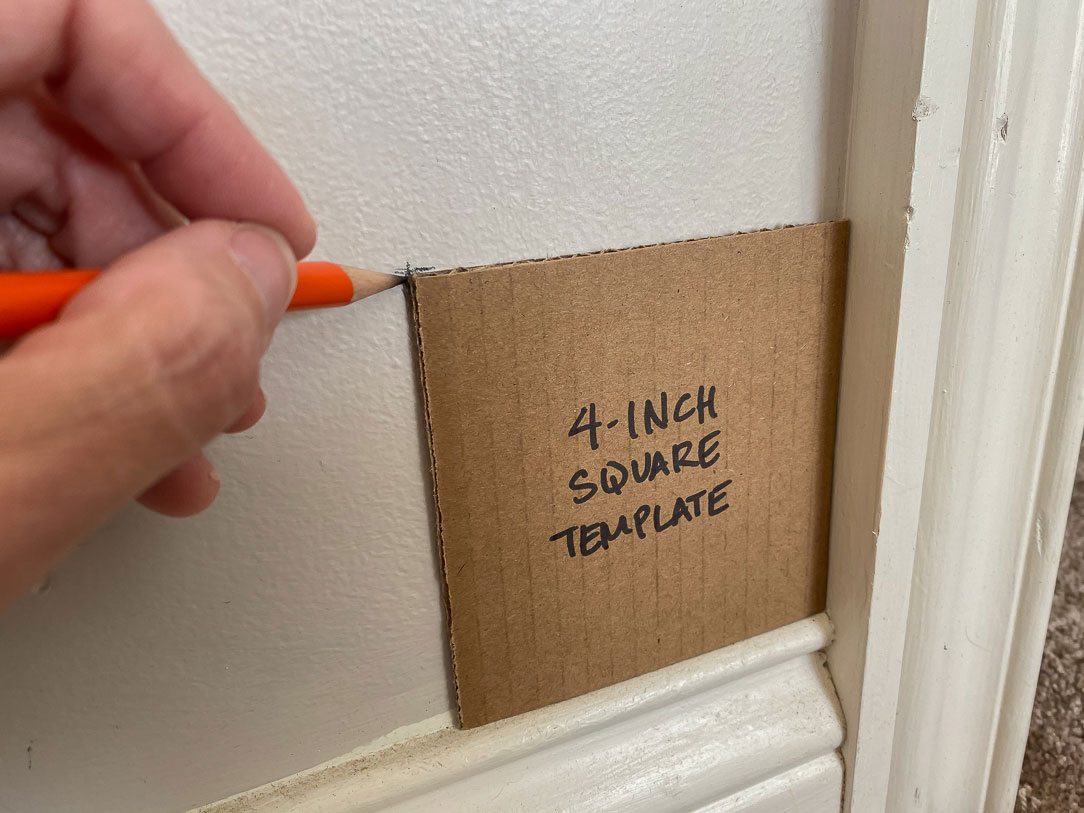
Next, I made a 4-inch square template out of cardboard just to give myself a reference point. Because walls and ceilings aren’t perfectly square and plumb, I used the cardboard template just as a starting guide. Starting on my main focal wall, I placed the template in the bottom right corner, where the baseboard and door casing met and made a mark. So now, I know there are 4 inches from the baseboard and 4 inches from the door casing. Then I used a level to draw the rest of the boxes from this starting reference point. This little template was super handy!
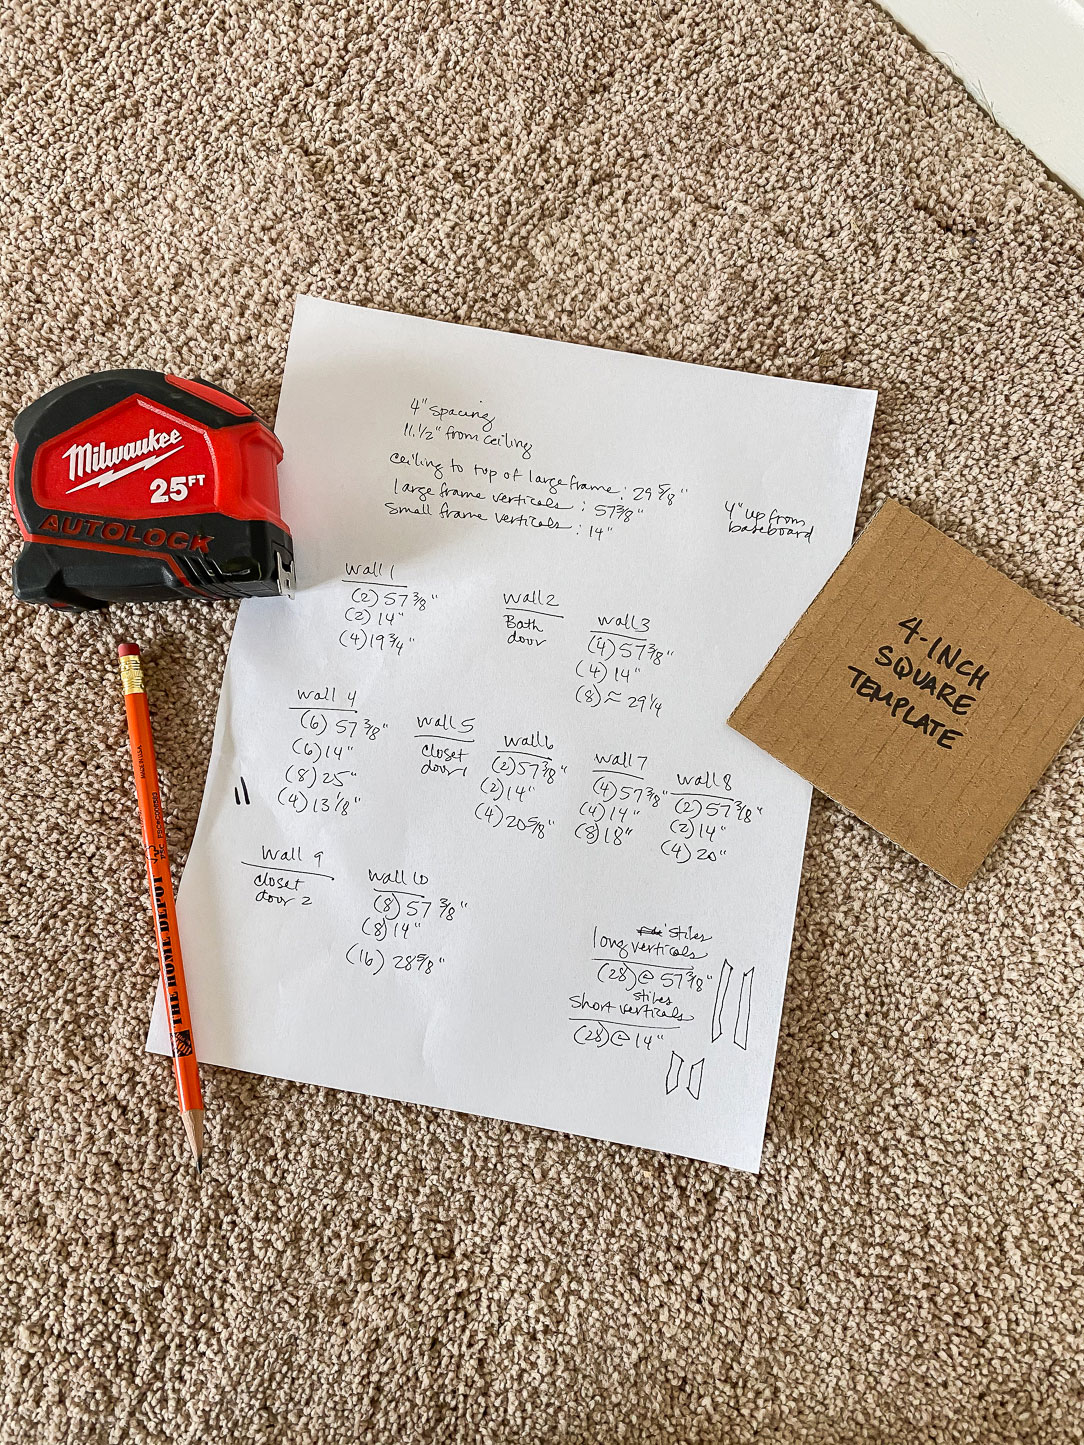
Creating my design in Sketchup really helped because I was able to record measurements for each molding piece. If you aren’t familiar with a 3D drawing program, you can still do this the old-fashioned way: with graph paper and a ruler! Again, my spacing – the distance from the ceiling to the top of the smaller picture frames were all just decisions I made because it looked good to my eye while in the space. There’s no right or wrong. Also, because I plan on adding crown molding to this room later on down the line, I left space for that at the ceiling. I decided to make the top of the small picture frames even with the existing door casings around the room. Below is a picture of my cut list, organized by wall (there are lot of walls in this room!). Notice that the vertical pieces of the picture frame molding won’t change from wall to wall, only the horizontal pieces will, depending on the width of the boxes on each wall.

Draw it out
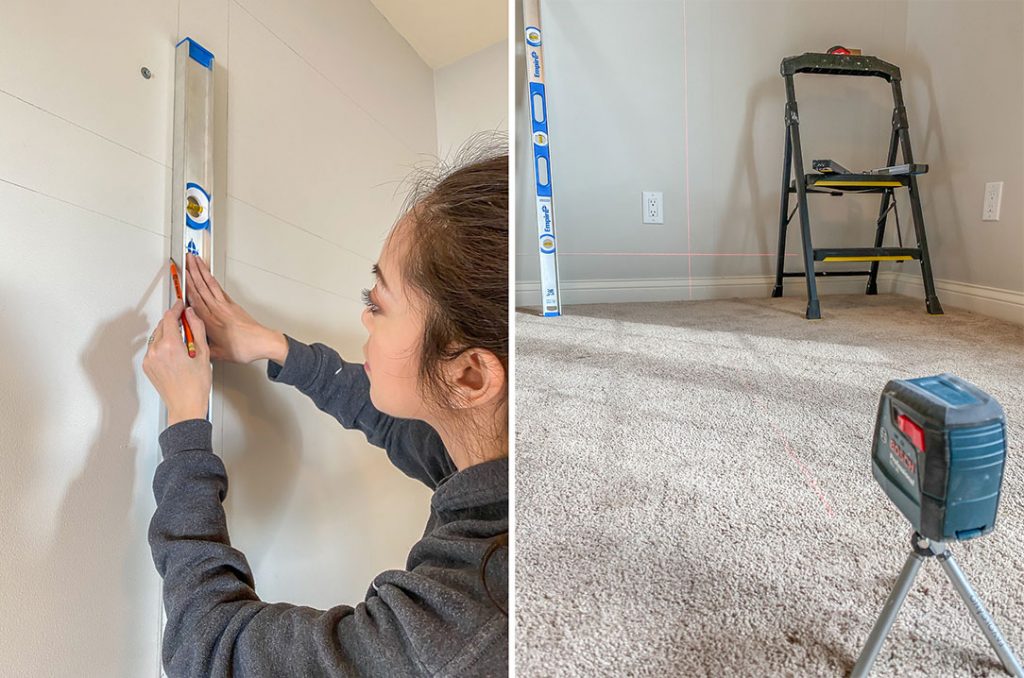
Now that I have my game plan in place, it’s time to transfer it to the room. I used a level and drew out all of the boxes on the walls, then double-checked my work with a laser level. Be sure to draw the picture frame boxes level and plumb, and don’t go off of the baseboards or ceilings, as these are often not level, square, plumb, or true!
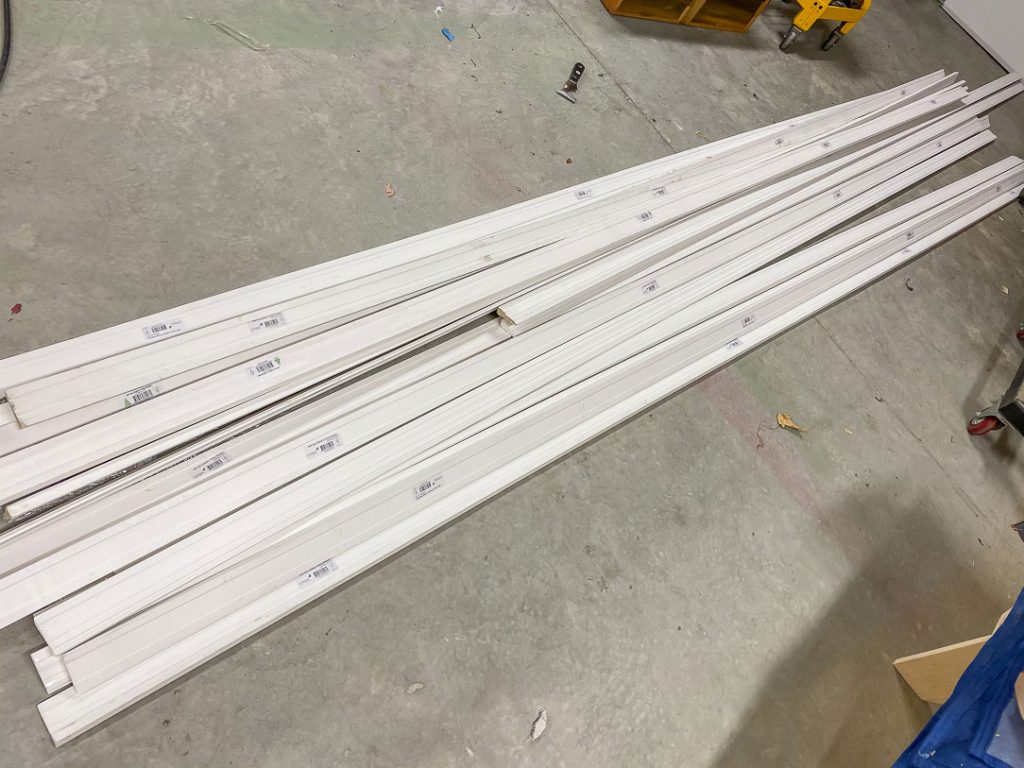
I decided on this primed pine casing for a few reasons: I liked the chunkier profile, it’s primed (which my painters appreciated!), solid wood, cost-effective, and my local Home Depot had a lot of it in-stock, so if I made a mistake, I could always head back to the store for more. It cost a little under $300 for all of this trim.

Make the Cuts
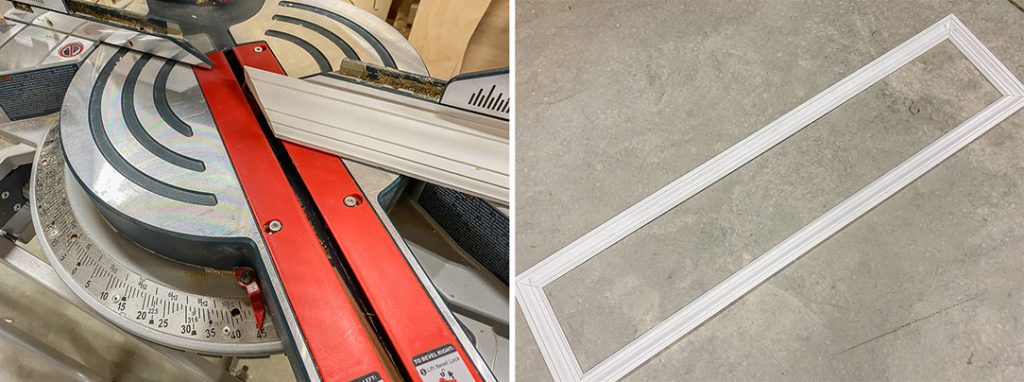
Now it’s time to hunker down in the workshop and make a gazillion mitered cuts! I set my miter saw deck to 45 degrees and started making my cuts. It’s a good idea to “sneak up on the cut” – this means to cut your pieces long and then shave off a little bit at a time until you get the exact measurement. This way, there’s a lower chance of making a mistake and cutting a piece too short. The ends are mitered so that they’re not parallel, so when put together, they form a picture frame. Then I just dry-fitted the pieces together to see how it would look. I recommend cutting the longest pieces first, to ensure you’re not wasting any material. I cut all of the vertical pieces (since that measurement didn’t change) and then took them back up to the room for installation.
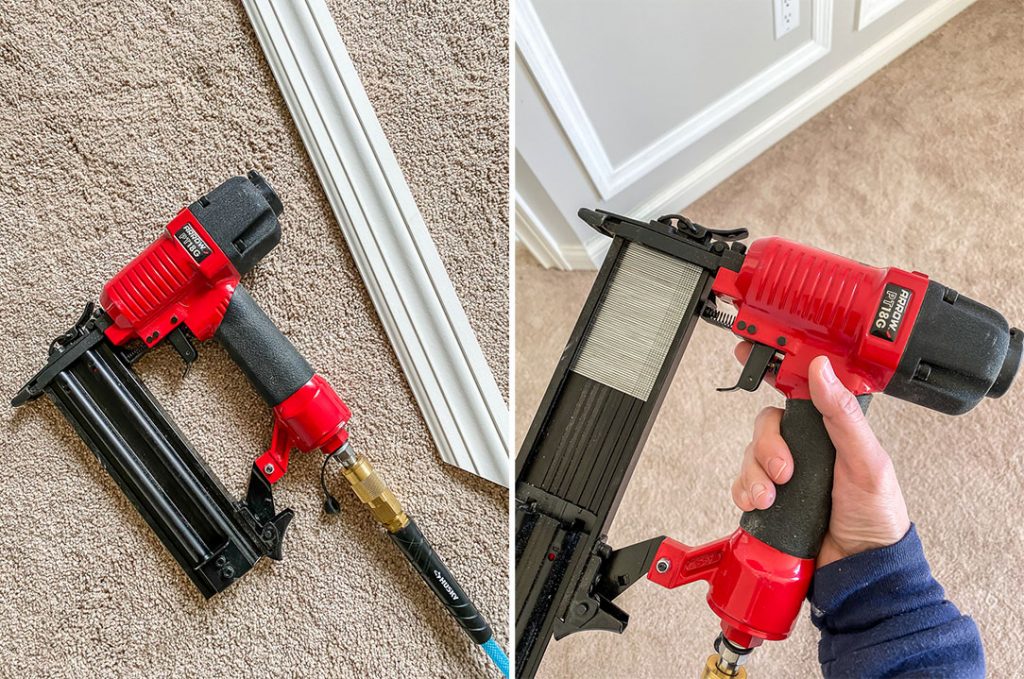
I’m using this 18 gauge pneumatic nail gun by Arrow Fastener. It’s the same one I used for our raised planter boxes last month! I love that it’s lightweight, easy to manage, and perfectly capable of a job like this. I used 2-inch brad nails, but I think that may have been a little overkill. If your molding is smaller than mine, you may want to use a shorter nail, or even pin nails so as not to split the molding.
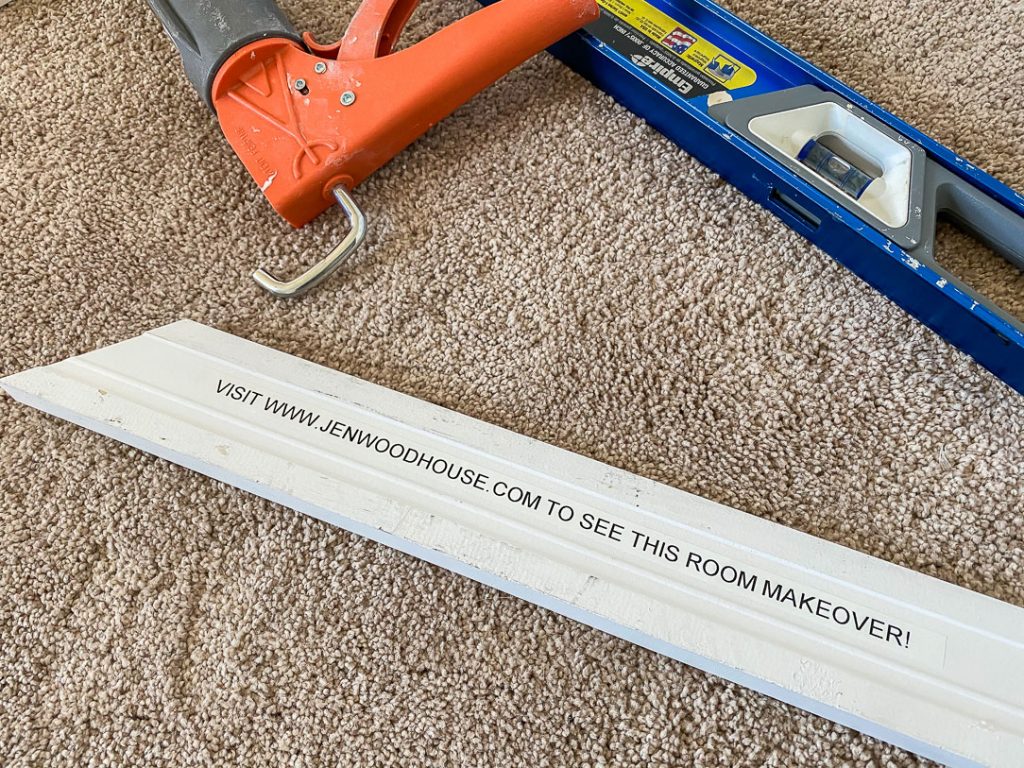
And of course, just as I did with our bathroom renovation, I left a few secret messages behind. 🙂

Attach the Trim
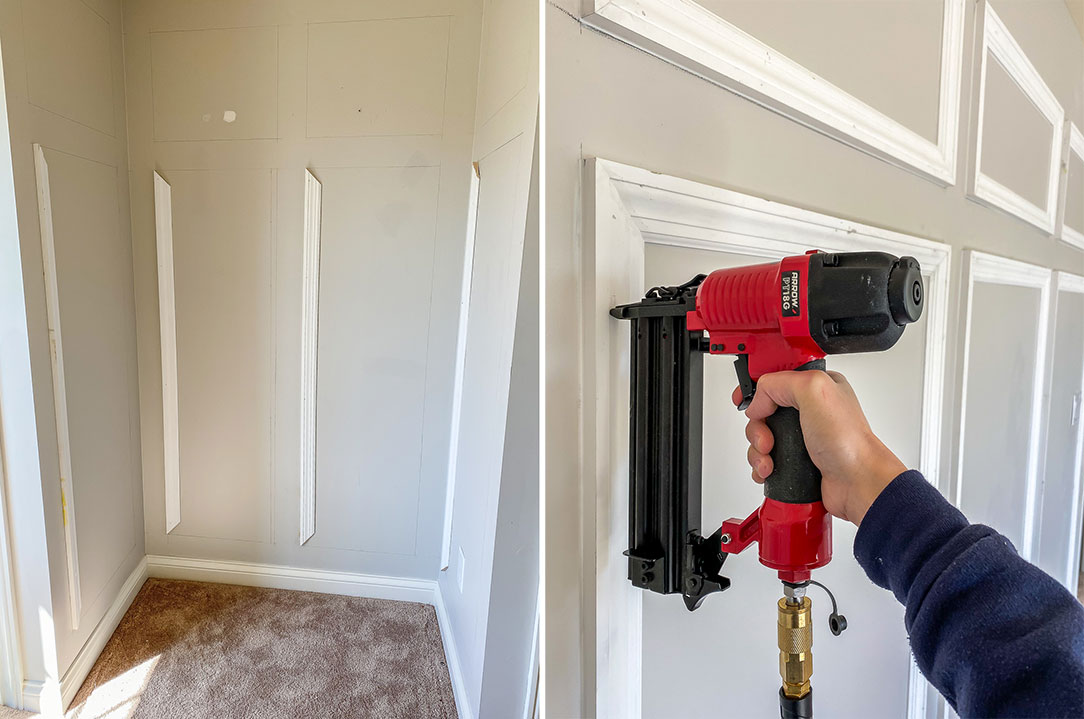
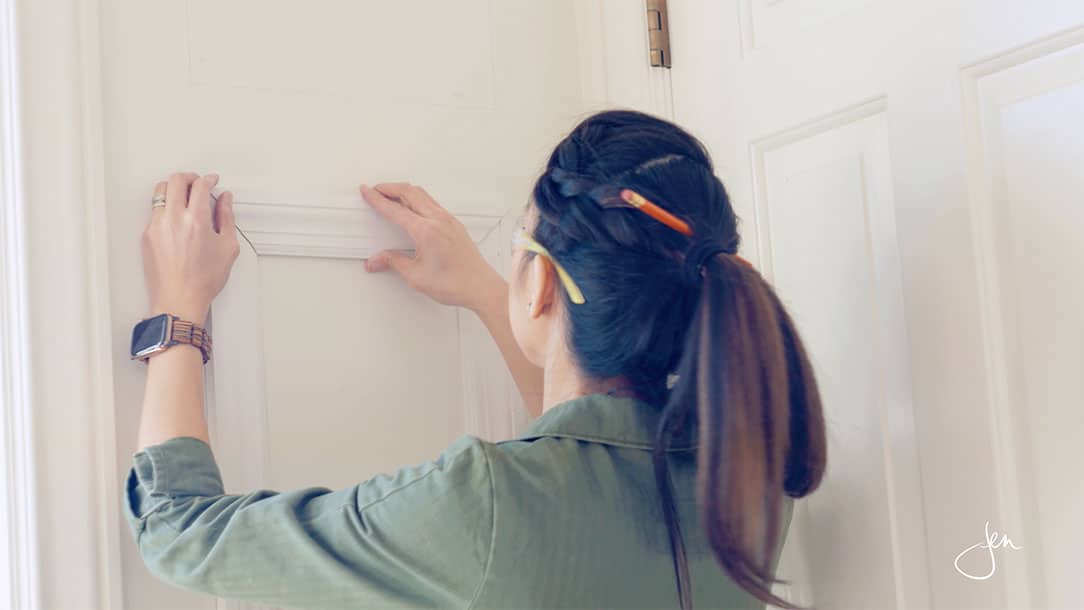
To attach the molding to the wall, I used a construction adhesive and brad nails. I attached the vertical pieces all around the room first, simply lining them up along my pencil marks. Then I was able to go back, take exact measurements for the horizontal pieces and cut them to fit.
 What To Do With Obstructions
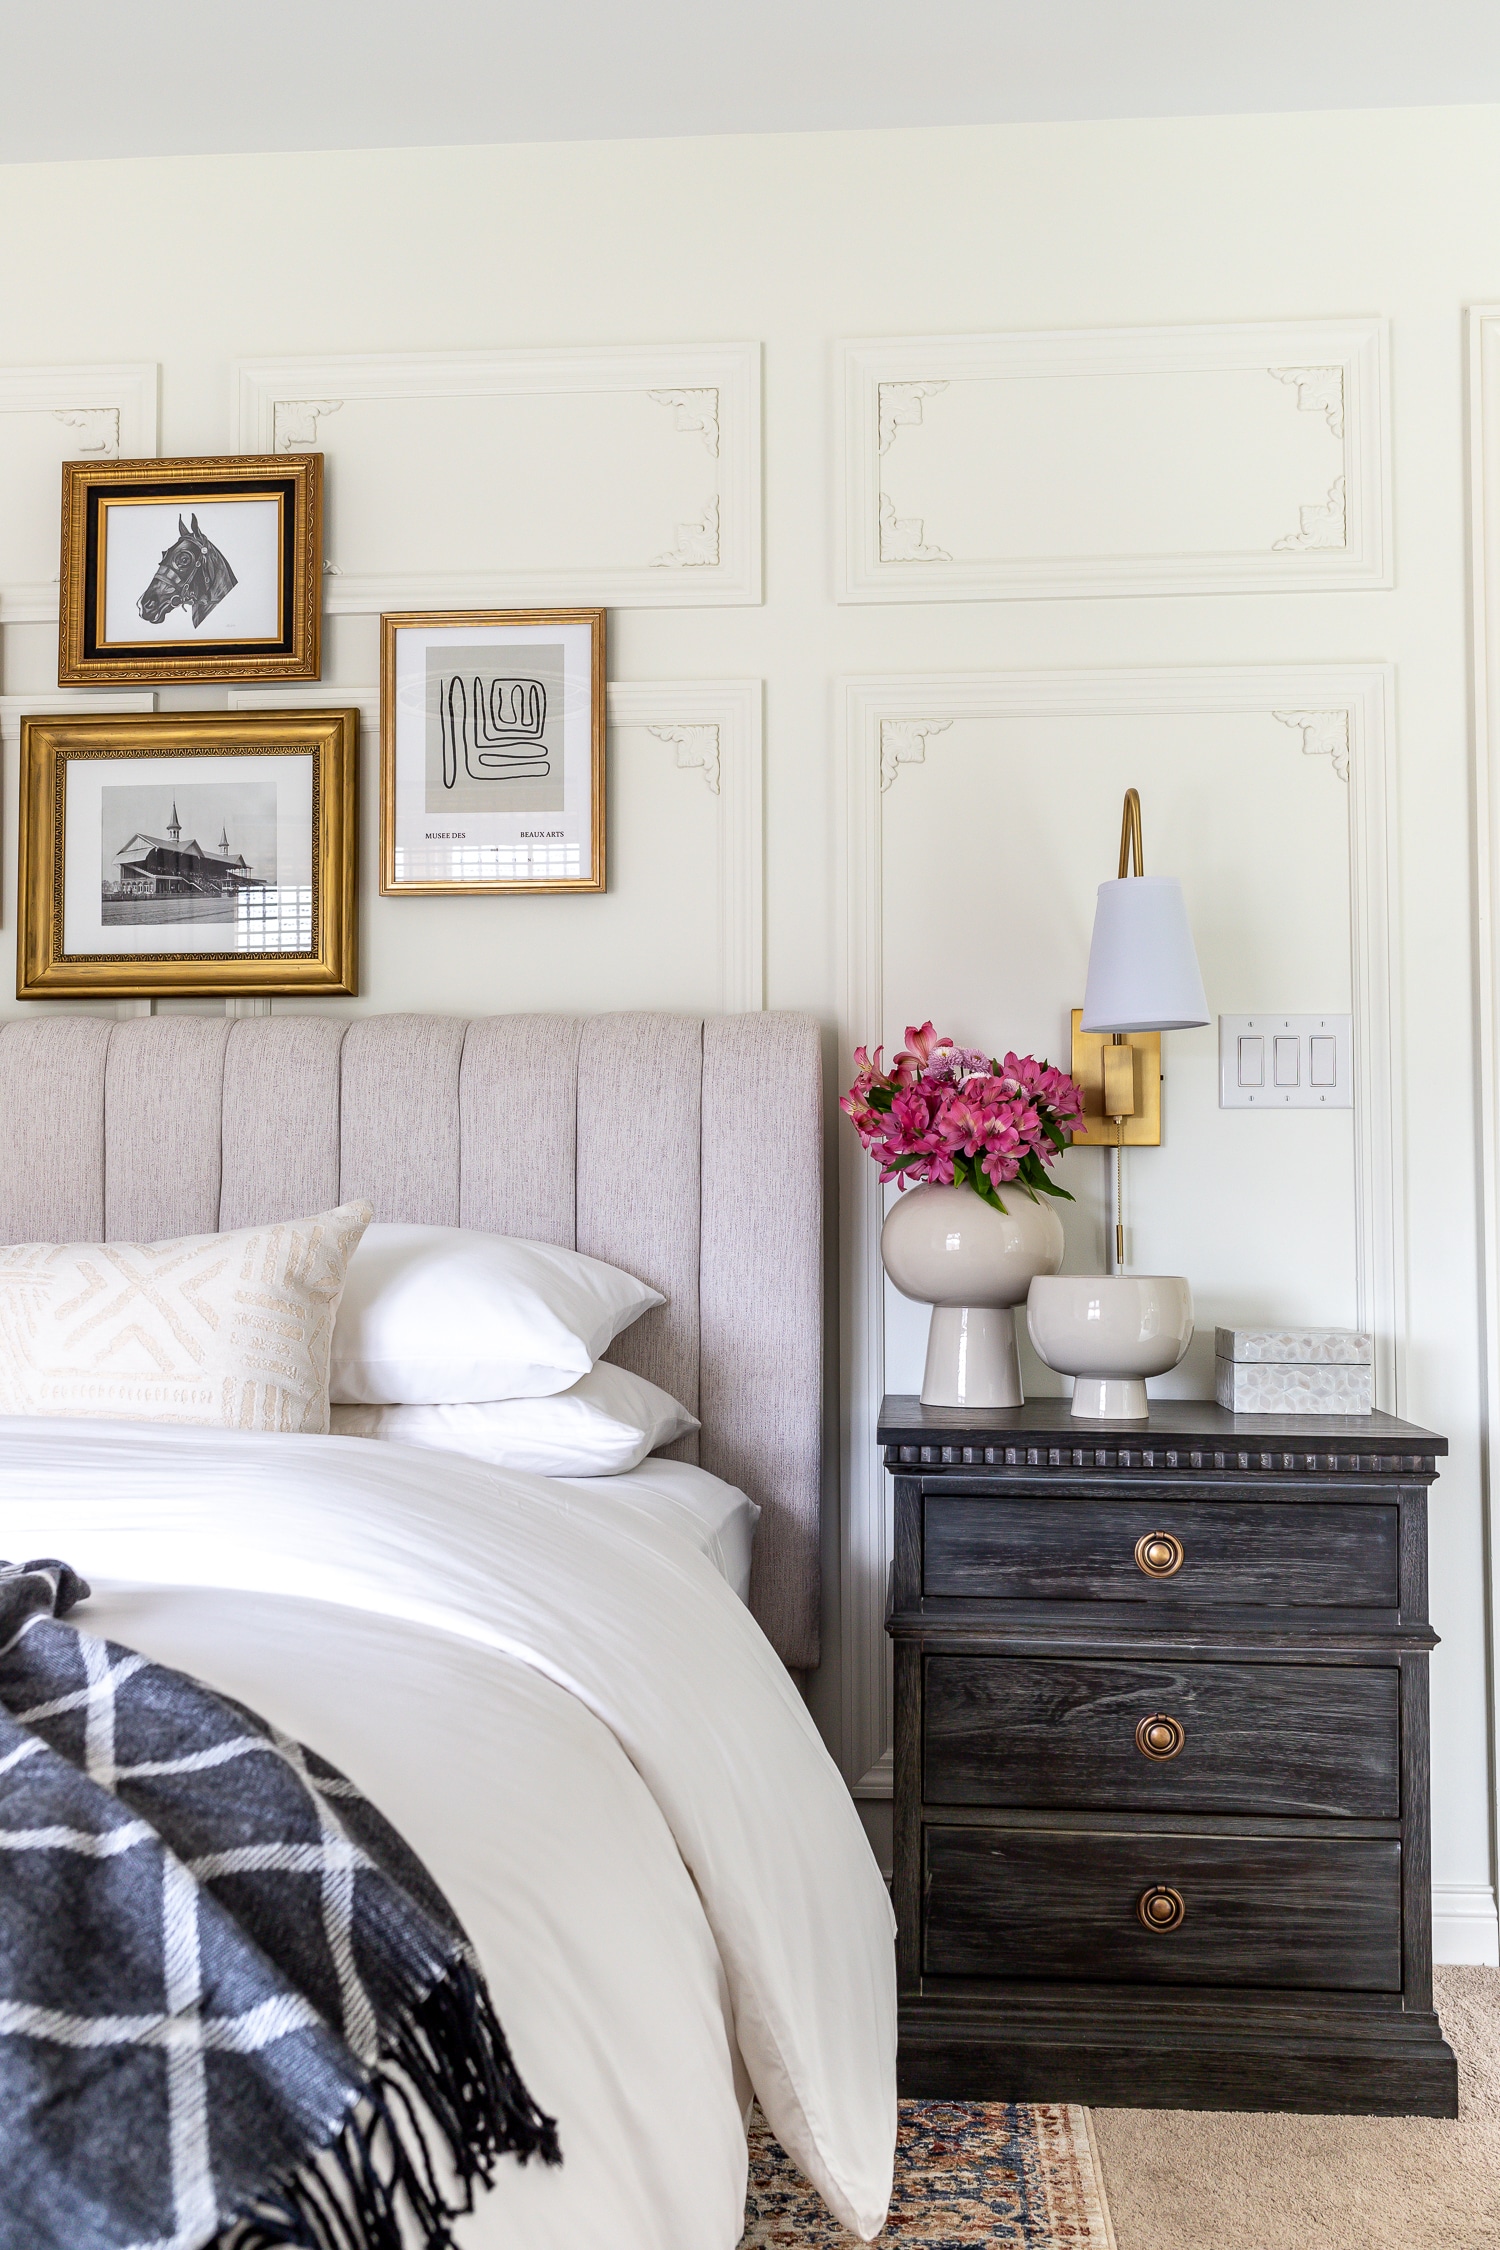
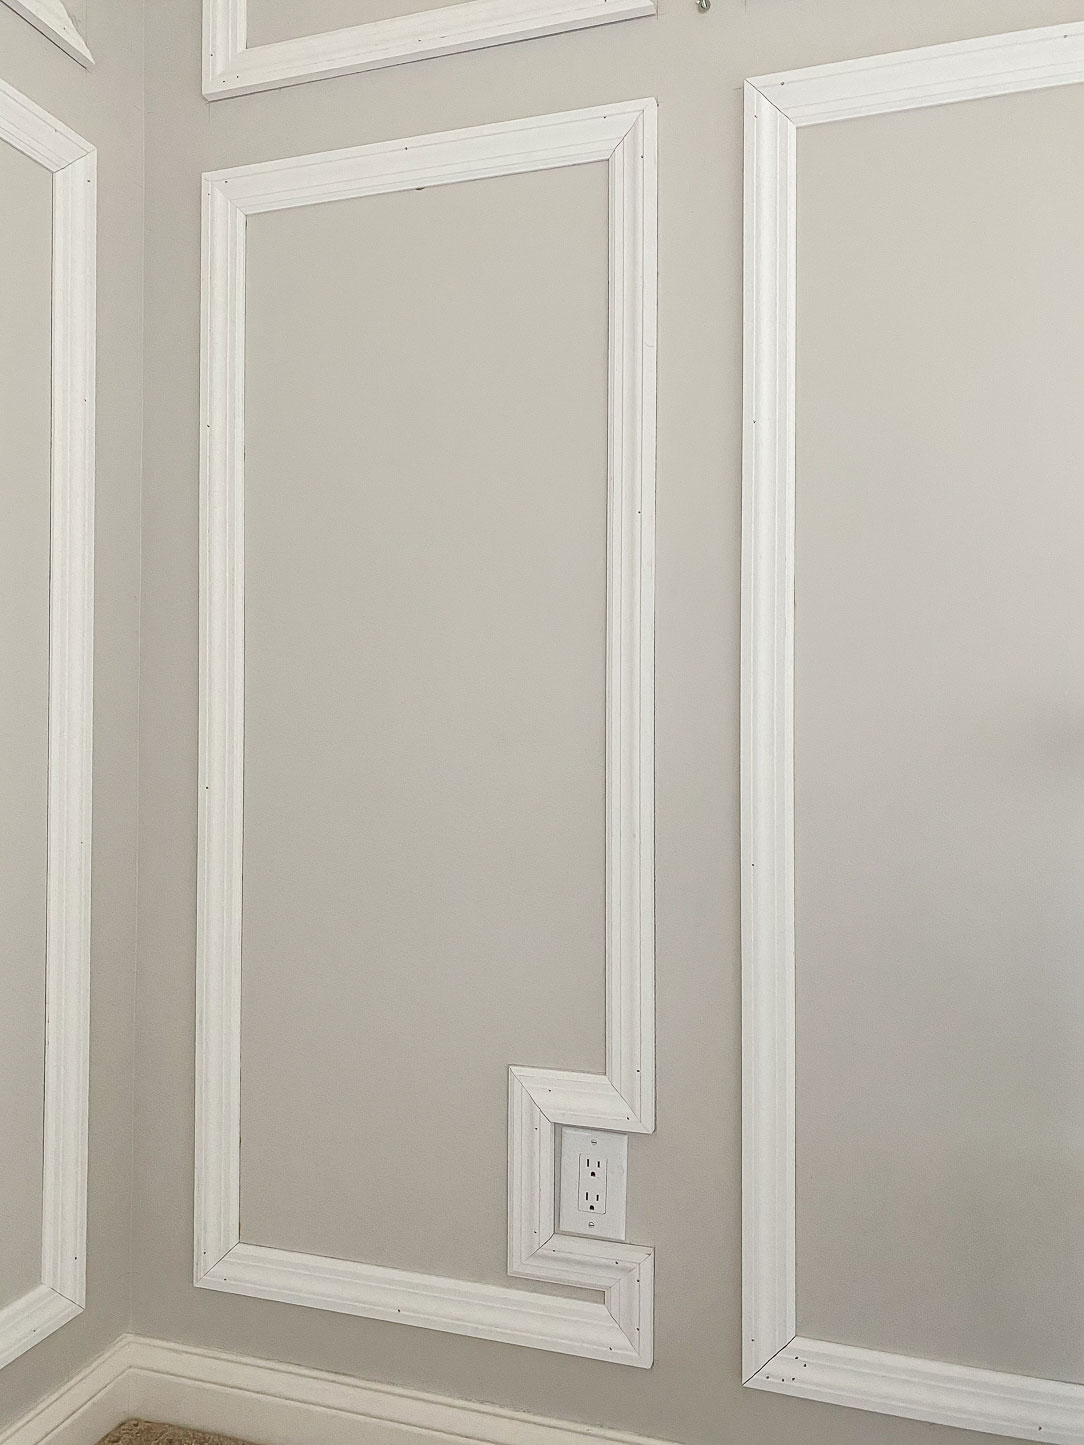
Okay, so let’s talk about this outlet situation. A lot of you on Instagram were upset with me that I chose to trim around the outlet! Haha. There are a lot of different ways to deal with obstructions like these. You can move the outlet (which we’ve done before) or notch out the trim. I didn’t want to move the outlet and deal with having to patch drywall – this kind of detailed trim work is much more fun for me! Did you see the fancy trim work I did in our bathroom renovation? I’m so extra when it comes to the little things. I did try notching out the trim, but it ended up looking kind of janky and interrupted the pretty profile of the molding, so I chose to trim around the outlet instead. Once everything is painted the same color, it’ll all look seamless, trust me! As long as you’re making an intentional choice, I believe it’ll be the right one.

Finishing Touches
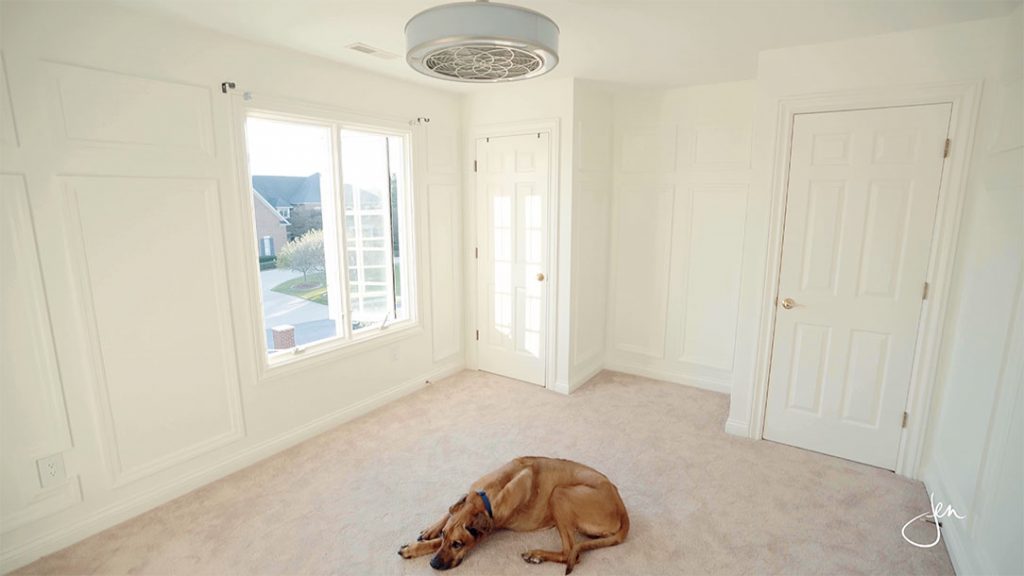
After all of the trim was installed, my favorite painters caulked all of the seams and joints and filled the nail holes with painter’s putty. By the way, painter’s putty is way better than wood filler for this, in our opinion! Then a few coats of fresh paint went up on the walls! Side note: a good painter can make a mediocre carpenter look amazing. We used the same color that’s in the guest bathroom so everything looks cohesive. It’s called “Swiss Coffee” and we chose a satin finish on the walls and picture frame molding and a semi-gloss finish for the baseboards, doors, and windows. Doesn’t it look amazing?! So fresh and so clean, clean!
That’s it! What do you think? Is this a DIY project you want to tackle in your own home? It certainly gives you a lot of bang for your buck! Want to take a closer look at this guest bedroom? Take the full tour here. We even made a video tour for you!
*This post is in partnership with Arrow Fastener and contains affiliate links. All efforts and opinions are my own. To read my full disclosure policy, please click here.
 What To Do With Obstructions



Worth Appreciating. Great work.
The 4 inches temperate is a genius idea, I wish I come up with something like this before the project.lol
Good look and great job. I prefer using molding that will lay flat on the wall but still be dimensional. Where the inside and outside edges lay flat against the wall rather than look like a bunch of picture frames hanging on the wall. The outside edges of the door trim you used is a great dust catcher.
This looks amazing – very inspirational! One question – do you have a link to the moulding that sits within the corner of each picture frame?
Hi Ashwin,
Yes, here’s the link: https://homedepot.sjv.io/BWk99
Thanks!
Very good plans and dokument You alwasy sacceuss Thank you
I really like the ornamental corners. That really dresses the whole project up. They look great
Sounds very creative and unique!!!! Thanks for sharing such an interesting post…….loved it.
Awesome job. I love this idea, and plans to give it a try. Thanks for sharing
Hi There,
It looks very beautiful. This idea presented by you is very useful. This idea of yours made its decoration very attractive. You used the trim very well.
This tutorial was incredibly helpful! I’ve always wanted to try installing picture frame molding, and your step-by-step instructions made it seem so doable. Can’t wait to give it a shot in my living room. Thank you for sharing!