A basic guest bathroom gets new insulation and cement board walls and floors to prep for a gorgeous marble tile installation.
Welcome back to our Guest Bathroom Renovation! If you’re just tuning in, we’re in the middle of renovating our very basic guest ensuite bathroom. We’re working to transform it into a timeless, elegant space for our favorite family and friends.
If you missed my previous posts on this guest bathroom renovation, catch up here:
Here’s where we left off. Once the self-leveling underlayment cured, I dragged a level across the floor to check it. I admit, I was skeptical, but gosh darn it, it worked! My mind is blown. I mean, how does it know?! Gravity is so cool.
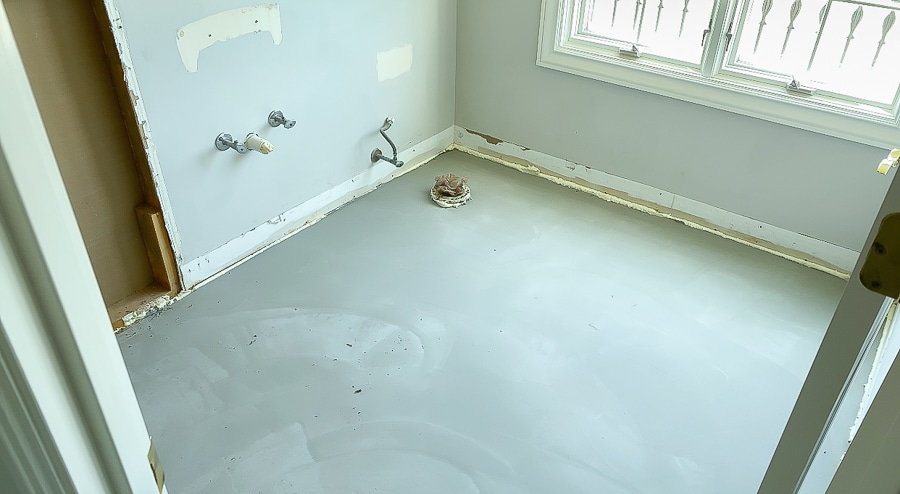
TODAY’S TO DO LIST:
- Cut and install 1/4-inch cement board on floor
- Hang insulation
- Cut and install 1/2-inch cement board on walls
- Tape and mud seams
Installing 1/4-inch cement board on wood subfloors
Tools and Supplies:
- 1/4-inch cement board
- 1 1/4-inch cement board screws
- 1/2-inch cement board
- 1 5/8-inch cement board screws
- 5-gallon bucket
- drill with mixing paddle attachment
- thinset mortar
- square-notched trowel
- cement fiber saw blade
- circular saw
- mesh cement board tape
- 4- or 6-inch drywall knife
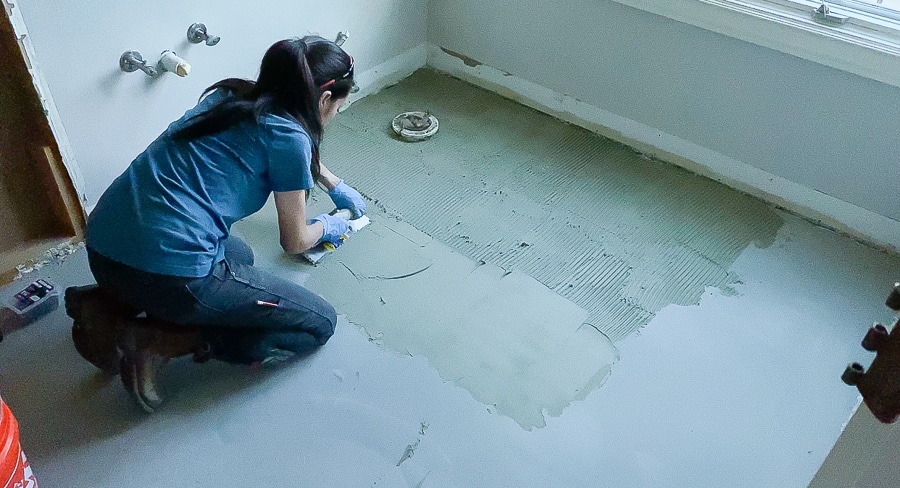
Cement board provides a stable surface for installing tile or stone and protects against moisture. It’s ideal for both interior and exterior substrate applications and protects against excessive moisture in wet areas such as showers, saunas and steam rooms.
We mixed up the thinset mortar (the directions are on the bag) in a 5-gallon bucket and a drill with a paddle attachment. We mixed up the entire bag, but ended up using about 3/4 of it. Then we dropped dollops of the mortar onto the leveled subfloor and spread it with the flat side of the square-notched trowel.
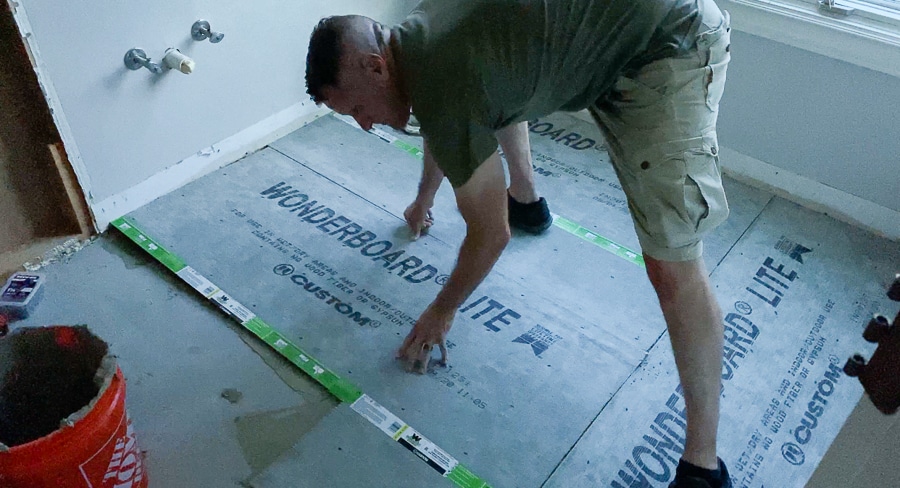
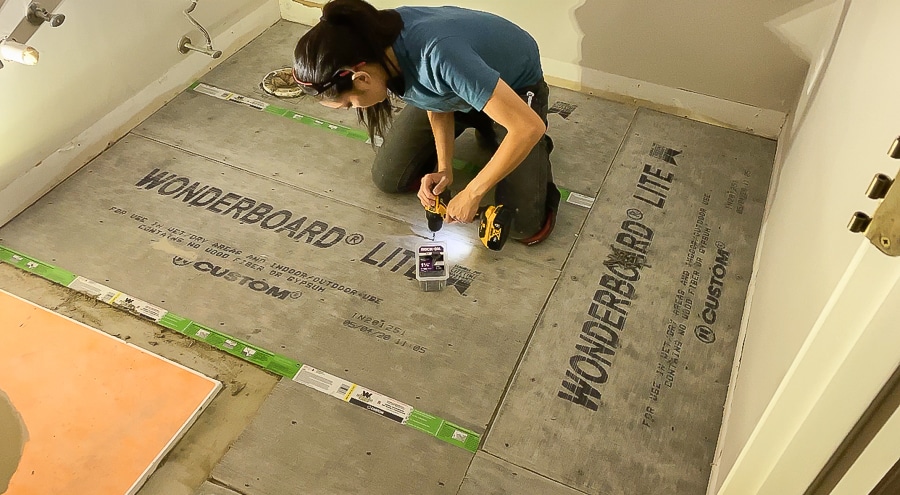
insulating and Installing 1/2-inch Cement Board on the Walls
After the floor was done, we shifted our attention to the shower. First, I held a level across the studs to make sure they were plumb and even. Luckily, they were, so I didn’t need to shim anything. Hallelujah!
Our friend Josh owns Builders Insulation, an insulation business out of Louisville, KY and he generously donated the insulation for this bathroom. He recommended R-13 for the walls and R-38 for the ceiling. The R value is the resistance to heat flow; the higher the number, the higher the resistance. Since all of the shower walls are interior walls, R-13 would suffice – insulation for the walls wasn’t really necessary, but it’ll help dampen the sound.
Josh recommended the R-38 for the ceiling since the attic is above and we need a more robust insulation to shield the room from extreme hot and cold temperatures. The easiest way we can think to do this would be to patch the ceiling with drywall, then climb up into the attic and drop the batt insulation in between the joists. Here’s a closer look at how we hung the insulation.
Next, we cut and hung the cement board to the shower walls. Because our shower wall butts up to 1/2-inch drywall, we used 1/2-inch cement board for a seamless transition. We simply screwed the cement board to the walls with 1 5/8-inch cement board screws, driving a screw every 8-12 inches along each stud.
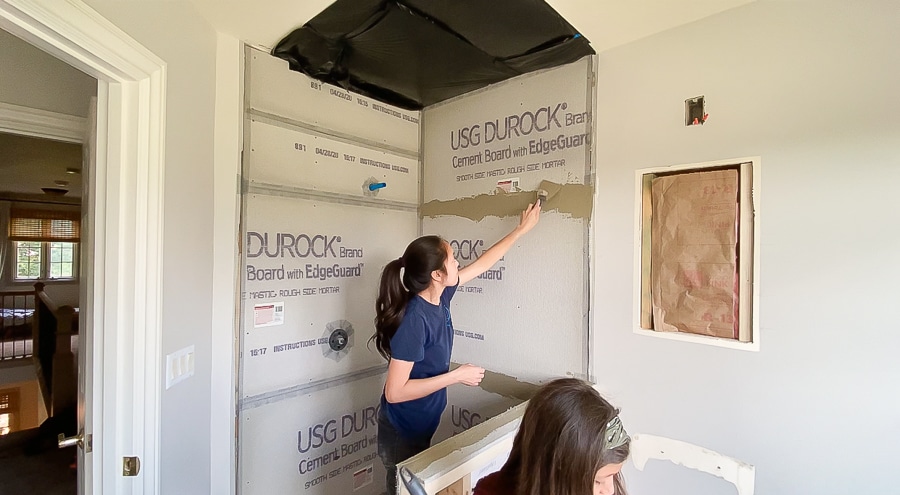
So that’s where we’re at so far… stay tuned for our next steps: the shower tray and pony wall installation. And be sure to follow me on Instagram for behind-the-scenes videos and sneak peeks!
Guest bathroom renovation MASTER CHECKLIST:
Demolition
Remove bathroom door temporarily to make room for demo?Turn off water and valves, empty pipes and tankRemove pedestal sink and toilet, plug holesRemove medicine cabinet, bathroom hardware, light fixtureRemove shoe molding and baseboardsDemo floor tile and cement boardDemo and remove shower stallRemove insulationClean up site
Plumbing Rough-In
Move shower valves to opposite wallsRepair shower drain- Install toilet
Electrical Rough-In
- Relocate outlet to adjacent wall, upgrade to 20-amp circuit?
- Replace overhead vanity light with wall sconces?
- Replace vent fan
- Add lighting in shower?
Framing
Demo shower walls- Frame pony wall
- Don’t forget to add the toiletry niche (plan around tile size)
Floors
Prime floors with underlayment primerLevel floors with self-leveling underlayment
Shower Installation
Check to ensure studs are plumb and even, shim if necessaryAdd insulationInstall cement board on floor and walls, tape and mud seams- Install shower tray and curb
- Waterproof shower floor, walls, and curb
- 24-hour flood test
Walls
- Repair drywall where medicine cabinet used to be
- Molding?
- Paint
- Install baseboards and shoe molding
Tile
- Tile shower walls
- Tile shower floor
- Tile bathroom floor
- Grout and caulk
Vanity
- Install vanity (will it fit?)
- Install faucet and sink
- Hang mirror
Lighting
- Install wall sconces or overhead vanity light?
Miscellaneous
- Order and install glass shower door
- Install toilet paper holder, towel bar, towel ring, towel hook
- Add artwork and accessories




As someone who is new to this topic, I really appreciate the way your blog breaks down complex concepts into easy-to-understand terms. It has been incredibly helpful in my learning journey.