Our kitchen renovation is coming along beautifully! If you’re just joining us, you can catch up here:
- Kitchen Renovation Design Plans
- Choosing Kitchen Island Lighting
- Our Kitchen Cabinet Design
- Shopping For Kitchen Countertops
- Kitchen Renovation Update: Cabinet Install Day!
- Our Beautiful New Kitchen Sink and Faucet
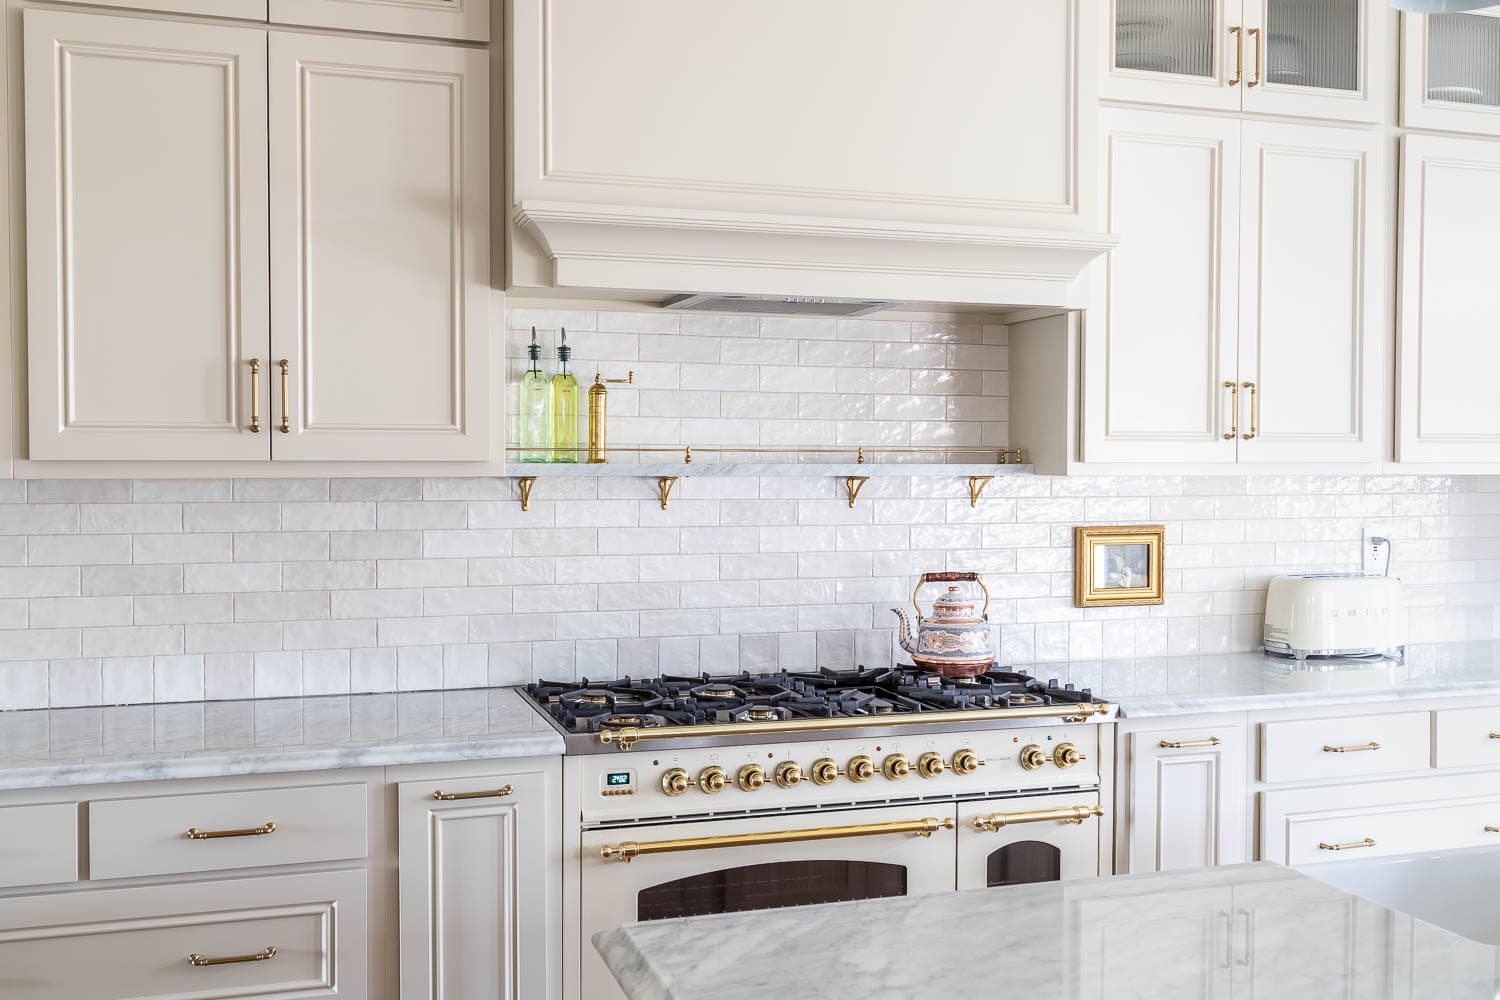
I’ve been pleasantly surprised by how smoothly and quickly things have gone. I almost don’t want to admit that because I’m expecting the other proverbial shoe to drop. This kitchen renovation was an intimidating project in my mind – I was bracing myself to be without a working kitchen for many, many months, but thanks to an inordinate amount of good and thoughtful planning, this renovation has been nearly stress-free and notably short, even despite the current supply/shipping challenges. I’m so thankful for that!
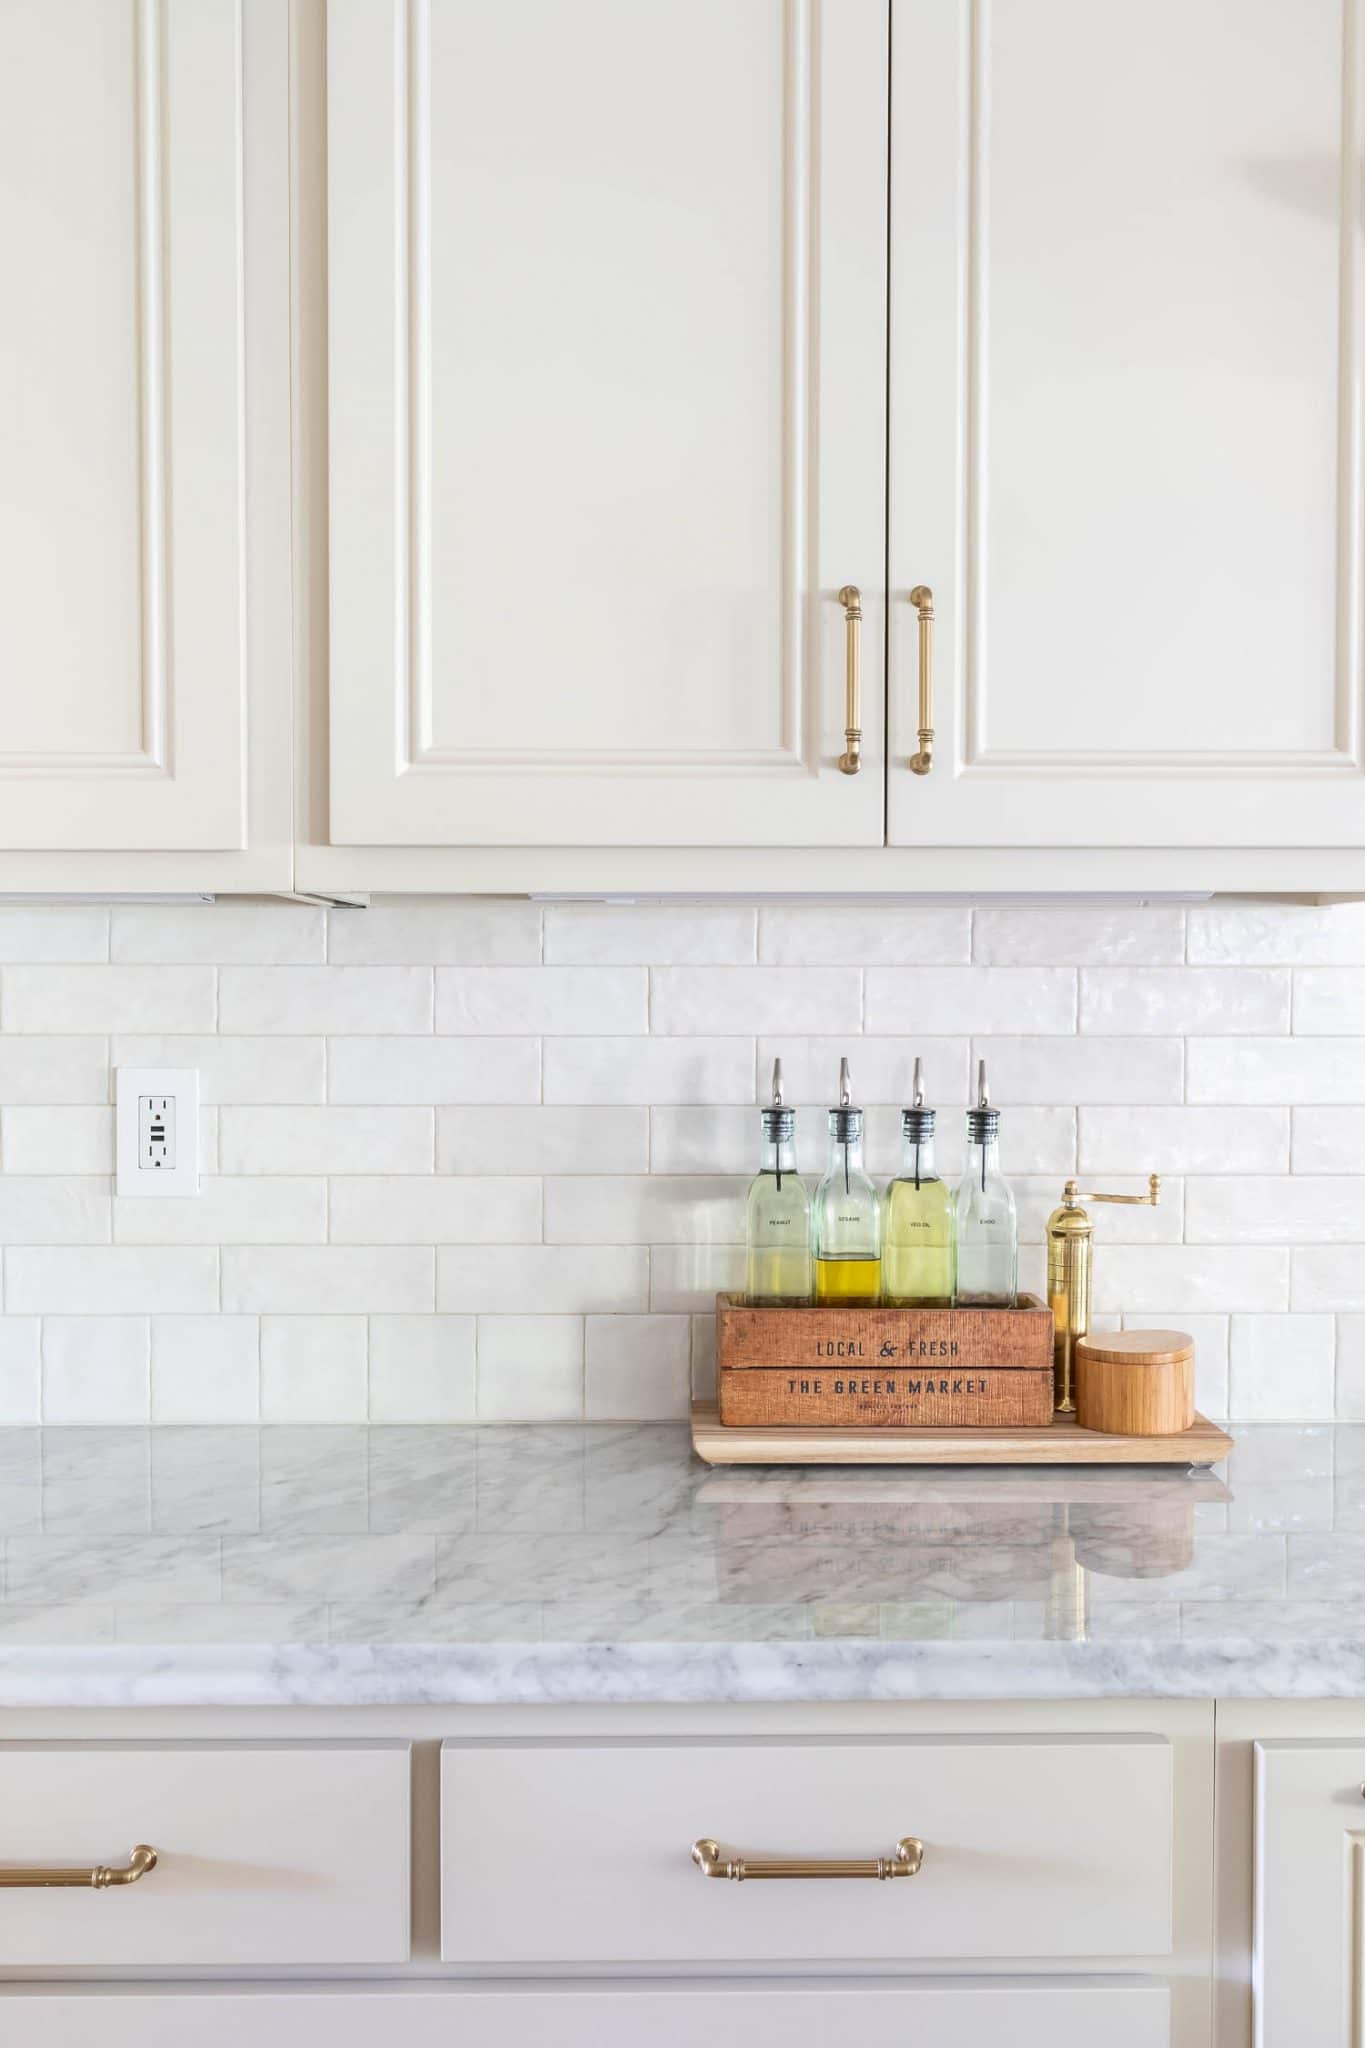
The kitchen backsplash is one of the last things we need to complete in here, so let’s get to it! I’m thrilled to be partnering with my bright and shining happy place, the place that smells like endless potential, the place where doers get more done, The Home Depot.
Guys. Guysguysguysguysguyssss. You’re not going to believe how easy it is to tile a kitchen backsplash. Chock this DIY up to level zero because anyone can do it. ANYONE. Especially when you see the magic product we’re going to use in this tutorial.
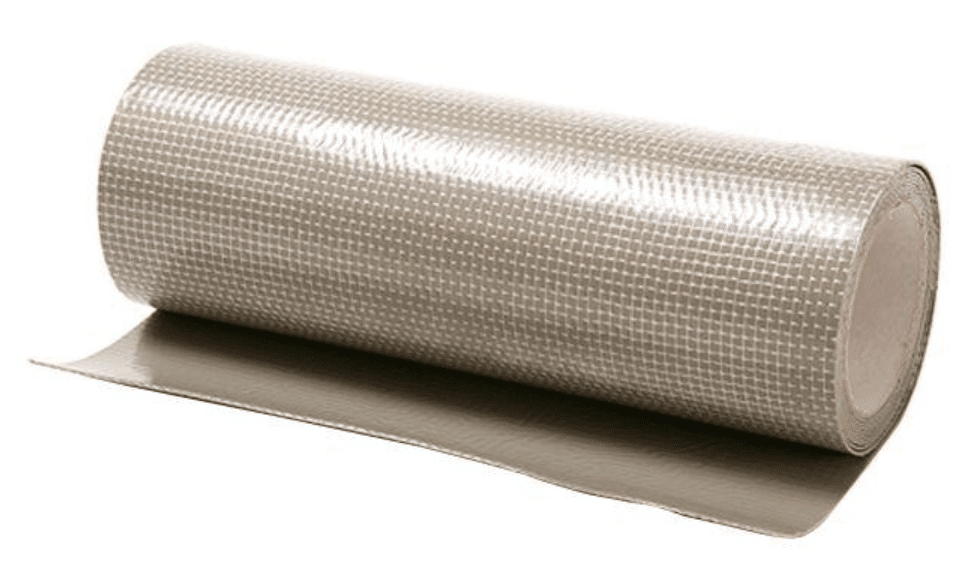
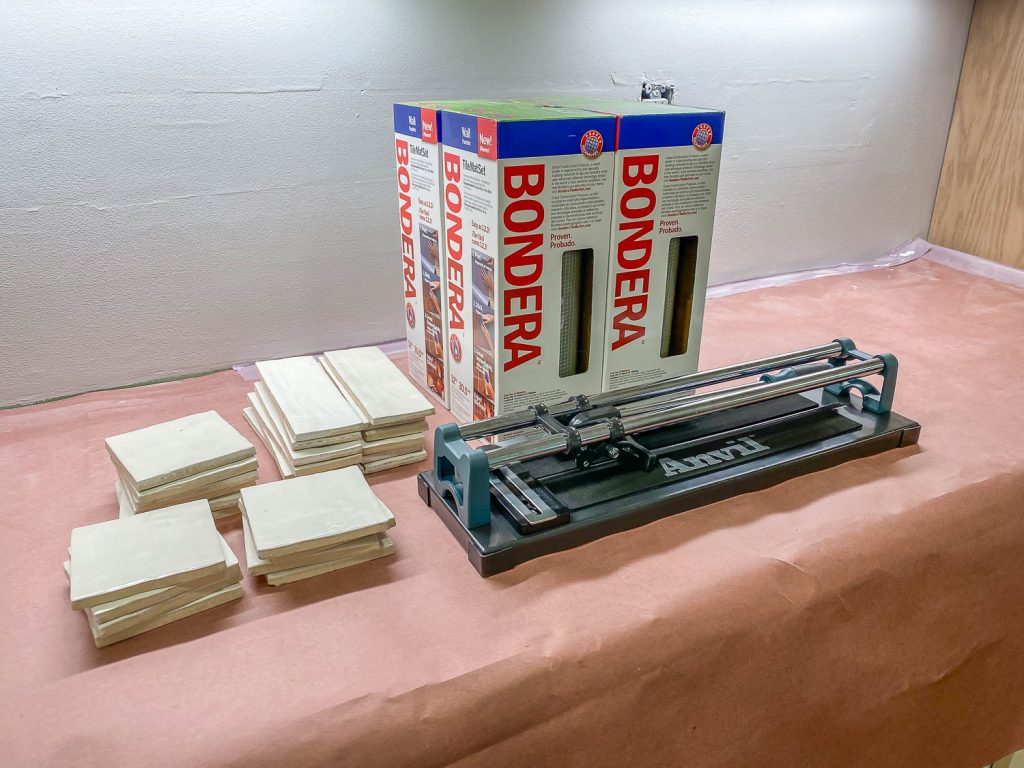
Introducing Bondera Adhesive Tile Mat. Have you heard of it? It’s nothing new, in fact, it’s been on the market for over a decade. Basically, it’s a super strong adhesive mat that comes in a roll and replaces thin-set mortar, or mastic. It’s mold- and moisture-resistant and ideal for kitchen and bathroom walls, countertops, backsplashes, even tub and shower surrounds!
This adhesive tile mat is pretty incredible. It was my first time using it and as long as it doesn’t fail in the next 5-10 years, I’m giving it two thumbs way up! Unlike traditional tiling jobs where mortar or mastic is used, you can grout immediately after laying the tile, so now this project becomes a 1-day job. My backsplash actually took 2 days to complete, but only because we had the outlets moved and I had to patch the drywall, sand, and prime the surface before I could jump into tiling.
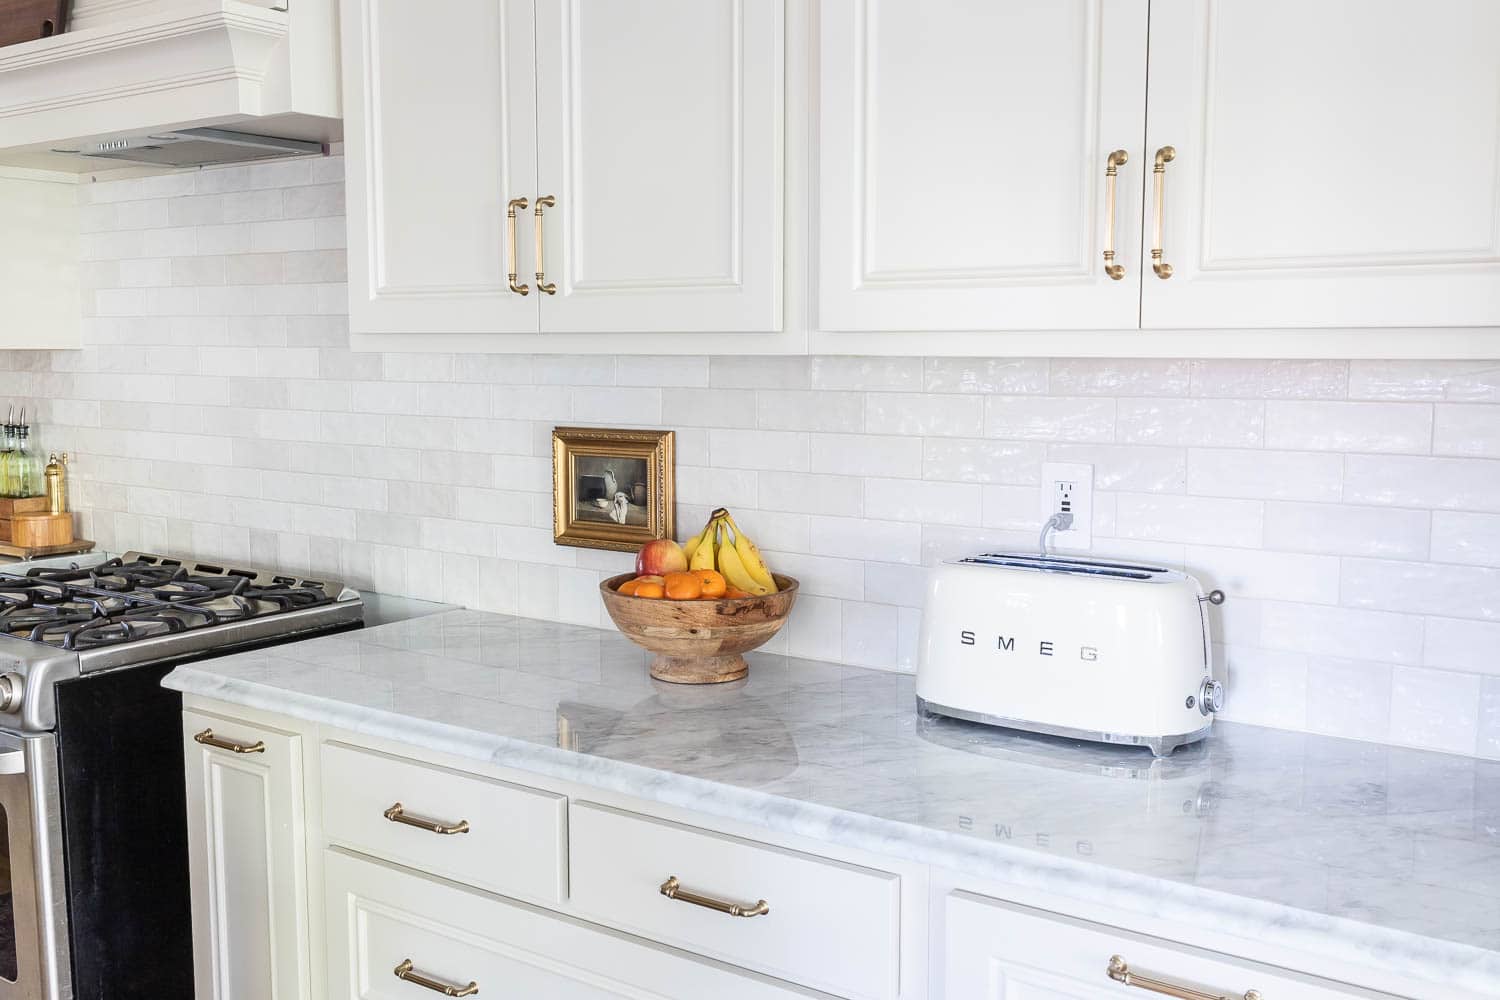
Tools and Materials:
- 3×8 Ceramic tile / 4×4 Ceramic tile (white)
- Wet tile saw
- Bondera tile mat adhesive
- 1/8-inch Tile spacers
- Pre-mixed grout (alabaster)
- Silicone caulk (alabaster)
- Ceramic and porcelain tile cutter
- Diamond grit tile file
- Level
- Grout float
- Sponge + water bucket
- Wallpaper smoother (optional)
- Razor blade and scissors
Pros & Cons To Using An Adhesive Tile Mat
Pros: extremely convenient, clean (no messy mortar!), quick (grout the same day!), easy-to-use, well-suited for smaller projects like backsplashes. It’s basically like super strong double-stick tape. There is a limit to the tile size you can use, so you’ll want to double check that before you use it, but for our standard 3×8 subway tile, it worked perfectly.
Cons: cost… sort of. The tile mat is about $20/box and 1 box covers 10 square feet. I used a little over 3 boxes, so I spent about $80 for the entire backsplash vs. a $20 50-lb. bag of mortar. Time and effort are also a huge deciding factor for me: not having to deal with mixing messy mortar, then having to wait a full day for the mortar to dry was 100% worth it to me. You must also factor in the cost of tools to mix and apply the mortar (bucket, mixing paddle, notch trowel, spacers/levelers, etc.), which can easily add about $50 to the total. All things considered, there really isn’t a huge cost difference after all, unless you have a large project that will require much more surface area. For smaller projects like a backsplash, this adhesive tile mat was our best choice and I’d choose it again in a heartbeat.
Budget Breakdown:
- 9 boxes of ceramic tile: $353.47
- 4 boxes of Bondera adhesive tile mat: $83.96
- Manual tile cutter: $27.98
- 1 quart of pre-mixed grout: $12.97
- Silicone caulk: $14.47
- Wet tile saw, tile file, level, spacers, grout float, sponges, bucket, wallpaper smoother, razor blade, scissors: already owned.
Total Cost of Backsplash Project: $492.85
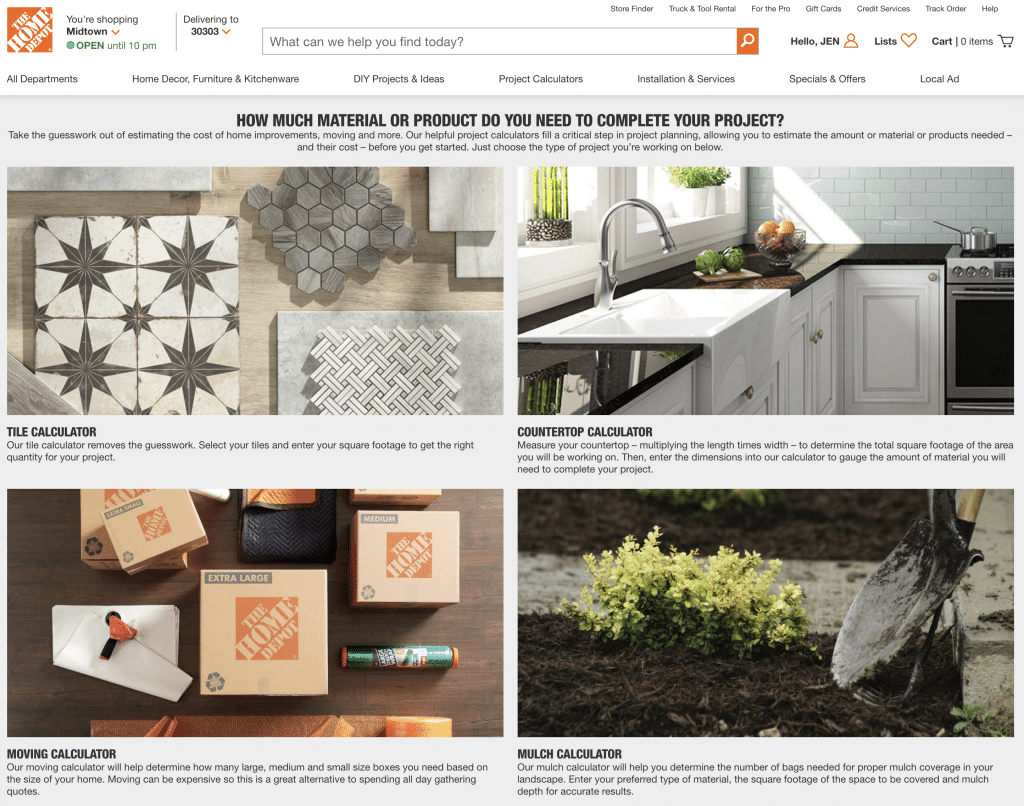
The Home Depot Project Calculator
Figuring out how much tile I’d need for my project was a breeze thanks to the project calculator. The Home Depot has calculators for a variety of materials: tile, wallpaper, grass seed, mulch, insulation, paint, drywall, and more.
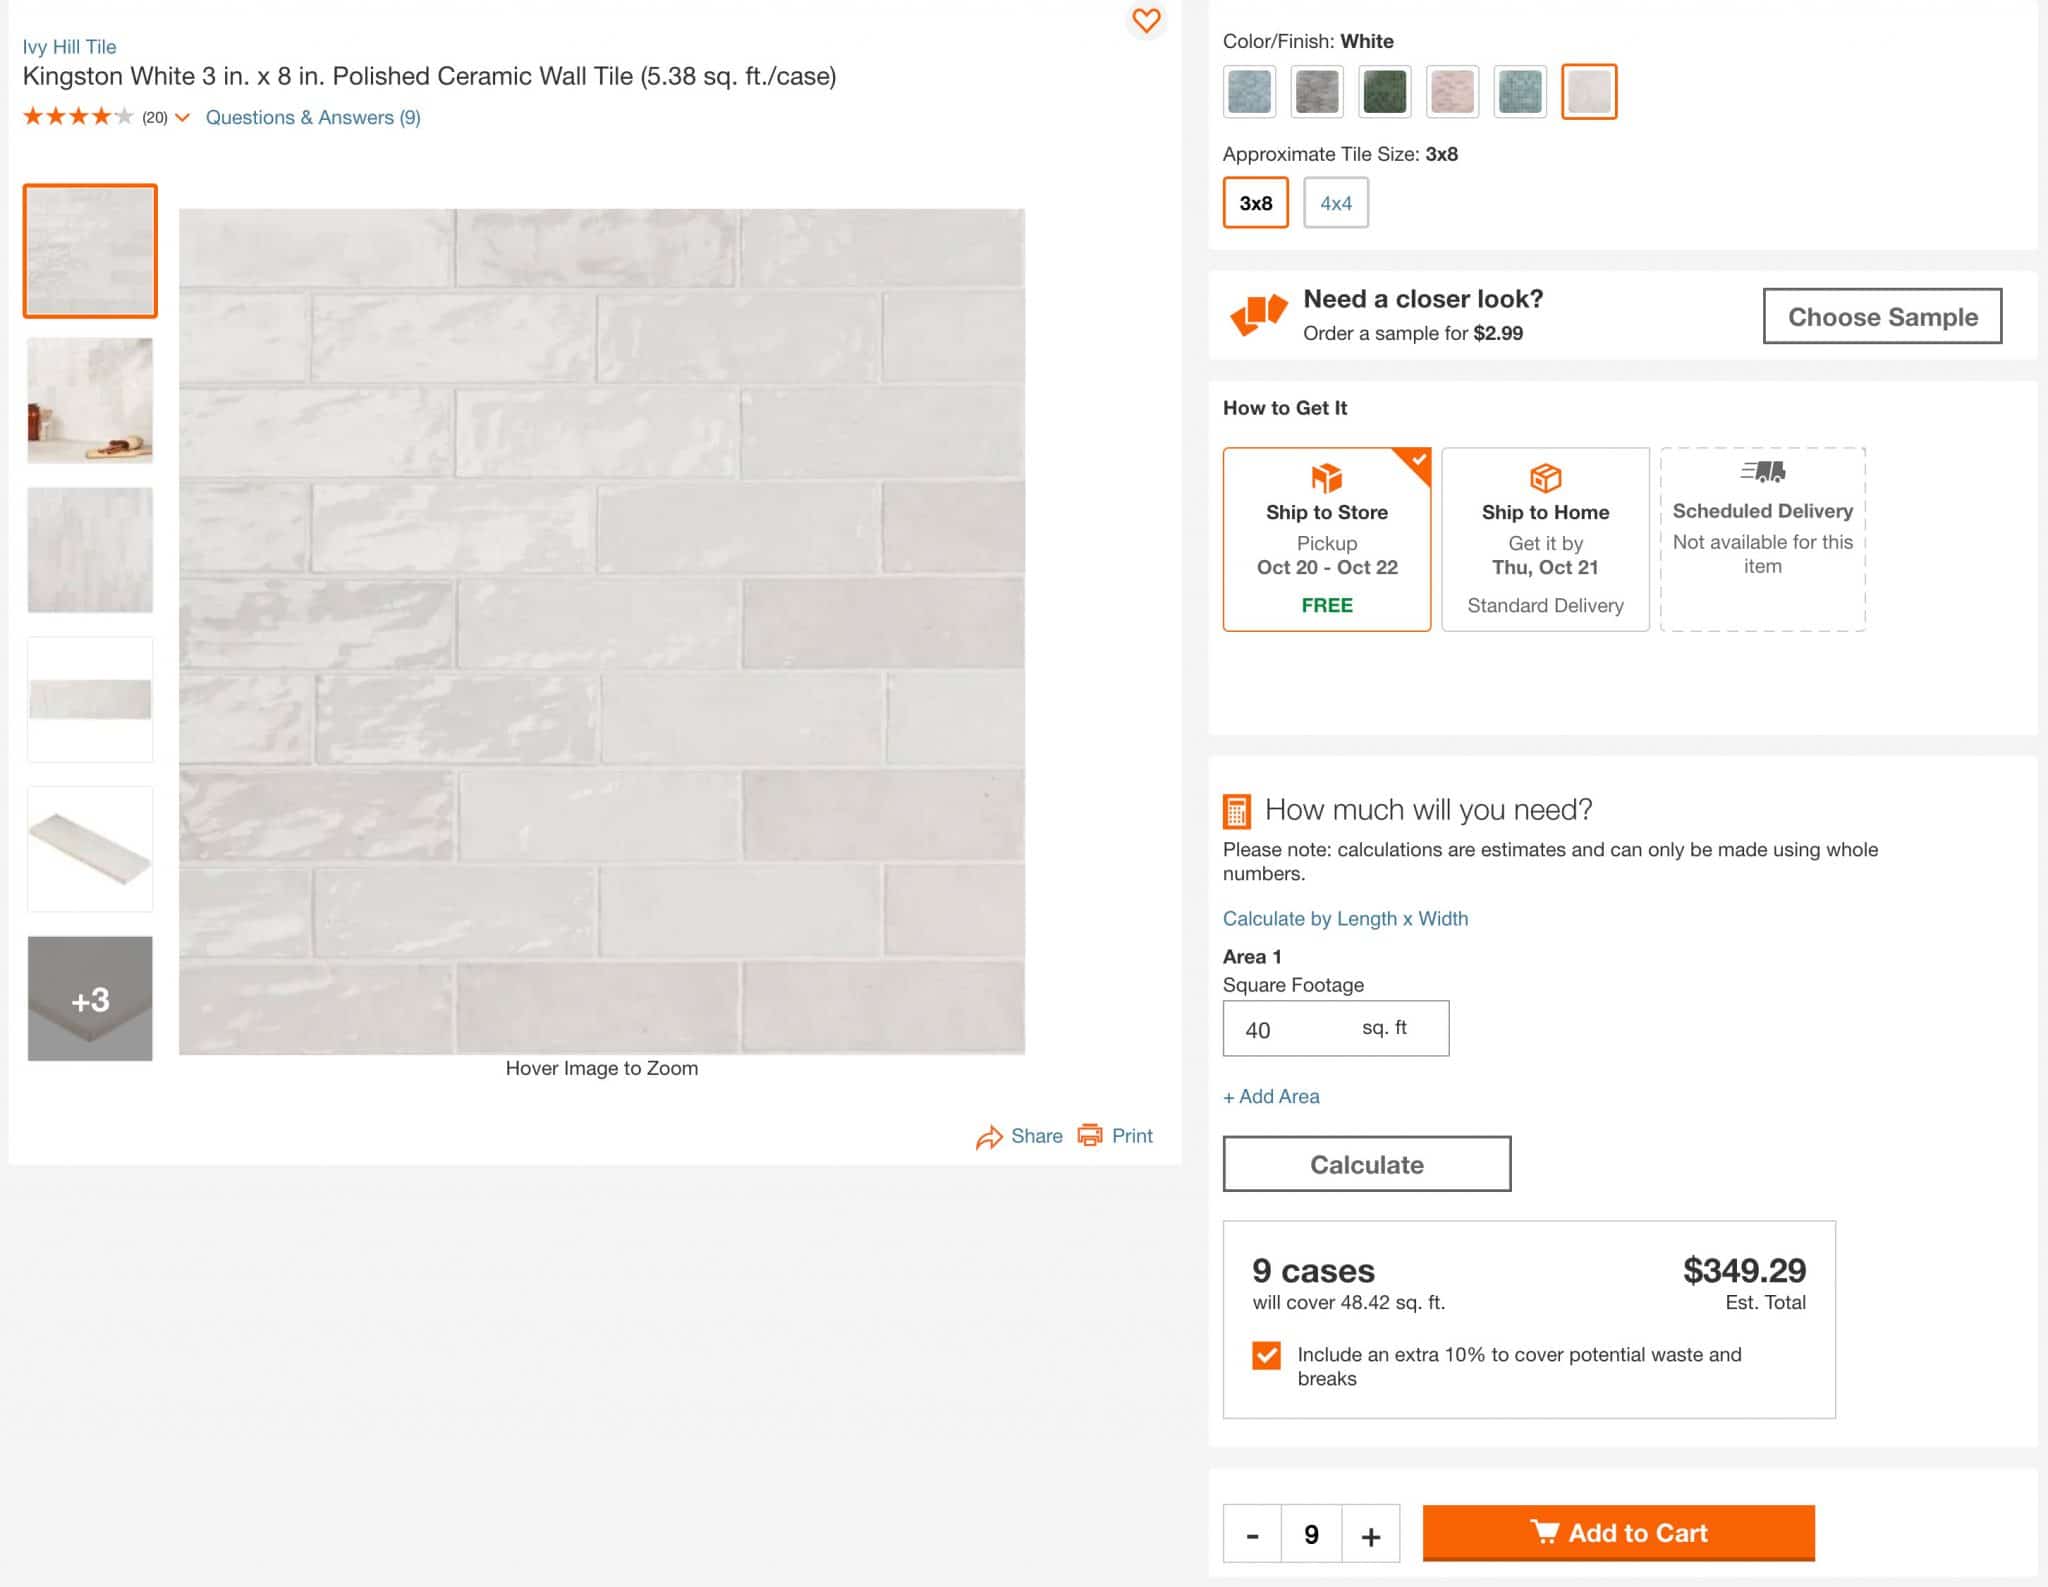
When you’re shopping for tile, the tile calculator is conveniently included on the same page as the product listing, so you can enter the length and width dimensions or square footage of your space and quickly add the calculated amount to your shopping cart. It doesn’t get any easier than that!
Determine Your Tile Pattern
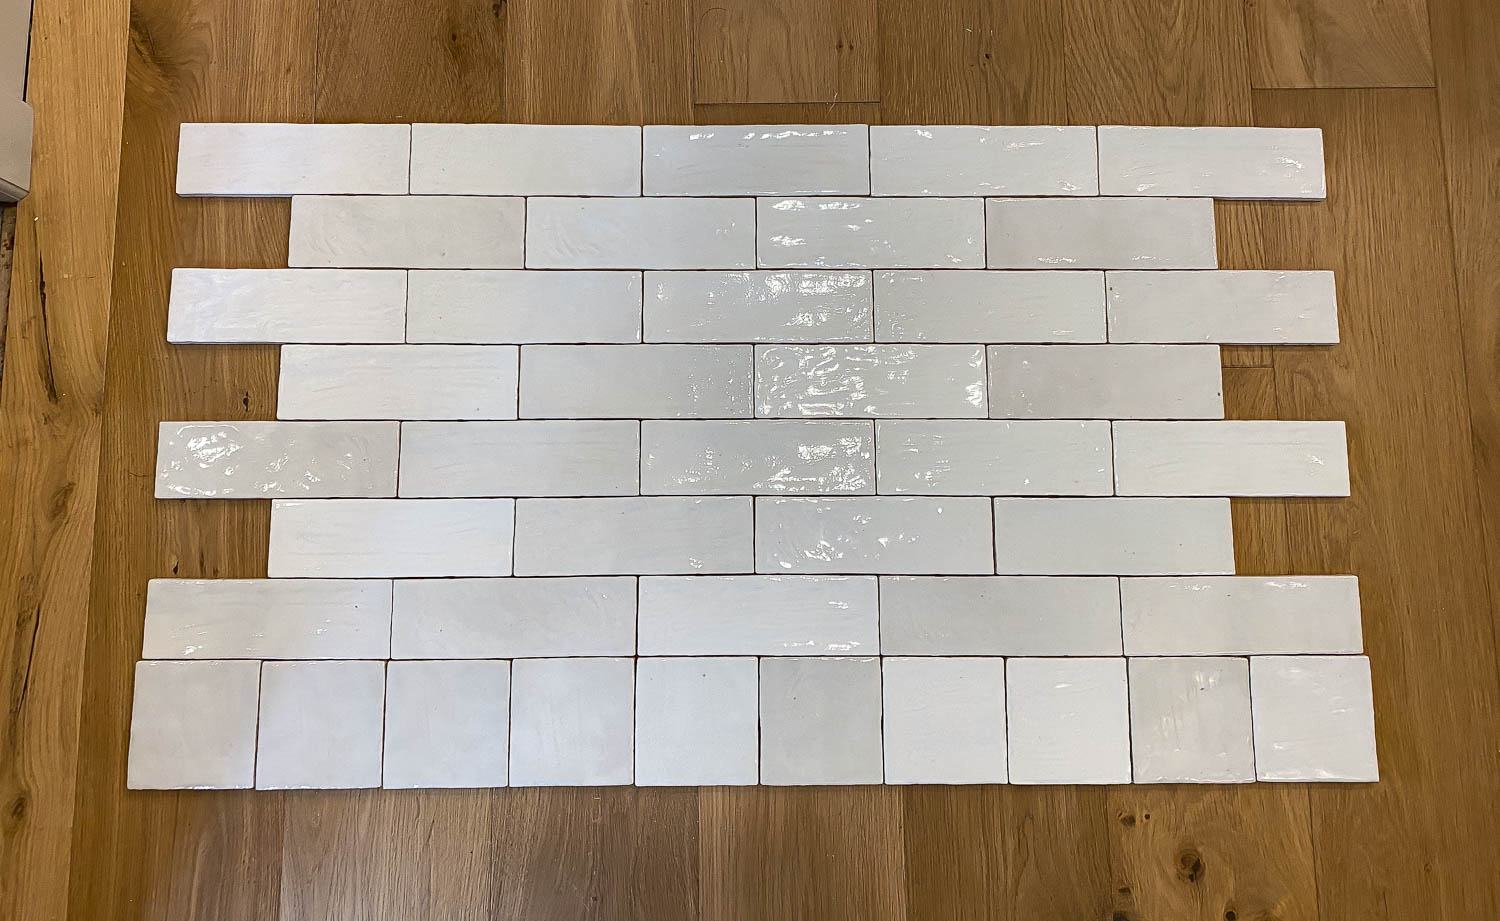
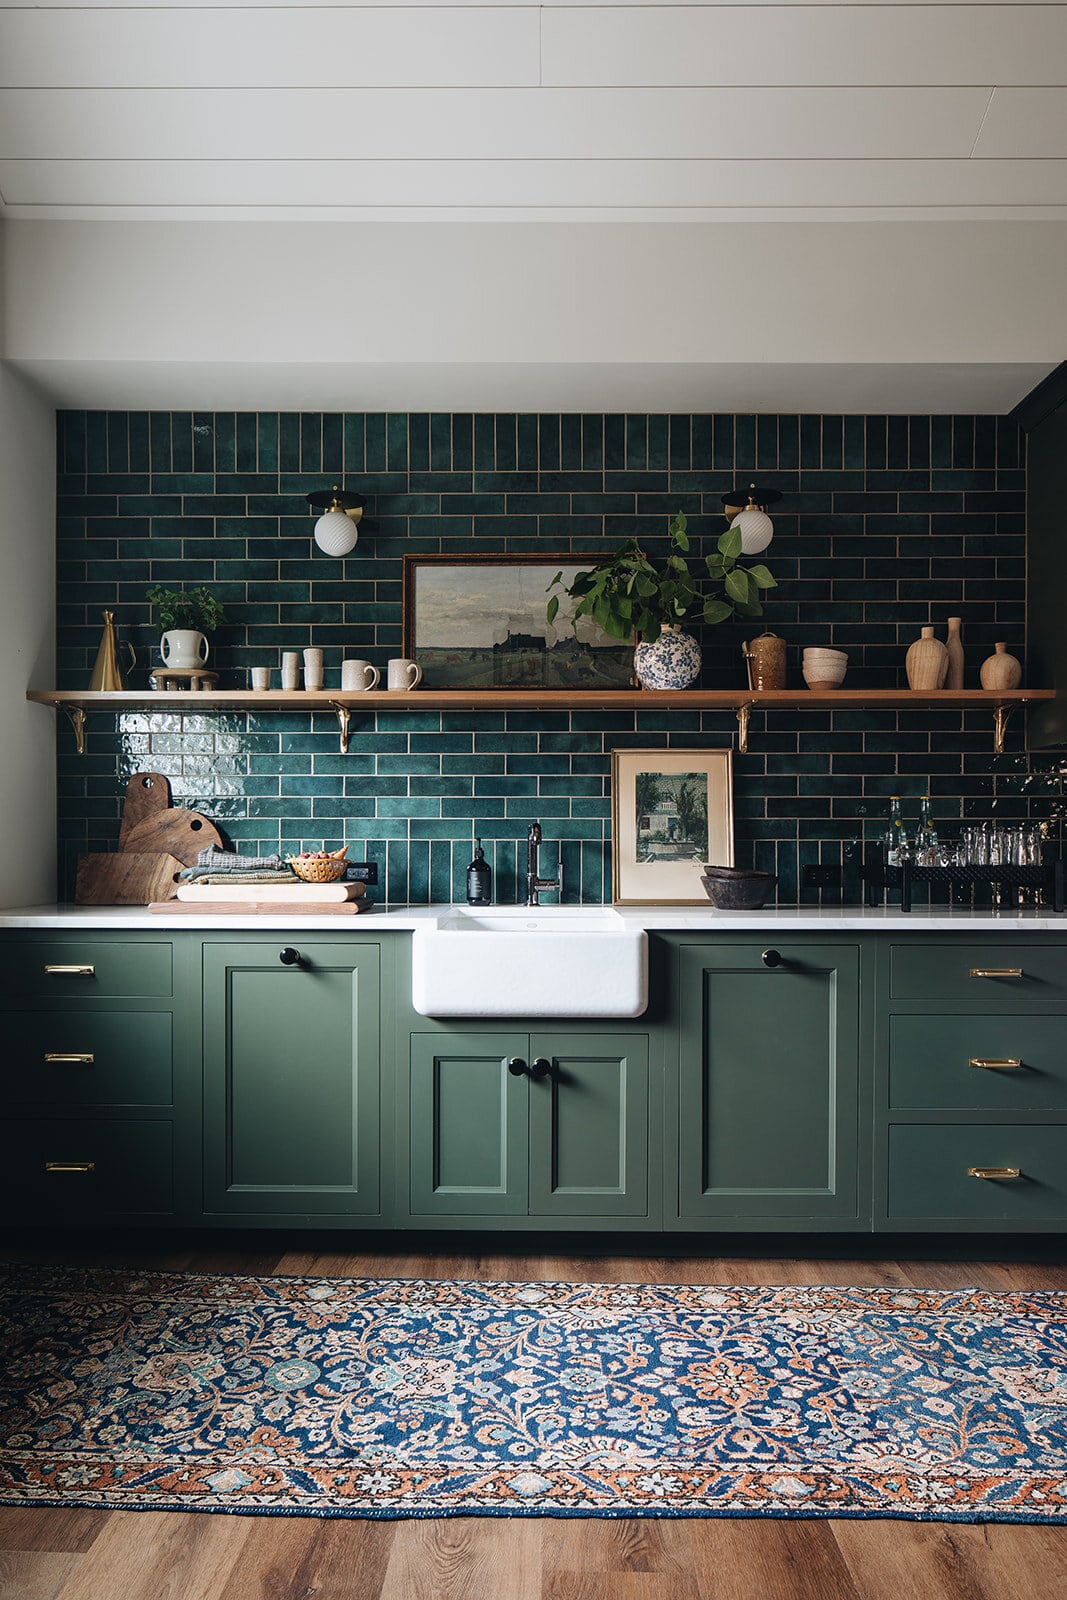
It’s no mystery why subway tile is so ubiquitous – it’s classic, timeless, and because there are countless ways to lay the tile pattern, it’s incredibly versatile. I initially drew inspiration from Jean Stoffer’s work at The Madison House. Isn’t that green subway tile backsplash to die for?! And I love the soldier rows at the top and bottom. I wanted so badly to implement that same feature in my own kitchen, but because my walls were lacking in height, I was afraid the proportions would be off. When I laid the tile pattern out, the soldier row and the running bond were almost equally divided on my wall. It was as if a person had their pants pulled all the way up to their armpits – if that makes any sense? It gives you a funny visual, if nothing else.
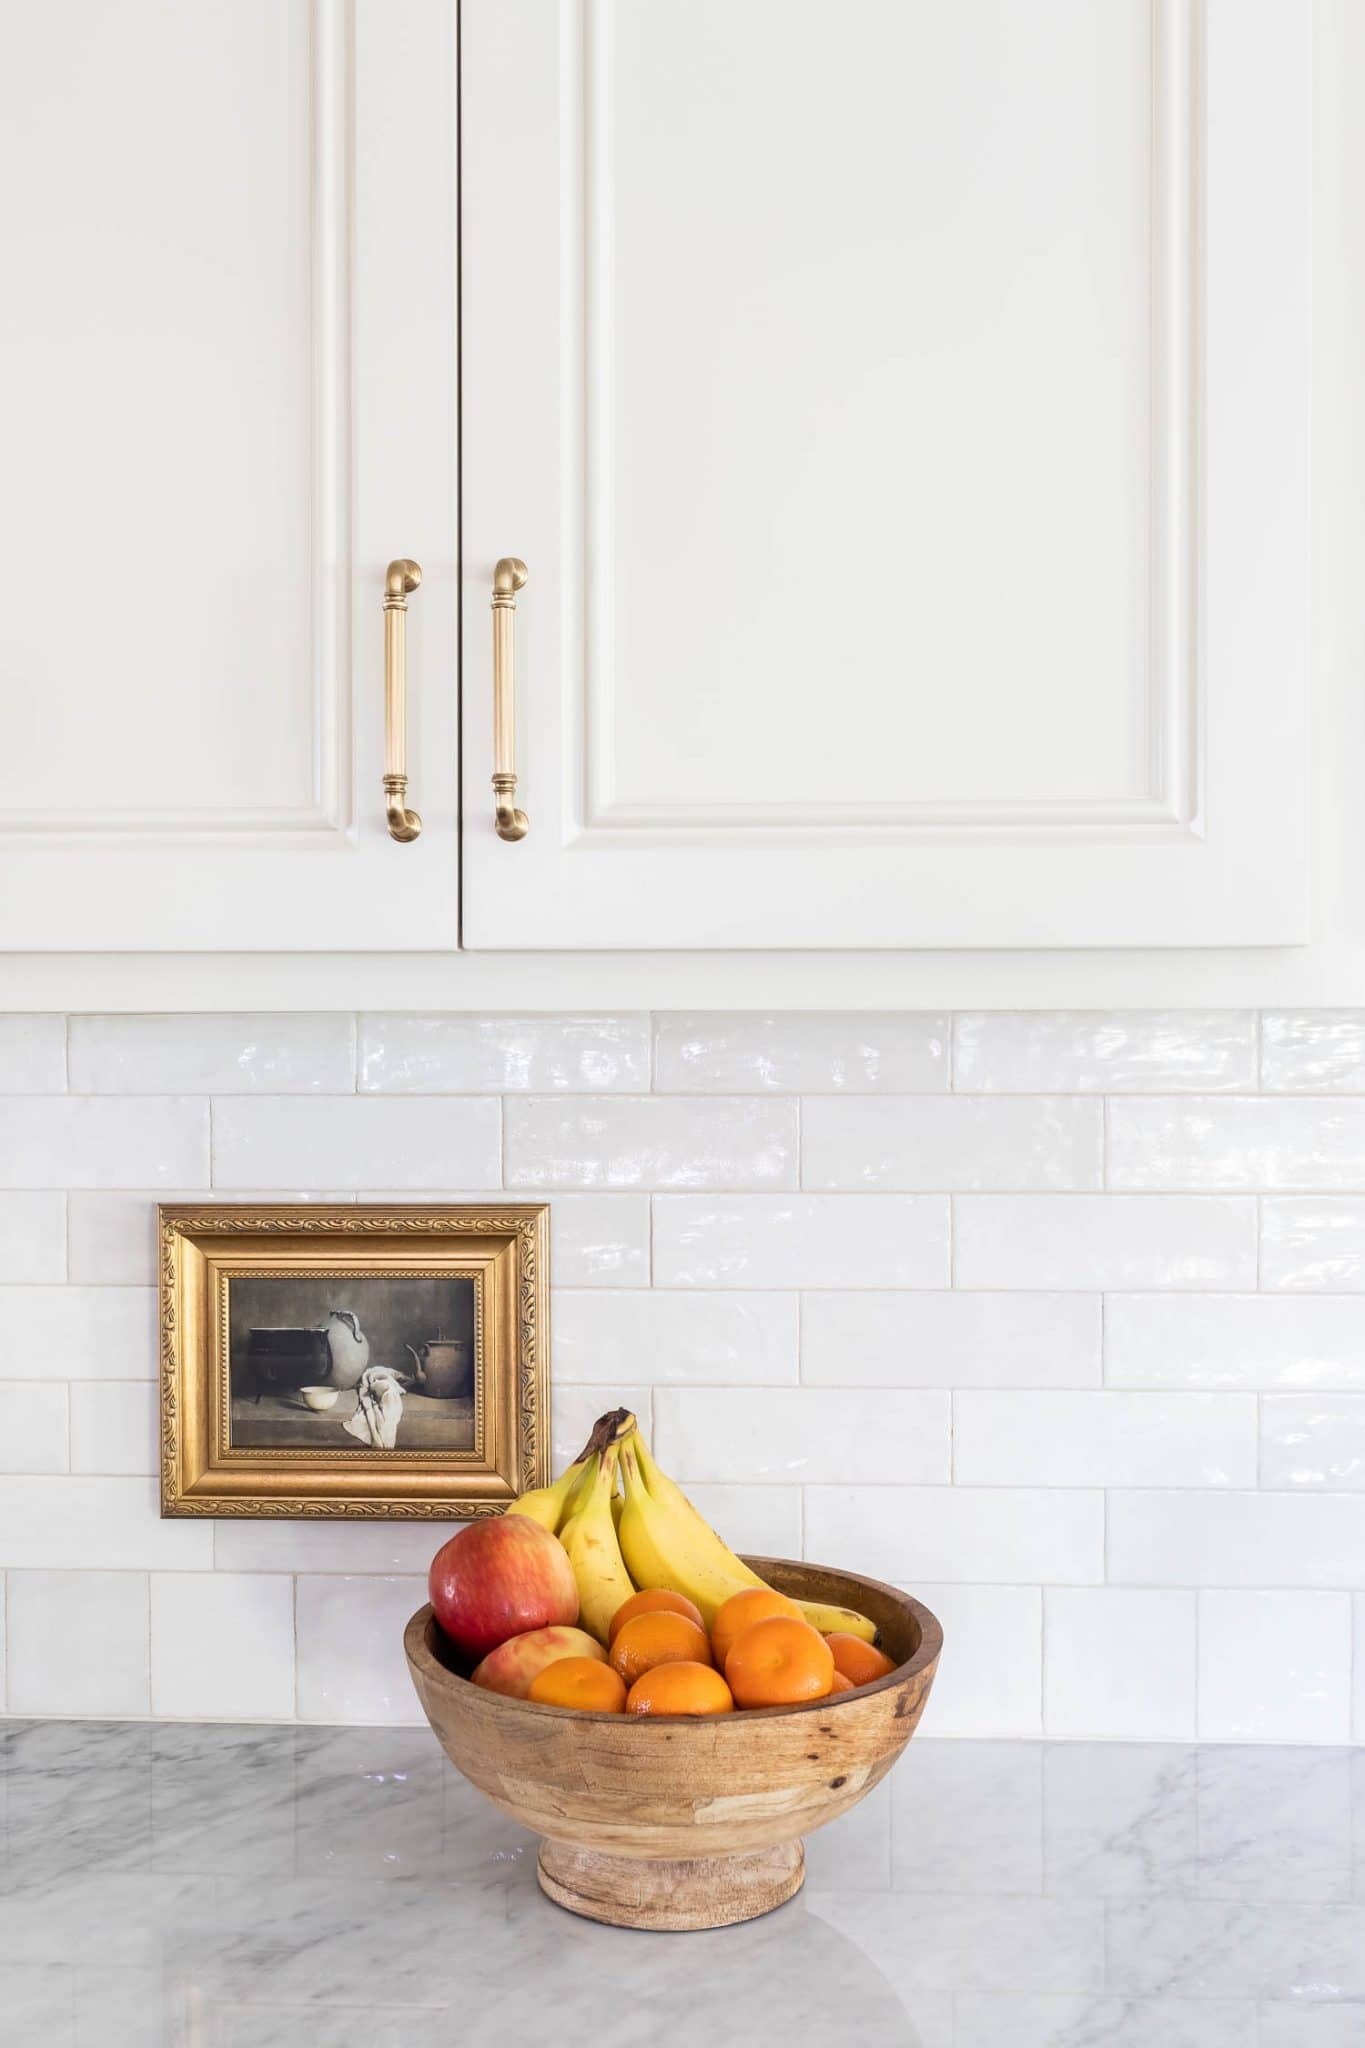
Below are a few tile patterns I considered. I decided to use the last tile layout, with the 3×8 tile in a running bond with a 4×4 soldier row at the bottom. This is my happy compromise. I’m still able to have my soldier row, but the proportions are better suited for my space. Plus, there’s something so charming, nostalgic, and humble about that 4×4 square tile – I’m glad I could use it. The soldier row is such a subtle detail, but I think it brings just the right amount of interest to an otherwise basic tile pattern.
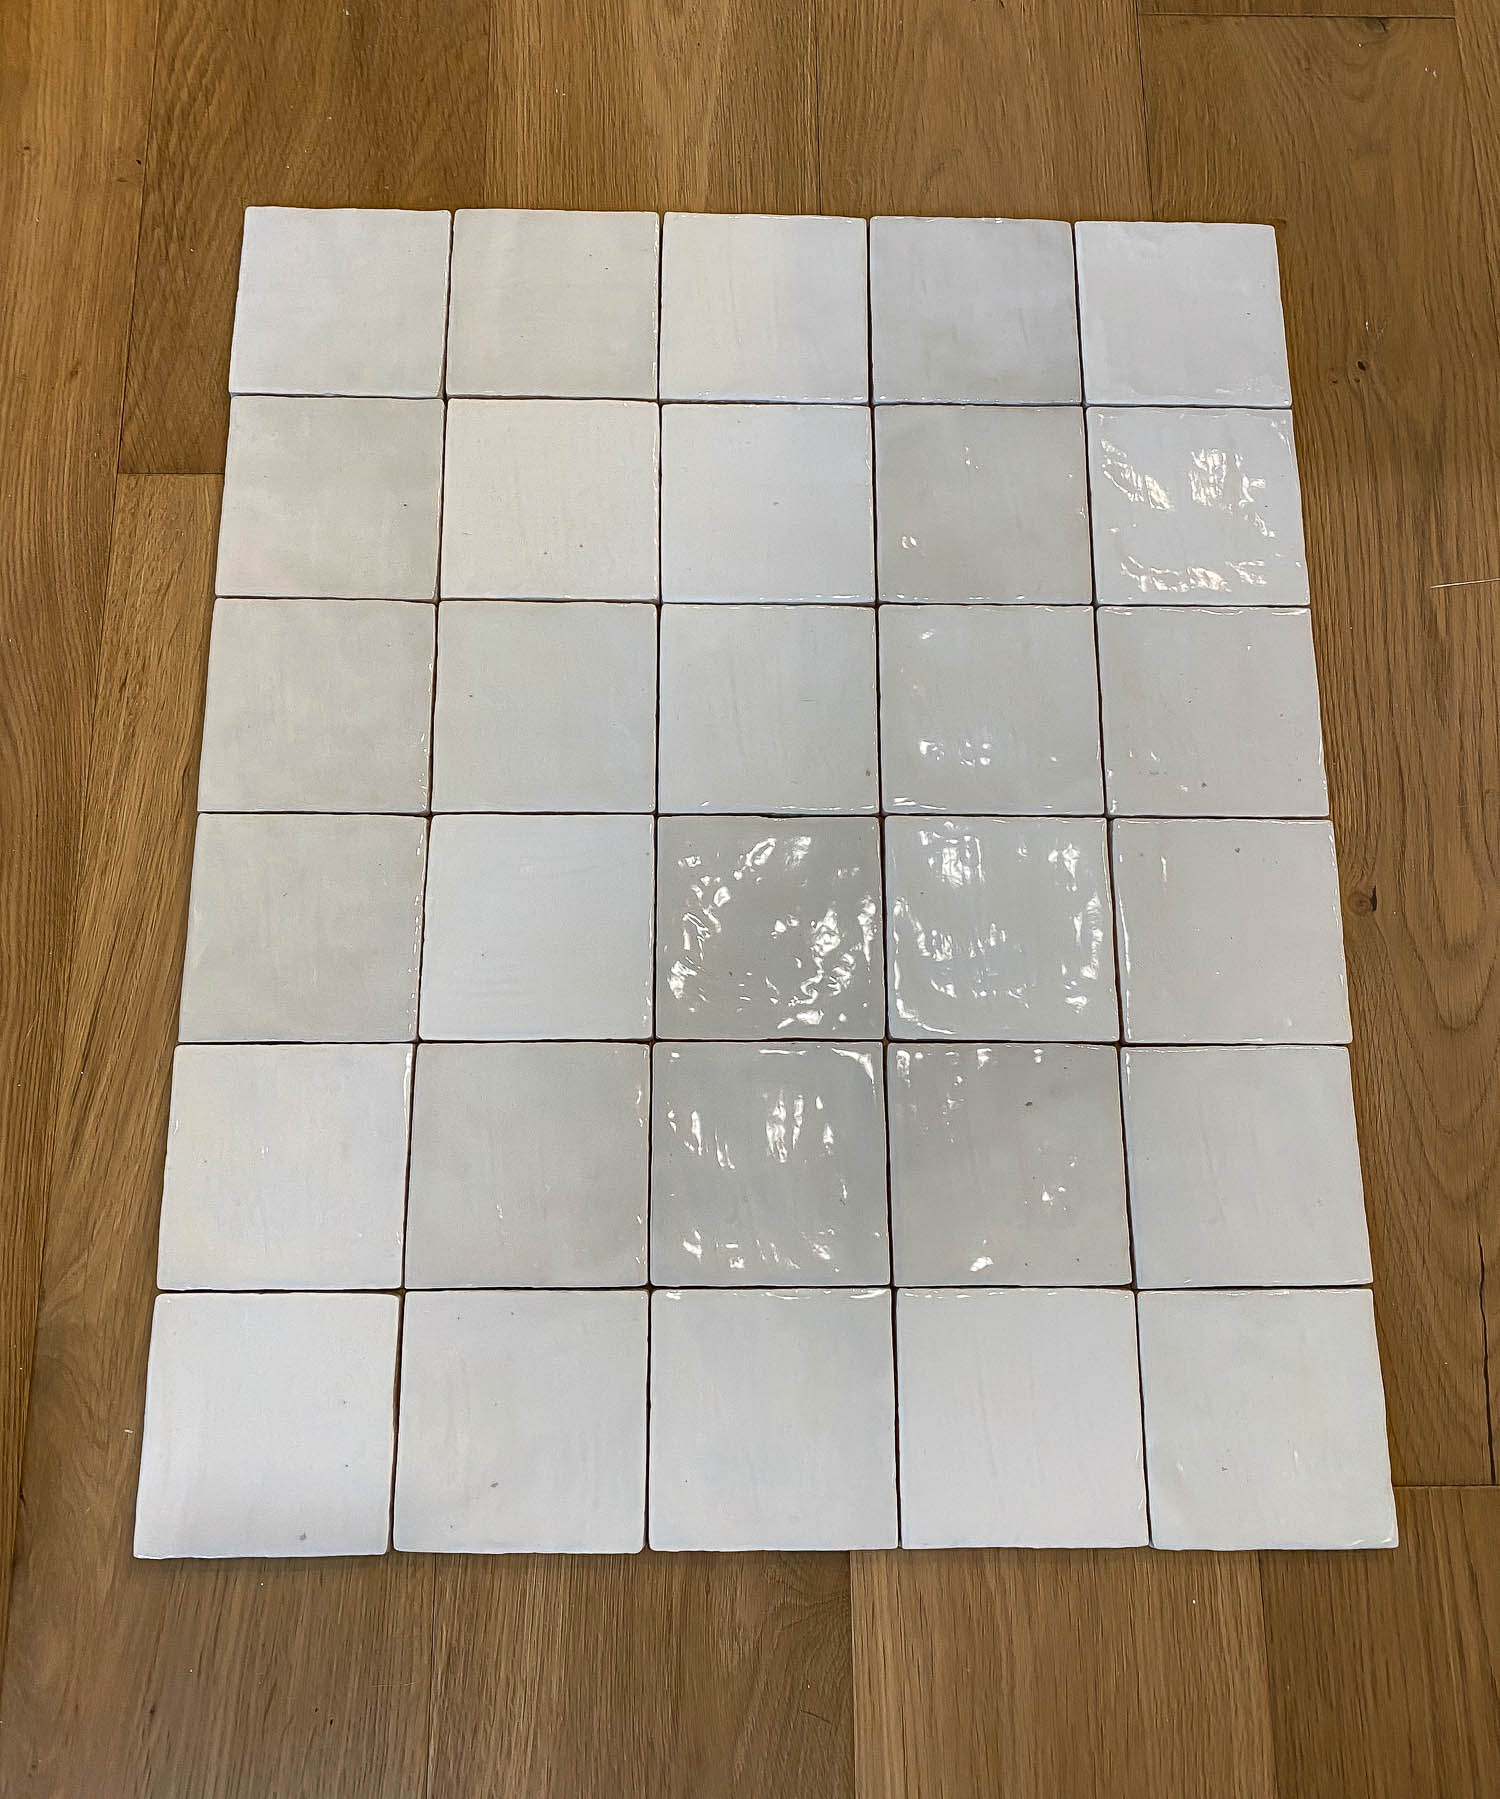
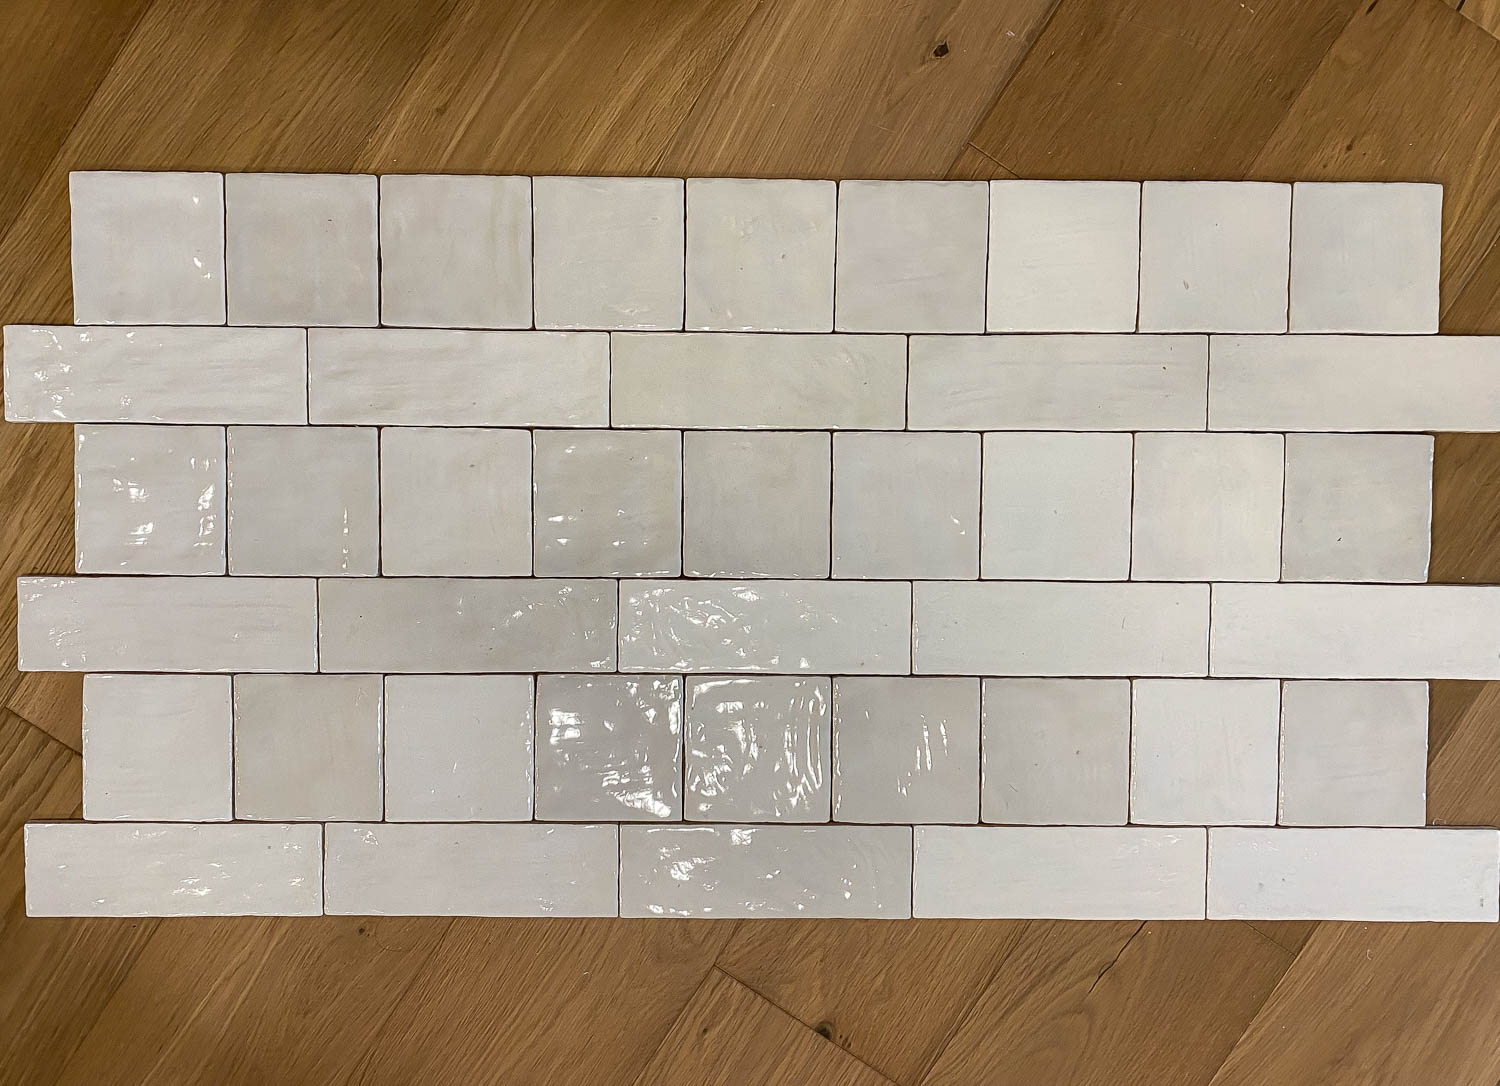
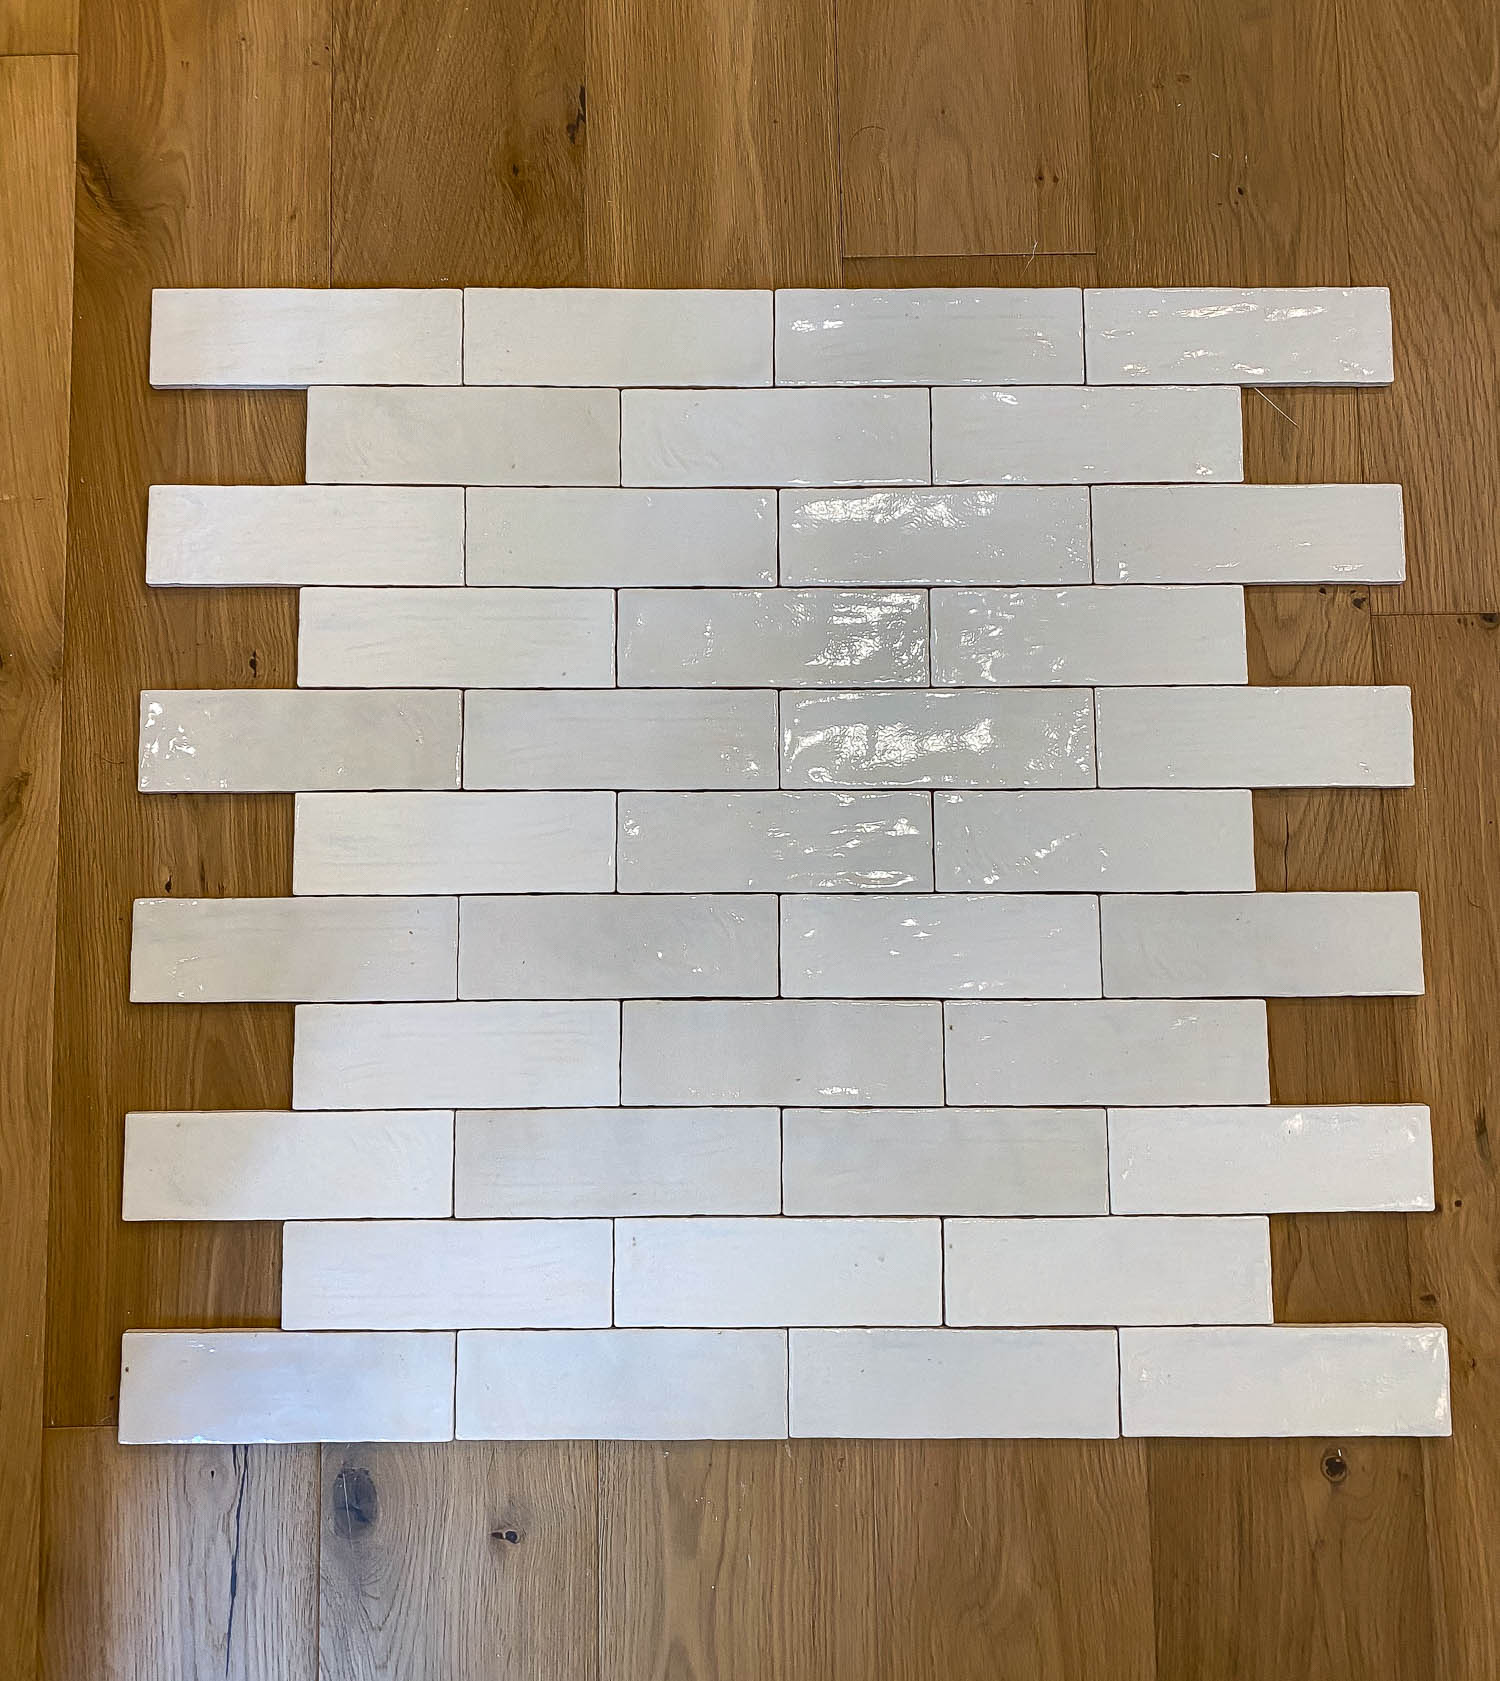
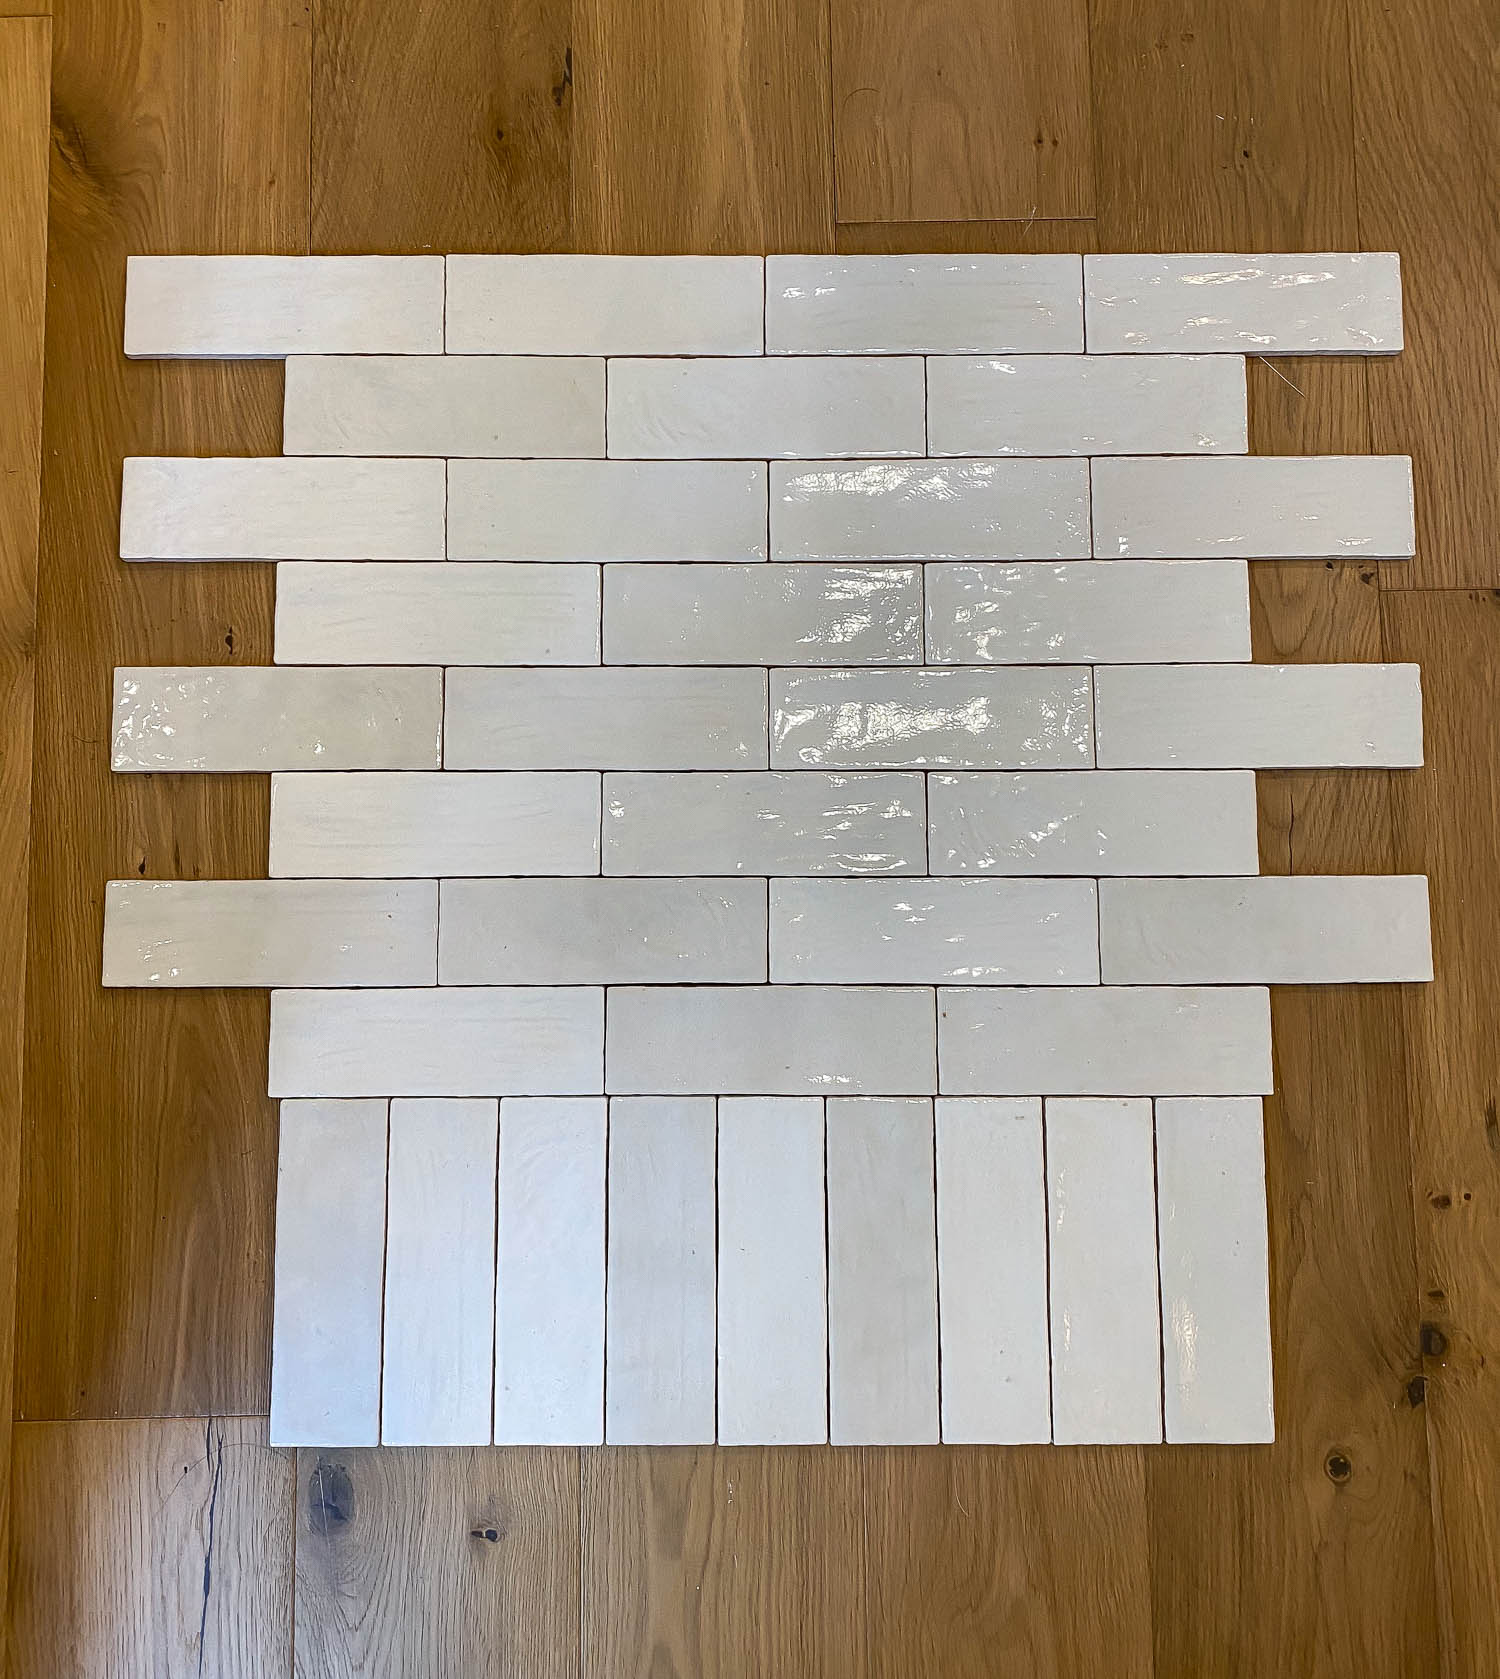
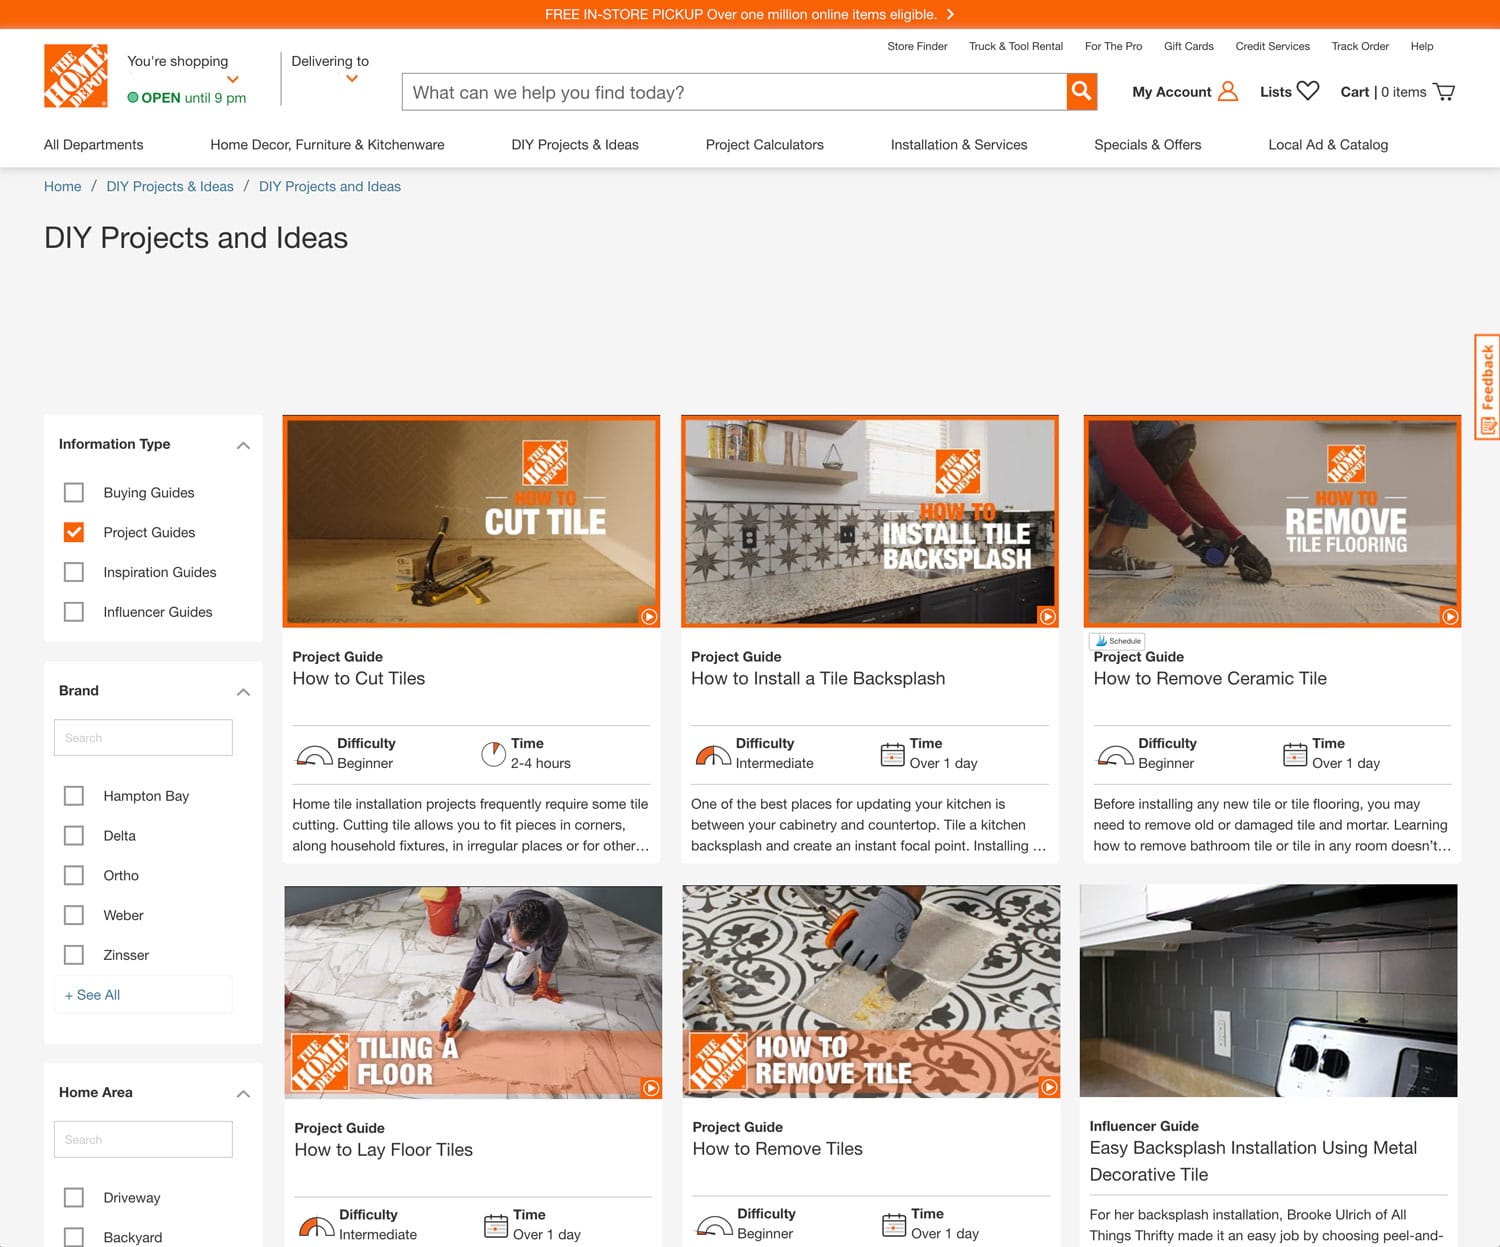
The Home Depot Project Guides
Did you know there are countless how-to and inspiration guides on homedepot.com? Browse their massive catalog of do-it-yourself content by clicking “DIY Projects and Ideas” on the navigation menu. You’ll find everything from how to remove, cut, and install tile on the website, as well as other home and garden improvement projects.
Okay, so now that we’ve ordered our products, gathered our tools and materials, and figured out our tile pattern and game plan, let’s jump into this backsplash project!
How To Tile A Backsplash (The FASTEST, EASIEST, and CLEANEST Way!)
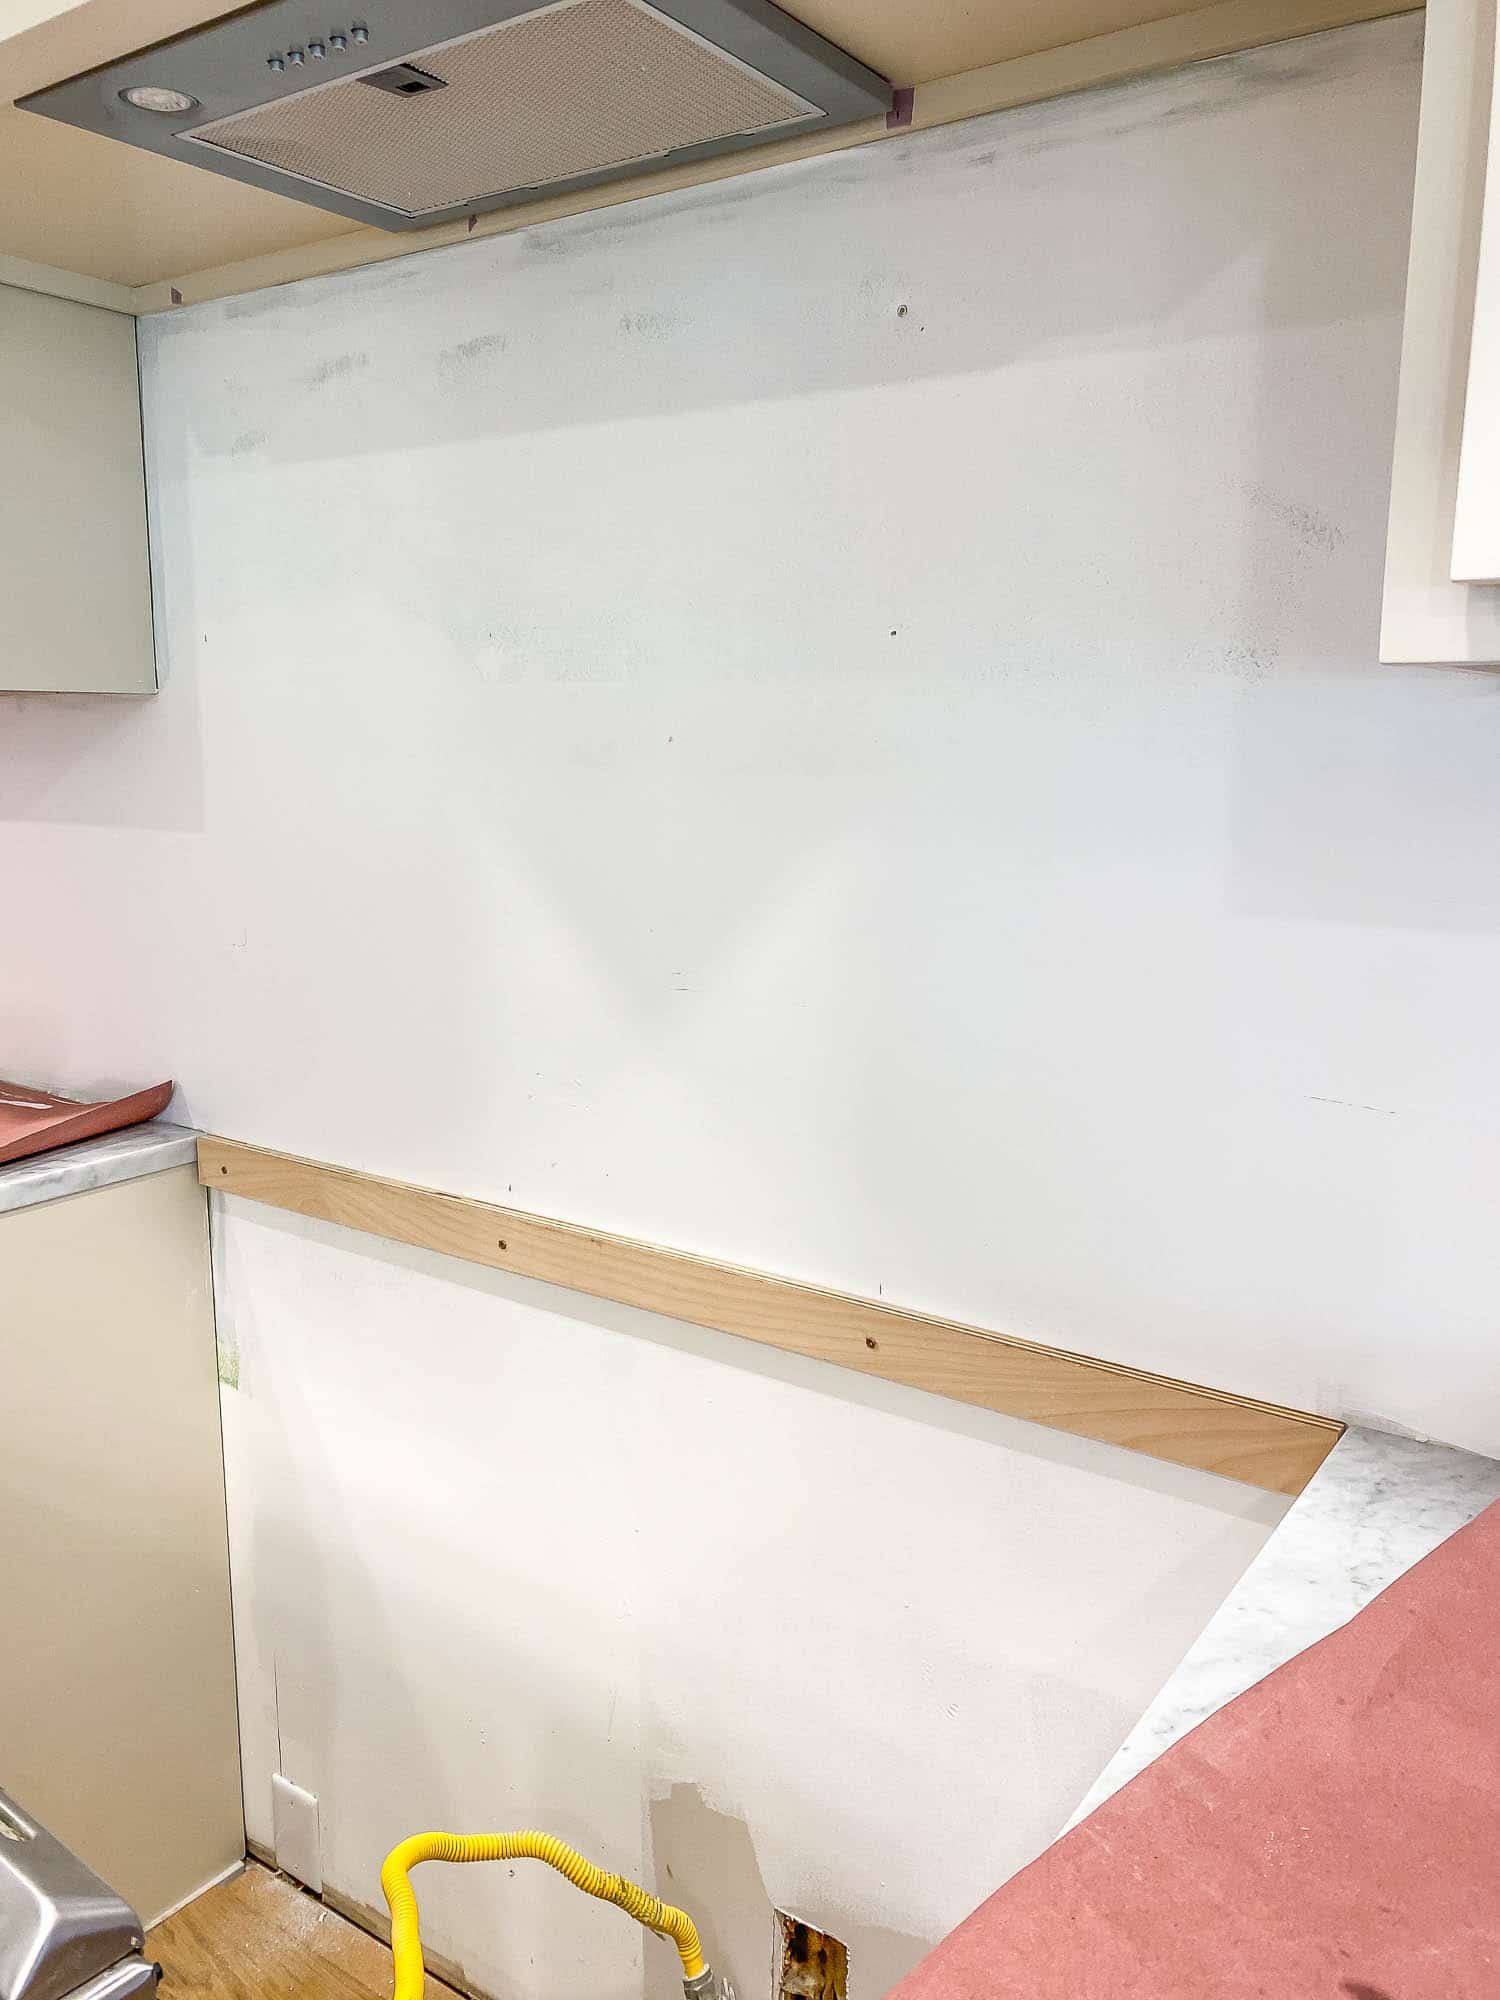
Step 1: Install A Ledger Board
When installing tile on a vertical surface (like a backsplash), the tile typically needs to rest on something as the thin-set mortar or mastic dries, so that the tiles don’t slide down the wall. The tile would normally rest on the countertops, however there was an open space where the range goes, so I installed a ledger board for the tile to rest on. Installing a ledger board is super easy – simply screw a straight board into the studs in the wall, making sure the board is level and even. Once the tile is installed and the mortar sets, remove the ledger board.
I don’t think a ledger board is totally necessary when using this adhesive tile mat, since there’s no tile adhesive that needs to set, but I just went ahead and screwed one in out of habit. Also, this helped me keep the rows of tiles level and even with the counter. It’s like I always say, “why build when you can overbuild???“
Step 2: Apply the Adhesive Tile Mat
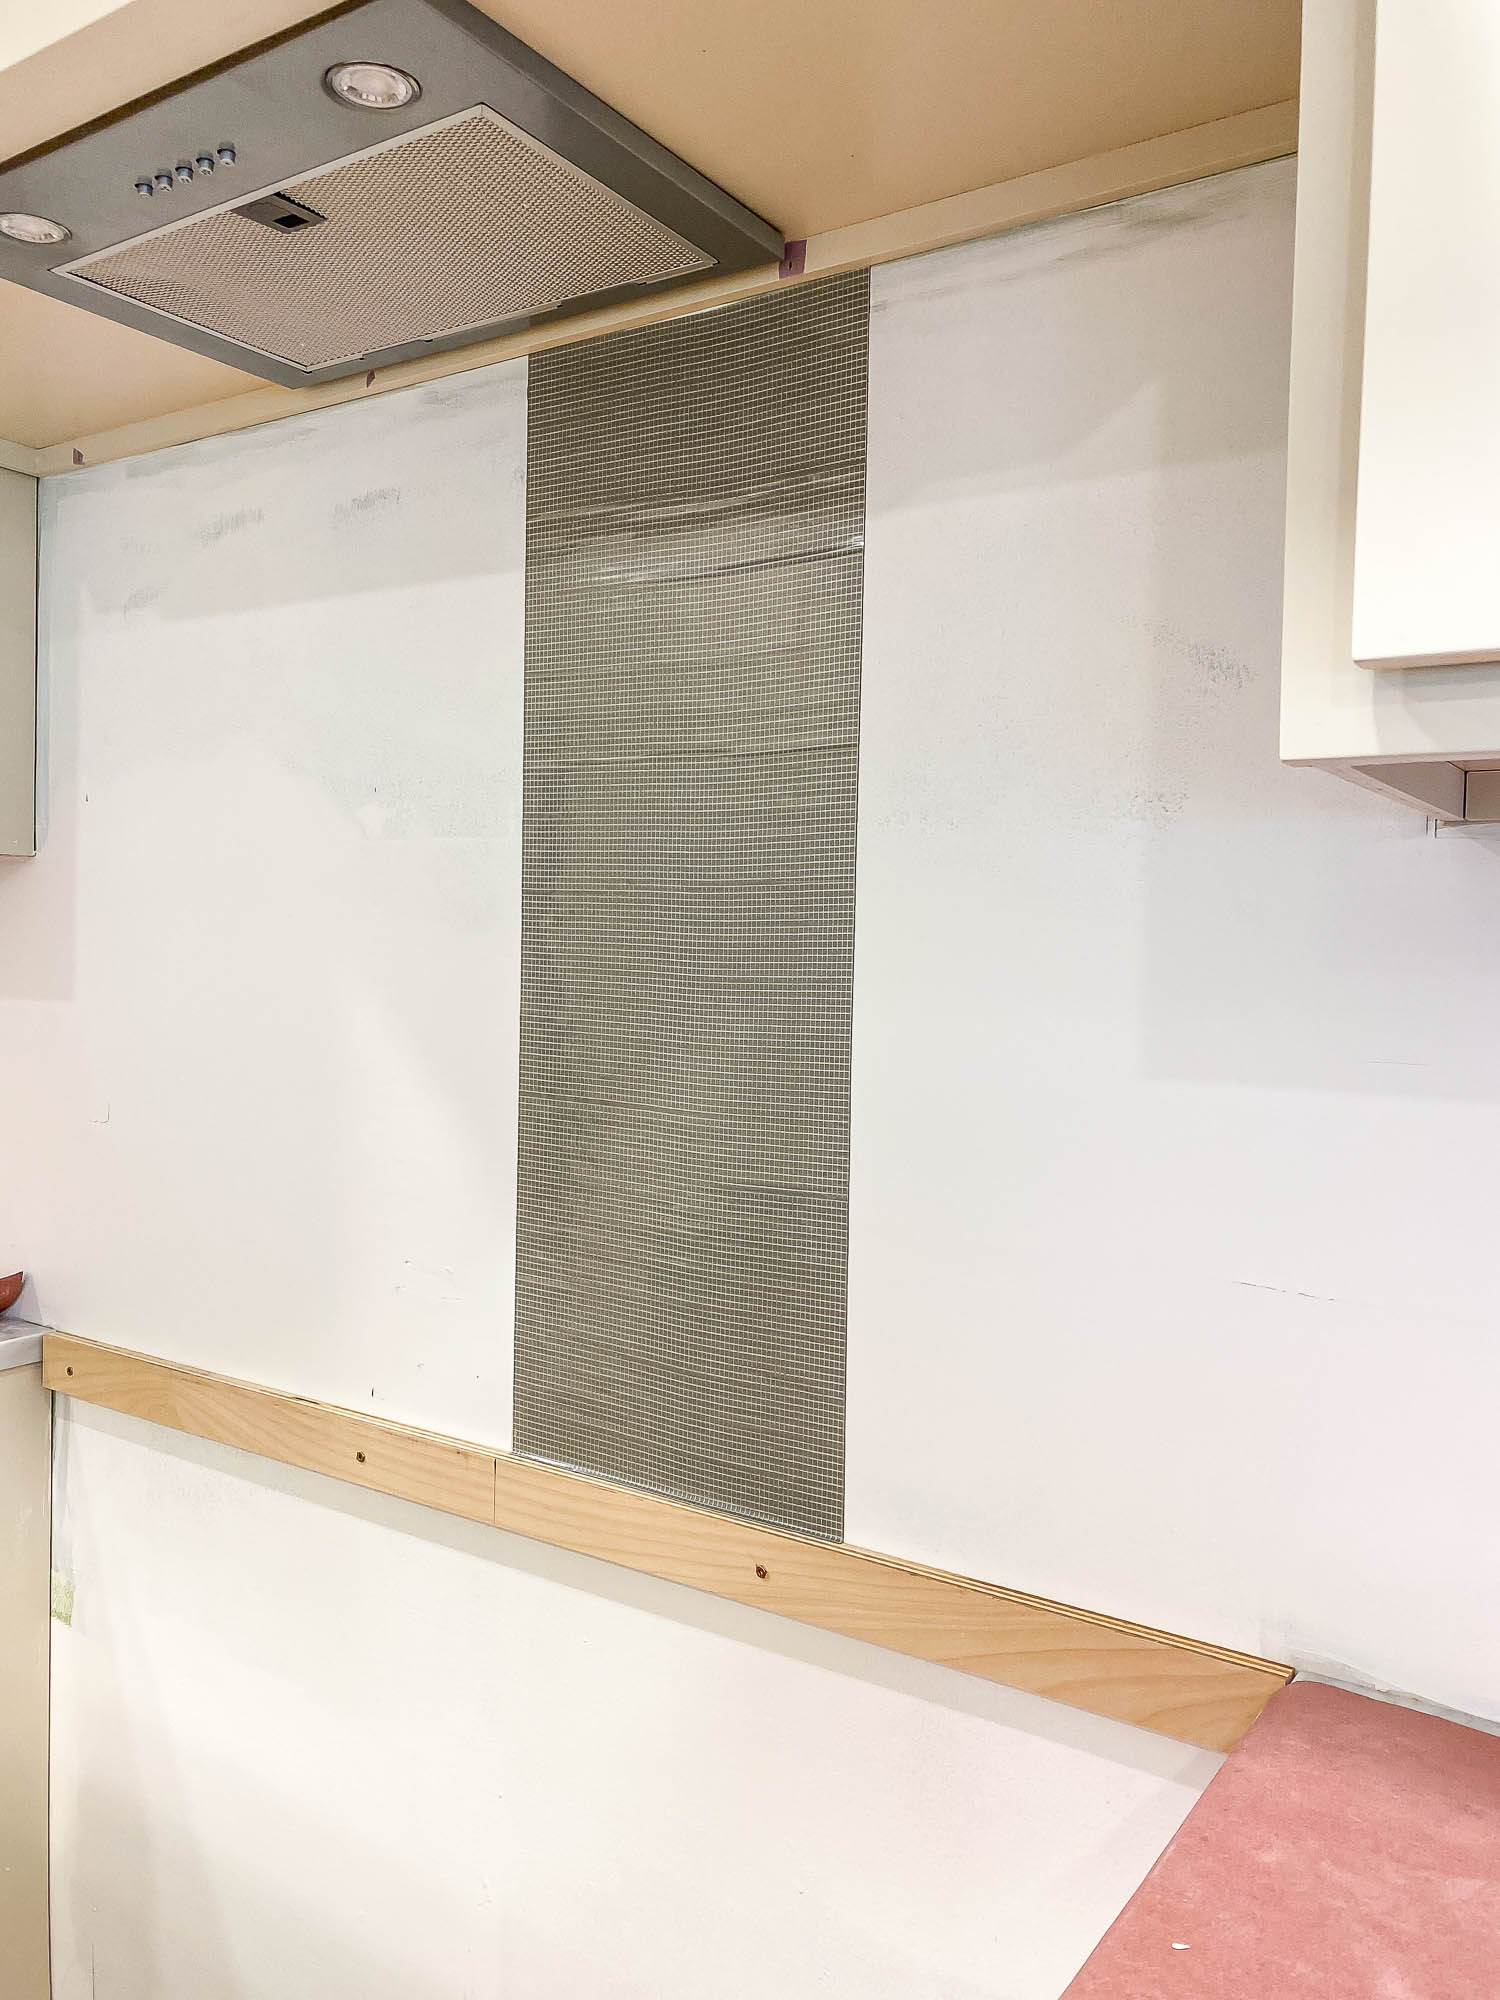
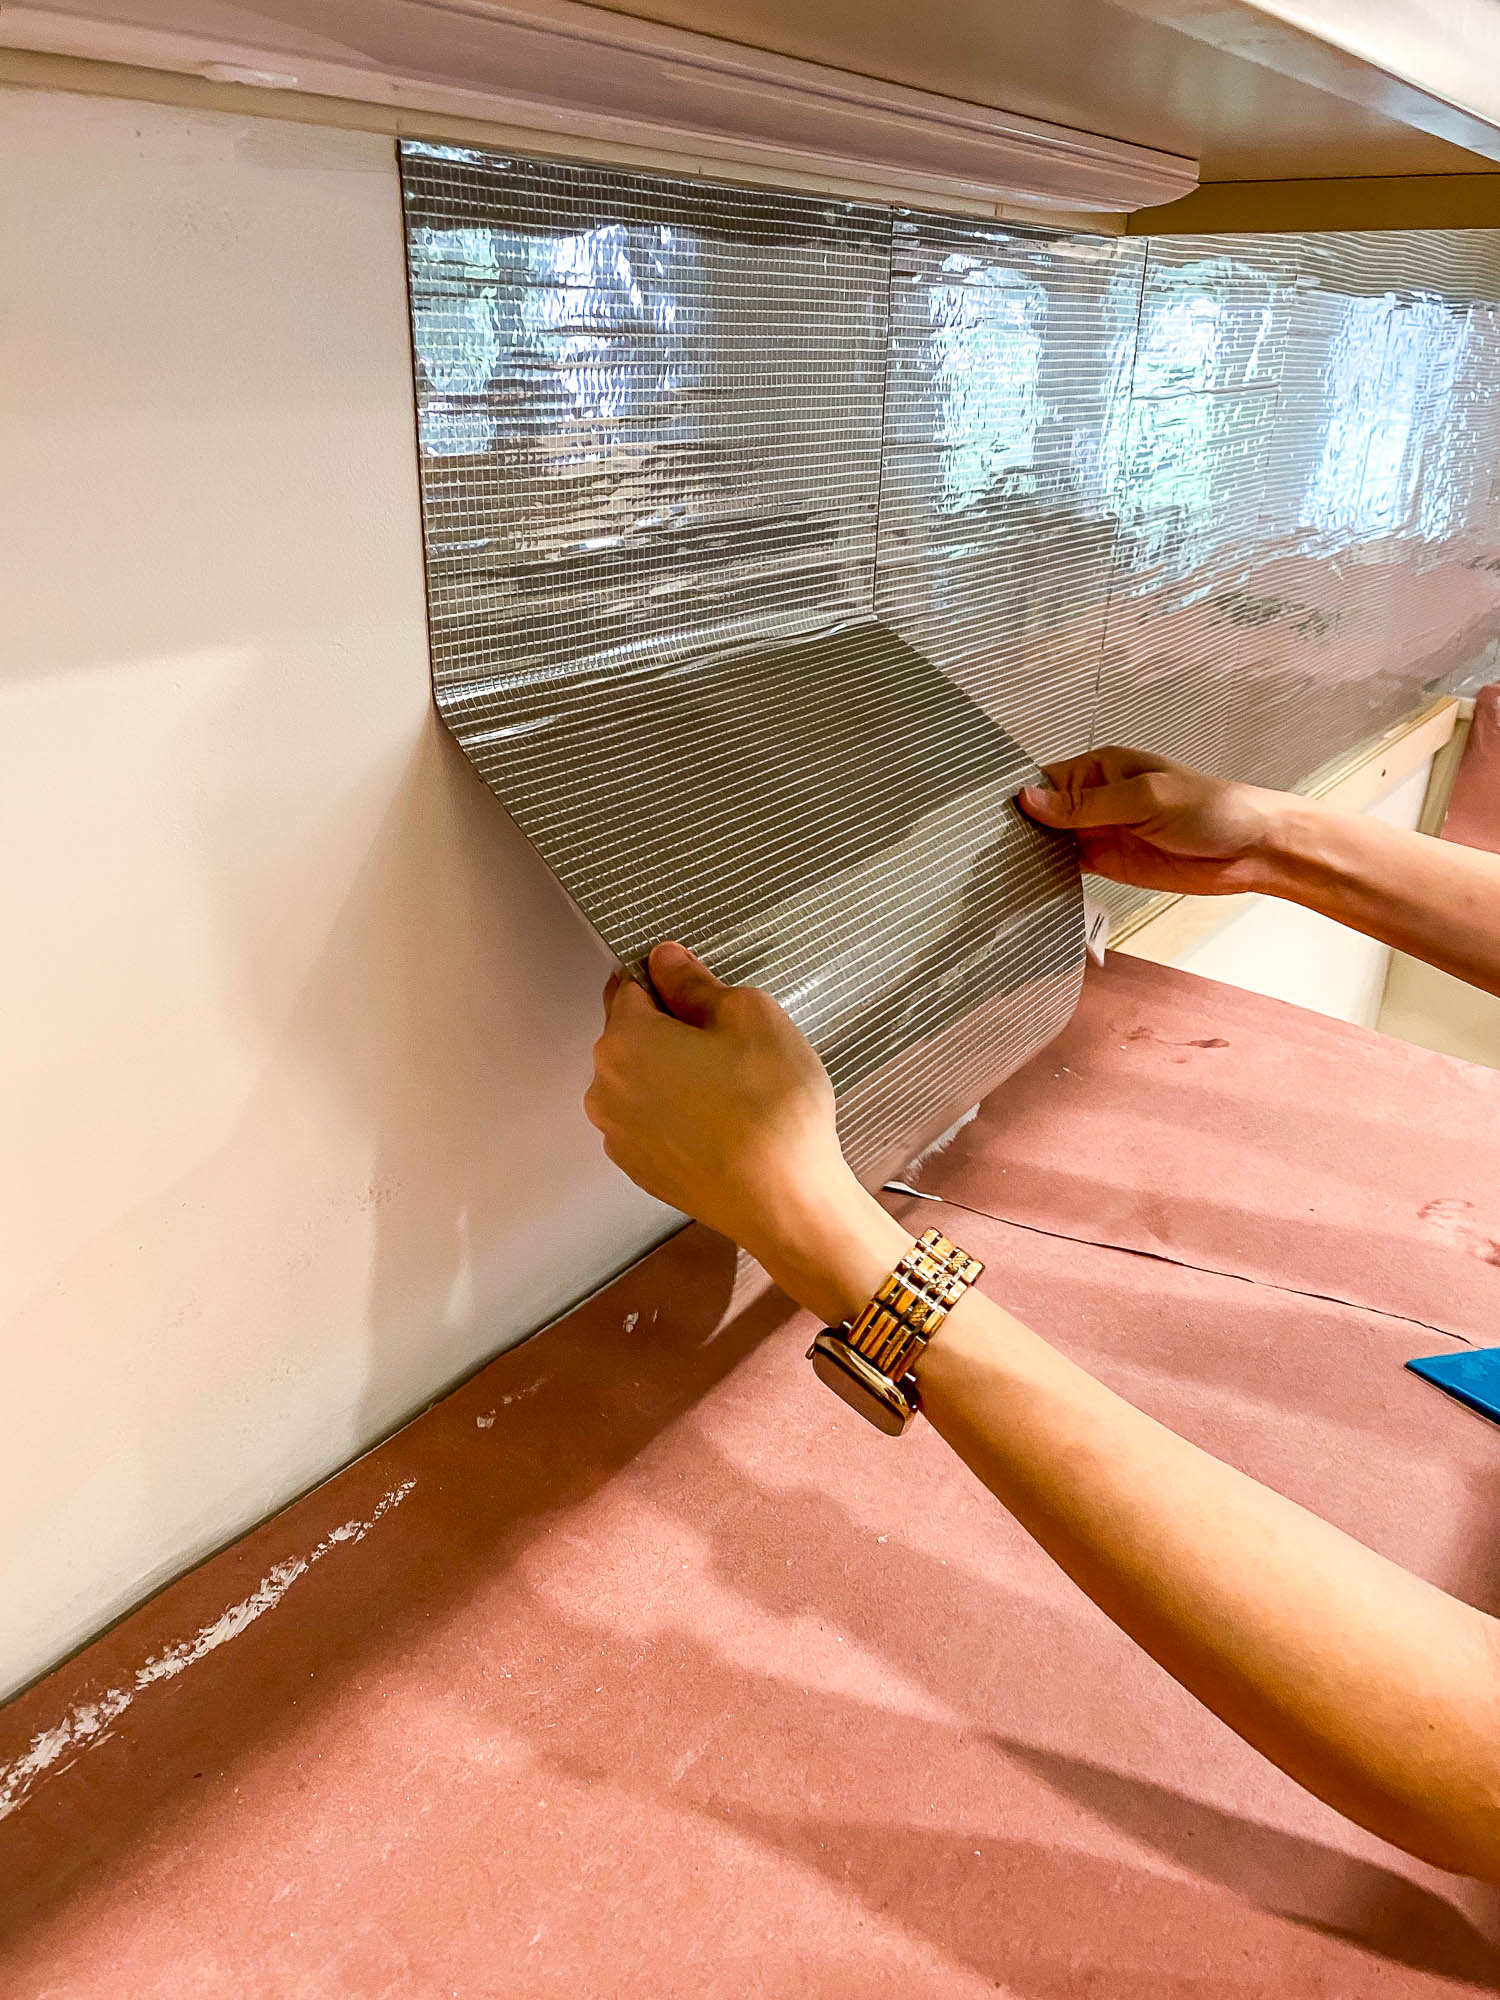
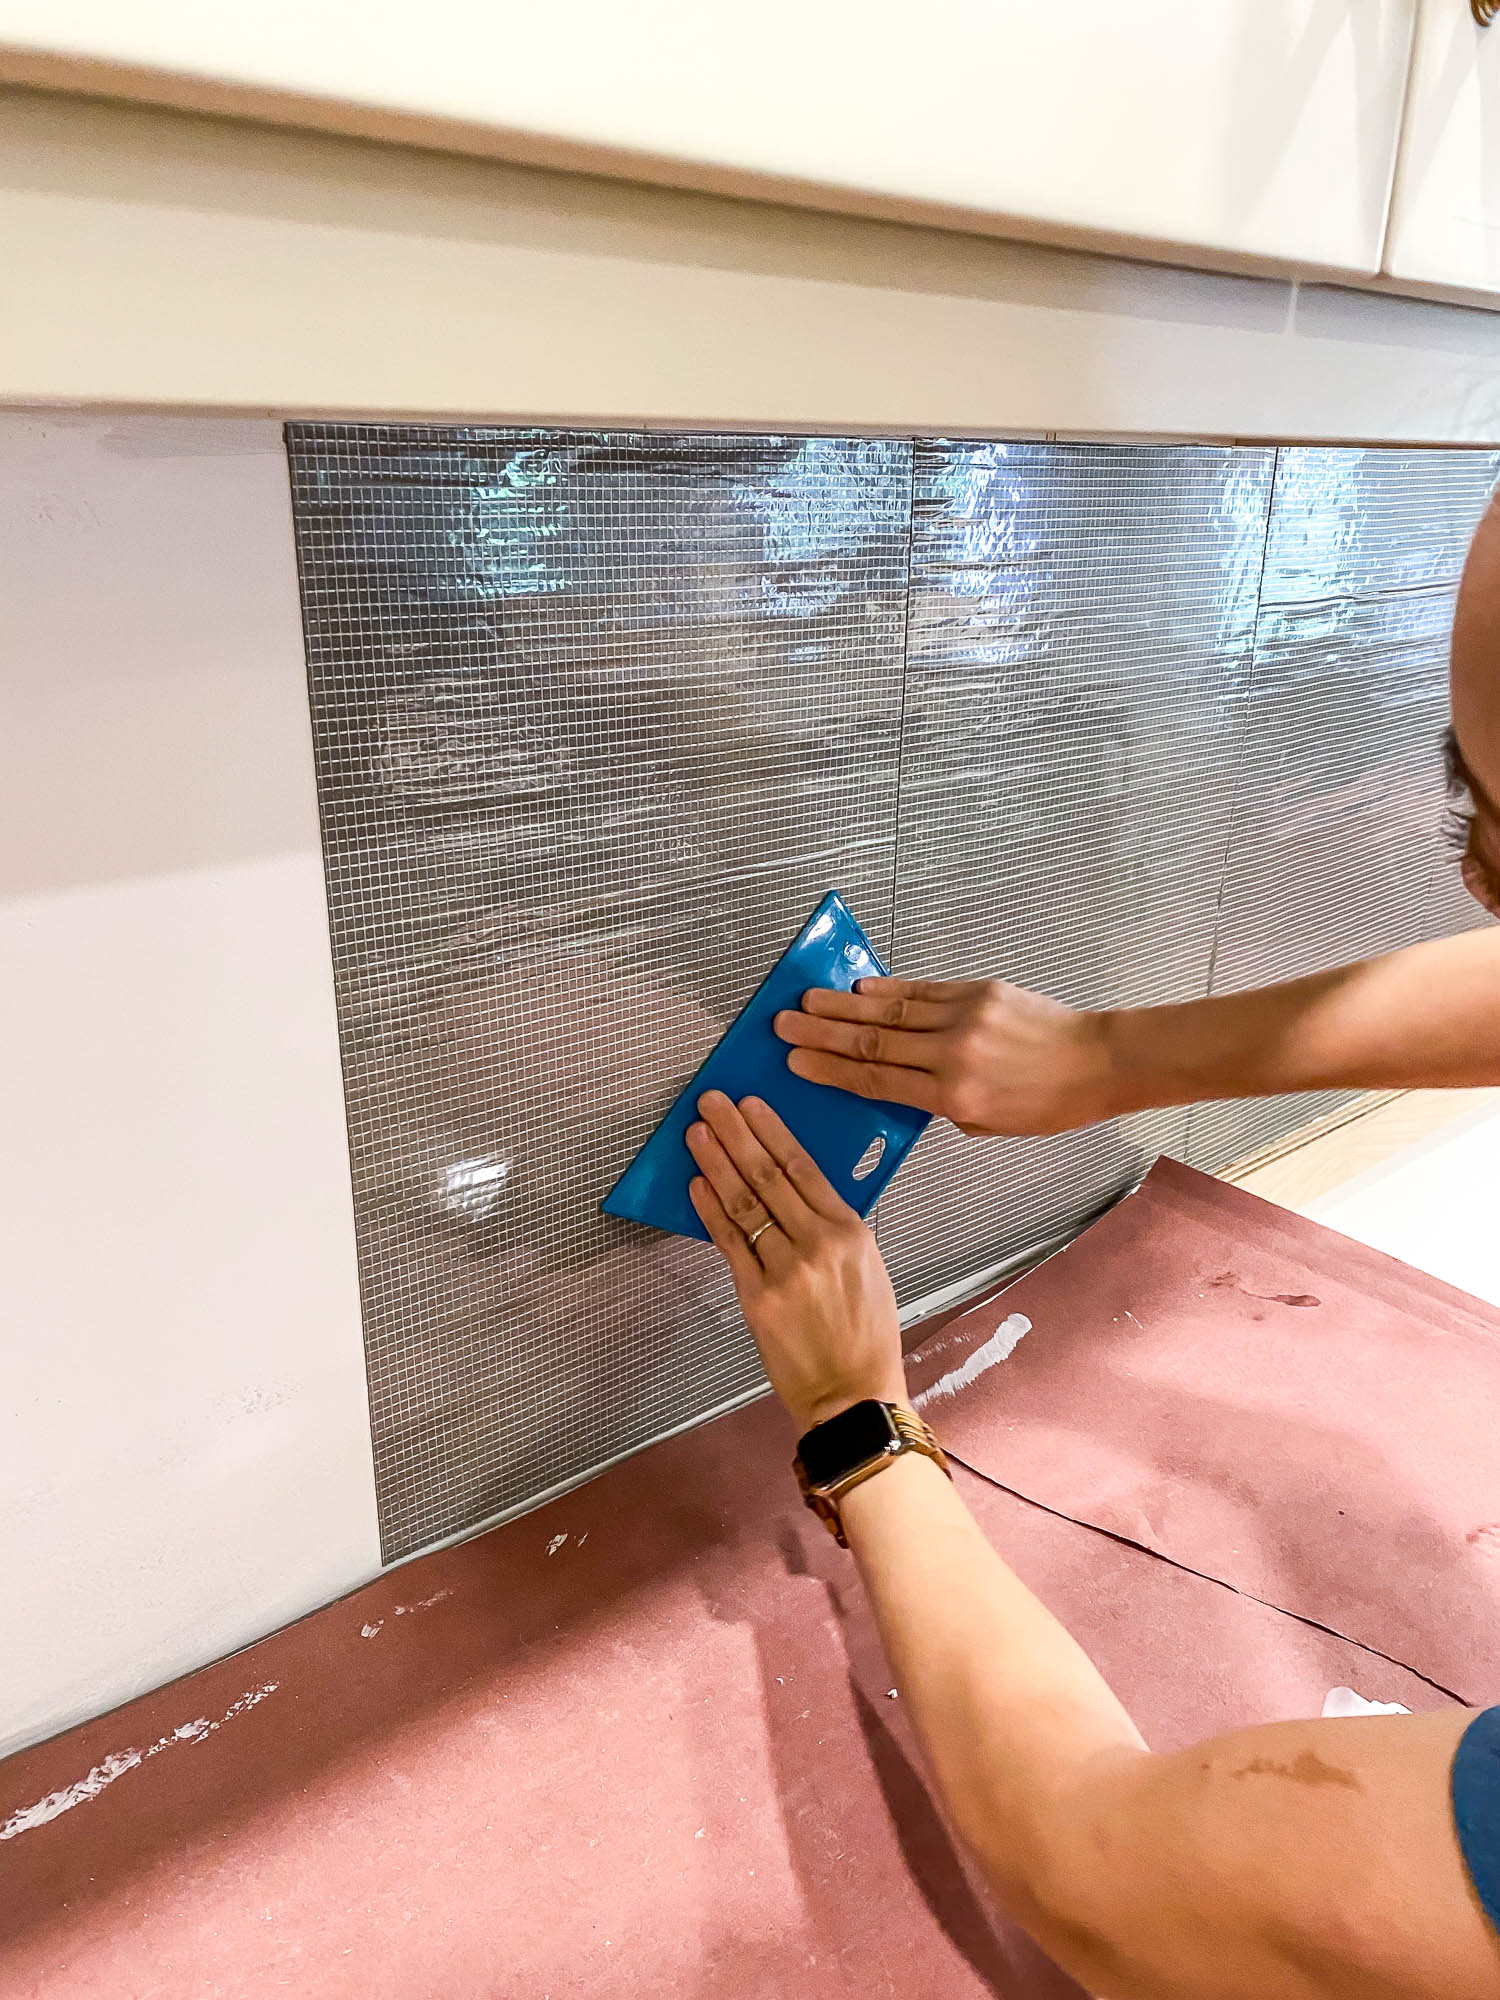
Assuming the wall is clean, flat, and stable, you can start installing the adhesive tile mat right away. Installation is much like hanging peel-and-stick wallpaper. Without exposing any of the adhesive, first dry fit the tile mat to the wall and cut a panel to the length needed. To keep the tile mat from sticking to your scissors, give the blades a quick spritz with non-stick cooking oil spray.
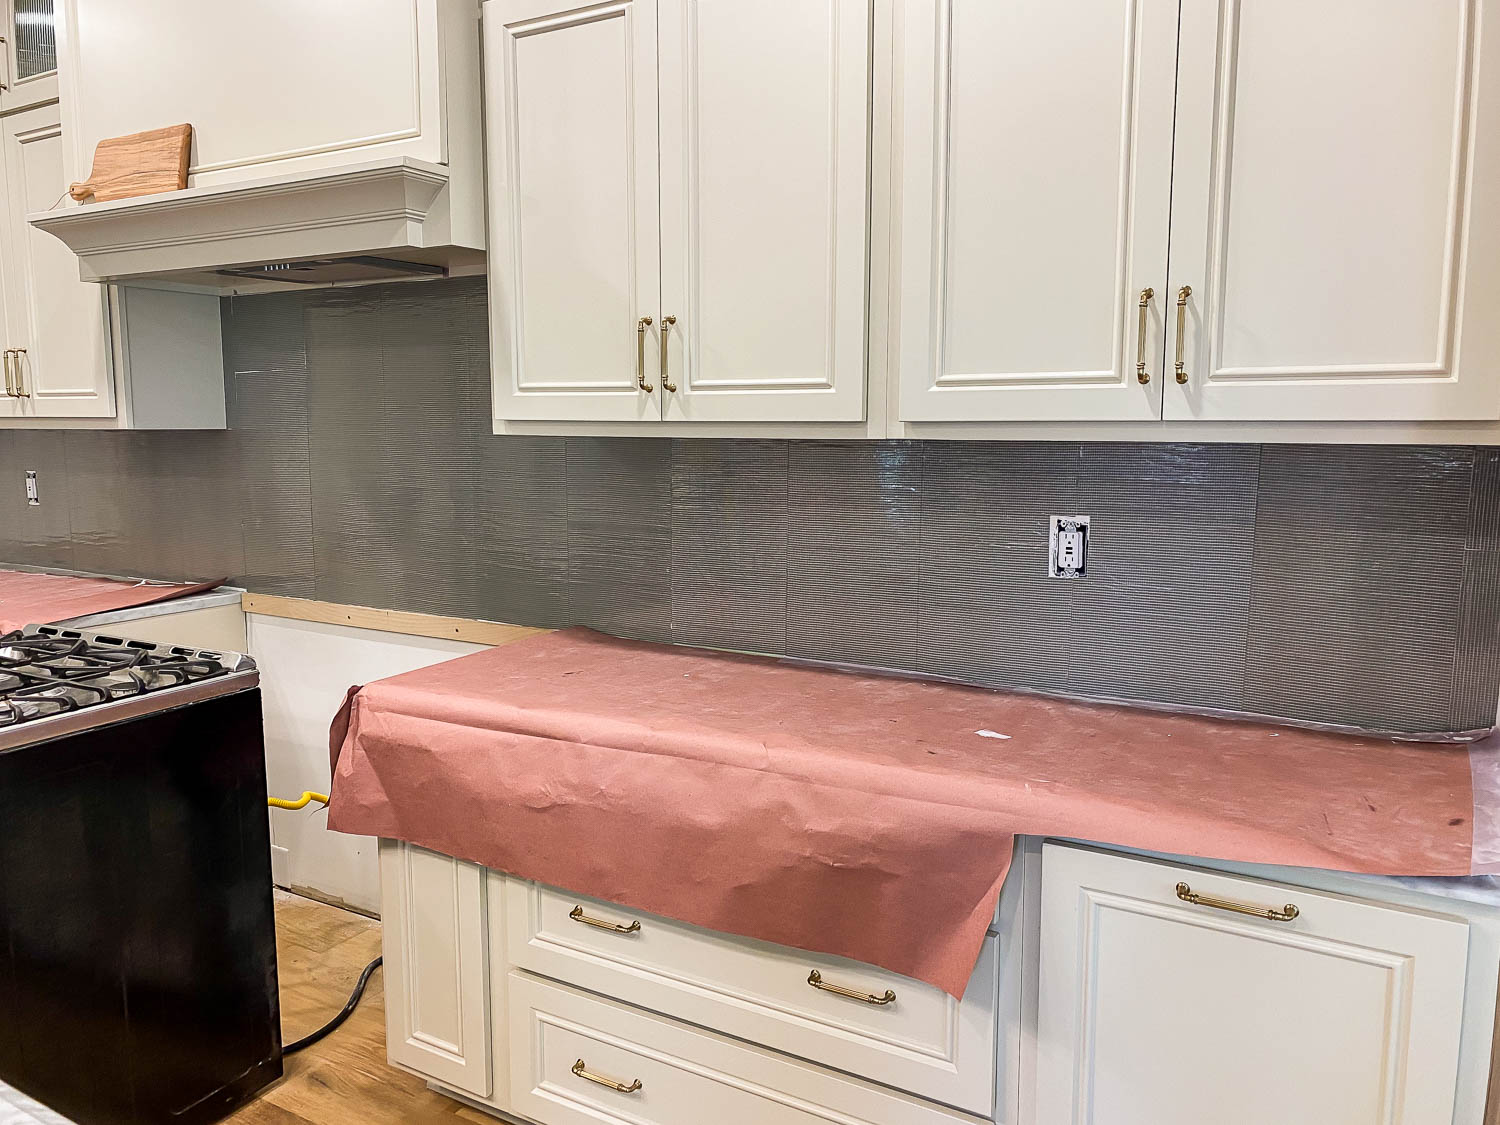
Start at the top and peel back just a few inches of the clear backing from the tile mat, position it on the wall, and press to adhere. Slowly continue peeling back the clear backing from behind the tile mat, and smooth it out onto the wall, working your way down. Notice the mesh side of the tile mat is facing out. I used a wallpaper smoother to firmly press the tile mat into the wall. Continue working along the wall until the entire surface is covered with the adhesive tile mat. Now, you can either peel back the front cover to expose the adhesive and tile immediately, or you can leave it on until you’re ready to tile.
Step 3: Install the Tile
Now it’s time for the fun part: tiling! Start with the bottom row and work your way up. If you’re a math genius, you can measure the length of the wall, measure the tile, then figure out how many tiles you’d need to lay the first row of tiles evenly. Or you can take the easy route like me and find the center of your wall, mark a reference line, then lay your first tile centered on that line. Then, as you work outwards, the tiles on each end should be roughly the same size.
Also worth noting – when you have wall tiles like mine, where there’s a slight variation in color and tone, it’s a good idea to lay out the tile before adhering it to the wall. This way, you can figure out how you want the overall picture to look. I didn’t want to see an intentional pattern on the backsplash, but instead wanted the different tones of the tile to be randomly and fluidly scattered throughout. With that decided, it was just a matter of picking up each tile and sticking it to the wall.
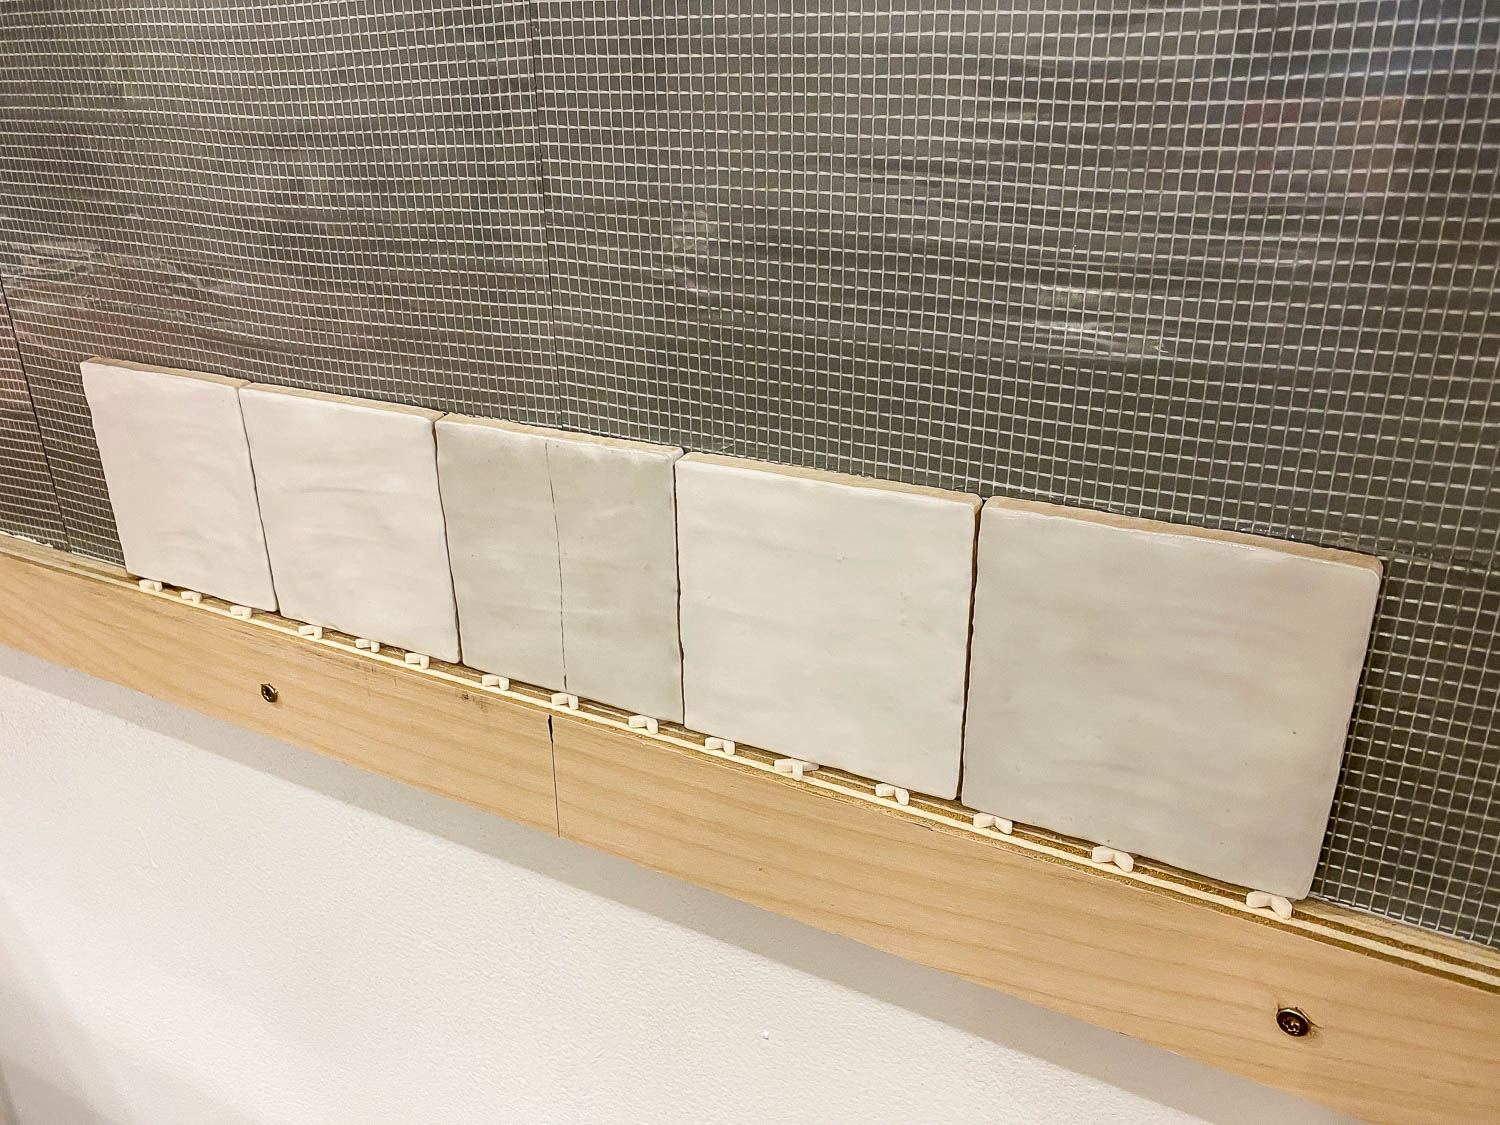
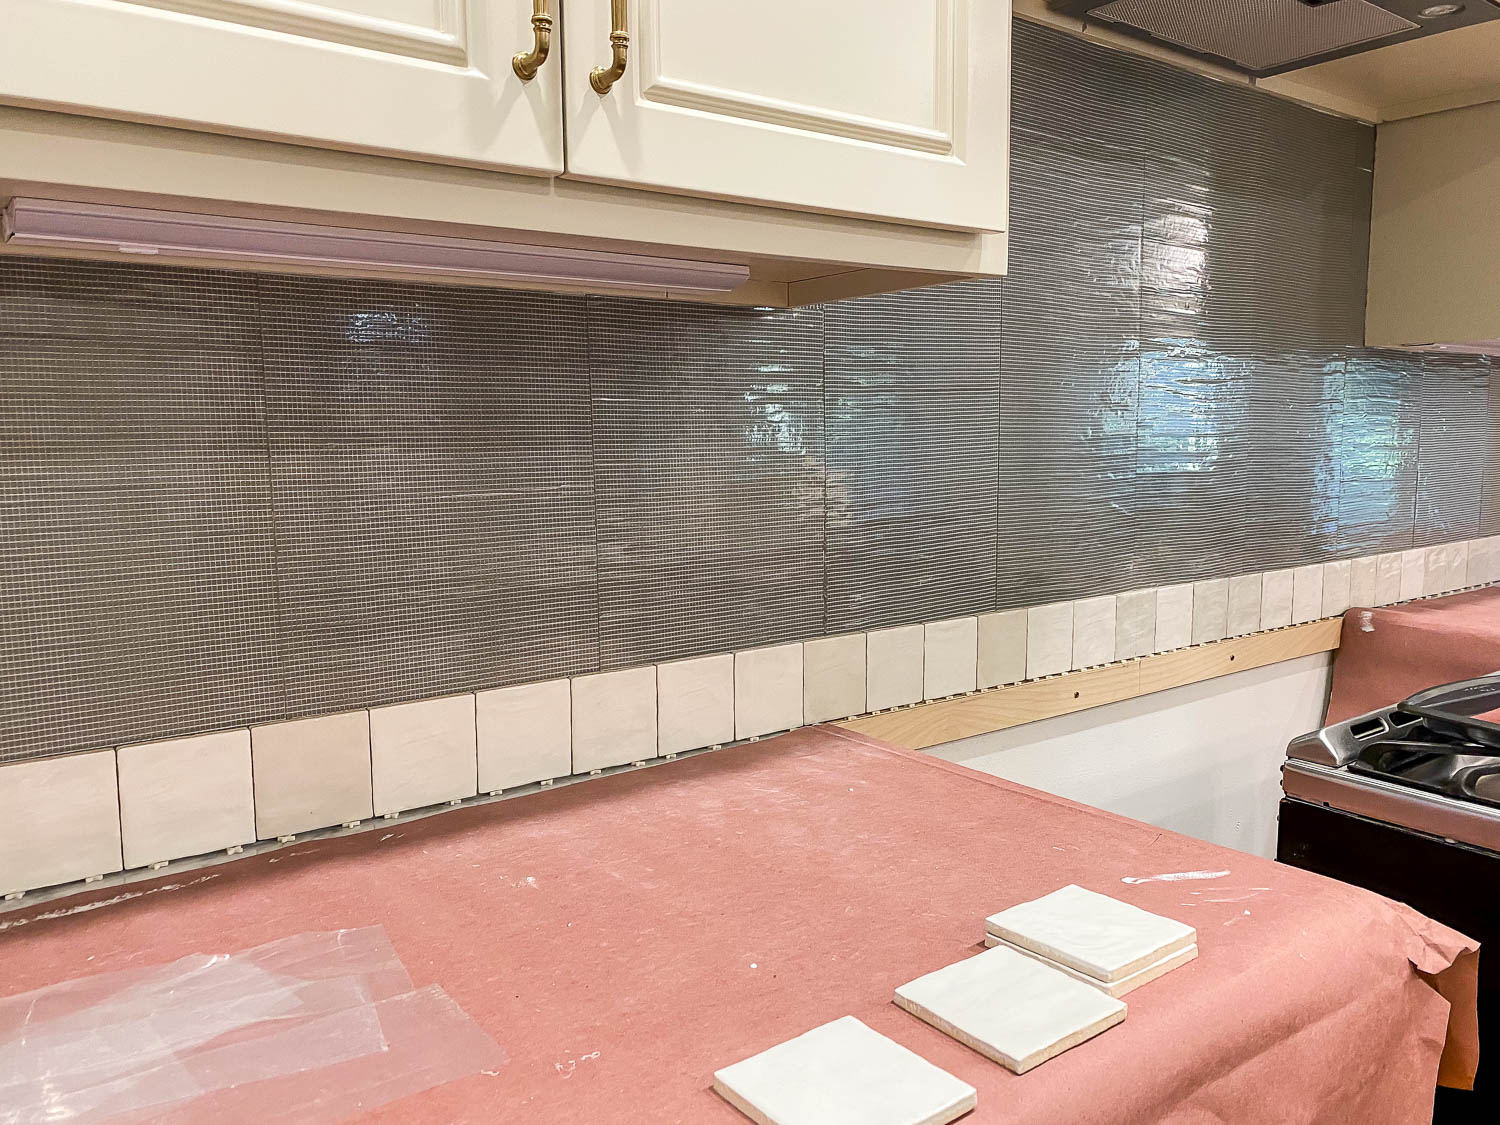
It was so unbelievably easy to use this adhesive tile mat. It’s pressure-sensitive, so I simply pressed the tile firmly to the wall and held it there for 5 seconds. This stuff is super sticky and gummy, so be sure your tile is exactly where you want it, because it ain’t coming off without a fight. You can easily pry off the tile and reposition it, as long as you don’t press it into the tile mat hard. Once you do, however, it can be difficult (but not impossible) to remove. Be sure to check that your tiles are level after every 3-4 runs.
Also, I chose not to use tile spacers because I wanted the thinnest grout lines possible. This is just personal preference, so if you’d like thicker grout lines, don’t forget to pick up some tile spacers. If you’re working with mosaic tiles with a mesh backing, you’ll want to use the correct spacers that coincide with your specific tiles so that the joints are consistent.
How To Cut Ceramic Tile
Cutting this ceramic tile was a dream! The cuts were straight, easy, and precise. It was my first time using this manual tile cutter and I was thrilled to discover how easy it was. Not only was it pretty straightforward to operate, but it made adequate cuts, and cost less than $30!
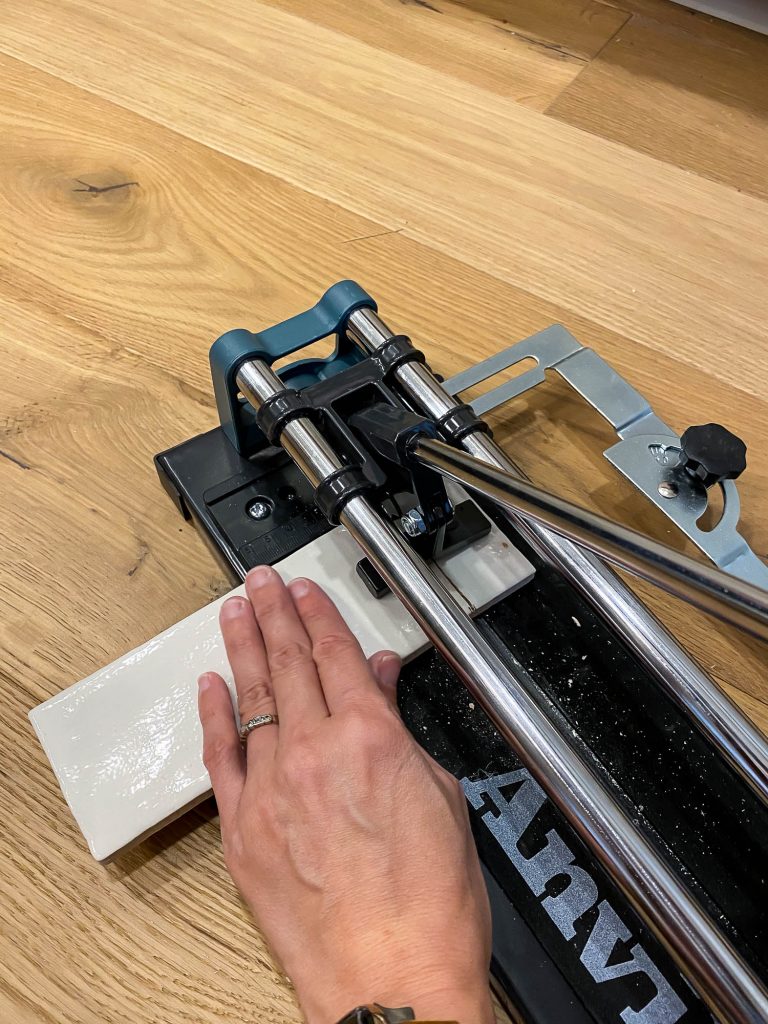
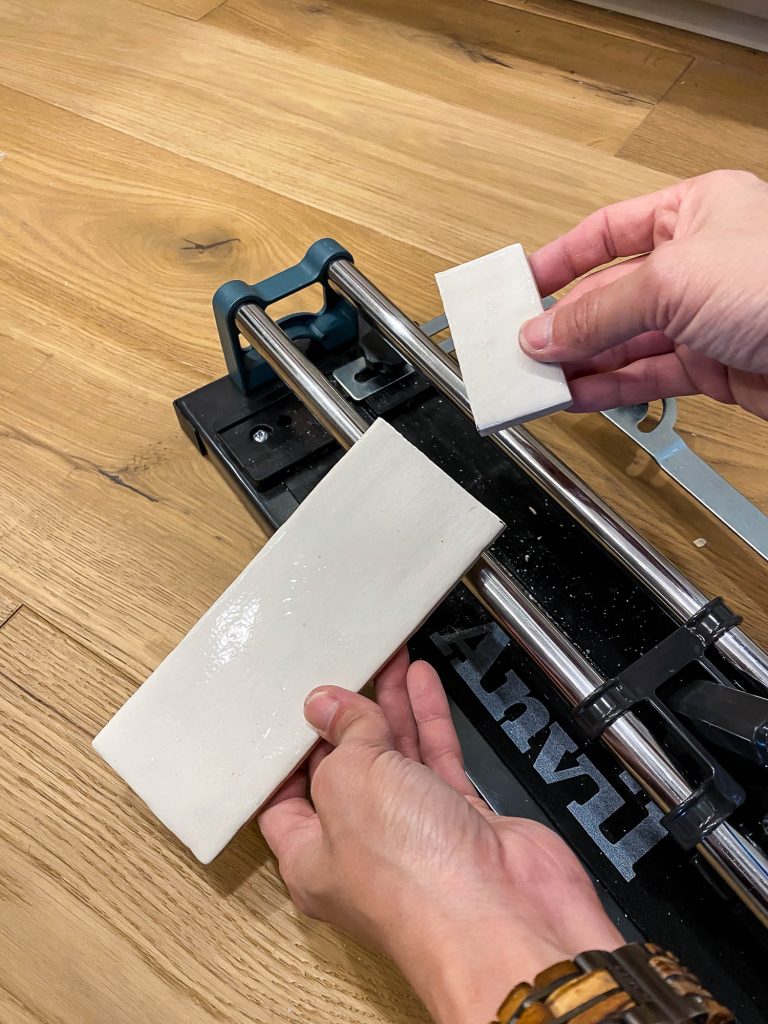
Measure and mark the tile with a Sharpie (don’t worry, it rubs off the ceramic tile easily). Then lay the tile onto the tile cutter, hold it steady as you score the tile with the blade wheel. Then lift the handle, drop the ‘foot’ across the tile, and snap! The tile should break cleanly where the score line was. I was able to make all of my easy cuts with this tool.
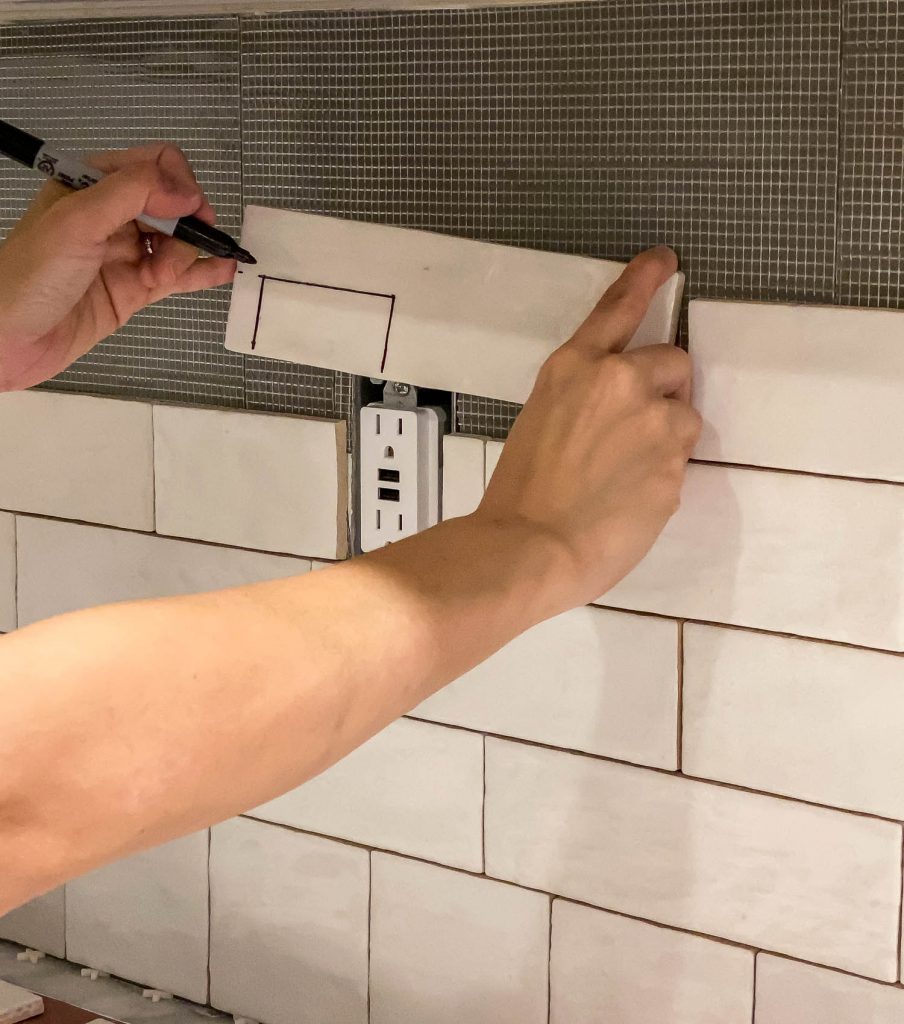
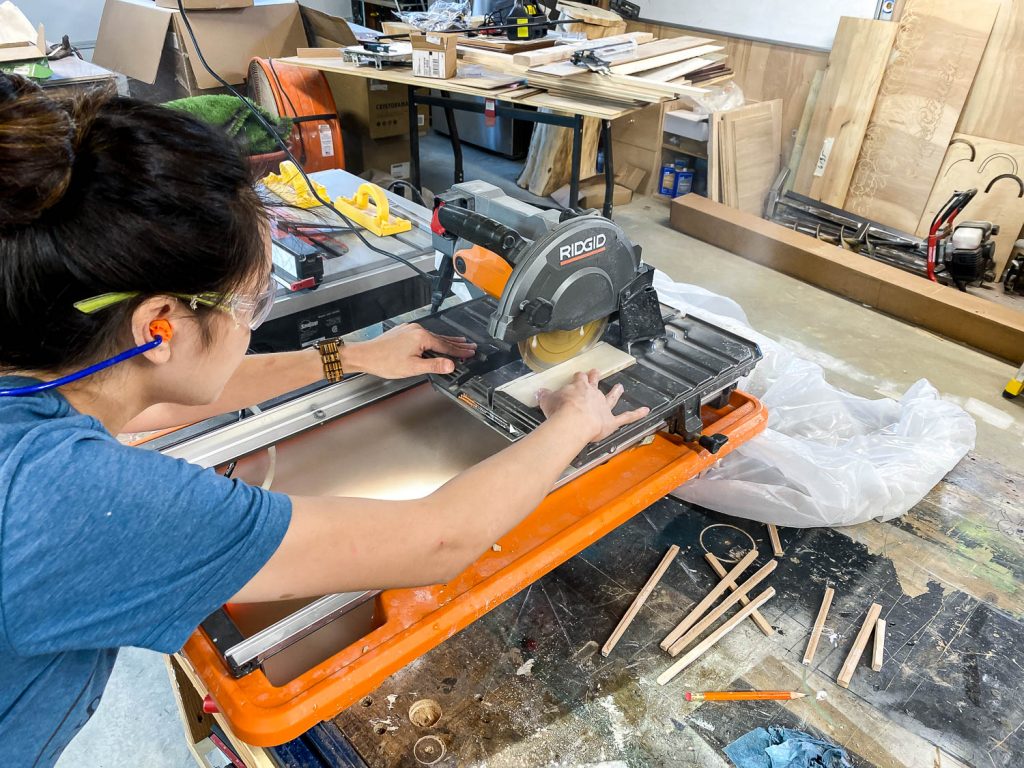
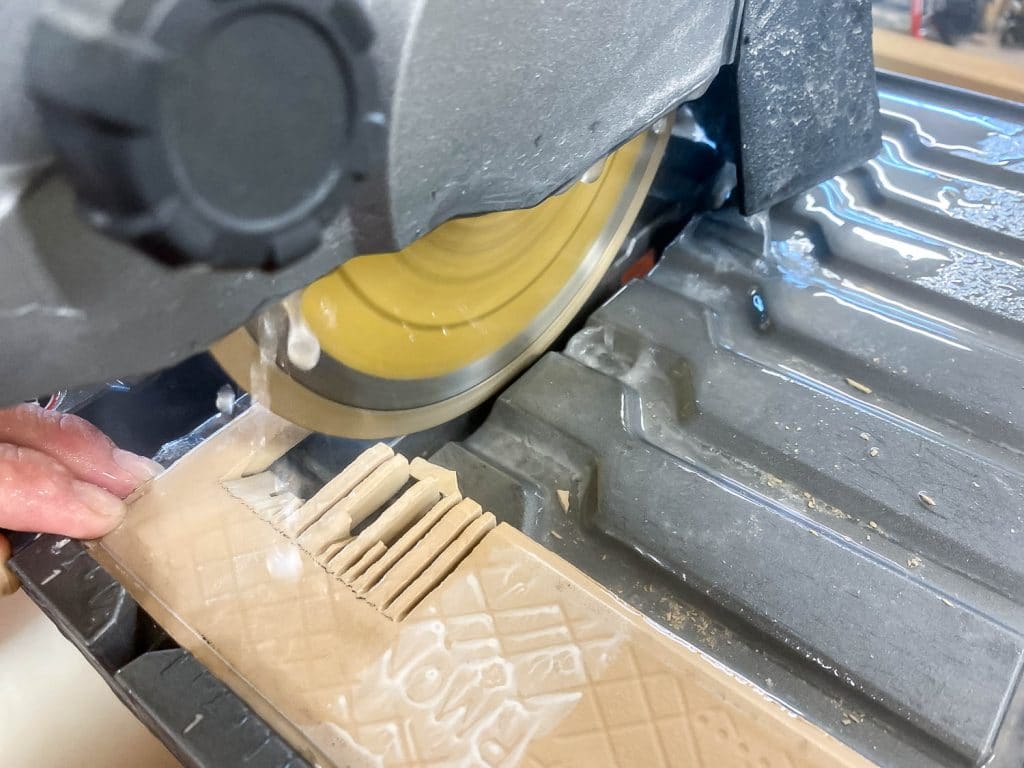
For more intricate cuts, like cutting around power outlets and light switches, I used my wet saw. I first made my marks, then took the tile to the wet tile saw. I made the first cut on the left mark, then moved to the right mark, then notched out the middle. Because the diamond blade is round, I had to flip the cut tile over and repeat those cuts to get as close to my mark as possible. Then I cleaned up any jagged edges with a diamond grit tile file. I was so pleased with how easy this tile was to cut and how precise the cuts were! I didn’t have any issues with the tile breaking or chipping. Also worth mentioning, I made sure the back of the tile was completely dry before placing it on the tile mat adhesive.
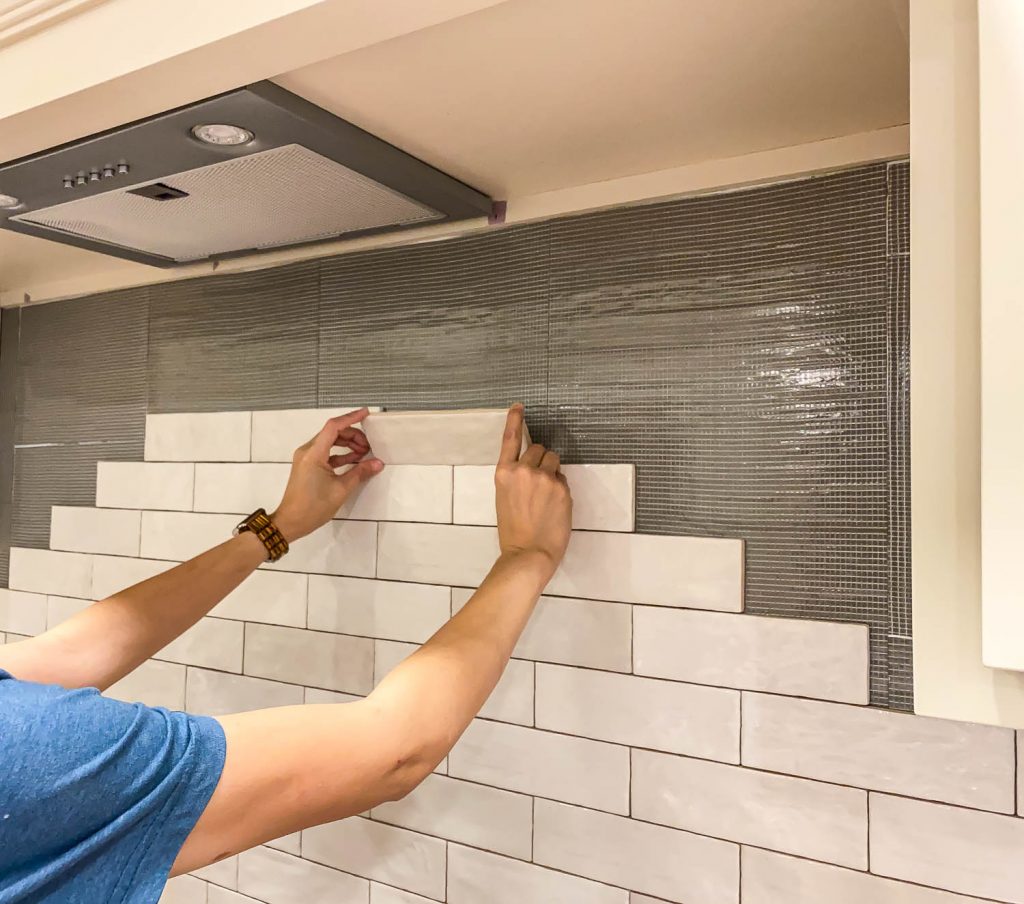
Because of careful planning and pre-meditated layout, the top row of my tiles just had to be shaved a little thinner to fit right under the cabinets. I quickly made these small cuts on the wet saw.
Step 4: Grout Tile and Cleanup
We’re in the homestretch now! After all of the tiles were on the wall, it’s time to grout. I love that I could grout immediately after laying the tile and I didn’t have to wait a whole day for mortar to dry. Instant gratification is my favorite kind.
I picked up a quart of pre-mixed grout, popped open the lid, gave it a quick stir, then started ‘smooshing’ the grout into the cracks with a grout float. I was surprised by the consistency of this pre-mixed grout – it was very much like my kids’ kinetic sand.
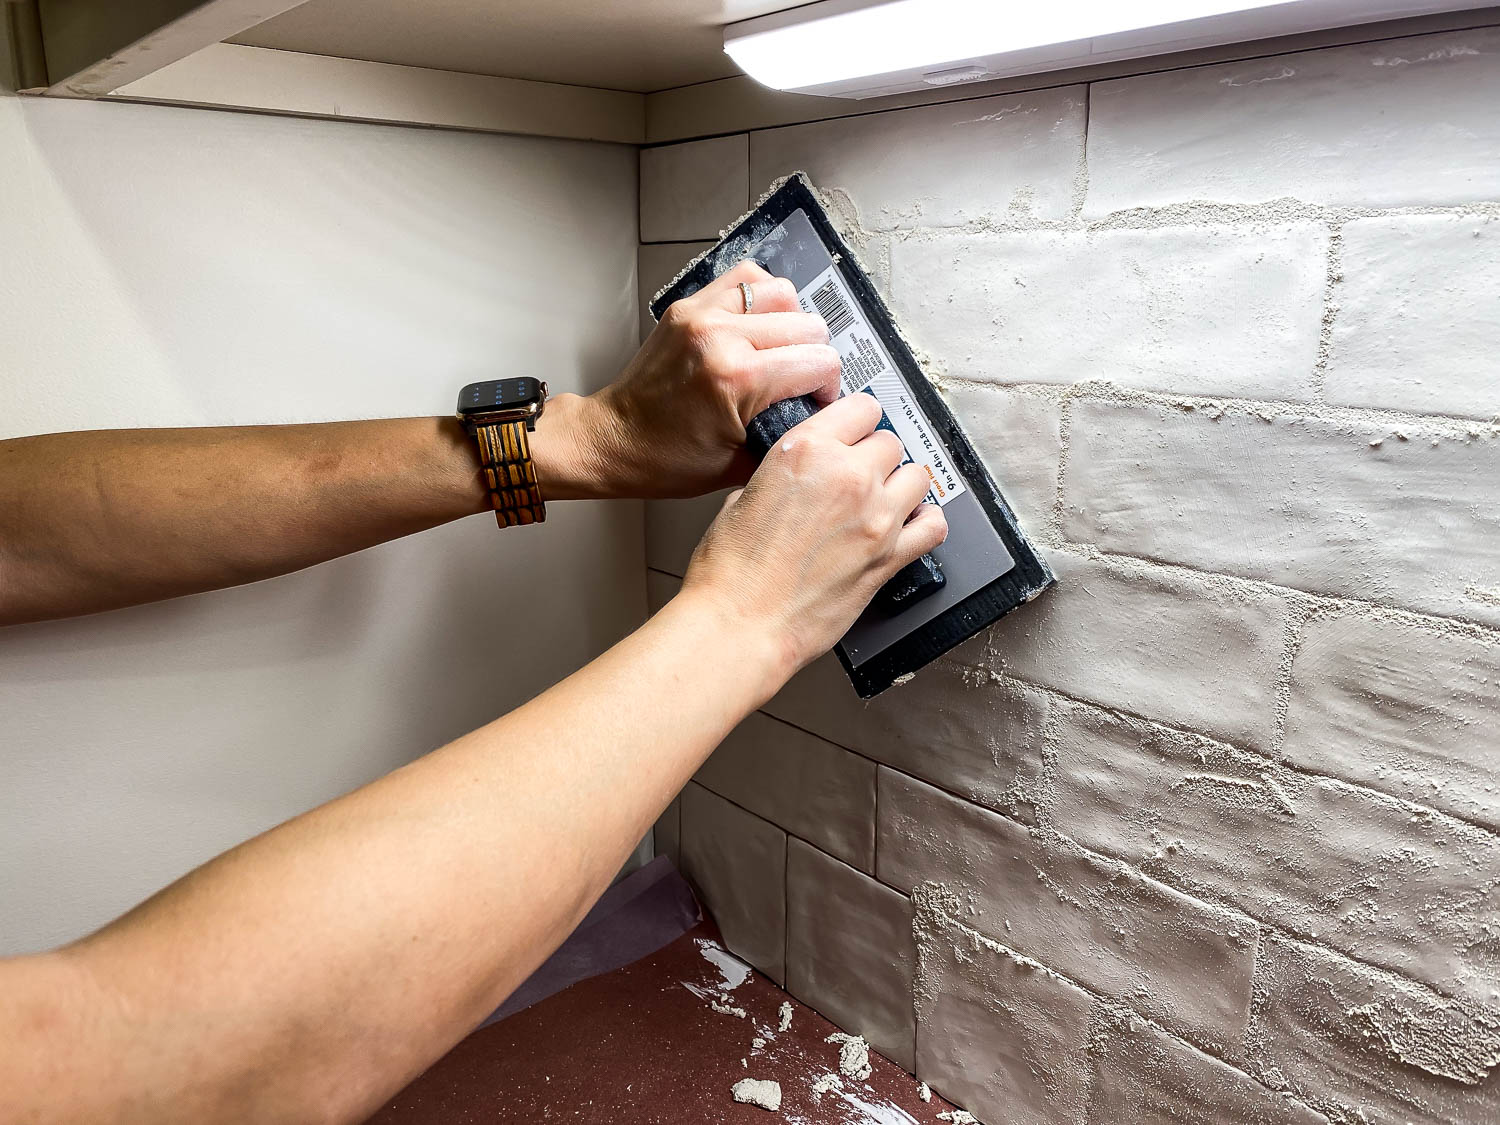
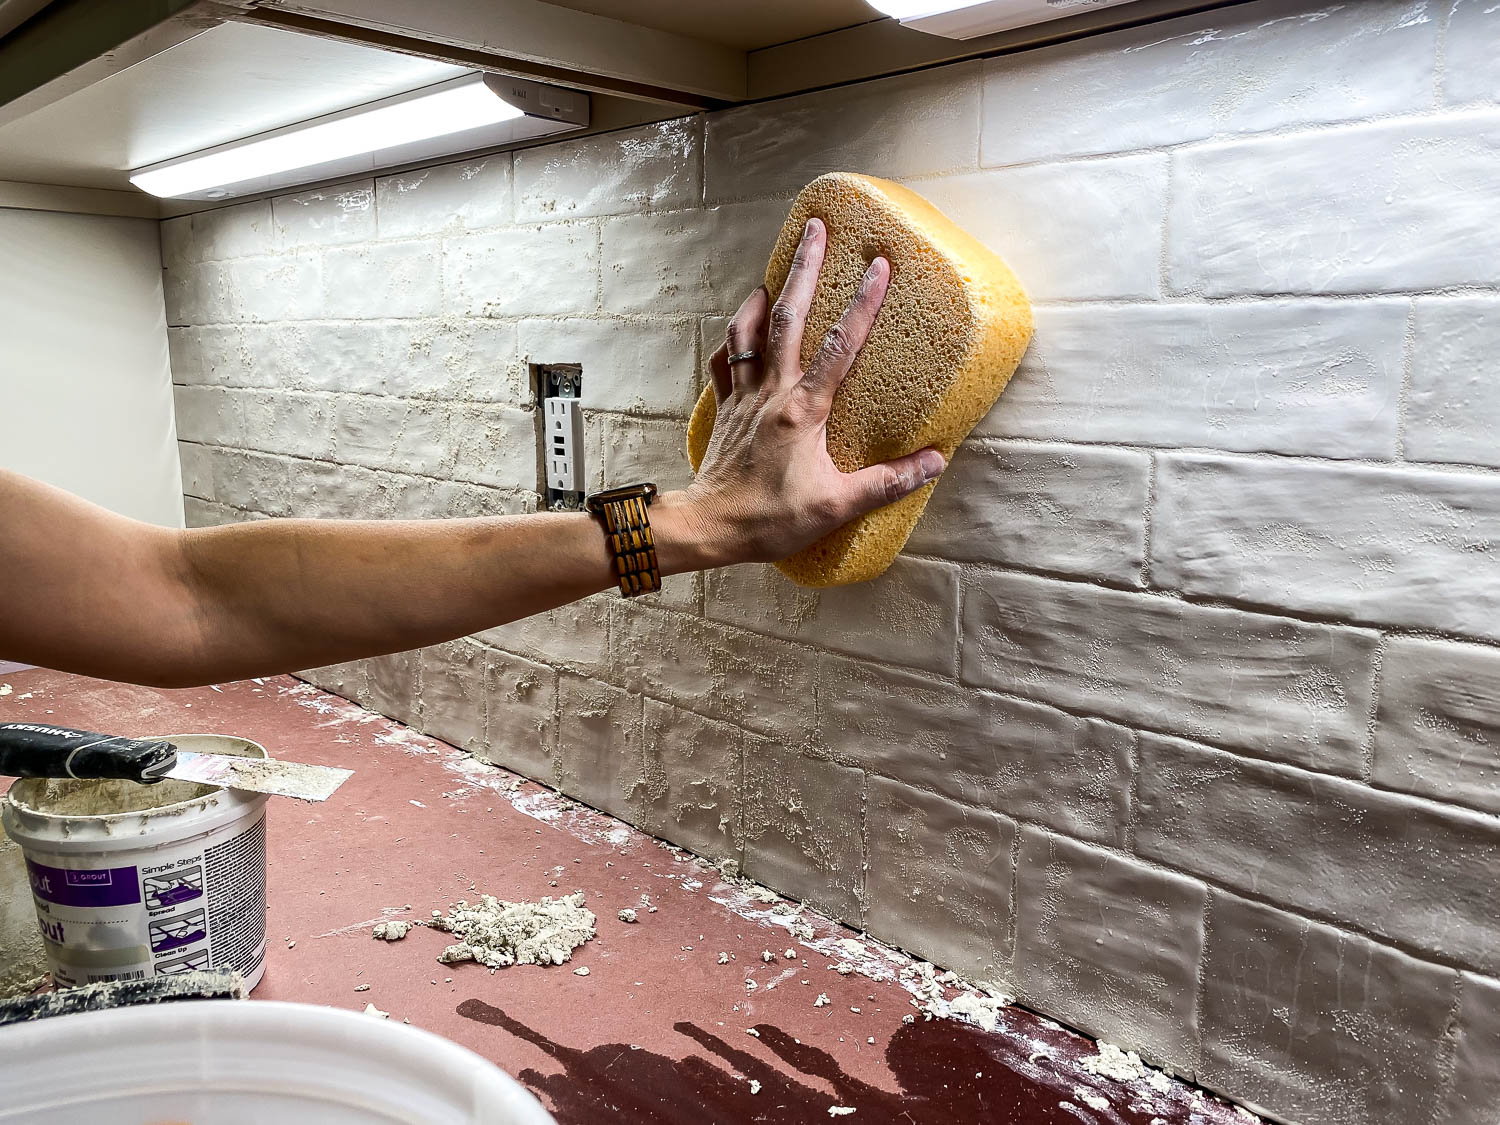
Fill a bucket with clean water and set it aside. Working in 2 square foot sections at a time, smoosh the grout into the cracks at a 45-degree angle with the rubber float, making sure there are no holes or gaps. Then wet the sponge and wring out as much water as possible – you want the sponge to be barely damp. Very lightly wipe the tiles and grout with the sponge, using circular motions. It takes a very light touch here – the idea is to clean the excess grout from the face of the tile, being careful not to remove it from the cracks. The damp sponge will also smooth out the grout lines as you’re working, which makes them really pretty (if grout can be pretty?).
Rinse the wet sponge and change out the water often so you’re getting the sponge as clean as possible. Repeat this until the grout is gone from the face of the tiles. Let the grout set for a few hours, then come back and remove any leftover grout haze with a dry paper towel.
Depending on which grout you use, you may need to apply an additional grout sealer. The pre-mixed grout that I used didn’t require this extra step.
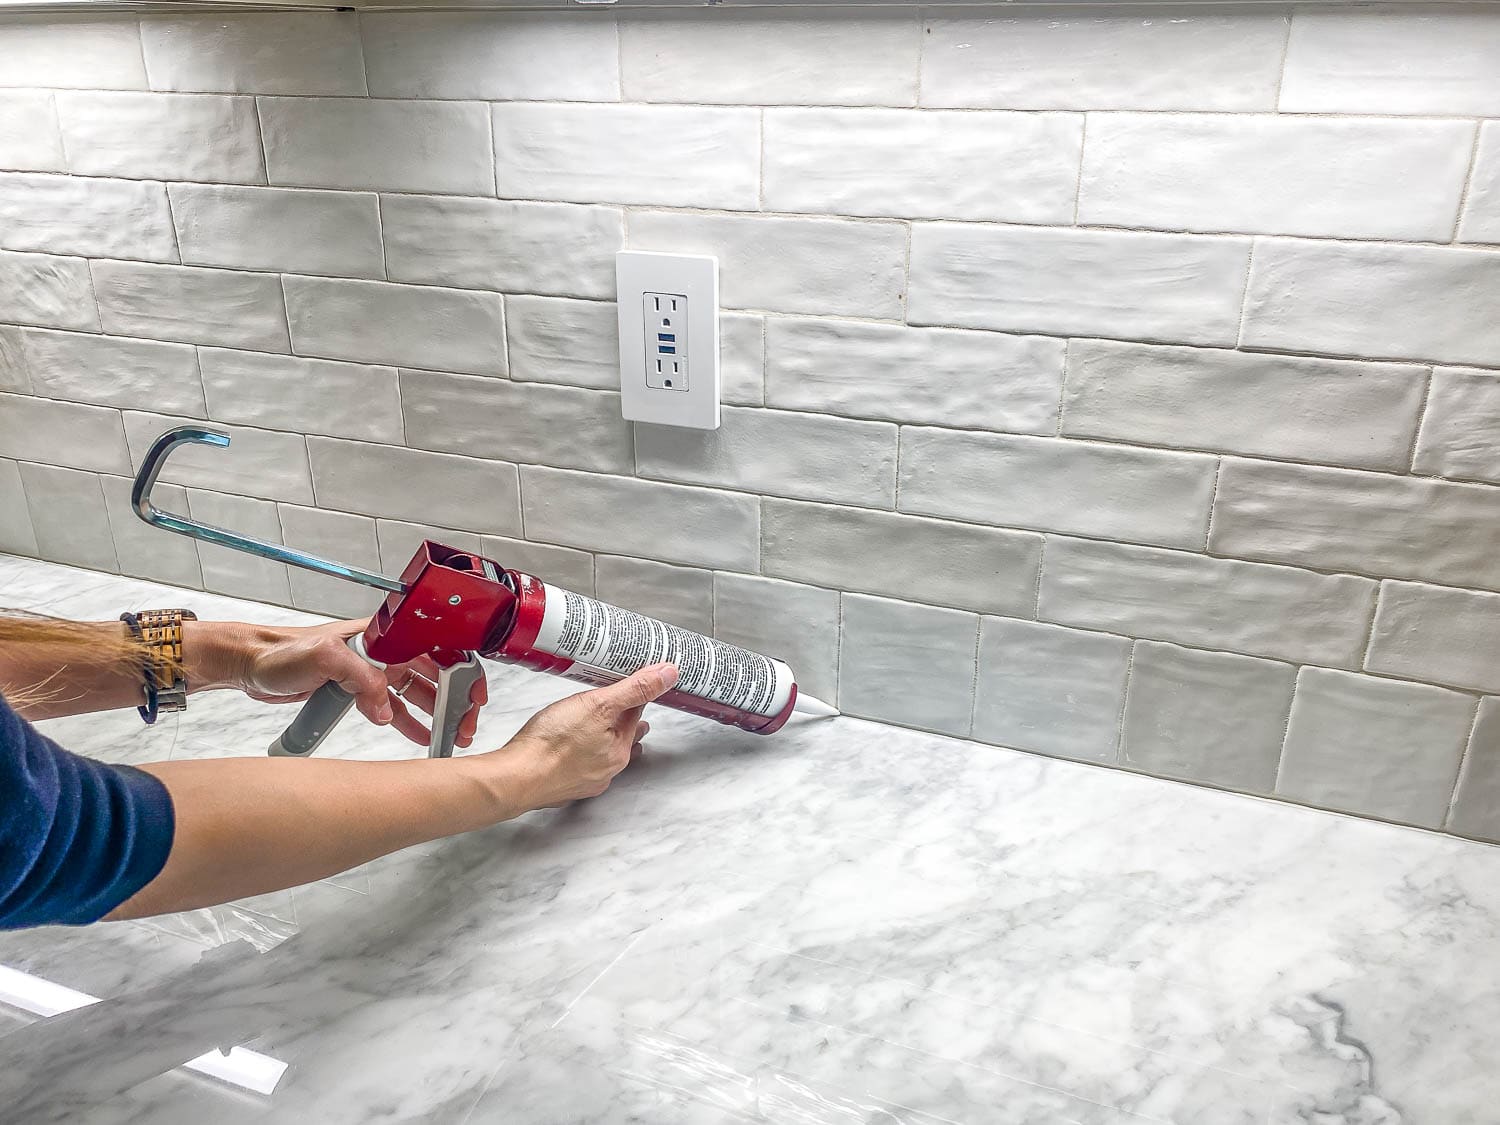
Step 5: Apply Silicone Sealant To The Perimeter
Finally, apply a thin bead of silicone sealant to the perimeter of the backsplash: the seams where the tile meets the countertop, walls, and just under the cabinetry. And you’re done! Step back and admire your beautiful, 1-day tile job!
Did you know tiling a backsplash could be so quick and easy (and NOT messy)?! There are a few final things left to check off our kitchen renovation list (appliance delivery and installation) and we’re calling it done! I. CANNOT. WAIT. Stay tuned for the full kitchen reveal!




This seems so much more doable than I thought with the wall sticky mat and premixed grout! Thanks for the details! Amazing as always!
This looks amazing!! Thank you for sharing your experience with the adhesive mat. Did you do any kind of wall prep? In your reel it looked like you sanded and primed the wall first.
You are inspiring me for my next project, thank you!
Thank you Kjersti! Yes, because we moved the power outlets, we had to patch, sand, and prime the drywall.
Hi Jen. Thanks so much for the inspiration. What color are the cabinets?
Thank you Kiki! The cabinets are antique white.
This is a great tutorial! I’m going to try it out!
This tile is exactly what I have been searching for can you tell me the brand? I´m interested in the 3×8 tiles.
Hi Josie,
The tiles are linked in the post! 🙂
This is a great tutorial! I’m going to try it out!
Great tips! I’m thinking about doing this in my kitchen and these steps will definitely help me get started on the right foot. Thanks for sharing!