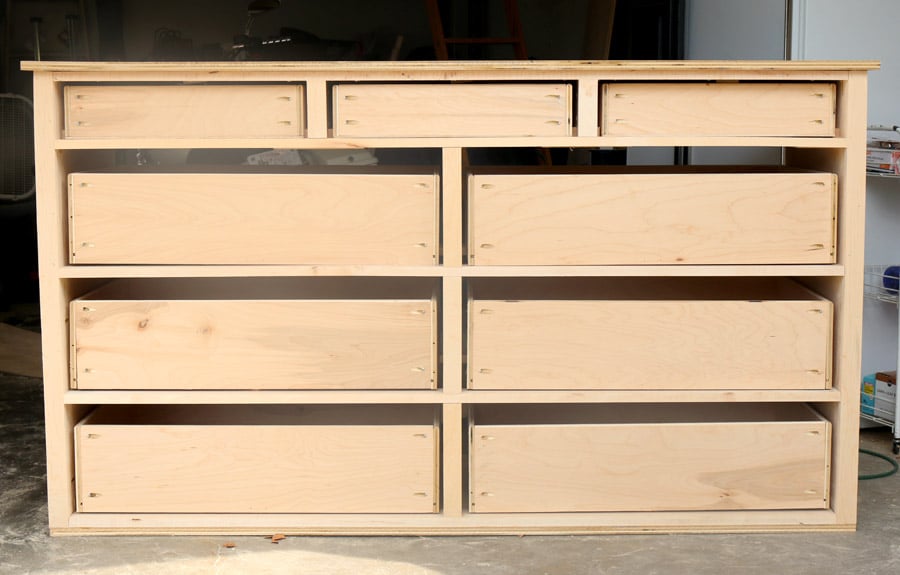
Welcome back, friends! Thanks for sticking with me through this long, drawn-out DIY dresser tutorial. Here’s where we left off:
 Read the complete tutorial:
- Part One: Building the Carcass
- Part Two: Building the Large Drawers
- Part Three: Building the Small Drawers
- Part Four: The Final Details (you’re here!)
 Okay, so next on the To Do list is to attach the drawer faces, all the decorative trim, install the bun feet, and staple the back panel on. Smooth sailing, right? Hahahahahahahaaaa… that’s what you think.
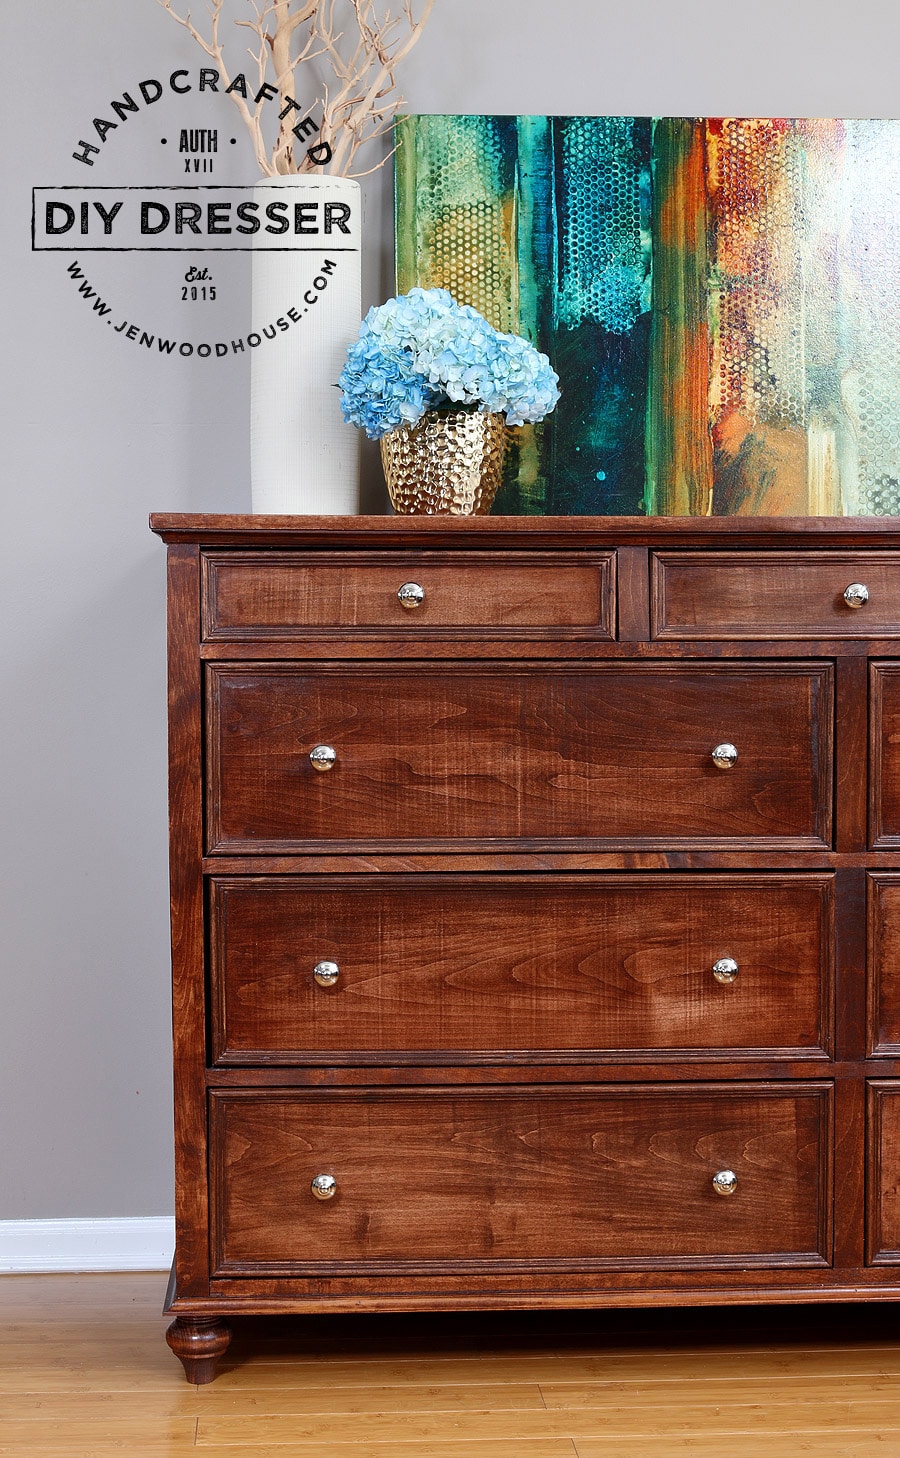
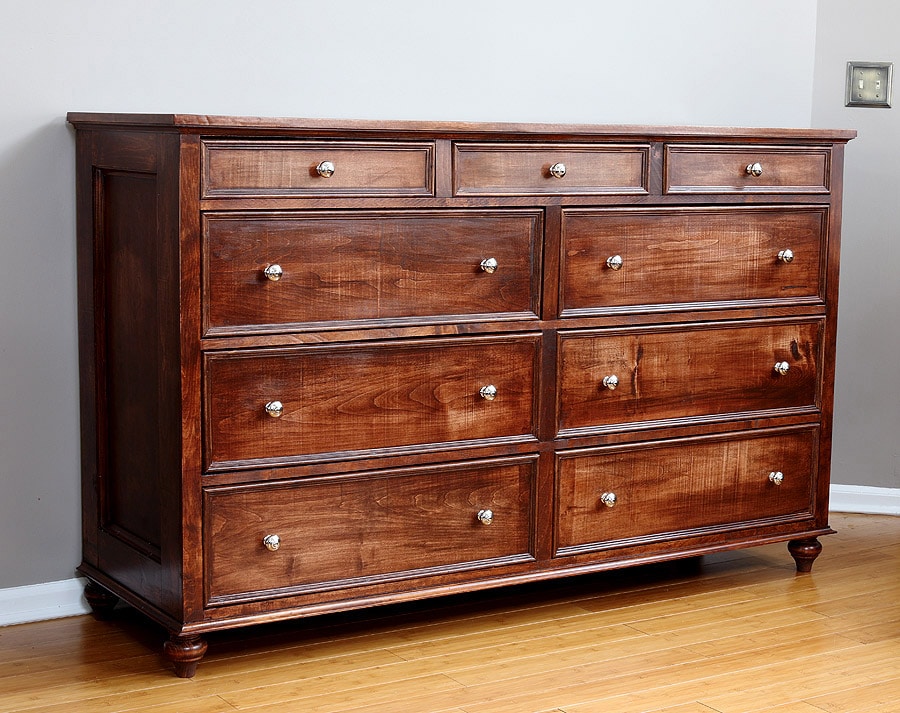
Wanna take a peek at how it finally turned out? Spoiler alert: all the blood, sweat, and tears were totally worth it.
 Alright. So let’s get this thing done already. Remember how I said that it would be smooth sailing from here on out? Yeeeeeahhhhh… about that. Watch the video below to see how I should have just kept my big fat mouth shut.
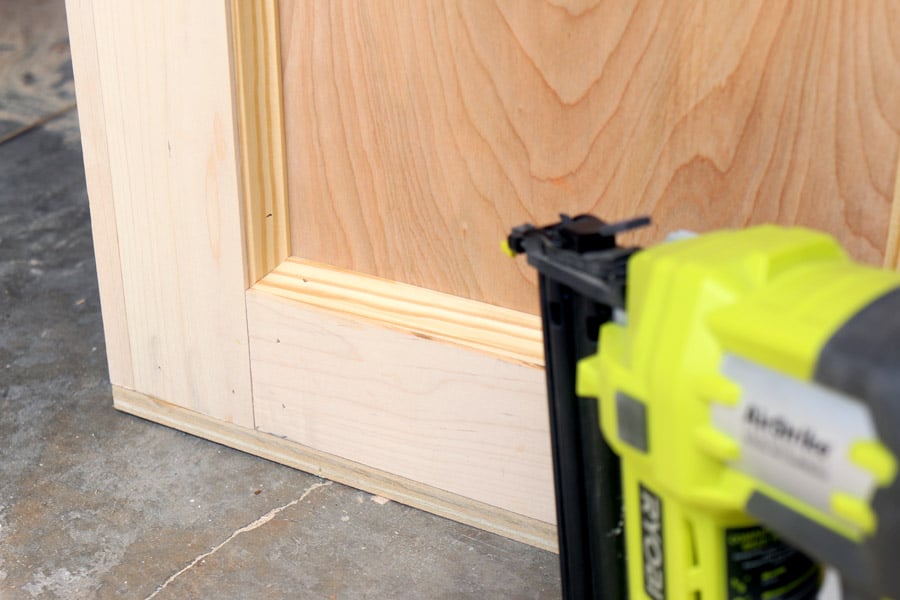
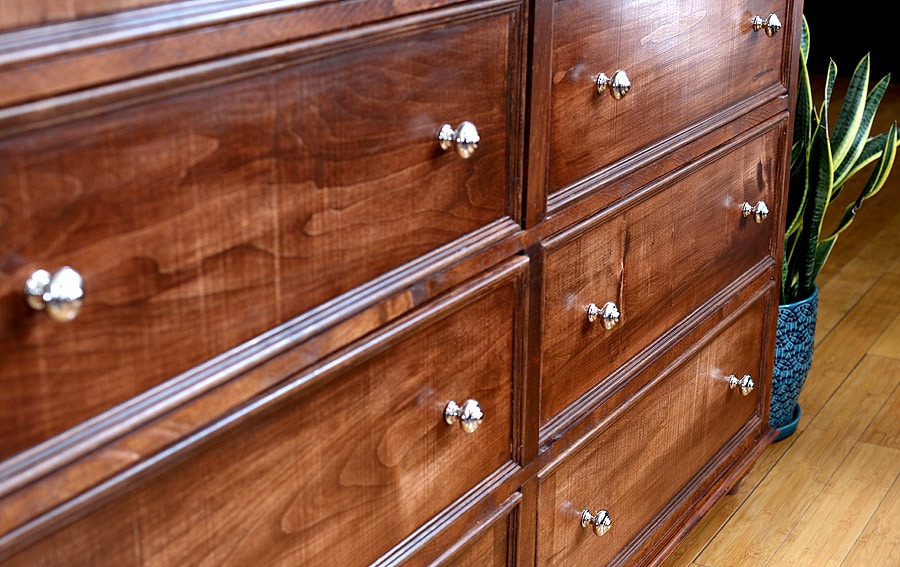
I cut the 3/4″ cove moulding to size, mitering the ends at a 45º angle then glued and nailed them to the side panels. It’s better to cut the trim to fit, instead of using a measuring tape. Cut it a bit long, then trim it down until it fits snugly. I also attached cove right under the table top and all along the bottom.
 Then I attached the drawer faces onto the drawers by gluing and nailing from the inside of the drawers. Because I tend to over-build, I also screwed 1″ pocket holes screws from the drawer sides into the drawer face.
 And here’s what happens when you attach the drawer face too low and have to remove the face and try again:
Well at least we know this thing is built solid like a rock. #overbuildersanonymous
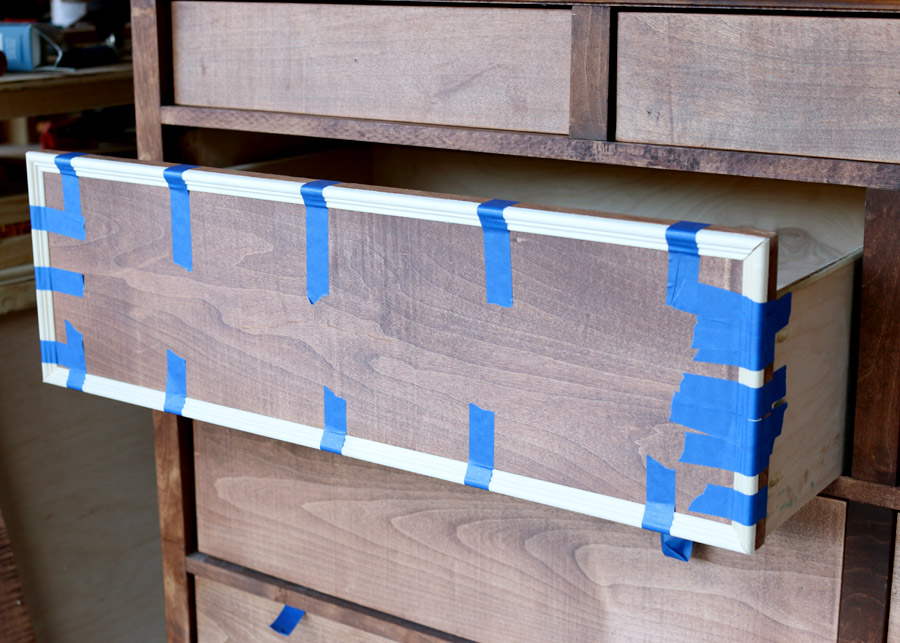
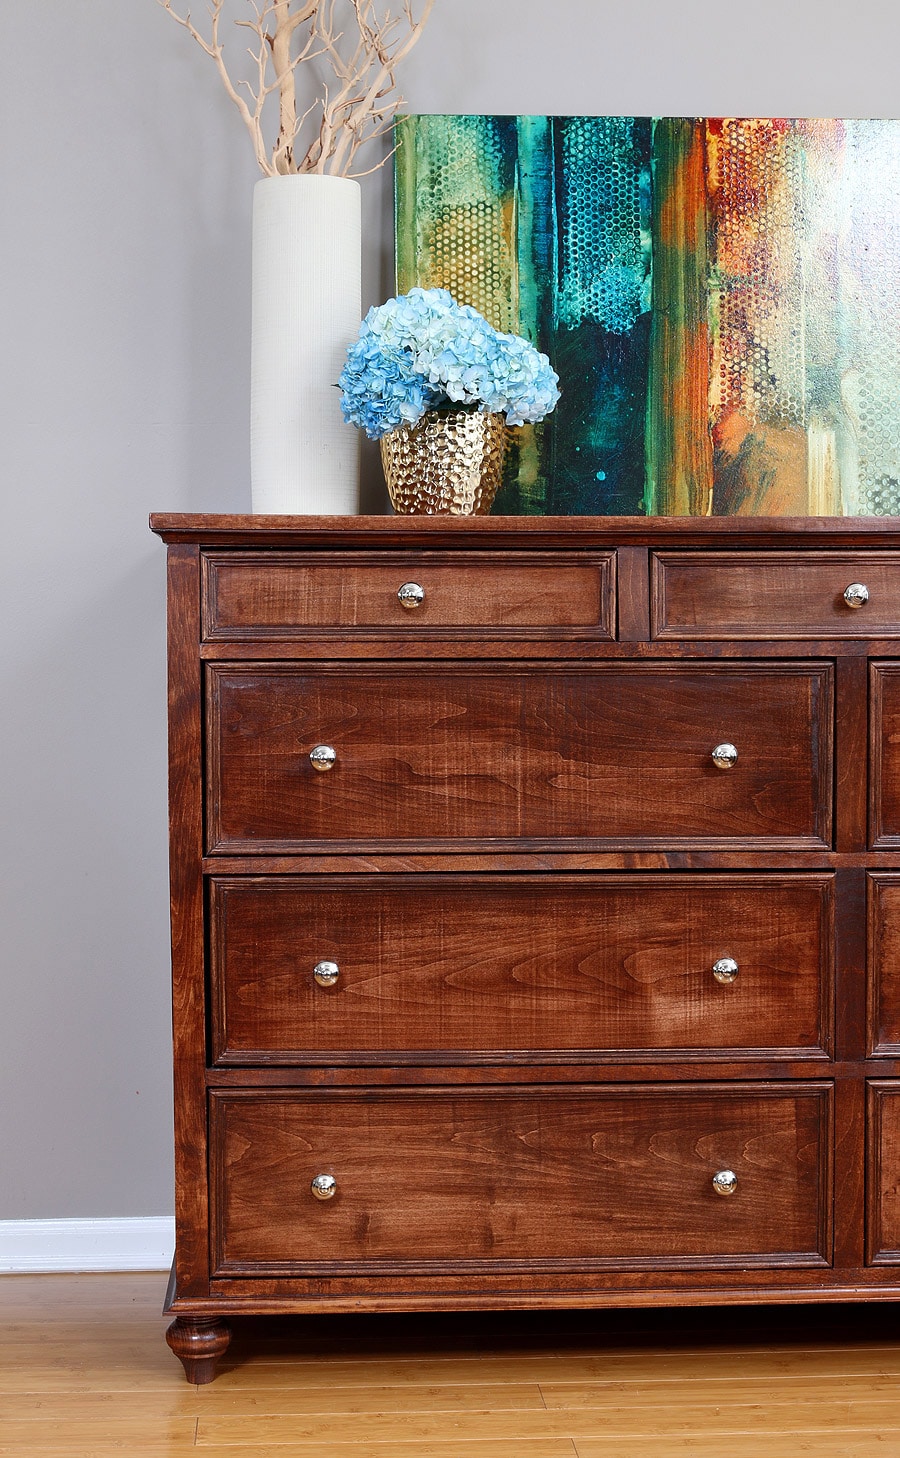
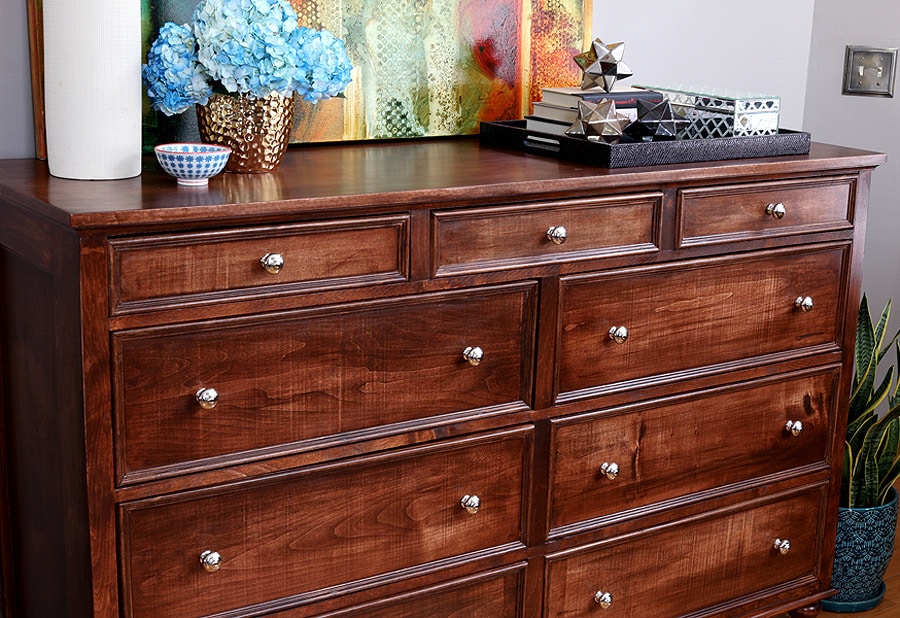
After I attached all the drawer faces (correctly!), it was time to add the decorative trim. Once again, hold up the trim, mark it, and cut it to fit, mitering the ends at 45º. I used painter’s tape to hold the trim in place while the glue dried. Then I went back and shot a few brad nails in there just for good measure.
 Do you like my drawer pulls? So fancy!
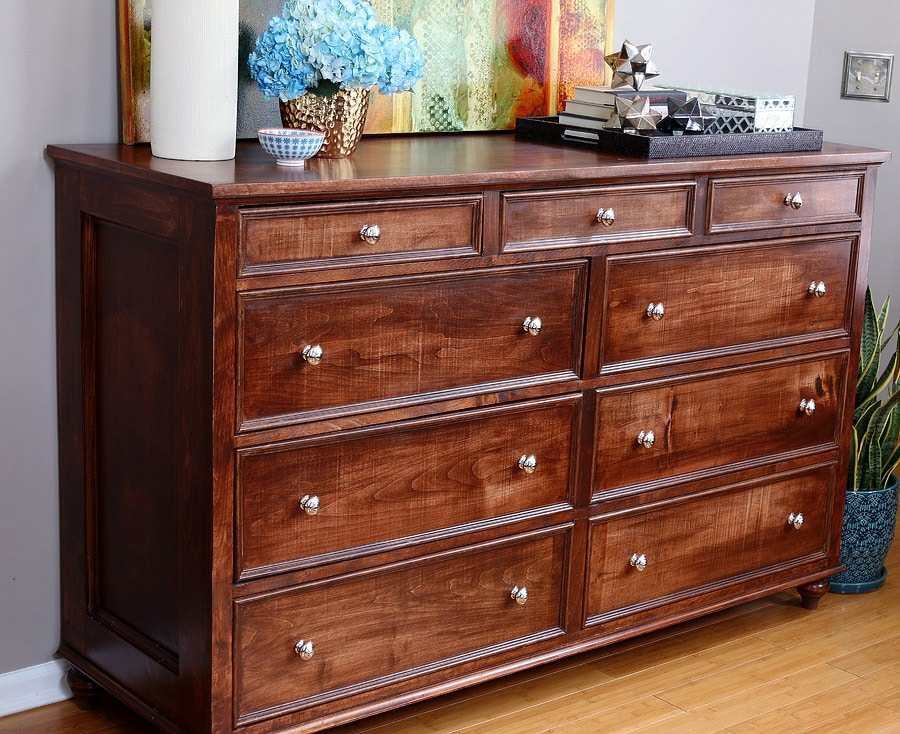
Next, I attached the bun feet the same way I did here, using my hanger bolt/tee nut combination then stapled the back panel on. I finished it the same way I finished my dad’s printer table, using stain, glaze, toner, and polyurethane. The in-depth finishing tutorial can be found here.
And after months and months of blood, sweat, and tears, I’d like to take a moment to revel in the fact that this beast is finally (fiiiiinally!) done:
 Thanks for sticking with me throughout this long, and – at times – tearfully frustrating moments in building this massive 9-drawer dresser. I realize I put way too much unnecessary pressure on myself when building this dresser, but I felt I had to because I was building this dresser for my brother-in-law and his wife (sister-in-law?). This dresser would be a piece of furniture that they would live with daily, so it had to be as close to perfect as I could make it. Of course, I knew it would never be perfect, because wood moves and changes, expands and contracts with temperature and humidity changes, but I still agonized over every detail at every step. #howiroll
 At one point, I lamented to my husband, “What if they don’t like it? What if the drawers stick, then they’ll wonder why you ever married me! They’ll think I’m a failure at life!”
Of course, my brother- and sister-in-law are wonderful, loving people who would never think such cruel thoughts, but it’s amazing how my own insecurities will overrun logic and truth. And though this dresser is not perfect, it’s the absolute best I could offer at this point in my skill level.
 While this build was my most challenging project, I think I pretty much made all the mistakes for you, so it should be a breeze for you to build, right? Ha. Riiiiight. I certainly don’t say this to discourage you. In fact, I want to do just the opposite. I want you to know that I am far from perfect; I make a lot of mistakes along the way and though it may be frustrating and difficult at times, you can do it. If I can do it, then you can too. If you are willing to invest a bit of determination, patience, and problem-solving skills, building your own furniture is absolutely one of the most gratifying and empowering things to undertake.
 Oh, and here’s the whole set:
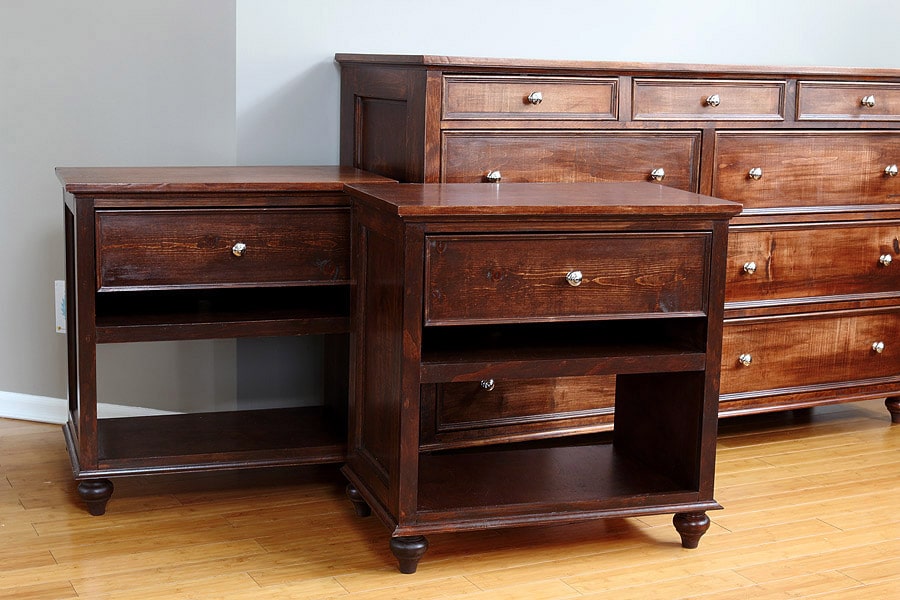
You’ll find the building plans and tutorial for the matching nightstands here.
 And guess what? Turns out, my brother-in-law and his wife LOVE their new dresser and nightstands. And I’m thrilled that they’re thrilled. They are absolutely worth all the love, time, blood, sweat, and tears it took.
Donny and Carisa, I love you guys.
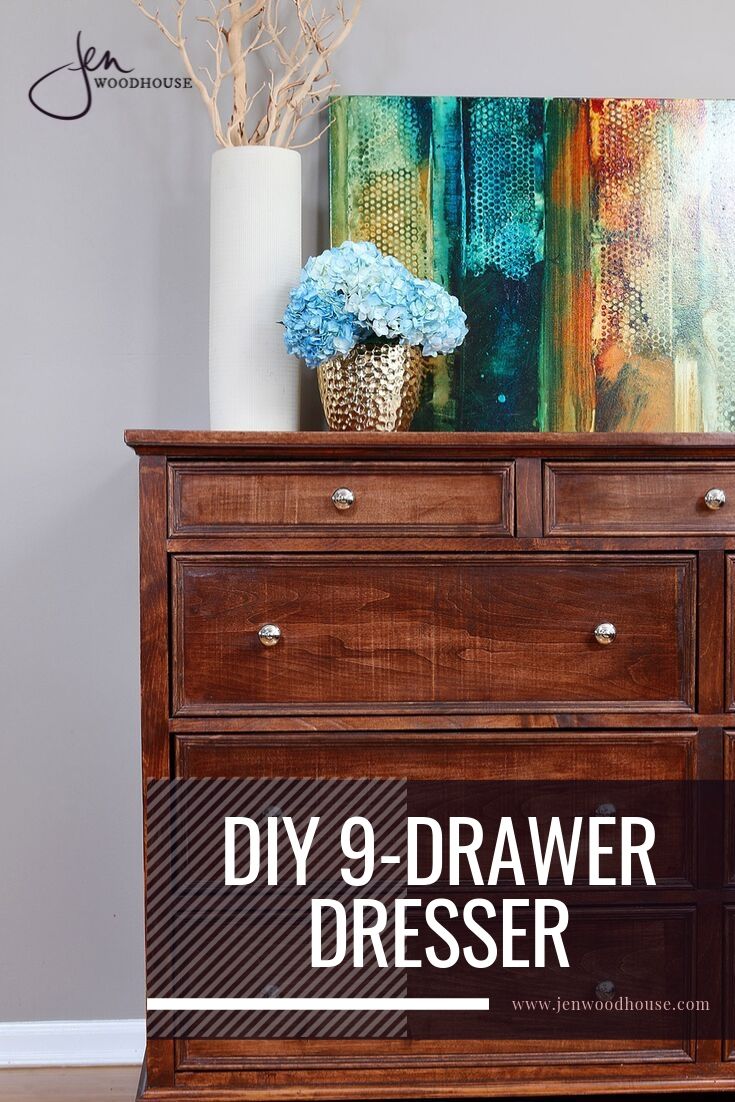
Pin it for later!


I am studying the plans for this dresser and can’t wait to start building it. Looking at the material and cut lists I see it calls for seven 1″x3″x8′ pieces to produce ten 63″ long rails. The linear feet might be there, but it’s impossible to get ten solid rails from seven 8′ boards. You need ten boards, hopefully 6′ long.
Other than that I’ve decided to use cleats in the cabinet and grooves on the drawer sides for the smaller drawers to avoid metal hardware, and I’ll probably attach the trim strips to the sides before attaching them to the base. I also worked out that it takes around 100′ (plus extra jik) of molding to do all the trim so you’ve given me an excuse to start making my own molding. Save some cash and have some fun.
This DIY dresser project looks amazing! I love the step-by-step instructions and the tips on choosing the right wood. Can’t wait to give it a try! Thanks for sharing!
I loved this post! The step-by-step instructions were super clear, and the tips about wood choices were really helpful. Can’t wait to try building my own dresser now!
This is such a fantastic guide! I love how detailed the instructions are, making it seem doable even for a beginner like me. Can’t wait to try building my own dresser—thanks for the inspiration!