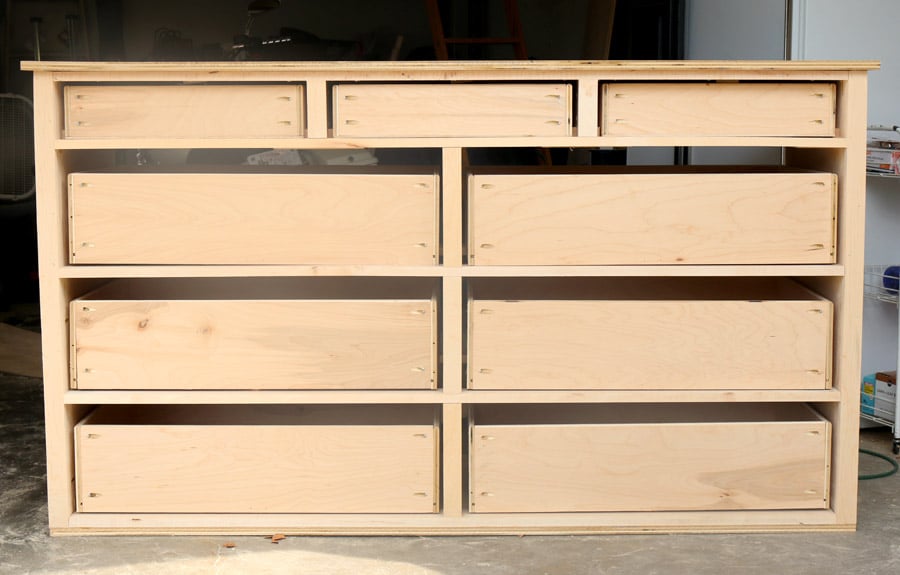
Welcome back, friends! Thanks for sticking with me through this long, drawn-out DIY dresser tutorial. Here’s where we left off:
 Read the complete tutorial:
- Part One: Building the Carcass
- Part Two: Building the Large Drawers
- Part Three: Building the Small Drawers
- Part Four: The Final Details (you’re here!)
 Okay, so next on the To Do list is to attach the drawer faces, all the decorative trim, install the bun feet, and staple the back panel on. Smooth sailing, right? Hahahahahahahaaaa… that’s what you think.
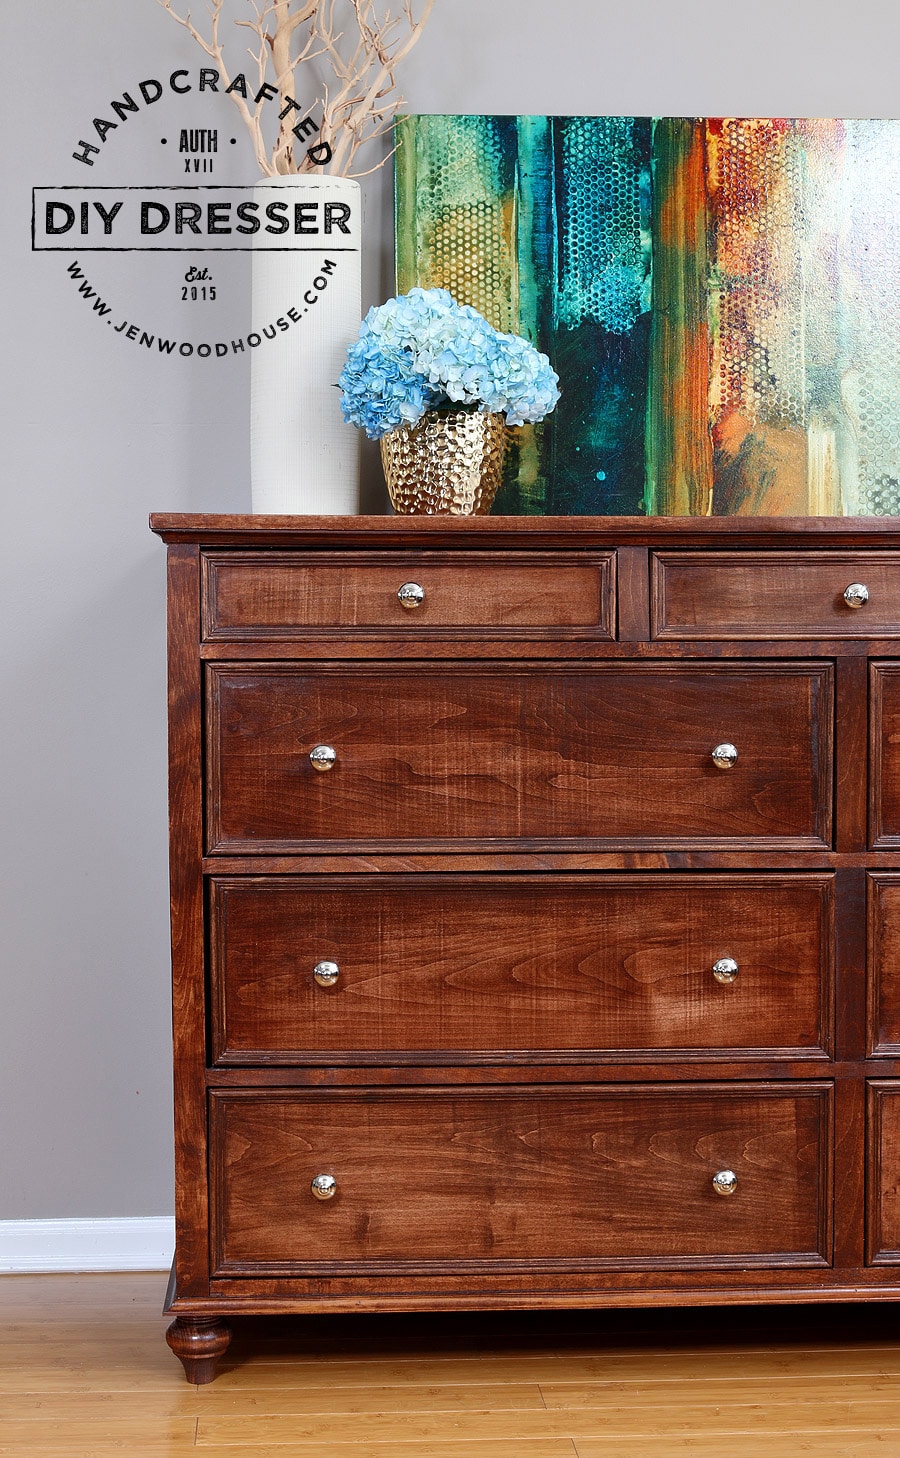
Wanna take a peek at how it finally turned out? Spoiler alert: all the blood, sweat, and tears were totally worth it.
 Alright. So let’s get this thing done already. Remember how I said that it would be smooth sailing from here on out? Yeeeeeahhhhh… about that. Watch the video below to see how I should have just kept my big fat mouth shut.
I cut the 3/4″ cove moulding to size, mitering the ends at a 45º angle then glued and nailed them to the side panels. It’s better to cut the trim to fit, instead of using a measuring tape. Cut it a bit long, then trim it down until it fits snugly. I also attached cove right under the table top and all along the bottom.
 Then I attached the drawer faces onto the drawers by gluing and nailing from the inside of the drawers. Because I tend to over-build, I also screwed 1″ pocket holes screws from the drawer sides into the drawer face.
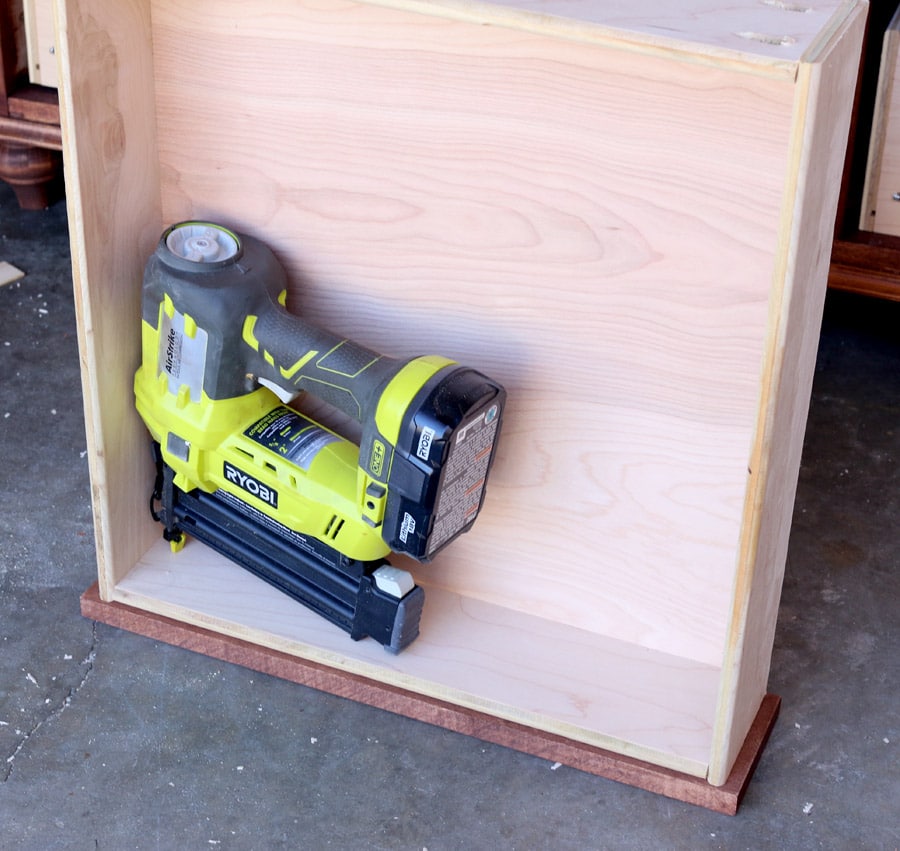 And here’s what happens when you attach the drawer face too low and have to remove the face and try again:
Well at least we know this thing is built solid like a rock. #overbuildersanonymous
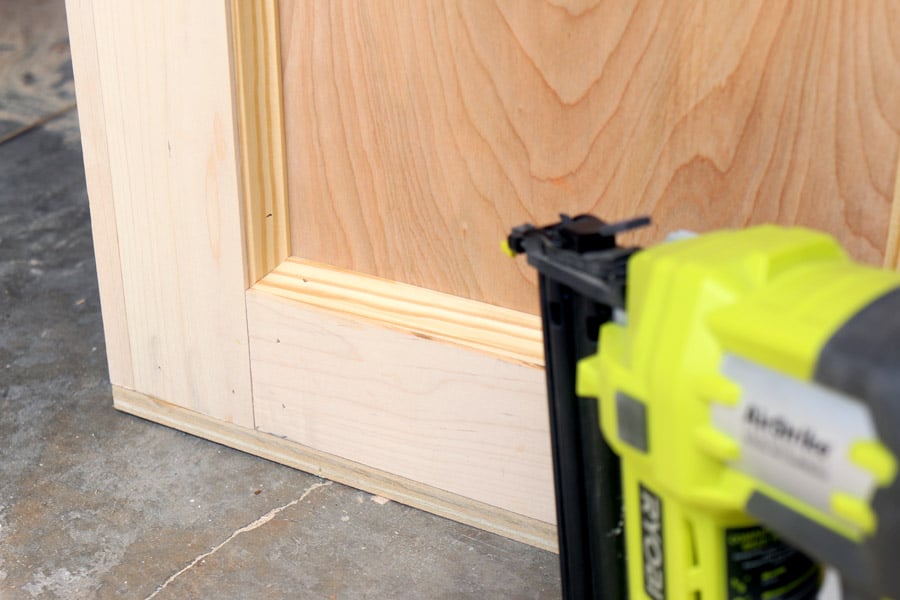
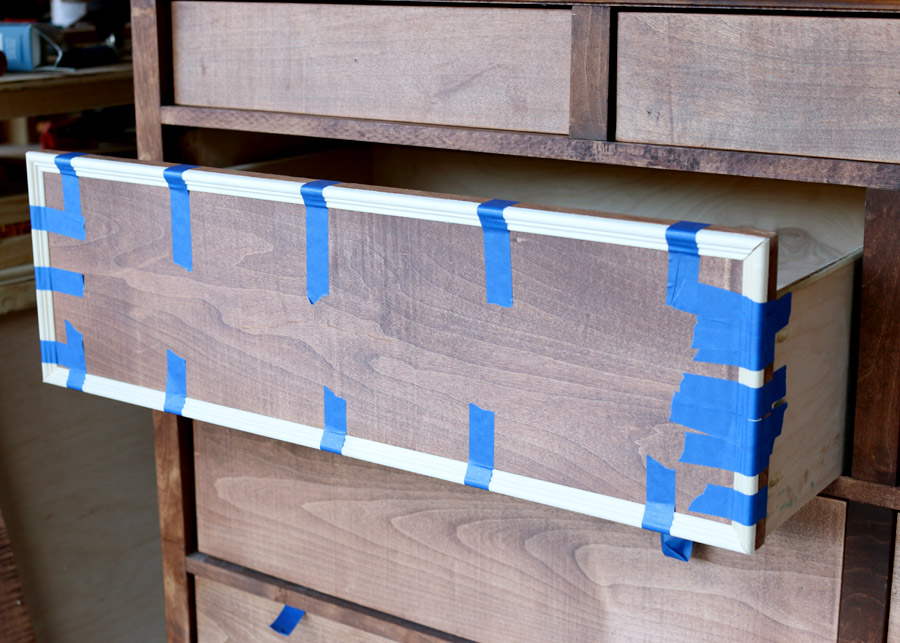
After I attached all the drawer faces (correctly!), it was time to add the decorative trim. Once again, hold up the trim, mark it, and cut it to fit, mitering the ends at 45º. I used painter’s tape to hold the trim in place while the glue dried. Then I went back and shot a few brad nails in there just for good measure.
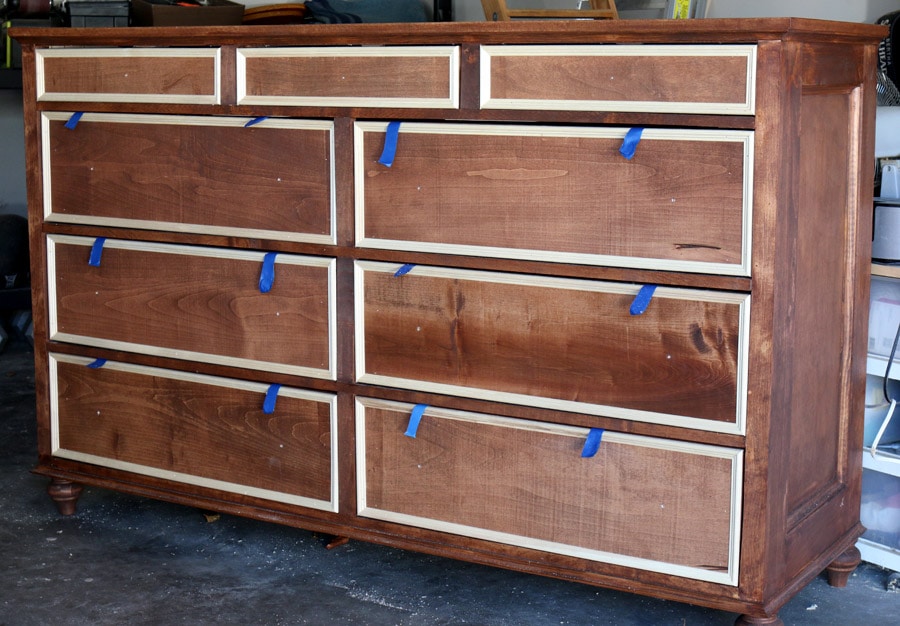 Do you like my drawer pulls? So fancy!
Next, I attached the bun feet the same way I did here, using my hanger bolt/tee nut combination then stapled the back panel on. I finished it the same way I finished my dad’s printer table, using stain, glaze, toner, and polyurethane. The in-depth finishing tutorial can be found here.
And after months and months of blood, sweat, and tears, I’d like to take a moment to revel in the fact that this beast is finally (fiiiiinally!) done:
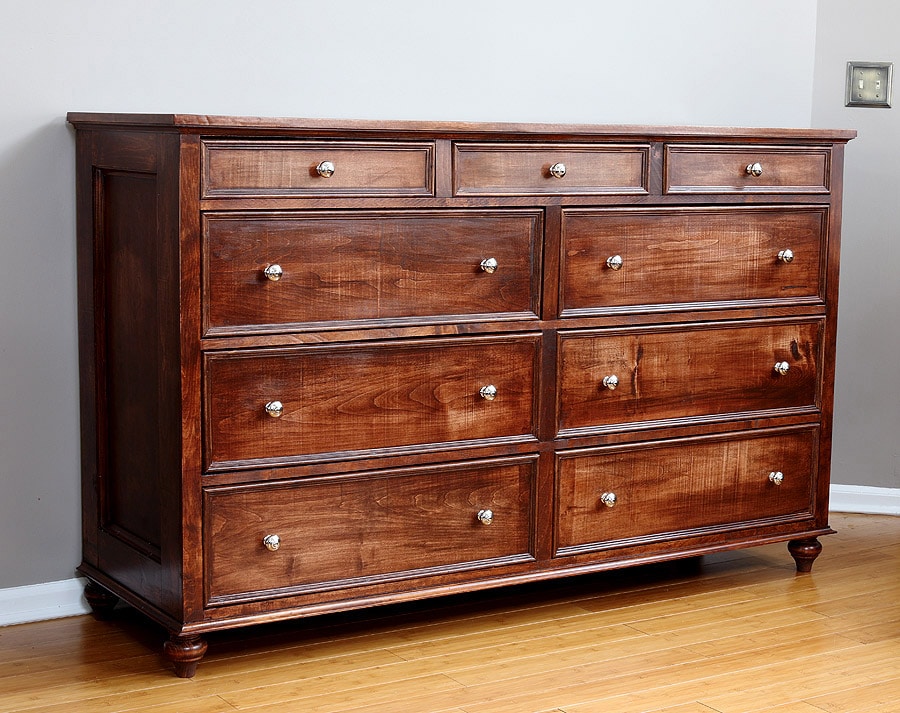 Thanks for sticking with me throughout this long, and – at times – tearfully frustrating moments in building this massive 9-drawer dresser. I realize I put way too much unnecessary pressure on myself when building this dresser, but I felt I had to because I was building this dresser for my brother-in-law and his wife (sister-in-law?). This dresser would be a piece of furniture that they would live with daily, so it had to be as close to perfect as I could make it. Of course, I knew it would never be perfect, because wood moves and changes, expands and contracts with temperature and humidity changes, but I still agonized over every detail at every step. #howiroll
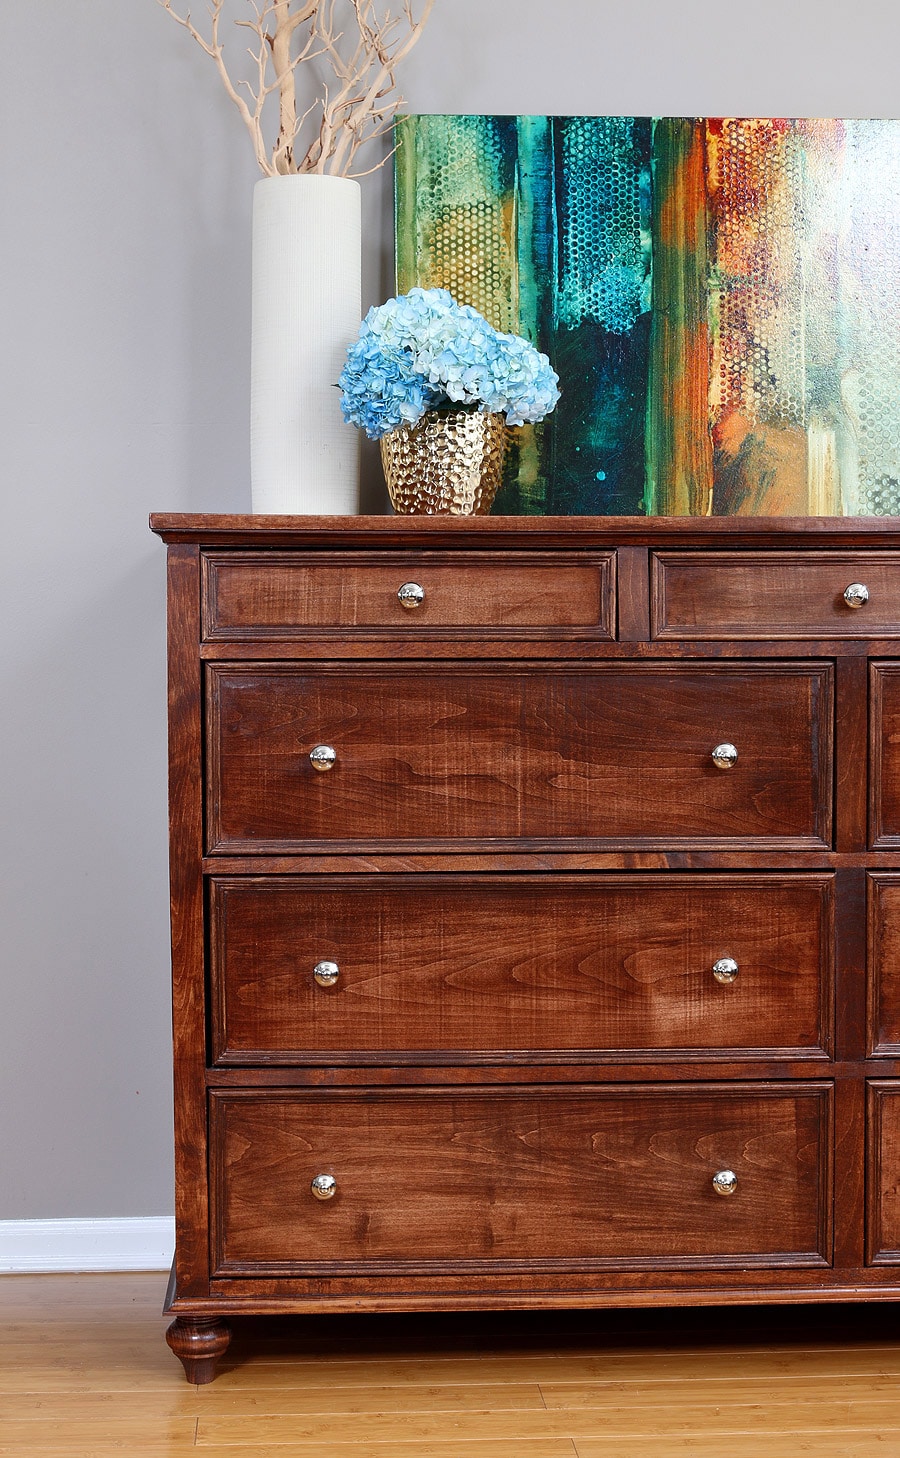 At one point, I lamented to my husband, “What if they don’t like it? What if the drawers stick, then they’ll wonder why you ever married me! They’ll think I’m a failure at life!”
Of course, my brother- and sister-in-law are wonderful, loving people who would never think such cruel thoughts, but it’s amazing how my own insecurities will overrun logic and truth. And though this dresser is not perfect, it’s the absolute best I could offer at this point in my skill level.
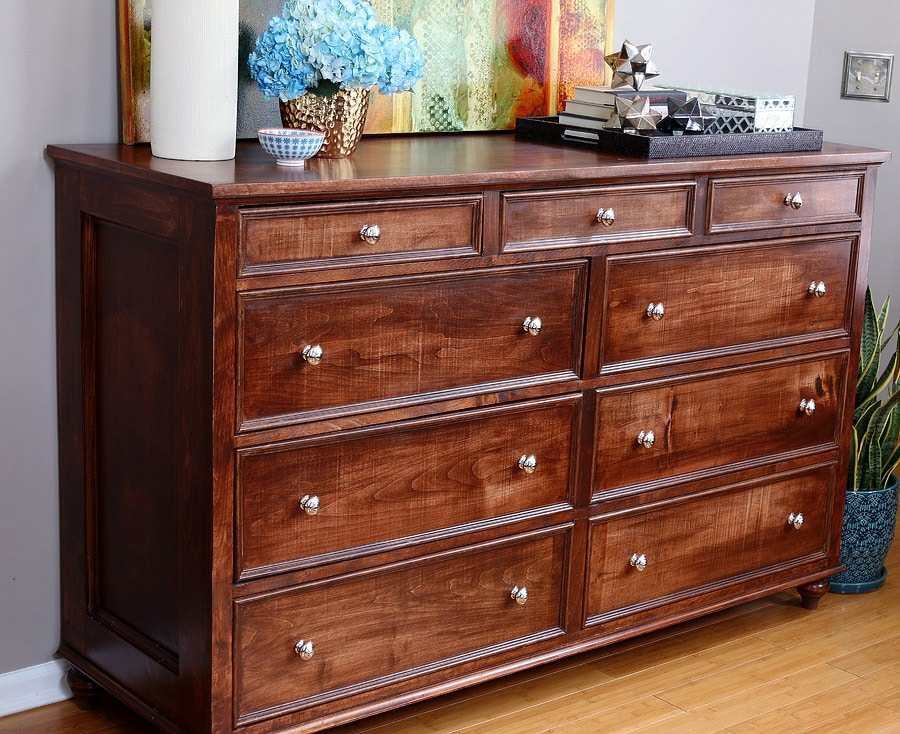 While this build was my most challenging project, I think I pretty much made all the mistakes for you, so it should be a breeze for you to build, right? Ha. Riiiiight. I certainly don’t say this to discourage you. In fact, I want to do just the opposite. I want you to know that I am far from perfect; I make a lot of mistakes along the way and though it may be frustrating and difficult at times, you can do it. If I can do it, then you can too. If you are willing to invest a bit of determination, patience, and problem-solving skills, building your own furniture is absolutely one of the most gratifying and empowering things to undertake.
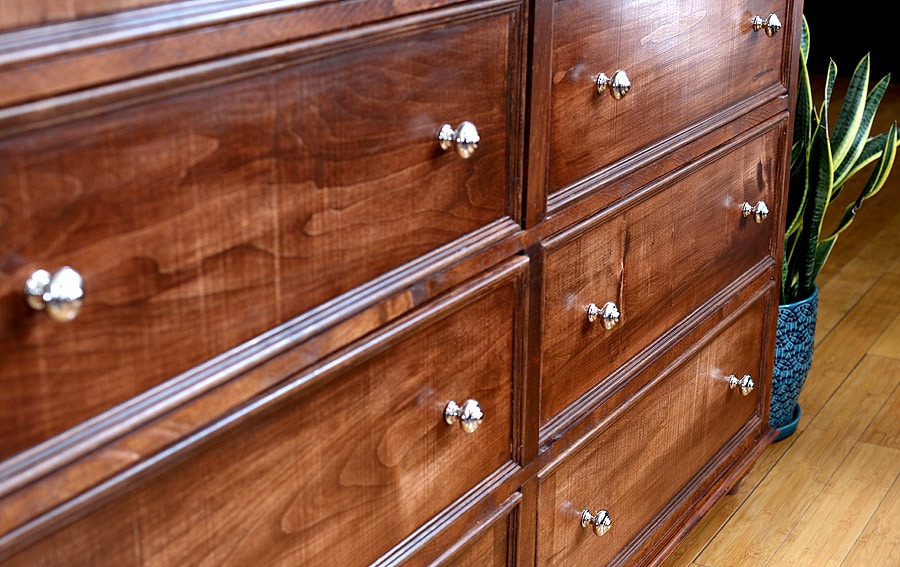 Oh, and here’s the whole set:
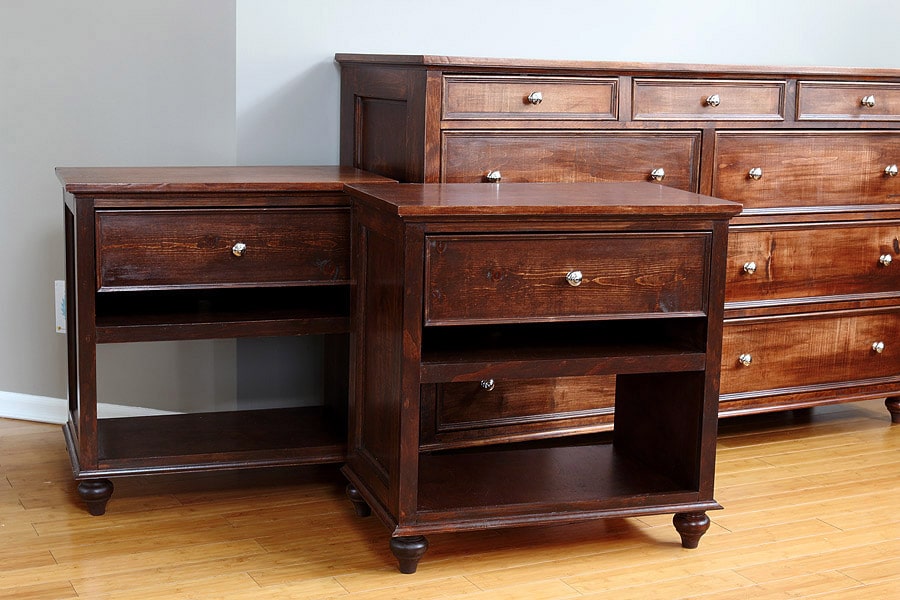
You’ll find the building plans and tutorial for the matching nightstands here.
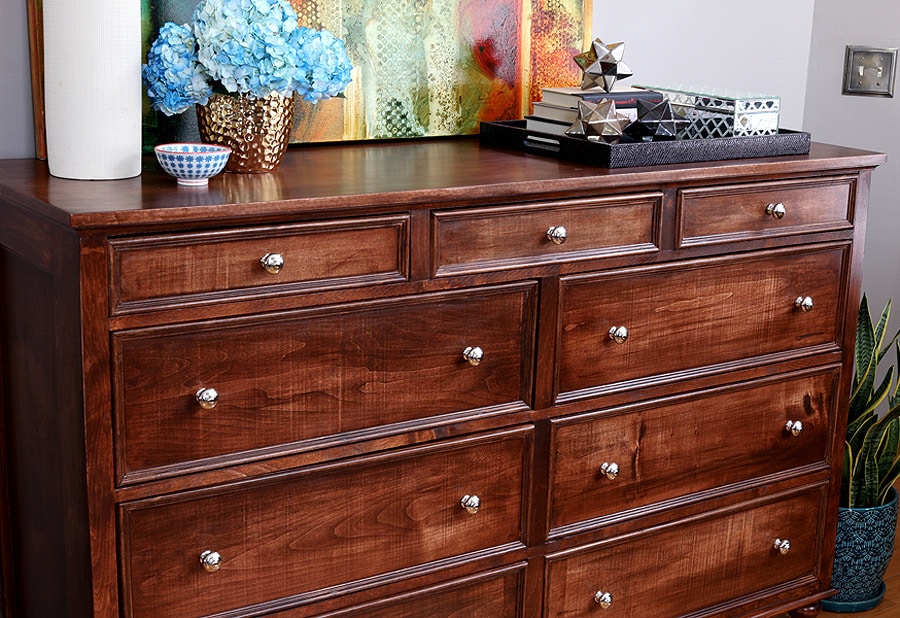 And guess what? Turns out, my brother-in-law and his wife LOVE their new dresser and nightstands. And I’m thrilled that they’re thrilled. They are absolutely worth all the love, time, blood, sweat, and tears it took.
Donny and Carisa, I love you guys.
Pin it for later!


They are all beautiful! Yes, you’ll get nothing but better with each build. I love how just the simple addition of that molding makes it look so much more high-end than without! Thanks for sharing, especially the things you learned.
Thank you for the encouraging words!
Jen, really love the way this one came out! The moulding, the legs, the hardware, lots of great finishing touches!
Very cool…
Jen,
When did you stain everything?
Sorry, lots of questions as I build this. Also, did you sand anything as you went or at the end? Some of my cuts ended up with some splinters near the ends.
I usually save the finishing steps until the project is built completely. It’s a good idea to do this as you go, but I’m usually too impatient and just want to get the thing built first, then do the sanding, staining, and finishing.
I noticed the plans called for 7 1×8’s however I could not find anywhere in them where I needed them. Can you help with this?
Thanks
Great catch! Thank you for bringing that mistake to my attention. The 1x8s were initially for building the drawer boxes, but I ended up using 1/2″ plywood instead. I’ve made the correction in the plans. Thanks again Ben!
Very beautiful and inspiring! We’re curious what hardware you used? – we just refinished an old dresser and are having a hard time choosing pulls. We saw this piece and loved it! (and maybe one day we’ll get around to building these bedside tables, too!)
The pulls are from Home Depot – I think they’re Martha Stewart brand.
I just read through this series, and it makes me want to build a dresser/chest of drawers set for my and the hubby. I need a workshop first though, because I don’t want to put the car out of the garage again while I do it. XD Thank you for the walkthrough though! This looks like a piece you’d go out and buy (and pay good money for!) Absolutely stunning!
Thanks so much for stopping by and for taking the time to leave such a lovely note, Katie!
What kind of wood did you use? Birch or oak or something else? And where did you purchase it?
I used maple – purchased at a local lumberyard.
was there a special type of cut on the maple you got at the lumber yard that gave it that fabulous cross grain vertical markings or did you use a wire brush to add that as a distressing technique?
Yes Nicole – it’s called curly maple and it’s beautiful! https://www.google.com/search?q=curly+maple&safe=off&espv=2&biw=1264&bih=1318&source=lnms&tbm=isch&sa=X&ved=0ahUKEwis67boraPOAhXHMz4KHRtJAcIQ_AUIBigB
Hi Jen! I love this dresser and you did a eat job! I was wondering what the final measurements ended up being? also what your final cost was?
*great*
Amazing Jen!! These are so inspiring- they look so classy 😉
Hey Jen,
Love the dresser! I just finished building a three drawer one and had a question for you. Is there a reason you didn’t stain the insides of the drawers? Trying to decide what to do on mine and didn’t know if staining the inside causes any issues or its just a preference.
Thanks!
Laura
I usually leave the insides of the drawers unfinished. I think it’s just a matter of preference. If you’d like to apply a finish to the inside of the drawers, shellac or lacquer is a popular choice.
Thank you for the plans! I just finished mine this week and my wife absolutely loves it. Is there a way to post pictures? Thank you for taking the time and energy to organize this for us. This was my first major project and although without its major difficulties it was very much worth it.
Absolutely Ben! I’d love to see photos of your build! You can post a photo on my Facebook page or Instagram and tag me #jenwoodhouse so I can see it. I’ll be happy to share your project! So glad my plans worked out for you! 🙂
In the tool list it has something called an iron. Could you please provide a link to what you are talking about. Thank you.
I may have missed it but what are the drawers sliding on? I don’t see rails on the side.
Hi Kristin,
I used wooden center-mount drawer slides. I go into great detail in this post: https://jenwoodhouse.com/diy-dresser-02/
Thanks!!
Do you mind saying about how much the whole project cost for you?
Hi Brandon,
I can’t remember the exact cost, but I believe it was around $350-$400.
Beautiful work. What stain color did you use.
Nice Job. Ive been woodworking for more than 50 years and seeing your blogs are interesting as well as entertaining. Keep it up. You’re to be commended.
thank-you alot
edward brilhart
The plan calls for “sheets” of plywood, but it doesn’t indicate how big the sheets are. Can you clarify if these sheets are all 4×8 sheets?
Hi, I’m wondering where you found the trim you used on your drawers? I love that trim and can’t find anything like it. What were the width and thickness of the trim you used? Thank you. This is a beautiful dresser and we are making the 11-drawer version of it. 😊