Installing large format porcelain tile on shower walls and classic basket weave marble mosaic tile on the floors. Tips and tricks we learned from our very first tiling experience!
Welcome back to our Guest Bathroom Renovation! If you’re just joining us, we are in the middle of transforming our guest ensuite bathroom from BASIC to BEAUTIFUL (hopefully! Fingers crossed.) We’re mixing modern and traditional styles for a classic, timeless feel that features a stunning marble mosaic tile floor and warm vintage accents.
If you missed my previous posts on this guest bathroom renovation, catch up here:
- Part 1: Design Board
- Part 2: Demo Day!
- Part 3: Plumbing Rough-In and Floor Leveling
- Part 4: Insulation and Cement Board Installation
- Part 5: Shower Tray, Pony Wall, and Waterproofing
- Part 6: Electrical Rough-In
Here’s where we left off:
So far, we’ve removed the toilet, sink, mirror, hardware, light fixture, shoe molding and baseboards, floor tile, shower stall, and insulation. Then we roughed in the plumbing, leveled the floor, hung insulation, and installed cement board on the floors and walls. After that, we installed the shower tray, curb, and pony wall, waterproofed the entire thing, and completed the electrical rough-in! You can watch all the behind-the-scenes process on my Instagram stories.
TO DO LIST:
- Tile shower walls with 12×24 large format porcelain tiles
- Tile shower floor with marble basketweave tiles
- Tile bathroom floor with marble mosaic tiles
- Seal marble tiles again
- Grout and caulk
- Install baseboards and quarter round molding
- Decide on wall paint color
Tiling the shower walls
This was our first foray into the world of tiling and goodness gracious, there is quite a steep learning curve! Thank goodness for my dear friend, Amy from Her Toolbelt – she’s amazing at tiling and pretty much held my hand throughout my entire tiling (mis)adventures. Check out her masterful tile work here, here, here, here, here, and here. Oh, and here. See? I told you she knew a thing or two about tile!
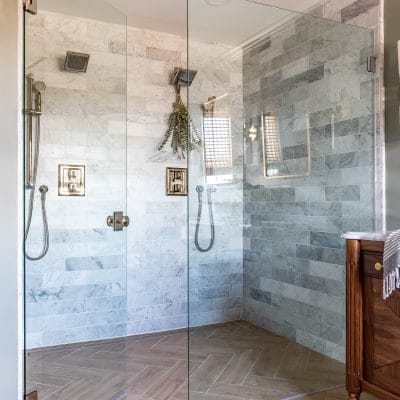
I chose this large format tile for the shower walls because I figured they would be easier to keep clean. Less grout lines = less places for mildew to grow, right? That was my thinking anyway. Well, we quickly discovered that installing large format tiles on a vertical surface is one of the more difficult tile installations. (Of course it is.) So this was definitely a “trial by fire” experience. Or should I say, “trial by tile?” Whatever you call it, it was anything but easy! There might have been some curse words and a healthy amount of tears involved.
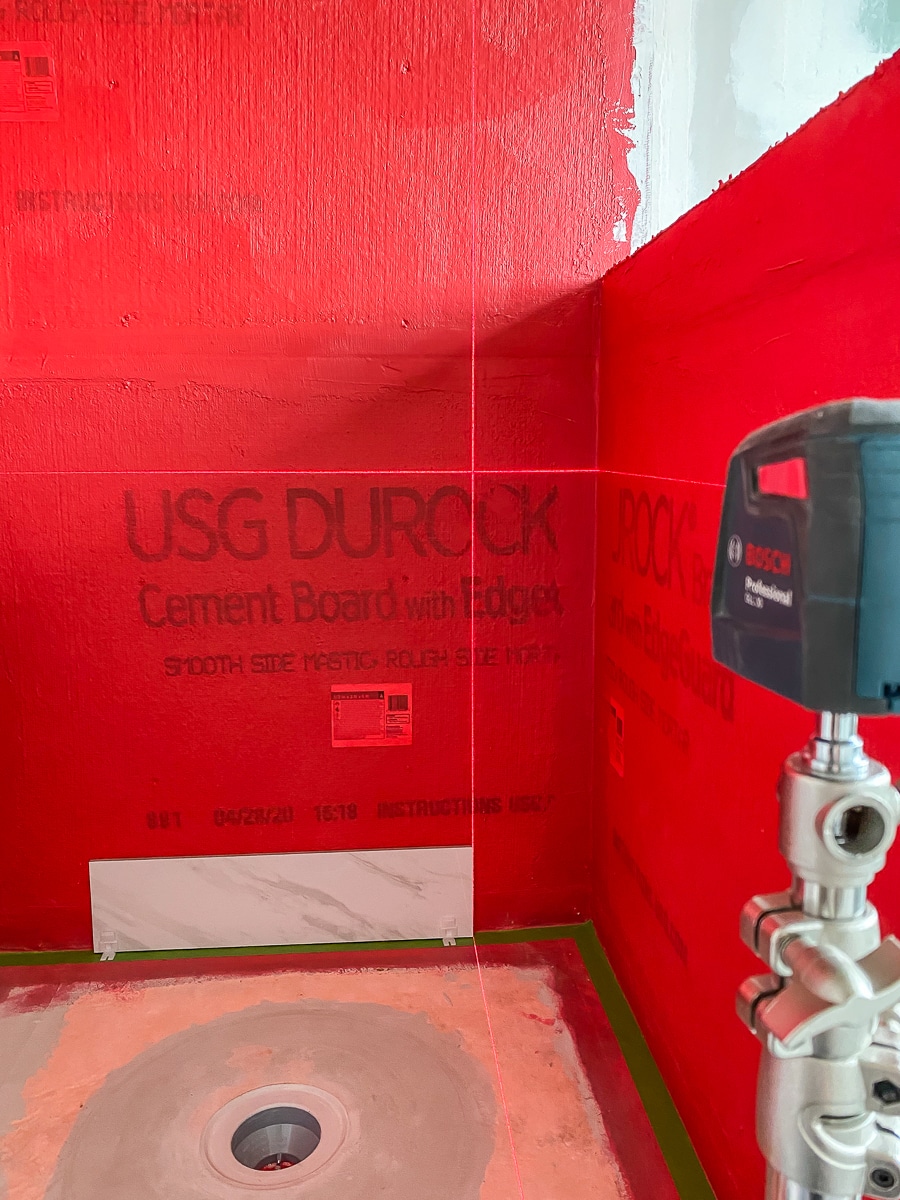
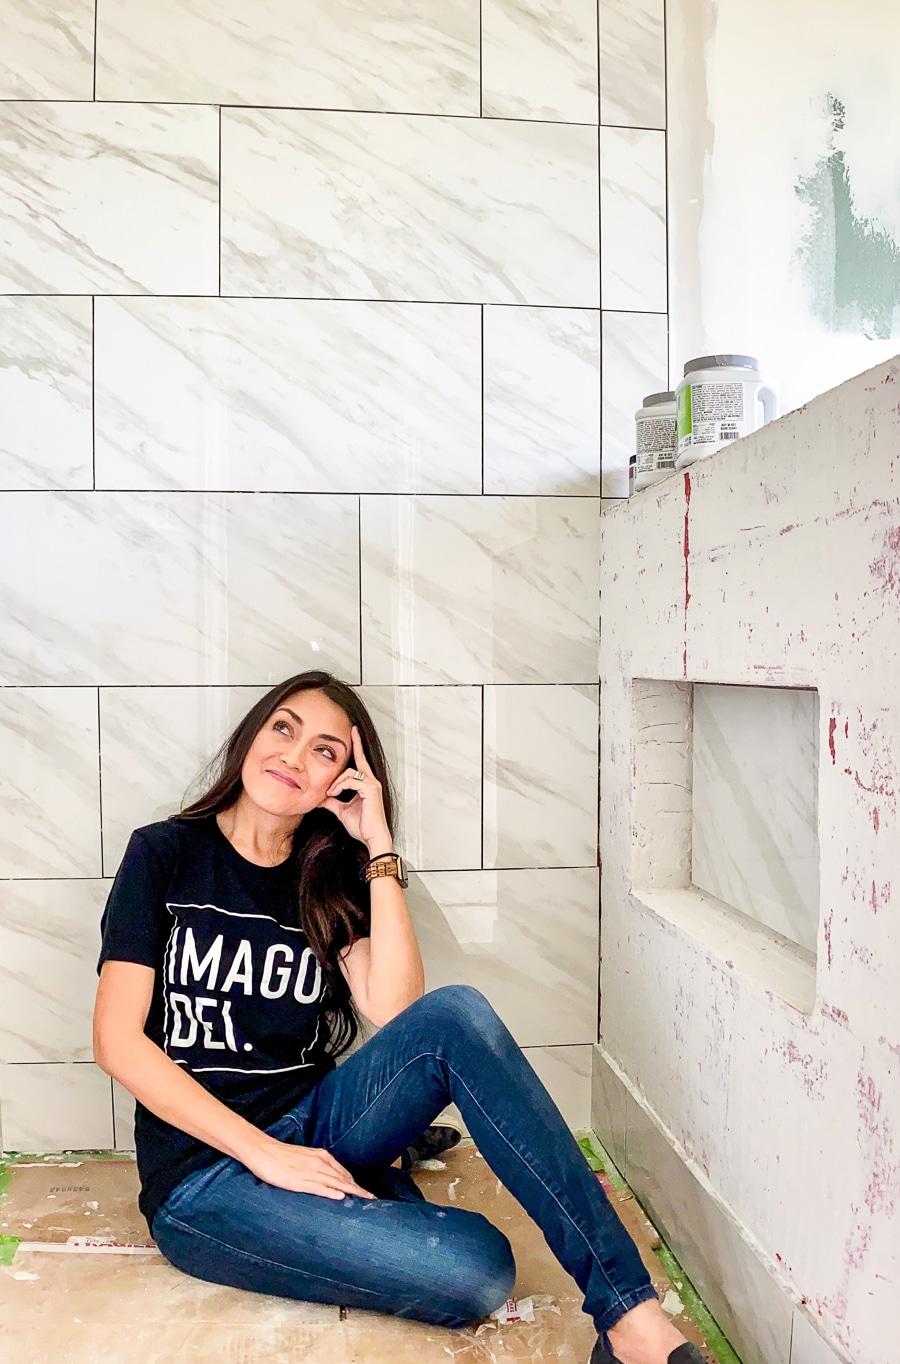
The first thing I did was determine the tile layout – not only did I want the tile to be centered on the main wall, but all of the grout lines needed to line up on the adjacent walls. I quickly mocked it up in Sketchup and decided to install the tile on a 1/3 stagger, for a traditional look. Since the shower niche would be hidden in the pony wall, I had to take that into consideration as well and ensure that the niche was centered from left to right and in line with the adjacent wall. All of this took quite a bit of planning but was absolutely necessary for a job well done!
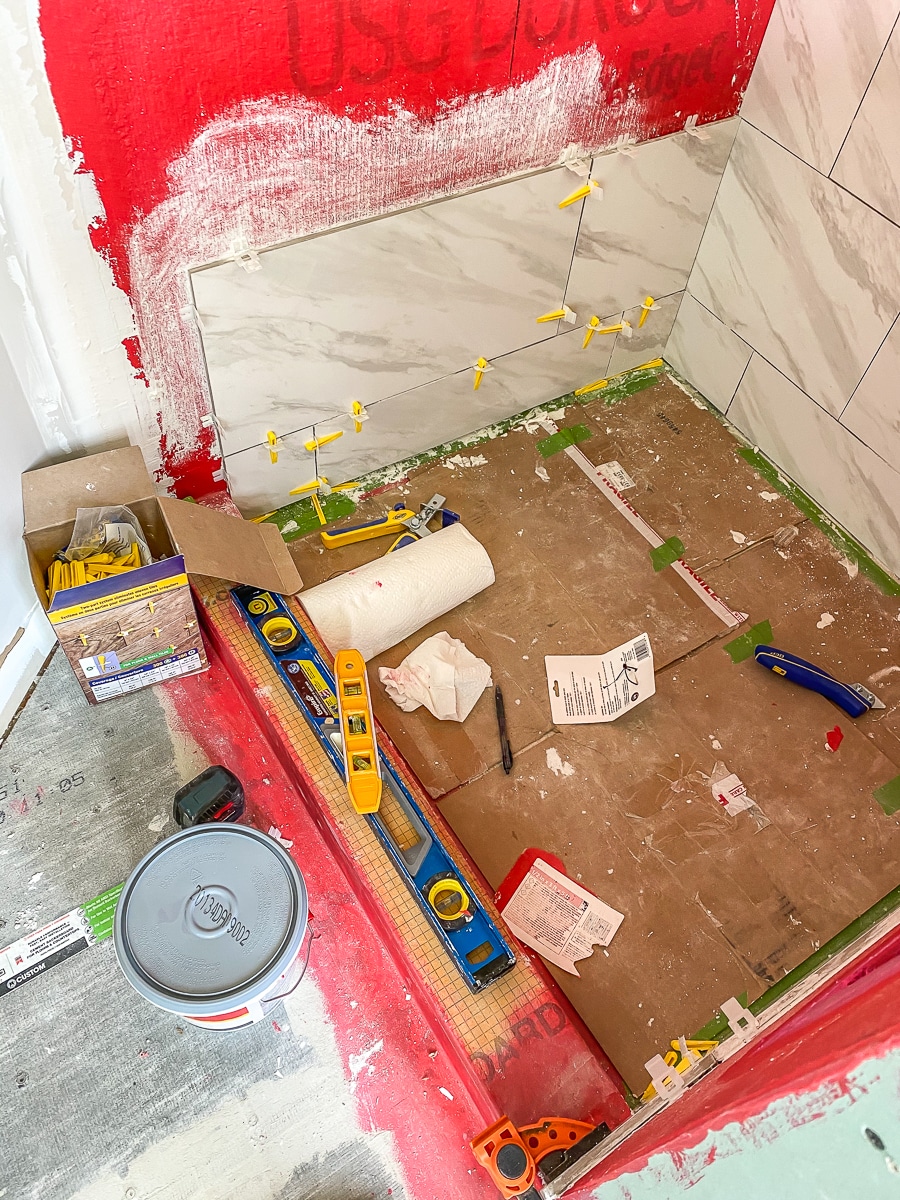
Also, with these large format tiles, I’d read that it’s recommended to install the first row or two and let it set overnight before installing the rest of the tiles above it. Something about being able to hold the weight of the other tiles. And because I know nothing about tiling, I followed the recommendation. It took me three hours to set the bottom row properly because of the slope in the shower pan! We also cut the first row of tiles to half the width so that when we got to the top row, we’d have a similar width – I knew this because I’d sketched it out in Sketchup!
An indicator of a poorly done tile job is when you have a disproportionately skinny tile at the top or bottom. You want to split the difference, which is what we did. Had we kept the first row of tiles at its full size, we would have ended up with a sliver of tile at the top. We also chose to keep the tile in the center of the bottom row at full length and cut the two on the ends to fit. This way, the row that lines up with the shower niche will also be centered. I know, it sounds really confusing, but long story short – it pays to do a bit of brainstorming and planning your tile layout so there are no surprises during installation.
We mixed about 1/4 of the bag of the thinset mortar at a time, so it didn’t dry out before we had time to use it. Adam and I also quickly established a system – I’d do the measuring and layout planning, Adam would run out to the workshop to cut the tile, and bring it back for me to lay it. This guest bathroom is upstairs and Adam was pretty much hating life, running up and down those stairs a million times! God bless him.
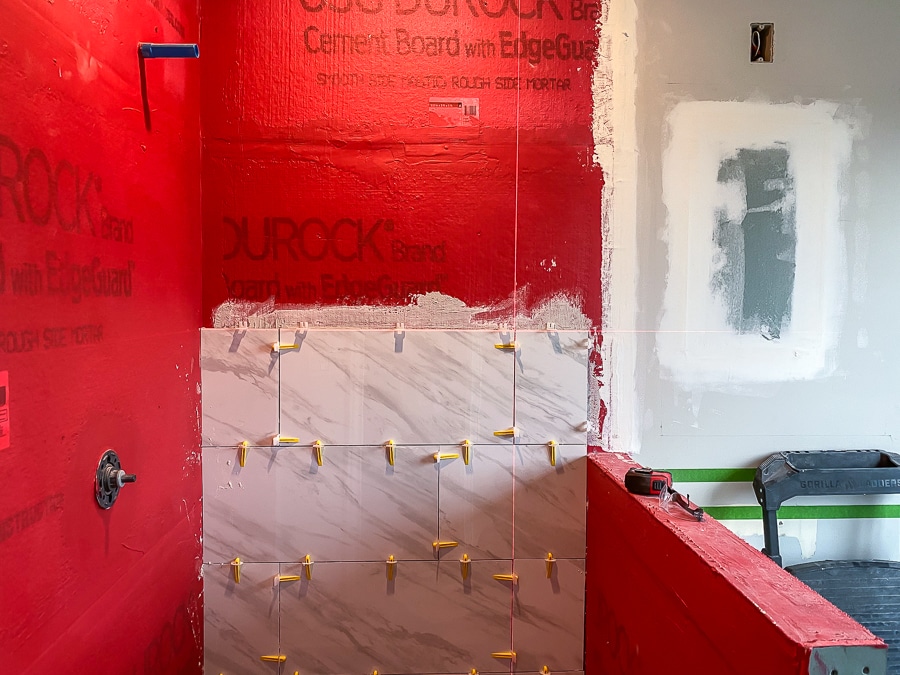
I’d spread the mortar on the wall, then comb it with a 1/2-inch trowel (what’s recommended for large format tile), then Adam would back-butter the tile, and I’d carefully set it into place and wiggle it back and forth a bit to collapse the ridges. It’s a good idea to peel back a tile periodically and check for 100% contact to ensure full adhesion to the wall. These tiles were very difficult to install – they’re large and heavy and nearly impossible for us newbies to get the grout lines perfectly consistent. We used a laser level to keep everything straight and level. All of the tiny imperfections were really annoying me. I thought for sure this whole thing was going to look like a steaming pile of poo, but Adam kept encouraging me and kept us moving forward, despite my relentless inclination to tear it all down to the ground and crawl under a rock and cry.
Once the first wall was done, we moved onto the wall where the shower valve was. As time went on and we gained more experience working with this tile, our quality of work improved and I started to feel a bit hopeful. I’ve also been told that the right grout color can hide a multitude of sins, so that’s what I was really banking on.
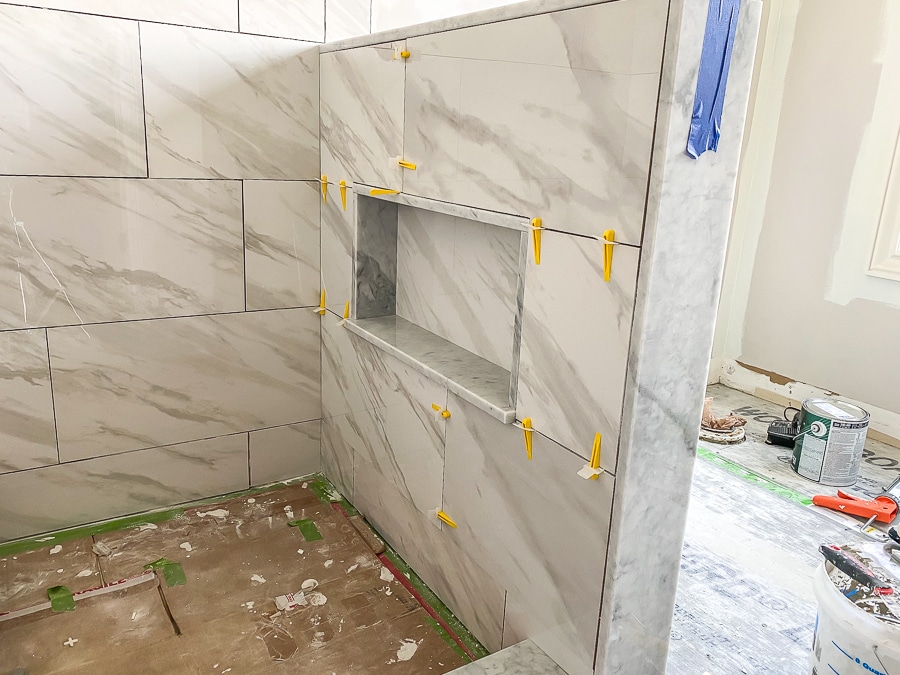
We used these leveling spacers and coordinating wedges to make sure the grout lines were consistent (or as consistent as we could make them) and the tiles were flat and plumb with each other. In other words, this leveling system help eliminate ‘lippage’ between the tiles. We tried to ensure that each tile was level (horizontally), aligned (vertically), and plumb (flat on the wall with no lippage). I also paid attention to the 1/3 alternating staggered pattern and tried to keep the grout lines as consistent as possible. Of course, my tiling job is far from perfect, but it’s absolutely the best I can do at this point.
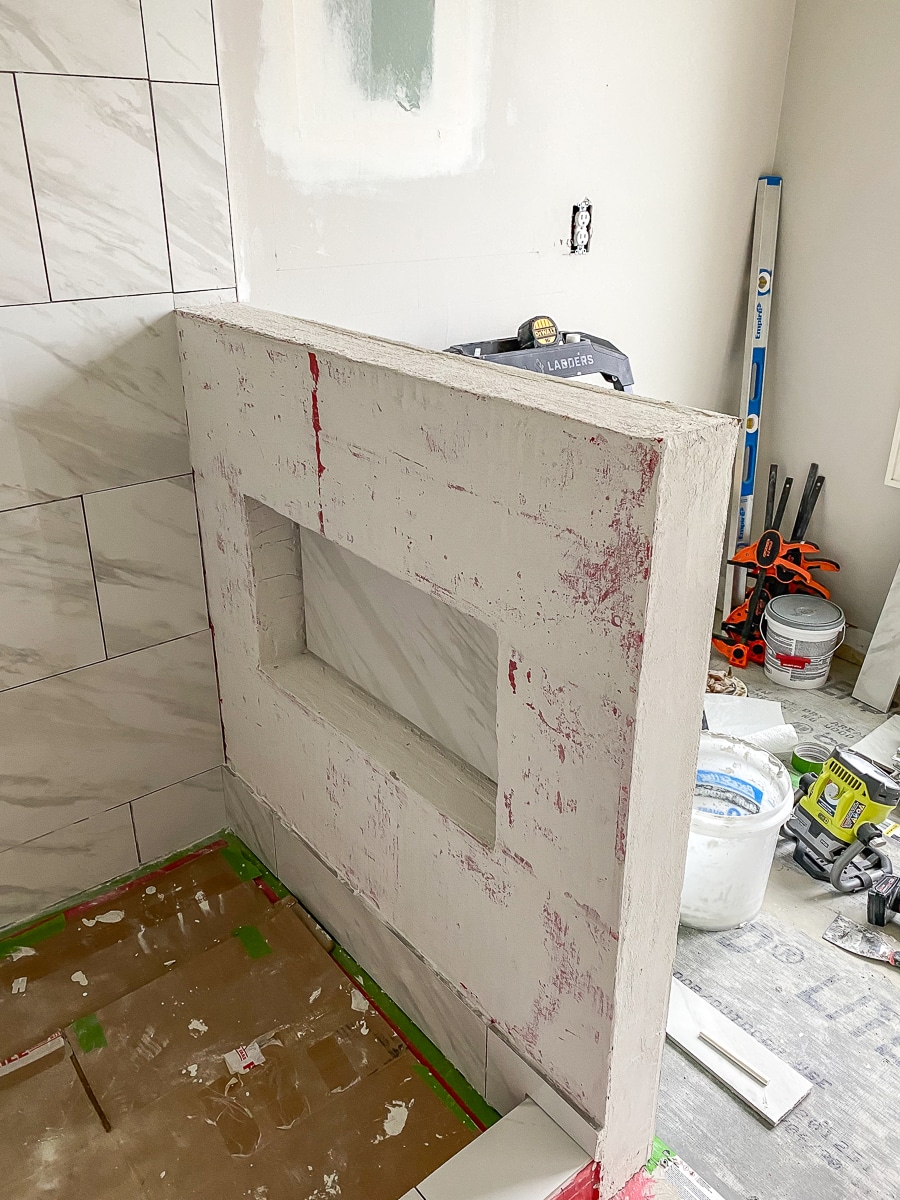
Finally, it was time to tile the pony wall. I’d been dreading this part the entire time because despite my weeks and weeks of research, I couldn’t find a foolproof way to tile the niche and hide the unfinished edges of the porcelain tile! The manufacturer doesn’t make any coordinating trim pieces for this tile, so I had to come up with another solution. I considered a complementary bullnose tile, but couldn’t find one that really matched. I almost went with a marble pencil trim, which comes in 12-inch lengths, but after pricing it out, it would have cost over $400! Nevermind the skill it would take to ensure that each piece was straight and perfectly aligned (and we’ve already established that’s beyond my skill set right now). Another option we considered, and actually tried, was metal Schluter edging. Even though the modern metal edge wasn’t my preference, I’d exhausted all of my resources and had to concede, so we picked up a few Schluter strips and started tiling the pony wall.
We installed the tile on the pony wall along with the metal edging, and tiled the niche with pieces cut to fit. I hated the contemporary look, but decided to sleep on it before making any drastic decisions. The next morning, I hated it even more, so we tore down the tile and tried again. It almost made me cry, undoing all that hard work we’d already done, but I knew I wouldn’t have been happy leaving it. We scraped off as much mortar as we could and made sure the surface was as flat as possible, then applied more RedGard to waterproof it.
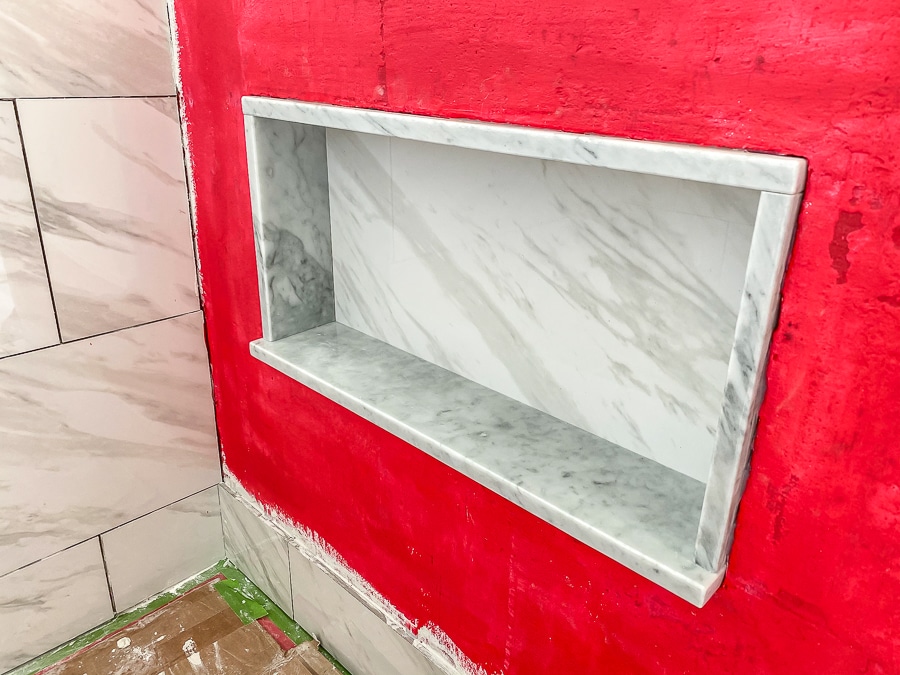
As a last resort, I reached out to our local stone supplier (the same folks who made the quartz waterfall vanity in our powder room as well as the carrera marble tops for my DIY office file cabinets) and had them fabricate custom pieces for the top and front of the pony wall, as well as the niche and shower curb. This certainly wasn’t the most cost-effective option, but because we were able to snag a marble remnant, we were only charged for labor. Even still, the time and labor it took to polish all of the edges and face of the marble wasn’t cheap!
The stone guys installed the pieces for the top and front of the pony wall, shower curb, and niche first, and then we tiled around it. Even though the extra cost made me cringe, I’m really glad we went this route because it looks ten thousand times better! Also, I was just so ridiculously happy to be done with this part!!!

Tiling the shower floor
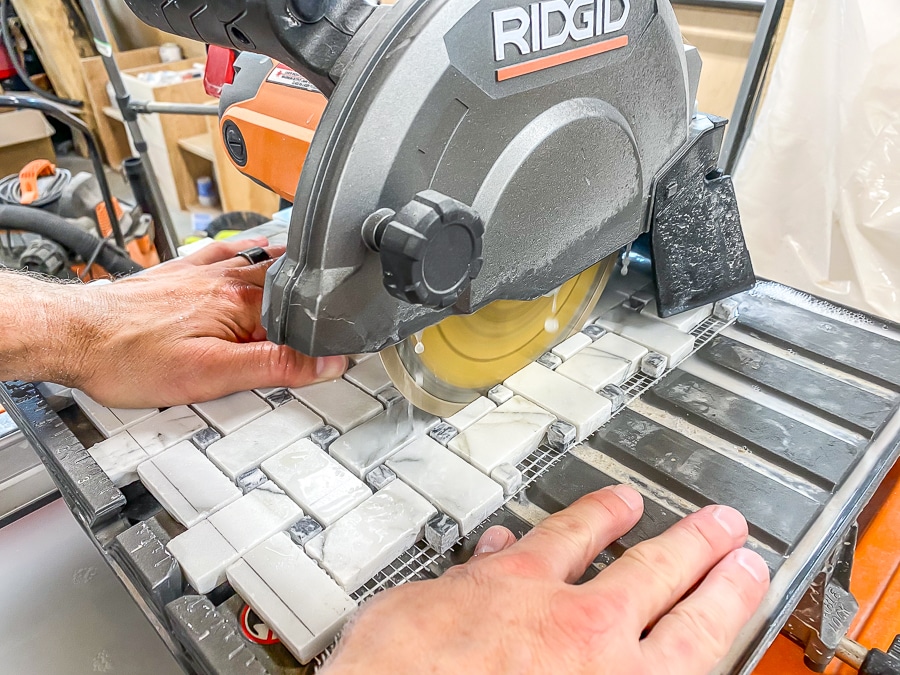
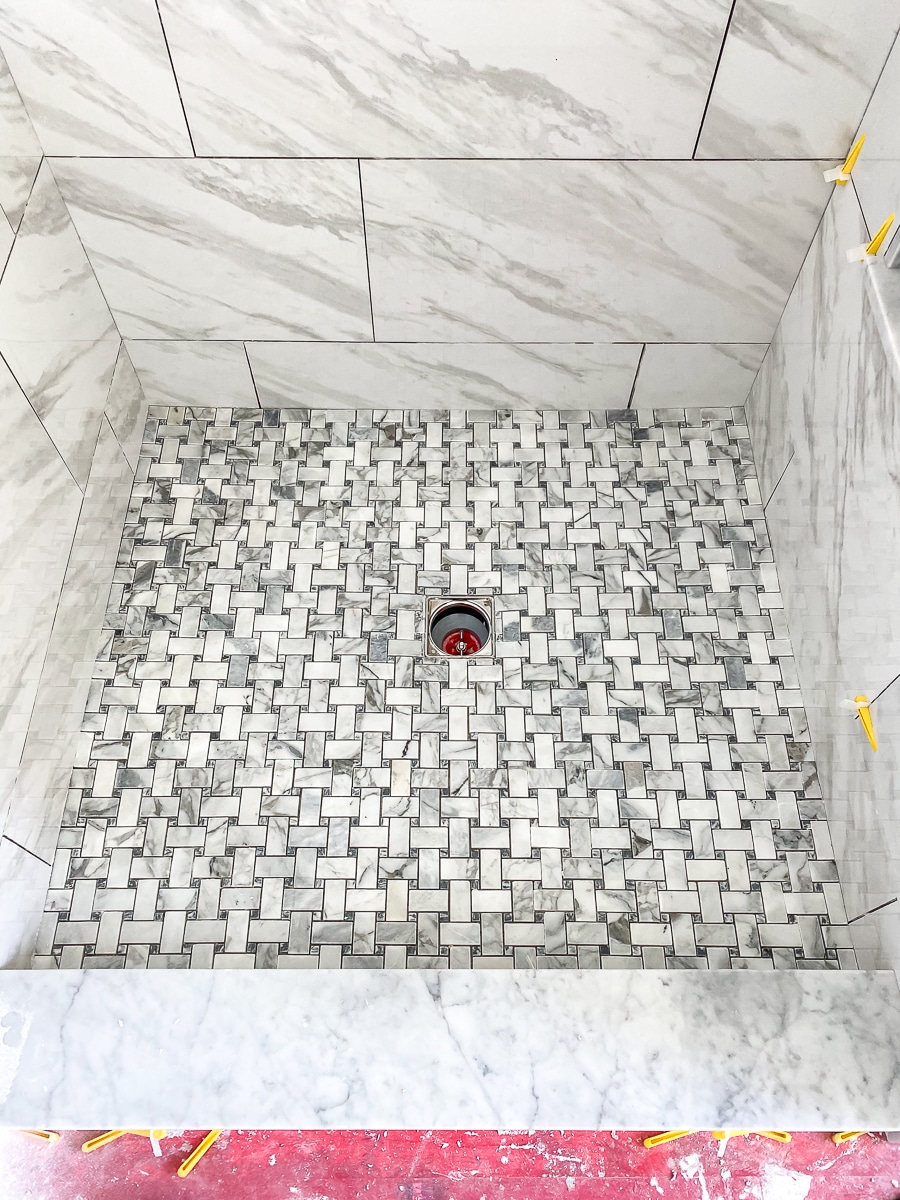
Now that the shower walls were done, it was time to move onto the shower floor. We used this pretty basketweave marble mosaic tile and WOW, what a different experience it was working with this tile! Marble is a lot softer than porcelain, so these tiles were so much easier to cut! They were also easier to manage, being on a 12×12 mesh backing.
Once again, with a little planning, I was able to lay the basketweave tile so it looked its very best. Notice how the basketweave pattern is perfectly centered on the drain both vertically and horizontally? That’s no accident! See?! It pays to plan ahead!
This time, however, we went ahead and cut all of the tiles and dry-fitted them before ever mixing up the mortar. I also placed the tiles in the order I’d lay them, which made quick work of it all. I laid the shower floor tile in just a couple of hours and my faith in my DIY skills was restored.

Tiling the bathroom floor
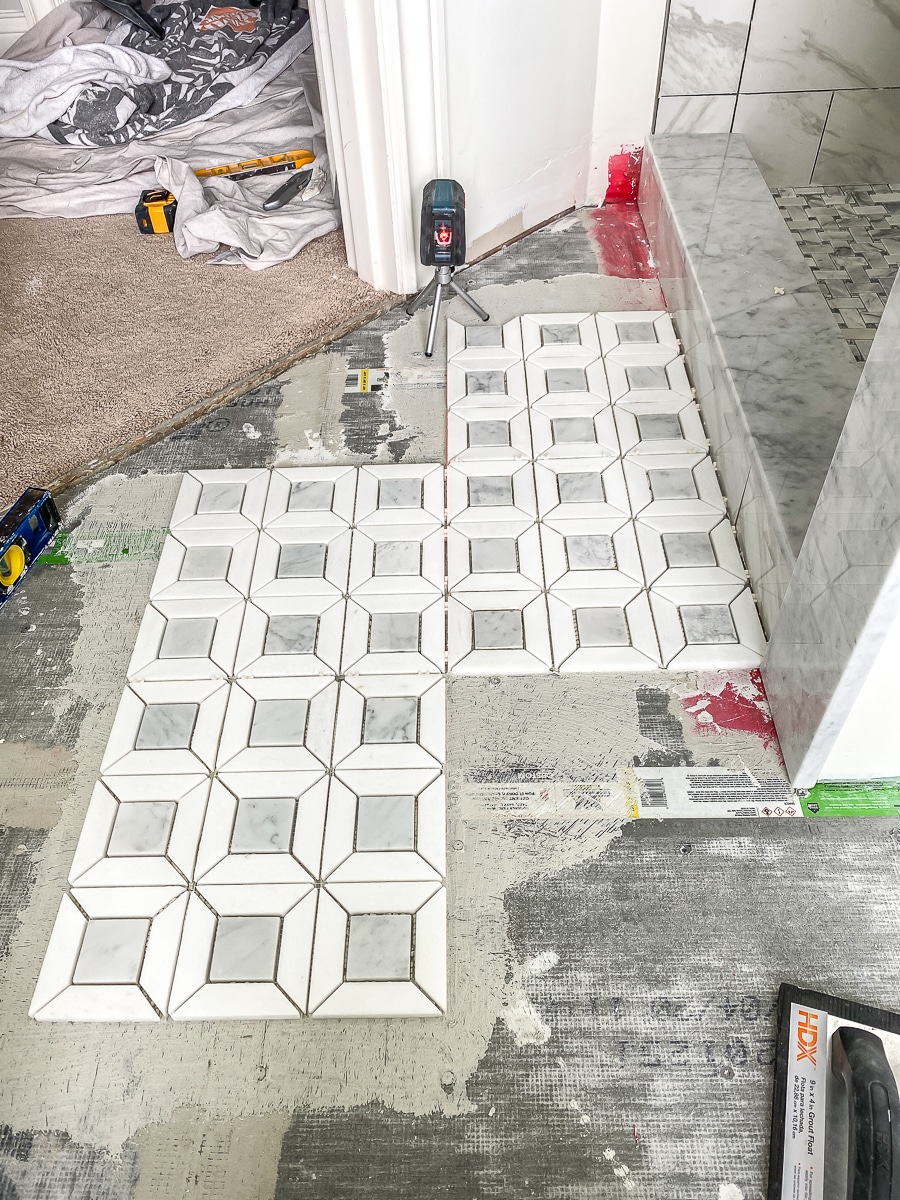
Moving onto the bathroom floor tile! Way too much thought went into where I wanted to start laying the tile (did I want the tile centered on the vanity? Centered on the toilet? Centered in the room? So many choices!). I finally decided on starting in front of the shower curb because I wanted a full tile going into the shower.
Same song and dance here: apply thinset mortar, comb the ridges with a 1/4-inch trowel, lay the tile and spacers in place. I used 1/8-inch spacers between each 12×12 mesh tile sheet. These tiles were a bit tricky to install though – although the 9 squares of tile were on the 12×12 mesh backing, each little tile piece was separate so I had to make sure that each one was level and flat. I’d lay the tile in place, then use a grout float to embed it into the mortar, then check for level in all directions about a dozen times before moving onto the next tile. I also used the laser level to ensure the tiles were running straight. Periodically, I’d have some mortar squeeze out in between the tiles, so I’d clear it out with a butter knife. It’s much easier to do it while the mortar was still wet, rather than later, after it dried.
After the mortar had 24 hours to set, I grouted everything – the shower wall, shower floor, and bathroom floor – all with the same grout. And lemme tell ya – grout does cover a multitude of sins! I was so happy that the many imperfections in my amateur tile work was made less noticeable by the grout. Thank God and hallelujah! I’m using all the praise hands emojis here because I was really worried there for a second.
Choosing a white paint color
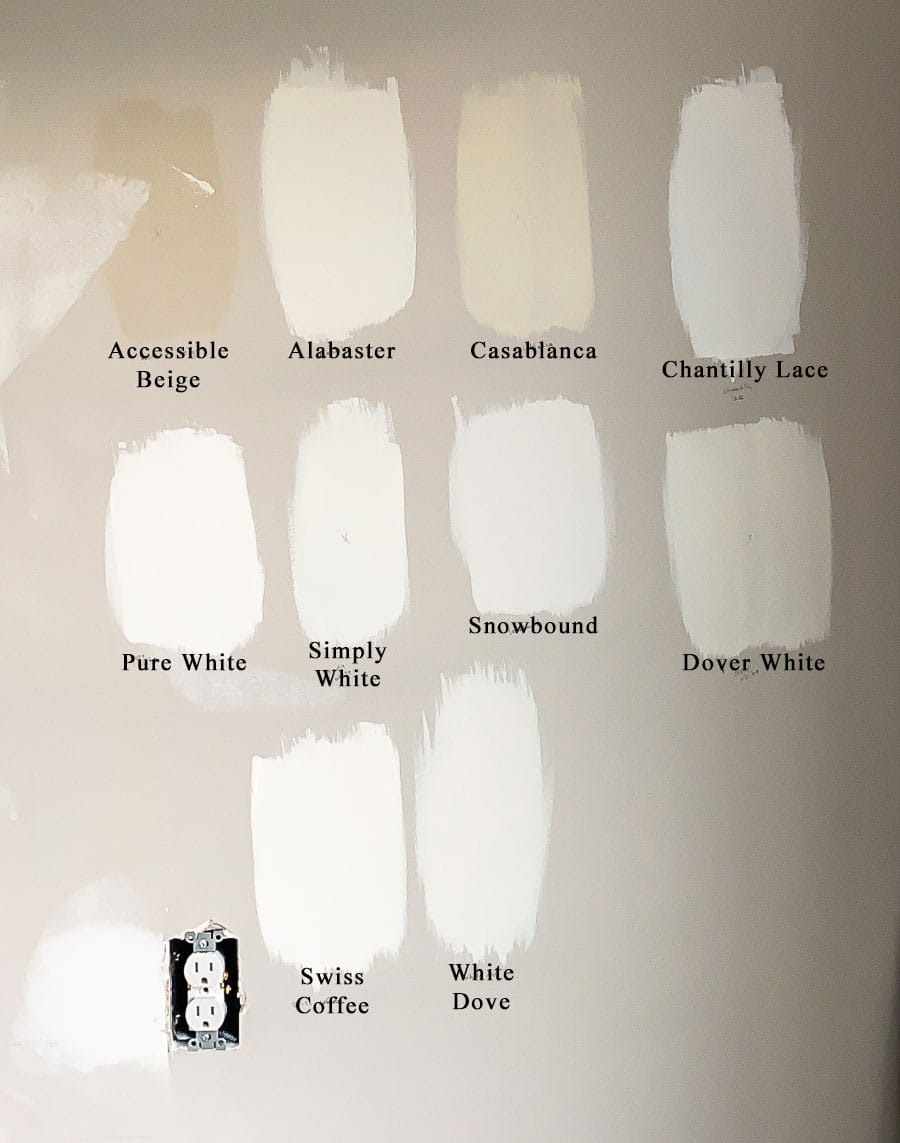
Meanwhile, it was time to decide on a paint color. Because there were a lot of cool tones in the room, I wanted to warm it up a bit with a warmer-toned white. These are my go-to white paint colors:
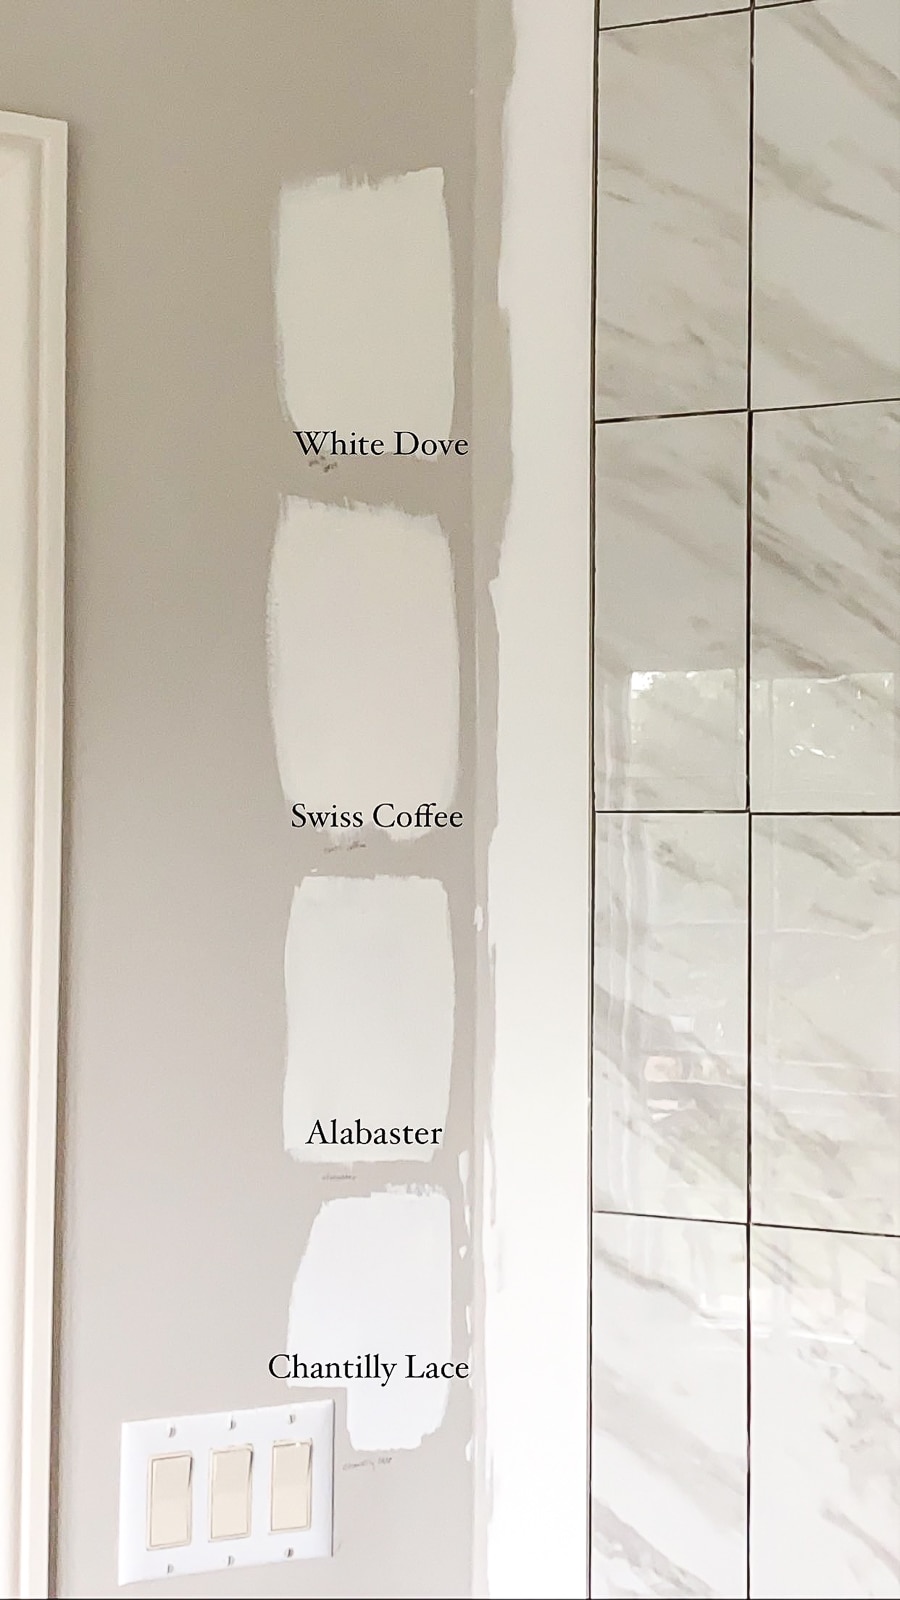
It’s always a good idea to get a paint swatch up on the wall to see what it looks like in the light at varying times of day. I typically paint a swatch on several different walls and see what the color looks like in the morning, noon, afternoon, and early evening. As soon as I painted Accessible Beige and Casablanca on the wall, I knew they weren’t right. I narrowed it down to these four white paint colors:
White Dove is one of my favorite white paint colors – we have it all over our house, paired with Revere Pewter on the trim and it is absolutely beautiful. Chantilly Lace is a beautiful crisp, clean white, but I felt that it was too ‘matchy-matchy’ with the porcelain tile. I was torn between Alabaster and Swiss Coffee (they’re both so good!), so I searched for real-life examples online.
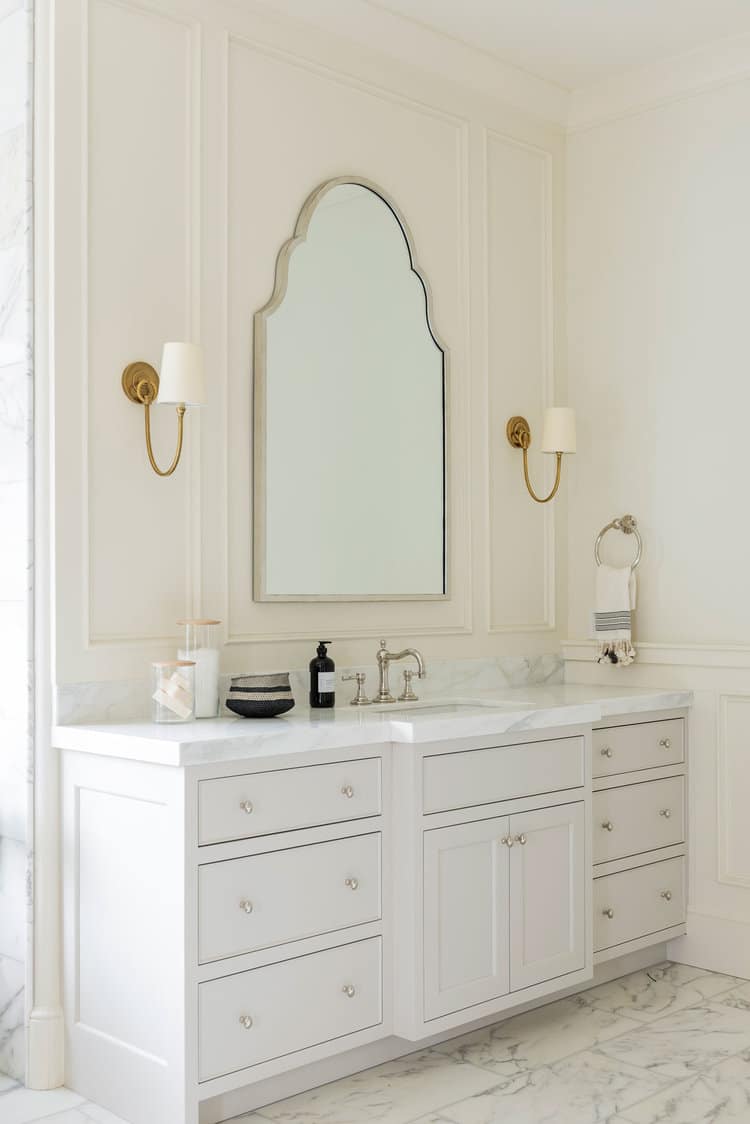
Studio McGee had a few gorgeous examples of both Swiss Coffee and Alabaster in their designs. Here’s what Alabaster looks like on the wall. It feels crisp and clean and not sterile at all, but a little modern for our space.
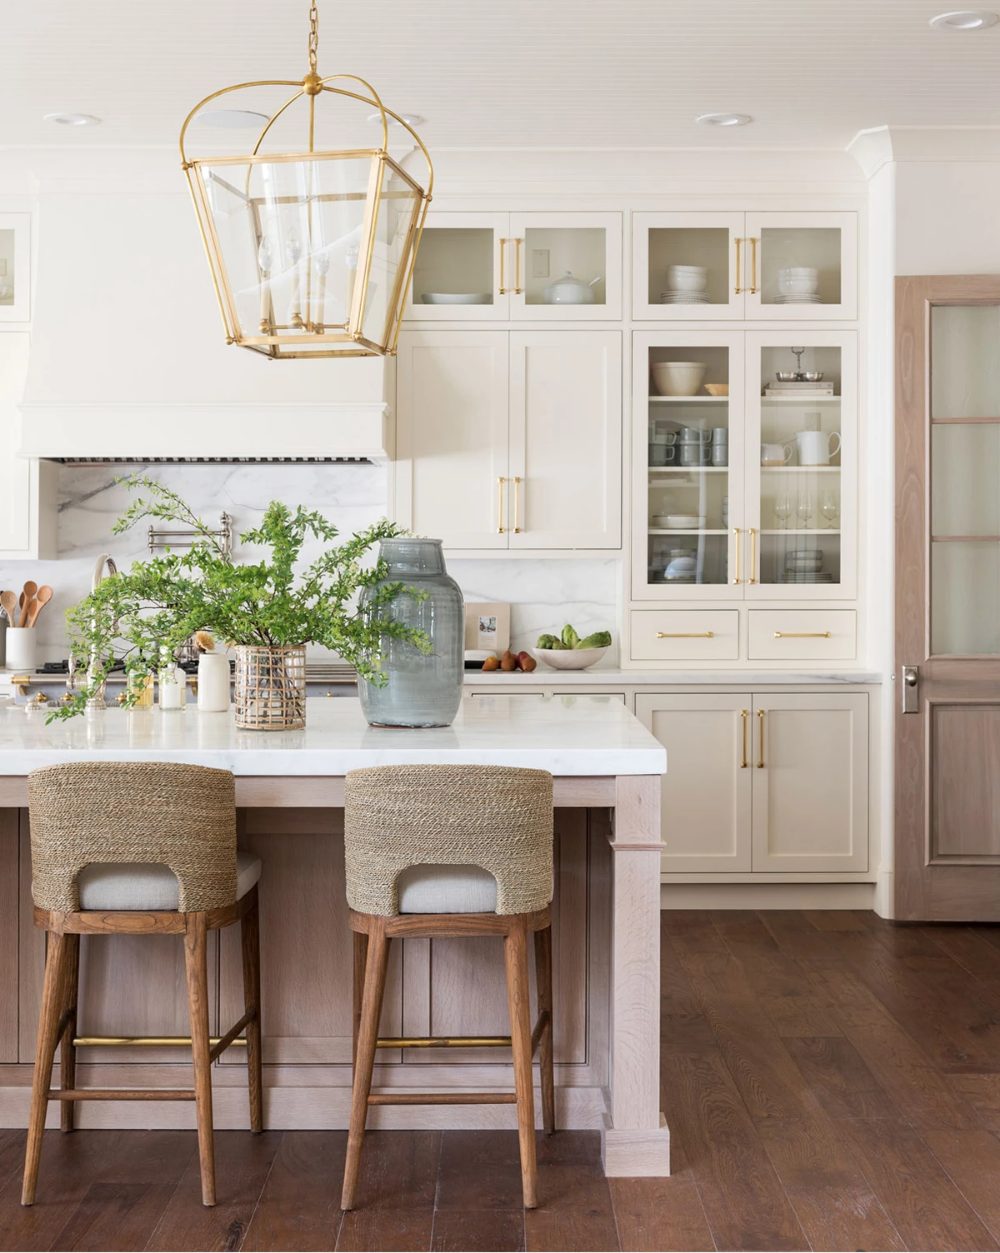
And here’s what Swiss Coffee looks like in a bathroom and on kitchen cabinets. It has such an elegant, traditional and somewhat formal feel that I fell head over heels in love with.
Doesn’t Swiss Coffee look so yummy?! Swiss Coffee is the clear winner! I had our painters (best painters ever!) use an eggshell finish on the walls and semi-gloss on the trim, windows, and door. I’m really happy we went with the same color for both the walls and trim.
Installing Baseboard and Quarter Round Molding
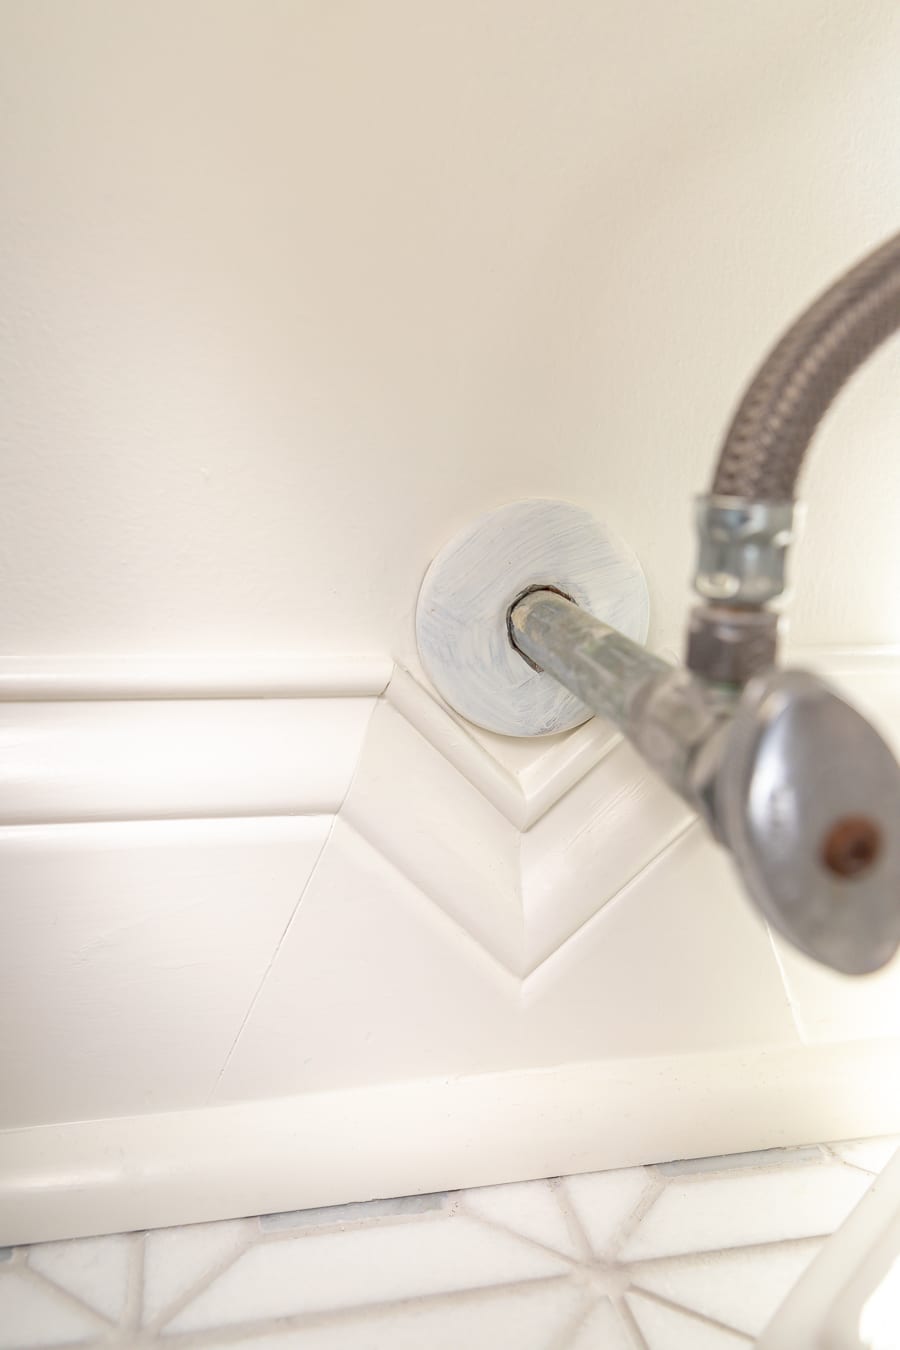
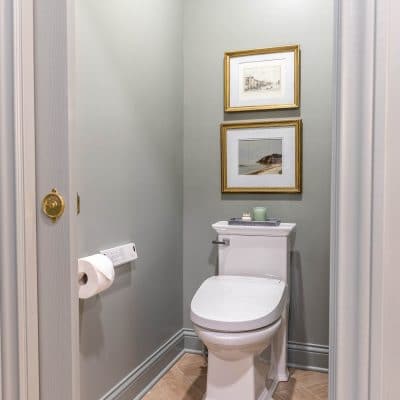
After weeks of being so far outside of my comfort zone with tiling, the first cut I made on the saw felt like HOME. I discovered that I really enjoy doing detail trim work and installed the baseboards and quarter round in an afternoon. I follow a carpenter on Instagram called @carpentry_bymar and he is incredible! I learn so much from his posts and was able to trim around the toilet escutcheon with style and intention (yes, I know we still need to put another coat of paint on it). I truly believe great design is in the details.
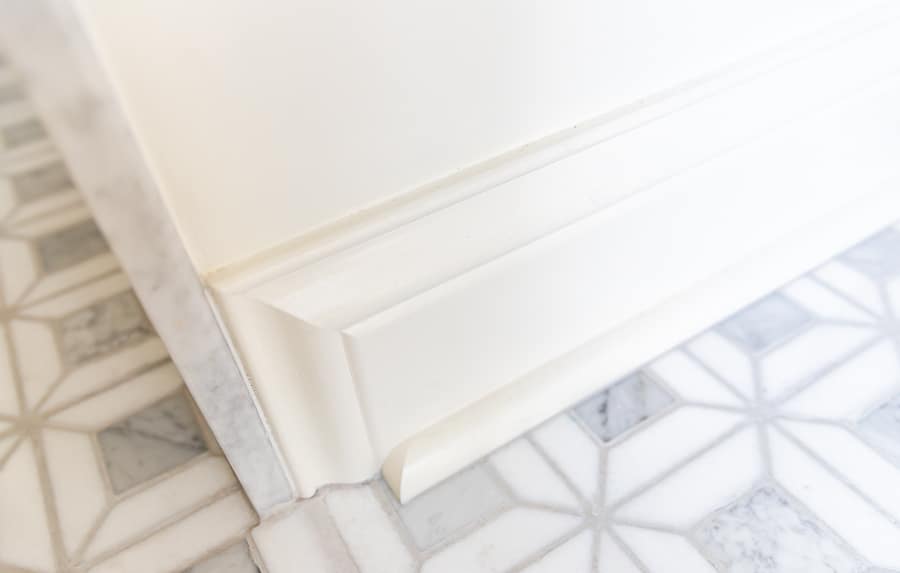
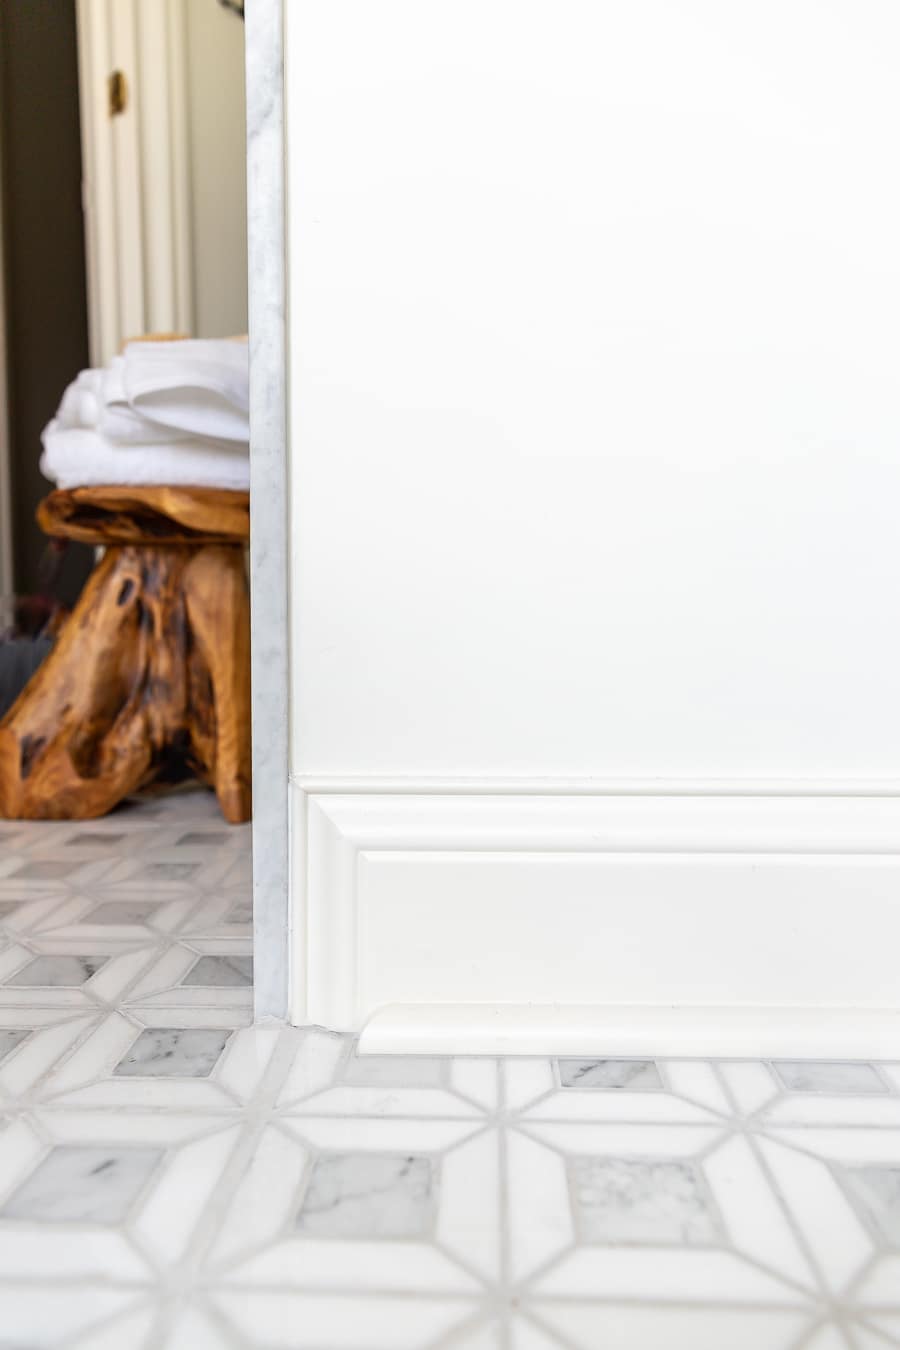
Check out that beautiful baseboard and quarter round return! I’m very proud of it, can you tell?
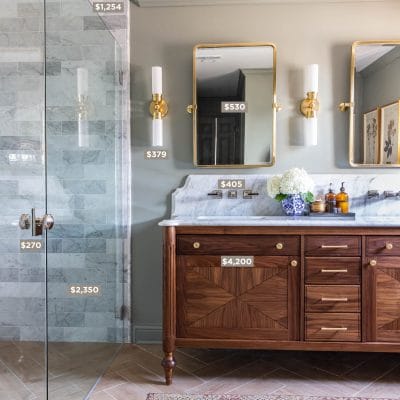
Okay, this is the only sneak peek you get before the Big Reveal (coming soon!).
The last few things on our checklist – installing the toilet, vanity, light, and other final touches – should go pretty fast, so I’ll be back to share the Big Reveal! Stay tuned… it’s gonna be good.
Guest bathroom renovation MASTER CHECKLIST:
Demolition
Remove bathroom door temporarily to make room for demo?Turn off water and valves, empty pipes and tankRemove pedestal sink and toilet, plug holesRemove medicine cabinet, bathroom hardware, light fixtureRemove shoe molding and baseboardsDemo floor tile and cement boardDemo and remove shower stallRemove insulationClean up site
Plumbing Rough-In
Move shower valves to opposite wallsRepair shower drain- Install toilet
Electrical Rough-In
Relocate outlet to adjacent wall, upgrade to 20-amp circuit?Replace overhead vanity light with wall sconces? No – kept overhead light.Replace vent fanAdd lighting in shower?
Framing
Demo shower wallsFrame pony wallDon’t forget to add the toiletry niche (plan around tile size)
Floors
Prime floors with underlayment primerLevel floors with self-leveling underlayment
Shower Installation
Check to ensure studs are plumb and even, shim if necessaryAdd insulationInstall cement board on floor and walls, tape and mud seamsInstall shower tray and curbWaterproof shower floor and curbWaterproof shower walls24-hour flood test
Walls
Repair drywall where medicine cabinet used to beMolding? Decided against it.PaintInstall baseboards and shoe molding
Tile
Seal marble tilesTile shower walls with 12×24 large format porcelain tilesTile shower floor with marble basketweave tilesTile bathroom floor with marble mosaic tilesSeal marble tiles againGrout and caulk
Vanity
Install vanity (will it fit?) No – ordered backup vanity- Install faucet and sink, switch out pulls?
- Hang mirror
Lighting
- Install overhead vanity light
Miscellaneous
Order andinstall glass shower door- Install bathroom hardware
- Add artwork and accessories



Beautiful
I’m redoing my bathroom and this right here is my inspiration. I read your bathroom posts but can’t recall seeing the grout color you chose. Would you mind sharing? Thank you!
Thanks Kate! I used the grout color “Frost” by Mapei. Good luck with your renovation!
Beautiful! Would you mind sharing where you purchased the vanity pulls? Thank you!
Hi Kristin,
Thank you! The pulls came with the vanity.
It looks like you survived the tile torture. I’m smack dab in the middle. I will tell you that next time, check out some true pros on YouTube. I watched Starrtile and TileCoach. Both have been tiling for 20 years…they are etremely talented and knowledgeable. They both say, lay shower floor first because you don’t want to inbred your wall in the floor pan. StarrTile has many bideos outlining the dangers of doing that. Then, plan your wall according to full tile placement. StarrTile has a great video on the use of ledger boards. Using one for a level “first row” is a game changer. TileCoach has great videos on pre-planning your layout.
Congrats on completing your project. It looks fab!
I love it!! Quick question: is the Alabaster you were considering the Benjamin Moore or Sherwin Williams version? Thank you!
what color is your trim
Hi, everything is so beautiful.
Where are the stools from?
thanks
Thank you, Marlene,
I bought the stool from Amazon here: https://amzn.to/3GhKEiu Hope that helps!
Can you please share the trim paint color? Beautiful job, hope you are still loving it!
She says there it’s swiss coffee but the higher sheen