Guest Bathroom Renovation – A small guest bathroom is transformed into a beautiful and luxurious retreat that mixes modern and traditional styles, with stunning marble mosaic tile and vintage accents.
*This project is sponsored by The Home Depot.
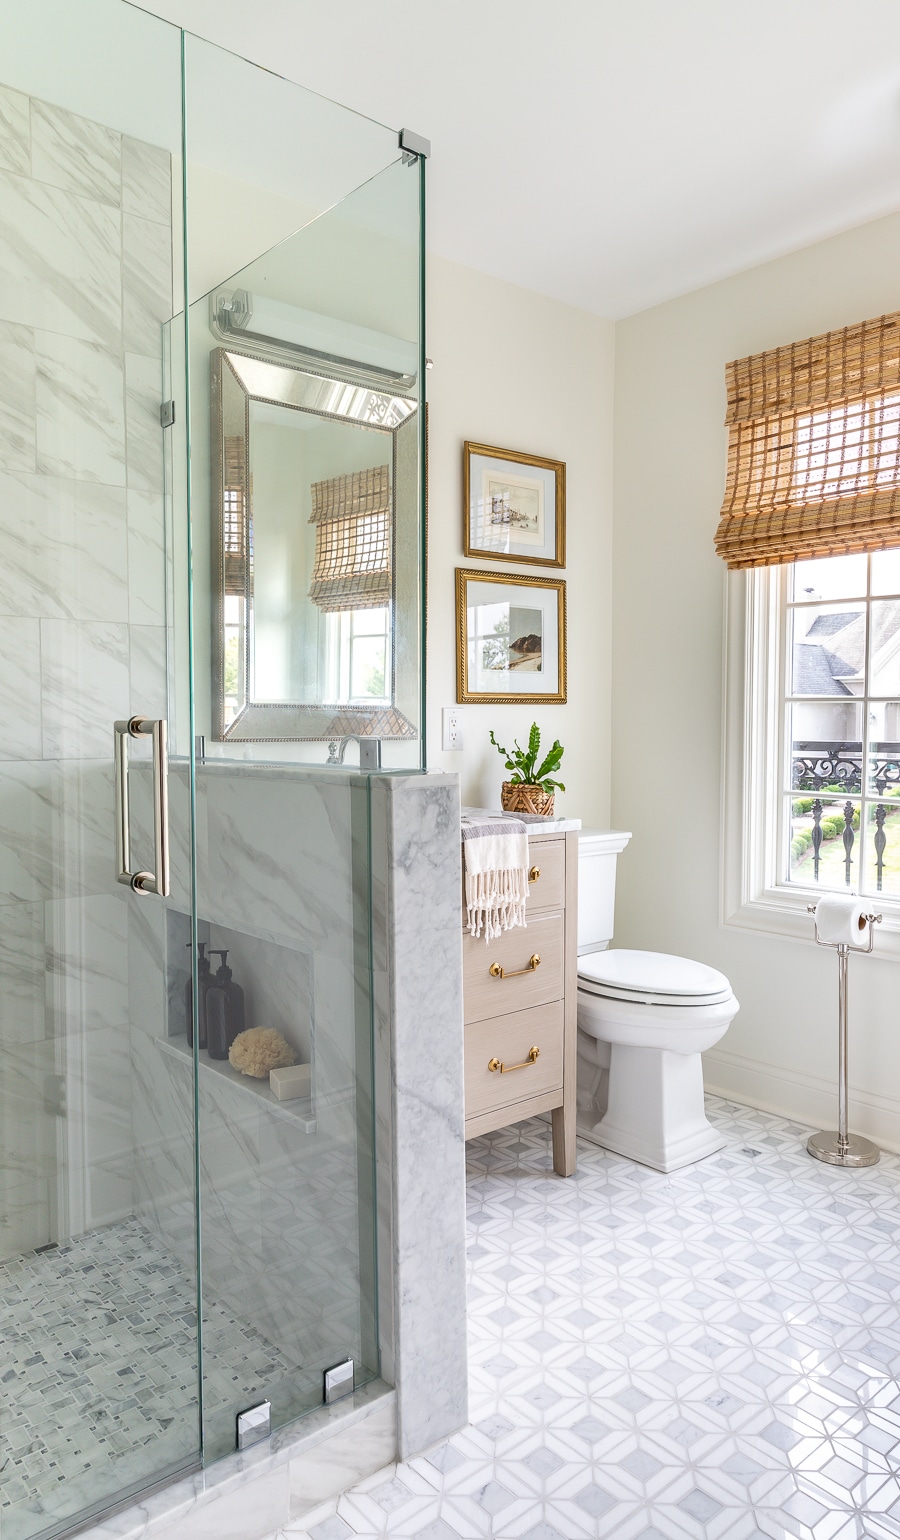
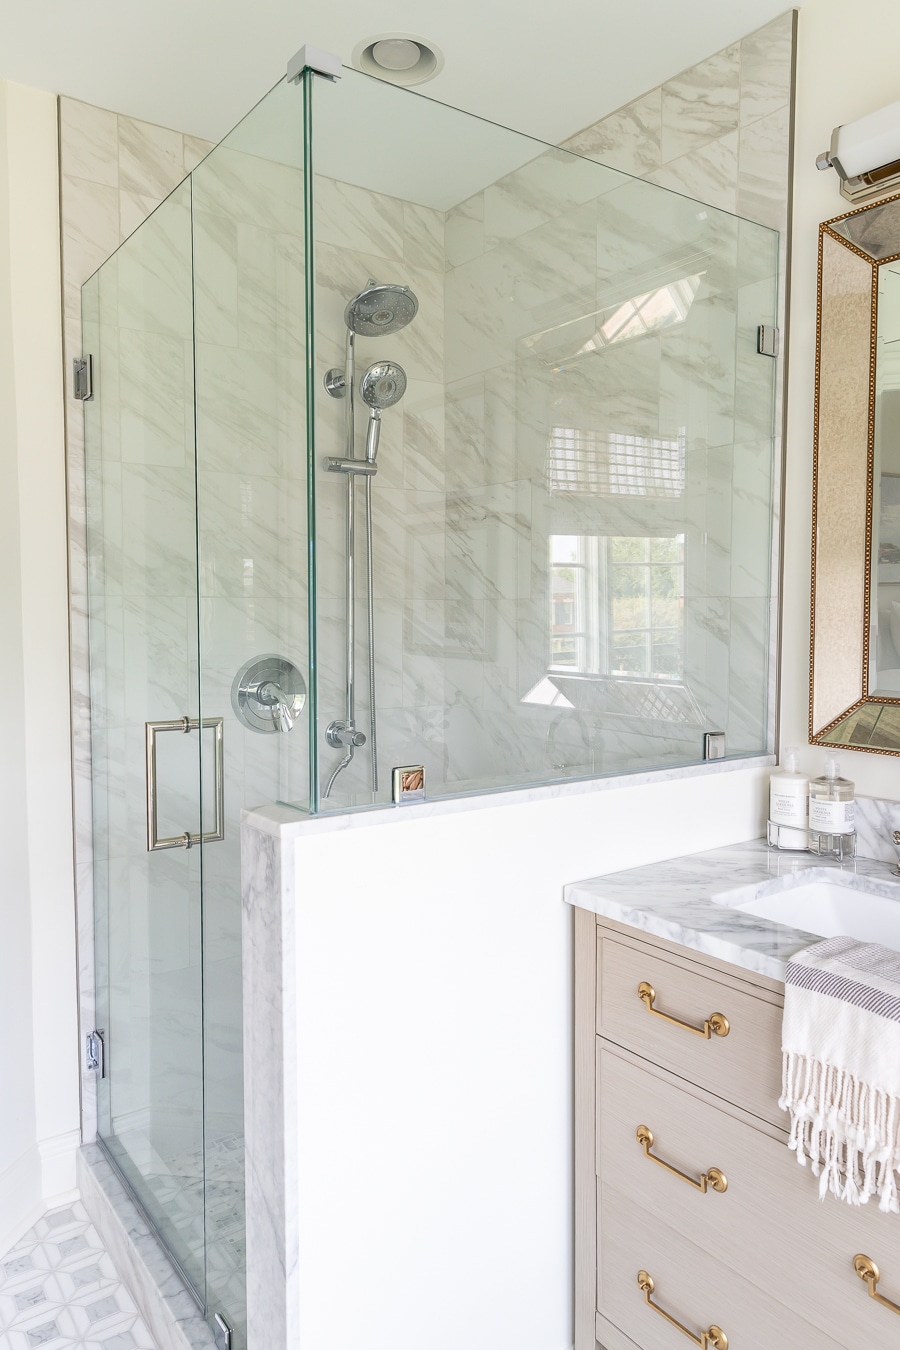
Life is short. Eat dessert first. Or in my case, begin your blog post with the final reveal! Or as my Army husband would say, “BLUF” (bottom line up front). This is what our guest bathroom looks like now, after weeks of hard work, blood, sweat, and tears!
(Drum roll, please…)
The Big Reveal
I am so, SOOOOO pleased with how everything turned out, despite my endless second-guessing and doubting myself every. step. of the way. I was really worried there, being completely out of my element with all that DIY tile work!
No… ‘pleased’ isn’t the word. “Complete and utter RELIEF” is a better descriptor. This guest bathroom renovation almost pushed me to the brink because not only did I have zero experience with tiling, but I inundated myself with too much information that I gave myself a perpetual migraine. So much energy was wasted overthinking things, when I really should have just trusted that it would all turn out fine in the end. Thank goodness for my dear friend, Amy from Her Toolbelt – she’s amazing at tiling and was an endless source of knowledge and encouragement throughout my entire tiling (mis)adventures. Check out her masterful tile work here, here, here, here, here, and here. Oh, and here. See? I told you she knew a thing or two about tile!
The Guest Bathroom Before
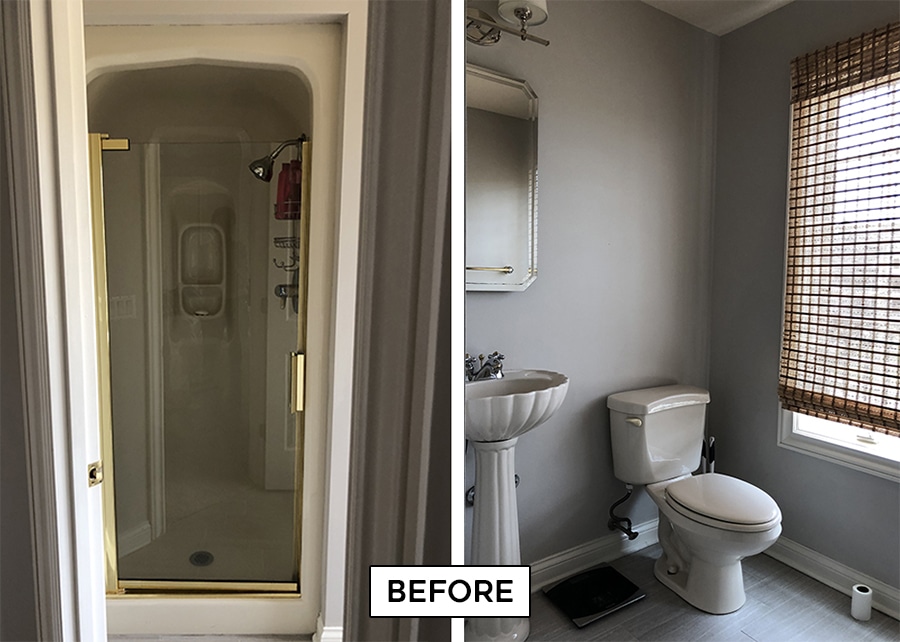
Now, let’s Tarantino this bad boy and take a look at where we started. Allow me to introduce you to our very basic guest bathroom. Womp, womp. It’s an en-suite bathroom, which is amazing – I love that our guests have their own private bathroom when they stay with us – but as you can see, it’s pretty bland all around. If bathrooms were a food, this one would be tofu.
Don’t get me wrong, it’s a space that we are so thankful for – I absolutely love all that beautiful natural light – but the shower stall is embarrassingly small and dark! Taking a shower in here is very much like the shower scene in Elf. And I’m not talking about the one with Zooey Deschanel.
Project management with The Home Depot Mobile App
Needless to say, I couldn’t wait to renovate this space for our guests and I am thrilled that this project is made possible by The Home Depot – it’s pretty much my second home! I couldn’t have tackled this renovation without them. Their mobile app is SO GOOD. It was the lifeline that got me through this entire project! The app has so many cool capabilities – not only can you shop their massive inventory on this app, but you can save your shopping lists, as well as a record of your previous purchases and receipts. There’s even a product locator, which tells you exactly where an item is in the store (yeah… I use that one a lot!).
The Home Depot tech developers have really knocked it out of the park with this one – the app is excellent, fast, powerful, easy to navigate, and incredibly convenient – I find myself using its many features multiple times a day.

Tile Project Calculator
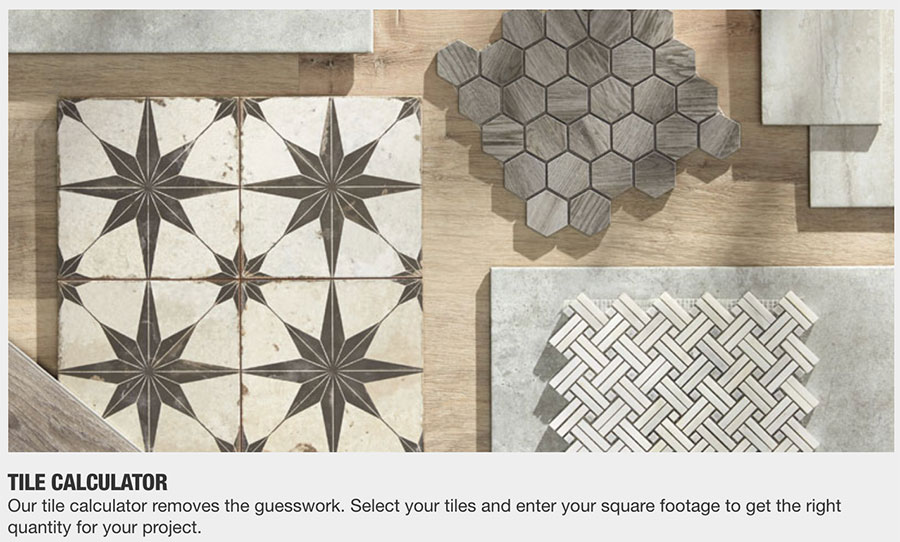
For this project, one of the features I used was the Project Calculator. I was able to calculate just how much tile I’d need for the bathroom. Once you open up the app, click on “project calculator.” There’s a calculator for tile, wallpaper, paint, fencing, and more. On the tile calculator, you just enter the room dimensions and surface tile size. Then click “calculate now” and it tells you exactly how many tiles you’ll need! Super helpful and it takes all of the guesswork out of it!

Curbside Pickup
I also took advantage of The Home Depot’s curbside delivery service. I do most of my shopping online (because I generally don’t like people and have been socially distancing since the early 80s. Just kidding. A little.), but it’s typically from my desktop computer. This time however, I opened up The Home Depot app, searched their inventory, and placed my order – all via my smartphone! Super cool, right?! After placing my order, I chose the “curbside pickup” option. A few hours later, I received a notification on my phone (and email) saying that my order was ready for pickup. So I drove to the store, parked in the designated spot, and checked in on my phone. A few minutes later, a store associate brought my order straight out to my car. Isn’t technology amazing?! Huge kudos to The Home Depot tech geniuses who make my life so much easier!

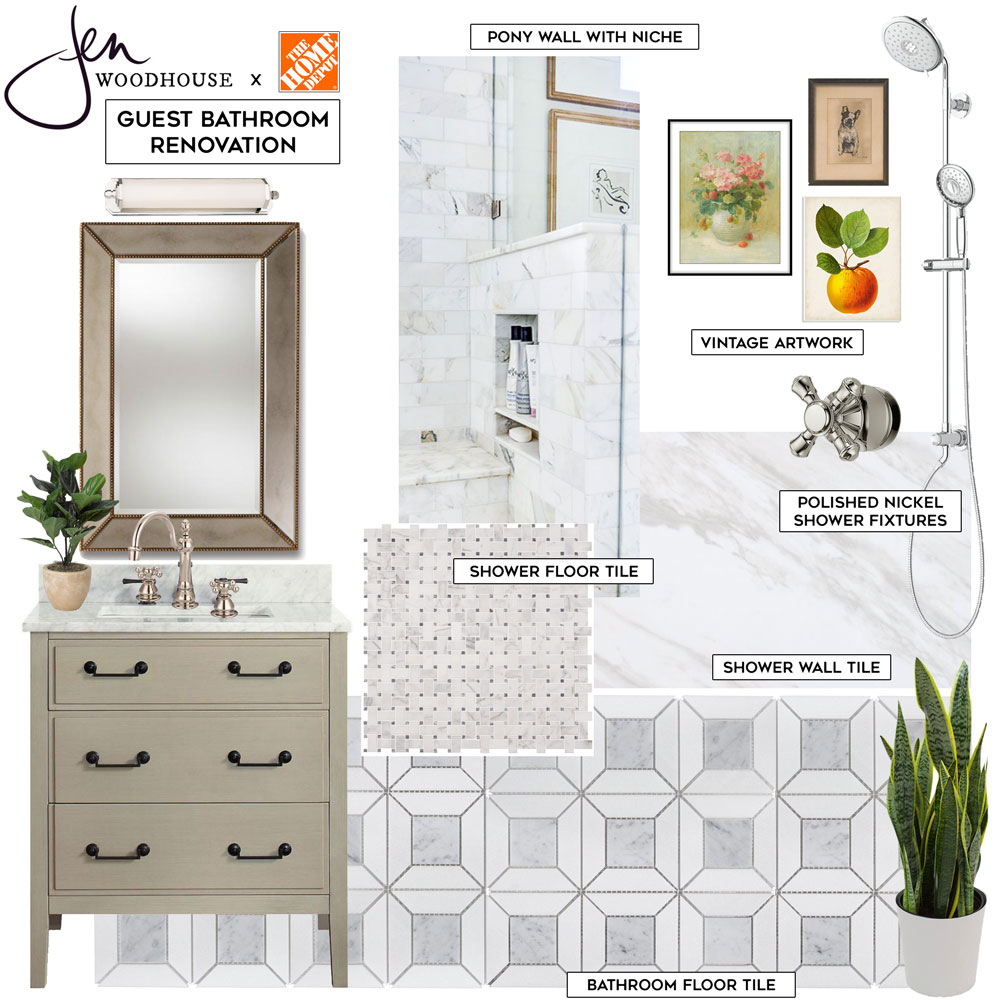
Guest Bathroom Design Board
Our home is a French colonial, so I went with a more classic feel in this bathroom, but wanted to introduce a few modern elements to bring it up-to-date. Mixing modern and traditional styles is one of my favorite things to do because I think it results in a timeless, elegant look. I created the design board and chose everything in this bathroom from The Home Depot. All products are linked at the end of this post for your convenience.
You can read more about my design process in this post and take a peek at the original design board to see how it evolved into the one you see now. During the course of the renovation, we ran into some setbacks and reroutes, which is to be expected with any renovation project. I’ve never had a renovation project go exactly according to plan, no matter how much planning went into it!

Demo Day
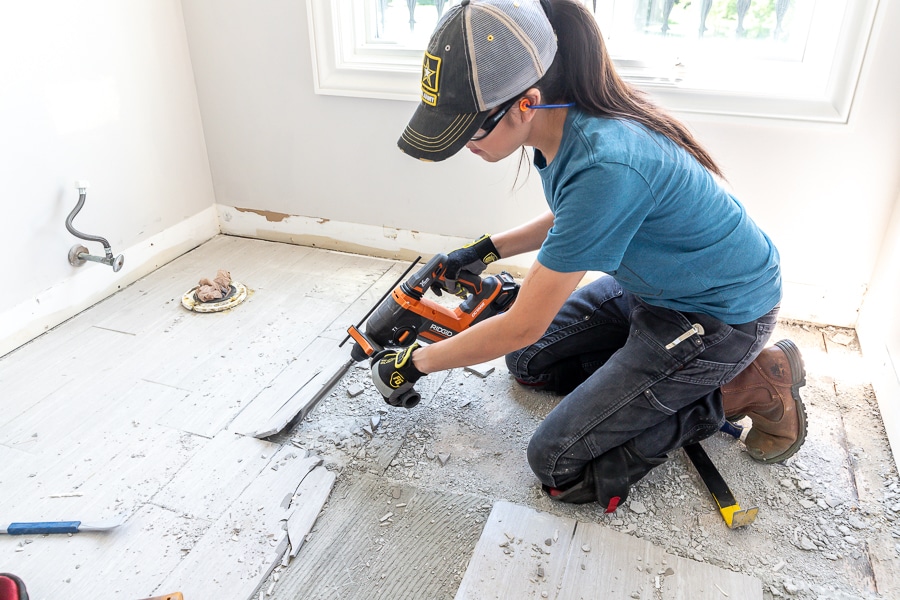
Once the design was nailed down, it was demo day! We removed the toilet, pedestal sink, busted up the floor tile, and removed the shower stall. You can read more about how we removed the floor tile (surprisingly easy!) and the shower stall (surprisingly difficult!) in my Demo Day post. We also talked about how these three tools made our demolition easier.

Plumbing rough-in and prepping for tile
We had our plumber relocate the shower valve to the opposite wall so we could take the wall down to a half wall.
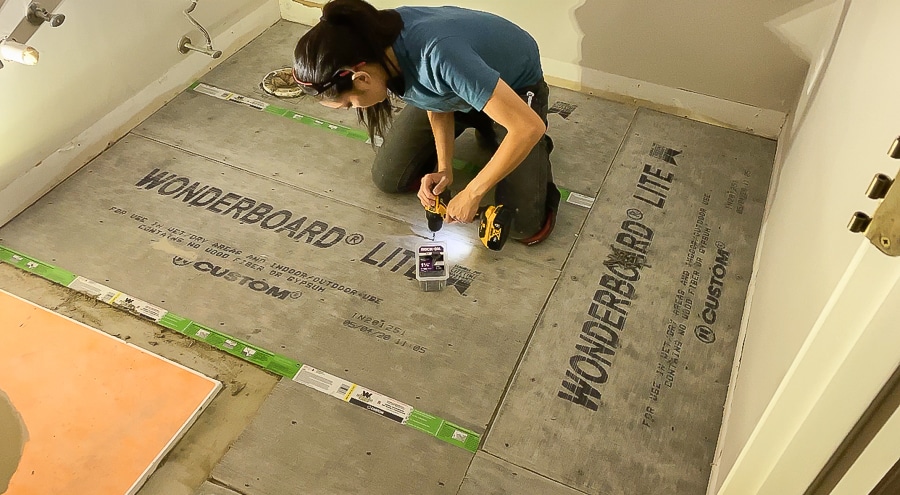
We also had to level the floor before we installed the cement board. Cement board provides a stable surface for installing tile or stone and protects against moisture, which makes it ideal for both interior and exterior substrate applications such as bathrooms! You can read how we leveled the floor and prepped it for tile here.

Shower tray installation and pony wall construction
Once the demo was complete, it was time to put the room back together! We installed batt insulation on the walls and ceiling, then screwed the cement board to the studs. After much research on the countless shower pan options, I ultimately decided on using a Schluter Kerdi shower tray. It comes pre-sloped and installation was pretty straightforward. You can take a closer look at the shower installation here.

Waterproofing the Shower
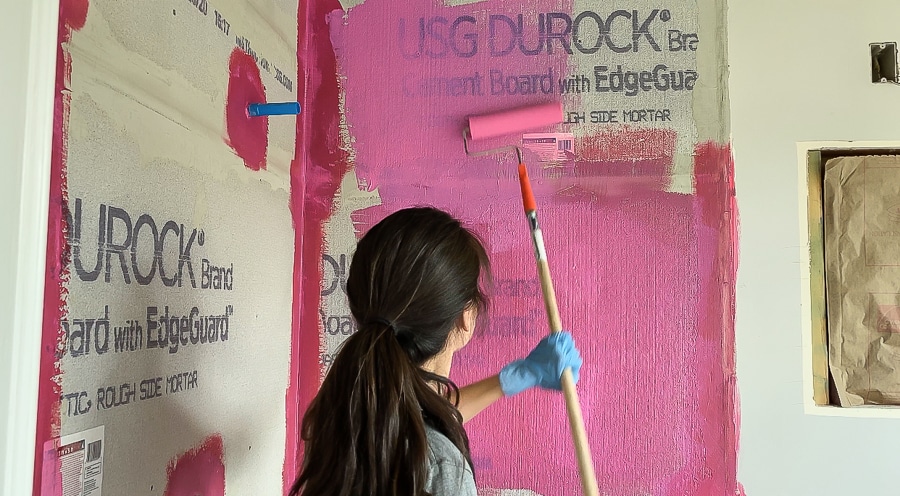
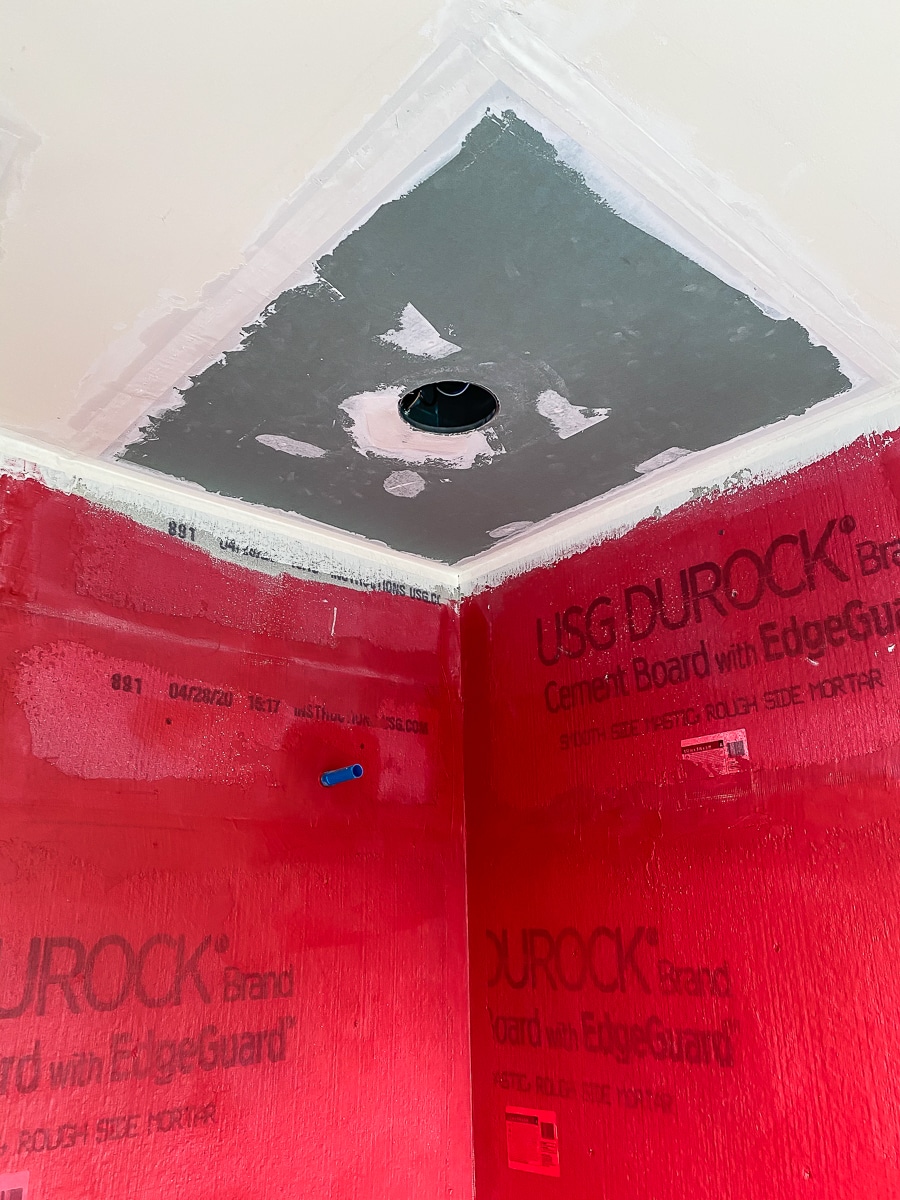
There are a ton of different ways you could waterproof a shower, but I chose to use this RedGard waterproofing membrane. You just paint it on, like you would regular wall paint. I cut in the edges and corners with a brush then rolled the walls. It was really easy to apply, but the fumes were super strong! They made my eyes water, they were so bad. Definitely use either a respirator or get a lot of circulation going in the room. Luckily, we opened up the window, used a fan, and it didn’t take me very long to roll on two coats.

24-Hour Flood Test
Once the waterproofing membrane had a day to cure, we conducted a 24-hour flood test. A flood test is done before the tile is laid, to help find any leaks that may appear in the shower installation. You just plug up the drain, fill the shower pan with water, and mark the water level. Let it hang out for at least 24 hours and check the water level to see if it changed. Thankfully, we passed the flood test so we were cleared for tile installation!
Electrical rough-in
Before I embarked on my very first ever tiling adventure, we had our electrician move an outlet and relocate the exhaust fan to be over the shower. I would have preferred to have two sconces flanking the mirror (as you can see from my original design board), but after taking down the wall, we discovered we just wouldn’t have the space I was hoping for, so we opted for this overhead vanity light instead. And this exhaust fan is pretty cool – it’s a fan and LED light combo, but it looks like a recessed can light! And it’s so quiet too!

Large format porcelain tile on the shower walls
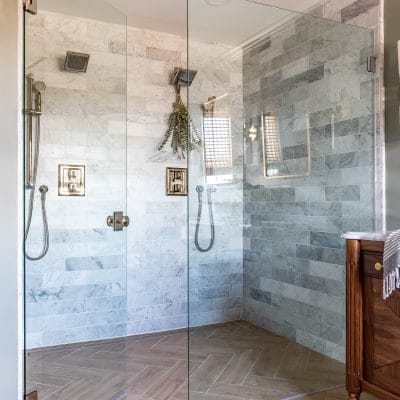
We used this large format porcelain tile on the shower walls for a clean, classic look. I really wanted to use large format tiles on the walls because I think it’ll be easier to keep clean. Less grout lines = less places for mildew to grow, right? That’s my logic anyway.
This was our very first tiling experience and it was not easy! Apparently installing large format tiles on a vertical surface is pretty difficult, so… yeah, choosing this as my first tiling job was not the smartest decision I could’ve made. Lucky for me, grout hides a multitude of sins. I talk more about our tiling experience in this ridiculously long post (almost 3000 words!).
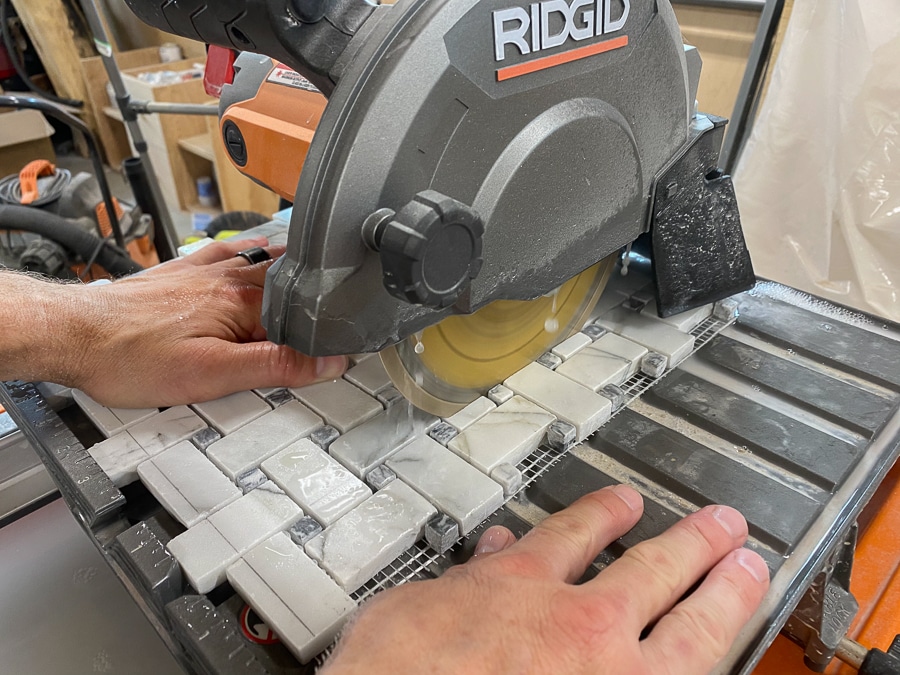
And kudos to Adam – he’s never cut tile before in his life and he was a total champ! We have the Ridgid 7-inch tile saw and were really happy with the accuracy and ease of use. We also liked that the deck slides back and forth so that the tile remains stationary, rather than having to move the tile through the blade.

The shower niche conundrum
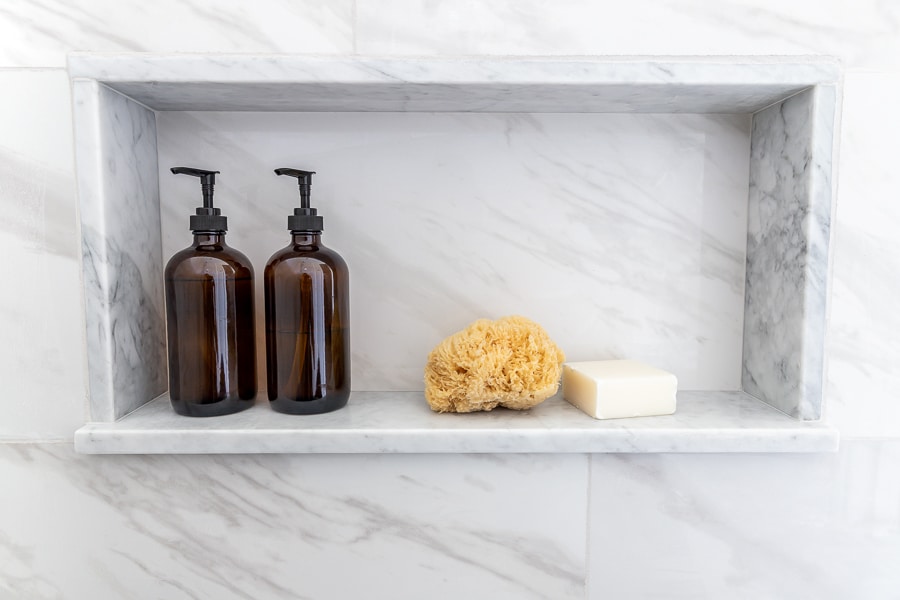
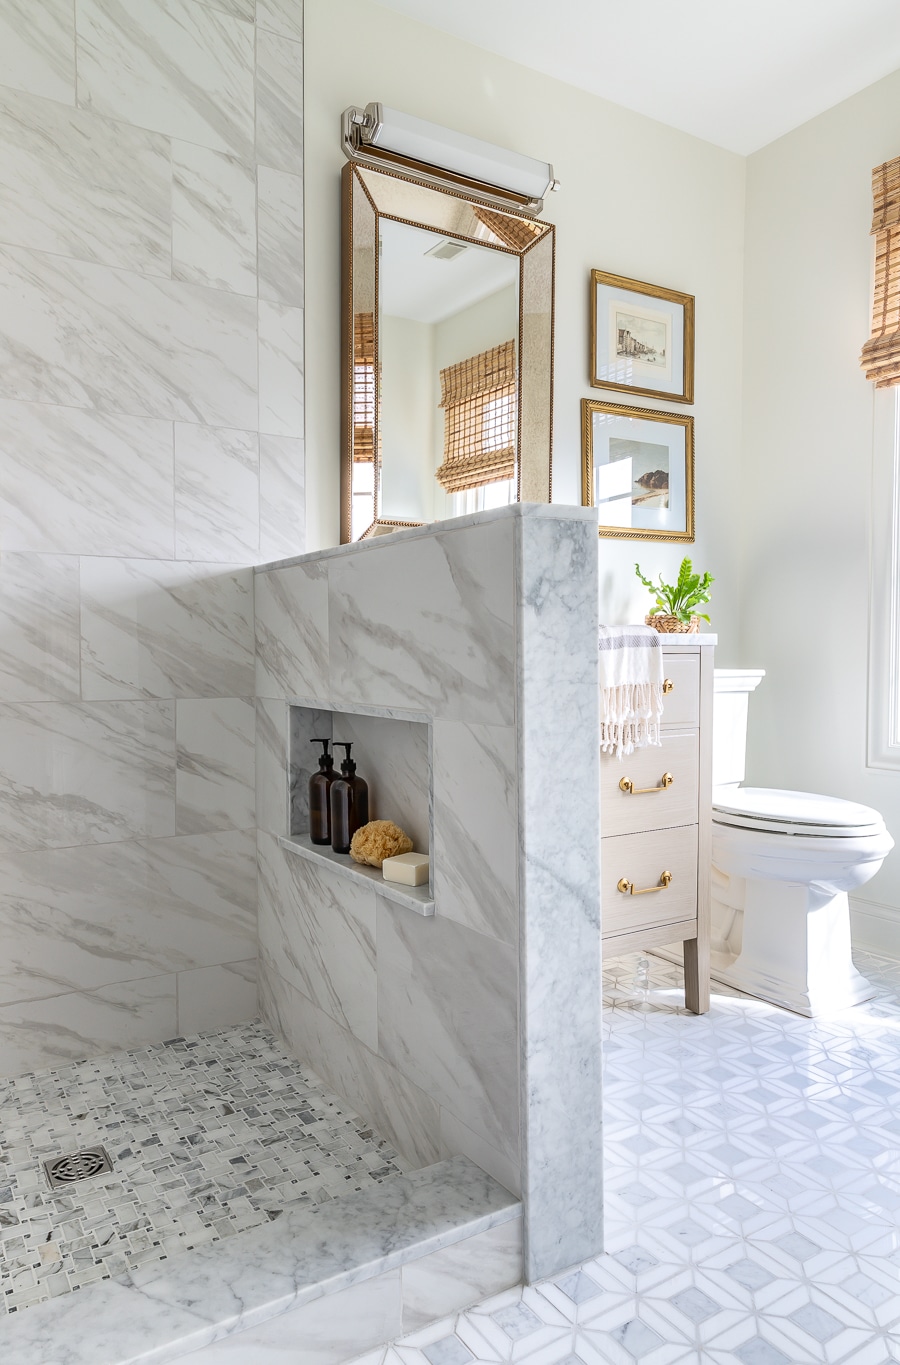
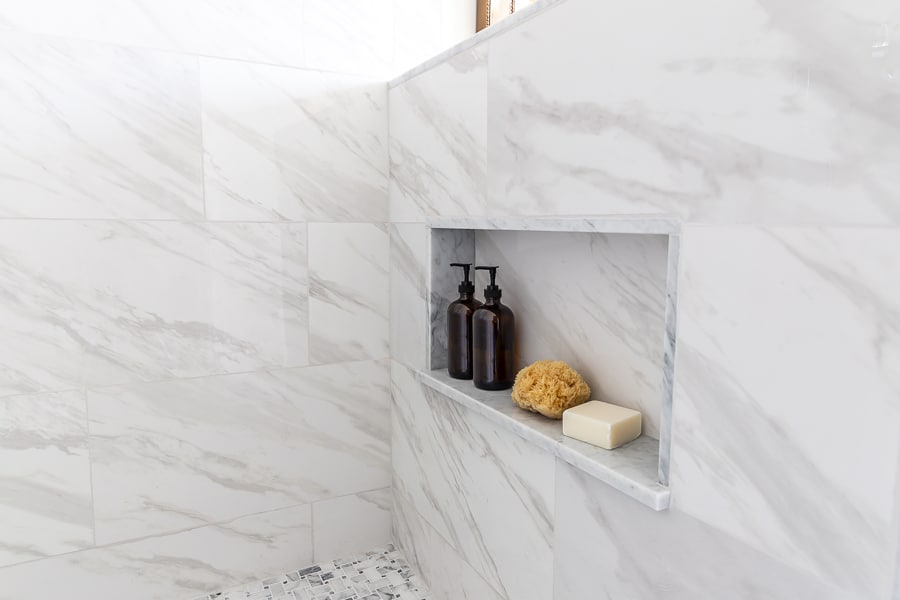
It’s not uncommon to see a shower niche in the most visible area of a shower, but once you store shampoo bottles and other toiletries in there, I think it can look a little cluttered and messy. My friend Jamison from Rogue Engineer built an incredible master bathroom in his home and chose to hide their shower niche in a pony wall, which is genius! I don’t know about you, but I don’t really want the dandruff shampoo and crusty bar of soap on full display. Let’s just keep all that stuff hidden away, shall we?
Figuring out a way to hide the unfinished edges of this porcelain tile was a real brain teaser. I searched high and low for a matching or complementary bullnose tile and came up empty-handed. And it would have cost several hundred dollars of pencil trim to trim out every edge, not to mention the skill it would take installing it and ensuring that every piece was straight and aligned. I’m really quite surprised there aren’t more tile trim choices available on the market! Another option was to finish the edge with a metal Schluter strip, but after installing it and hating the ultra modern look for this space, I tore it all down. That was a fun time.
View this post on Instagram
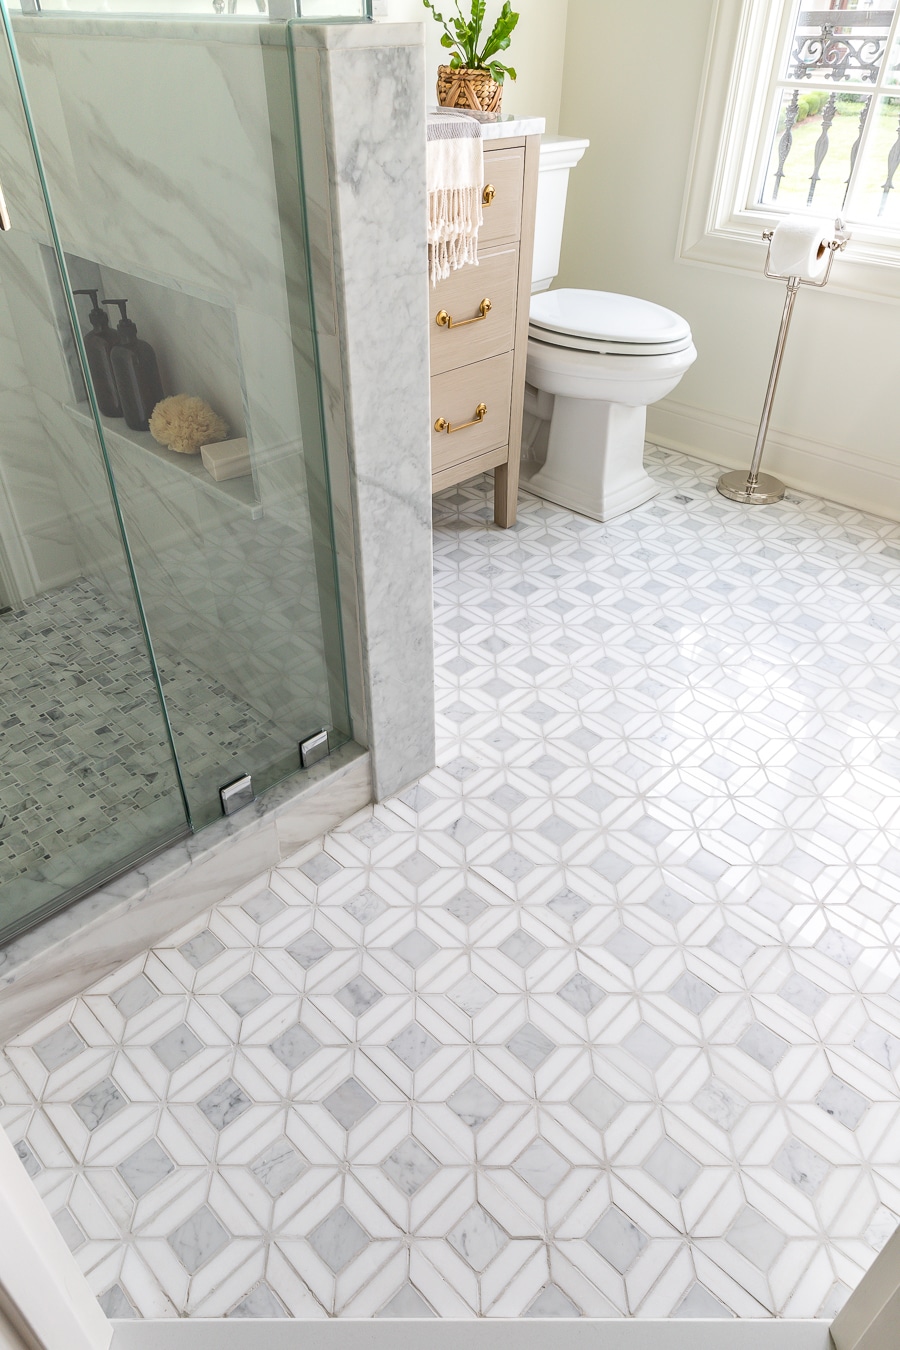
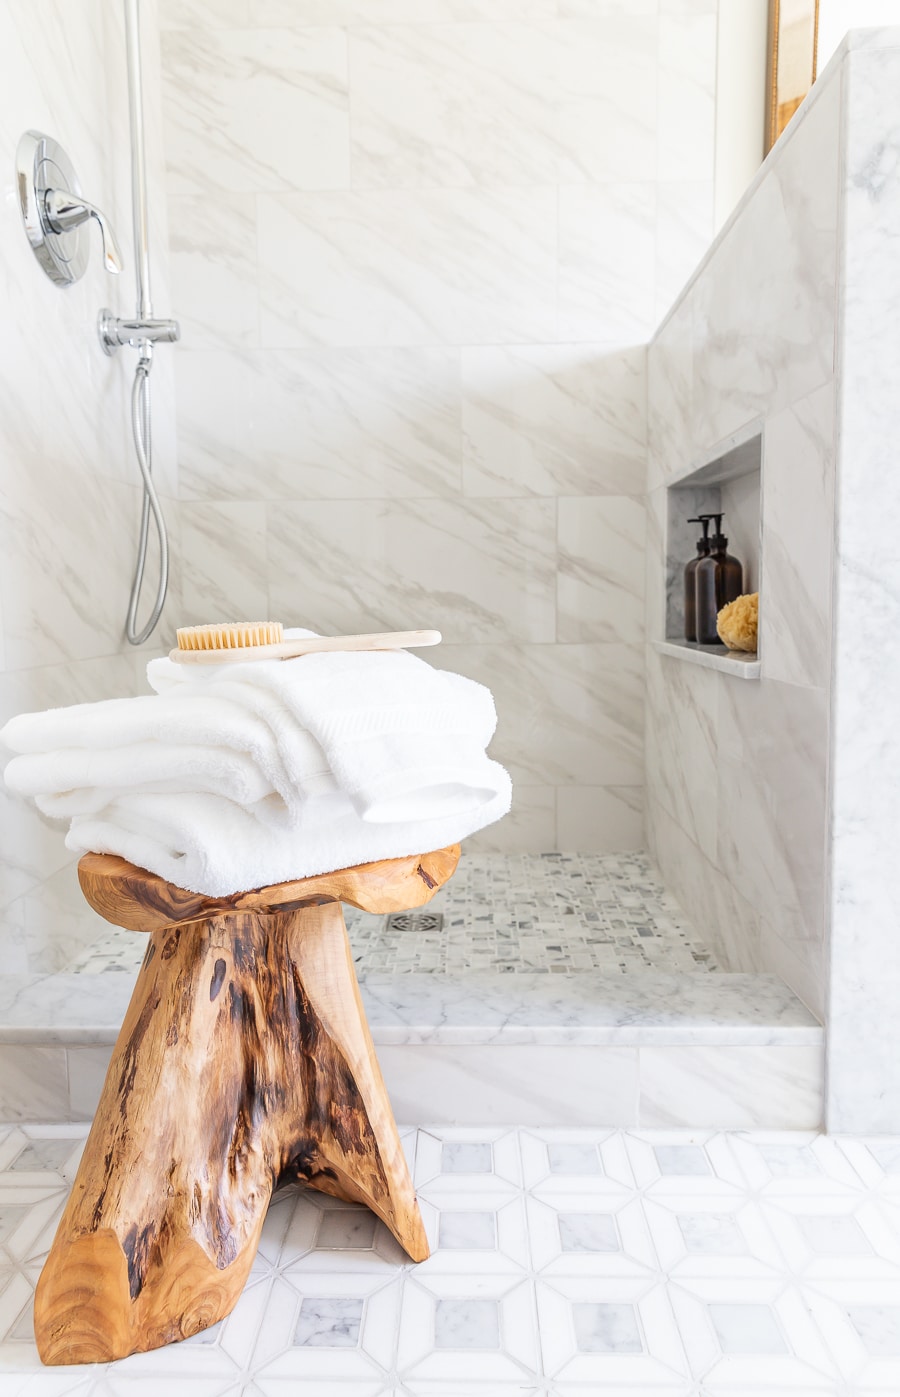
I finally decided to use real marble for the niche, shower curb, and the pony wall. It certainly wasn’t the most cost-effective option, but I wouldn’t have been happy with any of the alternatives – I exhausted every resource before deciding to go this route. I was able to snag a remnant from my local stone supplier free of charge, but the time and labor of polishing the face and each edge of the marble didn’t come cheap. I talk more about how we planned for our shower niche in this post.

Basketweave Marble Mosaic Tile on the shower floor
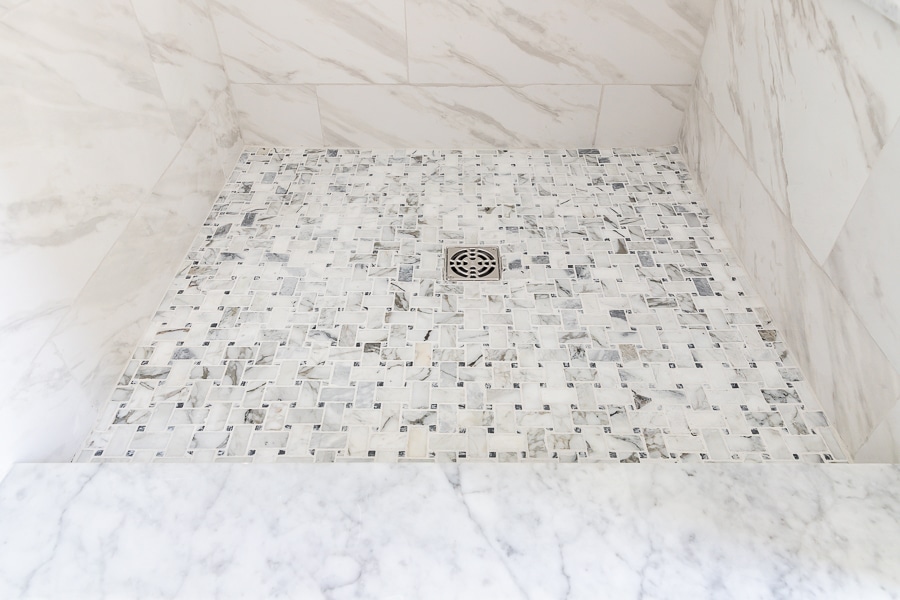
For the shower floor, I chose this beautiful basket weave marble mosaic tile. I chose this tile because of its traditional pattern. It also has a lot more grout lines, which gives the shower floor more traction so it’s not slippery underfoot. The marble mosaic tile was a thousand times easier to install! If large format tiles scarred me for life, this mosaic tile gave me more confidence in my tiling abilities and restored my faith in my DIY skills. Marble is a lot softer than porcelain so it was much easier to cut and lay.
I must bring your attention to how well the pattern is centered on the drain. That was not an accident. It was a result of intentional planning and an obscene amount of overthinking on my part and it warrants recognition, dangit!

Marble Mosaic Tile on the bathroom floor
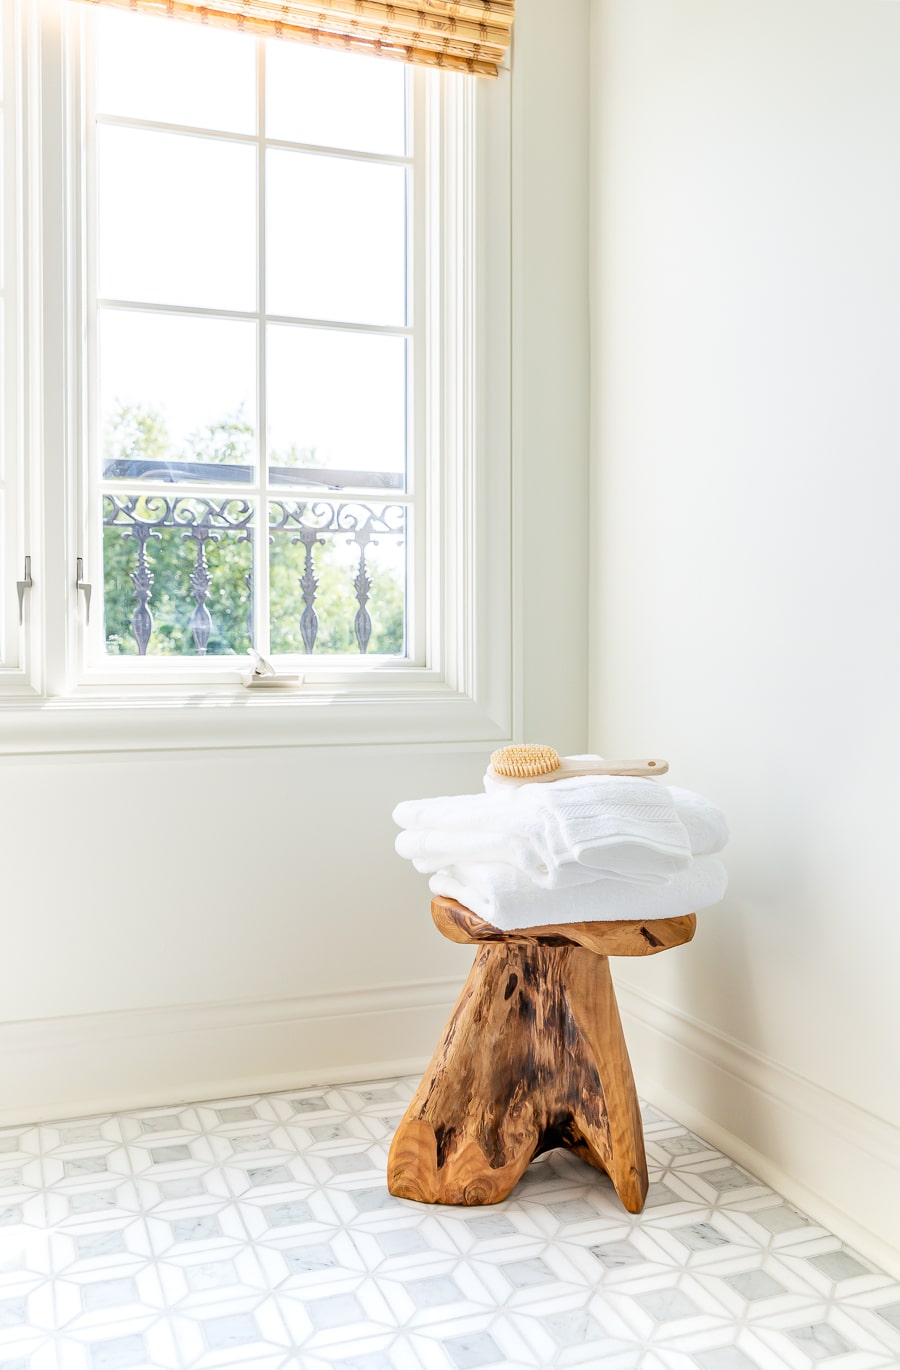
Okay, hang on. I’m gonna need a minute. This stunning marble mosaic tile just takes your breath away, doesn’t it? I literally gasped when I first laid eyes on it. It was a total splurge, but in such a small space, I felt that I could afford to indulge a little. I searched high and low for an alternative, but kept coming back to this one, so in the end, I pulled the trigger and ‘added to cart.’ It’s so beautiful – with just enough pattern to keep things interesting, without overwhelming the space. This tile was the jumping off point for the rest of the design.

Taupe Bathroom Vanity
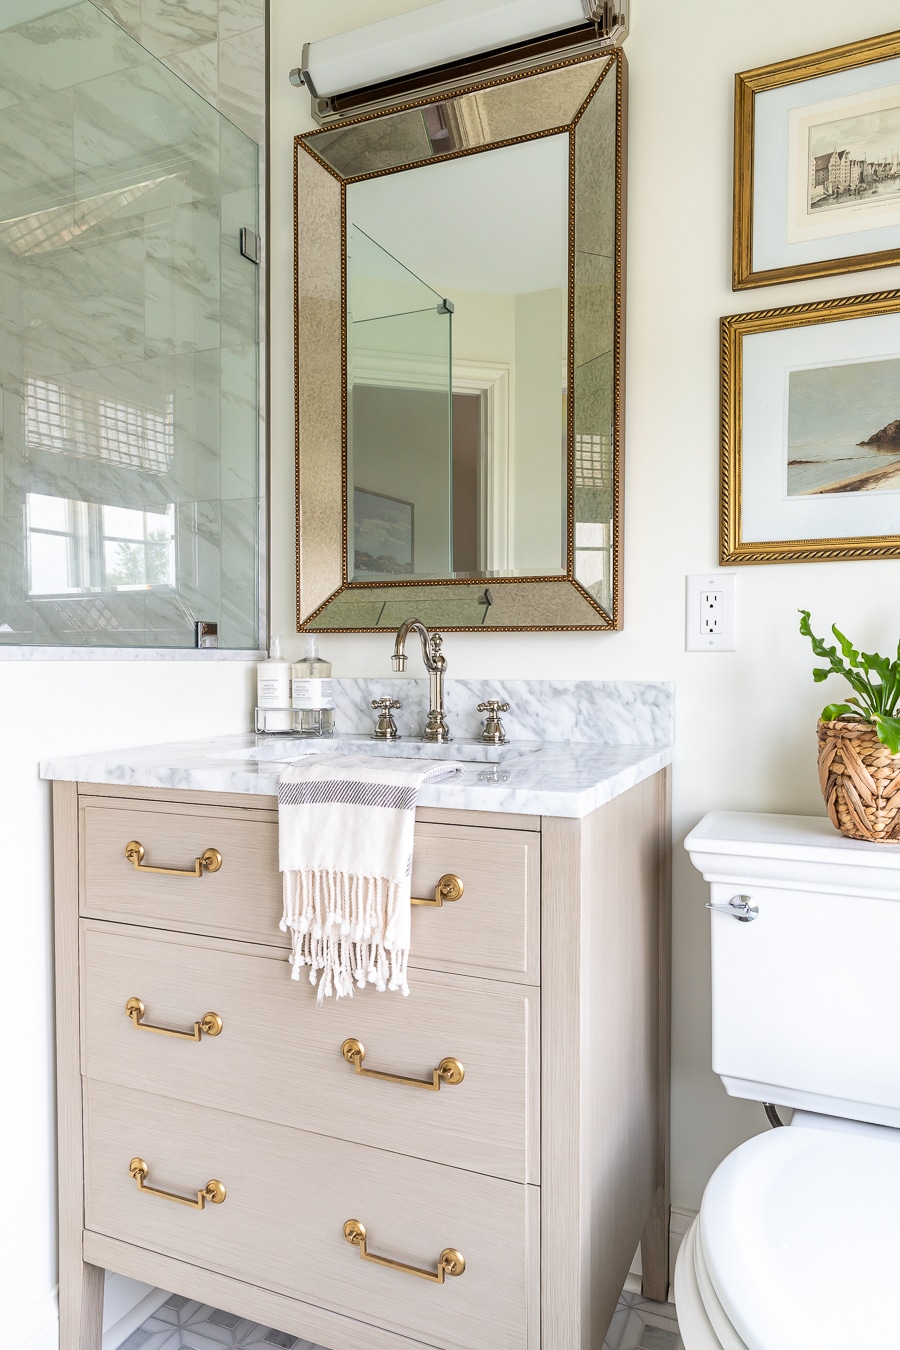
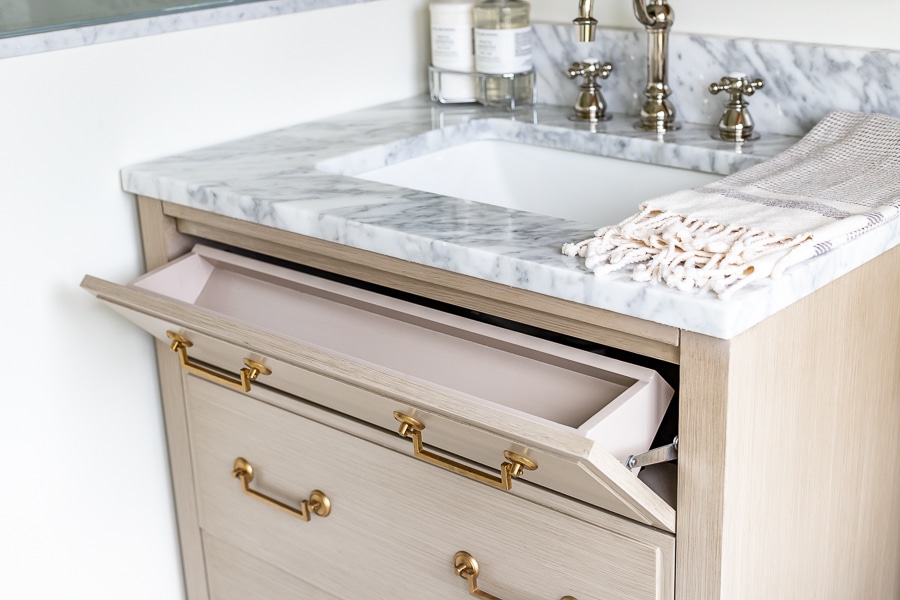
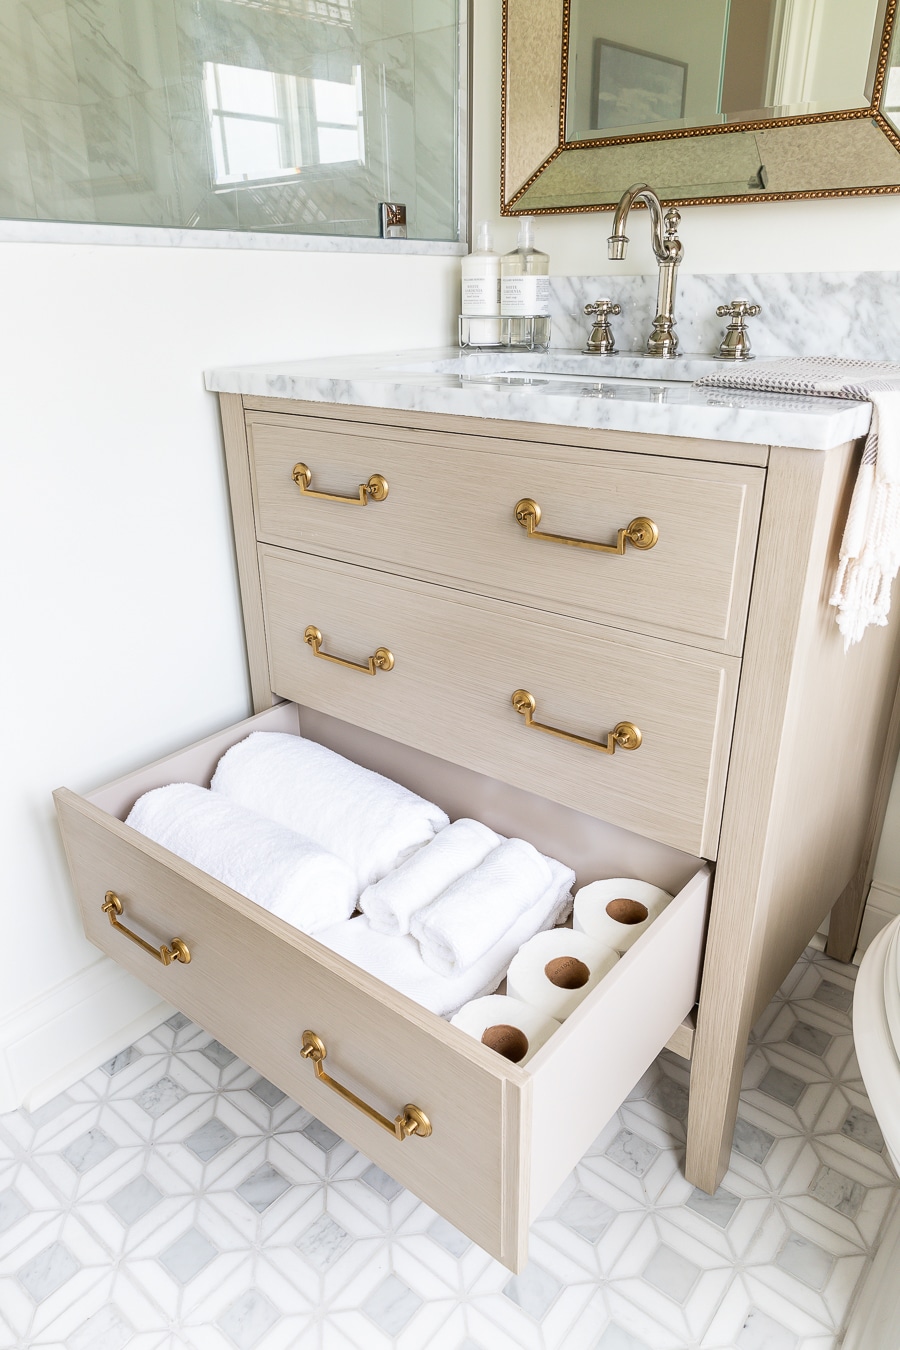
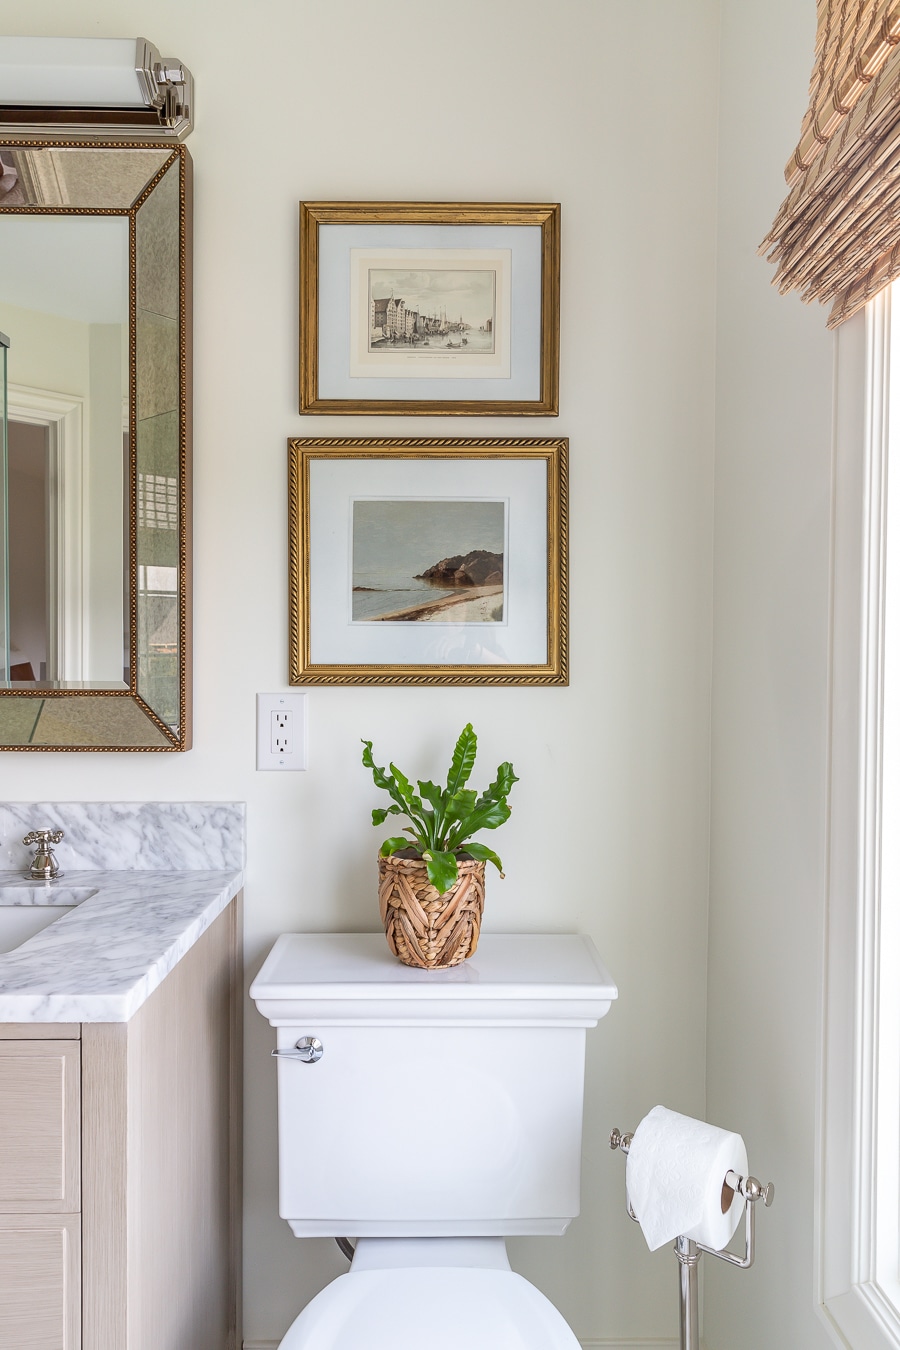
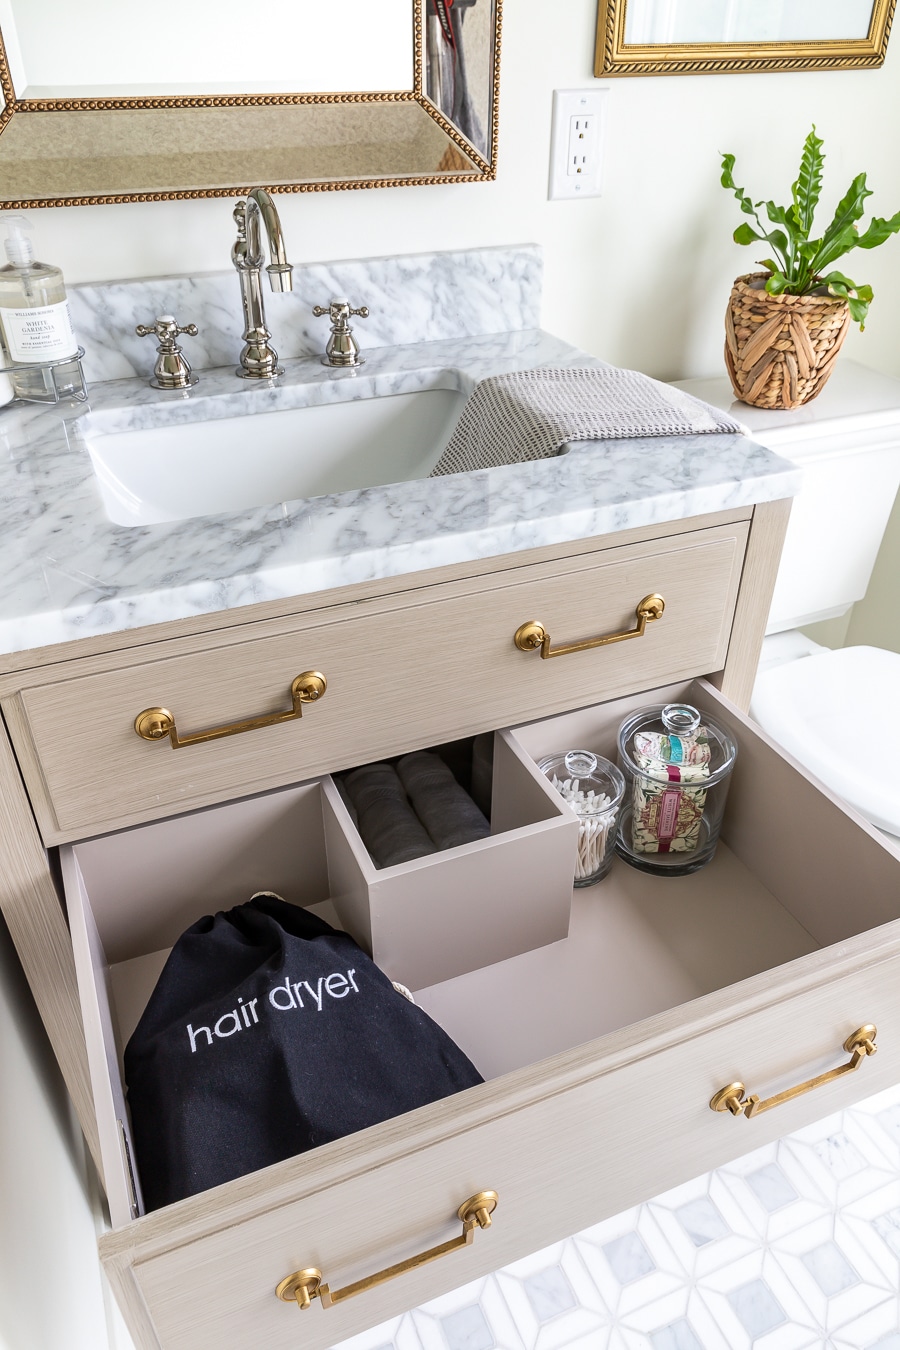
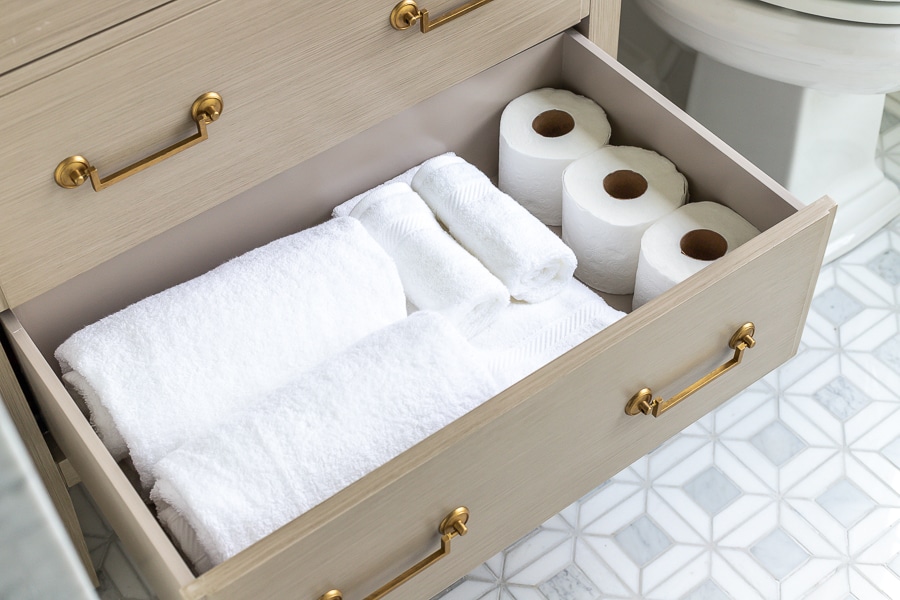
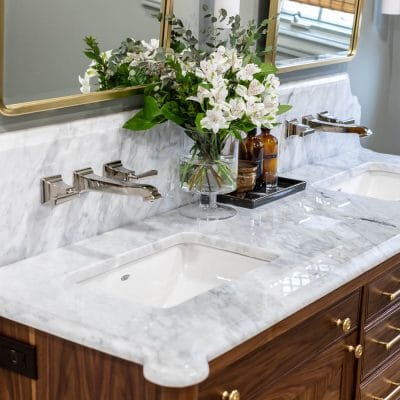
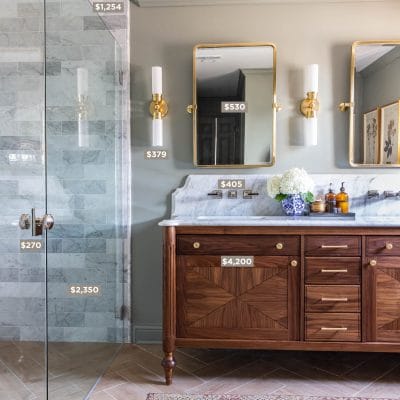
With all this white and gray, I didn’t want the room to feel too sterile and cold, so I needed to add some warmth to the space somehow. I also knew I wanted to add some storage to this bathroom because that old pedestal sink just wasn’t cutting it. I wanted a vanity with pretty legs, as if it were a piece of furniture. Since it’s a guest bathroom, we didn’t need a ton of storage, but I’m sure some storage would be appreciated by our guests. I absolutely love this vanity for the shape, functionality, that warm taupe color, and this amazing marble top. And it’s just the right size. The top drawer flips out and the two lower drawers are pretty roomy – all with fancy, soft-close mechanisms!
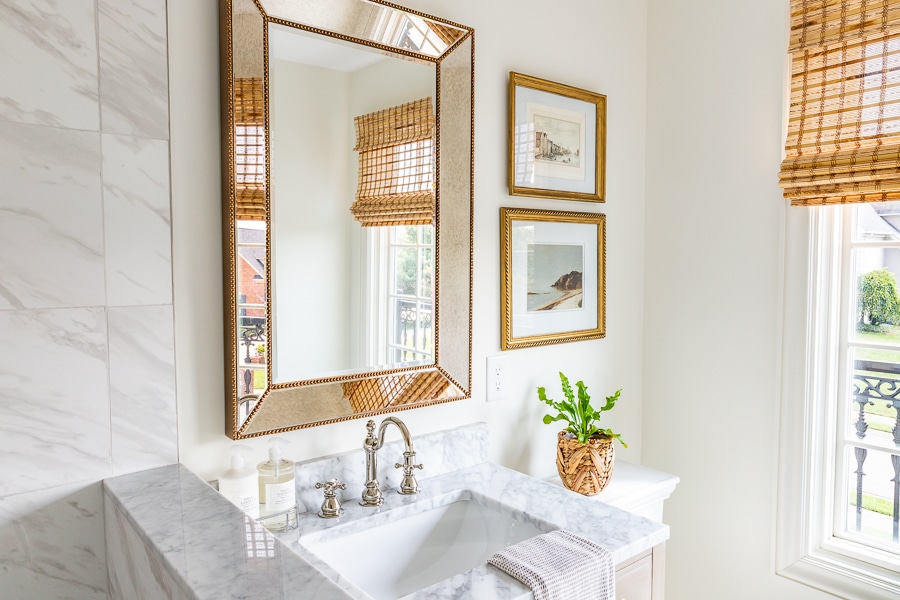
This antique-style mirror also adds some warmth and interest to the space with the delicate gold beaded detail and antique finish on the beveled glass. I love that it ties the nickel and brass tones together so perfectly!
We work with the best painters! Special shout-out to Roll with It Painting – they are the best in the business! They painted the walls and trim a creamy, warm-toned white, which helps balance all the cool tones in the natural stone. You can read more about which paint colors and finishes we considered in this post.
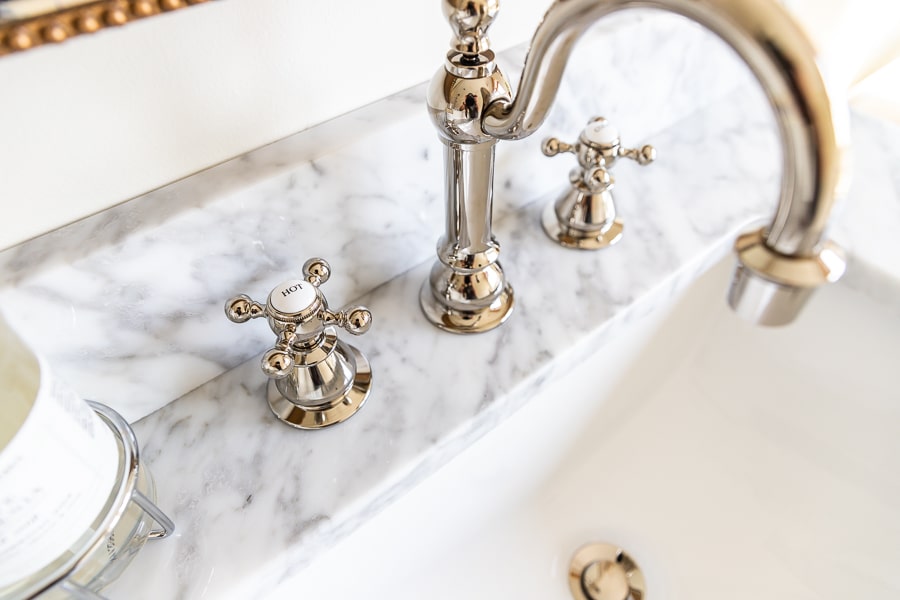
We hung a polished nickel vanity light overhead – I love using polished nickel because it plays so well with both cool and warm colors. The vintage-style widespread sink faucet also has a polished nickel finish. I just can’t get over how charming these ‘hot’ and ‘cold’ handles are!
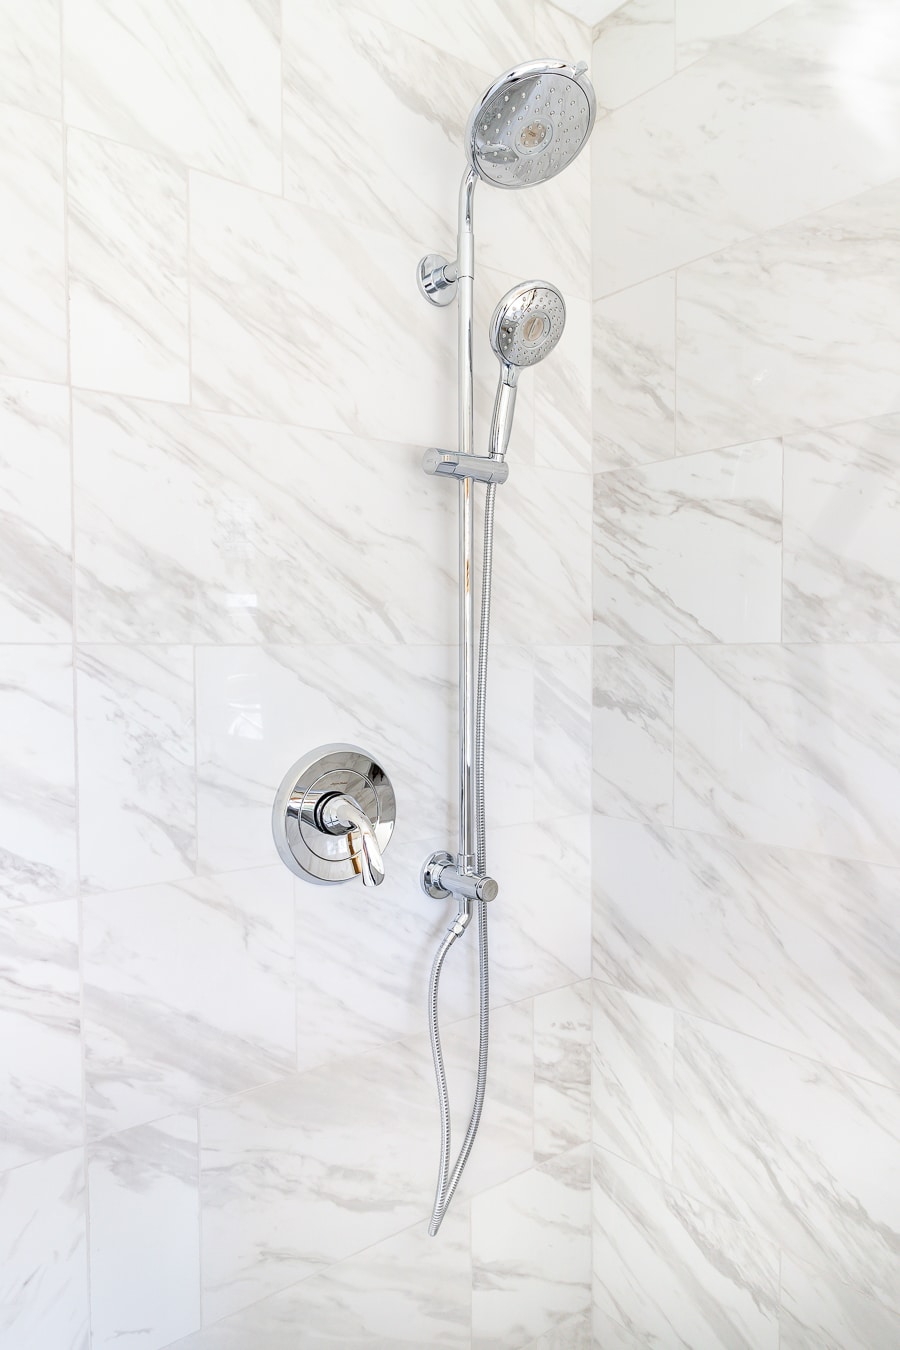
For the shower, I chose this shower system kit – I love the versatility of the stationary shower head with the handheld one.

Finishing touches
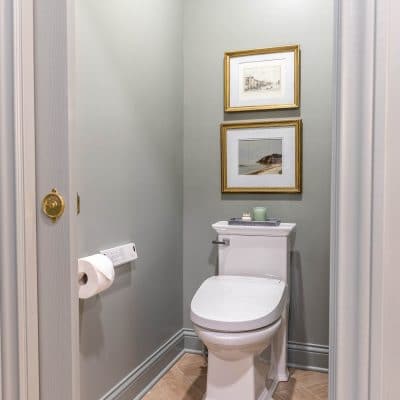
Finally, I added the finishing touches with vintage art in thrifted frames, a bamboo window shade, and greenery. FYI: bird’s nest ferns love humid environments, which makes the bathroom an ideal place for them!
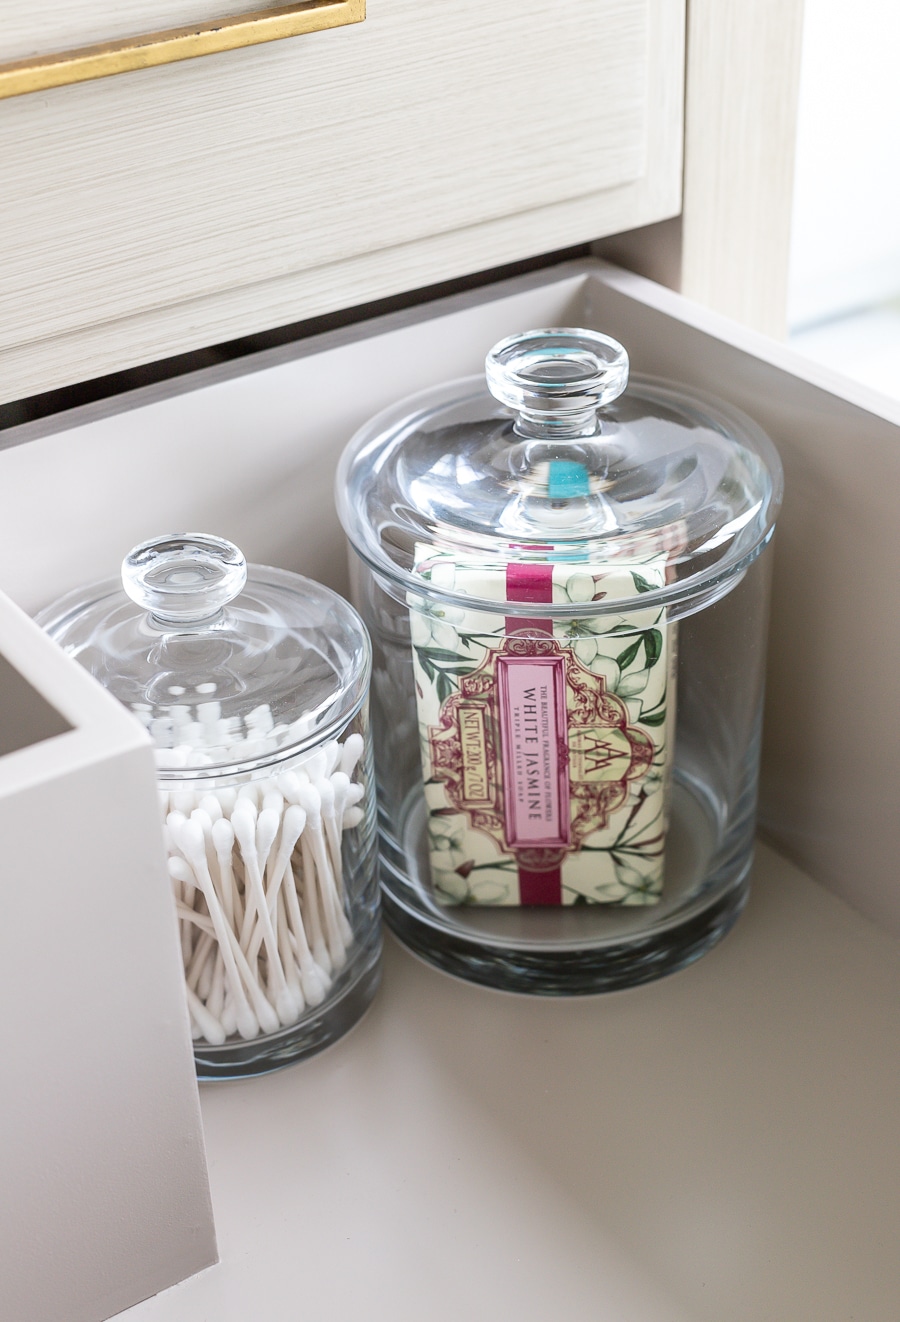
Then I set out some fluffy white towels and stocked the room with toiletries and other thoughtful luxuries. And side note: spring for the fancy soap! After weeks of being a construction zone, our guest bathroom is ready to accommodate! So who’s coming to visit first?!

See this guest bathroom renovation from start to finish:
- Part 1: Design Board
- Part 2: Demo Day!
- Part 3: Plumbing Rough-In and Floor Leveling
- Part 4: Insulation and Cement Board Installation
- Part 5: Shower Tray, Pony Wall, and Waterproofing
- Part 6: Electrical Rough-In
- Part 7: Our First Tiling Adventure!
- Part 8: Guest Bathroom Renovation Reveal



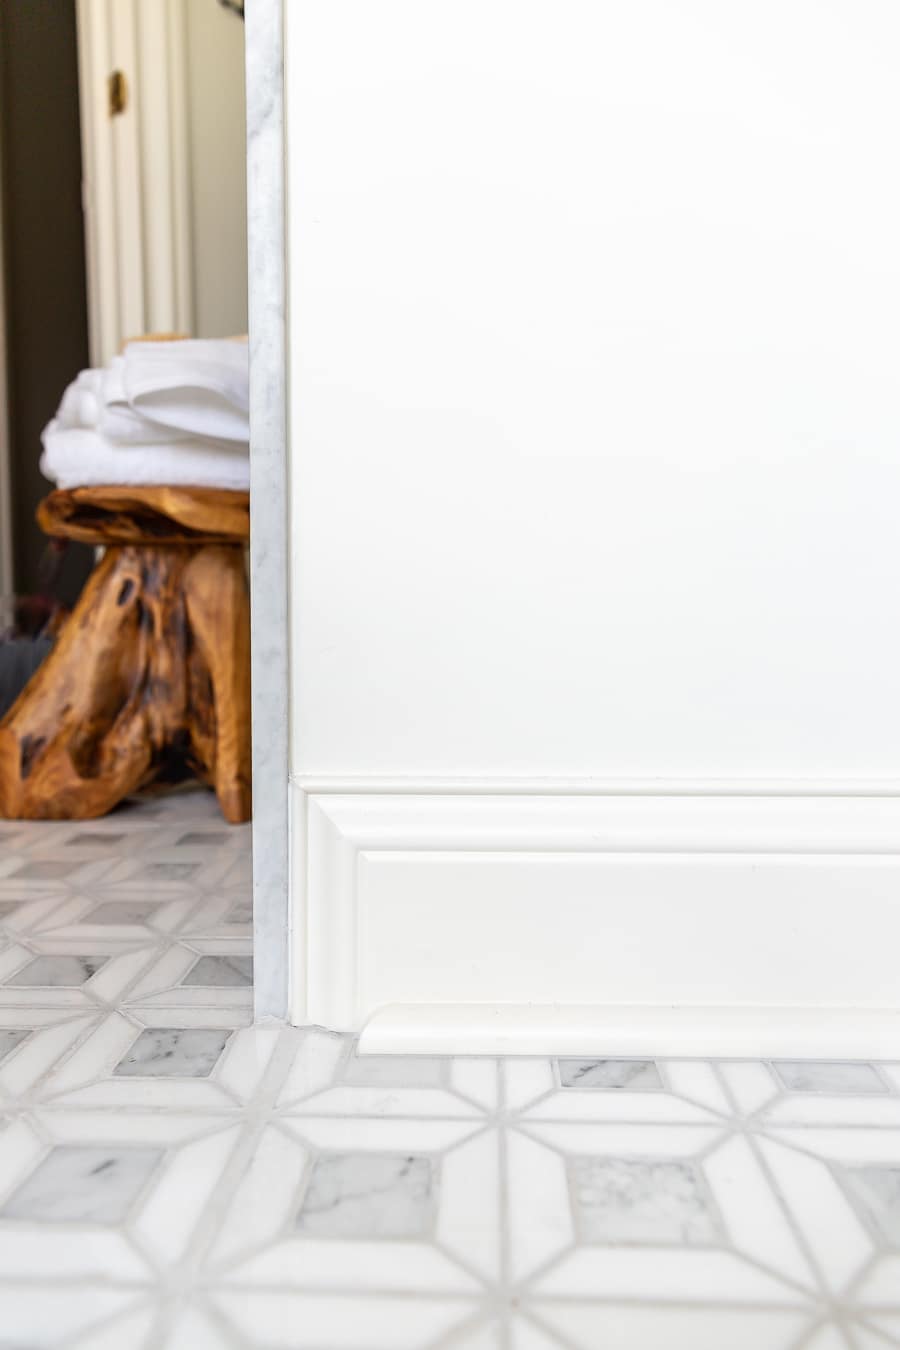


Can you also link the tile threshold pieces you used? Thanks
Thanks for noticing, Sam! Here’s the threshold we used: https://homedepot.sjv.io/Gz0Zm Hope that helps!
Looks beautiful! I also did a large format tile for my first DIY tiling job! It was/is a hard learning curve! What color and brand grout did you use?
Thank you! I used Mapei’s “Frost” and got the coordinating caulk. I used “Warm Gray” at first and ended up digging it all out and trying again!
This is absolutely incredible! What would you say was the total time investment and cost for the entire project?
Thank you Kathryn! I gave myself 6-8 weeks from start to finish, which I thought was generous and reasonable. I think the most time was spent researching and planning, honestly! The actual “doing” could have taken much less time, had I known exactly what to do. But because I was learning along the way, things took much longer for me to wrap my head around and execute. I initially budgeted $4,000 for the entire renovation and sadly went over budget because of some do-overs. For example, the marble niche was an added, unexpected cost, as well as changing my mind about the vanity and lighting. Hope that helps!
Its beautiful, very nice, love it. Good for you! The reveal turn out beautiful.
This is a lovely renovation. Can you share the source for the wood stool? Thanks.
Thank you, Leigh! I bought the wood stool here: https://amzn.to/3lH6CST
All your hard work paid off! It looks great!
Looks amazing Jen! ????? …. Lol, just realized that the trim I had suggested is what you had already ripped out! ? ….. The marble looks fabulous! ???
Very inspiring! Will be renovating a bathroom later this year and greatly appreciate the step-by-step posts! Did you need to get a permit to change the layout and create the pony wall?
Thanks Michelle! No, we didn’t need to get a permit for this renovation. We only moved existing plumbing and electrical; we didn’t add new fixtures.
Beautiful and classic transformation! I love the way you mixed cool and warm tones. Looks so welcoming. Would you mind sharing the dimensions of the shower? This reveal is inspiring me! Thank you!
Thank you Tracy! The dimensions of the shower are 38″x38″.
Wow, what a beautiful transformation. Thank you fir sharing. That was a BIG job you took on. However, the finish result is stunning
This looks amazing! Where did you order the shower glass door (and the piece above pony wall) from?
Looks amazing with great design and really professional job done. Everyone can follow through.
It takes at least 7years of trade school education with experience doing this work for simple 0ne family house construction. how did you get the training to do this work it is very hard to believe that you learned it on your job. Please not at the home depot they have no training program to learn electrical and Plumbing repairs and installations
I do a lot of research prior to each project and learn by doing, however I insist on hiring a professional electrician and plumber.
Where did you get the bamboo window shade? Looks great!
Lovely job! I was just wondering where you found the hardware for the vanity?
Great job on the reno!! I’m really interested in the glass around the shower. Can you post a link for it?
Thanks Heather! Sorry I don’t have a link – I bought the shower glass from a local glass company.
Jen this video was very inspirational. What a transformation! I’m a new follower and love your content. Can you share where you purchased or the link to the hardware for the vanity?
Thank you!
Hi Tina and welcome! The hardware came with the vanity (which is linked), however I did use Rub ‘n Buff to turn the dark finish to an antique gold. Hope that helps!
Hi Jen! Do you know if Home Depot sells the cabinet hardware separately? It’s exactly what I’ve been looking for!